Hall of Natural History and the torch desk
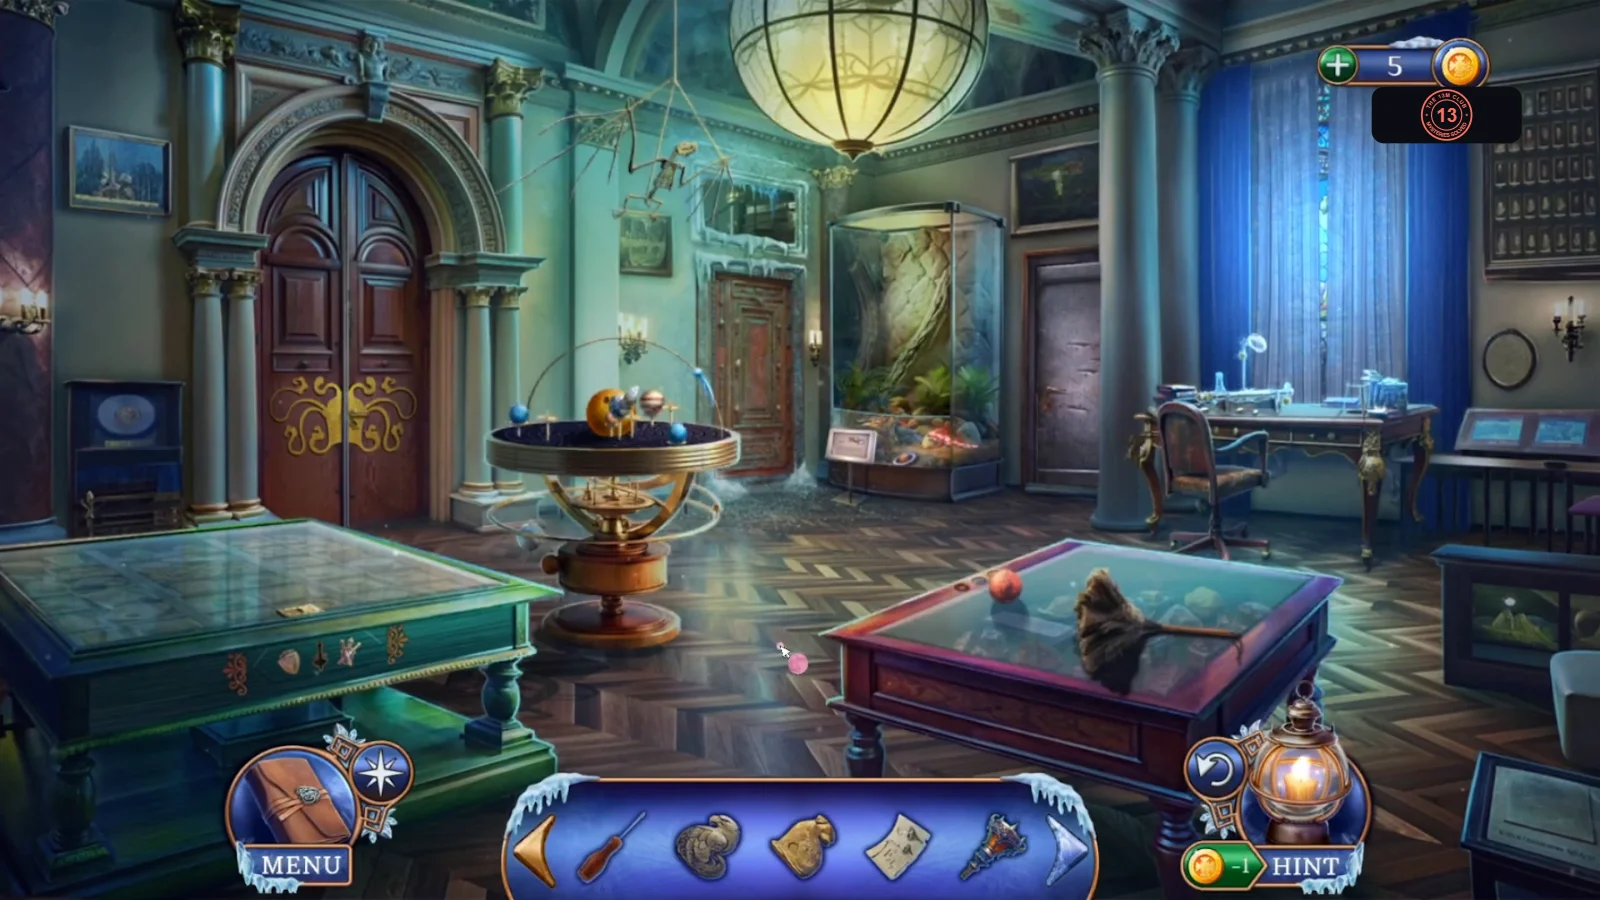
The Seer's vision shows you a new way out of the Main Hall. Start collecting the figurines and torch parts.
- Go to the Main Hall. The Seer's vision now shows a staircase you couldn't see before. Take it to the Hall of Natural History.
- Open the green glass display on the left and take the Cat Figurine. The tray beneath it is locked. Open the reptile enclosure and take the Saturn Layout from the dish. Open the red display and take the Mars Layout. Check the orrery in the middle of the room: its centre figure is missing.
- Open the desk on the right and put the Incinerator Torch in the stand, then use the Torch Scheme. Take the Dagger you are given. You now need more torch parts, a rag and a flammable liquid.
- In the Industrial Zone, open the back of the truck and use the Dagger to pry up the crate lid. Take the File and Flammable Resin.
- In the Burning Hall, open the locker with the barbed wire and cut the wire with the File. Take the Mouse Figurine and Rag.
- In the Artist's Tower, open the floor panel beside the rug and fit the Cat, Eagle, Dog and Mouse Figurines into its four outlines. Take the Room Key. A metal cylinder stays under the panel.
- Use the Room Key on the green door. The sculptor's workshop scene starts.
Sculptor's workshop
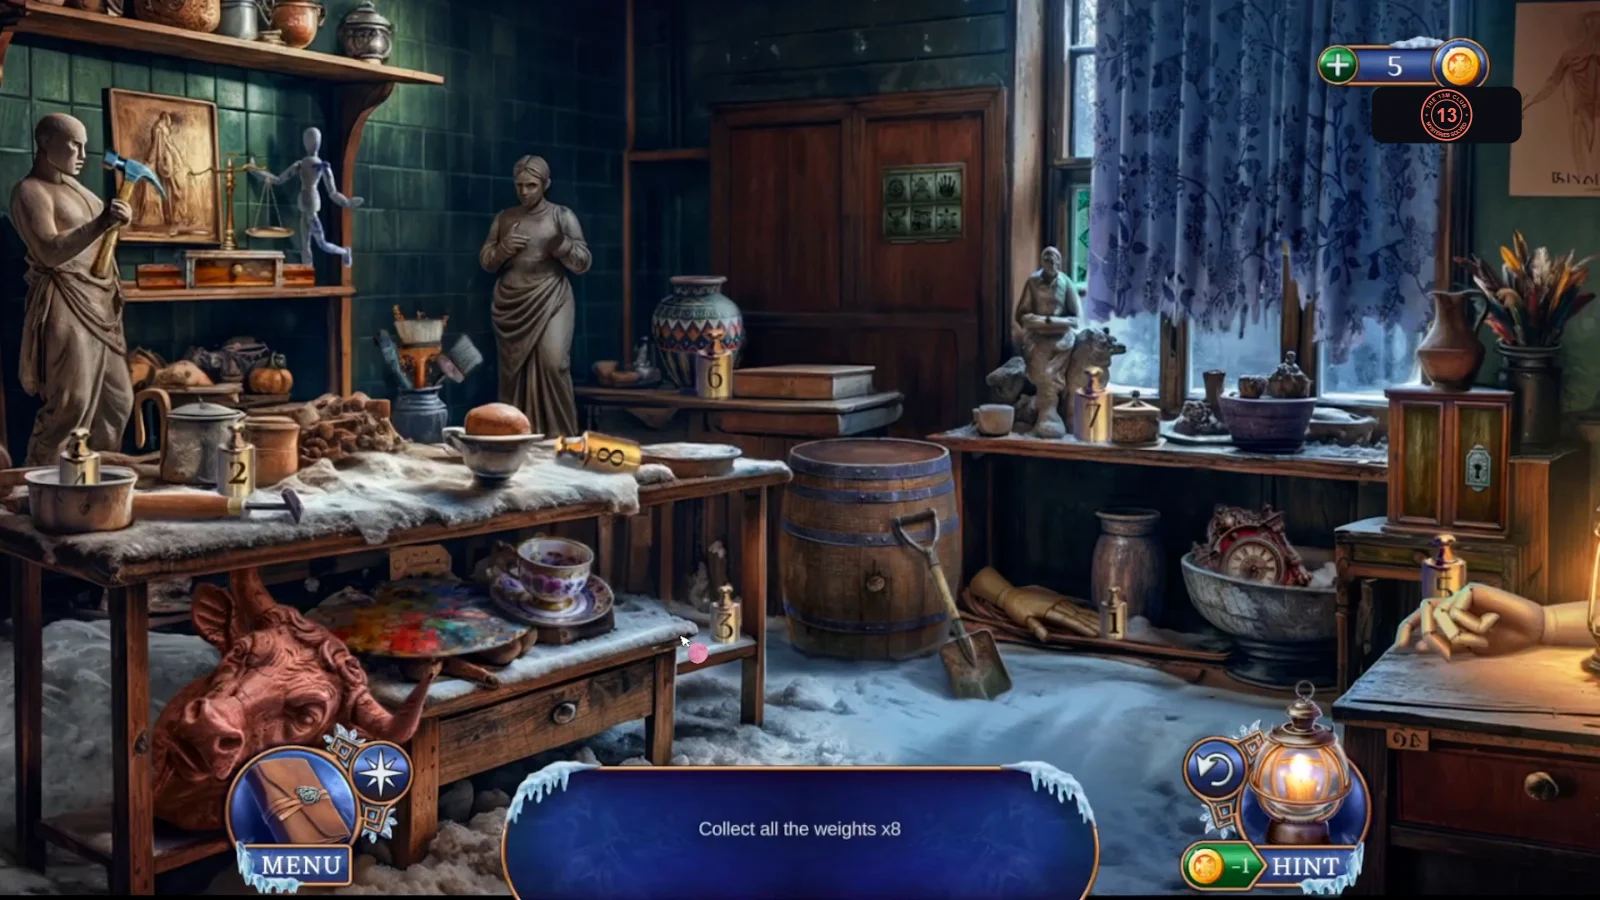
Goal: First collect all eight weights, then find the twelve items on the task list. Some items are behind the scale, the symbol lock and the cabinet.
- Find all eight numbered weights around the workshop. Open the scale on the right and put 5, 6, 3 and 4 on the left pan and 8, 7, 2 and 1 on the right pan, so each side adds up to 18. The drawer underneath opens: take the Ring.
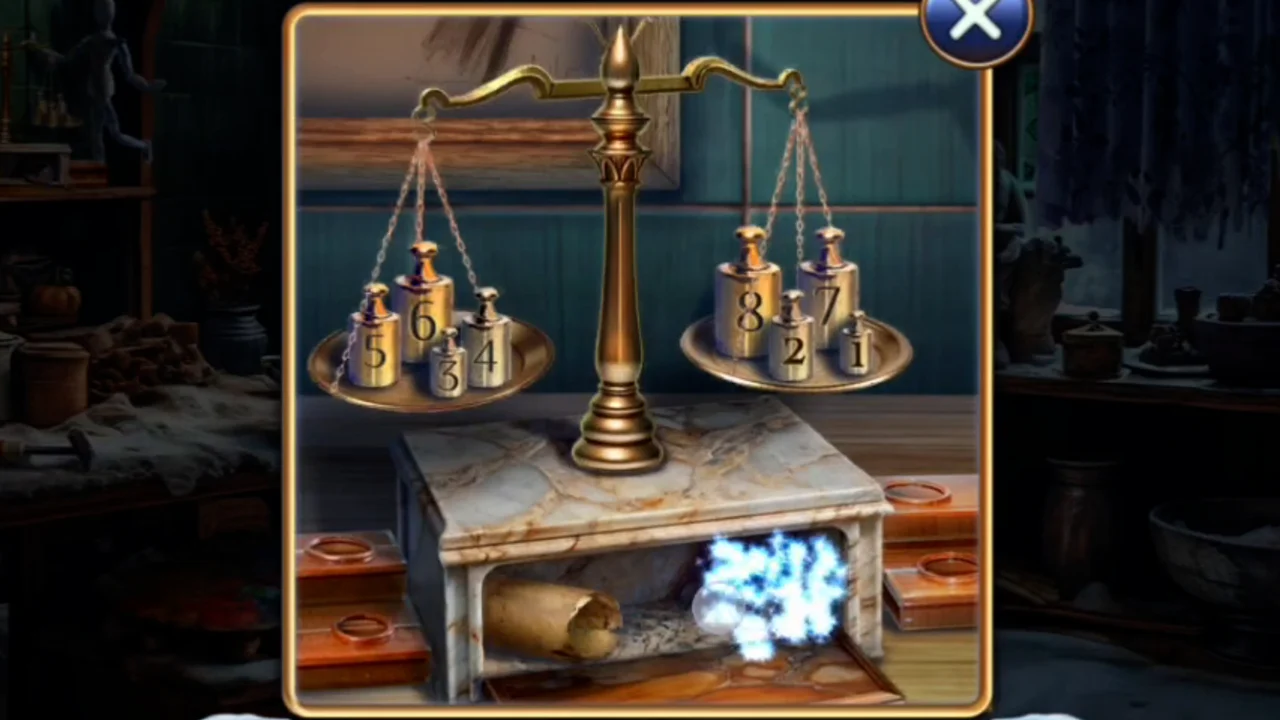
Solved: 5, 6, 3, 4 on the left and 8, 7, 2, 1 on the right. - Find the rest of the list: Tea set, Shovel, Paintbrushes, Bull head, Hammer, Stained glass, Hat, Horse figurine, Canteen and Key. The Stargaze figurine comes last, from the cabinet.
- The torn strip behind the barrel gives the order for the six-symbol lock. Press the tiles in this order: Sun (top left), patterned tile (bottom middle), Hand (top right), Scorpion (bottom left), Turtle (bottom right), Frog (top middle). Each correct tile lights blue.
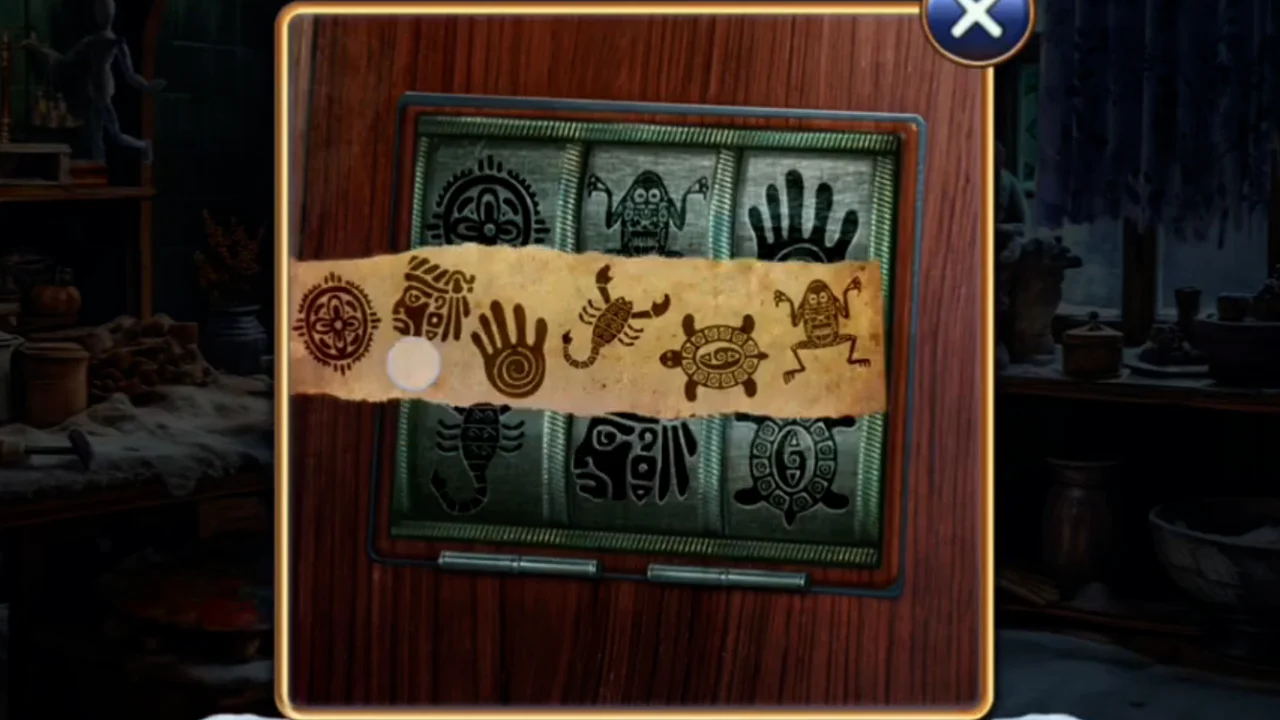
The torn strip shows the order to press the tiles. - Use the Key on the double cabinet and take the Stargazer Figurine, which the list calls the Stargaze figurine, to finish the scene.
Collect the torch parts
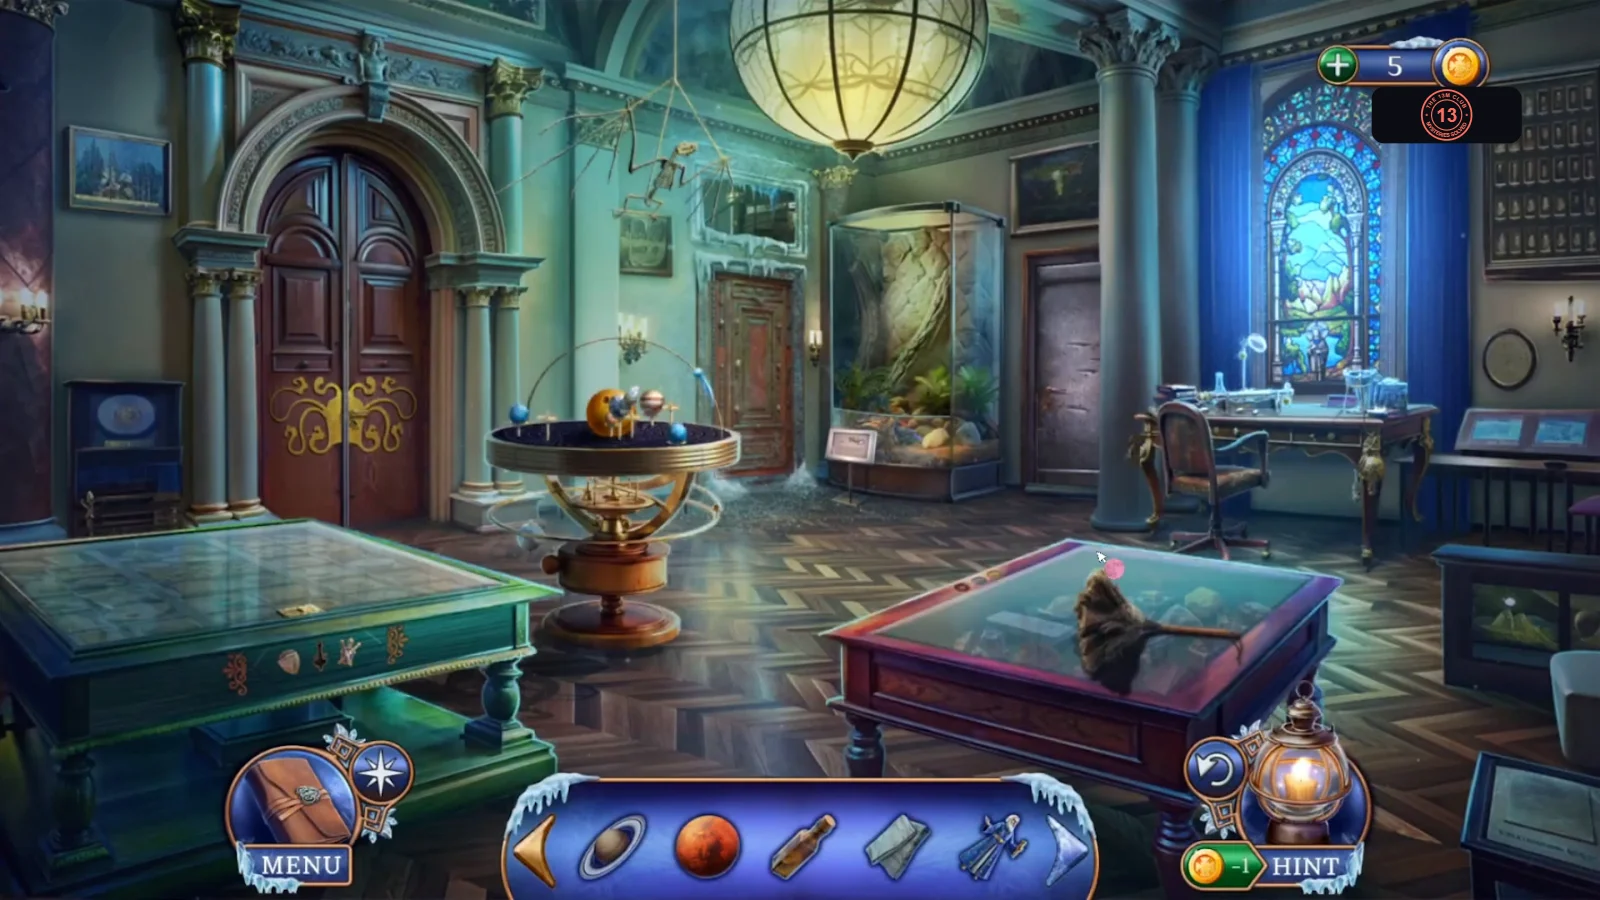
The orrery's drawer starts a chain of items that ends with the four Torch Parts.
- In the Hall of Natural History, put the Stargazer Figurine on the centre of the orrery. A drawer slides open: take the Ice Pendant and Amulet Flower. Three planets are still missing.
- Open the desk and put the Rag and Flammable Resin beside the torch.
- On the Seer's street, open the bicycle basket and fit the Amulet Flower on it. The lid lifts: take the Picklock and Fleur-de-lis.
- In the Hall of Natural History, use the Picklock on the green display. The glass opens onto a tray of fossils and small drawers. Find and take the four Torch Parts among them.
- Open the desk and use the Fleur-de-lis and Torch Parts on it. The assembly puzzle starts.
Restore the Incinerator Torch
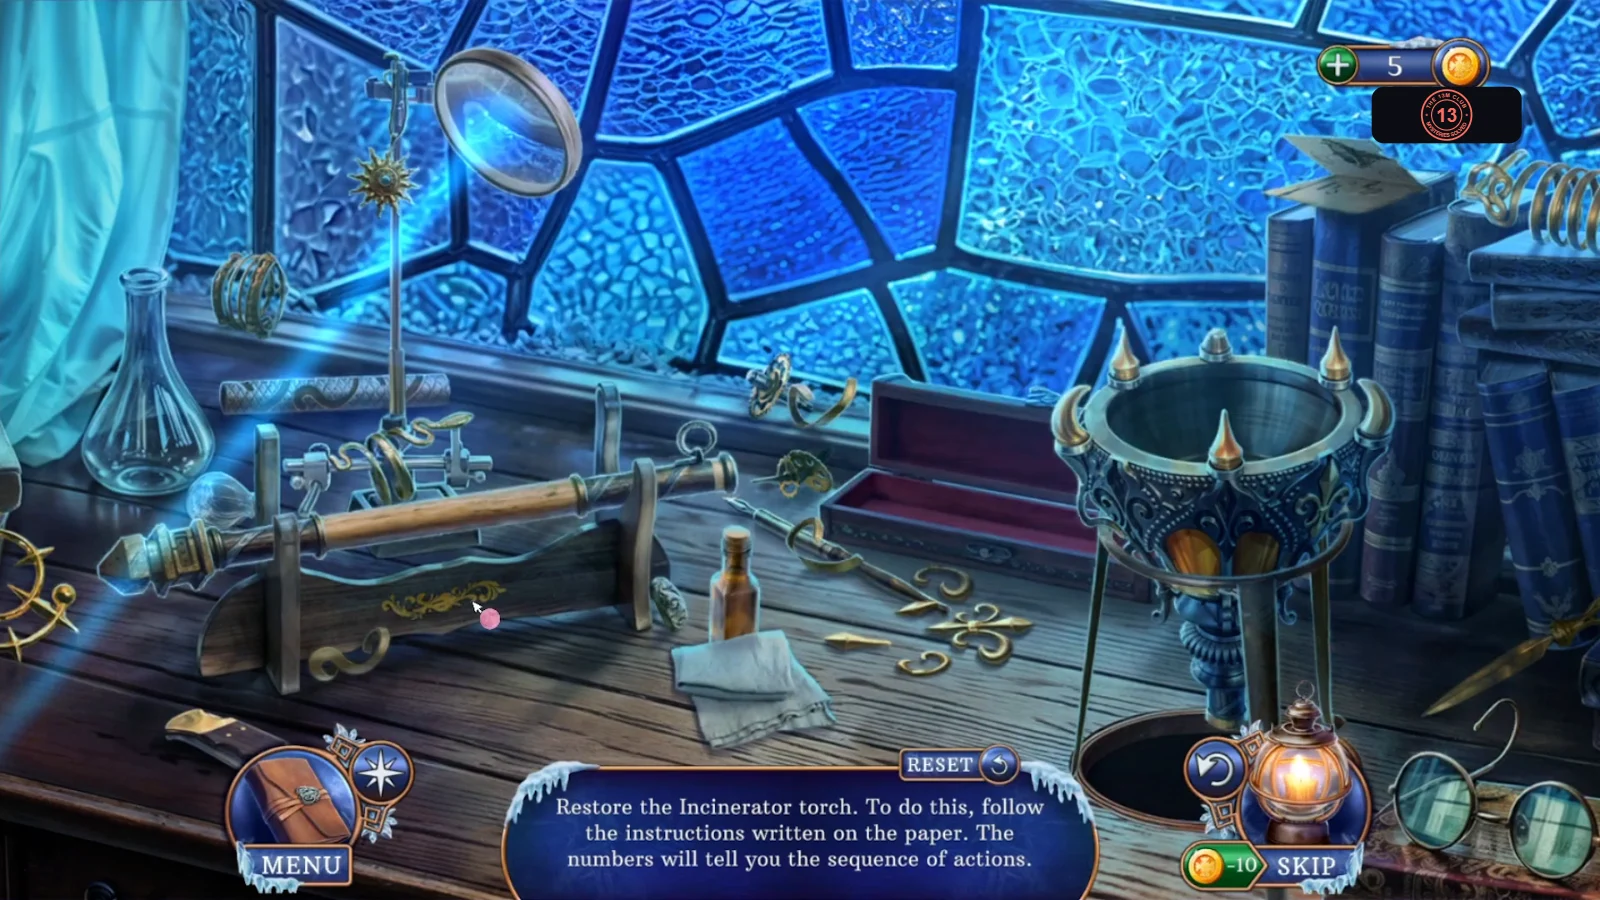
Goal: Restore the incinerator torch by following the instructions on the paper. Tap the paper in the corner to read it again whenever you need to.
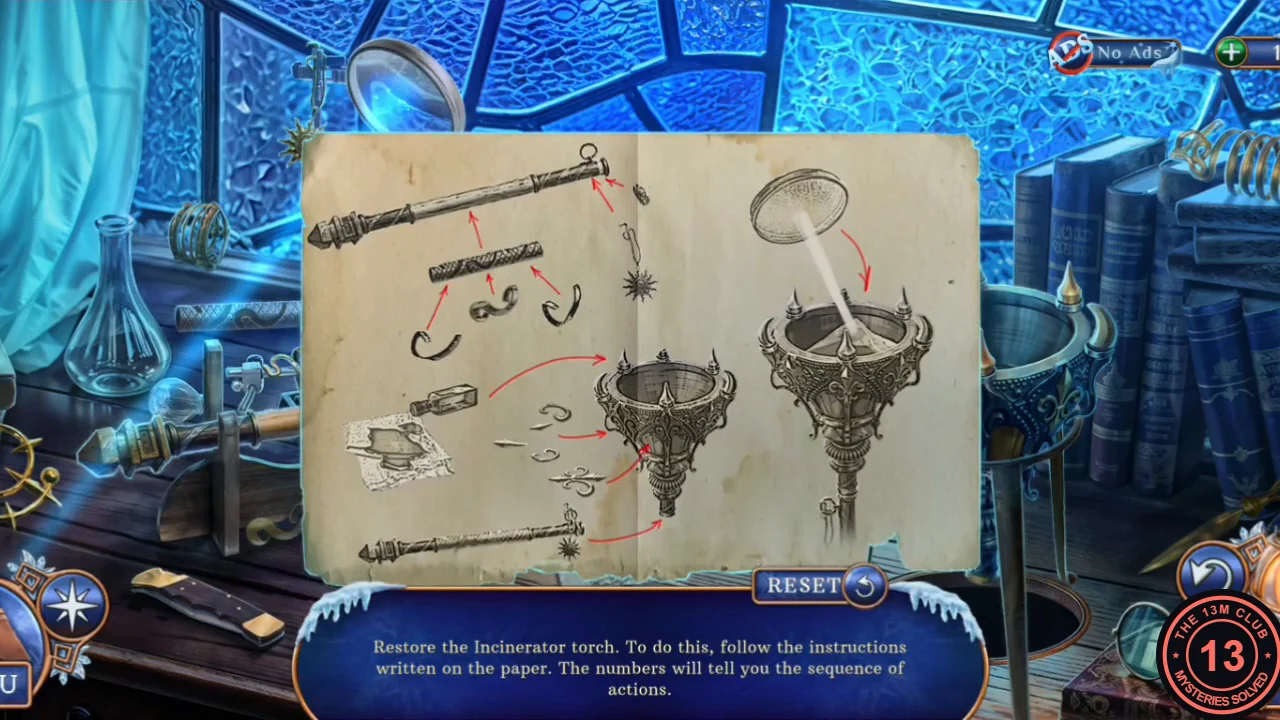
- Follow the arrows on the scheme. Wrap the three curved bands round the patterned sleeve and slide the sleeve onto the shaft. Add the small crown, then the hook with the sun ornament, to the top of the shaft. Pour the Flammable Resin on the Rag, then put the Rag in the bowl. Fit the two curls, the two spikes and the Fleur-de-lis to the bowl, and put the bowl on the shaft. Last, turn the lens on the left so its beam lights the torch. You receive the Torch with Fire. New task: Lure the ghosts to the factory and burn them.
Burn the ghosts and reach the boiler room
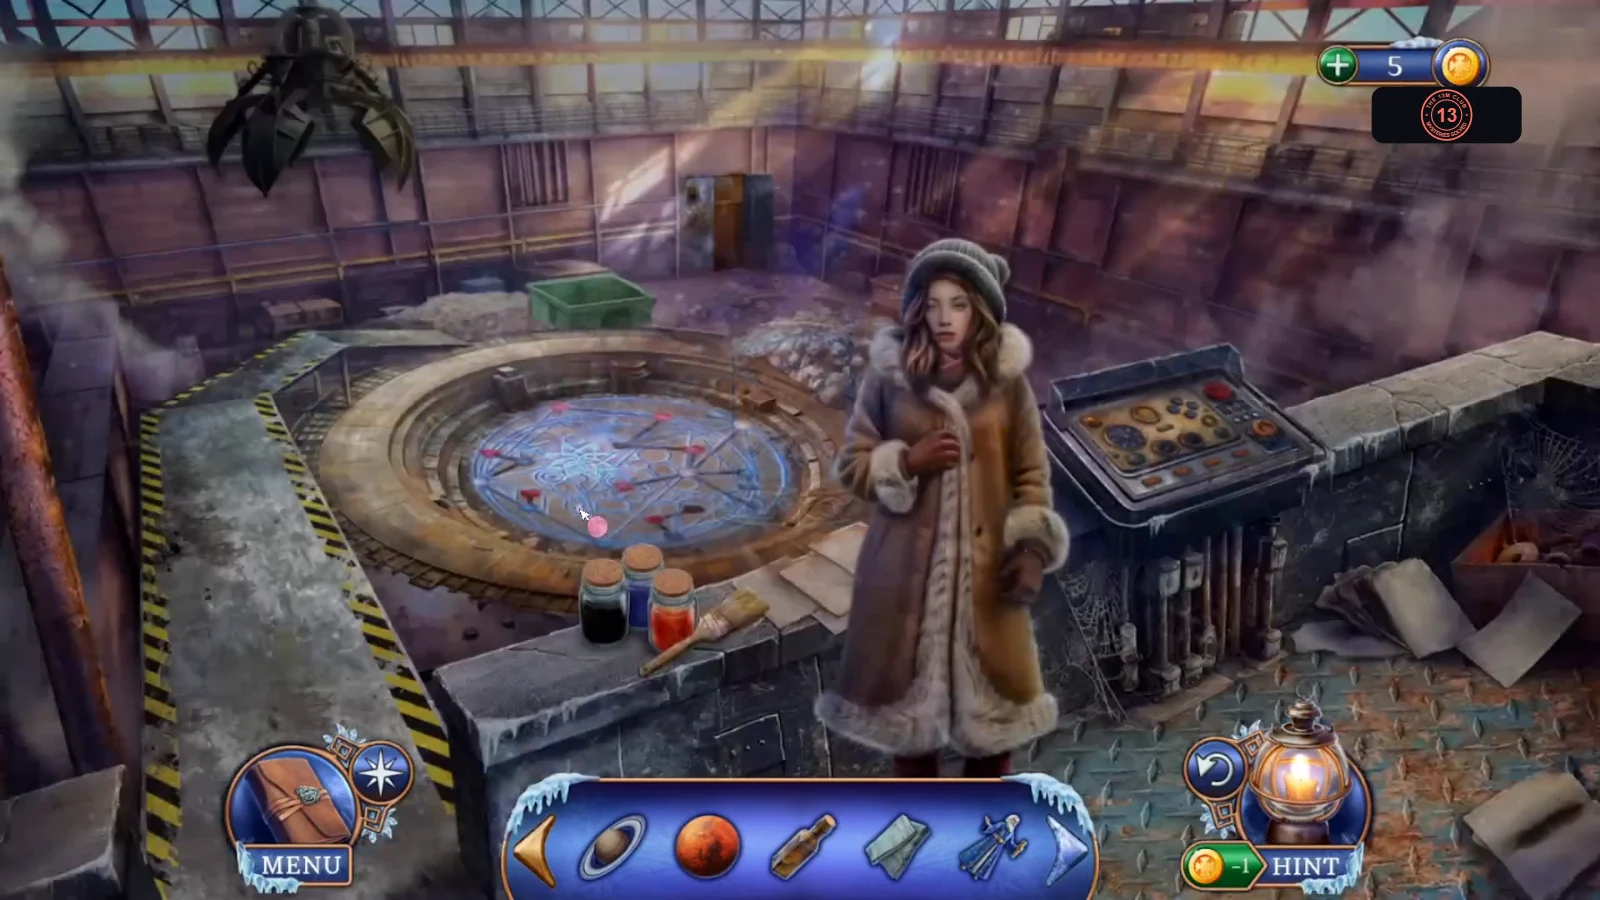
Use the finished torch first. Then finish the orrery and open the way to the Boiler Room.
- Go to the Burning Hall and use the Torch with Fire on the mechanism in the pool. The ghosts are drawn in and destroyed. New task: Return to the castle.
- Return to the Hall of Natural History. New task: Find a way to melt the ice on the staircase. Open the wooden door at the back, no longer iced over, and take the Medal from the snow. Use it on the empty slot in the green display tray and take Planet Venus.
- Open the orrery and place Planet Venus, the Mars Layout and the Saturn Layout on their empty stands. The planets spin into place and the drawer opens. Take the Anti-Corrosion Agent and Opener.
- Open the rusty metal door and use the Anti-Corrosion Agent, then the Picklock. Go through into the Boiler Room. New task: Turn off the hot steam.
- Open the green toolbox and lift the lid. Take the Fireproof Mitten and Can of Beans. The slot on the bottom drawer is empty for now.
- Inspect the Can of Beans in your inventory and use the Opener on it to get the Fire Beans.
- Open the reptile enclosure in the Hall of Natural History and use the Fire Beans and the Fireproof Mitten. The lizard puzzle starts.
Catch the lizard
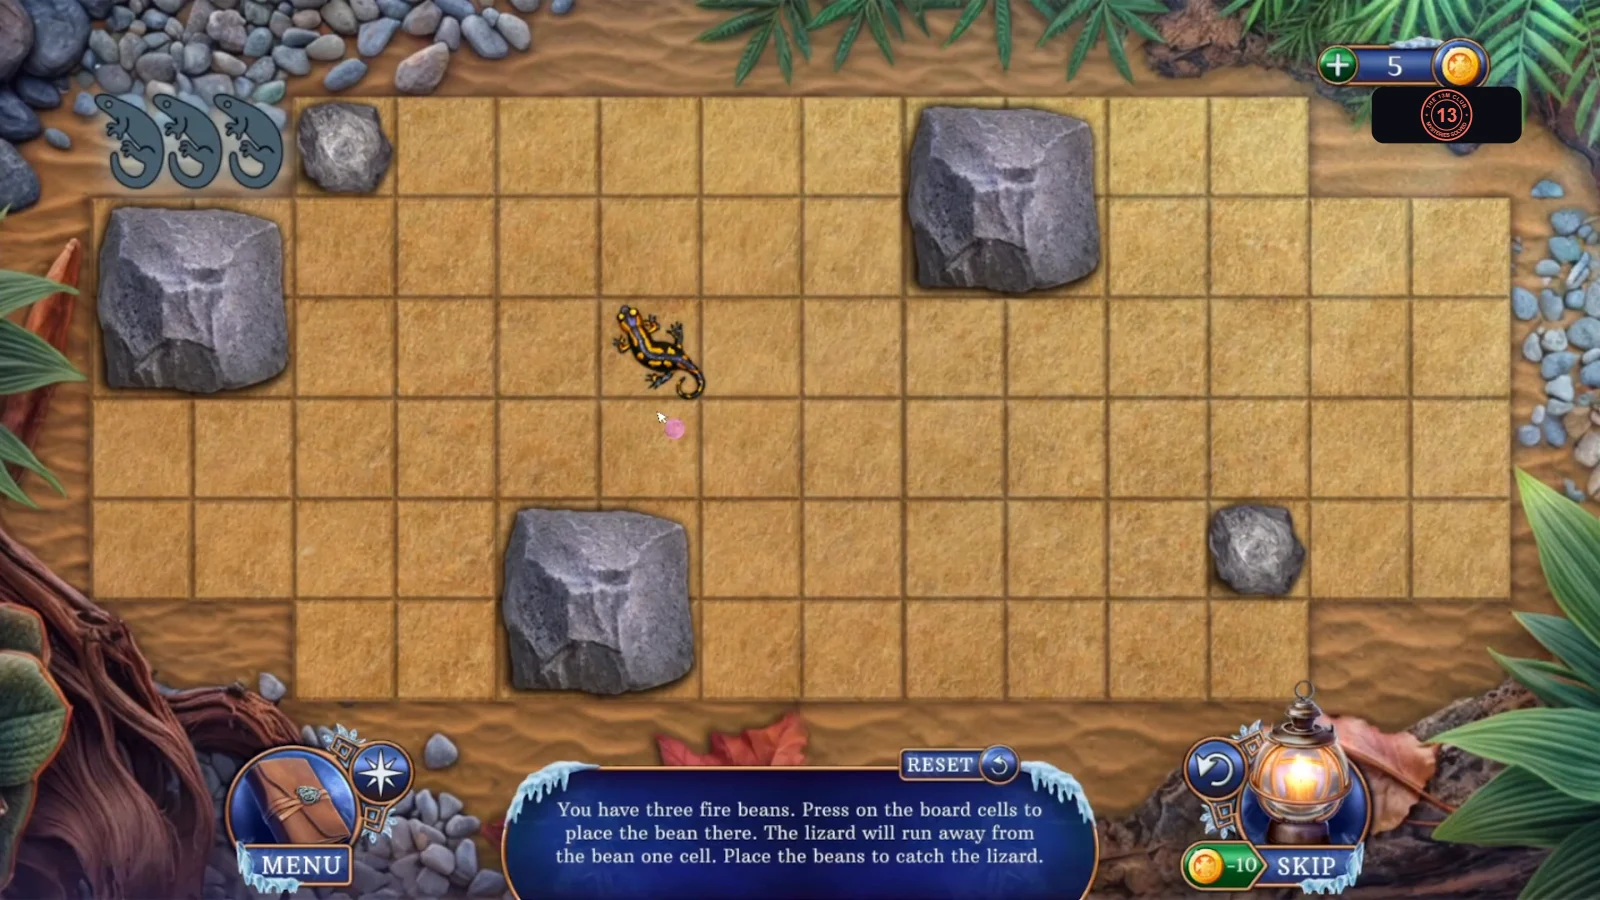
Goal: You have three fire beans. Tap a board cell to place a bean. The lizard runs one cell away from the bean. Place the beans to catch the lizard. You have to do this three times.
- The rocks and board edges block the lizard. Use your first beans to herd it next to a rock or edge, then place the last bean so it has nowhere left to run. A trapped lizard gets one of the three icons at the top filled in. If a round goes wrong, use Reset. The start positions change each round, so there's no fixed list of moves. When all three icons are filled, you receive the Salamander.
Shut off the steam
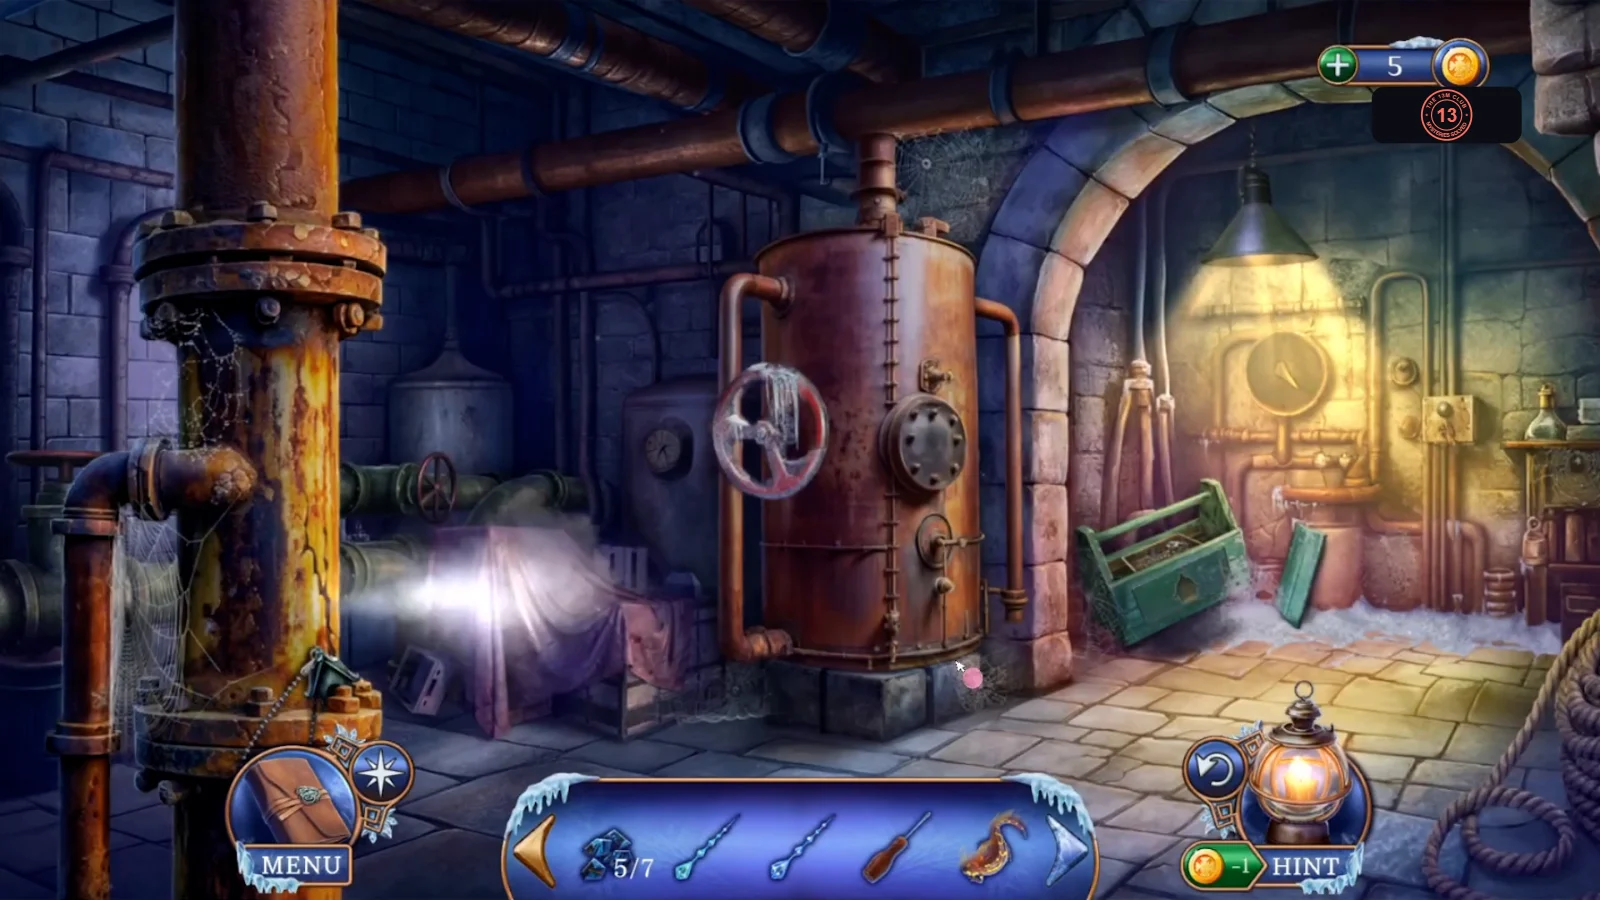
The Salamander thaws the frozen valve, which reveals a broken pipe. Once it's repaired, the staircase clears.
- In the Boiler Room, open the frozen valve and use the Salamander on it to melt the ice. Then turn the valve. New task: Fix the broken pipe.
- Open the broken pipe on the left and take the House Medallion from its base. Use it on the slot in the green toolbox's bottom drawer. Take the Steel Ties, Wooden Stem and Metal Saw.
- In the Artist's Tower, open the floor panel and use the Metal Saw on the metal cylinder. Take the Steel Pipe.
- Open the back of the rocking chair and fit the Wooden Stem on the carving. It still needs a flower.
- Back in the Boiler Room, open the broken pipe. Fit the Steel Pipe, add the Steel Ties and tighten them with the Screwdriver. Turn the valve to shut off the steam.
- Go to the Spiral Staircase, now free of ice. New task: Repair the gargoyles. Open the upper-right gargoyle and take the Figure Skating Figurine from its hands.
Skater's rinks
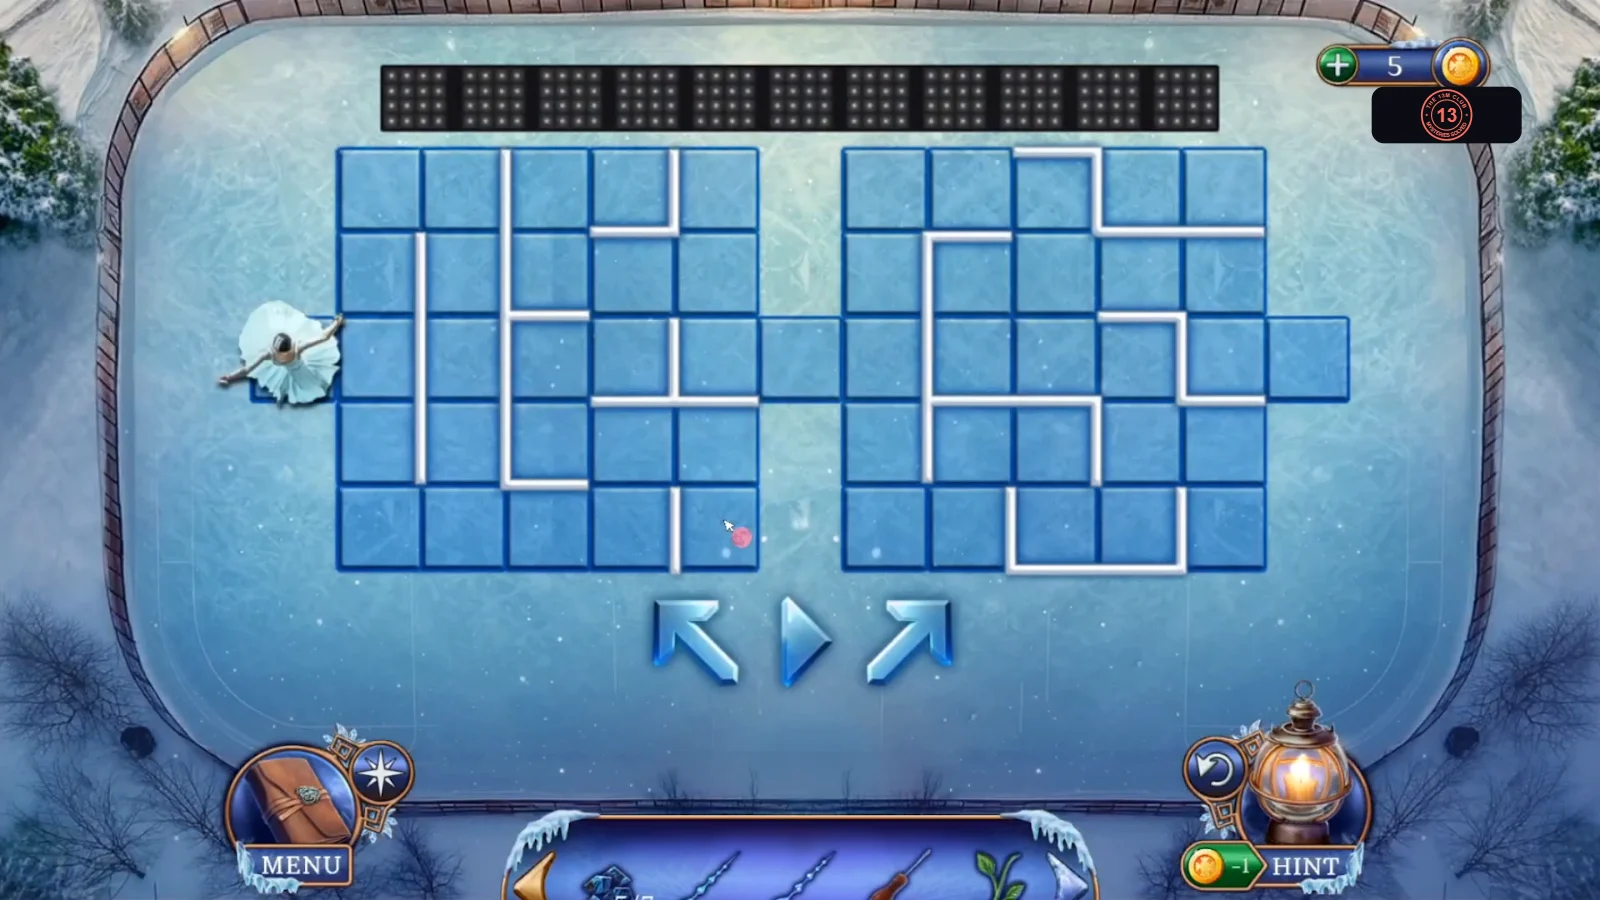
Goal: Help the ballerina skate across the rinks. Use the arrows to map out her path. Once the plan is ready, press the triangle and she skates it. The two outer arrows are moves; the panel at the top records your plan.
- In the Artist's Tower, open the shelf holding the blue tile board and use the Figure Skating Figurine on it. The rink puzzle starts.
- Press the arrows in this order, with the skater in the middle: up-left once, up-right six times, up-left once. Press the triangle in the centre. She skates round both rinks and exits at the far right. If she stops early, use Reset to clear the plan and enter it again. The left rink opens onto a niche: take the Wooden Rose and the Ring with Jasper.
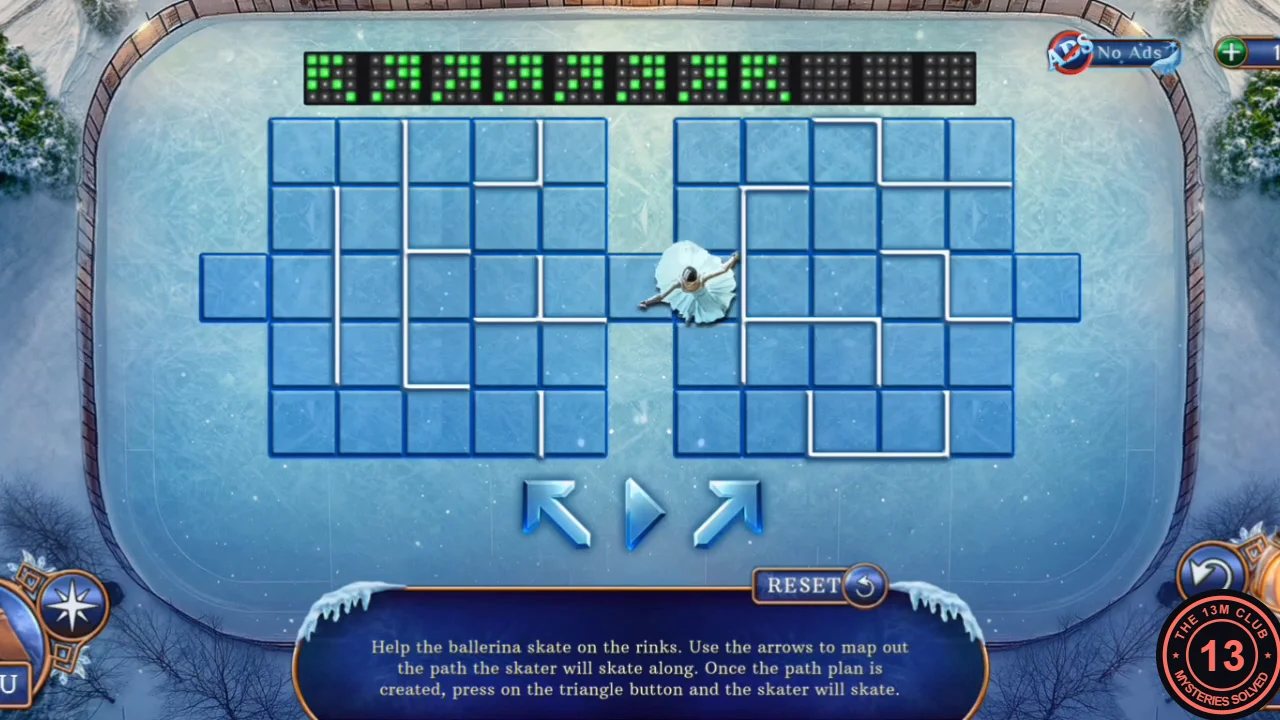
The entered plan, with the skater in the middle ready to go.
Malachite Ring and Moon Ring
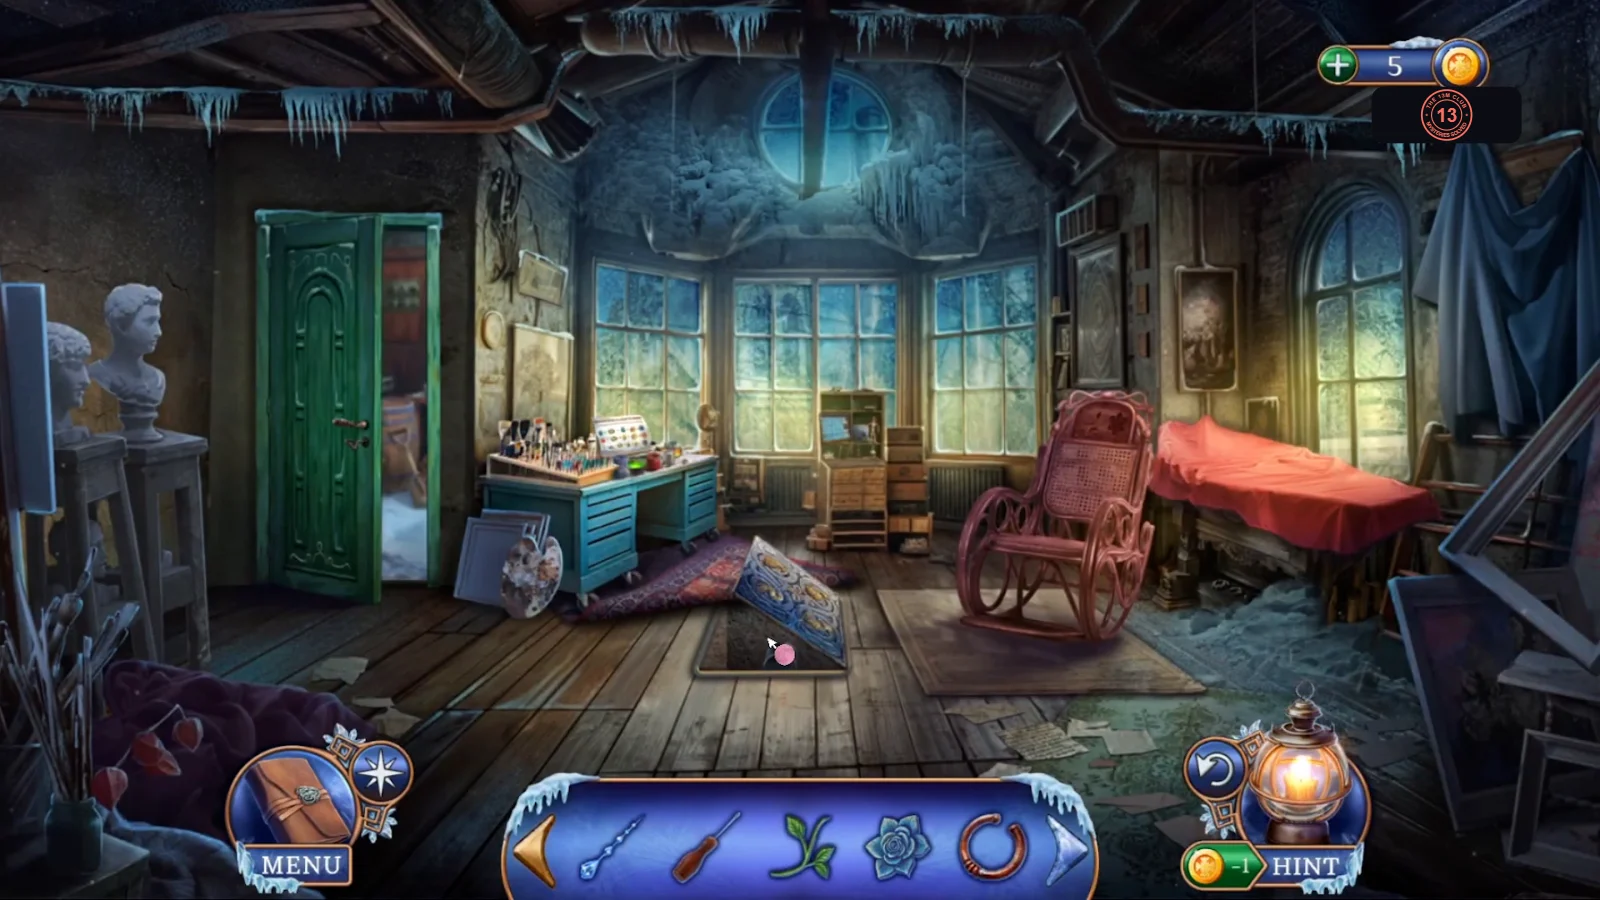
The Wooden Rose opens the rocking chair. Its contents give you the last two rings the gargoyles need.
- Open the rocking chair again and fit the Wooden Rose on the stem. The back opens: take the Acid and Broken Ring.
- Open the back of the truck and use the Acid on the box's lock. Take the Malachite Ring, Jewelry Hammer and Jewelry Tongs.
- Open the orrery and use the Jewelry Tongs to pick the Moonstone off it.
- Inspect the Broken Ring in your inventory. Add the Moonstone, press it in with the Jewelry Tongs and tap it with the Jewelry Hammer to make the Moon Ring.