Repairing the truck
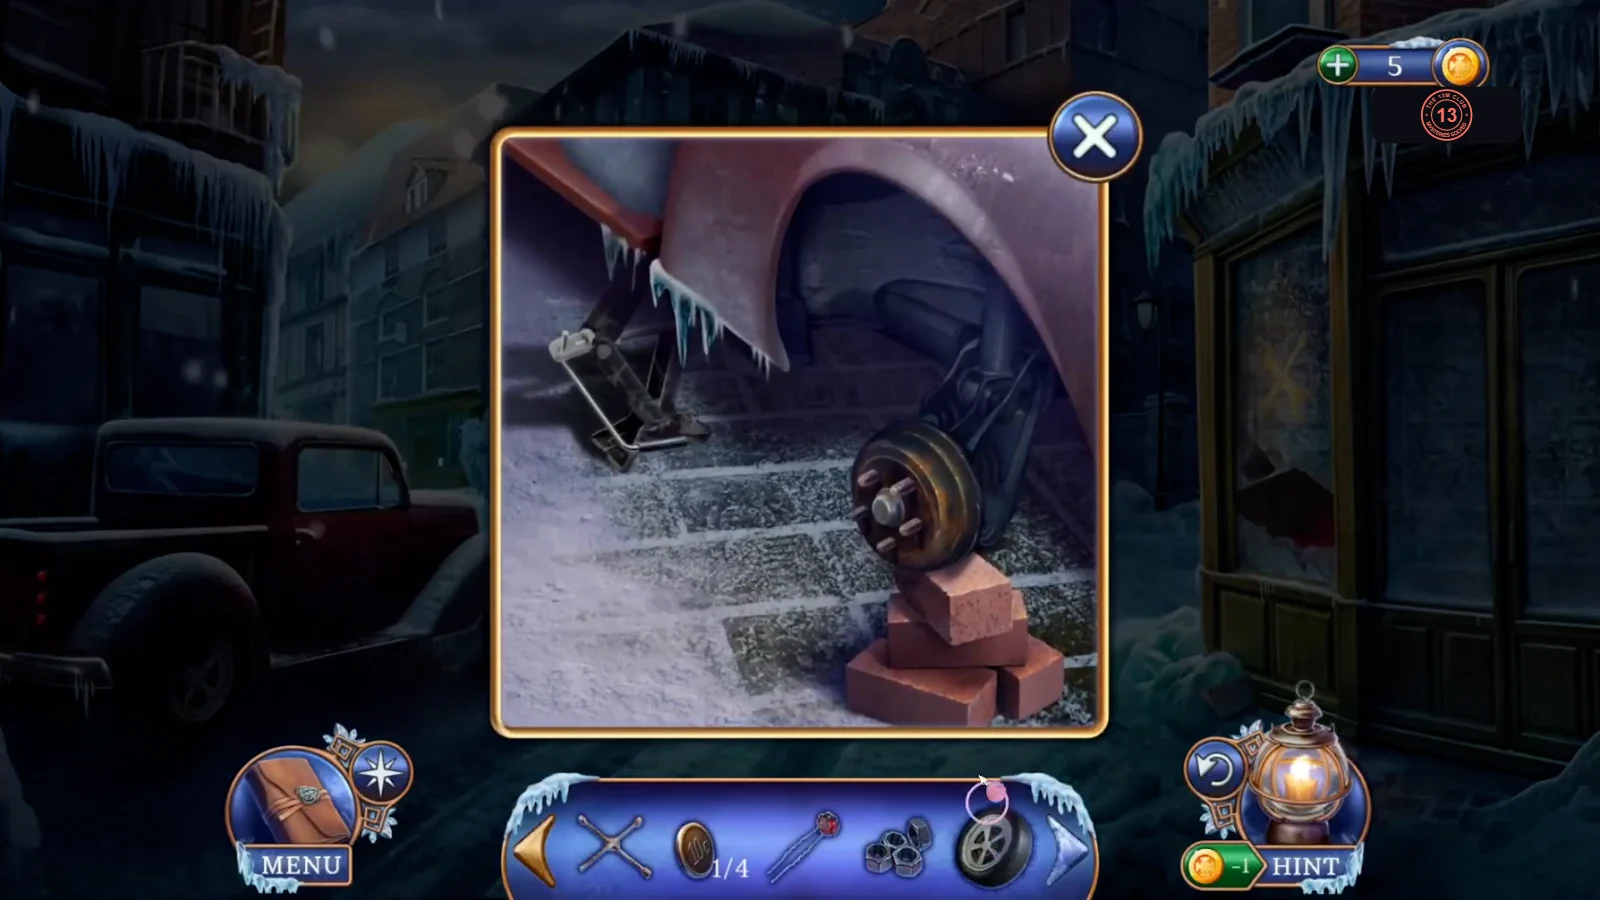
The next lead is the Seer, and the way to her is the broken red truck on the library street.
- The man in the library gives you the Tree of Darkness Amulet. Climb the stairs, open the statue's stone book and place the Tree of Life and Tree of Darkness Amulets on it. Take the Ruby Hairpin.
- Outside, open the kiosk window and pick the lock of the red box with the Ruby Hairpin. Take the Jack and the Machine Screws. Keep the hairpin.
- At the town gates, open the wheel of the green car. Set the Jack under the chassis, pour Technical Oil on the wheel nuts, undo them with the Wheel Key and take the Car Wheel. The Jack returns to your inventory.
- On the library street, open the red truck's front wheel. Set the Jack, fit the Car Wheel, then use the Machine Screws, Technical Oil and Wheel Key to fasten it. The truck drives you to the Seer's street. New task: Enter the Seer's house.
Seer's street: medallions and magnet
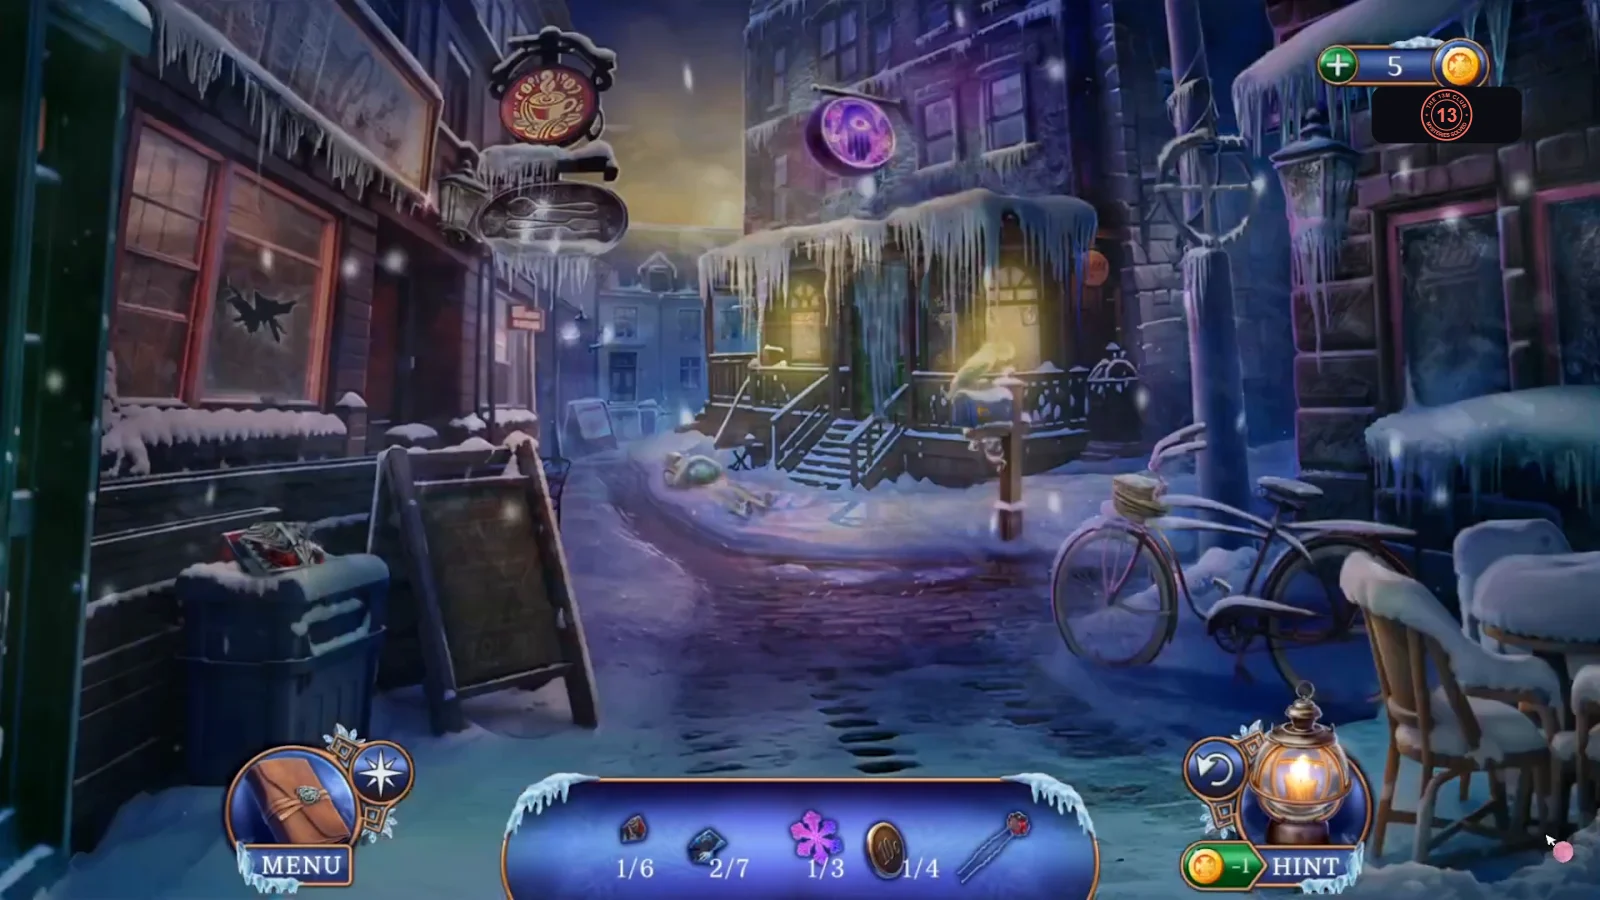
The Seer's door is sealed in ice. Collect what you need to reach it; some of the trips go back to the library.
- Take the Skeleton Stained Glass Shard from the trash can in front of the store on the left (2/6).
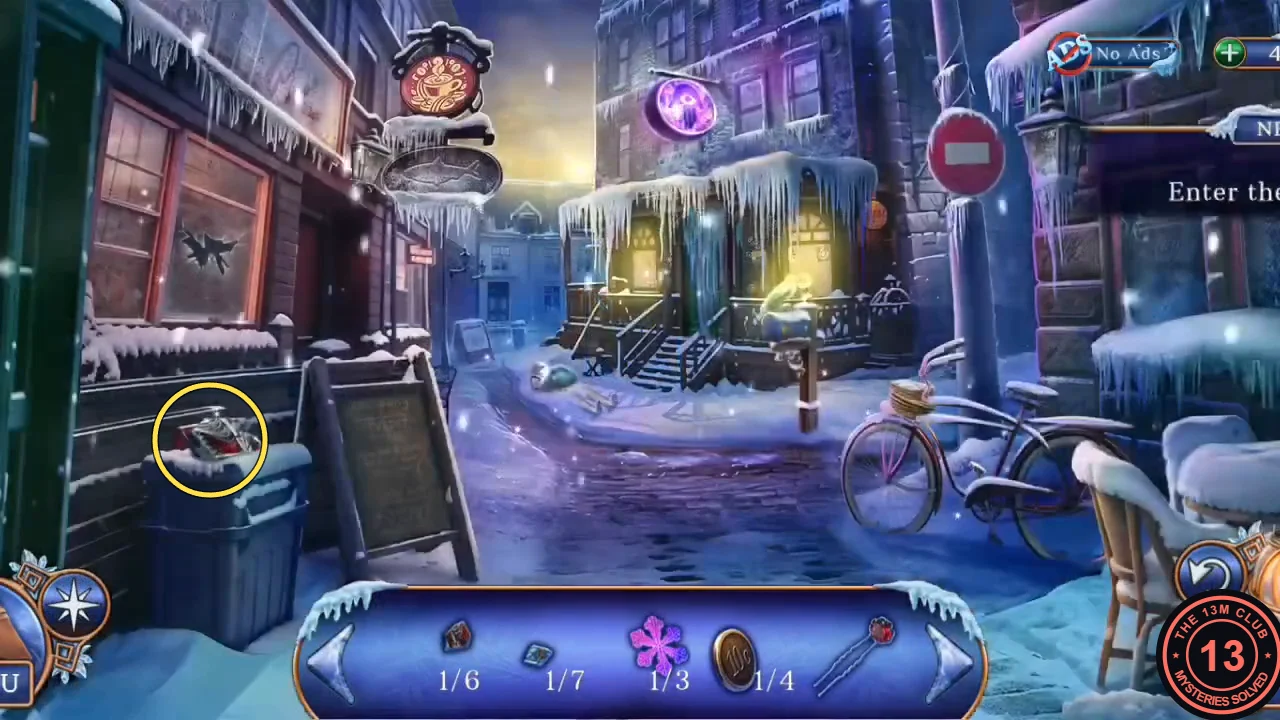
The second Skeleton shard is on top of the blue trash can. - Open the left shop window and take the Wood Pattern from the sill. Inspect the mannequin in the snow and clear it by tapping. Then open the bicycle and take the Rope from the basket. The Seer's door is sealed in ice, so check it for later.
- In the library, open the desk and use the Wood Pattern on the round box. Take the Dove Medallion and the first Librarian's Ring (1/3).
- On the Seer's street, open the mailbox with the white raven on it and tap the raven until it drops the Raven Medallion. Check the broken window on the left too: something shines behind it.
- On the library street, open the recess under the stairs and press the Dove and Raven Medallions into the leather bag. Take the Crackers, the Magnet and the Incense Stick.
- Inspect the Rope in the inventory and tie the Magnet to it to make the Magnet on Rope.
- While you are on the library street, pick up the King Stained Glass Shard glinting above the kiosk window (2/7).
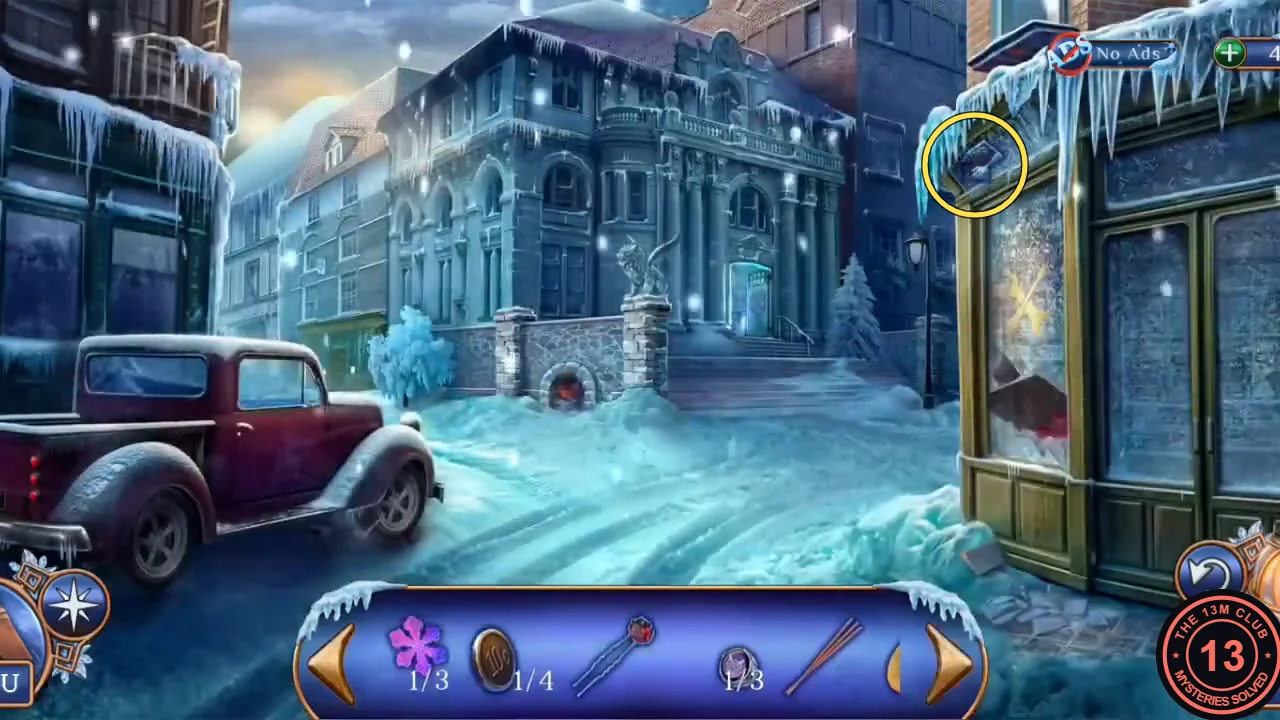
The second King shard is under the eaves above the kiosk window. - On the Seer's street, give a Cracker to the white raven on the mailbox so it flies off. Then open the broken window on the left, lower the Magnet on Rope and take the Ice Ax. Pick up the Coin nearby (2/4).
- Open the Seer's green door, chop the icicles with the Ice Ax three times and pick the lock with the Ruby Hairpin. The room is full of purple gas: tap the window to open it. New goal: wake the Seer.
Waking the Seer
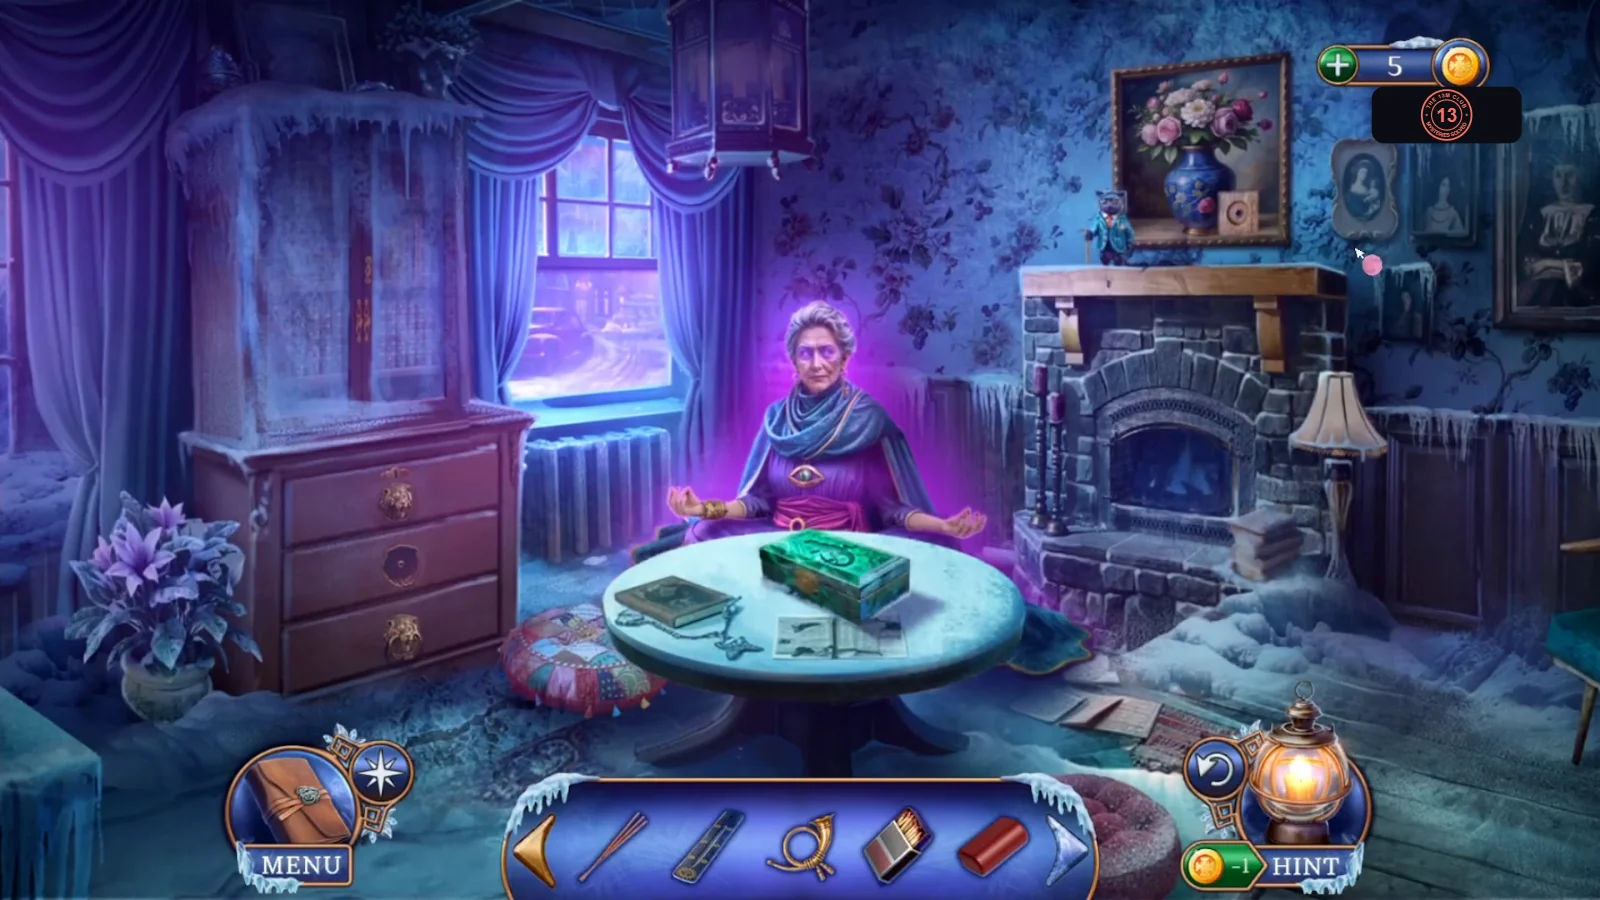
Wake the Seer, then start gathering what the ritual needs.
- In the Seer's house, open the chest of drawers and take the Aroma Stand and the Coin from the open drawer (3/4). The upper part has a lion-head lock. Open the round table and take the Golden Mail Horn and the Matches. Open the mantel, note the torn portrait, and take the Iron Button.
- In the pharmacy, open the green cabinet and press the Iron Button into the iron box. Take the Ammonia and the fourth Coin.
- At the town gates, feed the four Coins into the red newspaper machine. Take the Lizard Amulet and Misty's Journal.
- In the Seer's house, open the green chest on the table, use the Lizard Amulet and take the Runes and the Half Amulet Owl.
- Use the Ammonia on the Seer. She wakes and a scene brings you back to the library, where the man gives you the Silver Mail Horn and the task Get ready for the ritual.
- Open the ritual cloth on the library desk. Its drawings show what you need: a crystal ball, cards, runes and incense.
- On the Seer's street, open the mailbox and fit the Silver and Golden Mail Horns on it. Take the Package, inspect it in the inventory, and open it for the Divination Cards and the second Librarian's Ring (2/3).
- Open the mannequin in the snow on the Seer's street and take the third Librarian's Ring from its stiff fingers. The joints won't bend yet, so leave the rest for later.
Statue rings puzzle
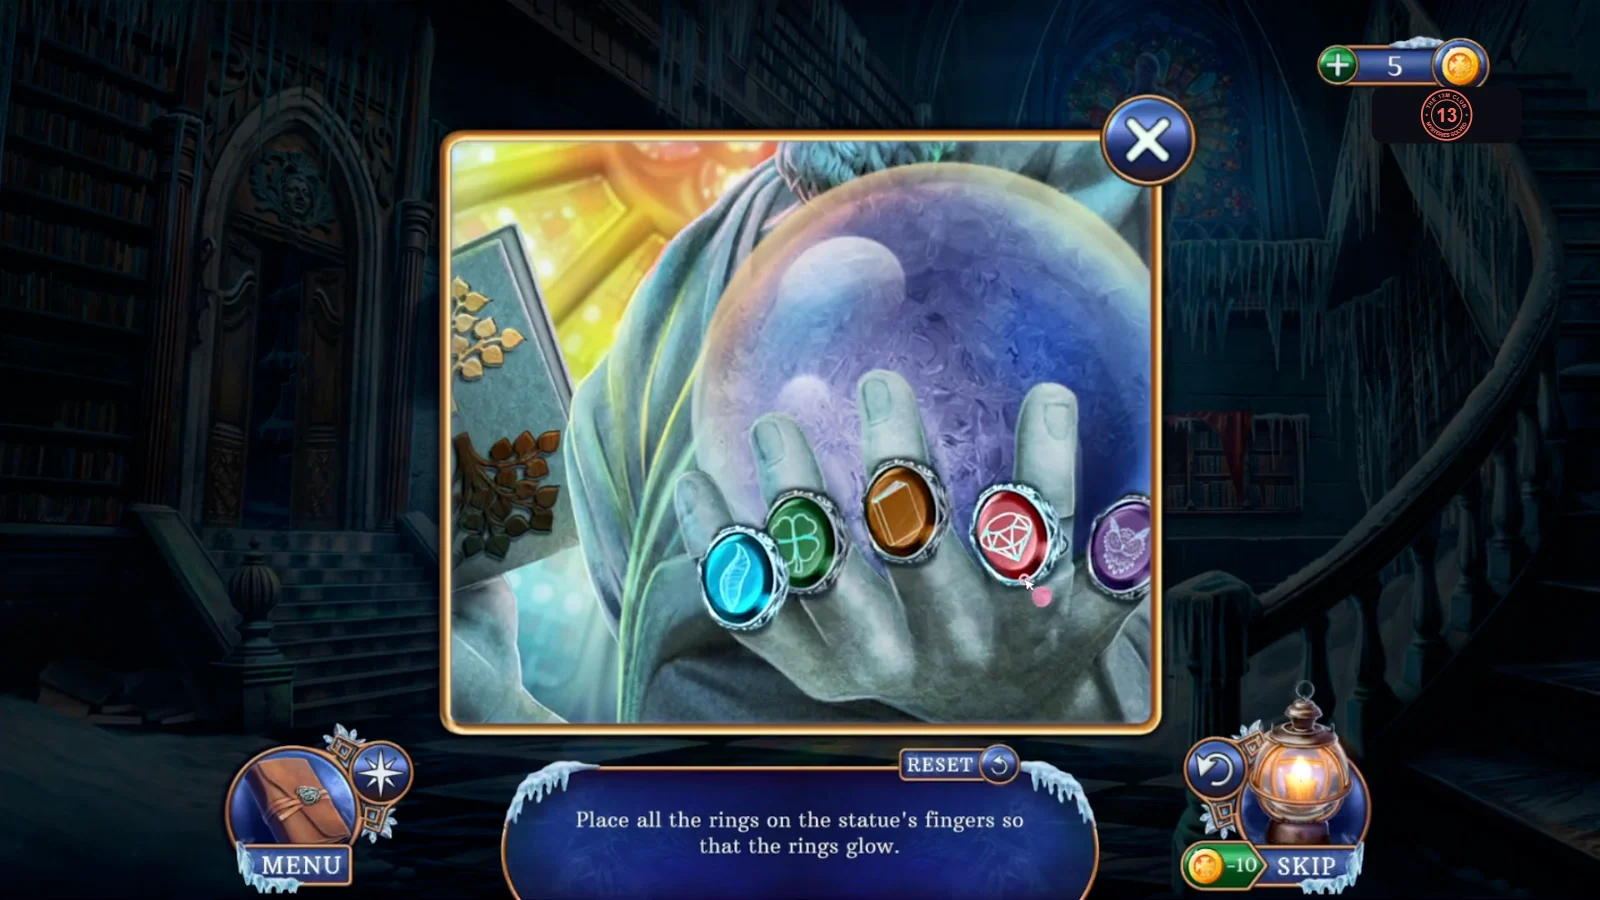
Goal: Place all the rings on the statue's fingers so that the rings glow. Each ring has its own symbol and colour.
- In the library, climb to the statue, open its hand and place the three Librarian's Rings. Swap the rings until they run, from thumb to little finger: orange, purple, blue, red, green. Take the Crystal Ball when they glow.
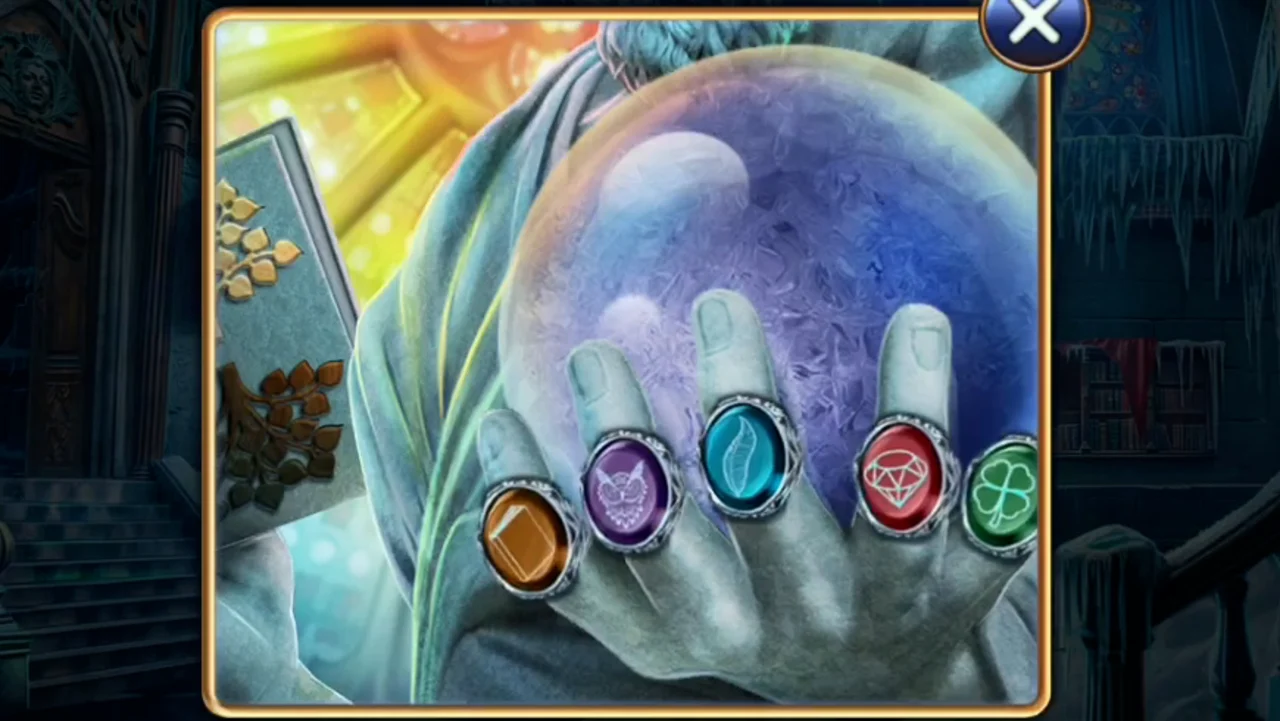
Solved: orange, purple, blue, red and green, from thumb to little finger.
Divination cards and runes
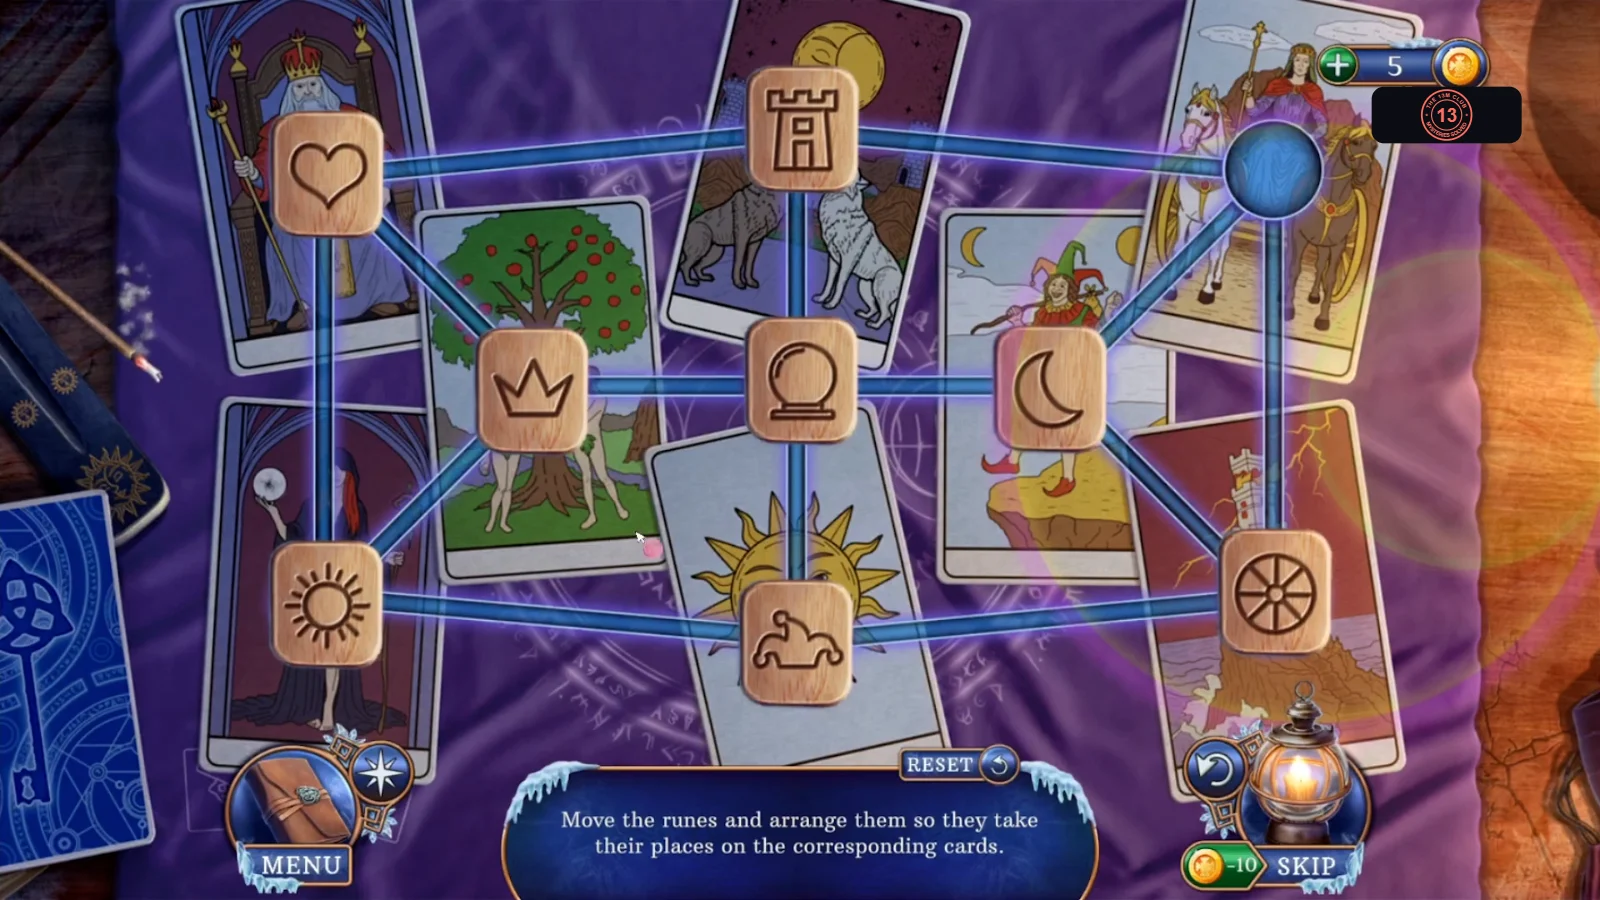
Goal: Move the runes and arrange them so they take their places on the corresponding cards. One position on the network of lines is always free, and a rune can only slide along a line into it.
- Open the ritual cloth on the desk. Place the Crystal Ball, the Divination Cards, the Runes and the Aroma Stand with the Incense Stick, then light the incense with the Matches to start the puzzle.
- Move the runes one at a time through the free spot. Final positions: crown on the king card at the top left, moon on the moon and wolves card at the top centre, wheel on the wheel card at the top right; heart on the tree and lovers card at the middle left, the winding road symbol on the jester card at the middle right; crystal ball on the magician card at the bottom left, sun on the sun card at the bottom centre, and tower on the lightning tower card at the bottom right. The centre spot stays empty.
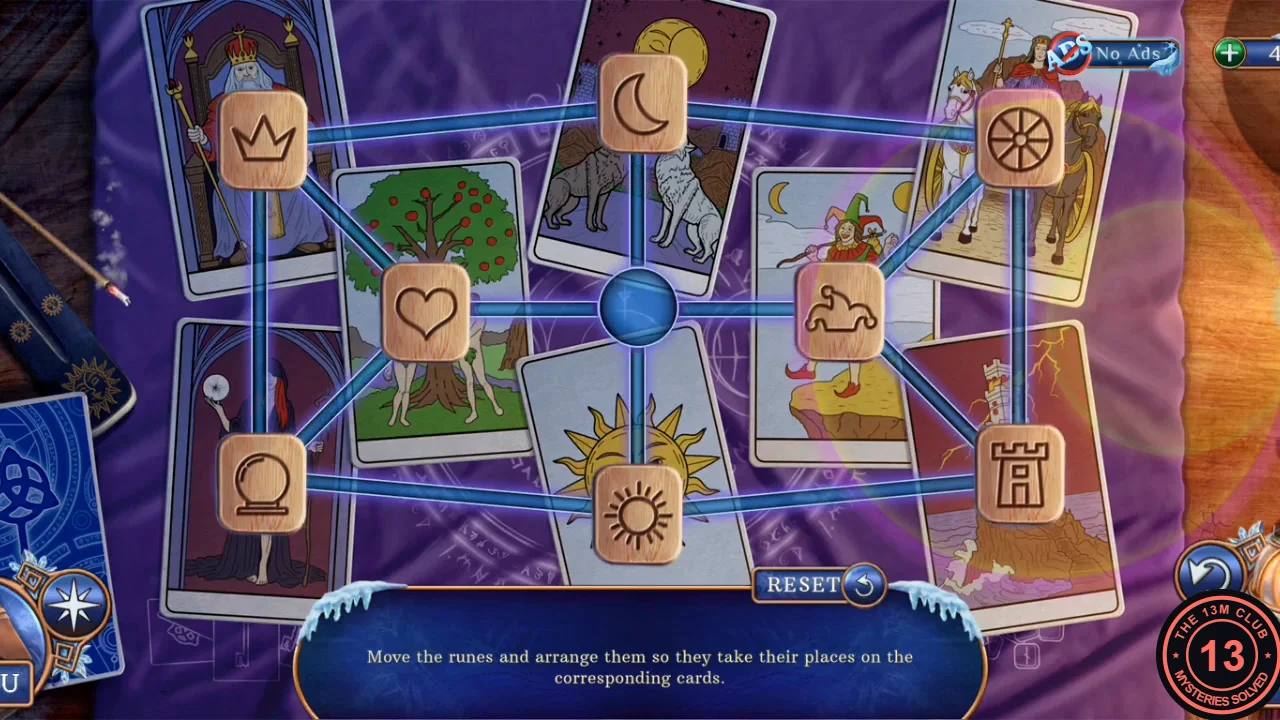
Solved: each rune sits on its card and the centre spot is empty.
The road map
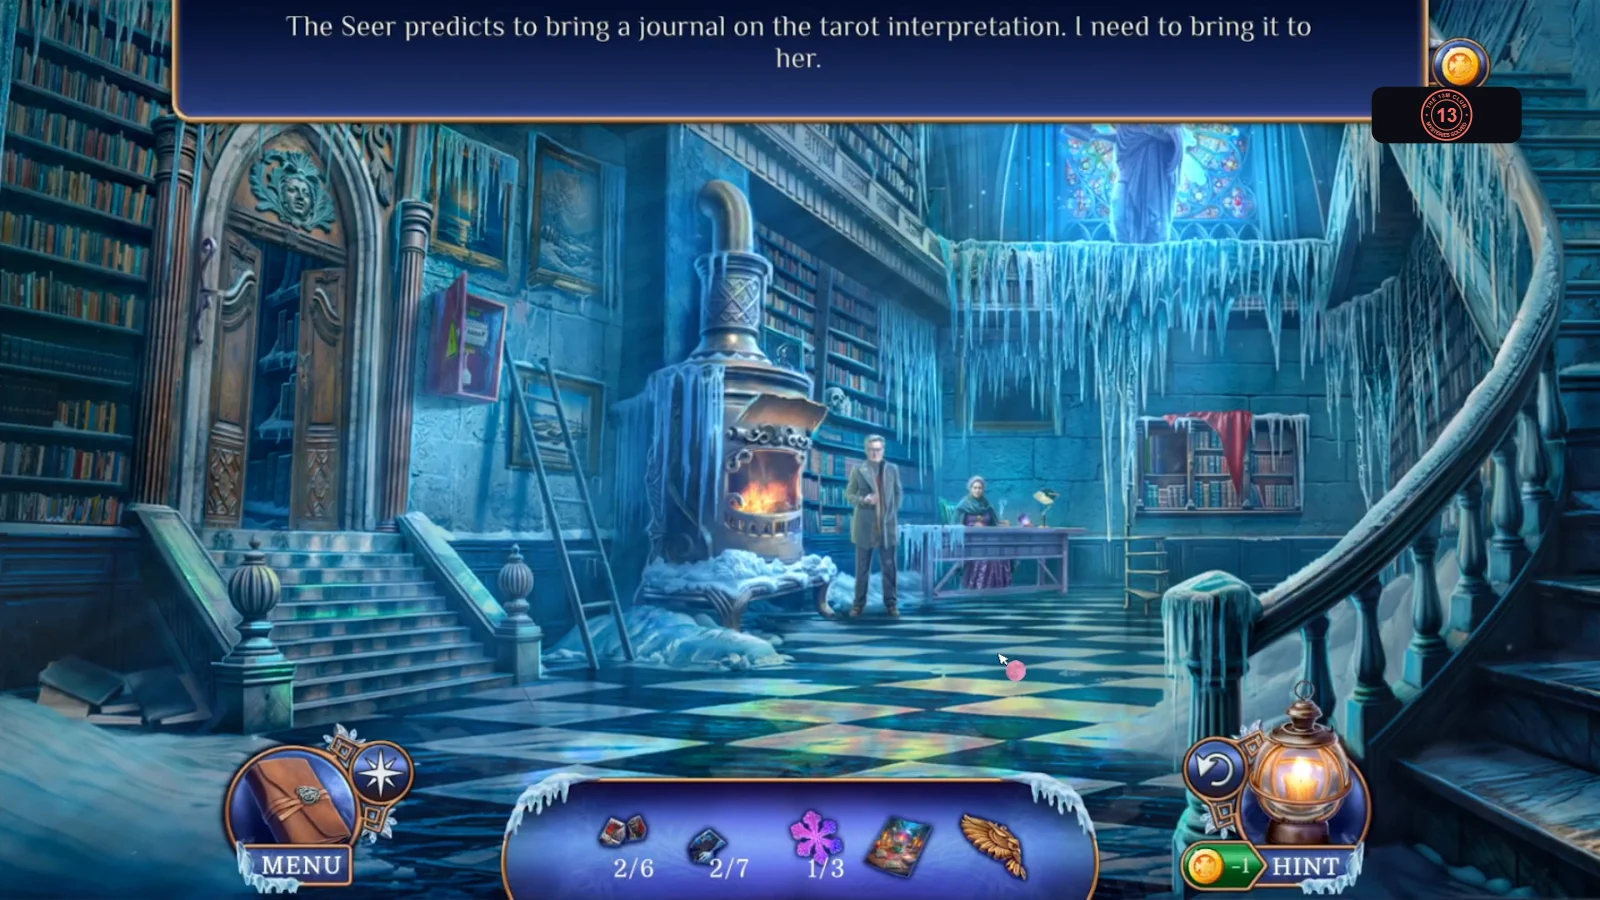
The vision sets up the journey to the Old Bridge. The Seer needs a town map and a pen first.
- After the vision, give Misty's Journal to the Seer in the library. She says she needs a town map and a pen, and gives you the Lion Head.
- In the Seer's house, open the chest of drawers and press the Lion Head into the lock. Take the Aroma Oil and the Town Map from the drawer.
- On the Seer's street, open the mannequin and pour the Aroma Oil on its arms. The arms come free: take the Bag (a green backpack) and the Handle, which is a pen.
- In the library, open the desk and place the Town Map and the Handle. The Seer marks the way and you receive the Road Map.
- On the library street, use the Road Map on the red truck to travel to the Old Bridge.
Old Bridge: the tent
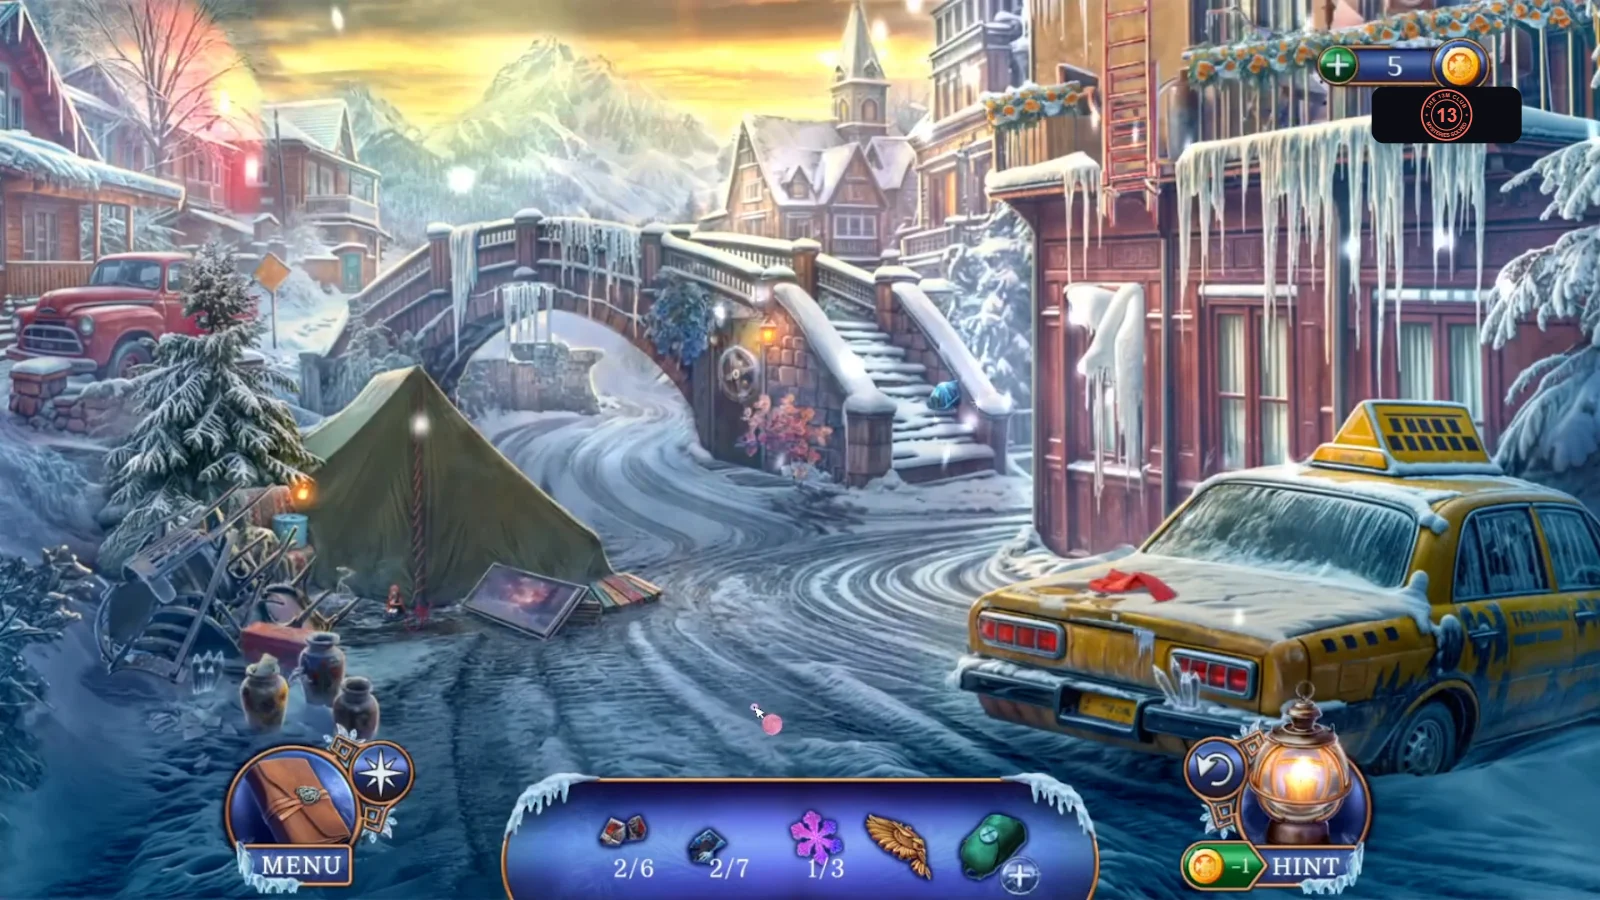
The truck brings you to the Old Bridge. Note the symbol card in the urn: it is the clue for a later puzzle.
- At the Old Bridge, open the red box near the tent and read the symbol pattern shown in the urn: it is a clue for a later puzzle. Open the taxi and take the Handkerchief. Back at the red box, use the Handkerchief on the sharp crystal to take the Sharp Glass.
- Open the tent's lacing and cut it with the Sharp Glass to enter the tent. Keep the Sharp Glass.
Tent hidden object scene
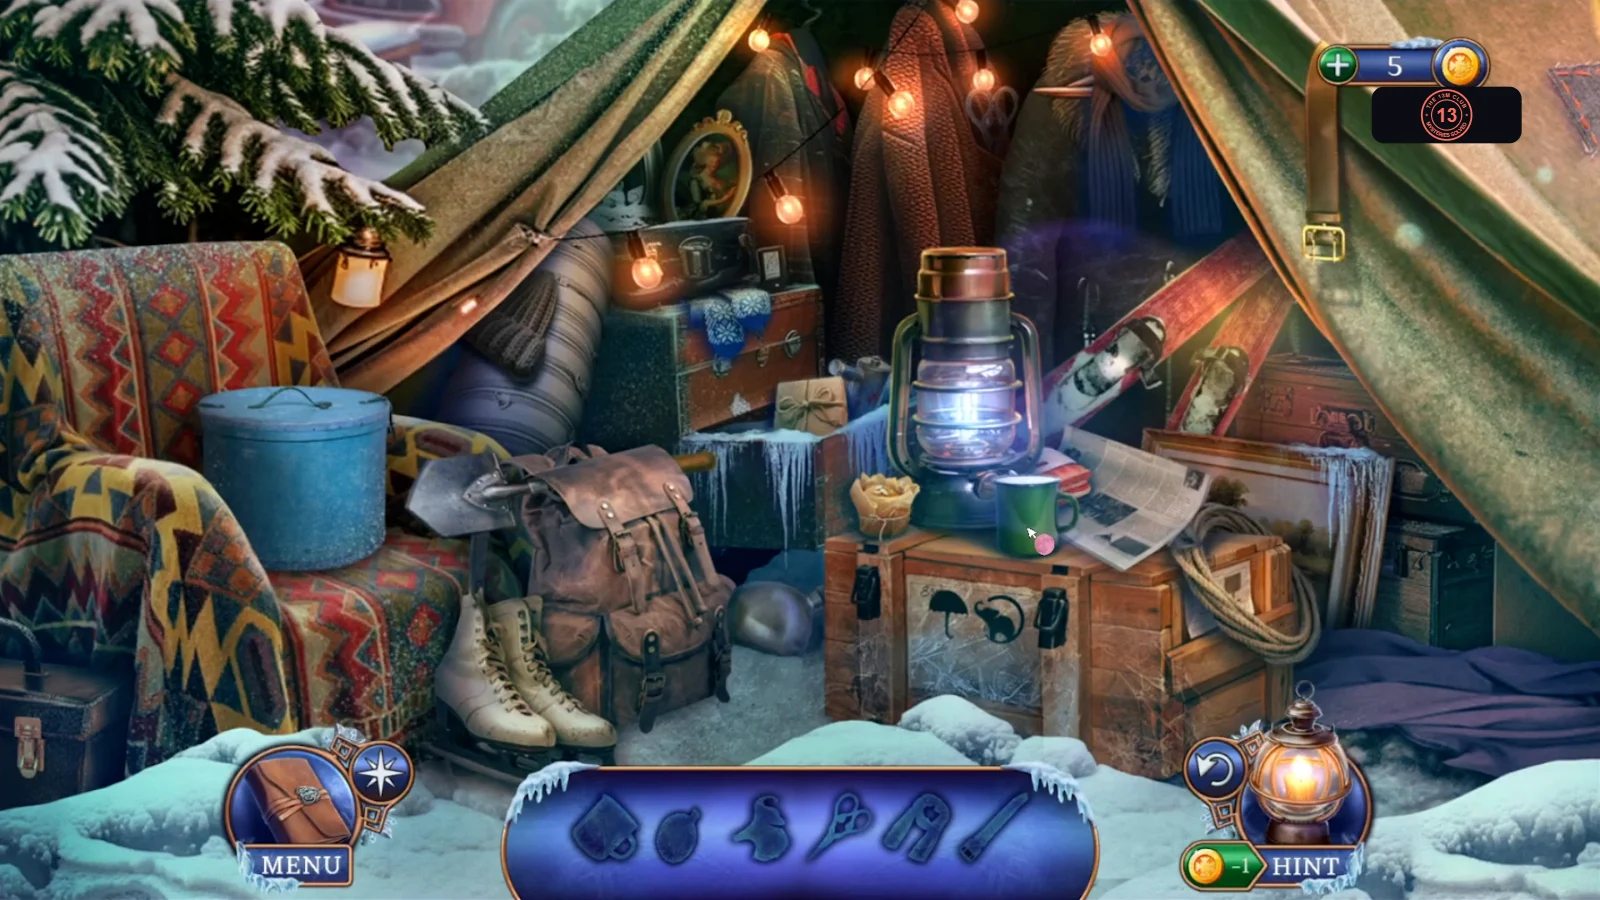
Cutting the tent's lacing opens this scene. The list shows outlines of the objects instead of names.
- The list shows the outlines of the objects to find. Tap each matching item until the list is empty. Your reward is the Gas Cylinder.
Lion Ring and the witch figurines
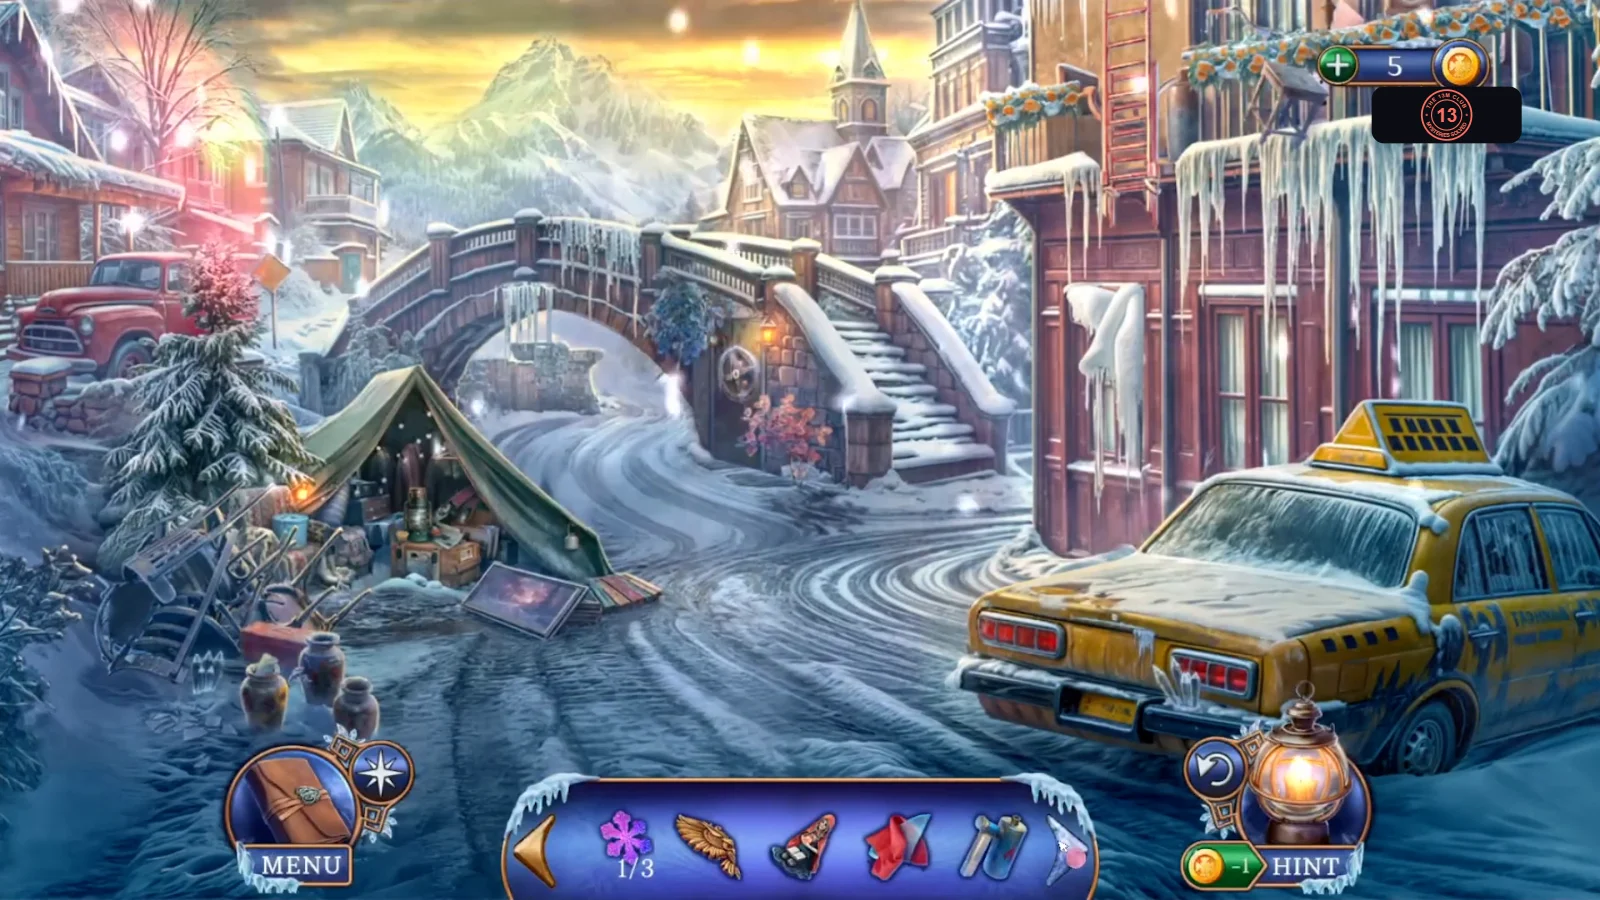
Back outside, collect the Lion Ring and everything needed to open the witch game board.
- Back at the bridge, open the door under the arch and note the frozen wheel. Take the Lion Ring from beside it, then take the King Stained Glass Shard from the bridge stairs (3/7).
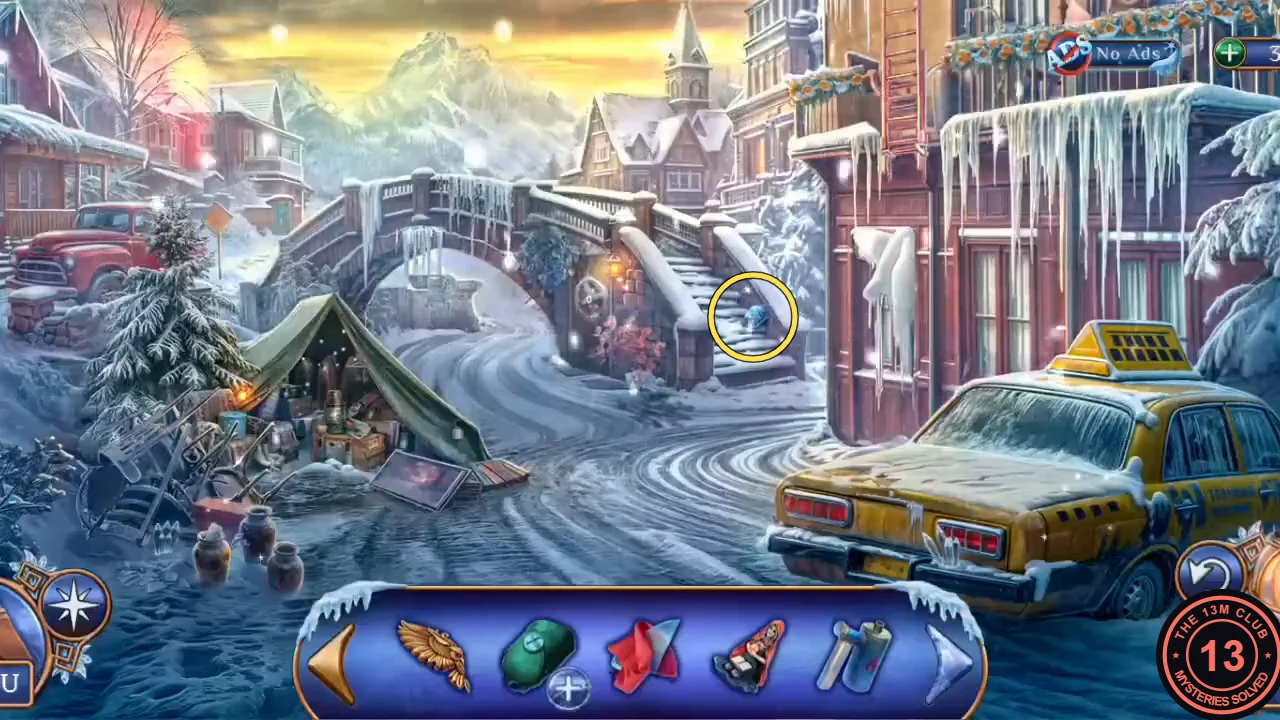
The third King shard is on the bridge stairs. - On the Seer's street, open the mannequin and cut the vest with the Sharp Glass. Take the Witch Figurine and the Cat's Hat.
- In the Seer's house, open the mantel and put the Cat's Hat on the cat figure. Take the Picklock Cane.
- Open the chest of drawers, use the Picklock Cane and the Lion Ring on the middle section. Take the Witch Figurine lying in the opened drawer and place both figures on the game board inside to start the puzzle.
Witches and altars board
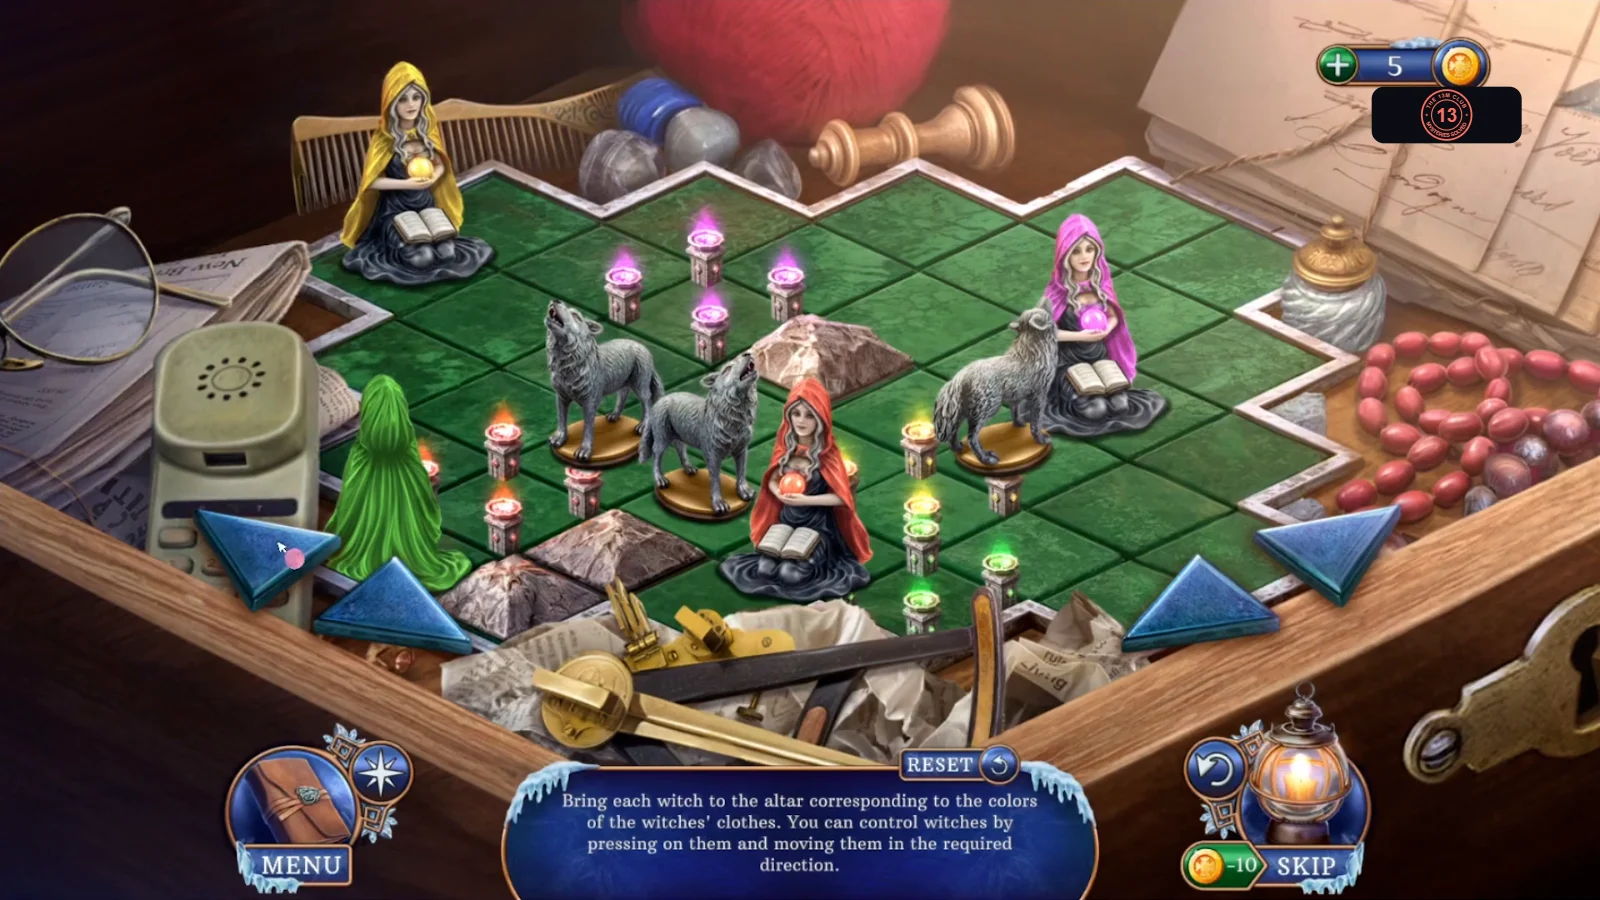
Goal: Bring each witch to the altar corresponding to the colors of the witches' clothes. You can control witches by pressing on them and moving them in the required direction. Four witches (red, pink, yellow and green) must reach the candle groups of the same colour. Wolf figures and stone pyramids block the way. This section gives the targets and a working order rather than every move.
- Press a witch and steer her with the blue arrows around the board. She keeps sliding until something stops her, so use wolves, pyramids and other witches as stoppers. The altars are: red candles on the lower left, purple candles at the upper left, yellow and green candles side by side at the bottom centre. A good order is to place the pink witch at the top first, then red on the left, and finish with yellow and green in the middle. Press RESET if a witch gets stuck in a corner.
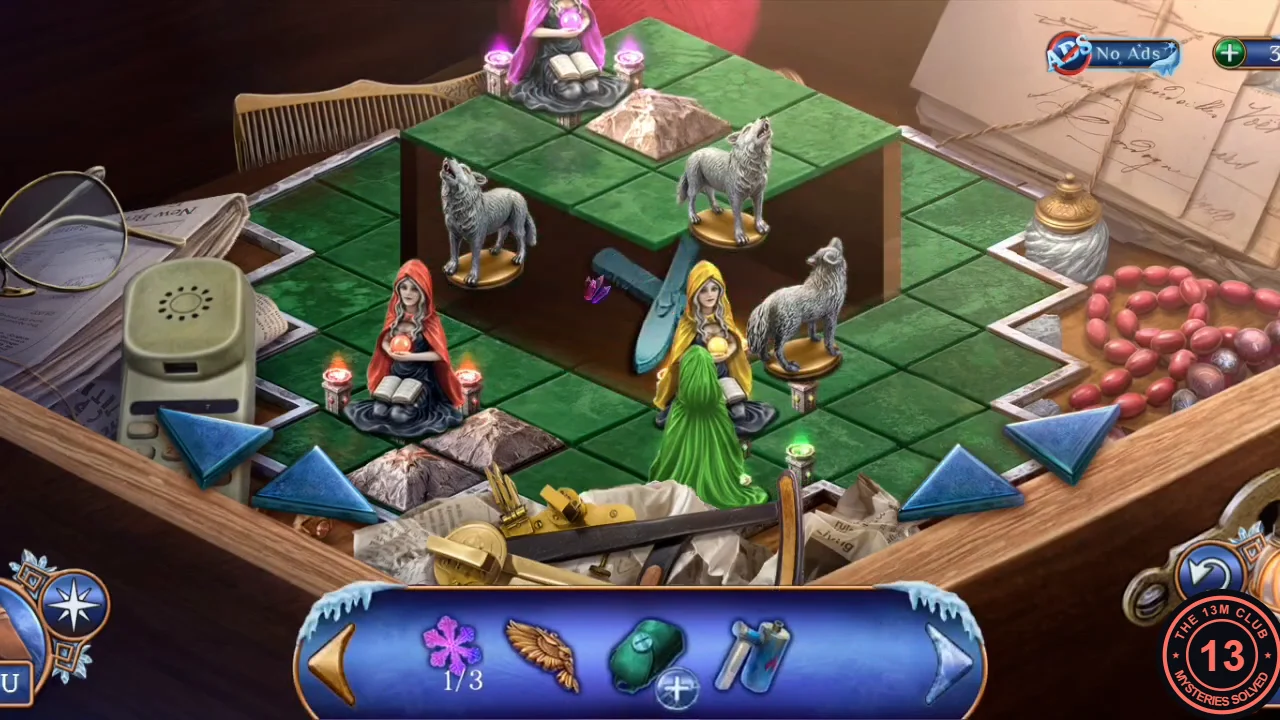
Solved: each witch is on her own altar.
Gas burner and the frozen door
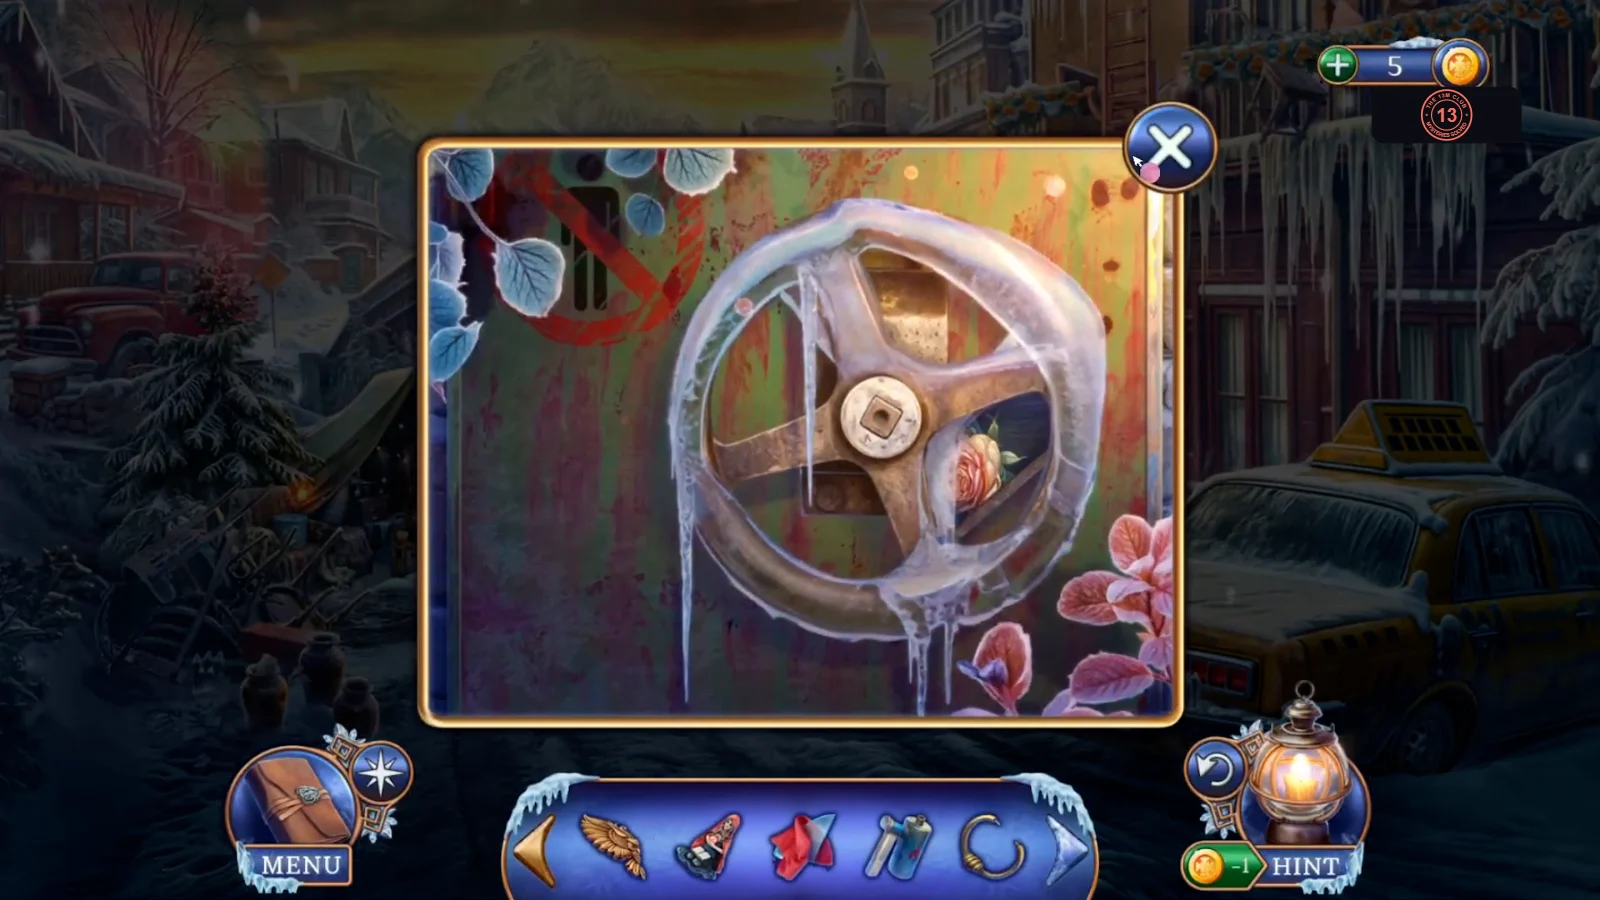
The witch board opens a compartment. Use what it holds to build a burner for the frozen wheel.
- Take the Red Crystal and Amulet Skis from the opened compartment. Inspect the Bag in the inventory, use the Amulet Skis on it, take the Fur, and combine the Gas Cylinder to make the Gas Burner.
- At the Old Bridge, open the frozen wheel on the door under the arch and melt the ice with the Gas Burner. Take the Picture Fragment and open the door to see three crystal sockets. New task: Unlock the entrance.