Into the storage room and down the well
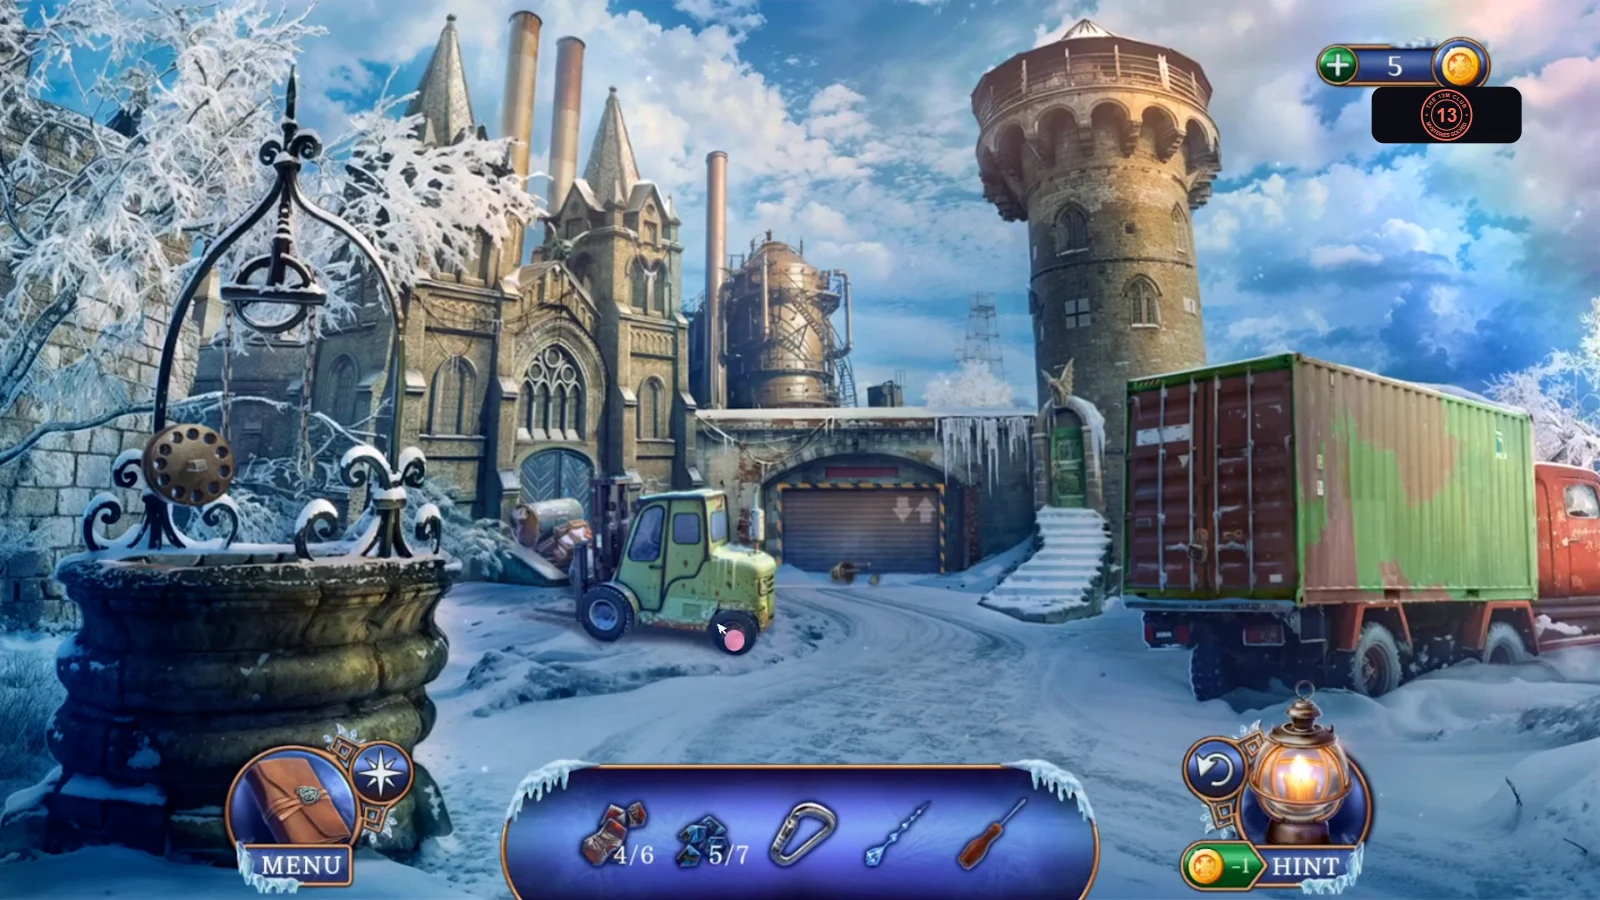
The Seer has sent you to the Industrial Zone. Get past the padlock and into the storage room.
- In the Industrial Zone, open the well and take Monogram C from its rim. Open the forklift cab and take the Man's Bag. Open the bay doors at the back of the yard, where a padlock with an infinity sign locks the hatch in the snow, and take the Bucket. Open the back of the truck and take the Amulet of Infinity from the door beside its padlock. The padlock itself needs something heavy to knock it off.
- Open the bay doors again and use the Amulet of Infinity on the padlock. The hatch opens onto the storage room.
Storage room
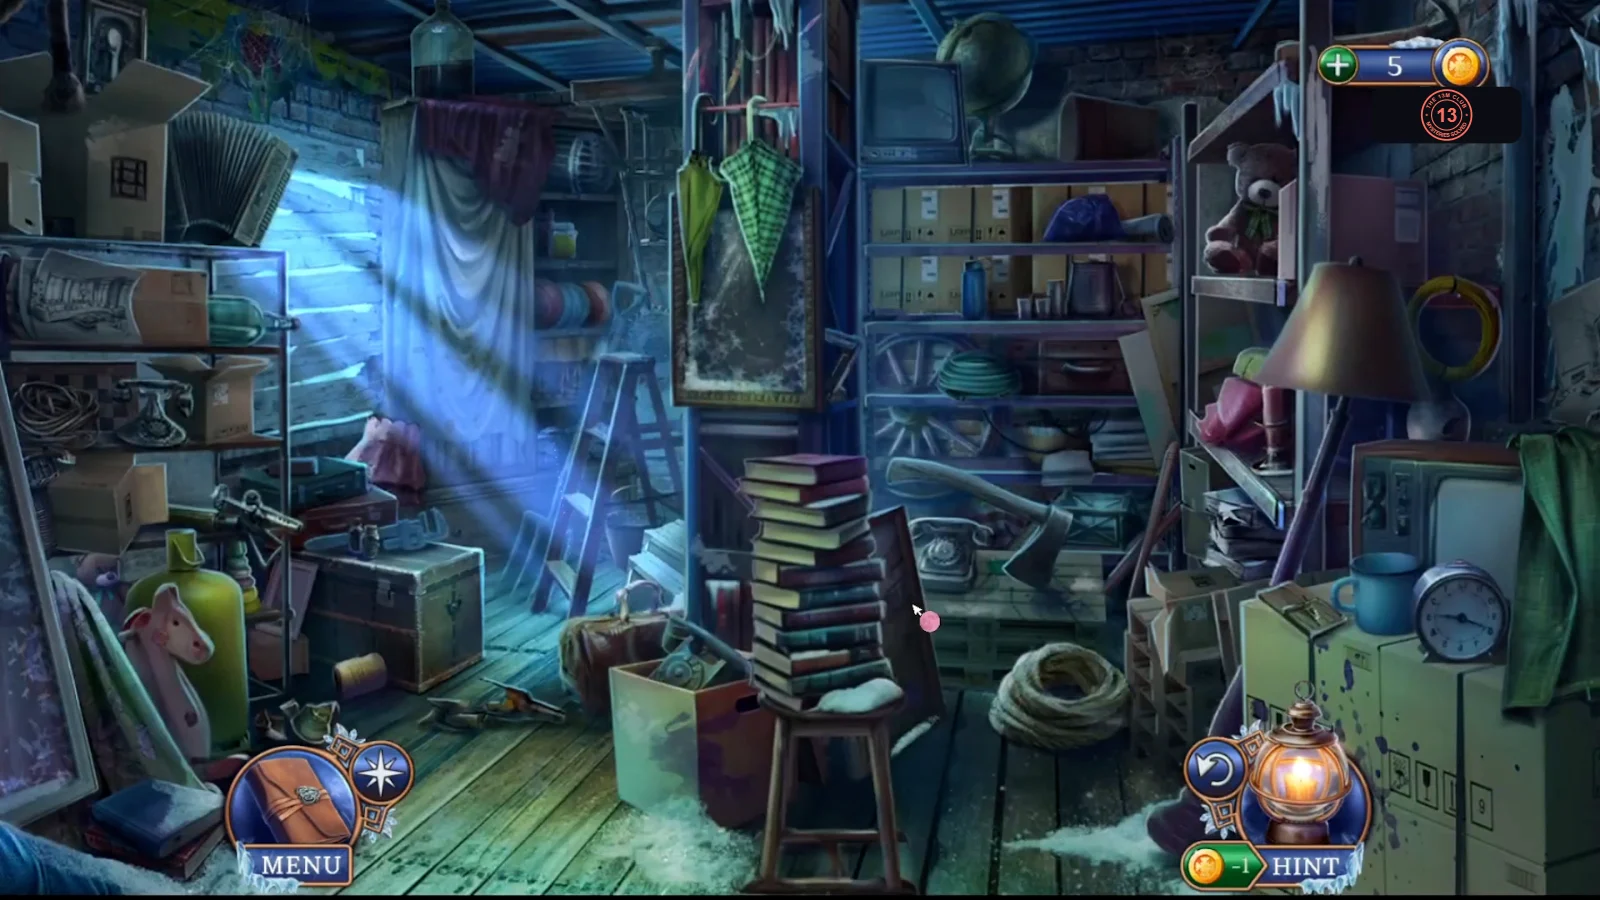
Goal: Find the items shown as silhouettes in the item list at the bottom. Items you collect may uncover others.
- The list shows silhouettes instead of names, a shovel among them, and only part of the list at a time. Work through the shelves and floor; new silhouettes appear in the bar as you clear it. Finishing the scene gives you the Well Handle.
Clear the gate and the control console
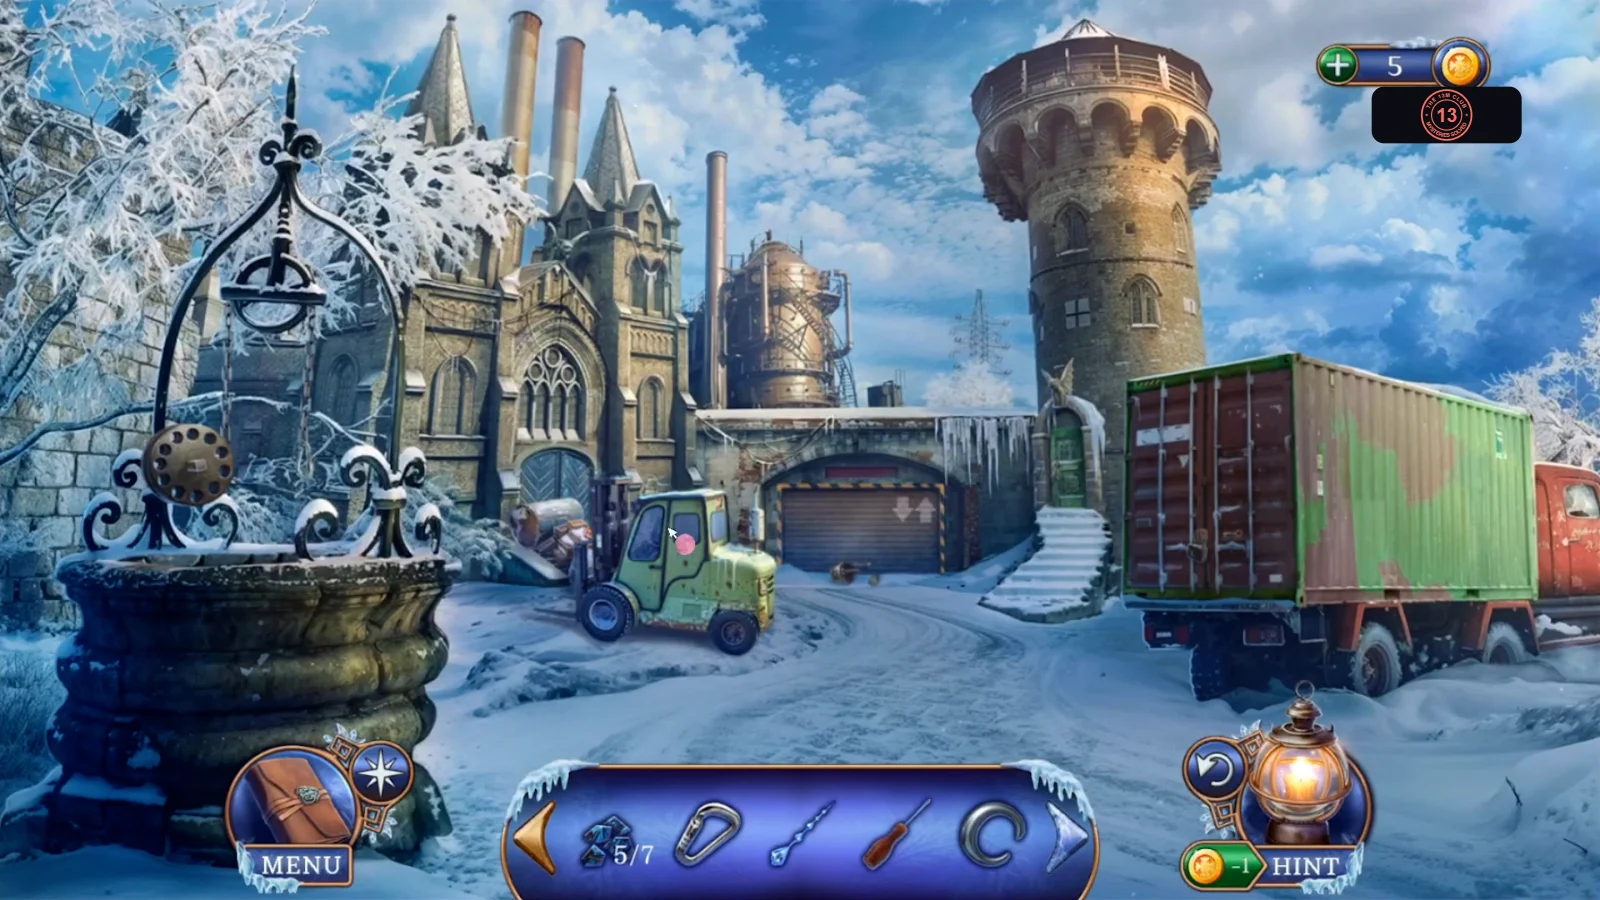
Use the well and the Man's Bag to get the Loader Key, then clear the way into the plant and repair the control console.
- Open the well. Fit the Well Handle on the winch, attach the Carabiner to the chain, hook on the Bucket and turn the handle. Take the Artist's Paintbrush and Monogram K from the bucket when it comes up.
- Inspect the Man's Bag in your inventory and press Monogram K and Monogram C into the clasp. Take the Insulating Tape and Loader Key.
- Open the forklift cab and turn the Loader Key in the ignition. The forklift clears the barrels from the plant door. Enter the Burning Hall and talk to Christine there. New task: Clear the incinerator pool of debris.
- Open the control console and take the Eagle Figurine. Open the locker and take the Hammer.
- Back outside, use the Hammer on the truck padlock. Take the Red Paint and Red Wire from inside.
- In the Burning Hall, open the control console. Lay the Red Wire across the broken cables, then wrap both ends with the Insulating Tape. The cover closes. Press the red button to start the trash flail.
Trash flail
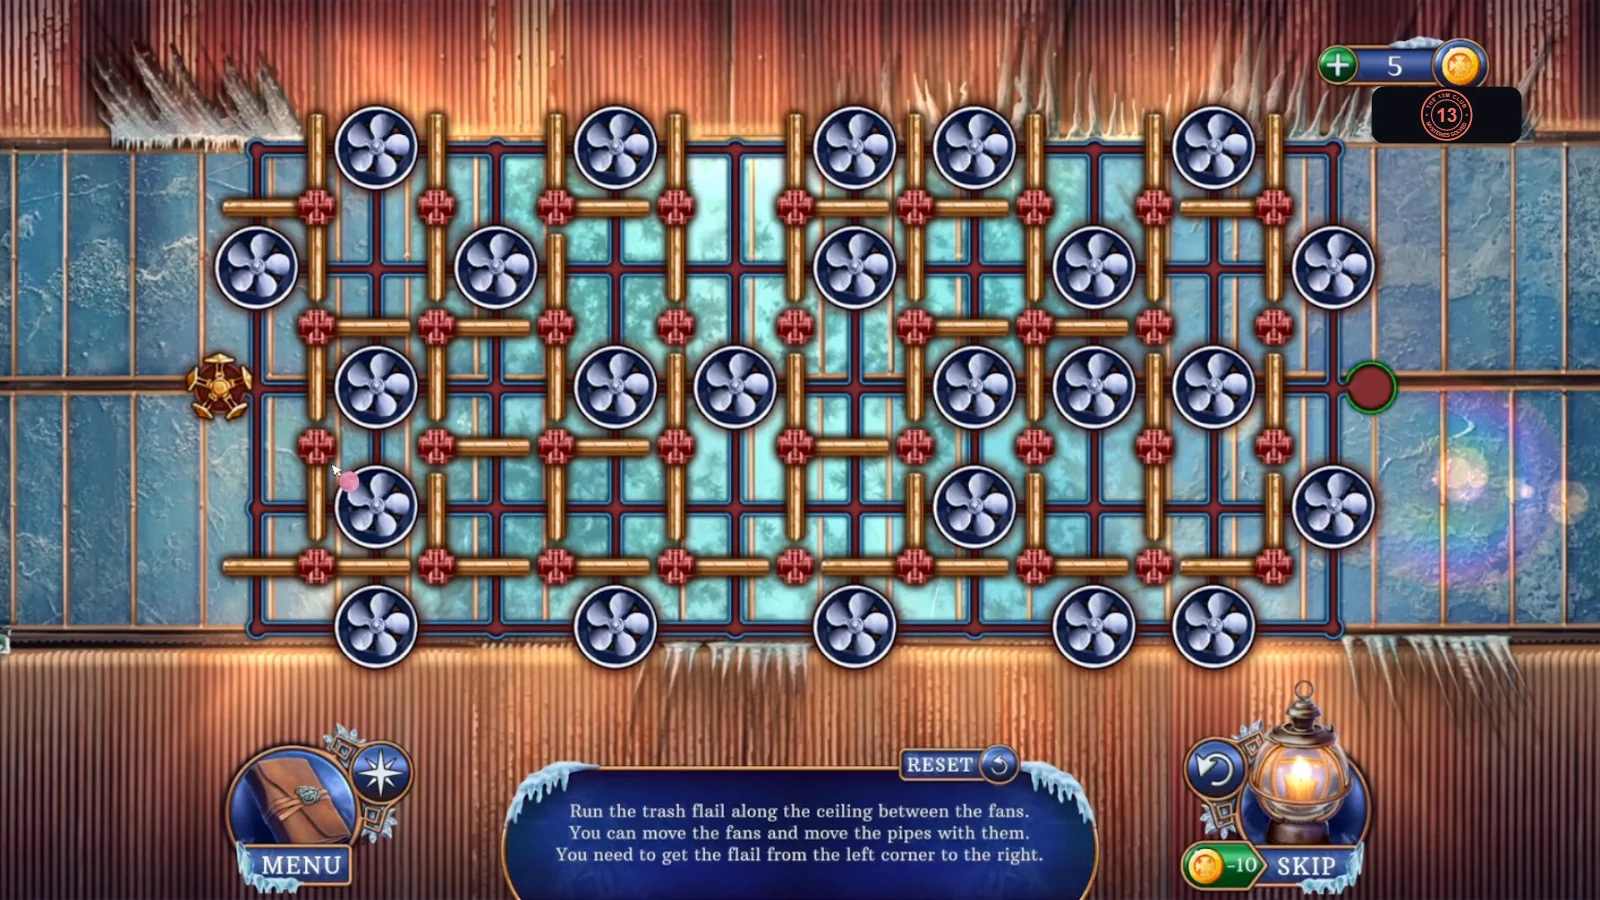
Goal: Run the trash flail along the ceiling between the fans. You can move the fans and move the pipes with them. You need to get the flail from the left corner to the right. This is a long rearrangement, so this section gives the rule and the flail's route rather than every tap.
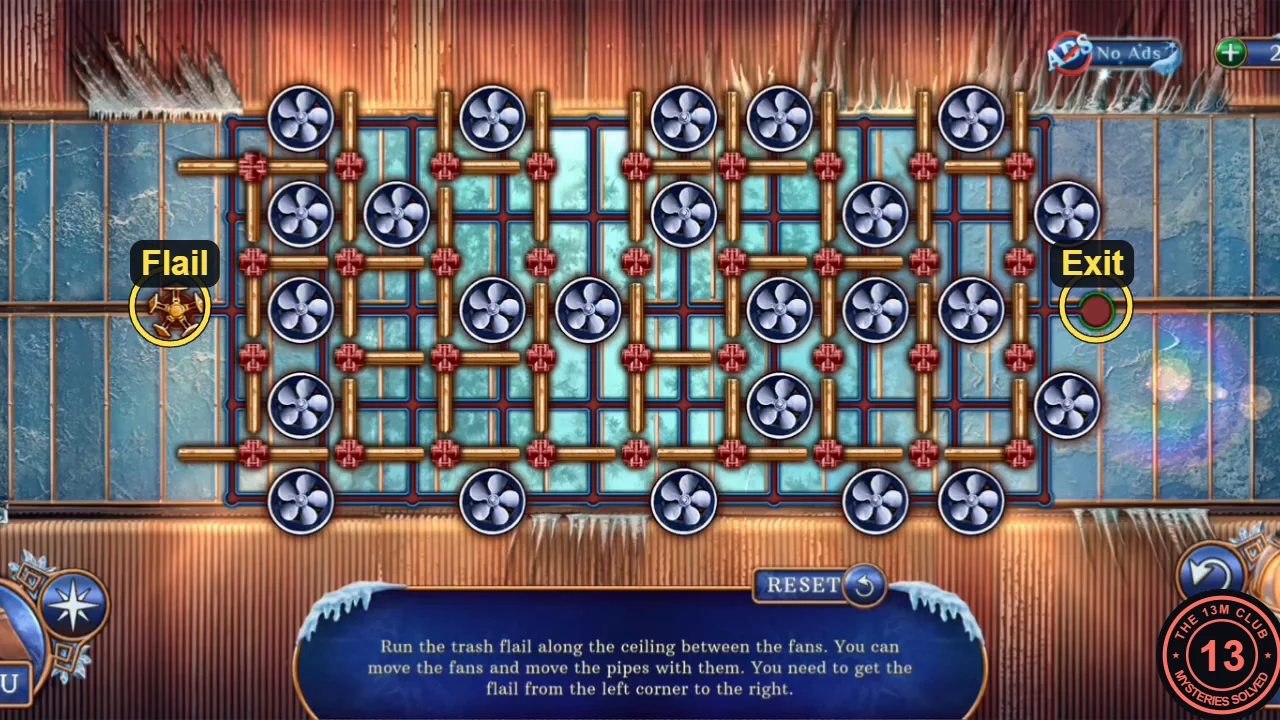
- Tap a fan and it swings to a free spot nearby, taking its pipe with it. The flail moves along the channels between pipes whenever a way opens, and it has to reach the green light at the right end of the centre row. Aim for this route, counting the columns between fans from the left: along the centre row through columns 1 and 2, up to the top of column 2 and back while you clear the pipes, across the centre row to column 3, down to the lower row, along it through columns 4 and 5, up to the centre row again, then right through columns 6, 7 and 8 to the exit. Use Reset if a fan blocks the way, or the Skip button if you can't finish it. The flail clears the large trash and Christine gives you a List of Paints.
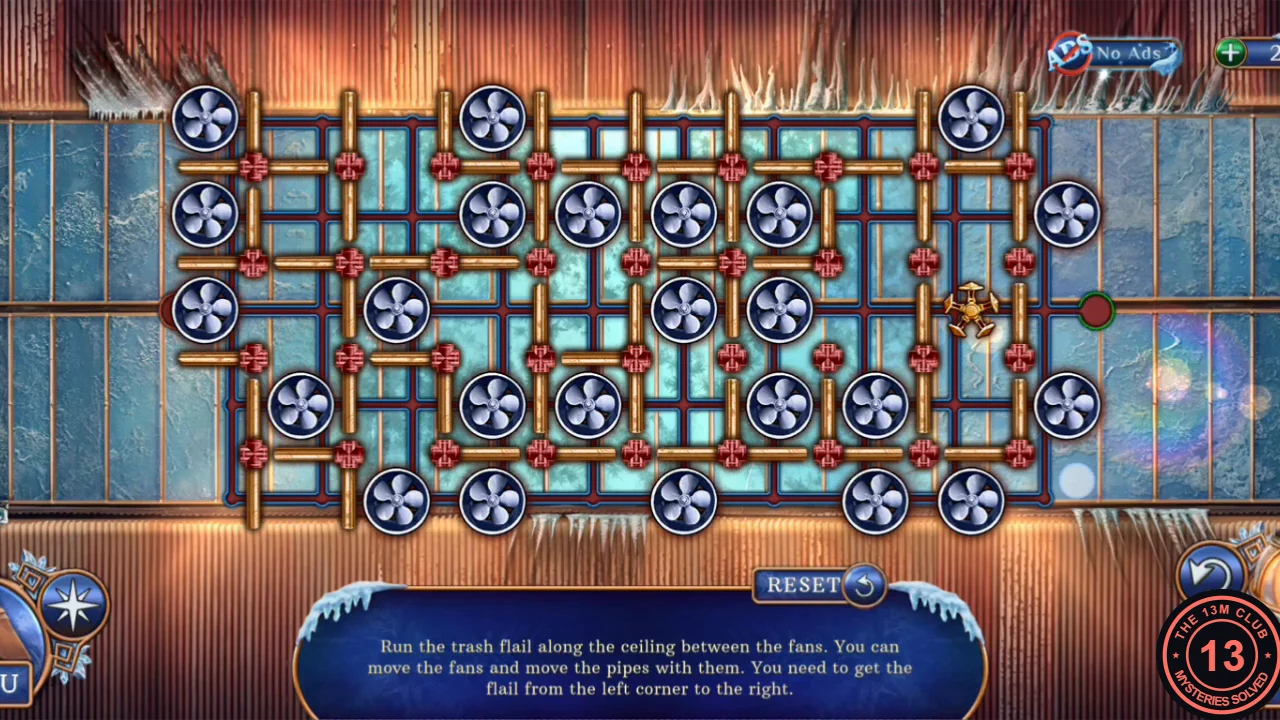
Example: the flail nearly at the exit. Your fans may end up in different places.
Brush, paints and mixing ingredients
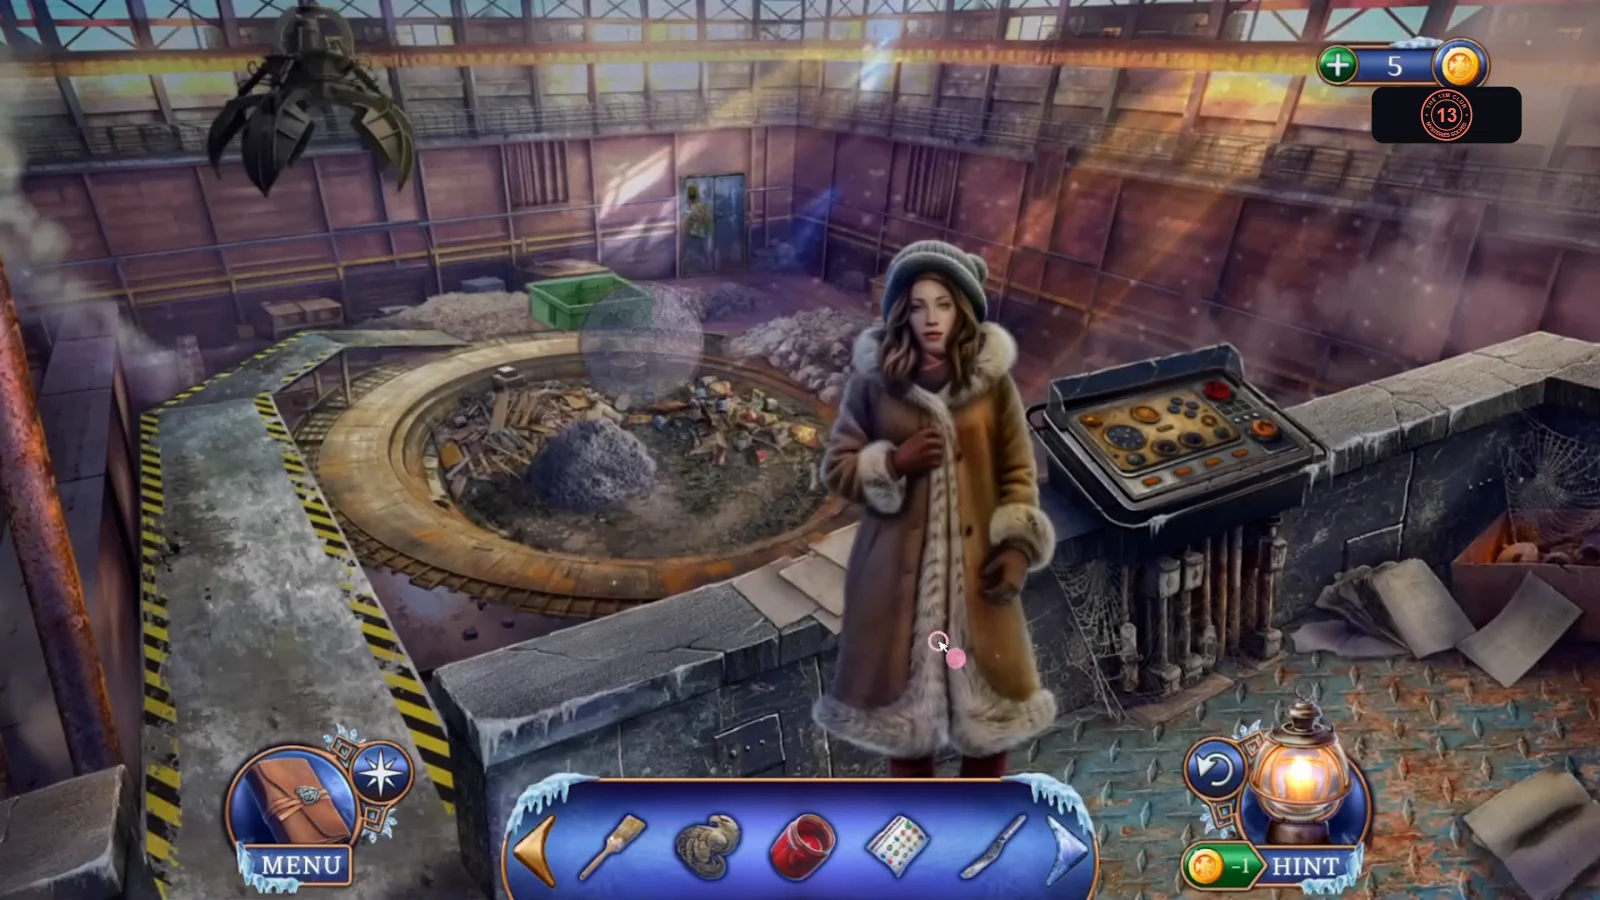
Christine wants symbols painted on the pool floor. Collect the brush, the paints and the liquids for mixing.
- New task: Find paints and paintbrushes to draw the symbols on the floor. Take the Narrow Spatula from the rubbish on the pool floor.
- Open the well and use the Narrow Spatula on the yellow stained brick. Take the Dog Figurine and Artist's Key from the gap.
- Use the Artist's Key on the tower door, on the right of the yard, and go inside.
- Take the Duster from the floor beside the rug. Open the low shelf and take the Glowing Liquid, the green bowl. Open the back of the rocking chair and take the Spoon. Its rose carving is for later. Turn back the rug to see a floor panel with four animal outlines, and take the Scoop from it.
- In the Burning Hall, open the rubbish pile. Use the Duster and then the Scoop on it, then take the Triangular Key and Ash.
- Use the Triangular Key on the second locker. Take the Vacuum Cleaner, Blue Paint and Fireproof Liquid. Use the Vacuum Cleaner on the pool to clear the last ash.
- At the Artist's Tower, open the paint table. Set out the List of Paints, Red Paint, Blue Paint, Ash, Fireproof Liquid, Spoon and Glowing Liquid. The mixing puzzle starts.
Mixing the three paints
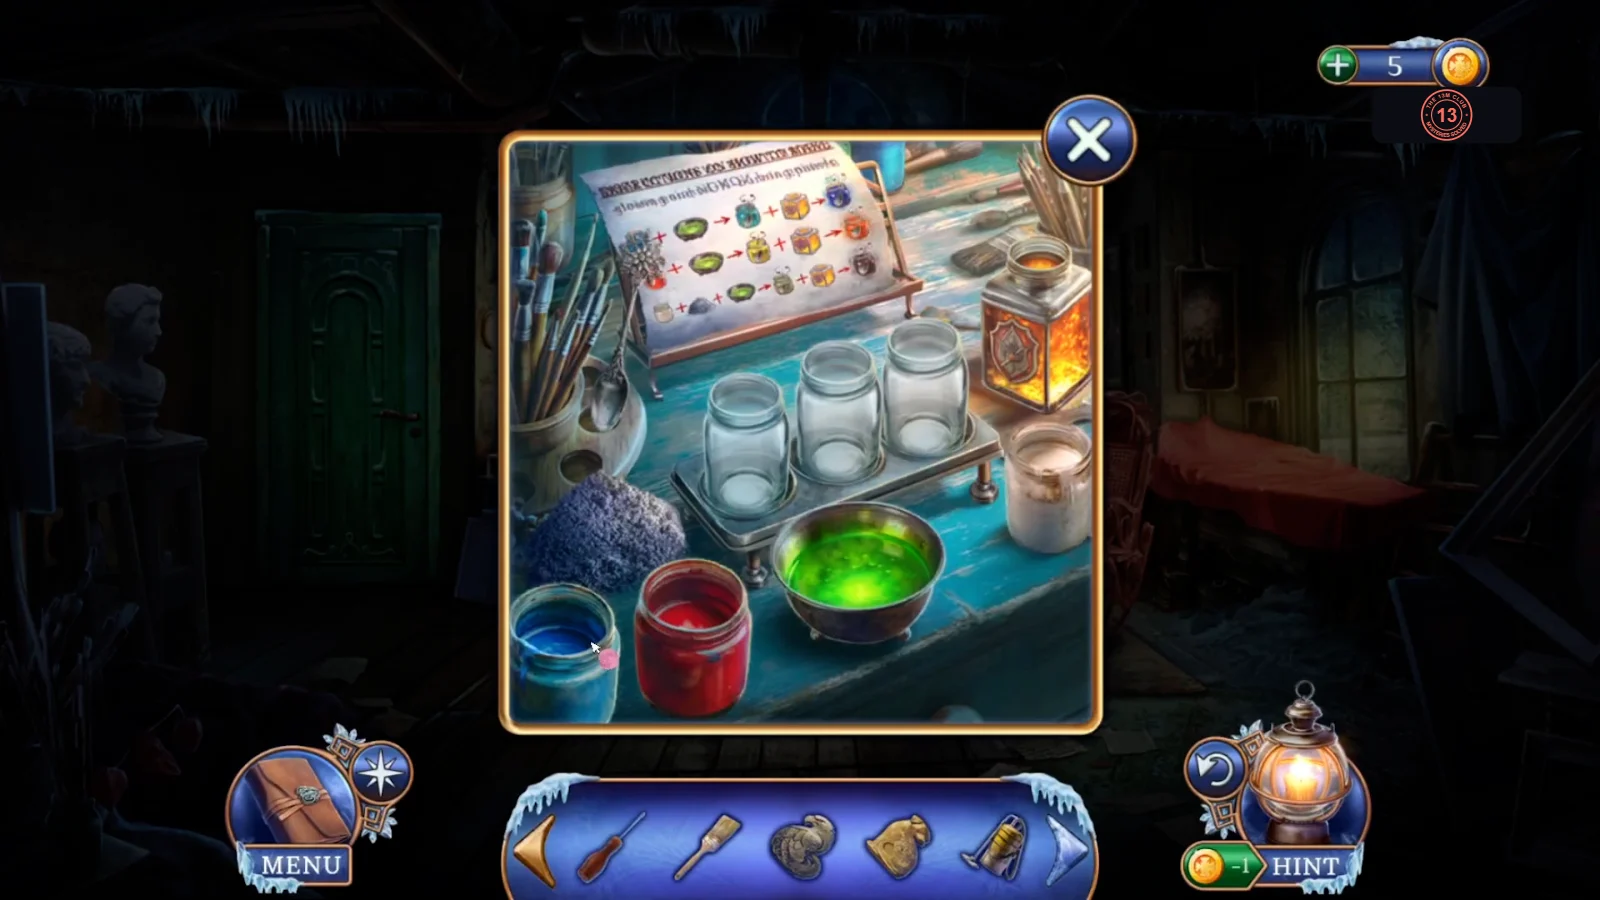
Goal: Follow the list on the stand to fill the three empty jars with blue, red and black paint. The green bowl is the Glowing Liquid and the lantern-shaped flask on the right is the Fireproof Liquid. Each is used for every jar.
- Left jar, blue: pour the blue paint jar, pour the green bowl (it turns teal), stir with the Spoon, tip in the lantern flask and stir again. Middle jar, red: pour the red paint jar, pour the green bowl (it turns yellow), stir, tip in the flask and stir again. Right jar, black: pour the white cup, add the ash, pour the green bowl (it turns olive), stir, tip in the flask and stir again. Each finished row gets a green tick on the list.
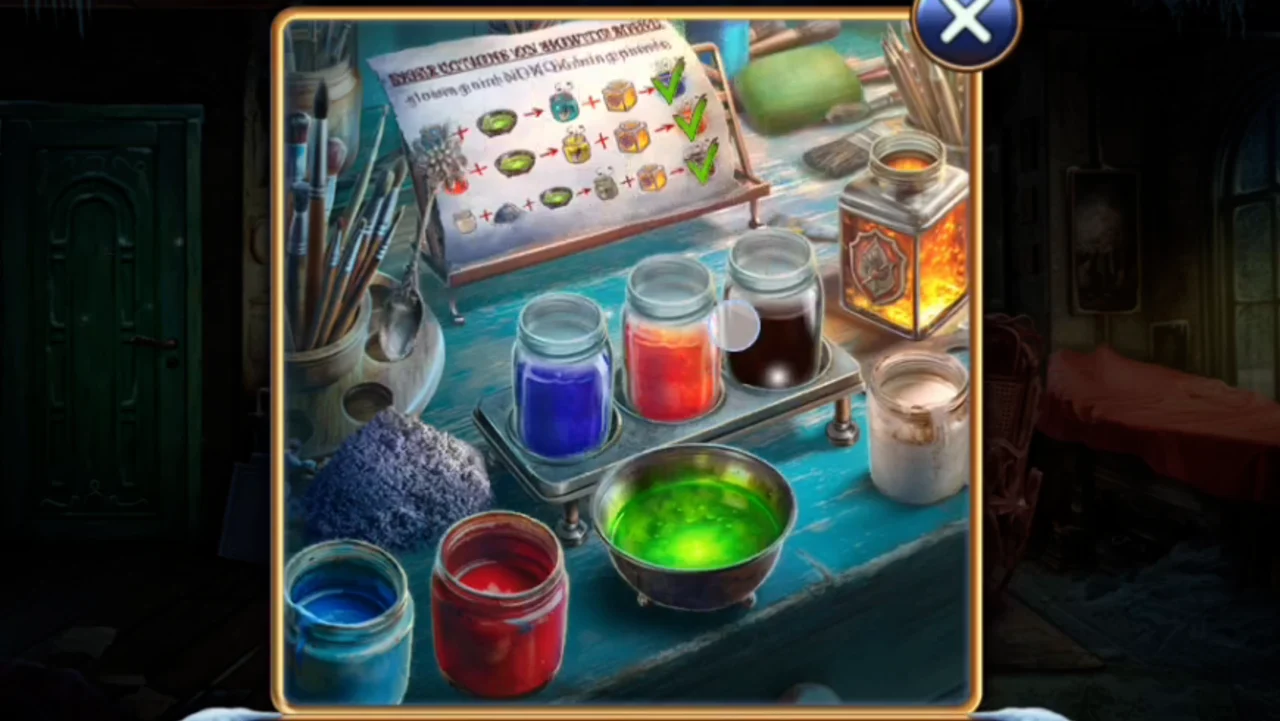
Solved: the three jars filled with blue, red and black.
Lights on the pool floor
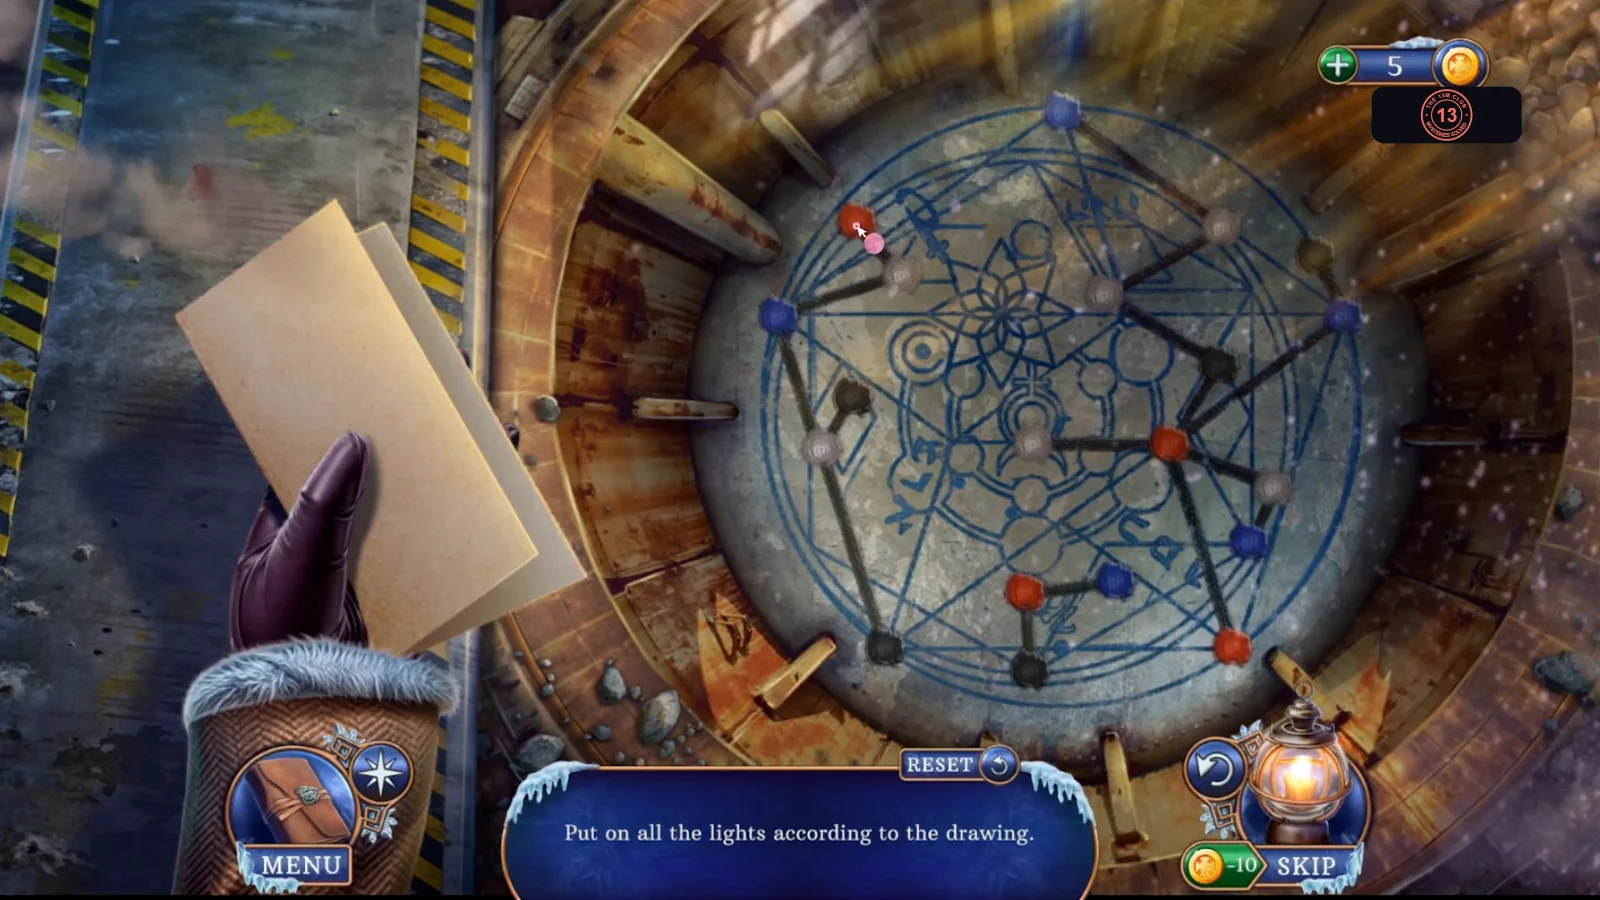
Goal: Put on all the lights according to the drawing. The drawing Christine hands you shows the target. Tapping a light changes only that light, cycling through white, blue, red and black in that order.
- In the Burning Hall, give Christine the Three Paints and the Artist's Paintbrush. She paints the pool floor and hands you the drawing. The light puzzle starts.
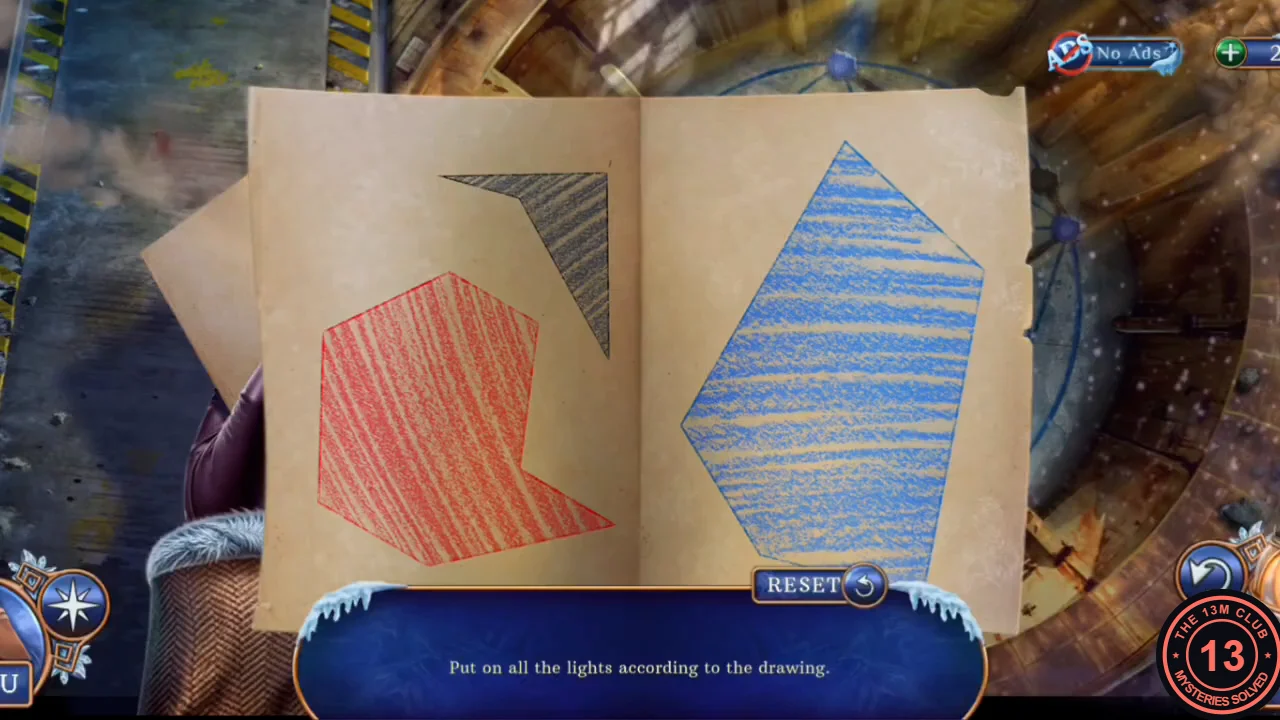
The drawing Christine hands you. It shows which lights belong to each colour. - Tap each light until it matches the drawing. The final colours are: Top of the ring, the light at its right end and the next inner light: red, red, black. Then the light below it, red. The hub right of centre: white. Hub's long spoke to the upper-right rim: white, with its small stub blue. Hub's left spoke: red. Hub's short right spoke: blue, with its stub black. Hub's spoke to the bottom-right rim: white. On the left, upper-left rim red with its inner stub blue, and the left rim white. Below that the long line: middle light blue with its small stub red, and bottom-left rim blue. The lower pair: centre light red, its right stub black and its lower stub black. Use Reset if needed. The puzzle ends when all twenty match the drawing.
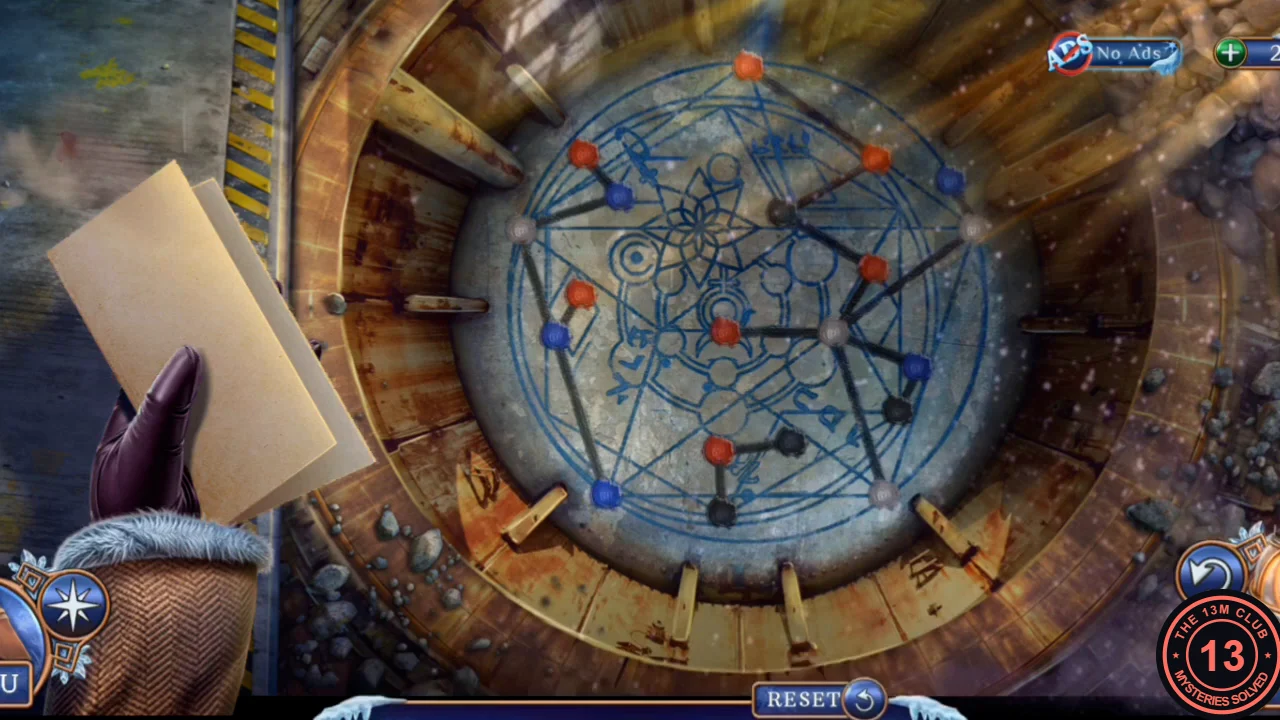
Solved: all twenty lights in their final colours.
Cast a protective spell
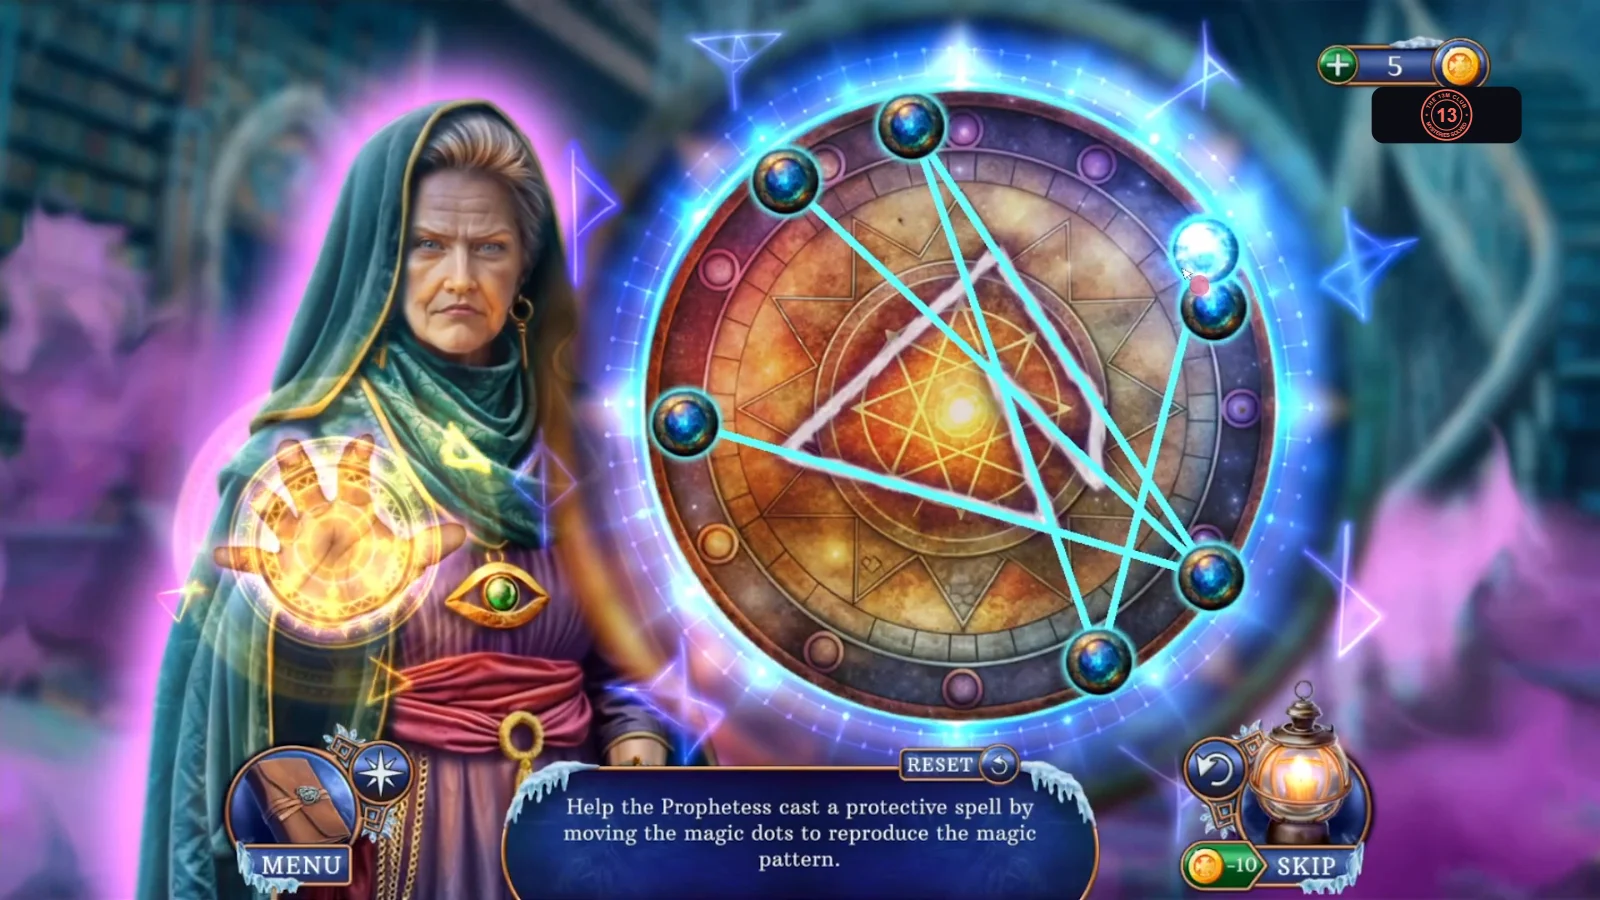
Goal: Help the Prophetess cast a protective spell by moving the magic dots to reproduce the magic pattern. The pattern is the thick, pale figure drawn on the disc.
- New task: Speak with the Seer before you return to the castle. Go to the library and talk to her. The spell puzzle starts.
- Seven dots on the ring are joined by bright lines. Drag each dot along the ring until the bright lines lie on top of the pale figure. Move a dot a little at a time, because a single dot moves two lines. Finished, the dots sit at about 11, 12, 1, 4, 5, 8 and 9 o'clock. The puzzle ends by itself as soon as the lines fit. If you can't get it to fit, use the Skip button, which costs 10 gems. The Seer gives you the torch documents back and grants you the power to see hidden things. New task: Restore the torch and light up the heavenly fire in it.
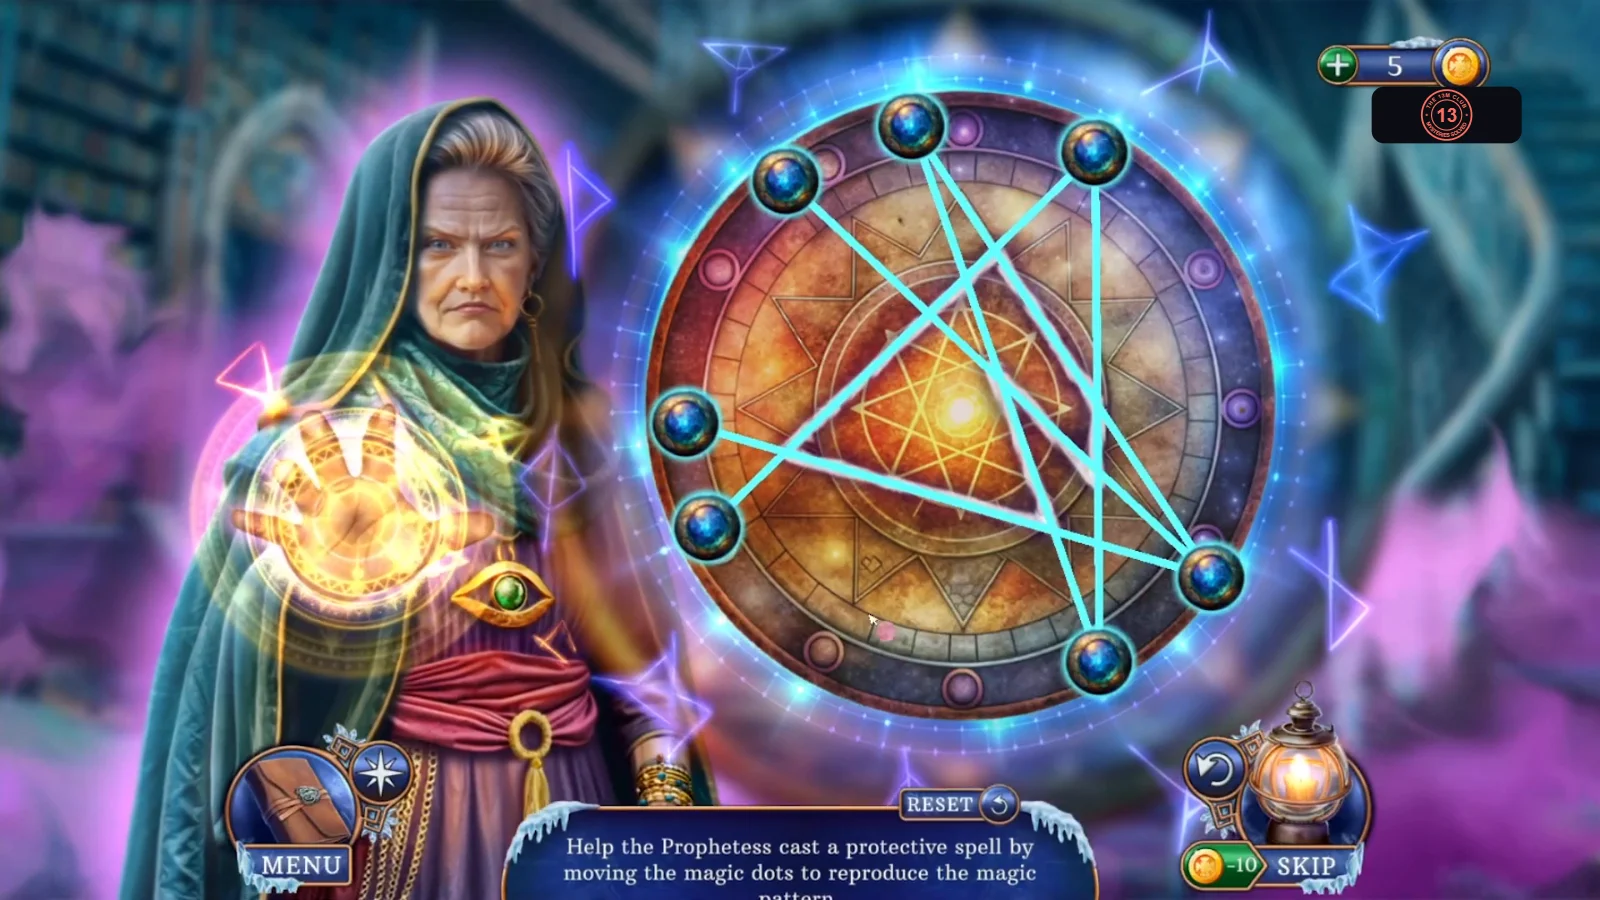
The finished position of the dots.