Throne Room and the Archaeology Hall
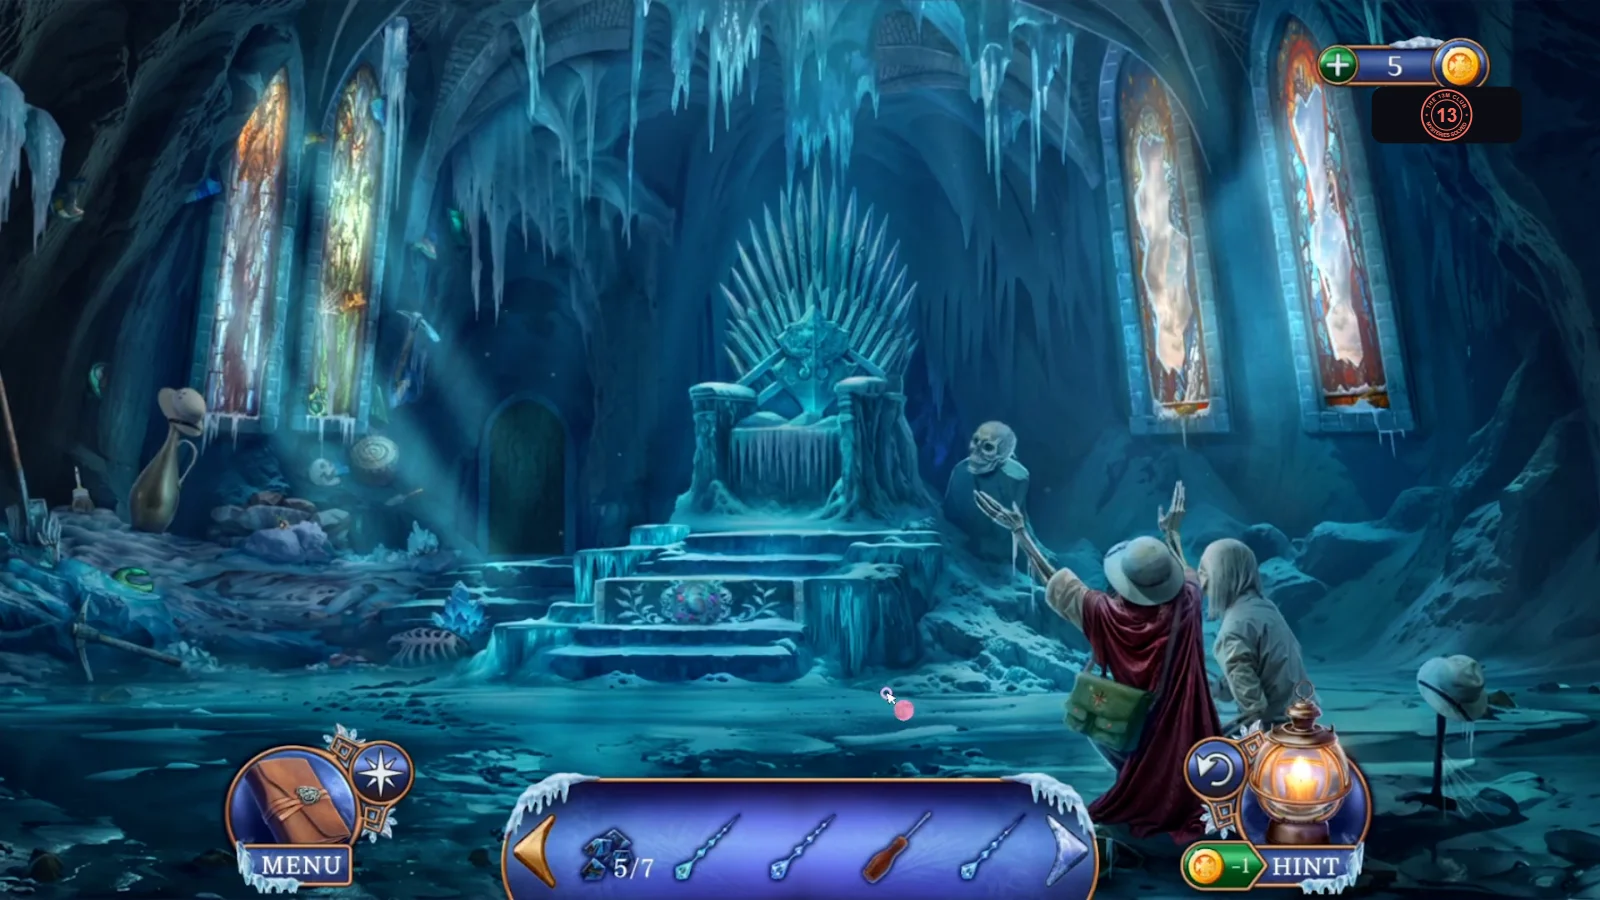
The Throne Room's two stained glass windows need every shard you've collected. Start with the amulets that open the Archaeology Hall.
- In the Throne Room, open the two skeletons on the right. Their pocket is locked for now. Take the Archaeologist's Bag.
- Inspect the Archaeologist's Bag in your inventory. A short scene about the knights' castle plays, and you get the Amulet Dinosaur Ribs.
- Open the left and right stained glass windows and take an amulet piece from each: the Amulet Dinosaur Skull and the Amulet Dinosaur Tail. Both windows are missing their shards, so you'll come back later.
- In the Hall of Natural History, open the locked door plate and fit the Amulet Dinosaur Skull, Ribs and Tail. The door opens onto the Archaeology Hall.
- Open the map table and take the Raven Wing, then the King Stained Glass Shard lying under it. Two figurines are missing from the map. Open the banner on the chair and take the Raven Head. Study the coloured raven drawn on the banner: it is the clue for the next puzzle.
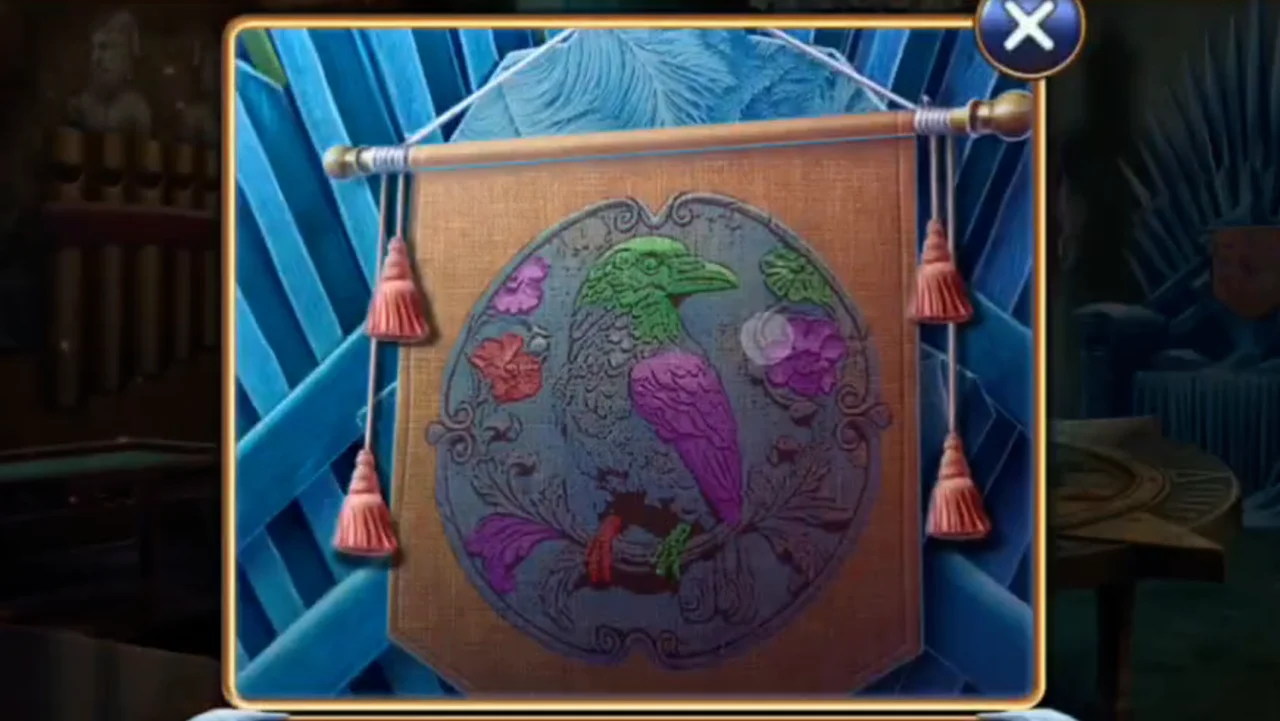
The raven banner on the chair is the colour clue for the next puzzle. - In the Throne Room, open the relief below the throne. Fit the Raven Wing and Raven Head. The colouring puzzle starts.
Colour the raven relief
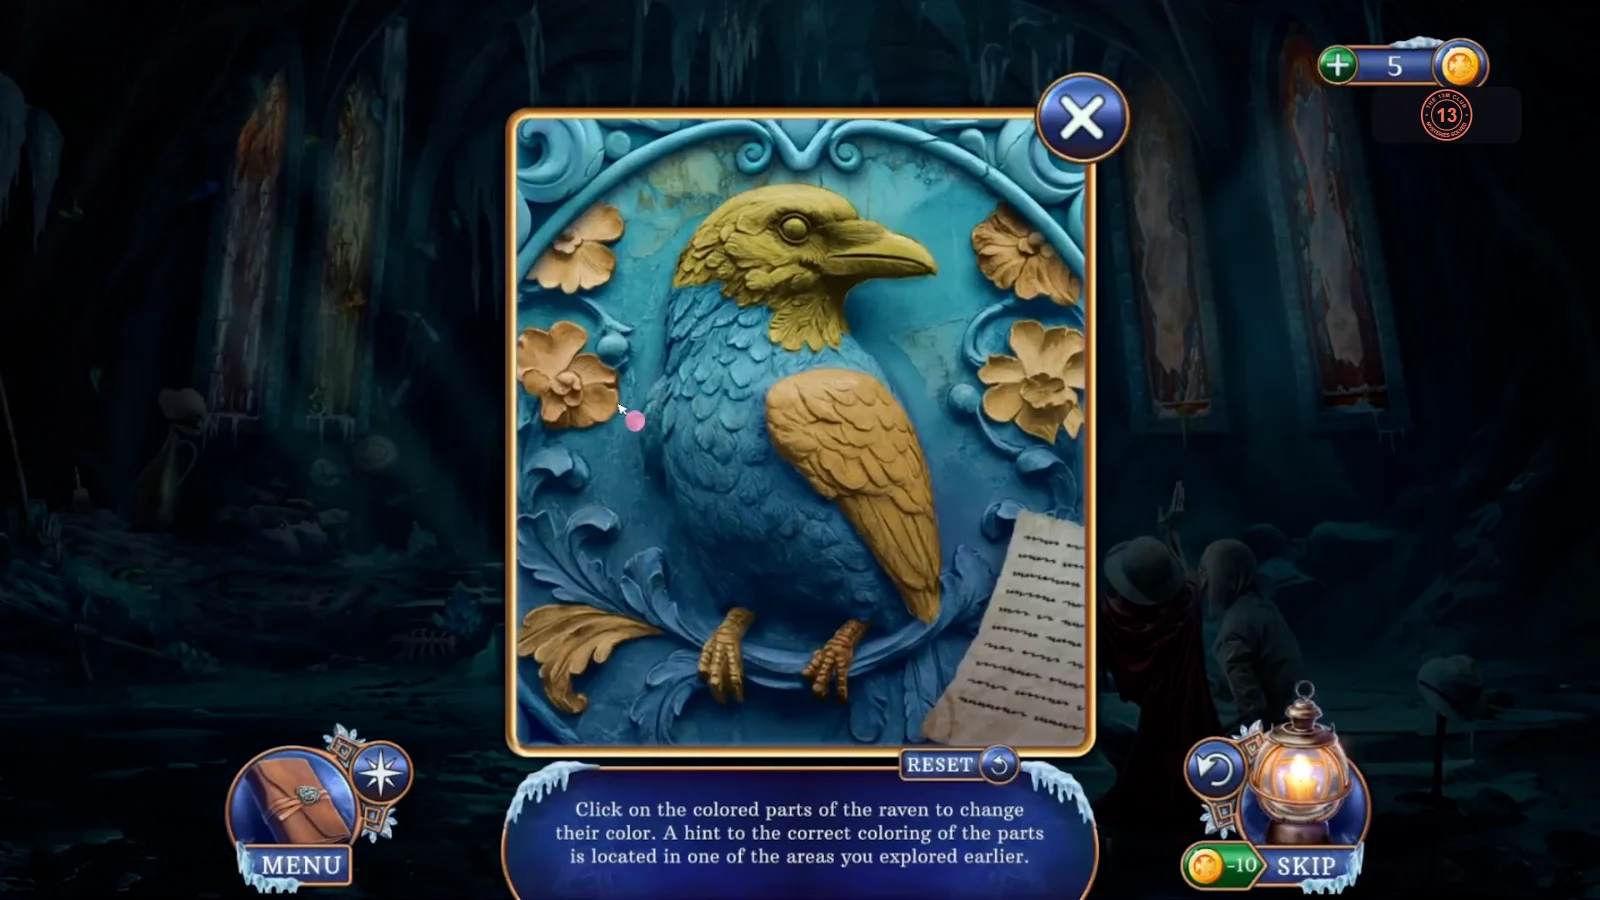
Goal: Click on the coloured parts of the raven to change their colour. The hint is the raven banner in the Archaeology Hall.
- Tap each part until it matches the banner. Head: green. Wing: purple. Upper-left flower: purple. Left flower: red. Upper-right flower: green. Right flower: purple. Lower-left leaf: purple. Left foot: red. Right foot: green. The compartment opens when all parts are right. Take the Ice Reed Pipe and the Skeleton Stained Glass Shard.
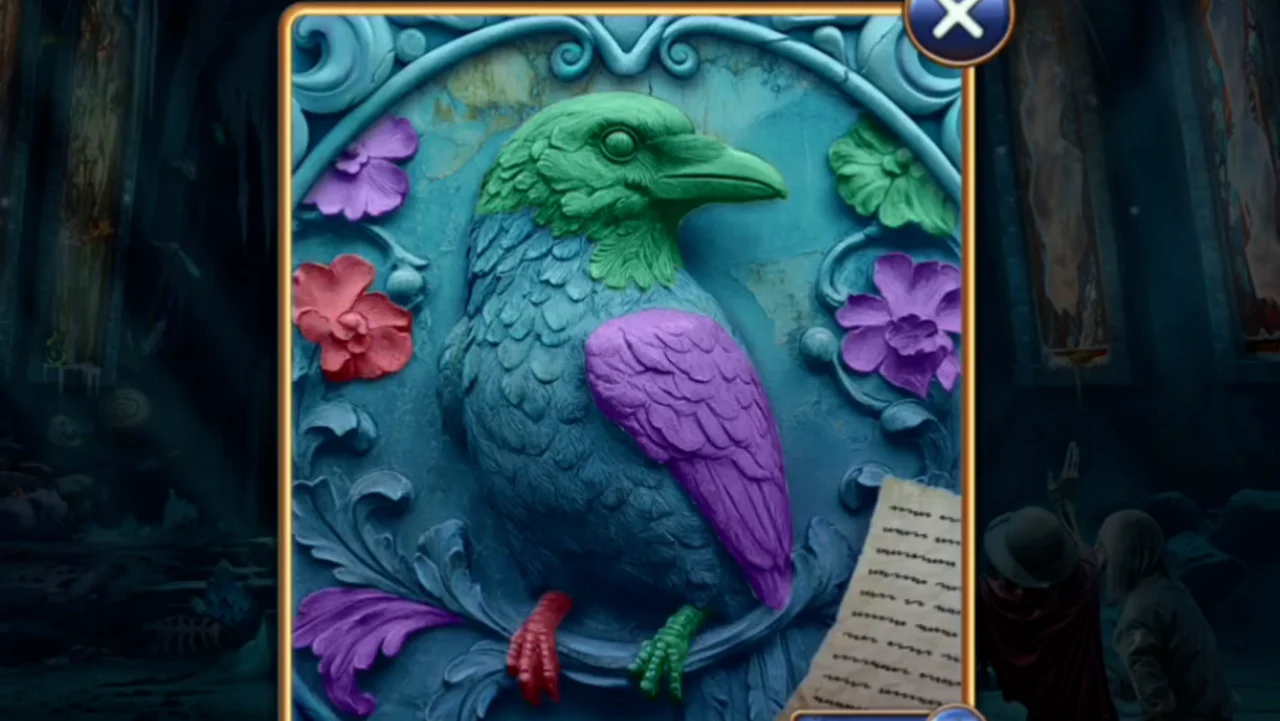
Solved: all nine coloured parts match the banner, including the leaf and both feet.
Stained glass shards
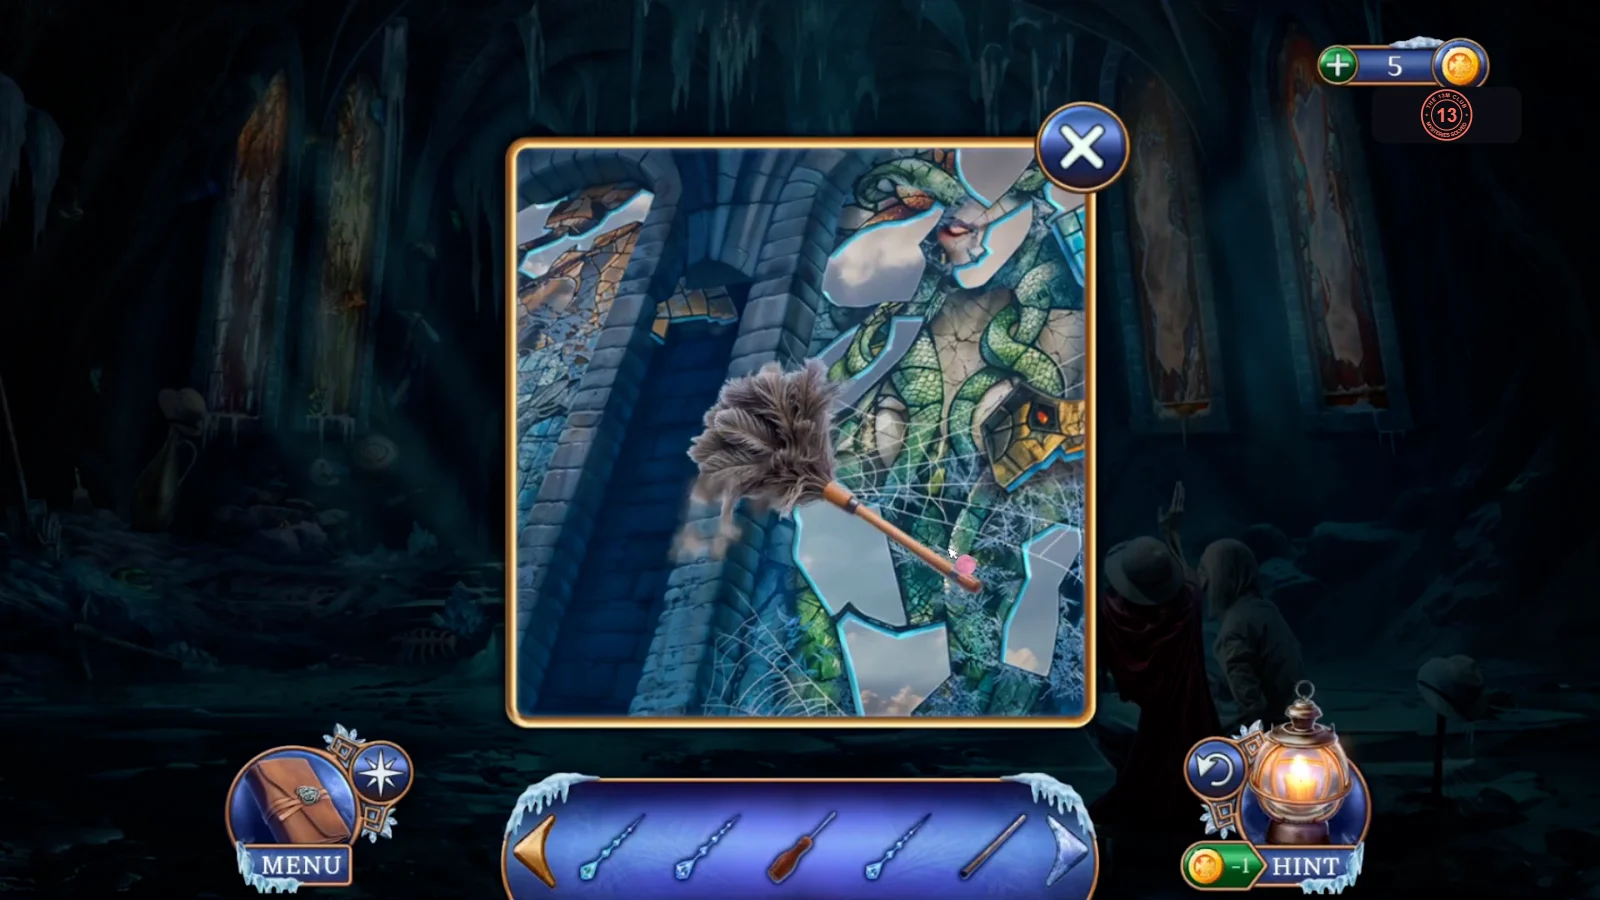
Goal: Find the stained glass shards scattered around the window scene. The task list counts them down. First you need a duster to open the scene.
- In the Hall of Natural History, take the second Duster, lying on the glass of the red display table at the front right. Back in the Throne Room, open the dusty stained glass on the left and use the Duster on it. The shard scene starts.
- Tap every glass shard you can see in the snow, on the ledges and among the icicles until the list is empty. The Great Work box gives you the Stone Drum.
Pan flute and drums
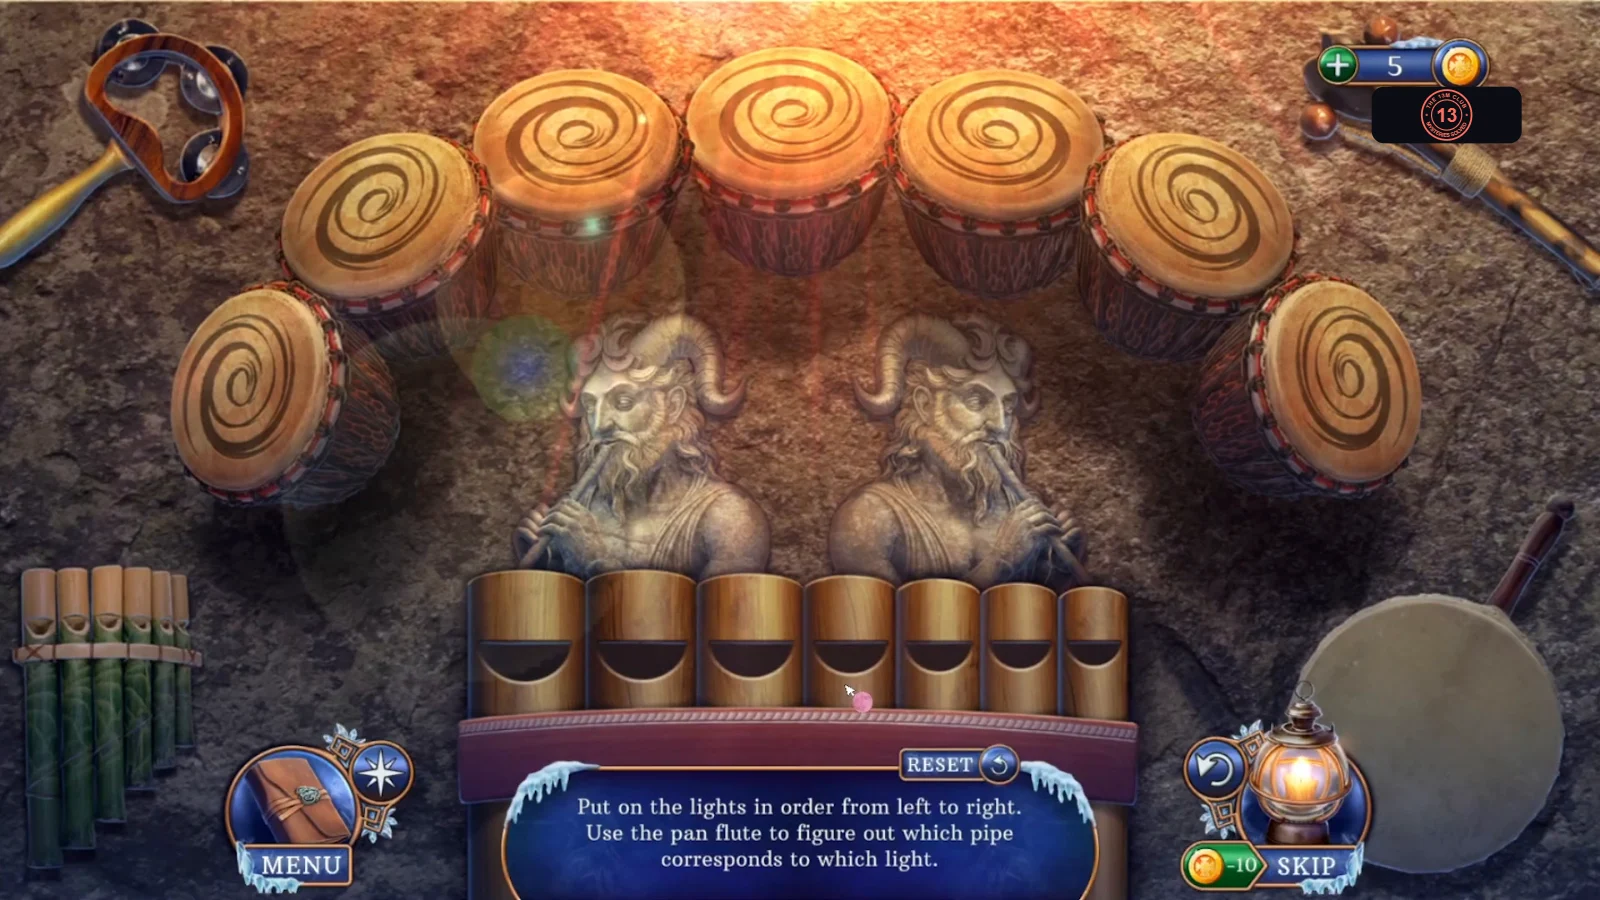
Goal: Put on the lights in order from left to right. Use the pan flute to figure out which pipe corresponds to which light.
- In the Archaeology Hall, open the round carving on the wall. Use the Ice Reed Pipe and Stone Drum on it. The drum puzzle starts.
- Number the pipes 1 to 7 from left (widest) to right (narrowest). Tap them in this order: 5, 7, 2, 3, 6, 4, 1. The drums light one at a time from the left. After the seventh, a compartment opens: take the Ancient Gear and King Stained Glass Shard.
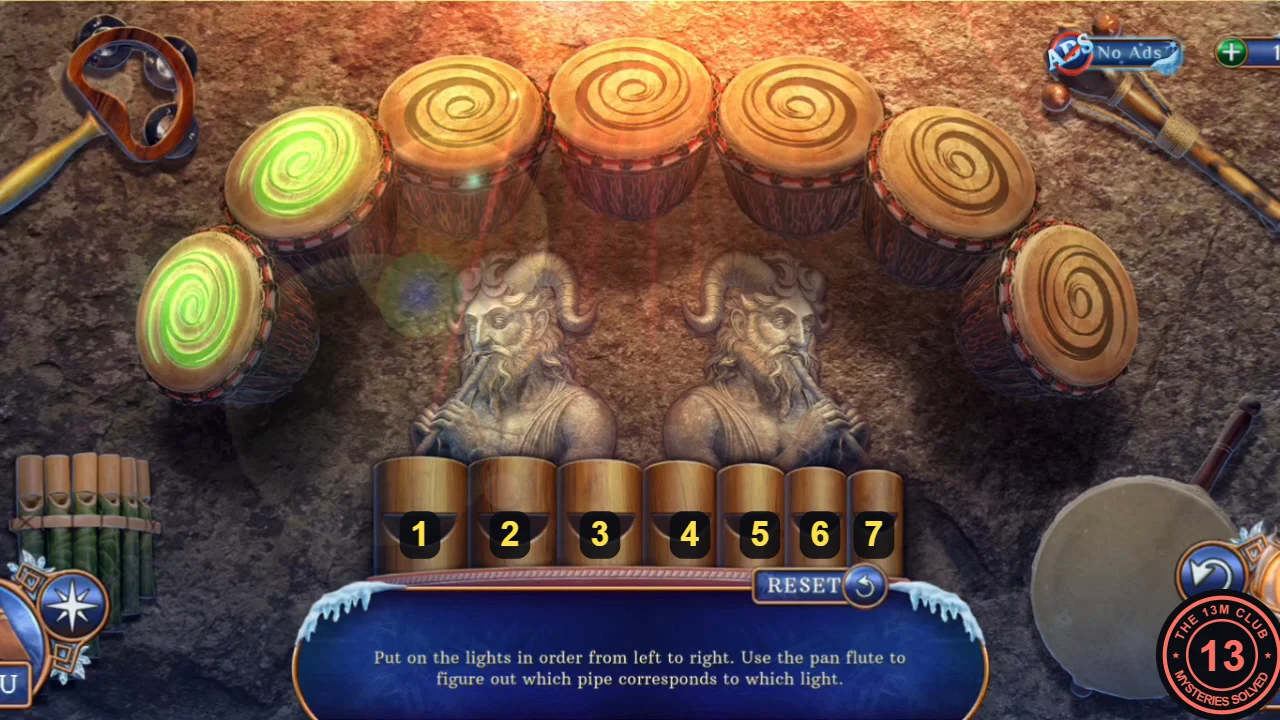
The pipes numbered from left to right. Two drums are already lit in this view.
Fill the stained glass windows
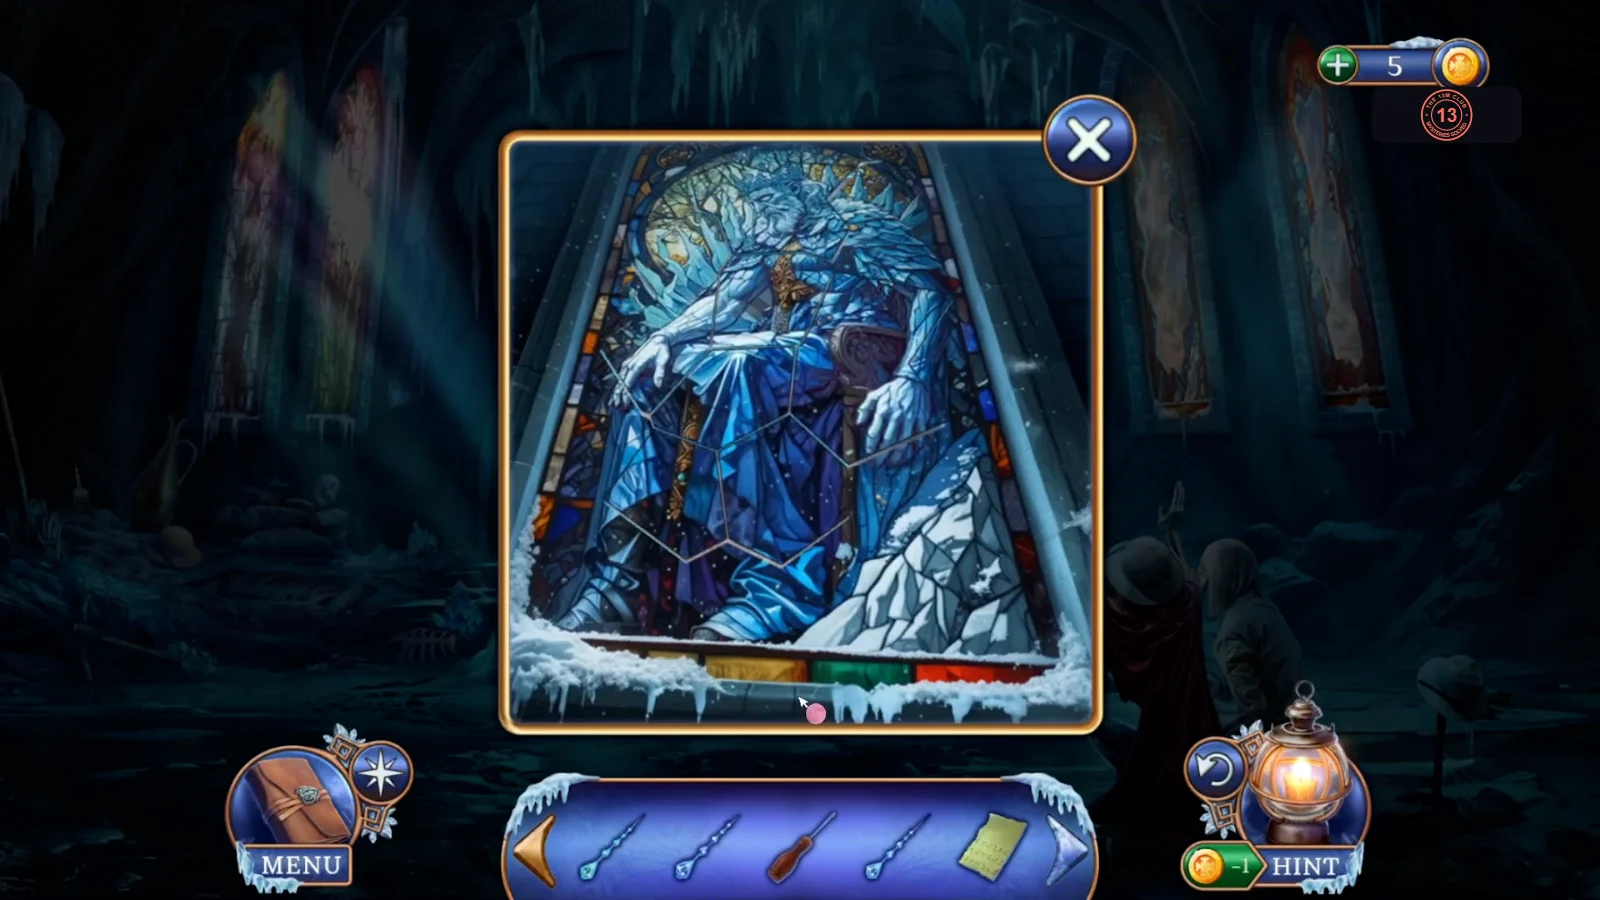
The last two shards complete both stacks: seven King shards and six Skeleton shards.
- In the Throne Room, open the skeletons again and use the Ancient Gear on the box on the left. Take the Scheme Paper and Skeleton Stained Glass Shard.
- Open the left window and use all the King Stained Glass Shards. Open the right window and use all the Skeleton Stained Glass Shards. Rainbow light fills the room and the way to the Hall of Trees opens. Each stack only fits its own window.
Pendants and the camera
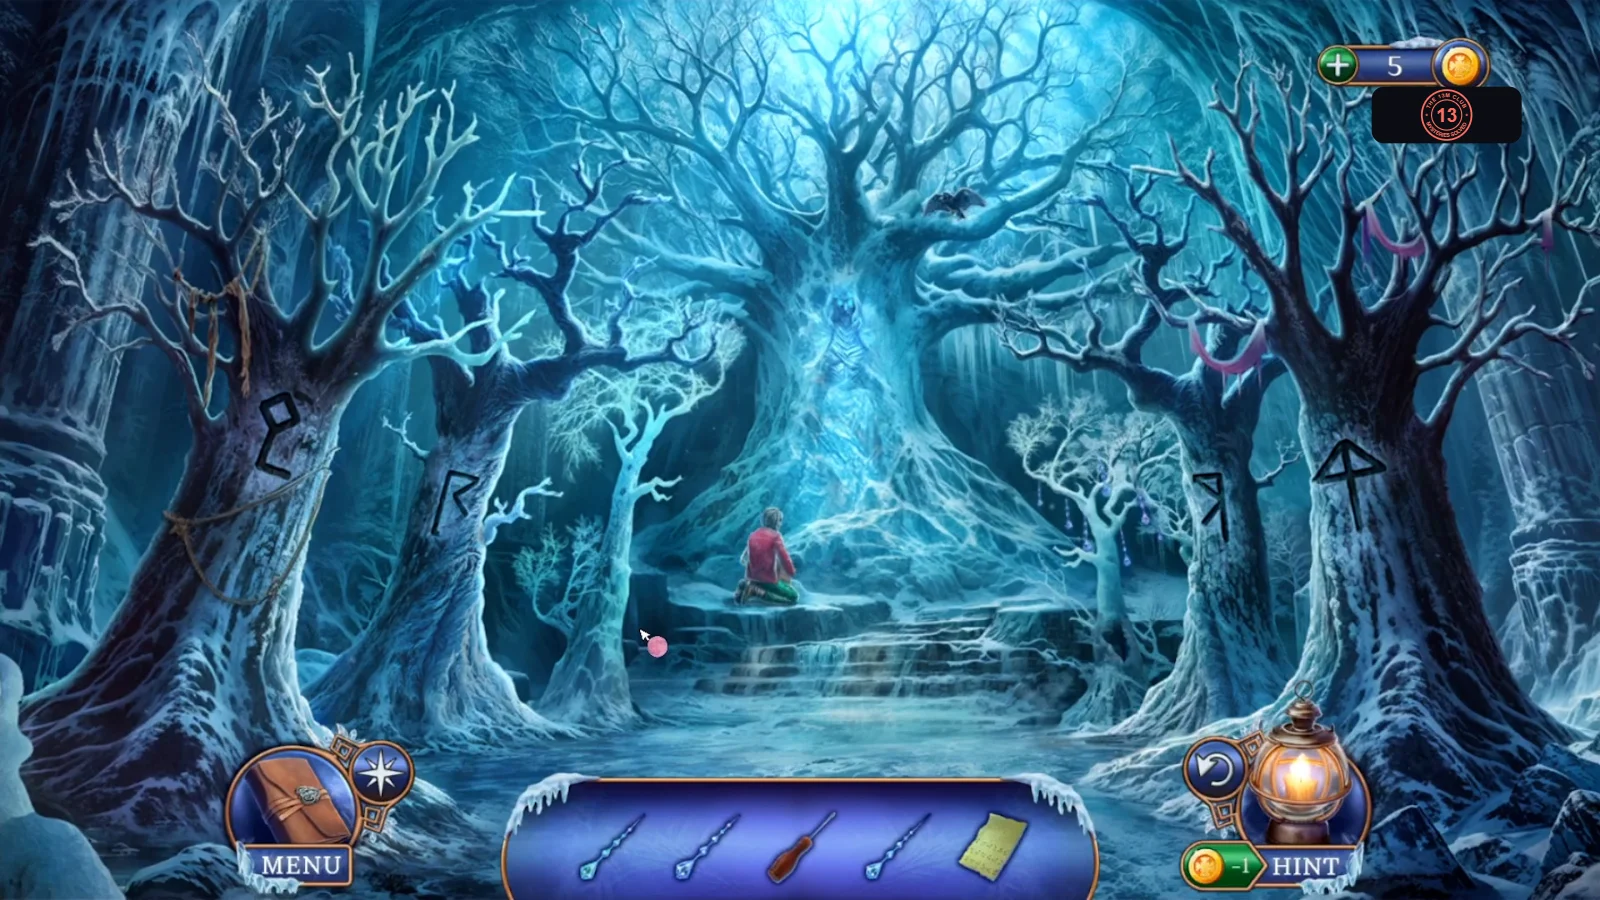
The Hall of Trees needs four Ice Pendants. One of them lies with a skeleton there, beside a broken camera.
- In the Hall of Trees, open the tree on the right of the skeleton and hang your Ice Pendants on its empty branches. It needs one more.
- Open the skeleton by the tree. Its gripsack is locked. Take the Ice Pendant and Broken Camera lying with it.
- Open the tree again and hang the last Ice Pendant. Take the Snake Figurine and Spades Leather Medallion that drop down.
- In the Throne Room, open the skeletons and use the Spades Leather Medallion on the pocket. Take the Spare Film and Ship Figurine.
- In the Archaeology Hall, open the map table and add the Snake and Ship Figurines. The map puzzle starts.
Figurines on the map
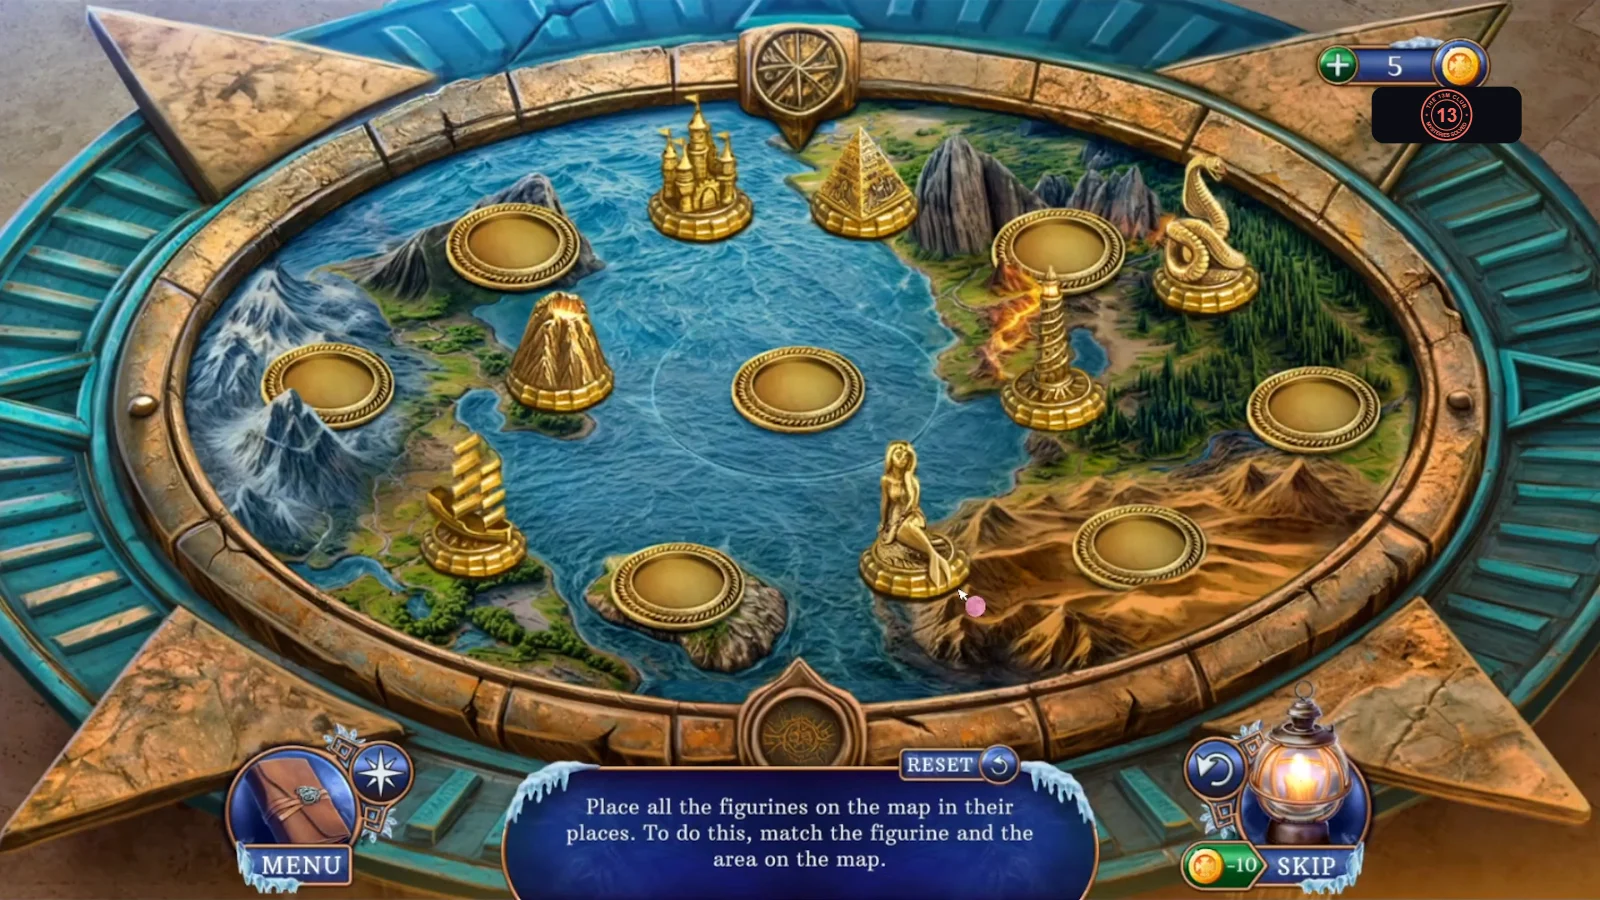
Goal: Place all the figurines on the map in their places. Match each figurine to the area on the map.
- Castle: snowy mountains on the left. Lighthouse: the rocky point at the top left of the bay. Ship: the middle of the sea. Mermaid: the rock island at the bottom. Volcano: the fiery mountains at the top right. Snake: the jungle on the right. Pyramid: the desert at the bottom right. A compartment opens in the centre: take the Objective Lens.
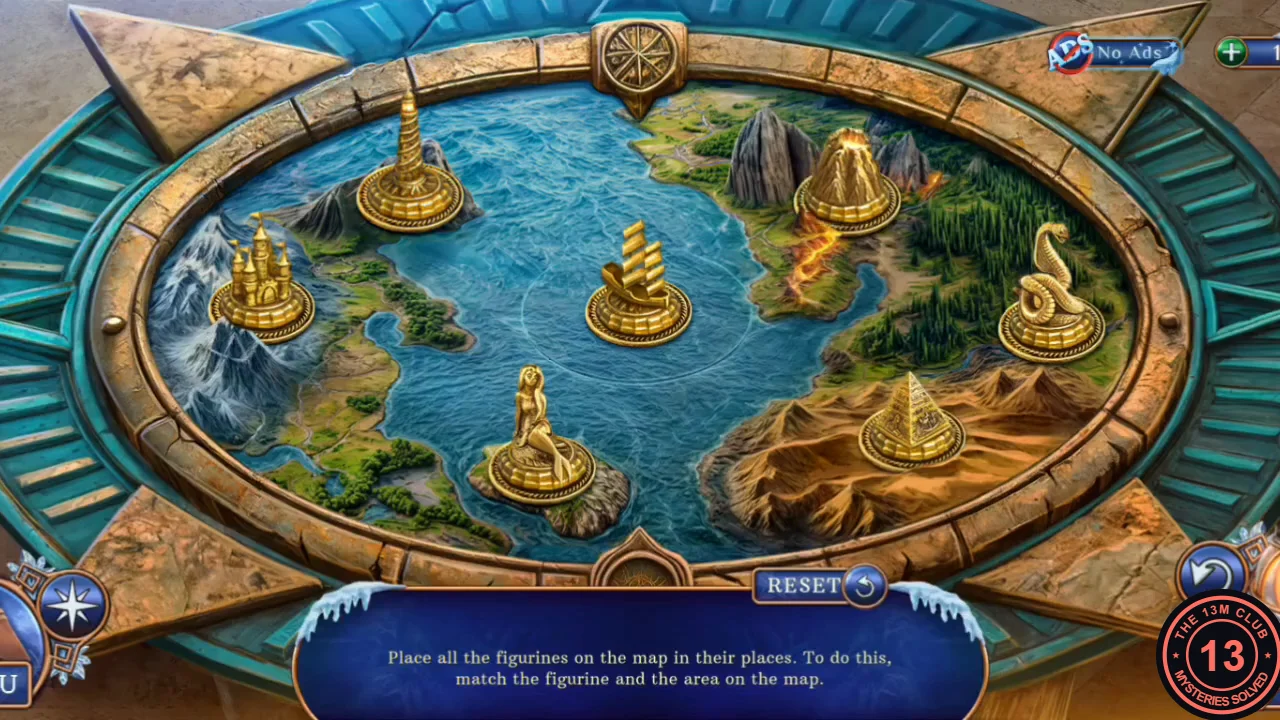
Solved: every figurine stands on its own area of the map.
Camera, Snapshot and the Silver Bar
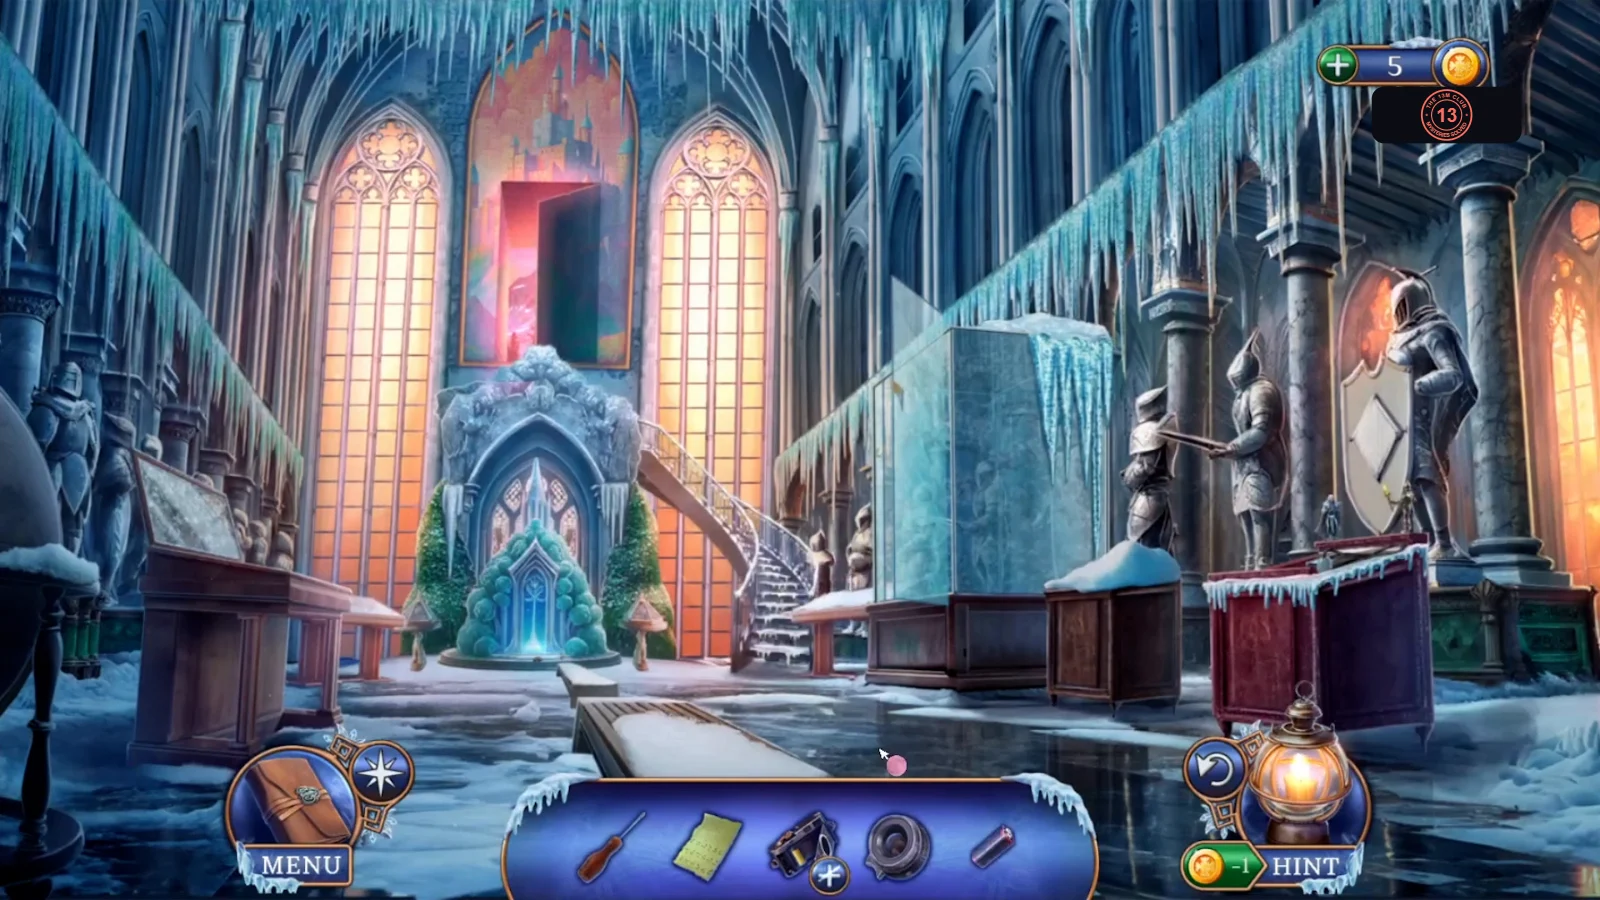
Repair the camera and photograph the big tree. The Seer's answer starts the search for the runes.
- In the Main Hall, open the rightmost display and take the Battery from the Excursion Player.
- Inspect the Broken Camera in your inventory. Open its back and add the Spare Film and Battery, close it, then fit the Objective Lens on the front.
- In the Hall of Trees, use the Camera on the big tree and take the picture. You get the Snapshot.
- In the library, show the Snapshot to the Seer. She gives you an Ancient Coin. New task: Restore the runes from the trees.
- In the Hall of Natural History, open the red display and put the Ancient Coin in the empty round slot. Take the Silver Bar.
- In the Artist's Tower, give the Silver Bar to Christine. She gives you a Bag of Sand and says she needs the rune drawings and a jewelry burner.
Draw the rune in the sand
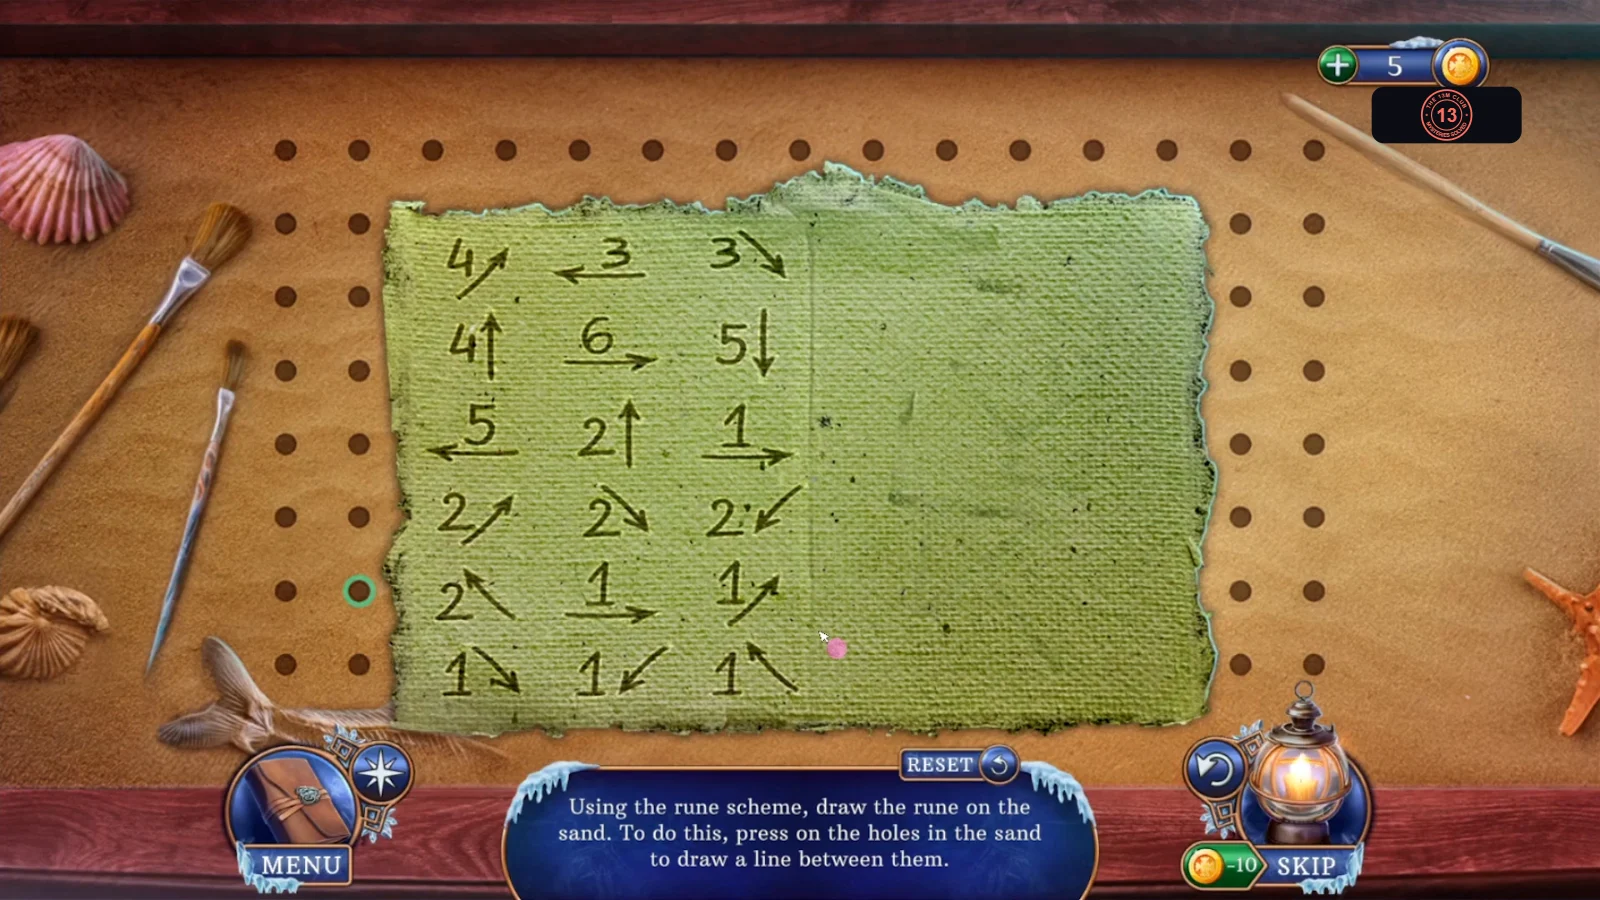
Goal: Using the rune scheme, draw the rune on the sand by pressing on the holes to draw a line between them. Tap the scheme at the side to read its numbered instructions.
- In the Archaeology Hall, open the table below the instruments. Use the Bag of Sand and the Scheme Paper on it. The rune drawing puzzle starts.
- Follow the scheme step by step. The finished rune has two parts. On the left is a flag shape: a short top bar, a long diagonal from its left end, and a second diagonal crossing it from the bottom left to the top bar's right end. On the right is a large open square with a diamond inside; the square's lower-left corner turns inward and its line ends inside the diamond. If one line is off, the rune won't count, so use Reset and redraw. When the rune is right, the drawer gives you the Gripsack Key and the Rune Drawing.
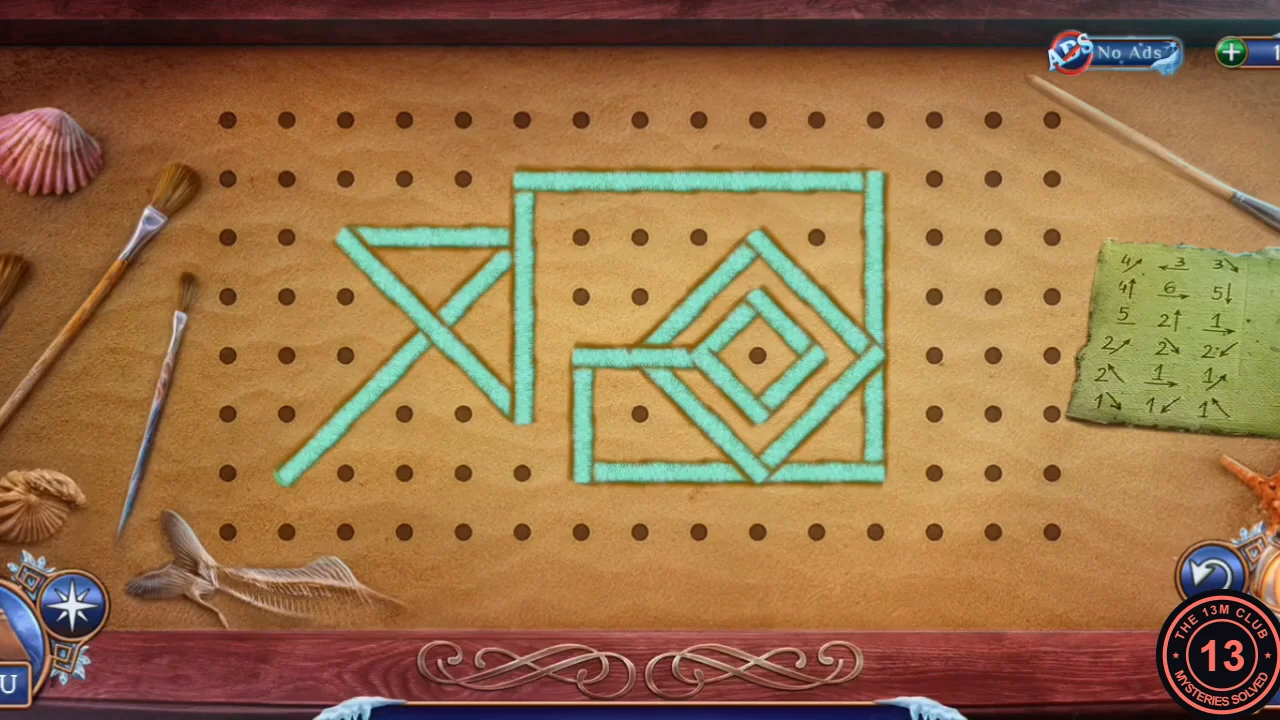
The finished rune.
Forge and place the runes
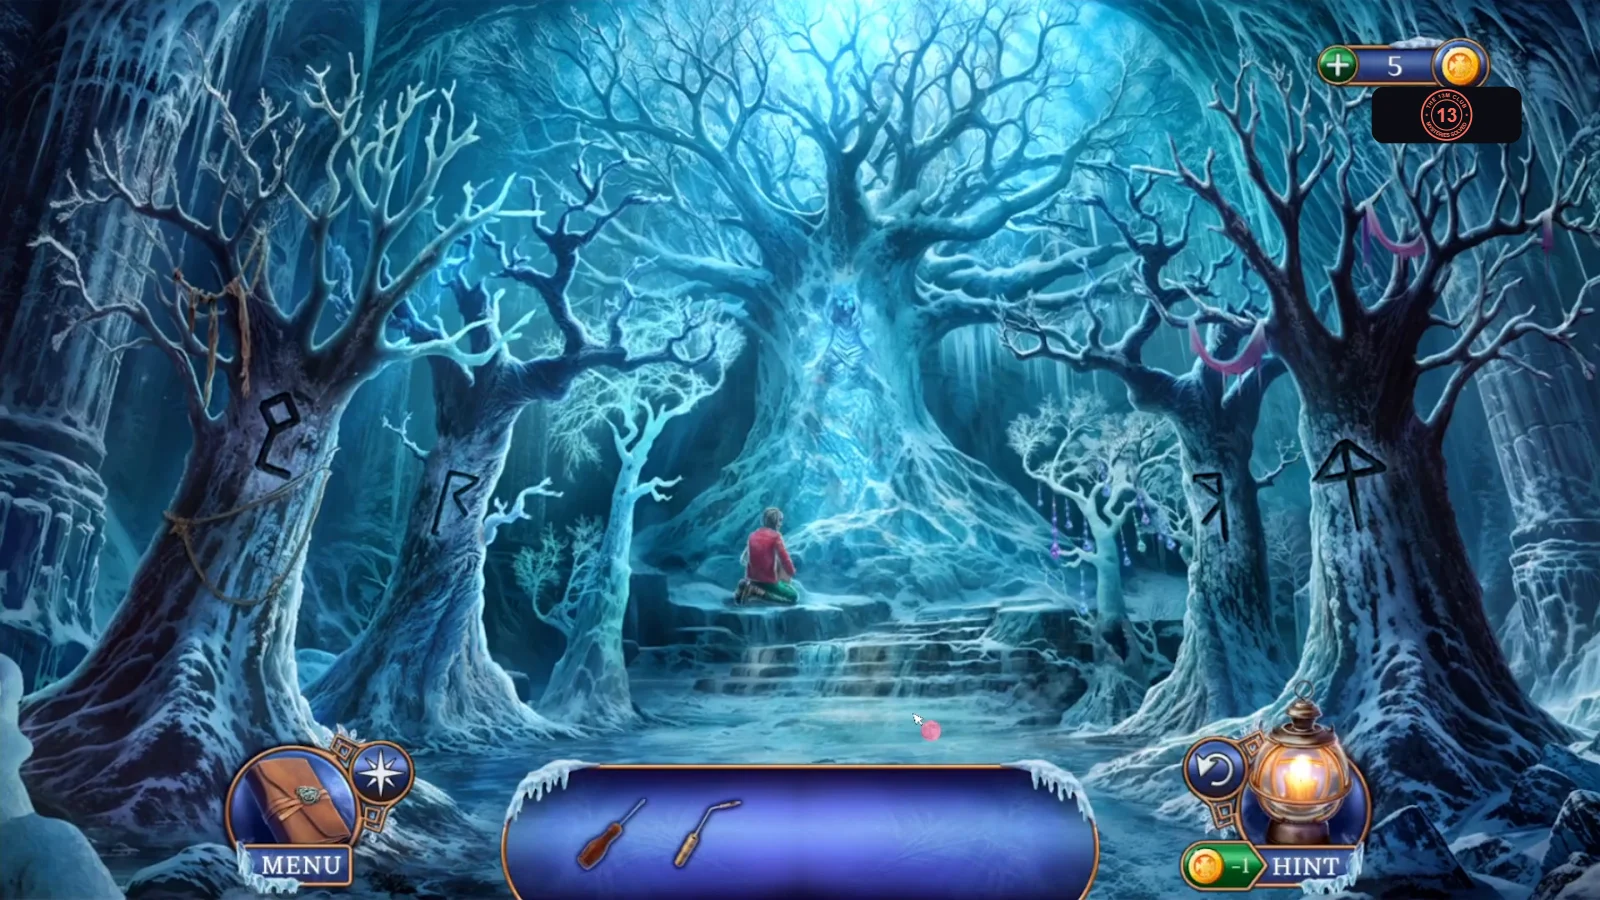
The Gripsack Key leads to the Jewelry Burner, and Christine does the rest.
- In the Hall of Trees, open the skeleton and use the Gripsack Key on the gripsack. Take the Jewelry Burner.
- In the Artist's Tower, give Christine the Rune Drawing and Jewelry Burner. She makes the Runes. New task: Insert the runes into the trees.
- In the Hall of Trees, place the four Runes on the marked trees. Purple lightning spreads over the steps. New task: Turn off the magic restoration of the King of Winter. Six puzzles now open in turn; tap the glowing spots at the foot of the trees to start each one.