Paints and the three crystals
The door under the arch needs a red, a green and a blue crystal. You already have the Red Crystal; the two pale crystals need paint.
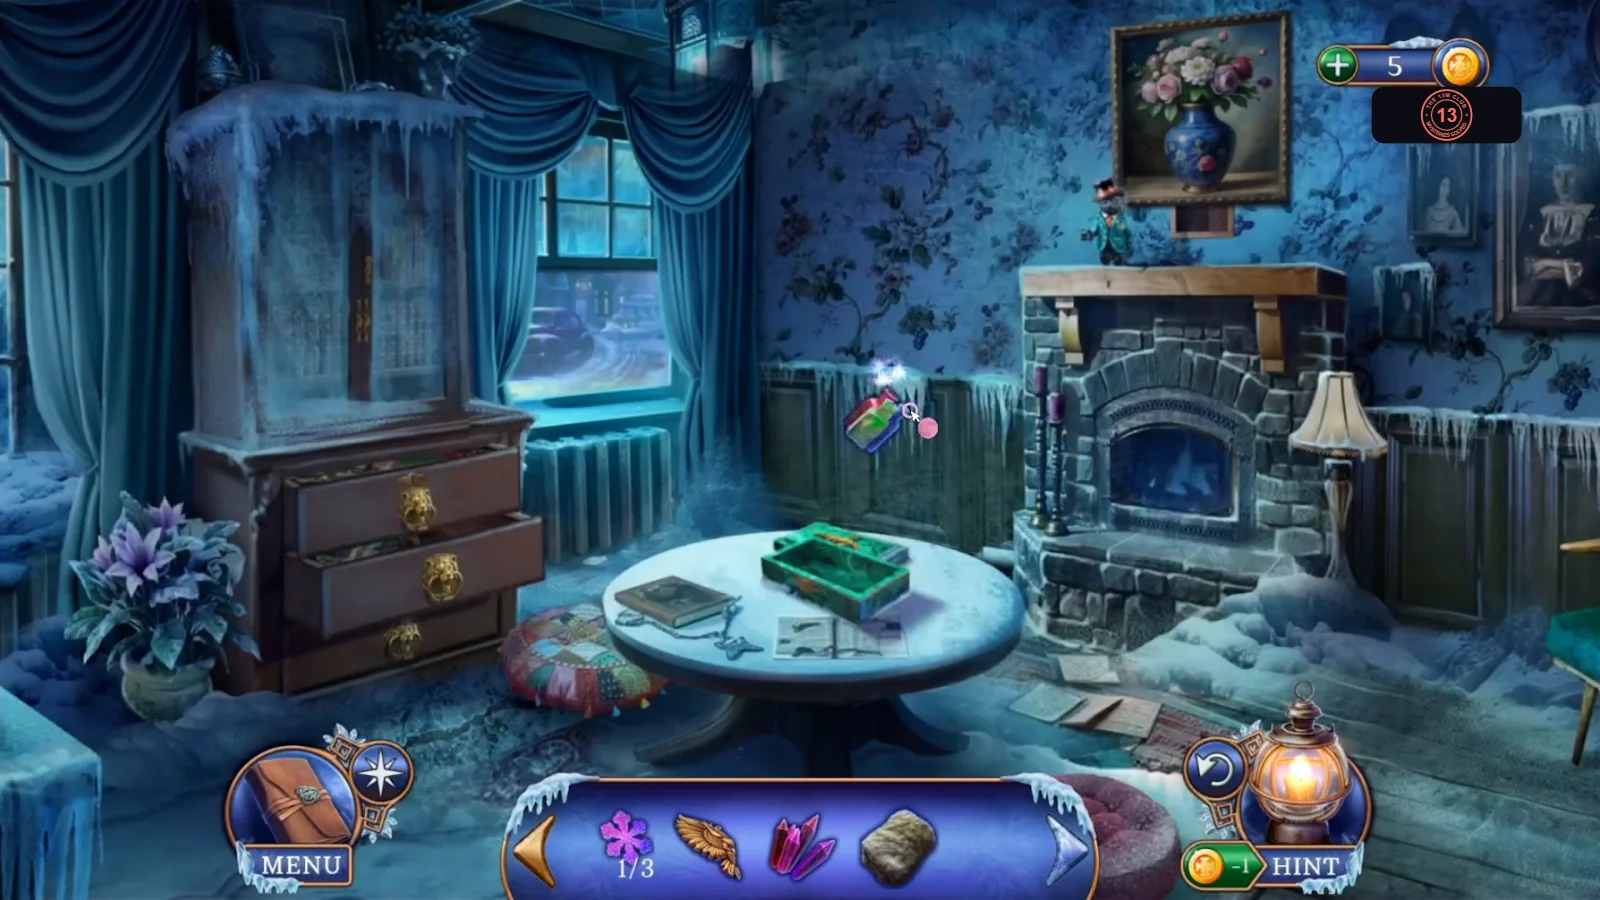
- Go to the Seer's house and open the mantel beside the cat figure. Fit the Picture Fragment into the wooden panel next to the vase. The panel slides aside: take the Paints.
- At the Old Bridge, open the red toolbox by the tent and use the Paints on the pale crystal at the left to make the Blue Crystal. Take it.
- Open the rear of the taxi and use the Paints on the pale crystal by the trunk to make the Green Crystal. Take it.
- Open the door under the bridge arch and fit the Red, Green and Blue Crystals into its sockets. The light-line puzzle starts.
Glowing lines on the door
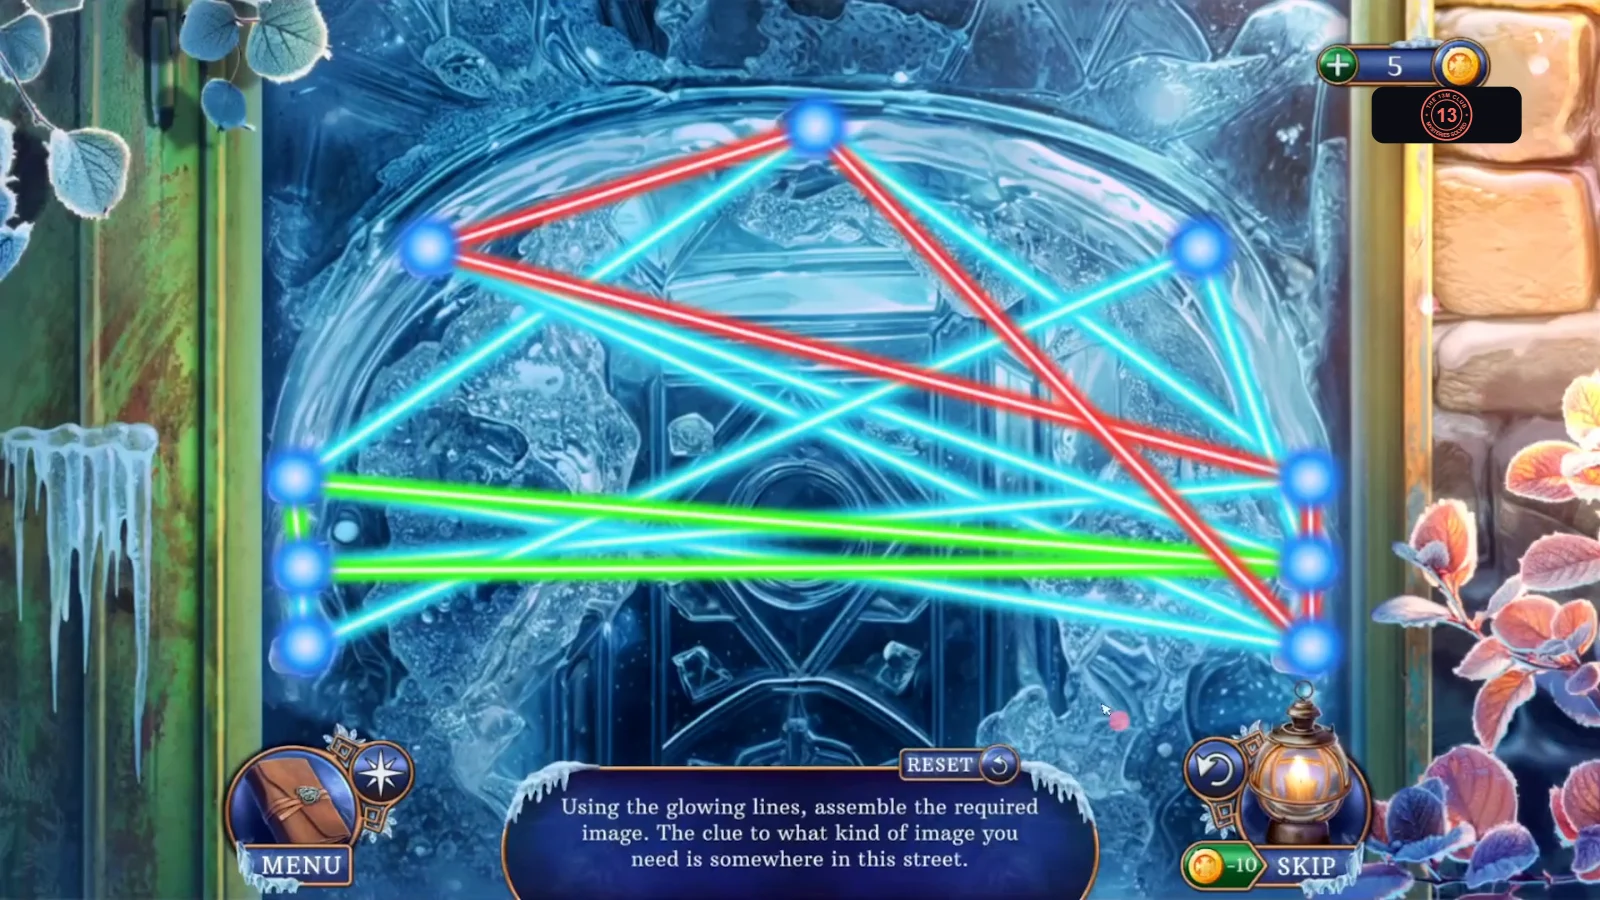
Goal: Using the glowing lines, assemble the required image. The clue is the card standing in the blue-and-white urn beside the red toolbox. Nine light nodes are joined by red, green and blue lines; swapping two nodes swaps their lines.
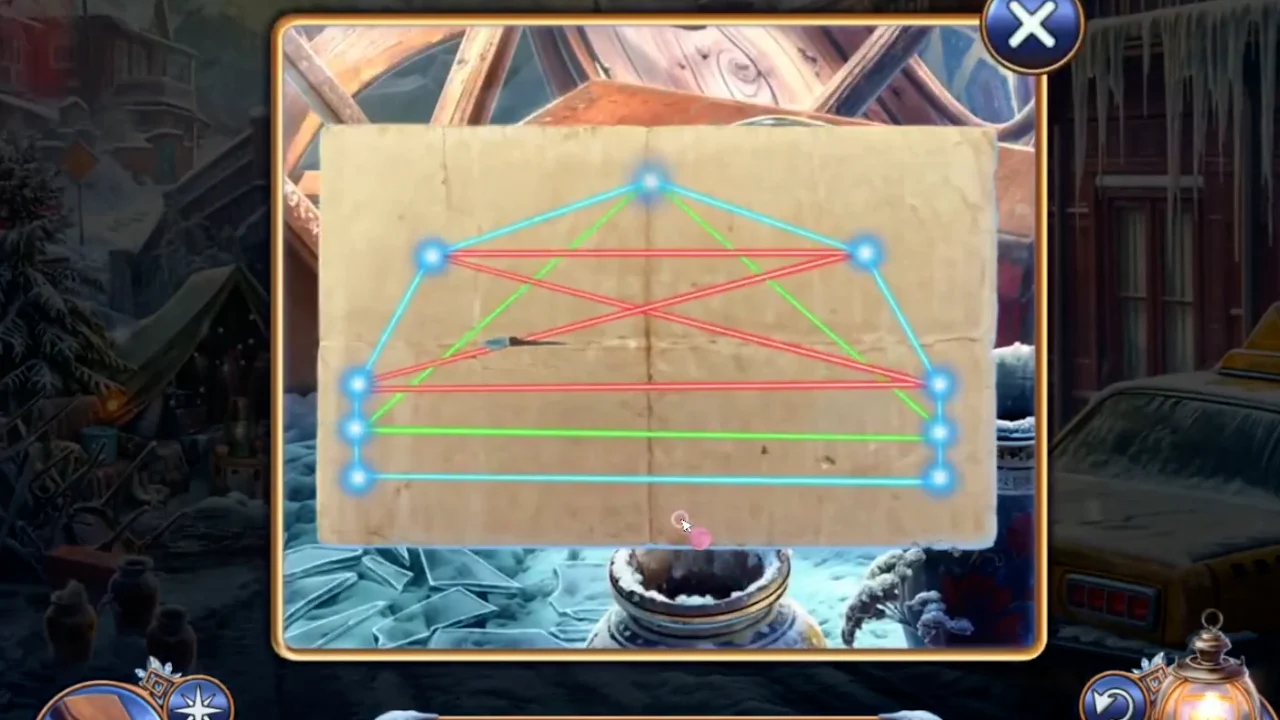
- Tap a node, then tap another node to swap them. Copy the card. The target has a green triangle: the top node joined to the middle node of the left column and the middle node of the right column, with a green line between those two. Its red lines join the upper-left node to the upper-right node, the top node of the left column to the top node of the right column, and form an X: upper-left to the top of the right column, and upper-right to the top of the left column. Every other line, including both sides, stays blue. Use RESET if the picture becomes confusing.
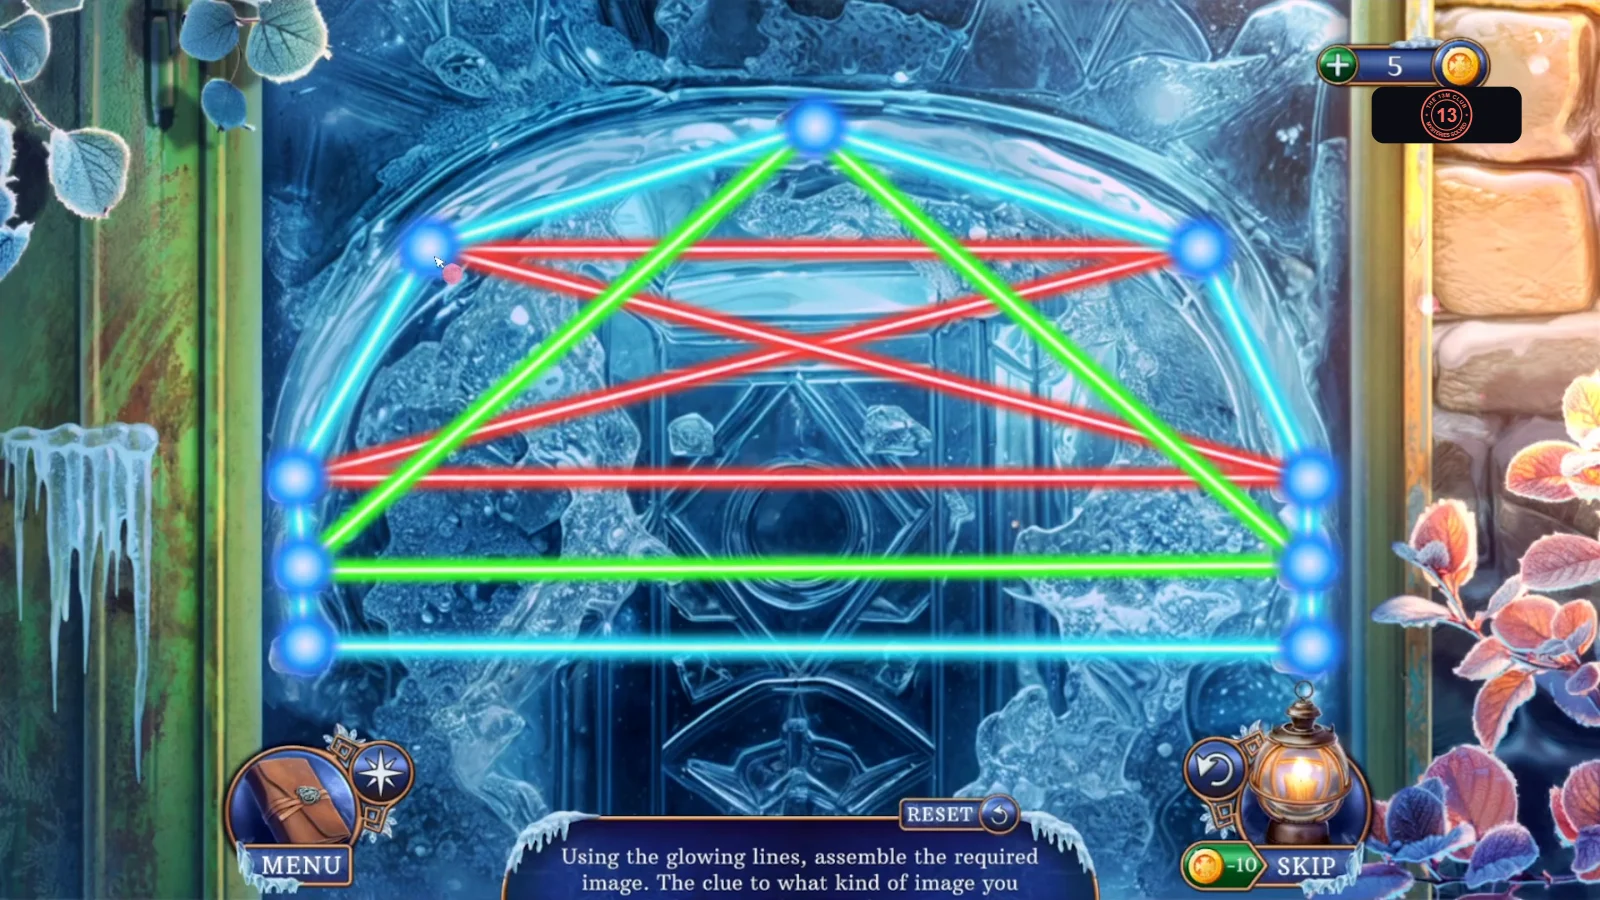
The door lines matching the card, just before the puzzle ends.
Mine entrance: repairing the winch
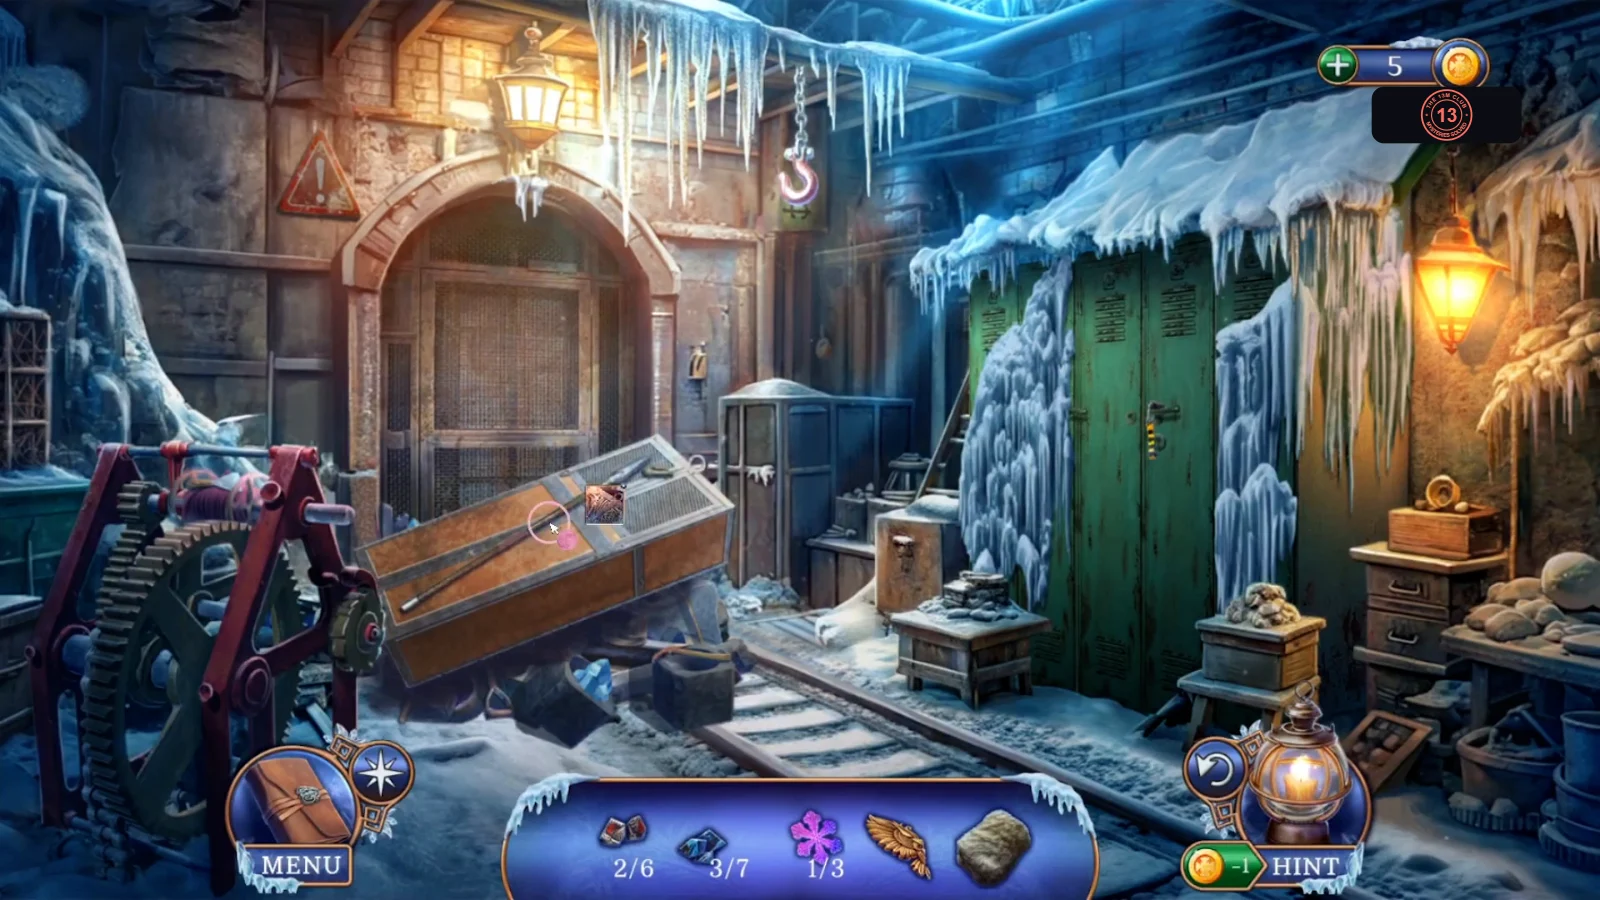
Beyond the door is the mine entrance. A fallen cabinet blocks the way on, and the winch that can lift it is broken.
- Go through the door into the mine entrance. Task: Find a way to get out. Open the winch at the left: it has no lever or belt and also needs a nut and a tool. Take the Spatula lying by the winch.
- Open the fallen cabinet. It is too heavy to lift, but take the Spear and the first half of the Amulet Car from it.
- Open the green lockers and take the Car Key hanging in the lock of locker 3. The handle of the locker is missing.
- Back at the Old Bridge, open the taxi's trunk with the Car Key. Take the Winch Lever and the second half of the Amulet Car. Note the padlocked crate and the frozen chest in the trunk.
- Open the red toolbox and fit both Amulet Car halves into its lid. Take the Iron Handle and the Nut.
- Open the rope holding the red ladder at the side of the bridge and cut it with the Spear. The ladder drops, so climb to the balcony.
- On the balcony, take the folding Stool and the Wrench. The drawer of the white nightstand has no knob yet, and the lamp above it would have to be unscrewed to get its bulb.
- At the mine entrance, fit the Iron Handle on locker 3 and open it. Take the Winch Belt, the Iron Cup and read the newspaper page.
- Open the winch and use the Winch Lever, the Nut and the Wrench on it, then fit the Winch Belt.
- Stand the Stool on the ground under the ceiling hook, then tap the winch rope to run it over the hook. Open the fallen cabinet, attach the clasp hook and turn the winch handle. The cabinet lifts and exposes a pile of rubble in the doorway.
Clearing the rubble pile
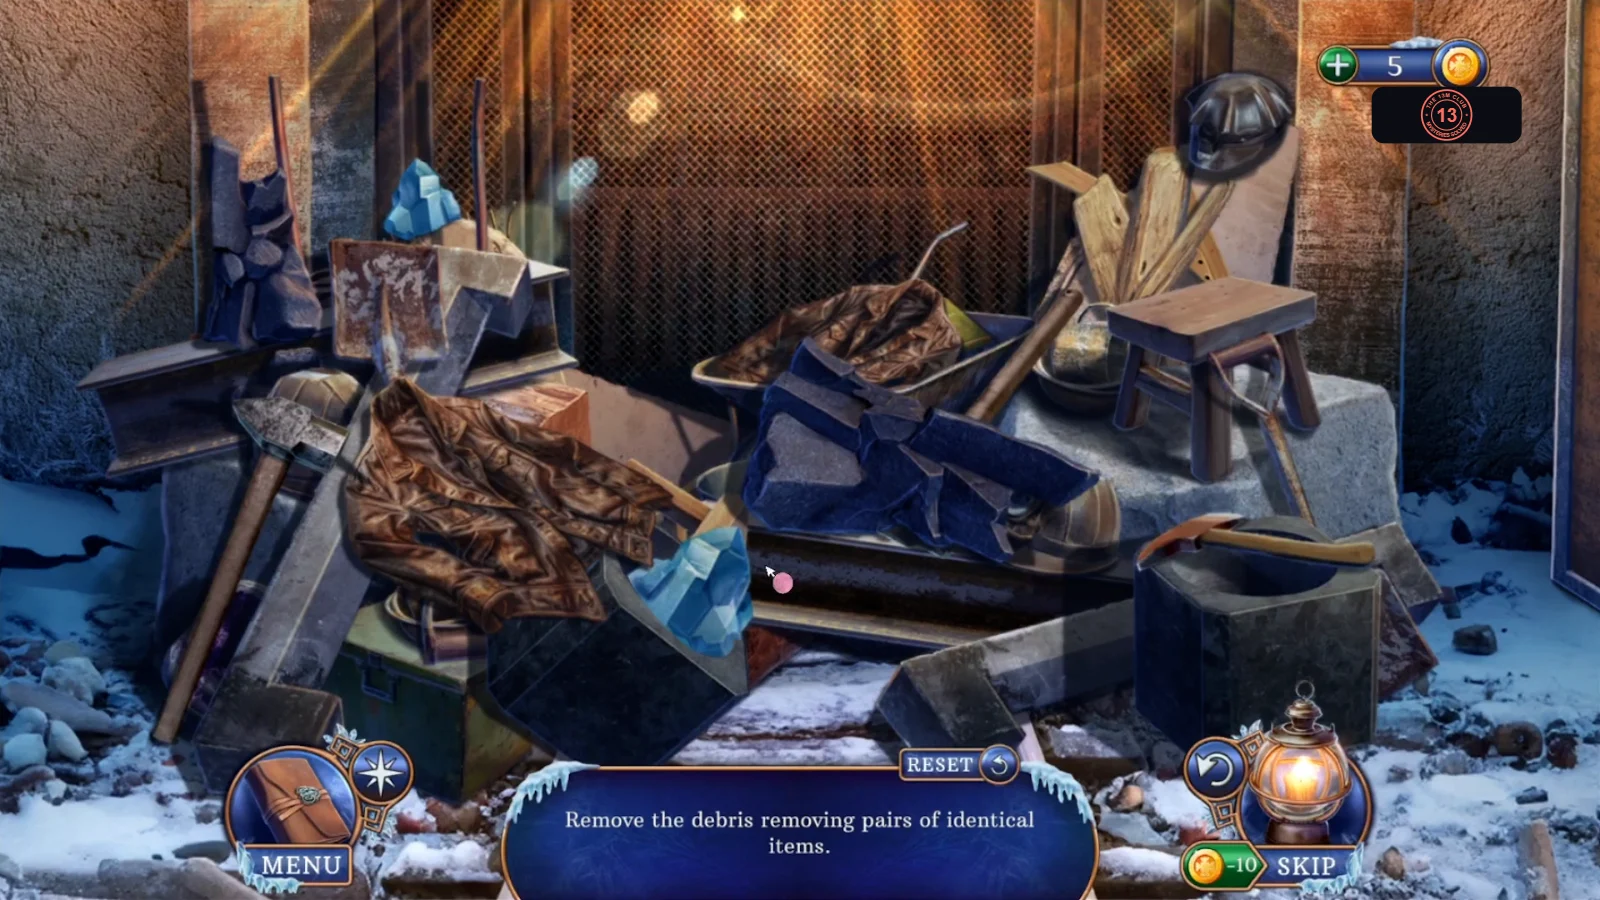
Goal: Remove the debris by removing pairs of identical items. This section gives an order of work rather than every pair.
- Tap one object, then its identical twin, to remove both. Only objects that are not covered can be matched, so work from the top of the pile downward: start with the jacket and tarp pieces, then the tools, the bowls and the helmets, and leave the heavy rocks, beams and wheelbarrows for last. Use RESET if you get stuck.
Old Mine: lamp, wedge and bas-relief
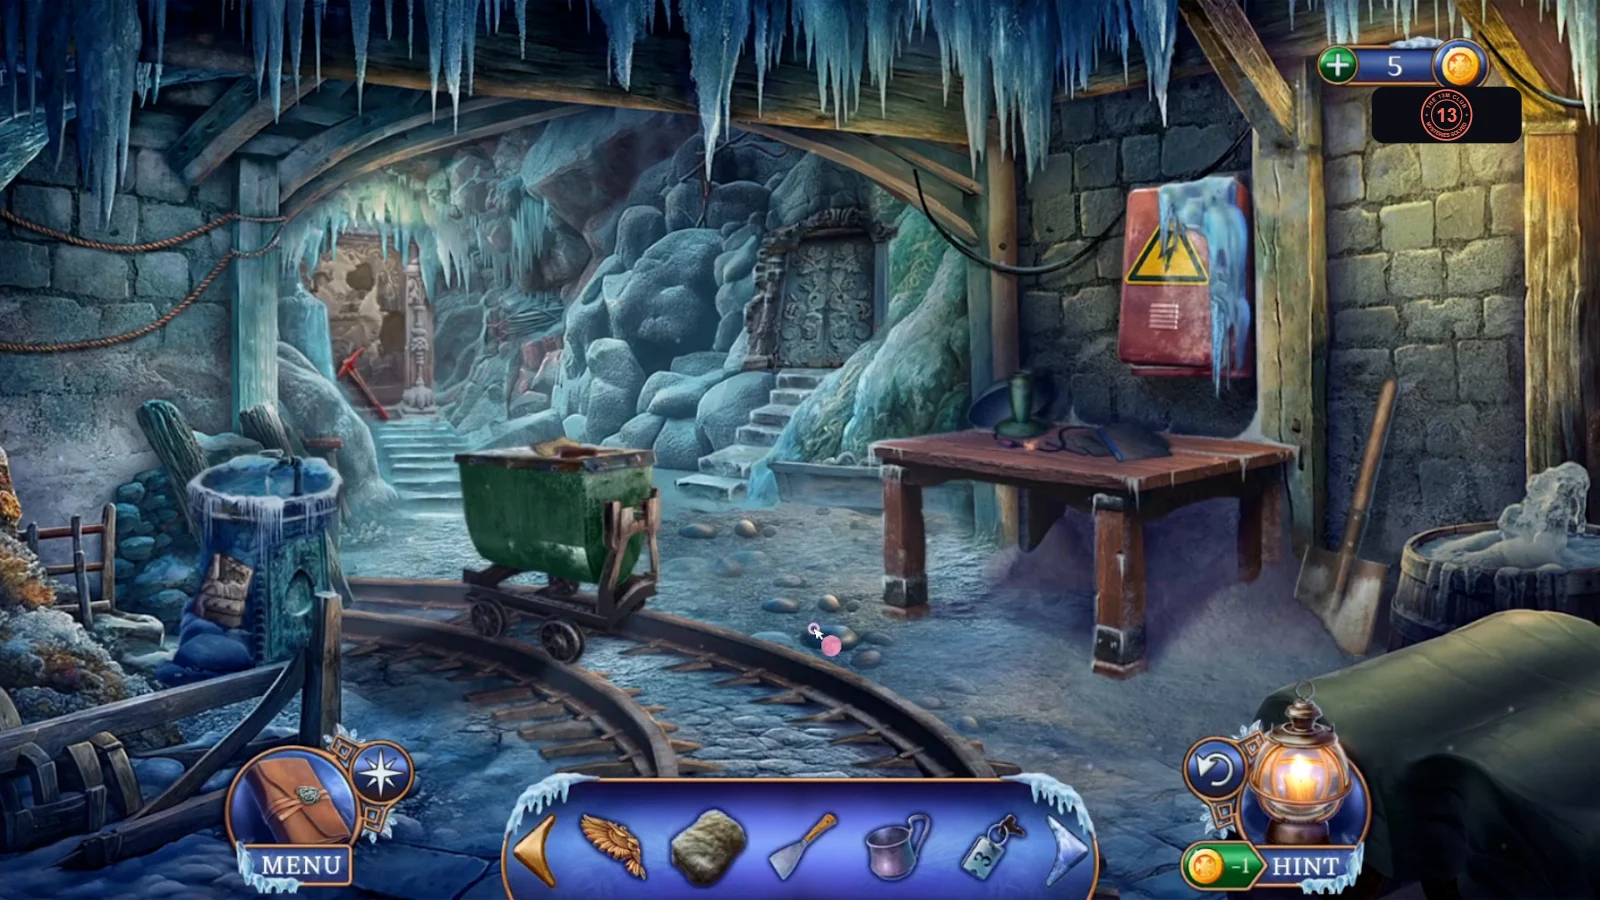
Explore the Old Mine and bring the glowing mechanism to life. The three Bas-Relief Parts lead to its missing part, the Ancient Pyramid.
- Go through the door to the Old Mine. Task: Find information about what happened here. Open the frozen fountain at the left and take the first Bas-Relief Part.
- Open the carved wall at the back and take the Pickaxe.
- Open the mine cart, read the newspaper clipping and take the Screwdriver.
- Open the dark table and take Key Number 3. To see properly you need to fix the wire and get a lamp bulb.
- At the mine entrance, use Key Number 3 on the inner compartment of locker 3 and take the Adhesive Tape and the Hammer.
- On the balcony at the Old Bridge, use the Screwdriver on the lamp and take the Light Bulb.
- In the Old Mine, open the table again. Wrap the broken wire with the Adhesive Tape, screw in the Light Bulb and switch on the lamp. Tap the book to watch the vision of the miners, then take the Wedge from it.
- Open the frozen electrical box on the wall above the table. Hold the Wedge against the ice and strike it with the Hammer. Open the panel and pull the lever. A new glowing pedestal appears, with the task Open the glowing mechanism.
- Open the glowing pedestal, move the blue cloth aside, and take the Amulet Snowflake and the second Bas-Relief Part. The mechanism still lacks one part.
- Open the carved wall and use the Wedge and Hammer on it to break off the ice layer. Dust and small stones remain.
- At the Old Bridge, open the taxi's trunk and break the padlocked crate with the Pickaxe. Take the Archaeologist's Brush and the last Bas-Relief Part.
- In the Old Mine, open the carved wall, sweep it with the Brush and fit the three Bas-Relief Parts. Take the Ancient Pyramid that appears.
- Open the glowing pedestal and put the Ancient Pyramid in the empty place among the carved solids.
Rune solids on the pedestal
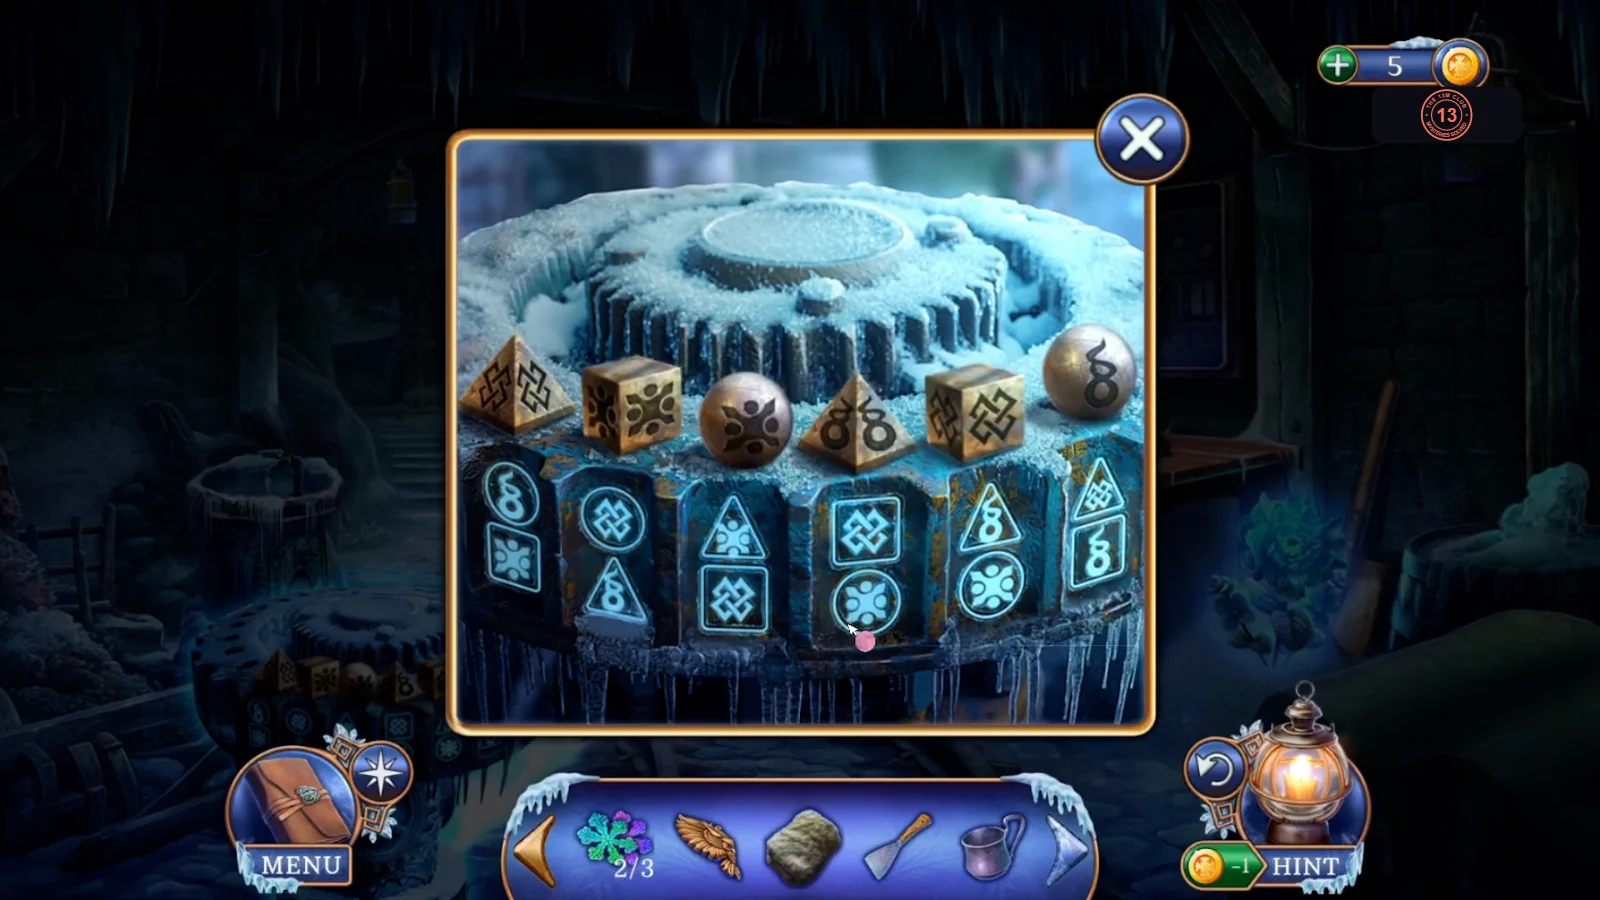
Goal: Re-order the solids so that their shapes and symbols match the plates on the pedestal. Six solids stand in a row: pyramid, cube, sphere, pyramid, cube, sphere.
- Tap two solids to swap them. Keep the shape pattern and exchange only the symbols: swap the two cubes with each other and swap the two spheres with each other. From left to right the row must read: pyramid with knot, cube with cross, sphere with S-mark, pyramid with S-mark, cube with knot, sphere with cross. The symbols light up when it is correct.
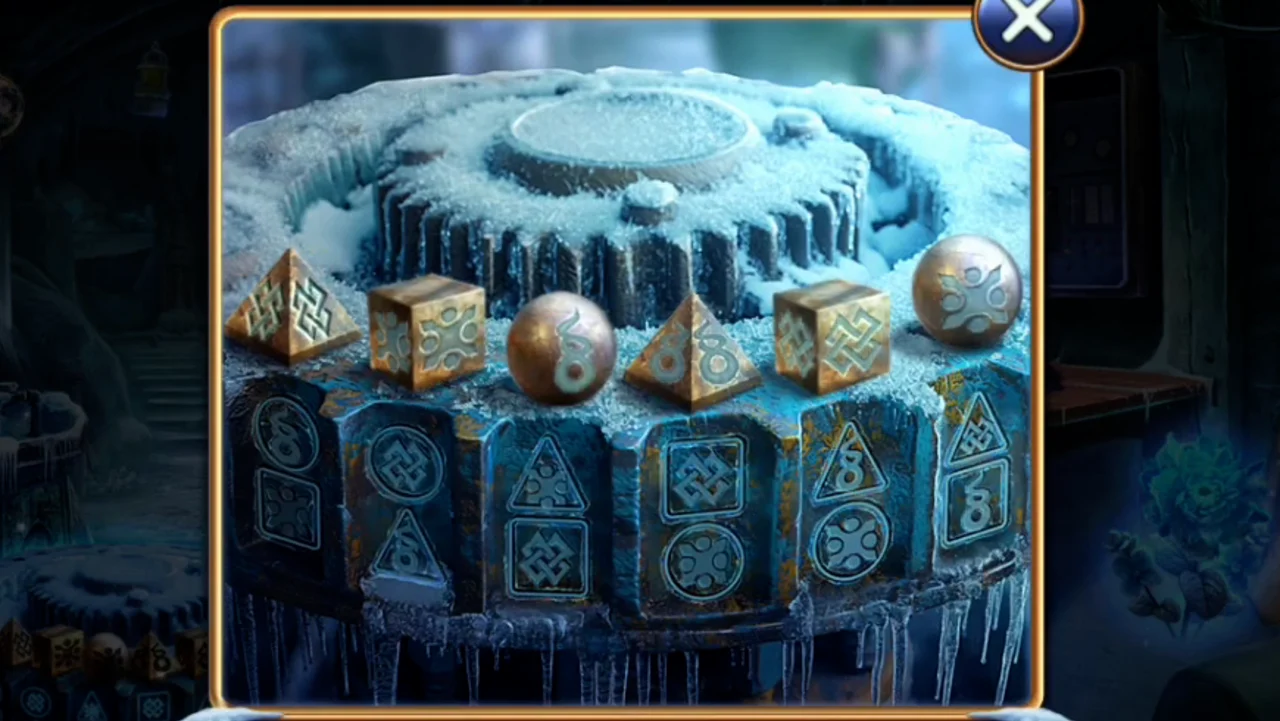
Solved: the solids and their symbols match the plates, and the symbols light up.
Frozen sphere hidden object scene
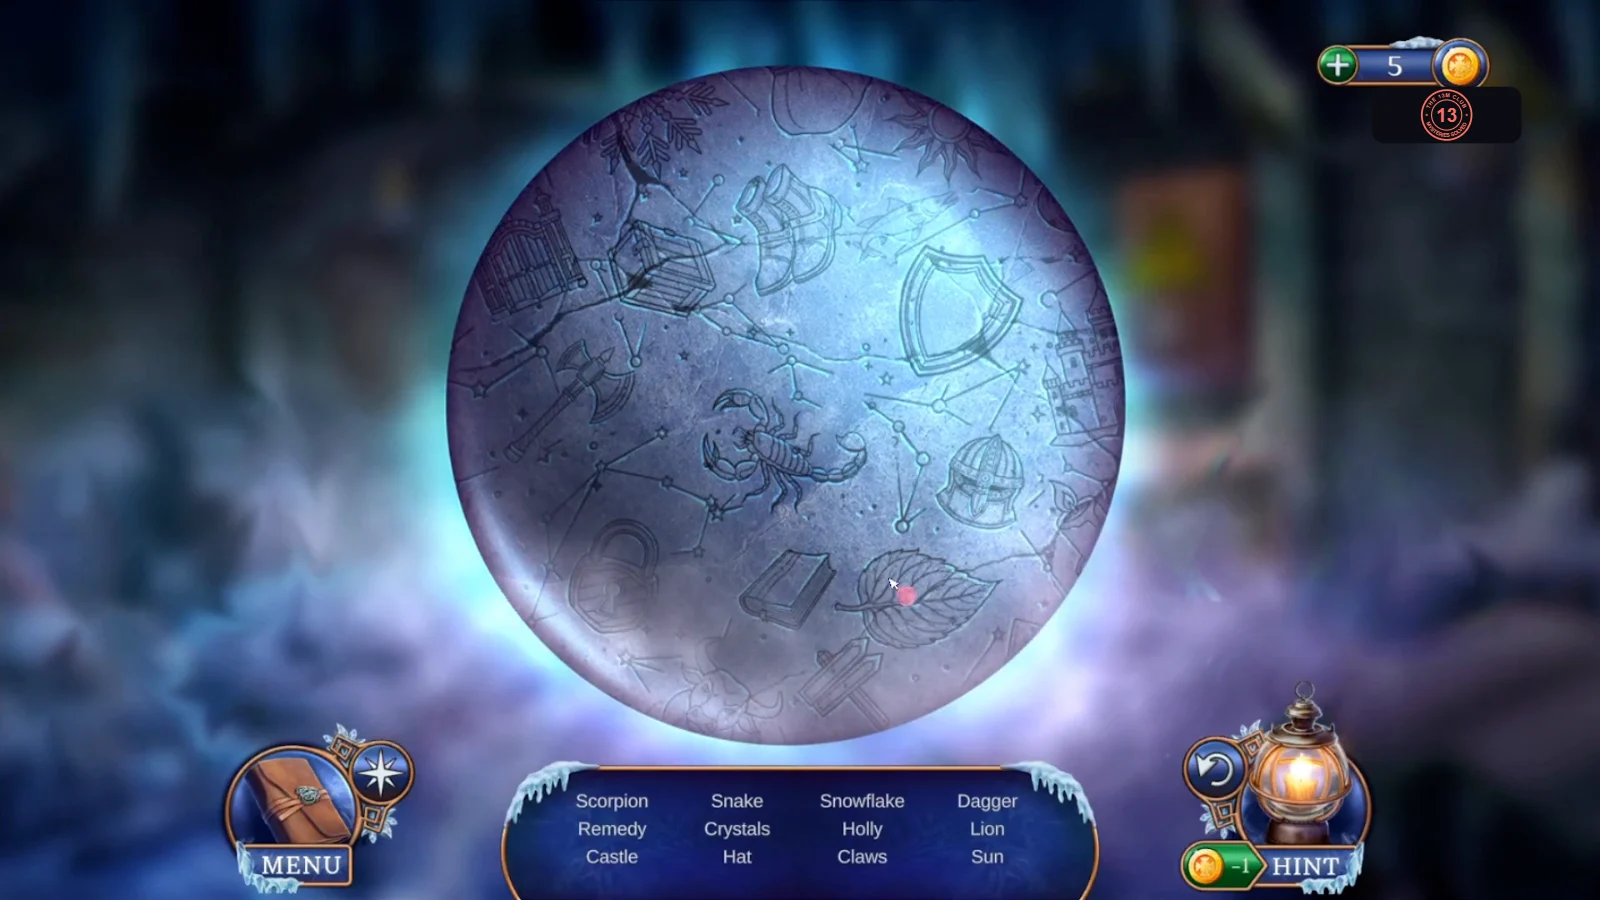
Find every symbol engraved on the sphere. Drag to spin the sphere; found symbols glow. The list rotates as you find items.
- Tap the sphere above the pedestal to open the scene. The list includes Ox, Scorpion, Snake, Snowflake, Dagger, Lightning, Remedy, Crystals, Holly, Lion, Castle, Hat, Claws, Sun and Horned Helmet. Keep turning the sphere and tap each glowing outline until the list is empty. The door to the Sarcophagus Hall opens afterwards.
Sarcophagus Hall: Christine and the frost flame
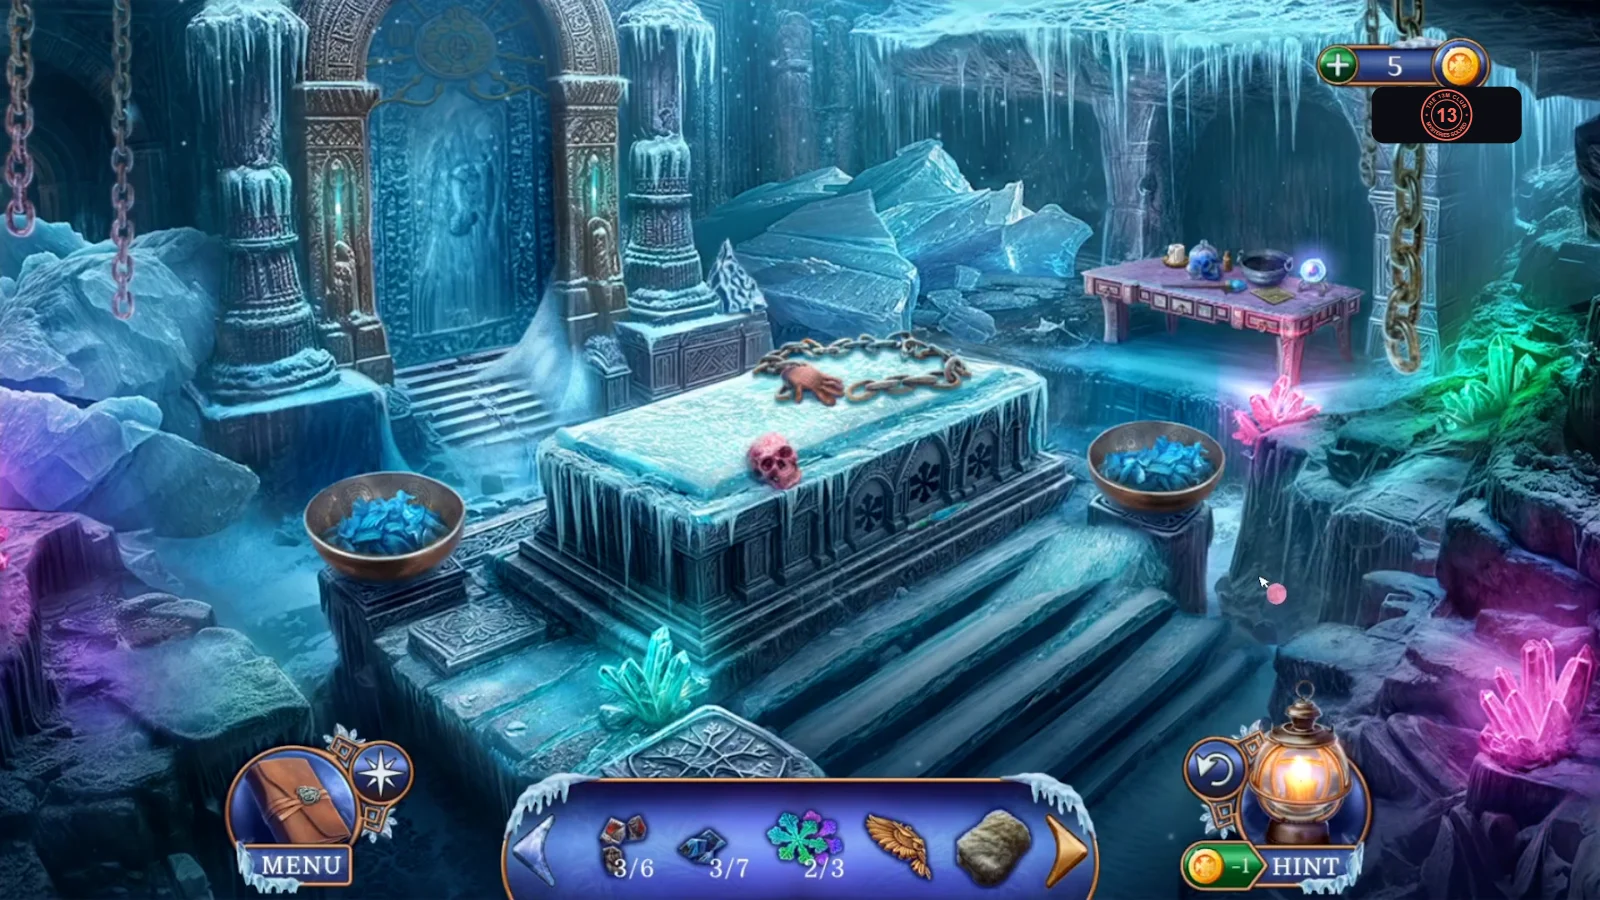
Christine is trapped inside the sarcophagus. Start with the items around it, then make the Frost Flame that opens the sealed door.
- Go through the door to the Sarcophagus Hall. Open the top of the sarcophagus: take the Ruby Skull and Christine's Mitten. Christine is trapped inside, so the lid must be opened.
- Open the sarcophagus top again and use the Iron Cup and the Spatula on the strange frost to fill the cup with Glowing Frost.
- Open the side of the sarcophagus and take the Ice Knife. Three amulet slots here need special amulets.
- Open the worktable at the right and take the Sapphire Skull. The table can cook something once you have a recipe.
- In the Old Mine, use the Ice Knife on the two ice flowers beside the rails and take the Flower Bud and the Frosty Flower.
- At the Old Bridge, open the frozen chest in the taxi's trunk and put the Ruby Skull and Sapphire Skull in its two slots. Take the last Amulet Snowflake from the opened chest.
- In the Sarcophagus Hall, open the side of the sarcophagus and press the Amulet Snowflakes into the three slots. The small drawer opens: take the Fire Recipe.
- Open the worktable. Place the Fire Recipe, cut with the Ice Knife, add the Flower Bud and the Frosty Flower, pour the Glowing Frost into the cauldron and tap the blue flame. The Frost Flame stays in the cauldron and you pick it up.
- Use the Frost Flame on the two bowls beside the sarcophagus. Their blue light runs to the sealed door and the clock lock opens.
Roman numeral clock
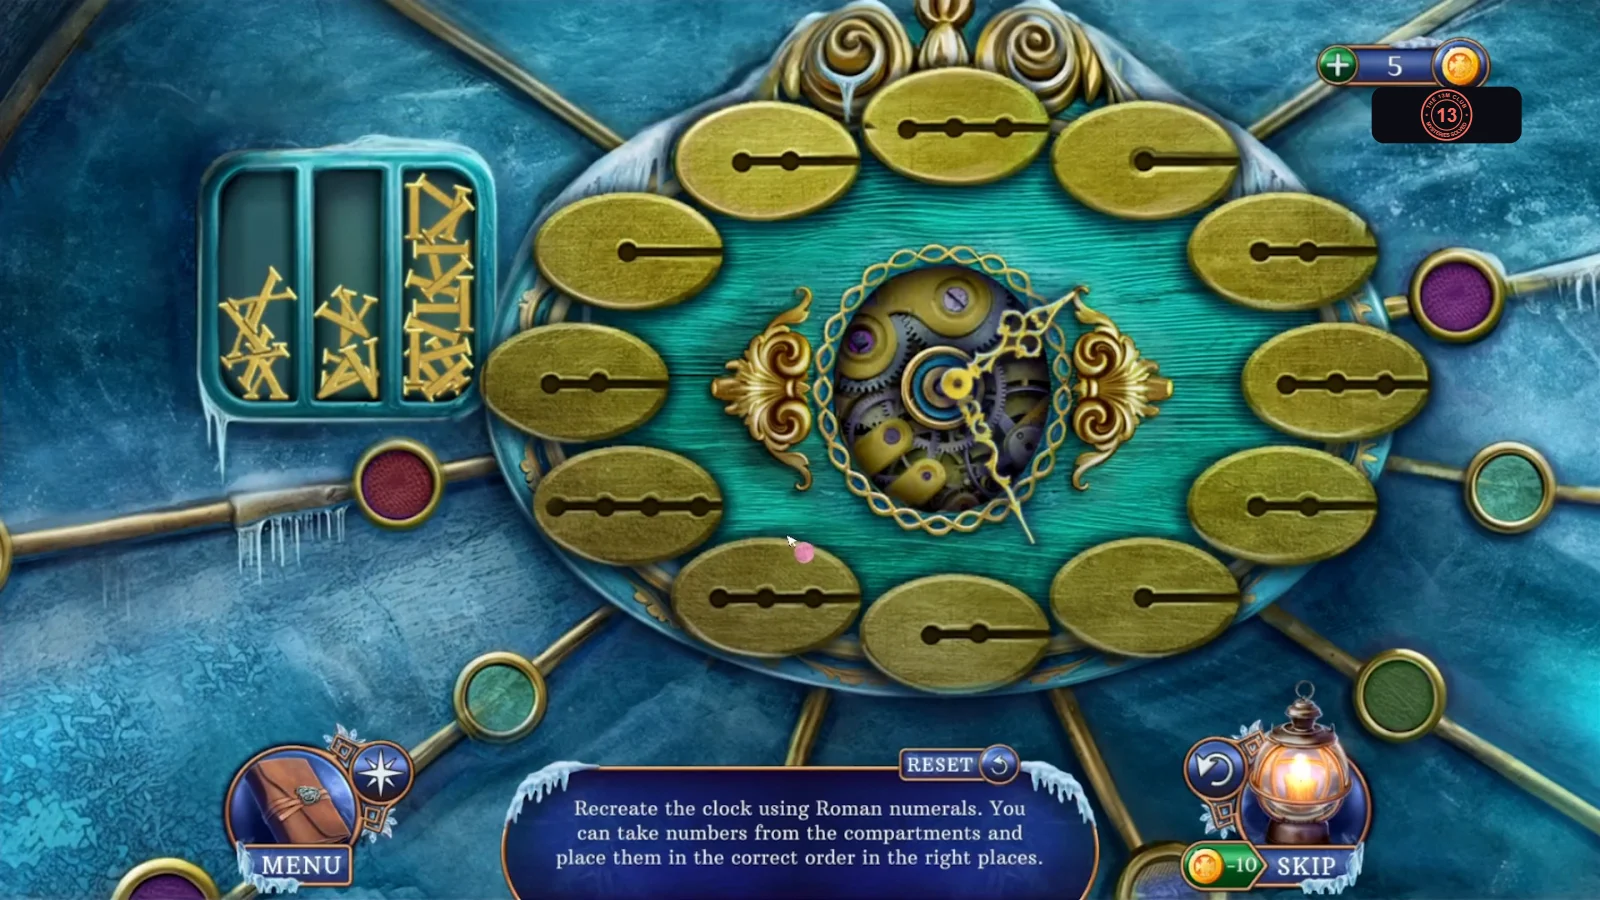
Goal: Recreate the clock using Roman numerals. Take numbers from the compartments and place them in the correct order in the right places. Each oval around the dial is one hour mark, and the three compartments on the left hold loose I, V and X pieces.
- Drag pieces into the ovals so the clock reads clockwise from the oval just right of the top: I, II, III, IV, V, VI, VII, VIII, IX, X, XI, and XII at the top. Pieces go in slot by slot, so IV and IX need the I on the left. Press RESET if you run out of the right piece.
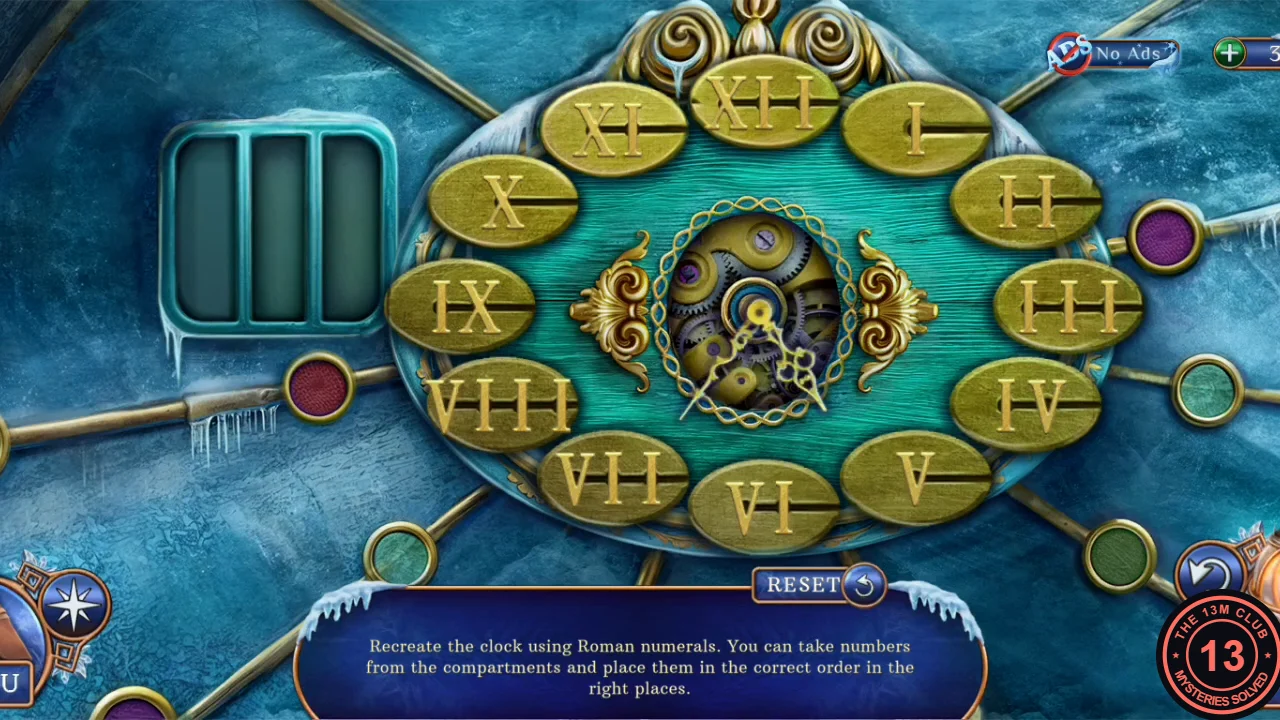
Solved: XII at the top and I to XI clockwise from there.
Ice Chapel: the Ice Key
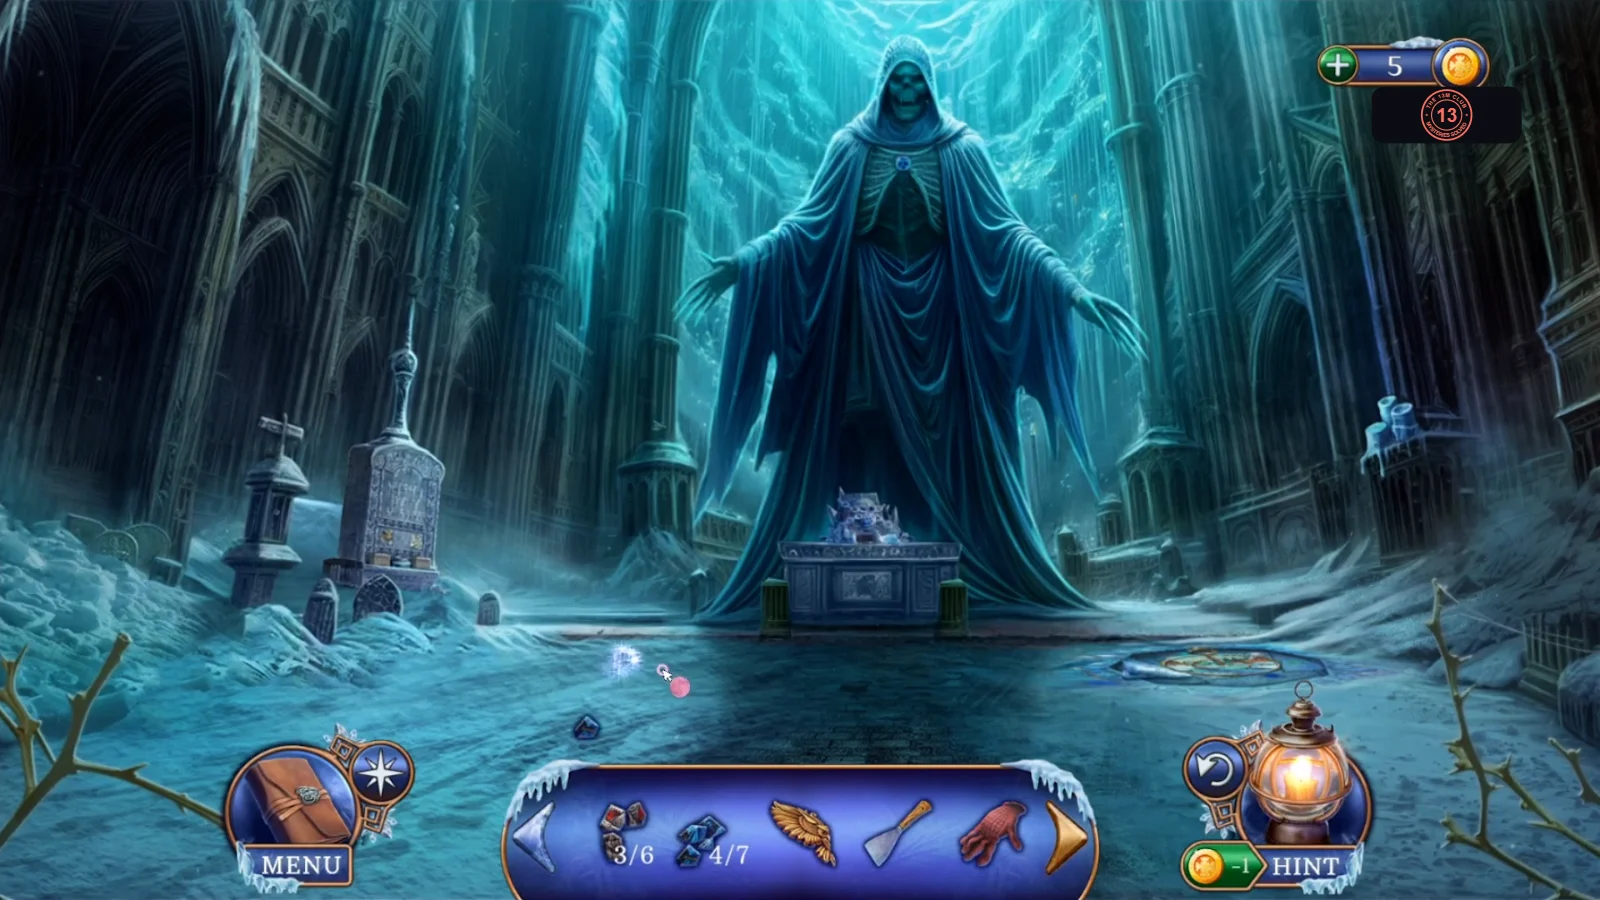
The frozen key on the altar must be rebuilt before it can open the chained book.
- Enter the Ice Chapel and open the altar under the hooded statue. The frozen key is too cold to touch, so use Christine's Mitten on it. It breaks into Key Fragments. Inspect them in the inventory to see that they need wax, water and a crystal.
- Open the broken mosaic on the floor, note that it needs pieces, and take the Icicle lying there.
- Open the blue candles on the left and scrape them with the Spatula. Take the Wax Piece.
- In the Sarcophagus Hall, open the worktable and take back the Iron Cup.
- Go to the barrel fire on Narrow Street. Open it, hold the Iron Cup over the flames and drop in the Icicle. Take the Cup of Water.
- Back at the altar in the Ice Chapel, open the chained book. Use Christine's Mitten on the crystal at the book to take the Frosty Crystal.
- Inspect the Key Fragments in the inventory. Set the Wax Piece as a mould, arrange the fragments and add the Cup of Water and the Frosty Crystal to freeze the whole into the Ice Key.
- Open the chained book and turn the Ice Key in its lock. Use Christine's Mitten to lift it, then take the Book of the Dead and the Round Papyrus.
Ghost energy for the sarcophagus
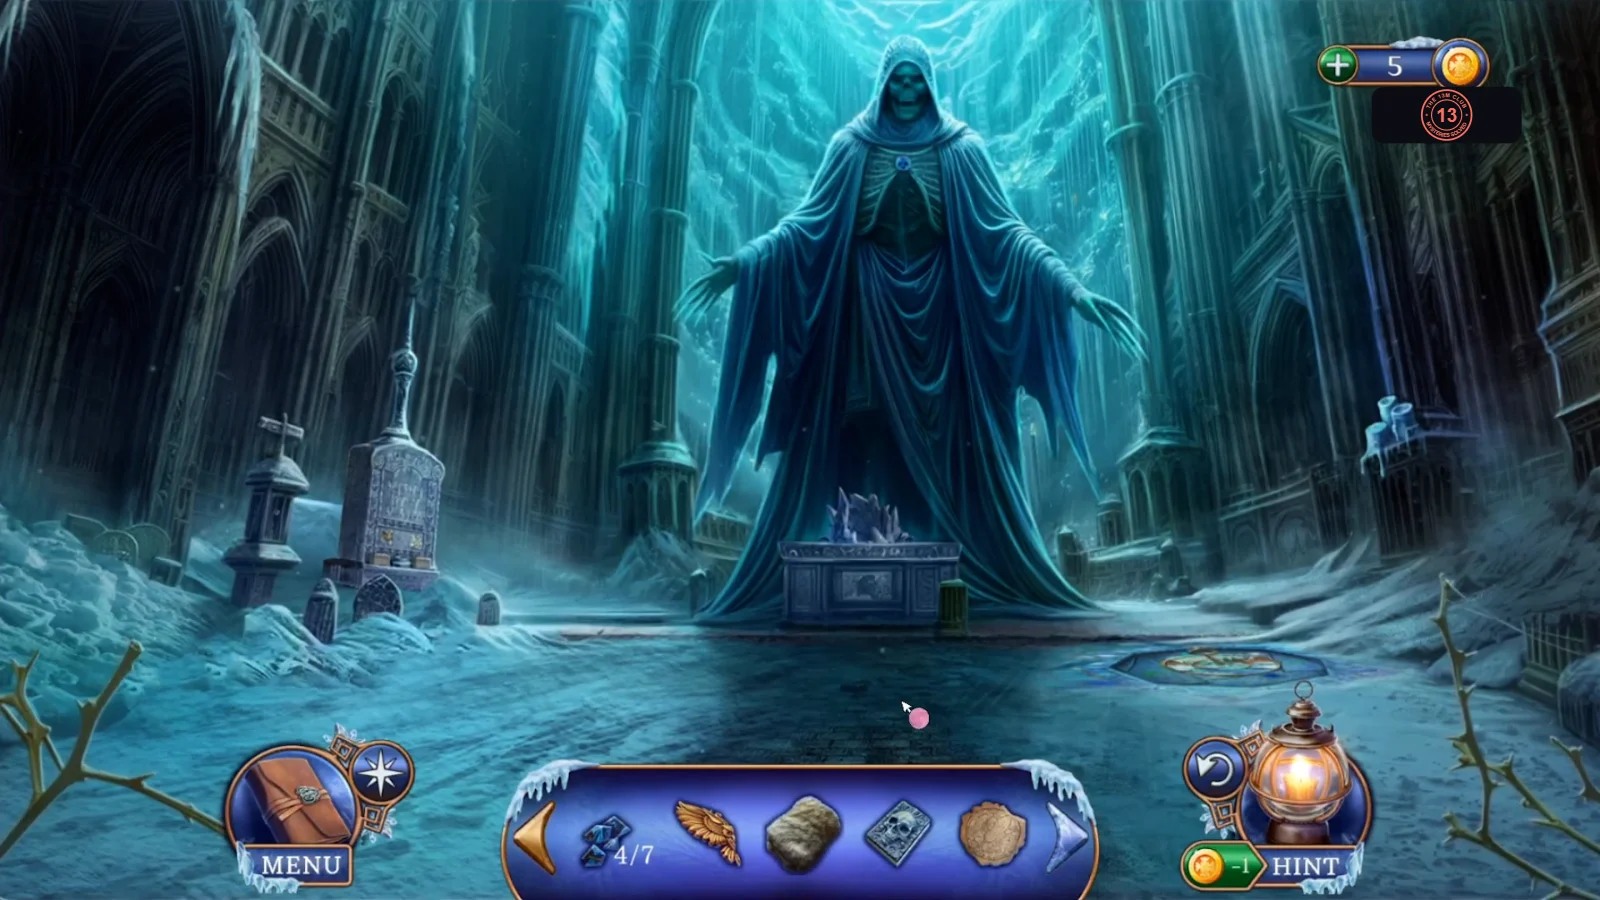
The Energy Trap collects Ghost Energy at three places. You need all of it to work on the sarcophagus lid.
- Go to the library and give the Book of the Dead to the Seer and Librarian Thomas. They give you the Energy Trap. Put the Fur down on the library floor next to the stove, ready for Christine.
- On Narrow Street, hold the Energy Trap in front of the barrel fire and let it charge. Ghost Energy reaches 1/3.
- In the Sarcophagus Hall, hold the Energy Trap over the area to the left of the sarcophagus and let it charge. Ghost Energy reaches 2/3.
- In the Ice Chapel, hold the Energy Trap in front of the hooded statue and let it charge. This completes the Ghost Energy.
- Still in the Ice Chapel, pick up the King Stained Glass Shard from the floor to the left of the altar.
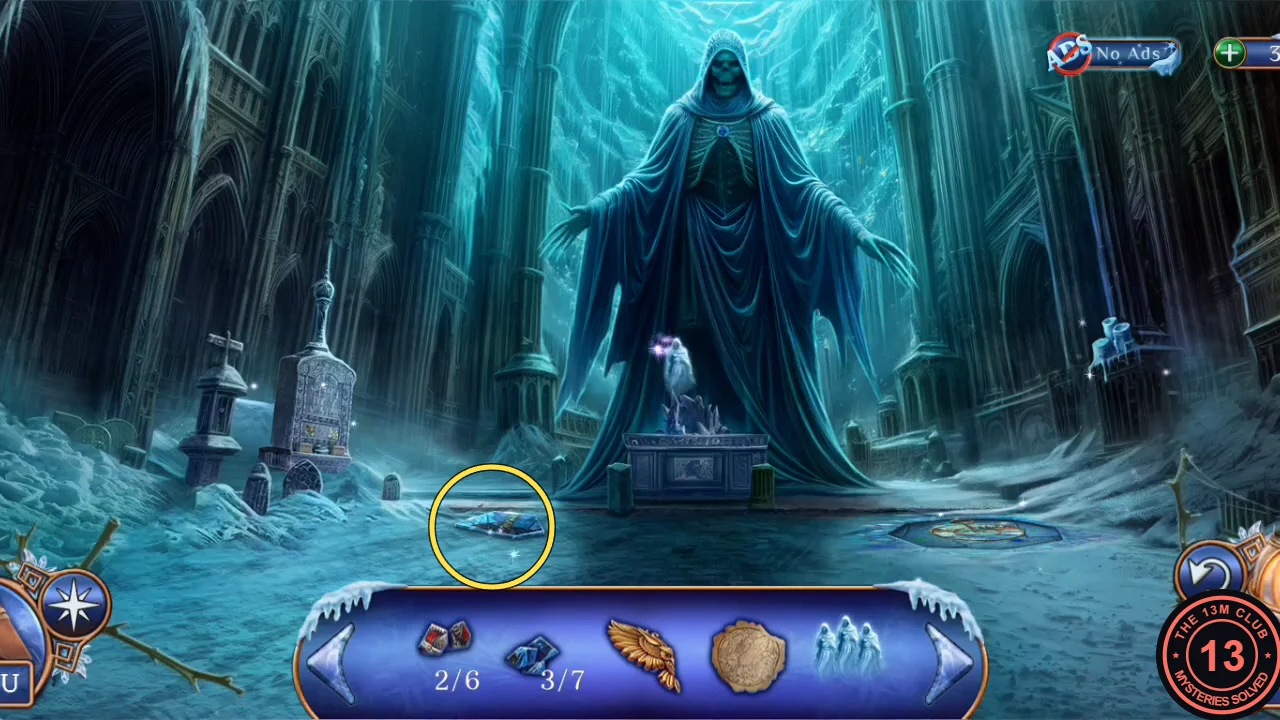
The fourth King shard is the blue glass on the floor to the left of the altar. - In the Sarcophagus Hall, open the sarcophagus lid and release the Ghost Energy on it. Then put the Round Papyrus on the lid to start the mosaic puzzle.
Ice mosaic of the king
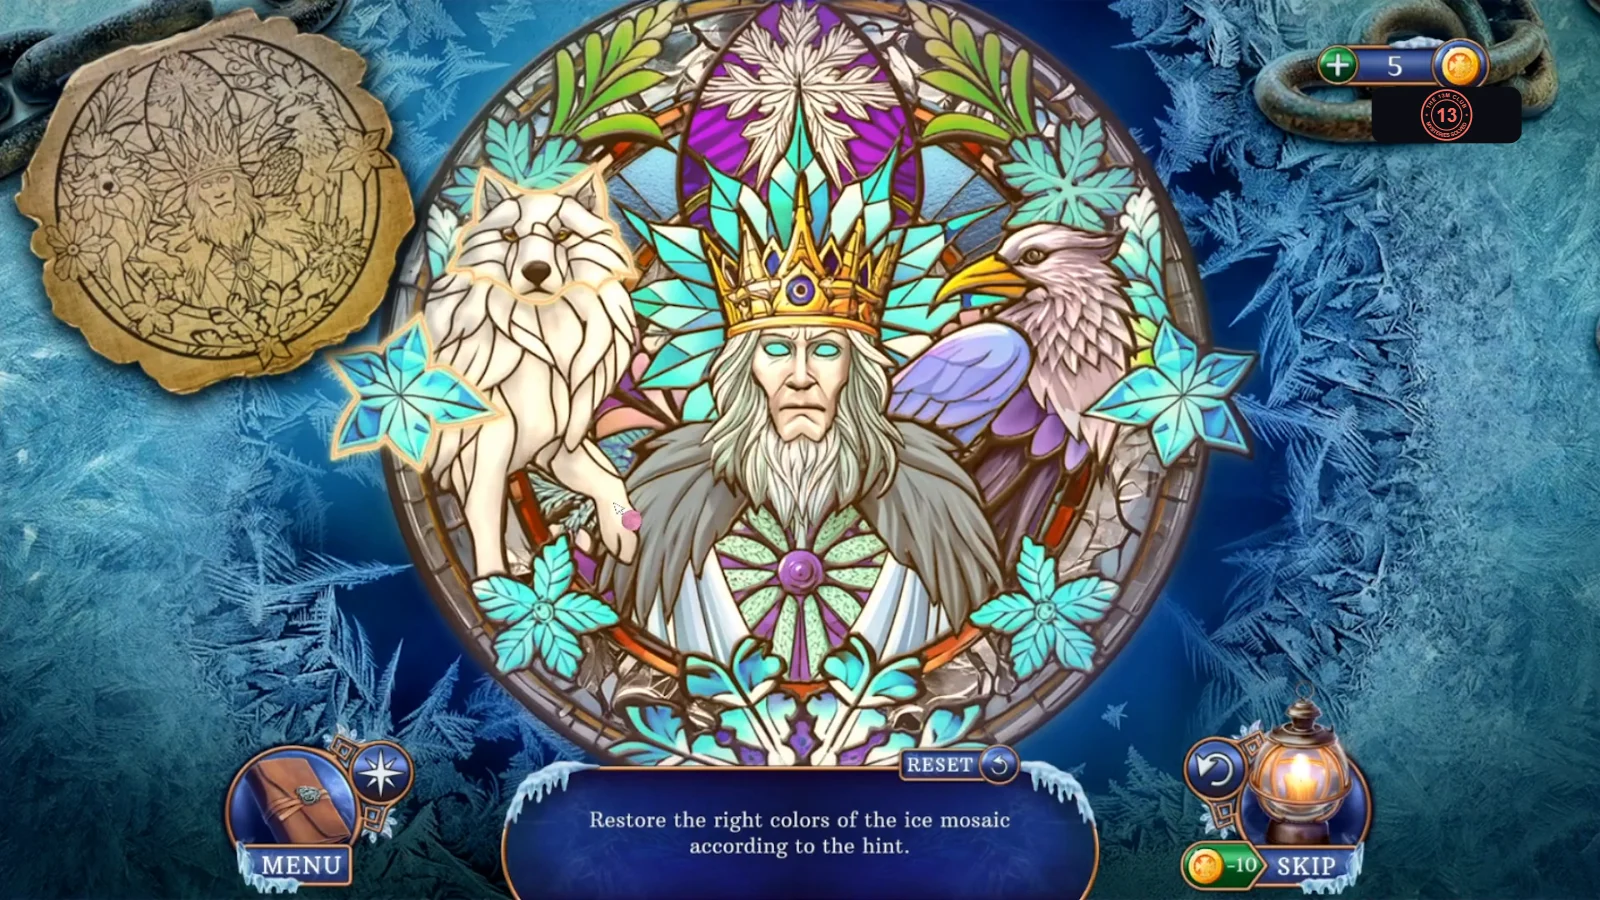
Goal: Restore the right colors of the ice mosaic according to the hint. This works like a spot-the-difference: the hint is the line drawing on the Round Papyrus.
- Tap the papyrus at the top left to enlarge the drawing, compare it with the mosaic and close it. Each mosaic piece that differs from the drawing has to be tapped; a correct piece gets a gold outline. In the finished picture these are glowing: the wolf's head, the king's crown, his hair, beard and fur collar, the medallion on his chest, the eagle's head, the top-right leaf spray, the blue leaf at the far left and the lower-right blue leaf. Tap Reset if needed.
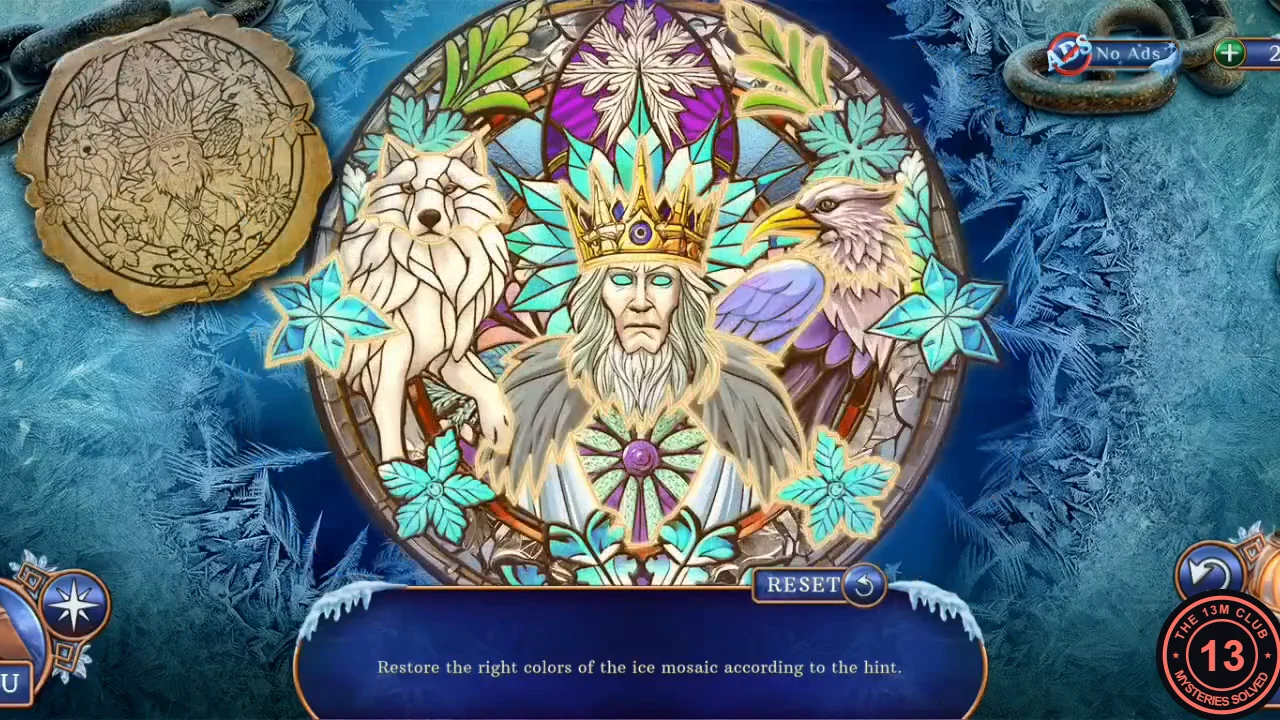
Solved: the corrected pieces glow with gold outlines.
Warming Christine
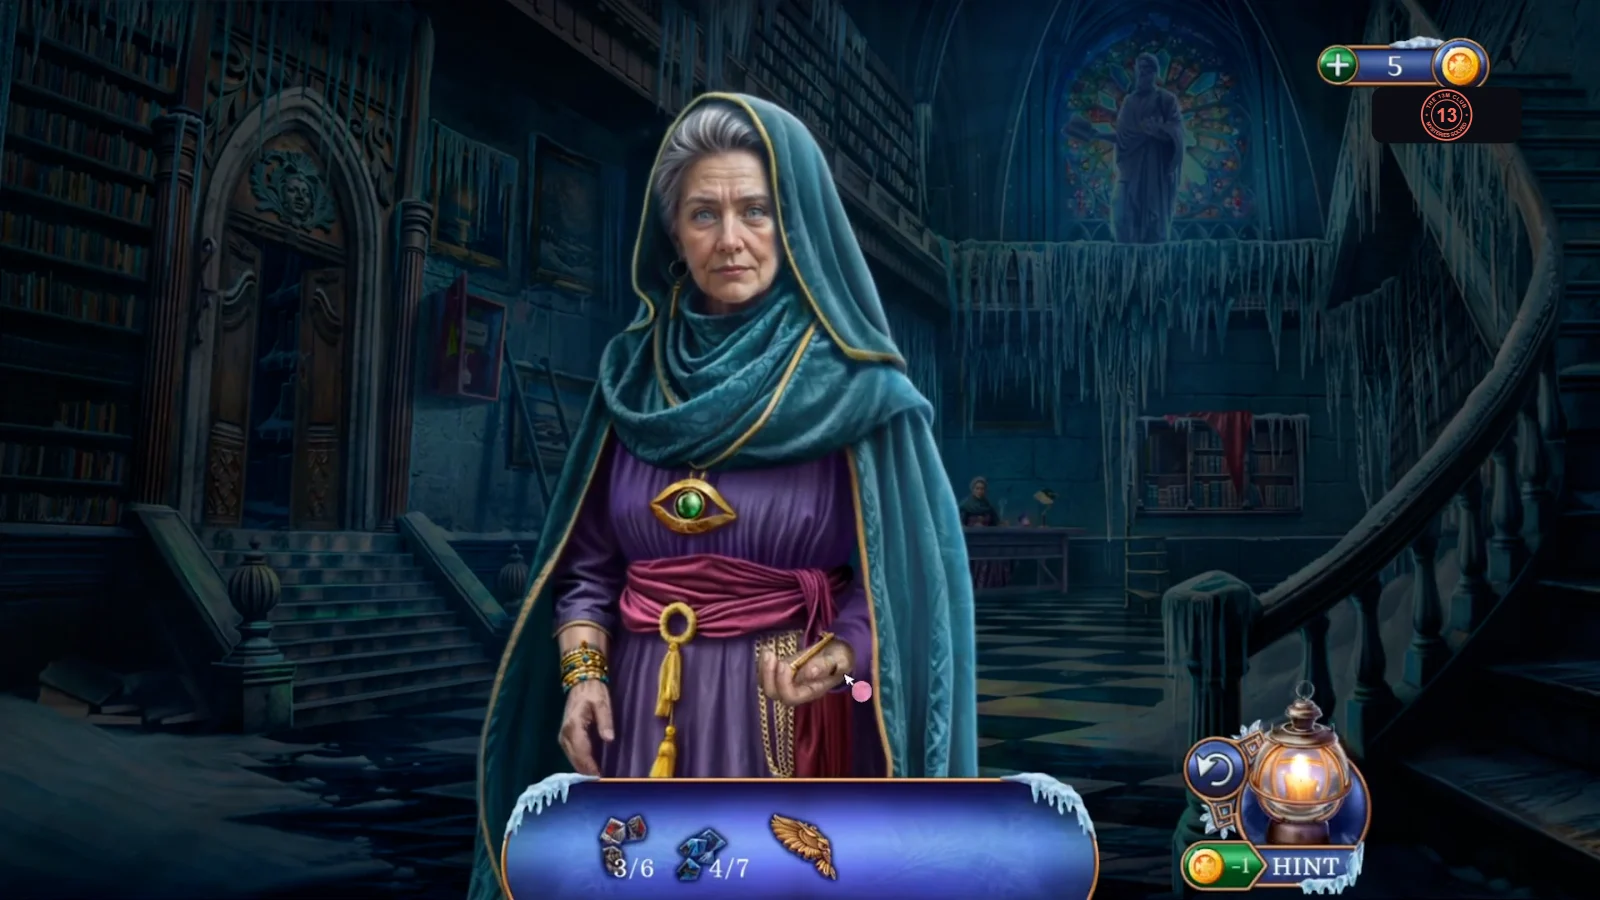
Christine is free but needs warming. The Seer asks for a potion, and Librarian Thomas needs a hotter fire.
- Watch the rescue. In the library, talk to the Seer: she takes care of Christine and hands you the Golden Key, sending you to her house for a special potion.
- In the Seer's house, open the upper cabinet with the Golden Key, slide the books aside and take the Warming Potion, the Ice Candle and the Amulet Drop.
- In the Old Mine, open the frozen fountain and press the Amulet Drop into its slot. Take the Bucket.
- In the Sarcophagus Hall, open the worktable and light the Ice Candle from the blue flame in the cauldron to make the Candle of Memory.
- Pick up the Skeleton Stained Glass Shard from the rock to the right of the lower steps.
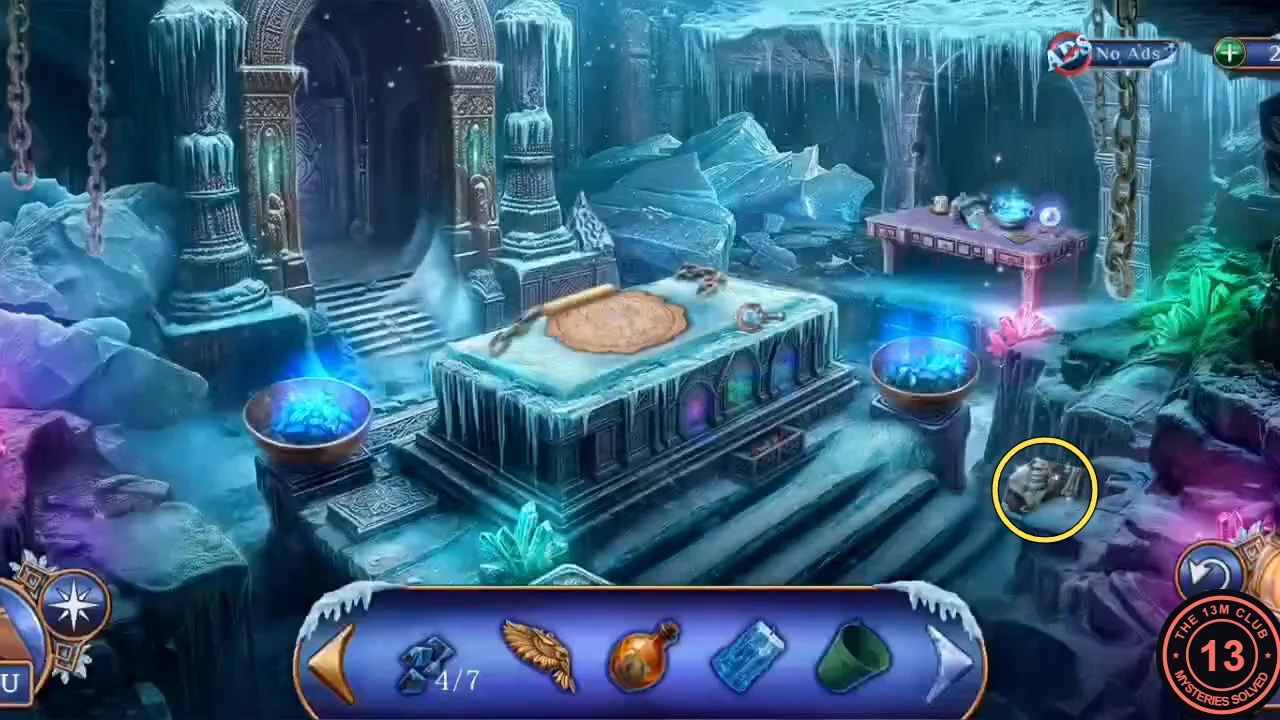
The third Skeleton shard is on the rock to the right of the lower steps. - In the library, talk to Librarian Thomas. He says the fire must burn hotter and gives you a Crowbar. Use the Warming Potion on Christine.
- In the Old Mine, open the mine cart and pry it open with the Crowbar. Take the Switch and the first Mosaic Piece. The cart is full of coal, but you need a tool to shovel it.
- Take the Old Shovel leaning by the table. Open the cart again, set the Bucket beside the coal and use the Old Shovel to fill it.
- Back in the library, open the stove and put the Bucket of Coal down. Shovel the coal into the fire with the Old Shovel. The fire grows and a scene shows the King of Winter awakening.