Puzzle: Rune lights
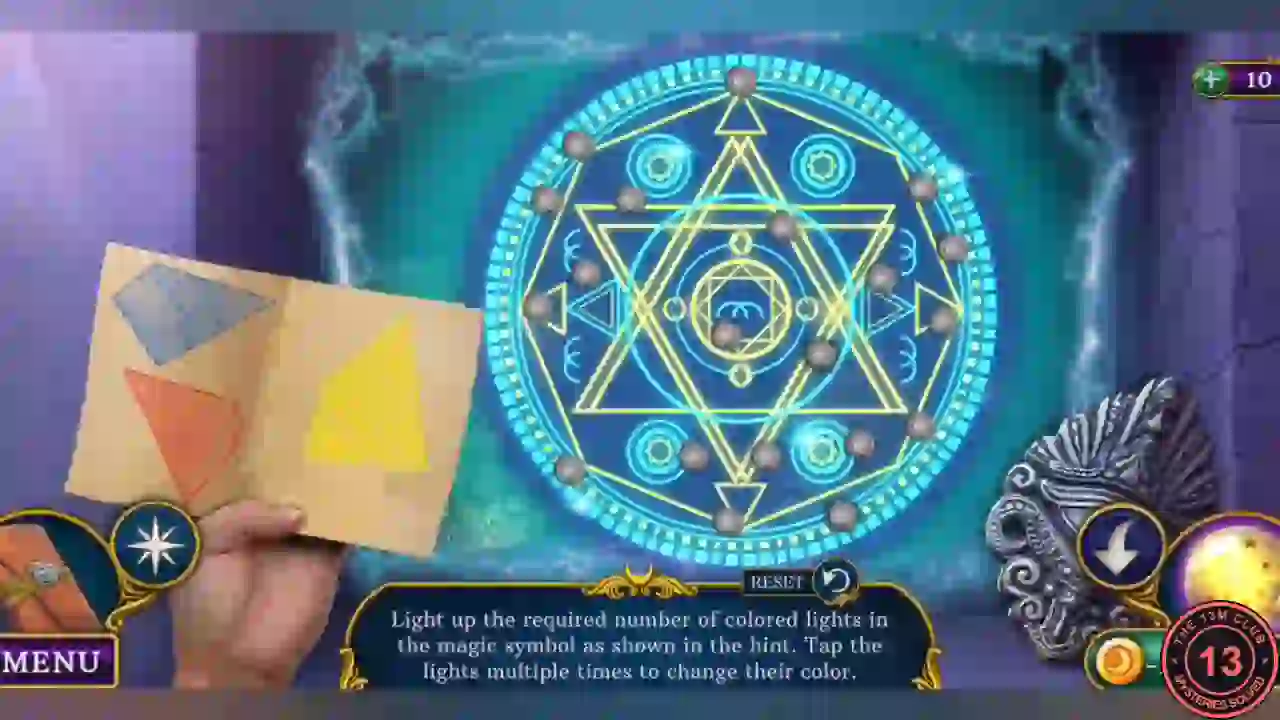
"Light up the required number of colored lights in the magic symbol as shown in the hint. Tap the lights multiple times to change their color." The hint page shows a blue, a red and a yellow shape. Each tap moves a grey light to the next colour. RESET is below the board.
- Each shape on the hint has four corners, so light four of each colour: tap lights until exactly four are red, four are blue and four are yellow, and leave all the others grey. The colours do not have to sit in any particular spots; four of each scattered around the circle is accepted.
- When the counts are right, the lights vanish and the barrier opens. Take the Gauntlet of Hypnos and Jeweled chalice.
Collecting Morpheus's amulets
Five green-glowing spots around town only respond to the Gauntlet. It stays in your inventory the whole time.
- In the TV Studio, use the Gauntlet of Hypnos on the green barrier. Take the first Sapphire amulet.
- In the Diner, use the Gauntlet on the glowing orb on the purple-robed figure. Take the first Ruby amulet.
- At Near TV Tower, use the Gauntlet on the green rune on the lantern post. Take the second Sapphire amulet.
- On Town Street, use the Gauntlet on the rune on the old green car's door. Take the second Ruby amulet.
- Open the keypad on the door next to the arched door and take the Clock hand.
- Use the Clock hand on the grandfather clock's case, then use the Gauntlet inside. Take the Amber amulet.
- In the Basement, use all the Sapphire, Ruby and Amber amulets on the big double door.
Puzzle: Amulet assembly
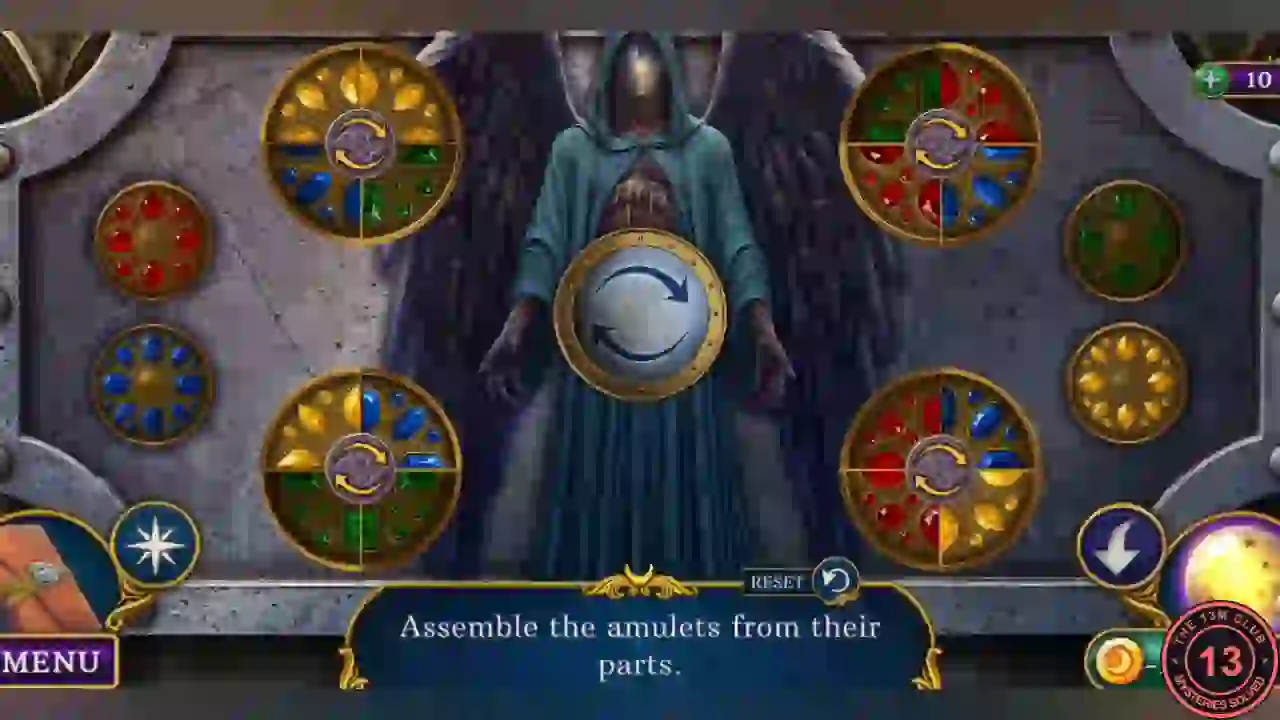
"Assemble the amulets from their parts." Four large discs each hold four wedges. Each disc's centre button turns that disc. The large plate in the middle moves the wedge facing inward on every disc clockwise to the next disc. Small medallions beside the board show what each disc should become. This is a long rearrangement, so the guide gives the target and a method rather than every move. RESET is below the board.
- The goal is top left all red, bottom left all blue, top right all green and bottom right all yellow. Build one colour at a time: turn a disc so the wedge you want to send faces the centre, turn finished wedges away from it, then press the large plate.
- Finish the last two colours with the same trick. Wedges only travel clockwise, so a wedge in the wrong place has to go all the way around.
The Altar
The relief is missing a piece and its eye is hiding a figurine. Getting everything open takes a trip around town.
- In the Altar, take the Measuring tape.
- Open the pedestal close-up and take the next Wires.
- Open the eye close-up, take the Greyhound figurine from the pupil and read the hint paper on the wall at lower left.
- In the Basement, use the Greyhound figurine on the figure slot of the red shelf. The green case opens. Take the Clouded gem.
- In the Altar, use the Clouded gem on the eye.
- On Town Street, use the Measuring tape through the old green car's window to fish out the Bunch of keys.
- Open the Bunch of keys in the inventory view. Take the Hour hand and Can opener.
- Use the Hour hand on the grandfather clock's face. The hands turn on their own and the dial slides aside. Take the Stone lever.
- In the Altar, use the Stone lever on the slot by the eye. The eye closes. Take the Olive branch.
- Use the Olive branch on the bas-relief. The colouring puzzle opens.
Puzzle: Bas-relief colours
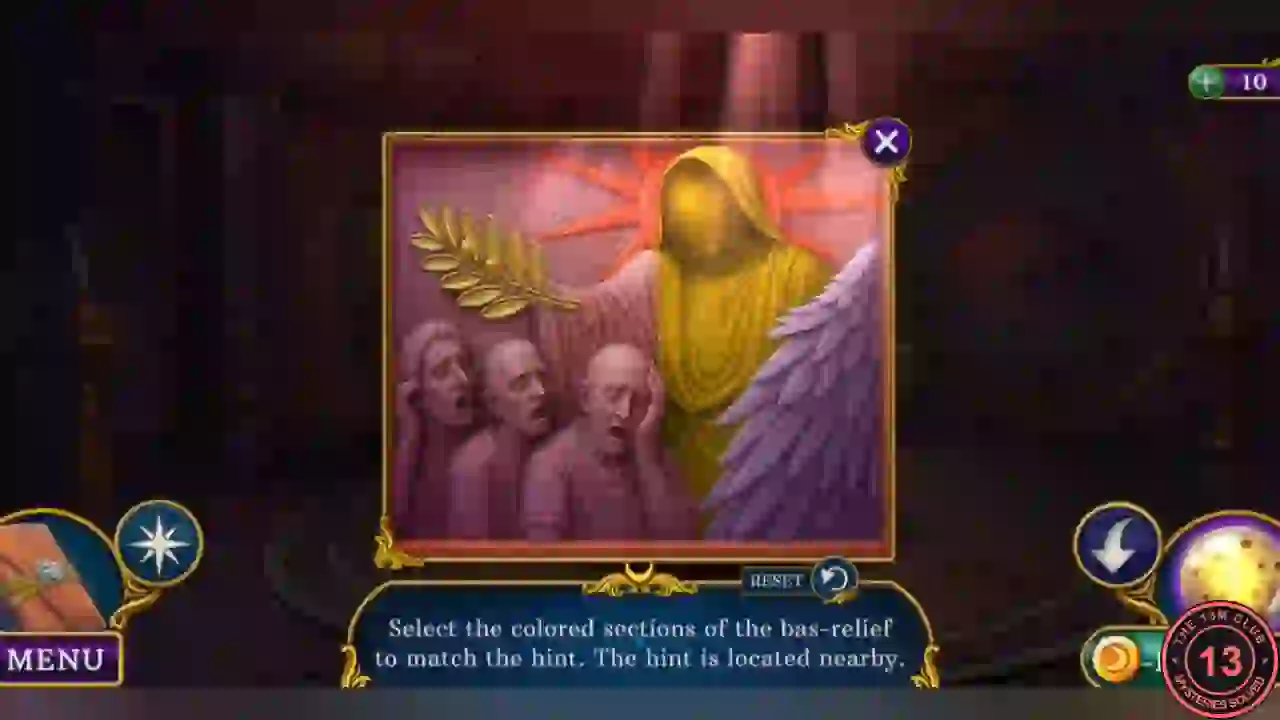
"Select the colored sections of the bas-relief to match the hint. The hint is located nearby." Tap a section to change its colour. The hint is the paper on the wall by the eye.
- Set the rays purple, the hood yellow, the robe green and the wing red.
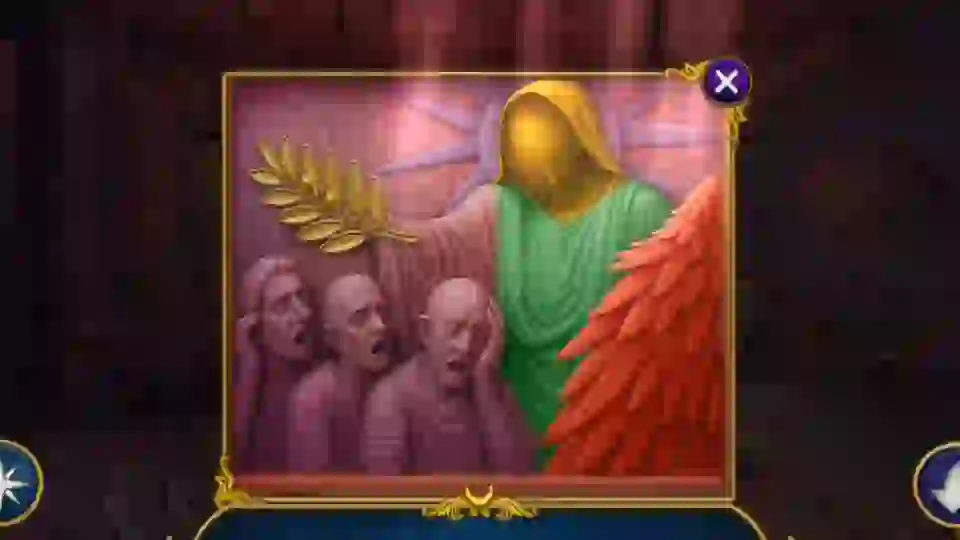
The correct colours: purple rays, yellow hood, green robe, red wing. - Take the Rope ladder and Stone hand from the brick recess behind it.
- Use the Stone hand and Gauntlet of Hypnos on the pedestal. The lid slides back. Take the Broken record. The Gauntlet stays on the lid.
Bridget's Apartment
The apartment sits behind the keypad door on Town Street. The clue to the code is in a window box you need the ladder to reach.
- On Town Street, use the Rope ladder on the window above the door. Open the window box and take the Lock code.
- Use the Lock code on the keypad and enter 4513. A star has 5 points and the stool has 3 legs.CODE4513
- Use the Jeweled chalice on the running sink to get a Bowl of water.
- Read Bridget's note on the desk and take the Herb mix recipe and Anti-hallucinogenic pills from the red box.
- Open the pills in the inventory view. Use the Can opener on them, then the Bowl of water.
- At the window, take the first Medallion half and the Mortar. Note the pile of old equipment you cannot move yet.
- Open the small red wall cabinet high above the bed and take the second Medallion half.
- In the Basement, open the box under the stack and use both Medallion halves on the red tray. Take the Rust solvent and Silver key.
- On Town Street, use the Rust solvent on the old green car's door. Read the note, then take the Ancient figure and Little sickle.
- Open the window box again. Use the Herb mix recipe, Little sickle and Mortar on it. Take the Mortar with herbs.
- In the Diner, use the Ancient figure on the slot in the robed mannequin's chest. Take the Matches.
- Open the window sill with the bees. Use the Mortar with herbs, then the Matches. The smoke drives off the bees.
Puzzle: Oval wall picture
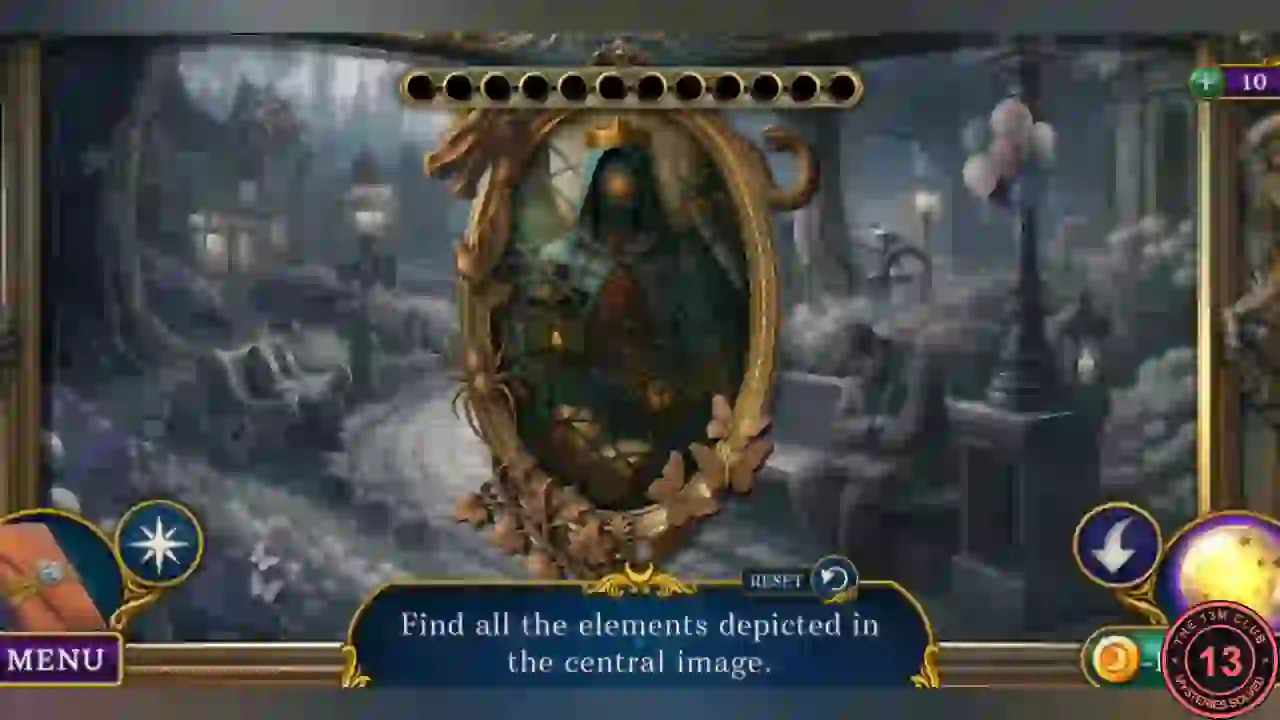
"Find all the elements depicted in the central image." The middle shows a list of 12 small pictures. Tap the matching objects in the wall scene around it. RESET is below.
- Find everything shown in the oval. The twelve pictures include a dragon, serpent, sword, crown, lantern, book, vines, butterflies and spider.
- The oval opens. Take the Audio adapter and Bronze key.