Town Square and the Apothecary
Start in Town Square after the opening call and the drive into town. Christine is slumped by the telephone booth. Everything here is on one screen plus the Apothecary interior.
- Open the telephone booth view and take the Banknote. Leave the glass shard for now: the game says you need something to protect your hands.
- Use the Banknote on the vending machine and take the Star amulet and the Candle from the tray.
- Open the bag in the car and use the Candle on its zipper. Take the Folding knife and the Handkerchief, and read the note. The Candle stays in your inventory.
- Use the Handkerchief on the telephone booth to remove the glass shard.
- Click Christine in the booth to see she is unresponsive, then take the Small mirror hanging on the Apothecary door handle.
- Use the Small mirror on Christine. Read the flyer, then take the Apothecary key and Christine's purse.
- Use the Apothecary key on the Apothecary door and go in.
- Read the book by the sleeping pharmacist and take the Magnet, then take the first Mosaic part from the desk.
- Go back to Town Square and use the Magnet on the ground grate to pull out the Crescent moon. The Folding knife does not fit the bolts.
- Combine Christine's purse with the Crescent moon in the inventory view to get the Note, Lighter and Small valve.
- In the Apothecary, use the Candle and Lighter on the dark shelf at the far right. Take the Smelling salts and the second Mosaic part.
- The box lid on the shelf asks what goes on it. You cannot use it yet; you will return with two figurines.
- Use the Smelling salts on Christine and watch the conversation. Take the third Mosaic part.
- Return to the Apothecary. The pharmacist has gone. Take the Lantern base and the last Mosaic part.
- Use the four Mosaic parts on the floor plate, read the note and take the Stimulant.
- Step outside and watch the cutscene. Christine is taken and your car is gone.
- Click the car tracks and take the Lantern instruction.
- Use the Folding knife on the bush by the grate to get the Berries.
- In the Apothecary take the Moon crystal from the shelf, then use the Berries on the mortar on the desk and take the Berry juice.
- Combine the Lantern instruction, Lantern base, Berry juice and Moon crystal in the inventory view to make the Magic lantern.
Puzzle: Magic lantern beams
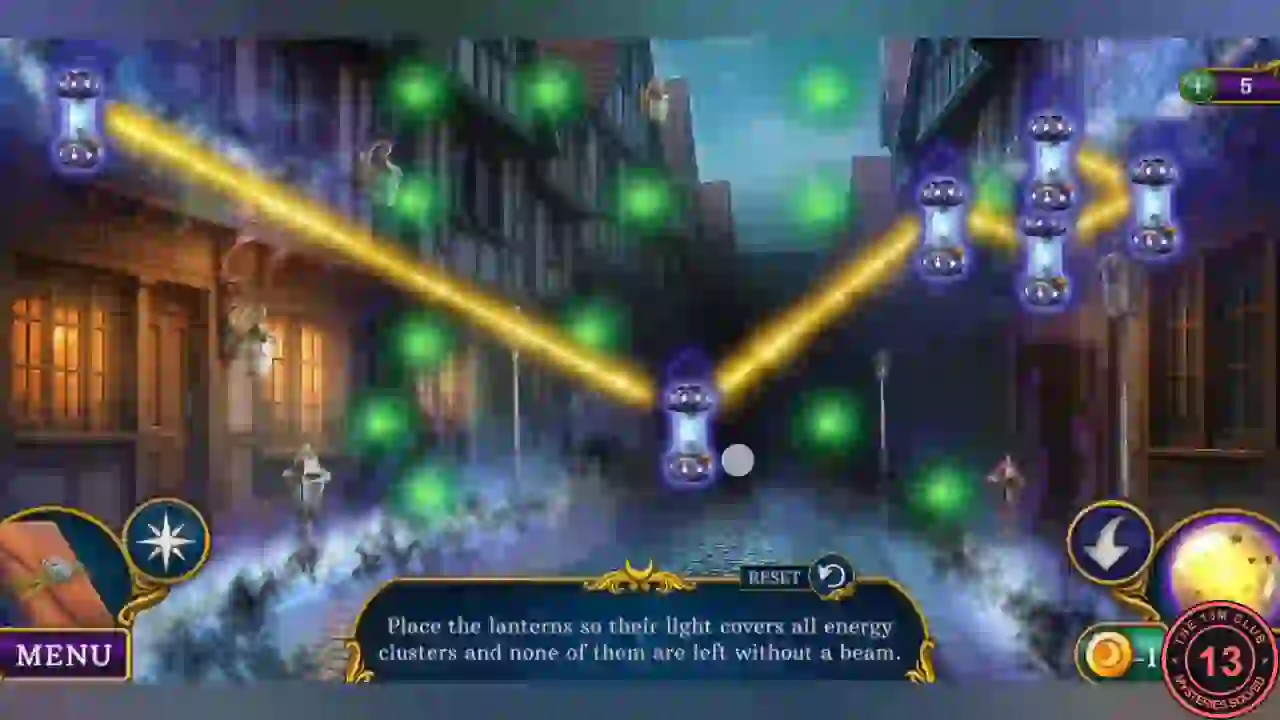
Use the Magic lantern on the misty path out of Town Square. The goal is to place the lanterns so their light covers every green energy cluster and no lantern is left without a beam.
- Use the Magic lantern on the mist blocking the road to the park.
- Drag each of the six lanterns. Beams pass from one lantern to the next, so build a zigzag chain that sweeps over all the green clusters.
- Keep adjusting until no green cluster is left dark. The mist then clears and you keep the Discharged lantern.
Park Entrance and Park Alley
The gate to the Park Alley needs three gears and oil. All of them are within reach.
- At the Park Entrance, take the Insect spray from the sleeping lady on the bench.
- Take the first Gear from the statue fountain.
- In the Apothecary, use the Insect spray on the cups on the counter. Take the second Gear and the Bowl of Hygeia.
- Use the Small valve on the oil cask on the shelf, then put the Bowl under the tap. Take the Coin and the bowl of Oil.
- Take the Wrench from the gate lock.
- In Town Square, use the Wrench on the ground grate. Take the Harpoon gun and the third Gear.
- At the Park Entrance, use the three Gears and the Oil on the gate, then go through to the Park Alley.
- Use the Stimulant on the pharmacist in the car. Take the Compartment handle he leaves behind.
- Take the Coin from under the water by the boat.
- Take the Baseball cap from the target booth. The locked metal box beside it needs a small key.
- At the Park Entrance, use the Compartment handle on the popcorn stand, then the Baseball cap to scoop popcorn. Take the Small key and the Cap with popcorn.
- Use the Cap with popcorn on the crows at the stall. They scatter and the hidden-object scene opens.
Puzzle: Park booth hidden objects
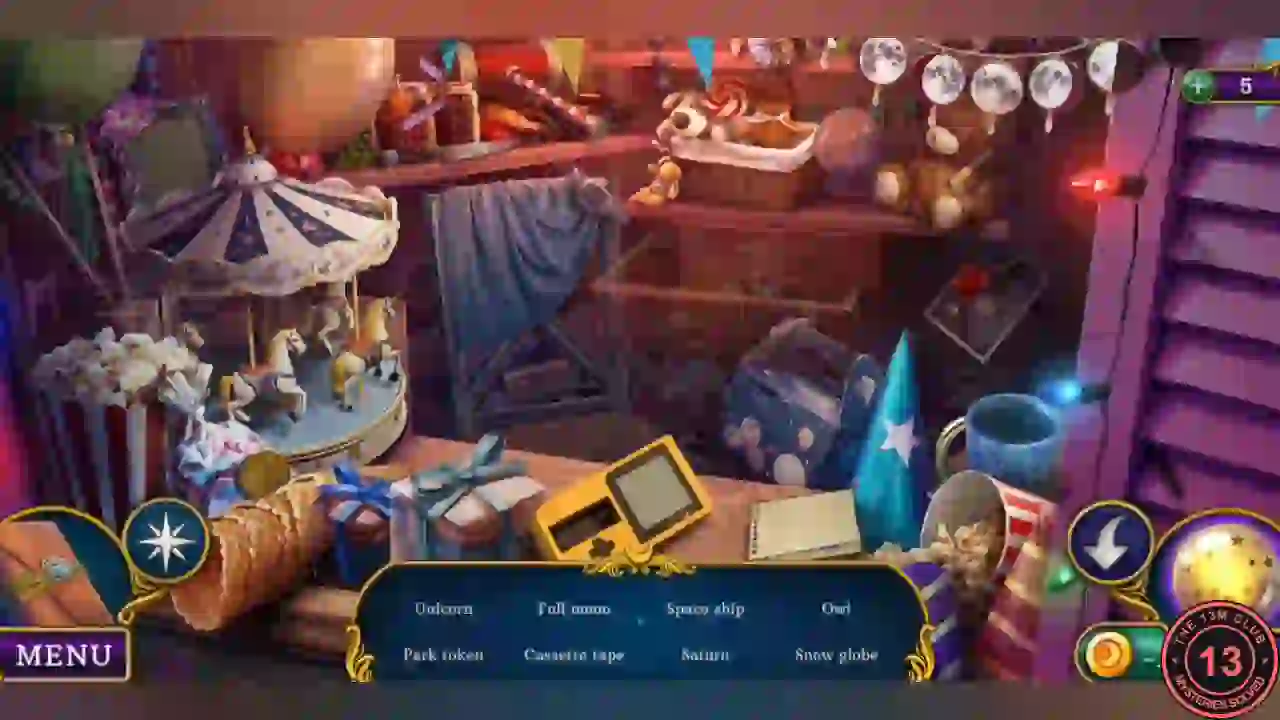
A word-list search with sparkling compartments. The list changes as you find items, and the reward is what you need next.
- Find every object in the word list. Open the drawers and compartments as they appear and read the note that drops inside.
- Take the Arcade hammer from the finished scene (the game spells it "Arcade Hummer").
Amulets, coins and the torch
Finish collecting the coins, open the lady's box, then light the way into the hedge maze.
- In the Park Alley, use the Small key on the metal box in the target booth. Take the Eye amulet and the third Coin.
- Use the Arcade hammer on the high striker in the game tent. Take the fourth Coin and the Cultist figurine.
- In Town Square, use the four Coins on the vending machine and take the Can of soda.
- At the Park Entrance, use the Star amulet and Eye amulet on the box beside the sleeping lady. Take the Newspaper and Rope.
- In the Park Alley, use the Newspaper and Lighter on the torch post by the hedge marked with Christine's portrait. The maze opens.
Puzzle: Hedge maze
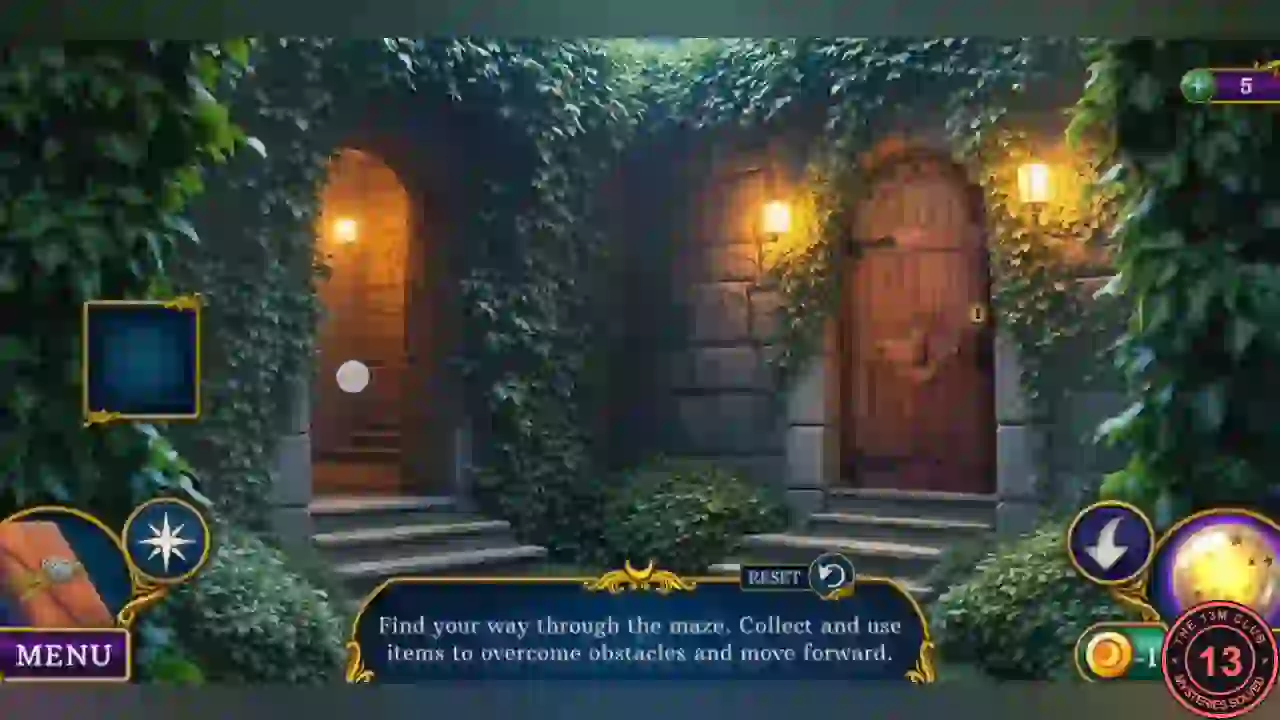
"Find your way through the maze. Collect and use items to overcome obstacles and move forward." The maze runs as one sequence of rooms; items picked up here stay in the puzzle tray.
- From the first room with two doors, go to the path with the winged statues and pick up the Pickaxe from the ground.
- Go to the room blocked by rubble and use the Pickaxe to clear it. Take the Key revealed behind the rocks.
- Return and use the Key on the right-hand wooden door. Go through to the room with a hole in the floor and take the hooded stone Head from the steps.
- At the two winged statues, place the Head on the headless statue. The door above the stairs opens.
- Go up to the carved relief wall and take the Plank from the ground.
- Lay the Plank over the hole and cross to the doorway blocked by fire. Keep going to the row of busts with the portcullis and brick pedestal.
- Go back through the plank room to the sunlit hedge room with the relief and lamp post and pick up the Mallet there, then use it on the brick pedestal in the bust row. The portcullis lifts.
- Go through the gate into the room with the bear-shaped hedge and take the Bucket. Go back to the plank room and through the dark brick archway on the left, which brings you to the foot of the stairs below the burning doorway. Take the lit stone archway on the right into the fountain courtyard and use the Bucket on the fountain to fill it. Go back to the stairs and pour the water on the fire.
- Walk through to the mirror and click it. Christine's voice warns: "Don't believe what you see."
The Harpoon and the Apothecary poster
You come back from the maze with the last part you need for the Harpoon gun.
- Take the Harpoon, click the Cultist and watch the scene.
- Combine the Harpoon gun, Rope and Harpoon in the inventory view to make the Loaded harpoon gun.
- In the Park Alley, use the Loaded harpoon gun on the boat drifting in the water. Read the note and take the Apothecary figurine.
- In the Apothecary, put the Apothecary figurine and Cultist figurine on the box lid on the shelf. Take the Brush and Film.
- Use the Brush and the Can of soda on the blue poster near the desk. The poster peels away and the herb grid appears.
Puzzle: Apothecary herbs
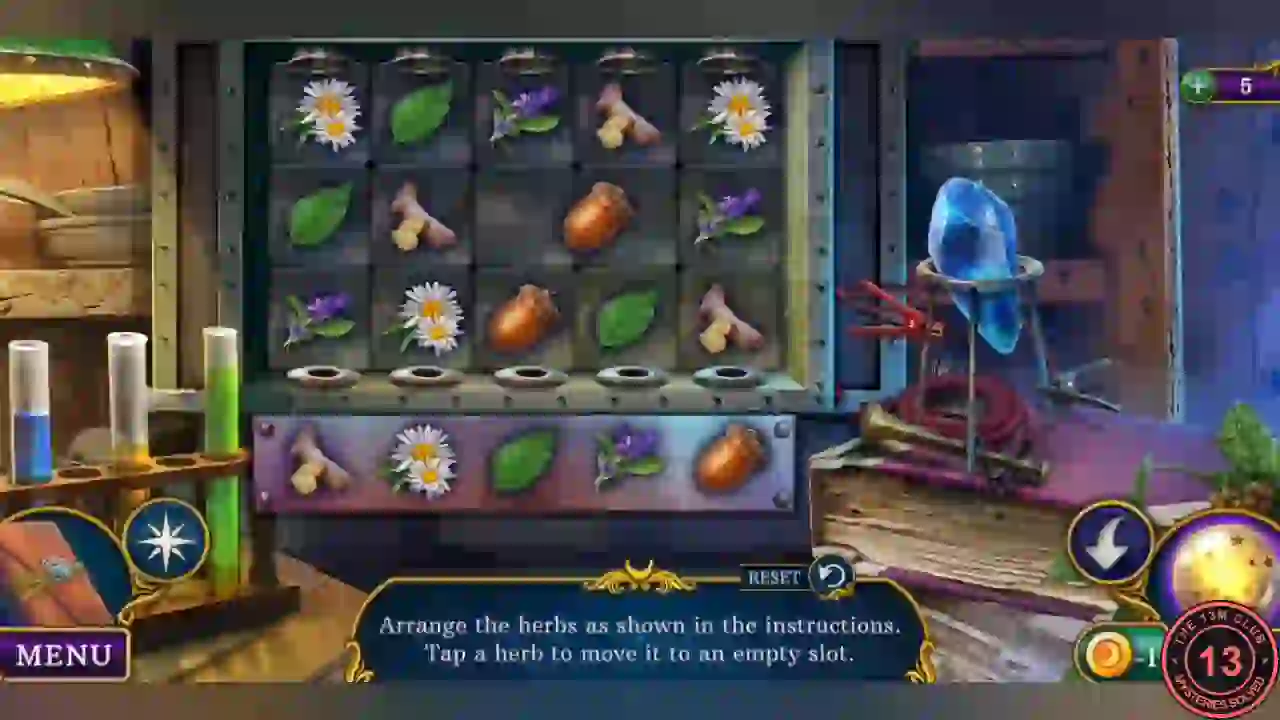
"Arrange the herbs as shown in the instructions. Tap a herb to move it to an empty slot." The grid is three rows by five columns with one empty slot, and the strip below it shows which herb belongs in which column.
- Read the strip left to right: ginger root, daisy, green leaf, purple sprig, acorn. Each column must hold only its own herb.
- Tap herbs into the empty slot until every column is uniform. The panel opens.
- Take the Small bag and the Charged crystal.
Into the Tent
Recharge the lantern, then gather three nightmare elements from the sleepers.
- Combine the Discharged lantern and Charged crystal in the inventory view.
- In the Park Alley, use the lantern on the black curtain of the tent and go inside.
- Look at the broken mirror and the mechanism (both need more). From the shelf take the Bulbs and Crystal ball.
- Take the Wooden gun from the luggage.
- Place the Crystal ball on the rear altar.
- Take the Eye of Morpheus from the mechanism area.
- At the Park Entrance, use the Eye of Morpheus on the sleeping lady and take the Nightmare element.
- In the Park Alley, use the Eye on the pharmacist and take the Nightmare element.
- Use the Eye on the man in the boat and take the last Nightmare element.
- Back in the Tent, place the three elements on the rear altar to start the puzzle.
Puzzle: Nightmare maze
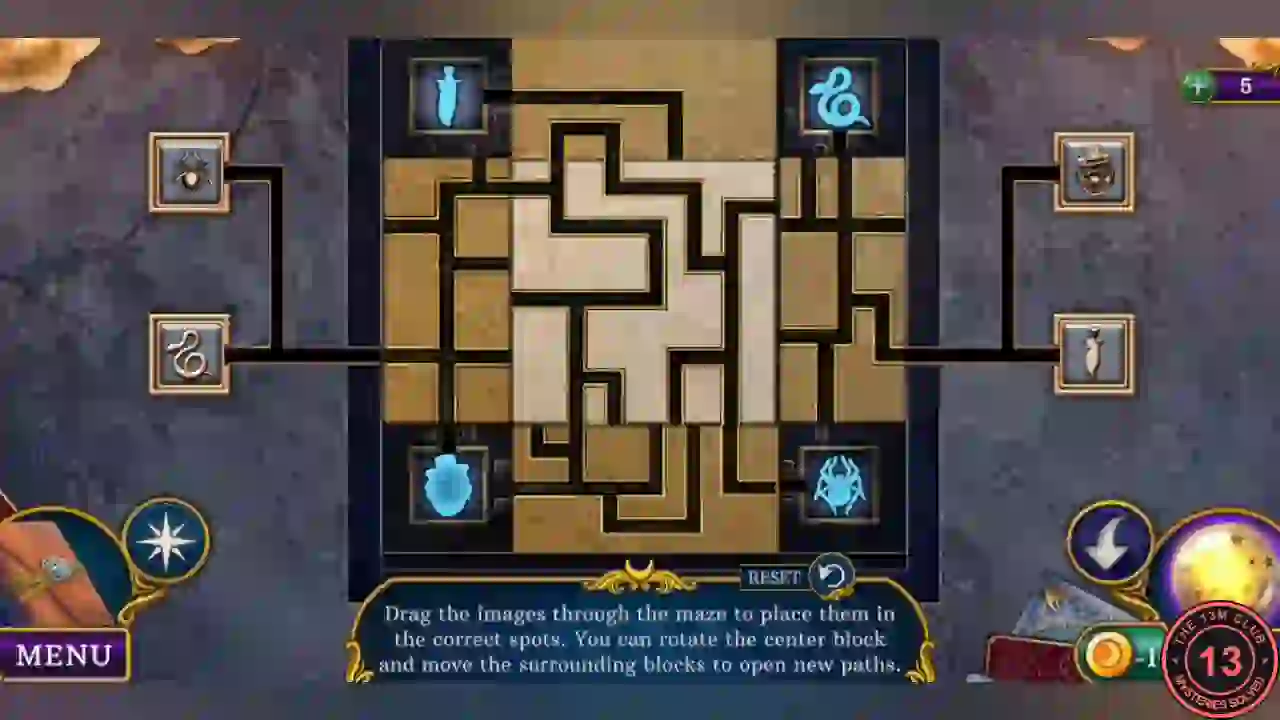
"Drag the images through the maze to place them in the correct spots. You can rotate the center block and move the surrounding blocks to open new paths." Four tokens start in the side strips; the corners show their outlines.
- Learn the targets from the outlines: dagger top left, snake top right, clown mask bottom left, spider bottom right. Slide the side strips and rotate the centre to open a path, then take the spider to the bottom-right corner.
- Open a path for the snake and take it to the top-right corner.
- Open a path for the dagger and take it to the top-left corner.
- Rotate the centre to bring the clown mask across, then take it to the bottom-left corner.
- Take the Mechanism instruction and Screwdriver.
Six mechanism details
The mechanism in the Tent needs six details. Each comes from a different spot.
- In Town Square, use the Screwdriver on the vending machine to take the Wheel arrow.
- Use the Screwdriver on the telephone booth seat. Take the Net and first Mechanism detail.
- In the Park Alley, use the Net in the water by the boat. Take the second detail and the Sharp hairpin.
- Combine the Small bag with the Sharp hairpin. Take the third detail and the Statue part.
- At the Park Entrance, use the Statue part on the statue. Take the Mirror shard and Gun sight.
- In the Tent, use the Mirror shard and Lighter on the broken mirror. Take the fourth detail and the Wooden bullets. The hand in the mirror wants a ring; you will bring one later.
- In the Park Alley, use the Bulbs and Wheel arrow on the wheel in the game tent. Take the fifth detail and Gun drum.
- Combine the Wooden gun, Gun drum, Gun sight and Wooden bullets in the inventory view to get the Loaded gun.
- Use the gun on the target booth and shoot the targets. Take the last detail and the Star box.
- In the Tent, use the Mechanism instruction and six details on the mechanism. The instruction sheet marks three controls with green arrows: the centre of the big wheel, the orange lever on the base and the round button in the middle of the large brass dial on the front of the base. Tap the wheel centre, swing the orange lever over to the right, then press the dial button. The gears start turning. It is a trap.
Puzzle: Dream vines
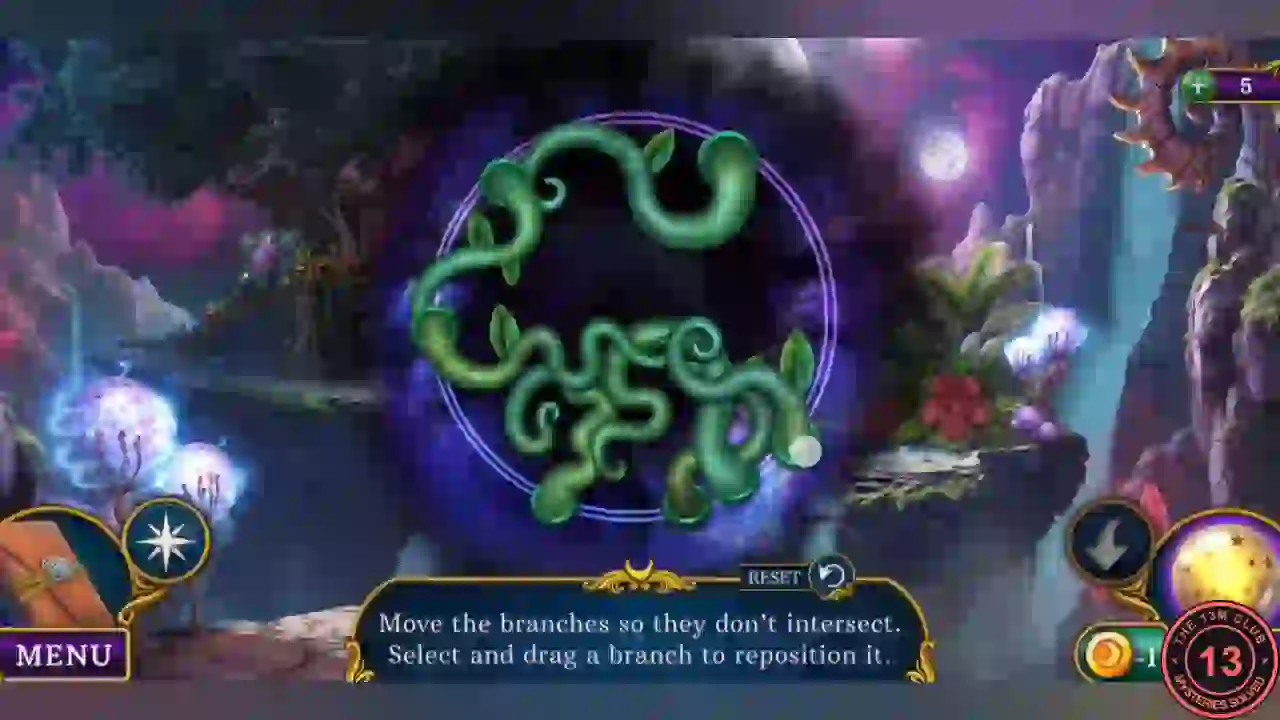
"Move the branches so they don't intersect. Select and drag a branch to reposition it." A branch glows cyan when it is free of crossings.
- Drag branch ends along the circle one at a time until no branch crosses another. Move the most tangled first so the others have room.
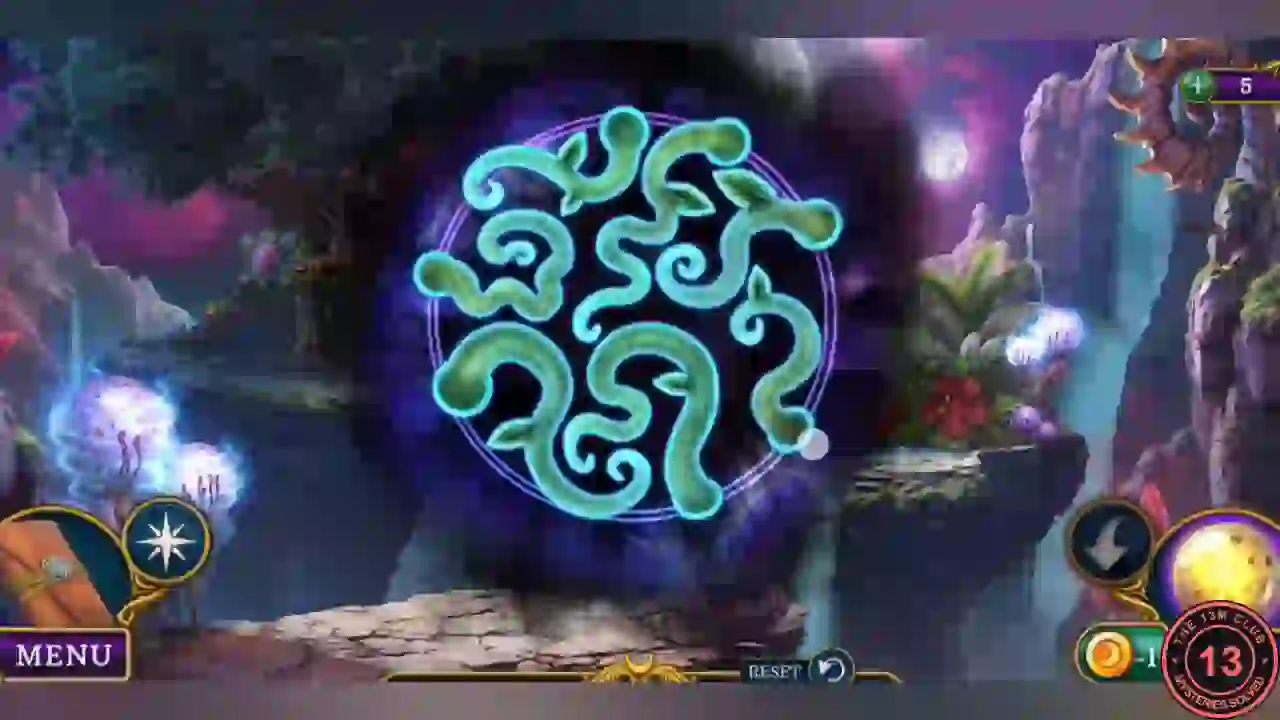
Solved: no branch crosses another, so they all glow cyan. - Take the Anti-sleep medallions, click Christine and give them to her. Take the Nail file.
Leaving by boat
Your new task is "Reach the Ferris wheel." Prepare the boat in the Park Alley.
- Use the Nail file on the moon globe on the shelf. Take the Constellation, Code wheel and Moon half.
- Use the Code wheel on the luggage and click the dial. Take the Paddle and Fountain valve. The drawer still needs a handle.
- In the Park Alley (now changed), use the Moon half on the plate of the fallen tree stump. Take the Resin.
- Take the White robe from the car.
- Use the White robe, Resin and Paddle on the broken boat, then ride it across.