The changed street
Morpheus's world is bleeding into the town. Bridget told you there is a spare record, the "Song of Dawn", and your task is to reach the basement floor.
- At Near TV Tower, take the Tool handle from the ground. Look at the purple box and blue heart-shaped box beside the teddy bear on the street.
- Check the card reader on the red hatch door past the diner, then the lantern on the blue streetlamp.
- In the TV Studio, take the Music box from the console keyboard and the Magnet from the base of the gramophone.
- At Near TV Tower, use the Magnet on the lantern. Take the Half key it pulls out.
- Use the yellow Access card on the card reader. The hatch opens onto the Basement.
Basement: first search
The Record Room door has a broken lock. It needs three lock parts, and the first search of the Basement sends you back upstairs for them.
- Open the red shelf and take the Toy star. Note the small hole in the wall above the green case.
- Open the Record Room door panel and take the Metal rod lying across it.
- Open the close-up low down by the cardboard boxes and take the red Lock part. The boxes themselves are taped shut.
- Open the middle of the double door and take the Spiral talisman.
- Open the green cabinet and take the Scraper from its door. A wire stops it opening any further.
- At Near TV Tower, use the Scraper on the lid of the purple box and the Toy star on its front. A clown pops out. Take the Music box cylinder and yellow Lock part.
- Open the Music box in the inventory view and use the Music box cylinder on it.
- In the Diner, take the Wire cutters from the hand of the purple-robed mannequin.
- Open the TV on the counter and take the first of the Wires. The TV needs switching off before you can go further.
- In the Basement, use the Wire cutters on the wire on the green cabinet. Take the Ballerina figurine.
- Open the Music box and place the Ballerina figurine. The puzzle starts.
Puzzle: Ballerina music box
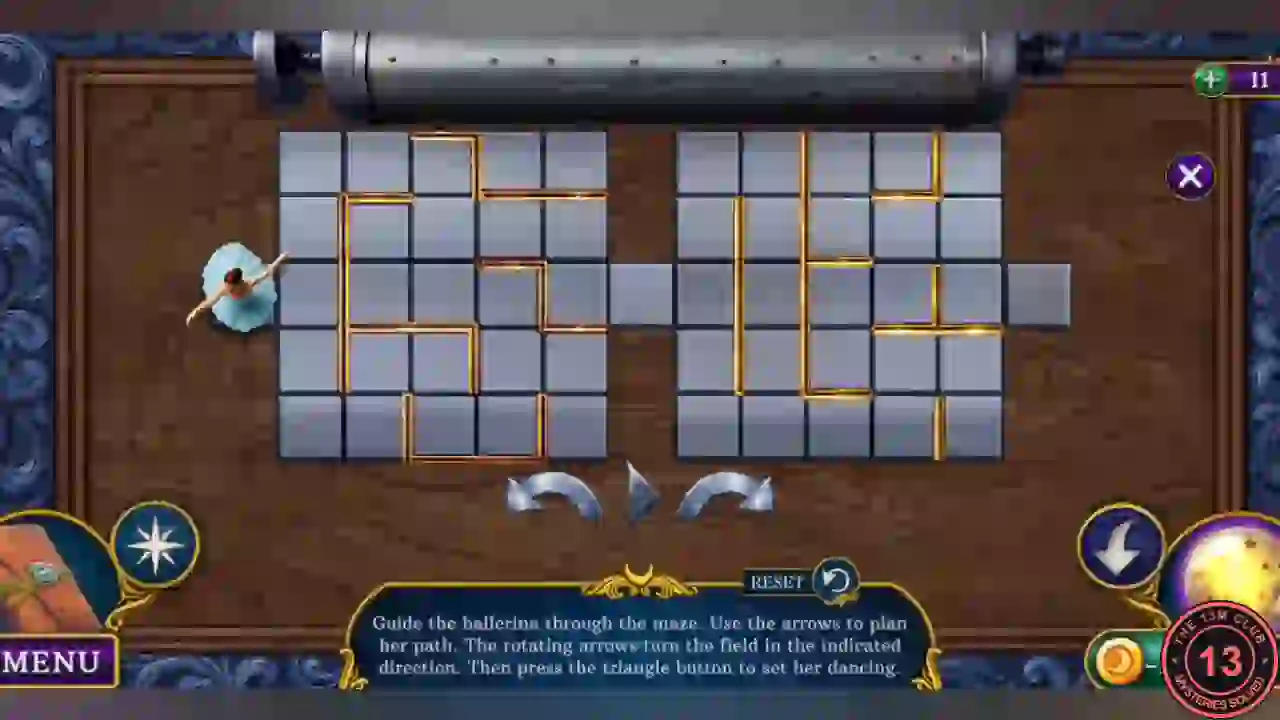
"Guide the ballerina through the maze. Use the arrows to plan her path. The rotating arrows turn the field in the indicated direction. Then press the triangle button to set her dancing." There are two square fields joined by a gap. Each turn arrow you press adds one instruction to the roller at the top, and the triangle plays the whole queue. Each instruction rotates the field she is standing on as she dances. L means the left turn arrow and R means the right one.
- Enter this queue: L R R R R R R L. Press the triangle. She crosses the left field and stops at the gap in the middle.
- Enter this queue: R L L L R R L R R L. Press the triangle. She crosses the right field and leaves by the far side. The box opens: take the Flat nozzle and the Essential oil.
The last lock parts
The rod, handle and nozzle make a tool that opens the hole in the shelf, and that leads to the TV remote.
- Open the Tool handle in the inventory view. Add the Metal rod, then the Flat nozzle.
- On the Basement's red shelf, use the finished tool on the hole in the wall. Take the TV remote from behind it.
- In the Diner, use the TV remote on the TV. The screen shatters. Take the green Lock part.
- Look at the wires inside the broken TV, then the floor mechanism in the Diner. You will come back to both.
- In the Basement, use the red, yellow and green Lock parts on the Record Room door panel.
Puzzle: Four-corner lock tiles
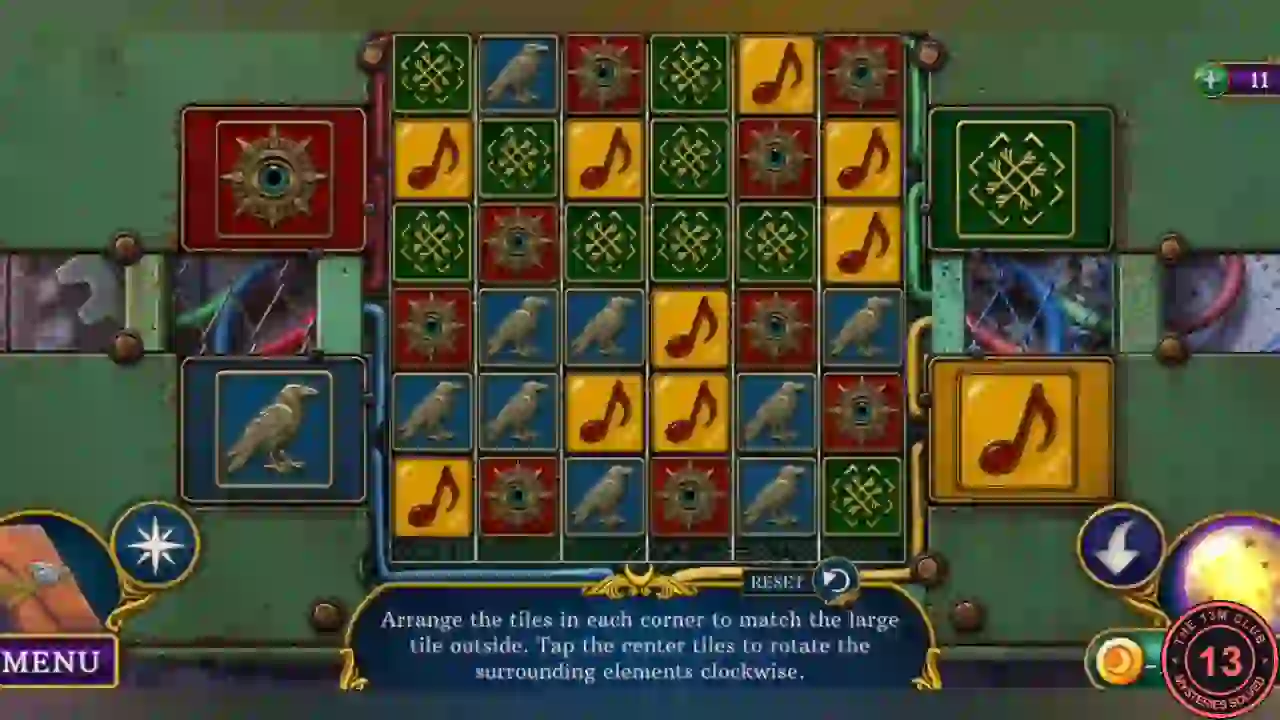
"Arrange the tiles in each corner to match the large tile outside. Tap the center tiles to rotate the surrounding elements clockwise." The board is 6x6, and each 3x3 corner block must hold only the tile shown beside it: red wheel top left, green knot top right, blue raven bottom left, yellow note bottom right. Tapping a tile turns the eight tiles round it clockwise. This is a long rearrangement, so here is a working order instead of every move.
- Fill the top corners first. Build the red block, then the green block.
- Sort the bottom two corners the same way. If a rotation disturbs a finished block, repair it before you go on.
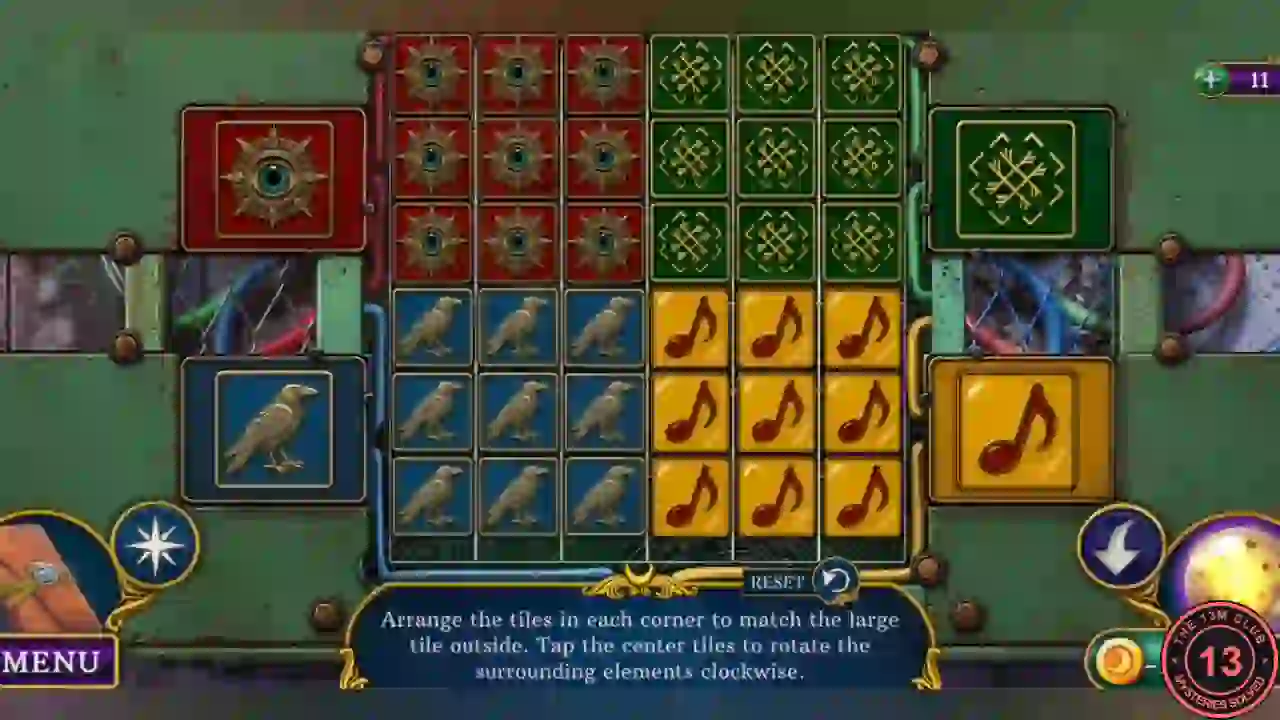
The solved lock, with each corner holding only its own tile.
The record room search
The wall by the projector is hiding talisman shapes, and the Basement press can rebuild a key.
- Open the soundboard and take the Box cutter.
- Open the green door's close-up by the card reader and take the Shattered mask.
- In the Basement, use the Box cutter on the taped box. Take the Spiral key and the next Wires.
- At Near TV Tower, use the Spiral key on the lantern. Take the Ultraviolet lamp and Half mask.
- In the Record Room, use the Ultraviolet lamp on the projector. The wall shows a trident, a triangle and a spiral.
- Use the Spiral talisman on the spiral. It disappears. Take the Broken key.
- In the Basement, use the Half key and Broken key on the press in the green cabinet, then press the red button. Take the Key to the jewelry box.
- At Near TV Tower, use the key on the blue heart-shaped box beside the clown. Take the Antistatic tweezers and blue Access card.
- In the Diner, use the Antistatic tweezers on the wires inside the smashed TV. Take the Golden gear.
- Open the floor mechanism. Place the Golden gear in the centre, then use the Essential oil on the gears.
Puzzle: Crescent release
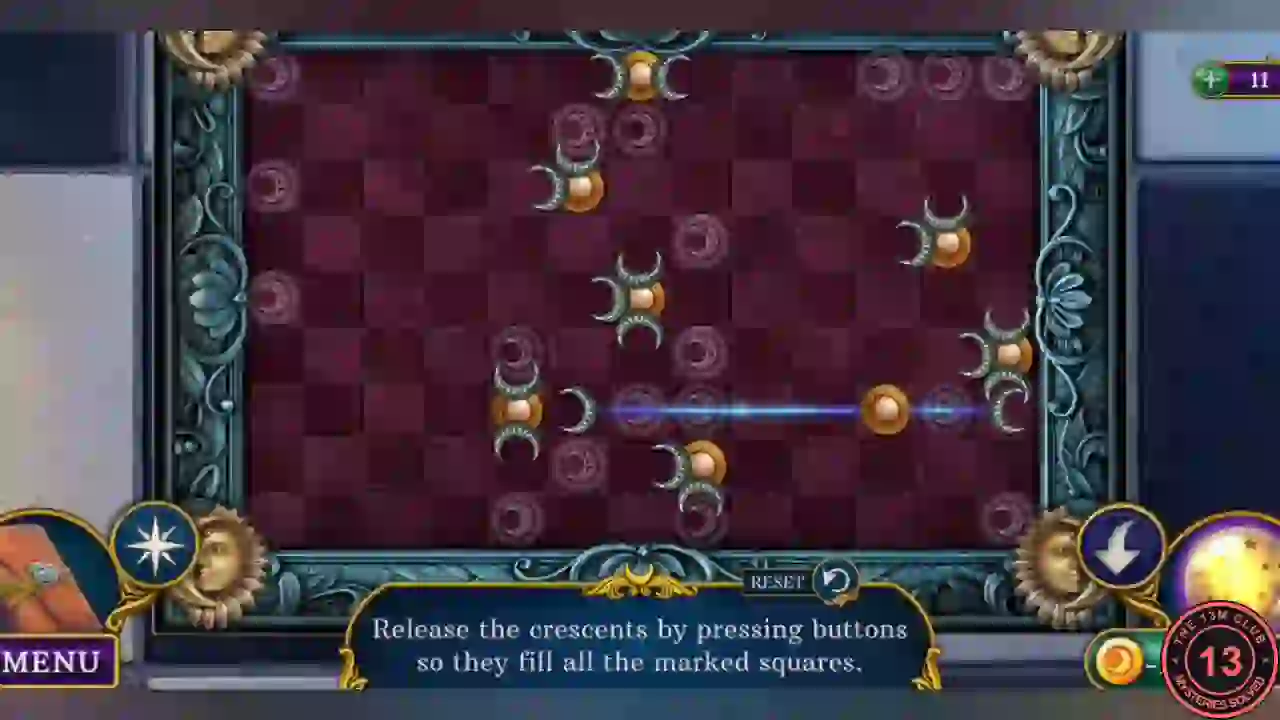
"Release the crescents by pressing buttons so they fill all the marked squares." Eight orange buttons sit on the board with crescents attached. Pressing a button fires its crescents in straight lines until they meet something. Pressing it again takes them back. The beam of a fired button also blocks other crescents, which is why the order matters. RESET is below the board.
- Press these three buttons: the one in the middle of the board, then the one lower left of it, then the one at the bottom centre.
- Now press the upper right button, the button on the top edge, the upper left button and the button on the far right edge.
- Press the lower right button last. If you fire it earlier, its beam blocks the lower crescent of the middle button; press it again to take it back. When every marked square is filled, take the Trident talisman and the Scotch tape.
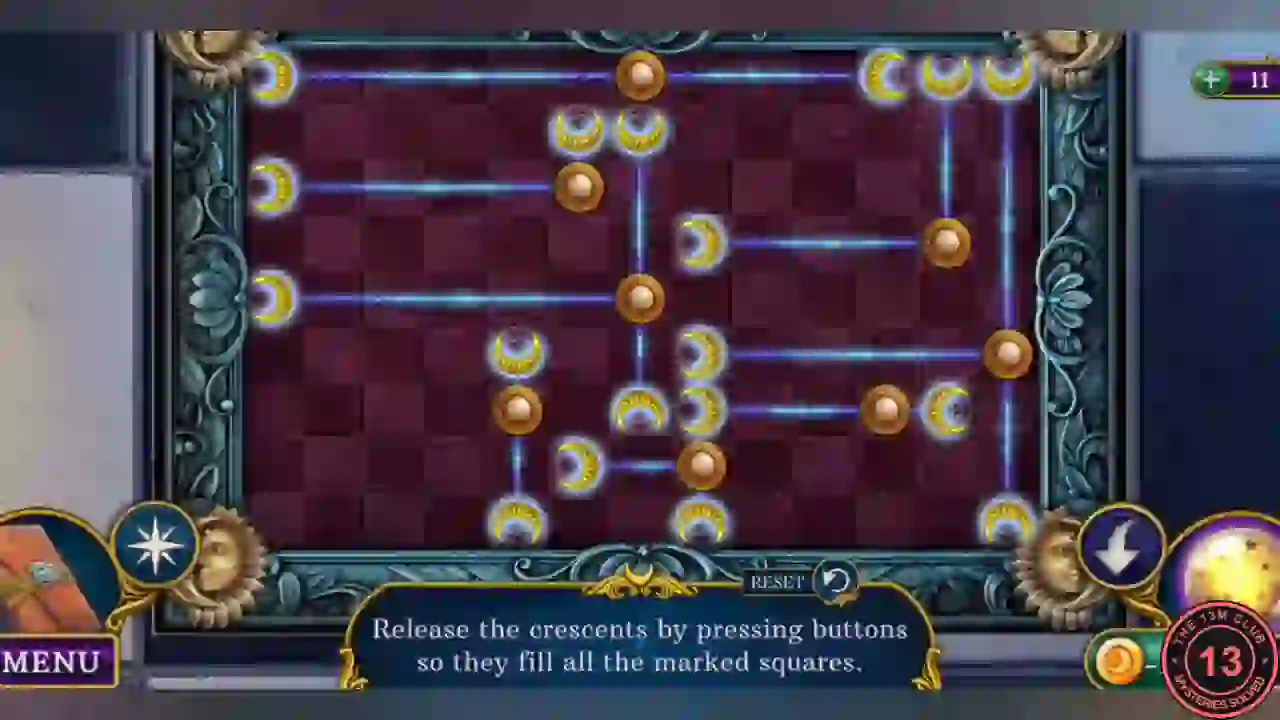
The solved board, with every marked square filled by a glowing crescent.
The record shelf
The next talisman and the blue card get you past the green door.
- In the Record Room, use the Trident talisman on the wall's trident.
- Use the blue Access card on the reader by the green door. It opens onto a shelf.
Puzzle: Record shelf hidden objects
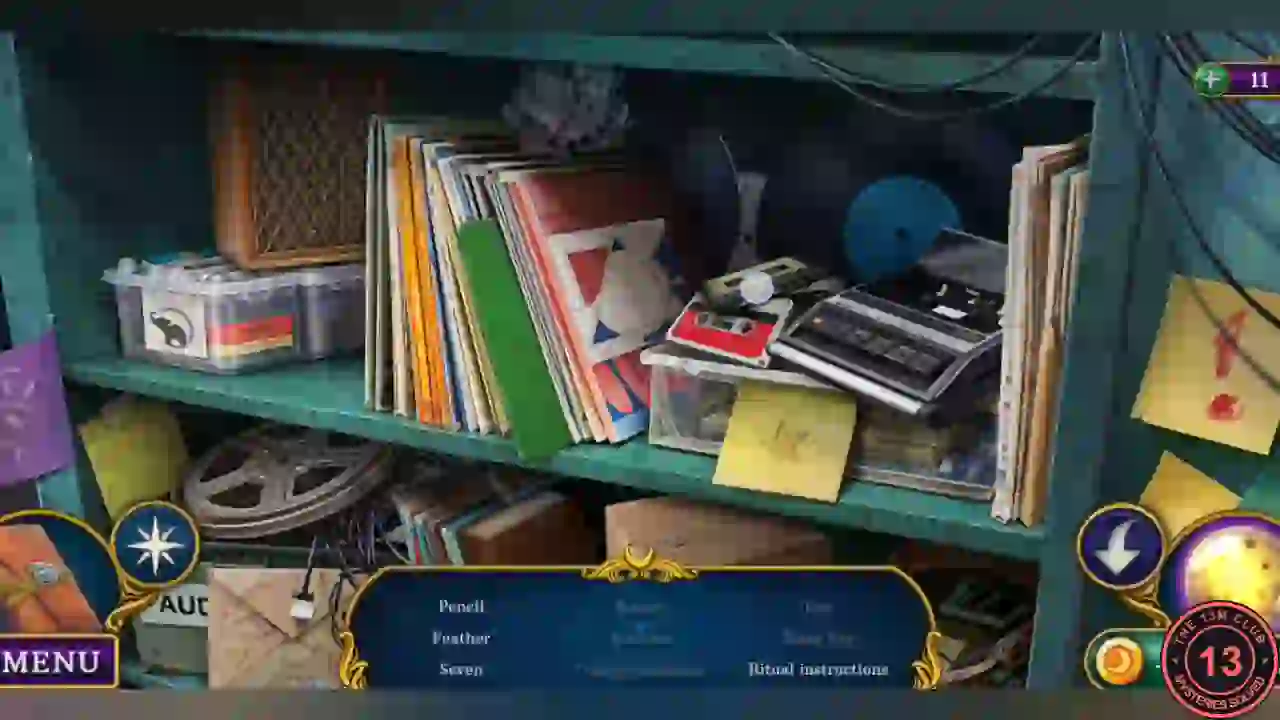
A hidden-object scene spread across a tall shelf. Scroll up and down to see all of it. Some words only appear once earlier finds clear space on the list.
- Find everything on the list. It included Pencil, Button, Eye, Feather, Scissors, Diary key, Seven, Triangle talisman, Ritual instructions, Hook, Glove, Lightning, Four-leaf clover and Player button.
- The scene ends and gives you the Triangle talisman and Torn instruction.
The sealed altar
The last talisman opens a compartment with a note signed K. It points you at a magic barrier that needs a complete set of instructions.
- In the Record Room, use the Triangle talisman on the wall's triangle. The panel slides aside. Read the note and take the Red button and the next Wires.
- In the TV Studio, use the Red button on the round socket on the console, then press it. Take the Instruction piece and the mask fragment.
- Open the Torn instruction in the inventory view. Use the Instruction piece on it, then start taping it with the Scotch tape.
- Open the Shattered mask in the inventory view and add the Half mask and mask fragment.
- In the Diner, use the Mask on the mannequin in the purple robe. It takes the mask. Take the Dreamwalker amulet from its hand and the second Instruction piece.
- Open the taped page again, add the second Instruction piece and finish taping it with the Scotch tape to get the Ritual instructions.
- In the Record Room, use the Ritual instructions and Dreamwalker amulet on the rune. The puzzle opens.