Sun and Moon Clue and Candelabra Cups
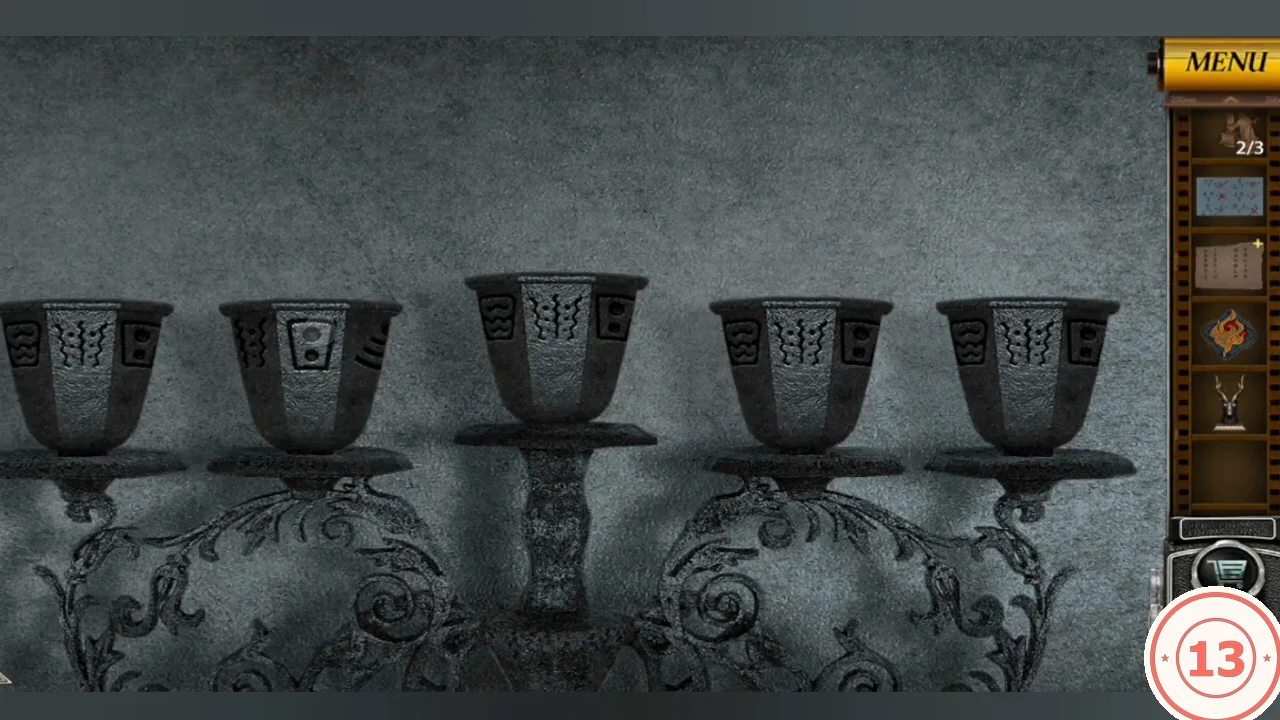
The sun and moon discs on the stone hut's book pedestal give the order for the five cups of the classroom candelabra.
- At the stone hut, look at the two discs now set in the book pedestal. Five sun rays carry 1 to 5 extra strokes: 1 upper left, 2 lower right, 3 bottom, 4 lower left, 5 upper right. The moon pictures in the same positions give the order: 1 dotted waves, 2 comb or shell, 3 bracket figure, 4 signal arcs, 5 comet.
- In the classroom, tap each candelabra cup to turn its symbol. Set them, left to right, to dotted waves, comb, bracket figure, signal arcs and comet.CODEWaves, comb, bracket, arcs, comet
- Take the Tubular Piece from the drawer in the candelabra base.
Eagle Helm Spokes
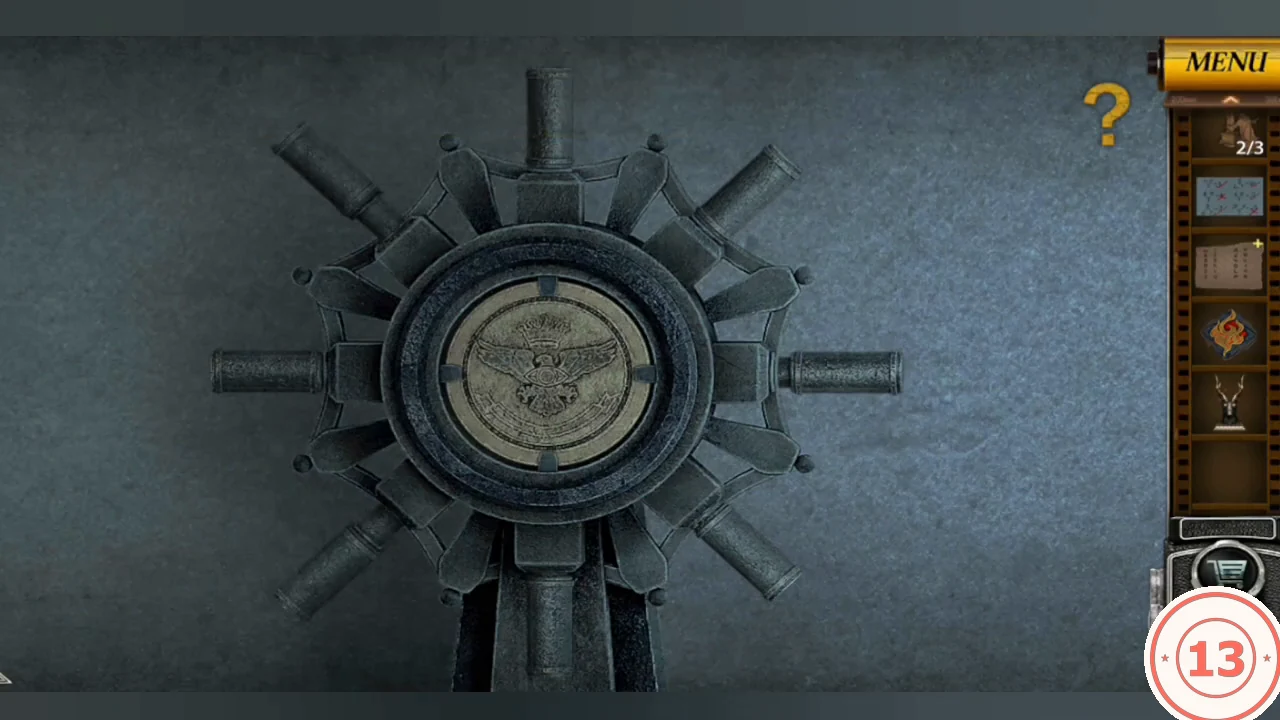
The ship's helm with an eagle on the rear desk is missing its top spoke. Its eight spoke handles start pushed in toward the hub; the goal is to slide every handle out to the end of its spoke.
- Place the Tubular Piece on the missing top spoke.
- Tapping a spoke does not move its own handle: it slides the two neighbouring handles, one spoke either side, in or out. From the starting position (all pushed in), tap the left, right, upper-left and lower-right spokes, in any order. Tapping the same spoke twice undoes it, so if you mis-tap, tap that spoke again. (The tested run tapped left, right, upper left, upper right twice, then lower right; the two upper-right taps cancel out, leaving the same four.)CODELeft, right, upper left, lower right
- Take the round eagle medallion that pops out of the hub.
Blackboard Numbers and Porch Chest
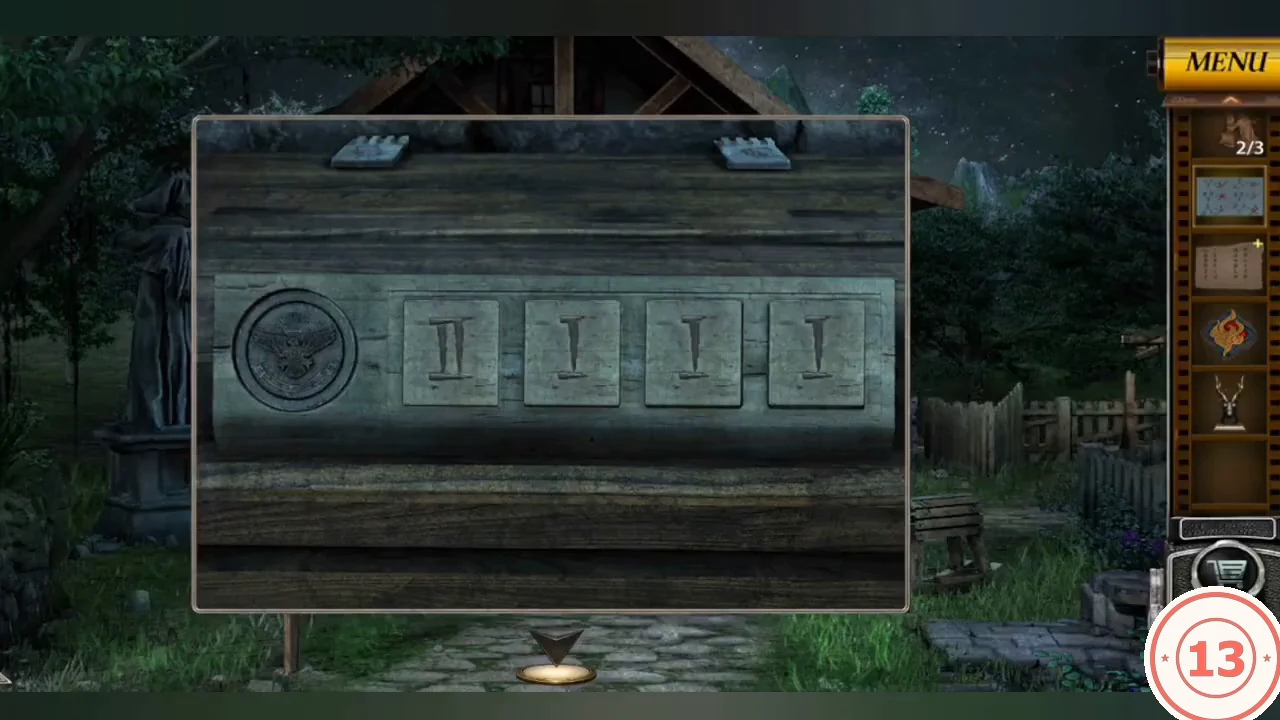
The right chest under the porch has a round socket and four numeral tiles. The classroom blackboard gives the numbers once you decode it with the Clue Image and the blue paper.
- Place the eagle medallion in the right chest's round socket.
- The blackboard has four branching symbol diagrams ending in question marks. Use the blue paper's symbol-pair rules to work out each missing symbol, then read it as a numeral with the Clue Image. The four answers are VI, II, XI and VI.
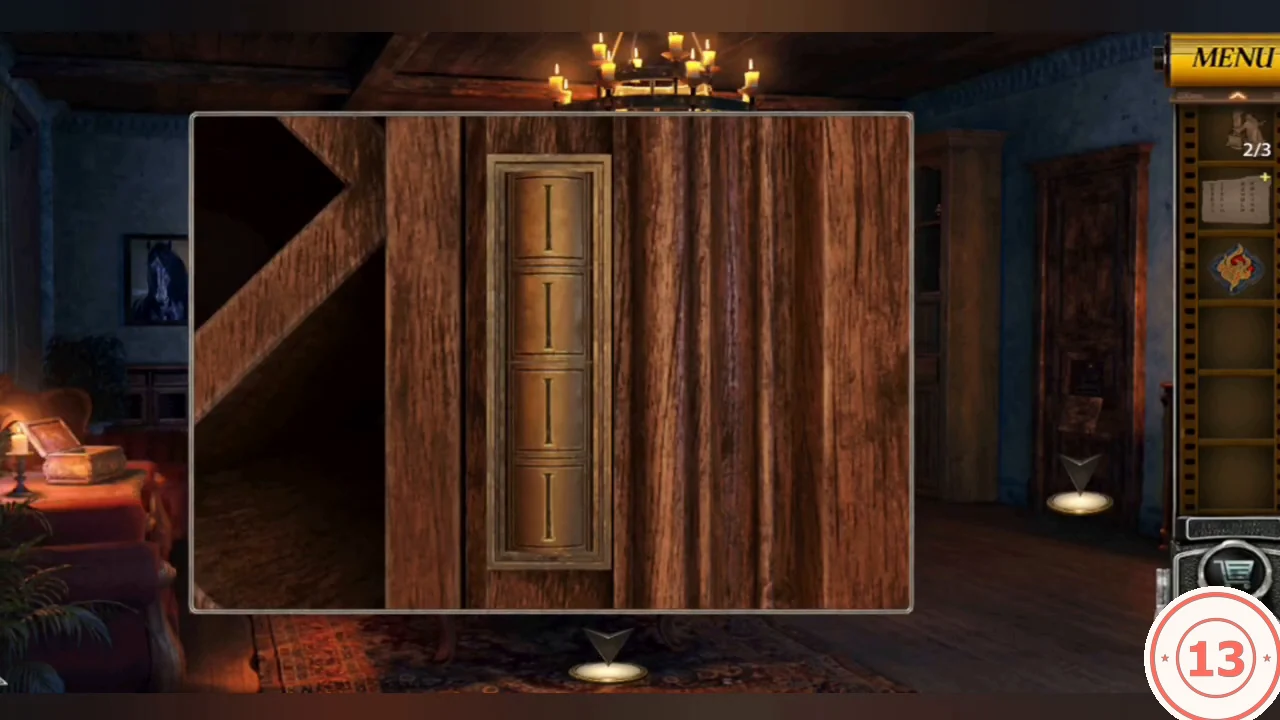
- Tap the four tiles (each starts on I) to set VI, II, XI, VI. Take the parchment with five red symbols.CODEVI, II, XI, VI
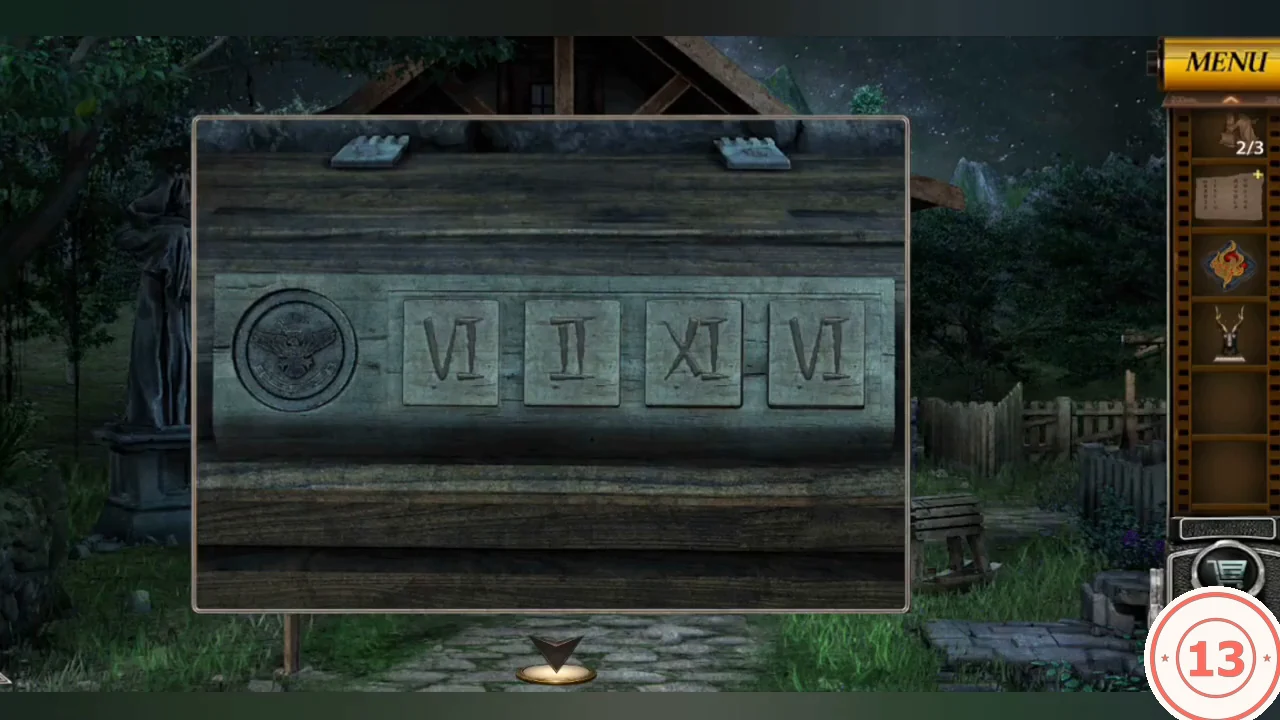
The porch chest set to VI, II, XI, VI.
Notice Board Cipher and Letter Box
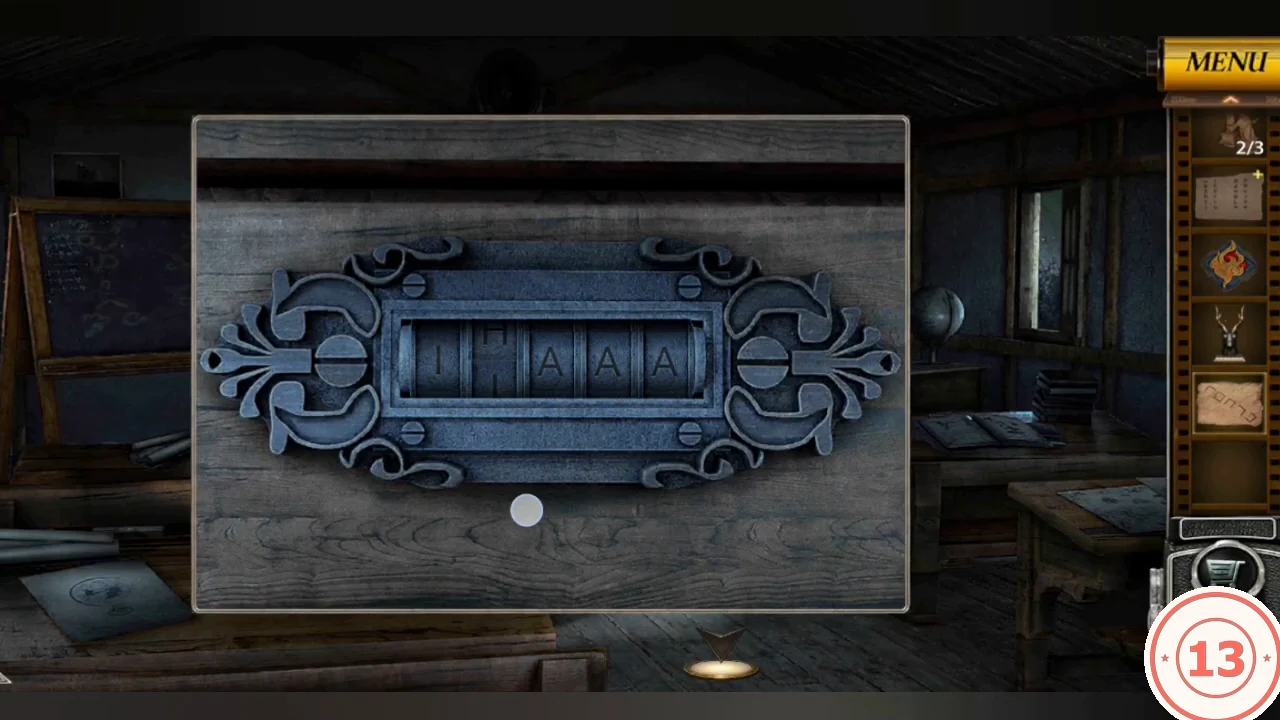
The Mayor's notice board in the cottage yard has a 3x3 letter grid: A B C / D E F / G H I. The parchment's symbols are cell outlines from that grid.
- Match each parchment symbol to the grid cell with the same outline. The five letters are I, E, H, G, D.
- Open the letter box in the classroom desk drawer and set I E H G D. Take the Key from the small box inside.CODEIEHGD
- Use the Key on the Mayor's manor front doors.
Fireplace Shape Bricks
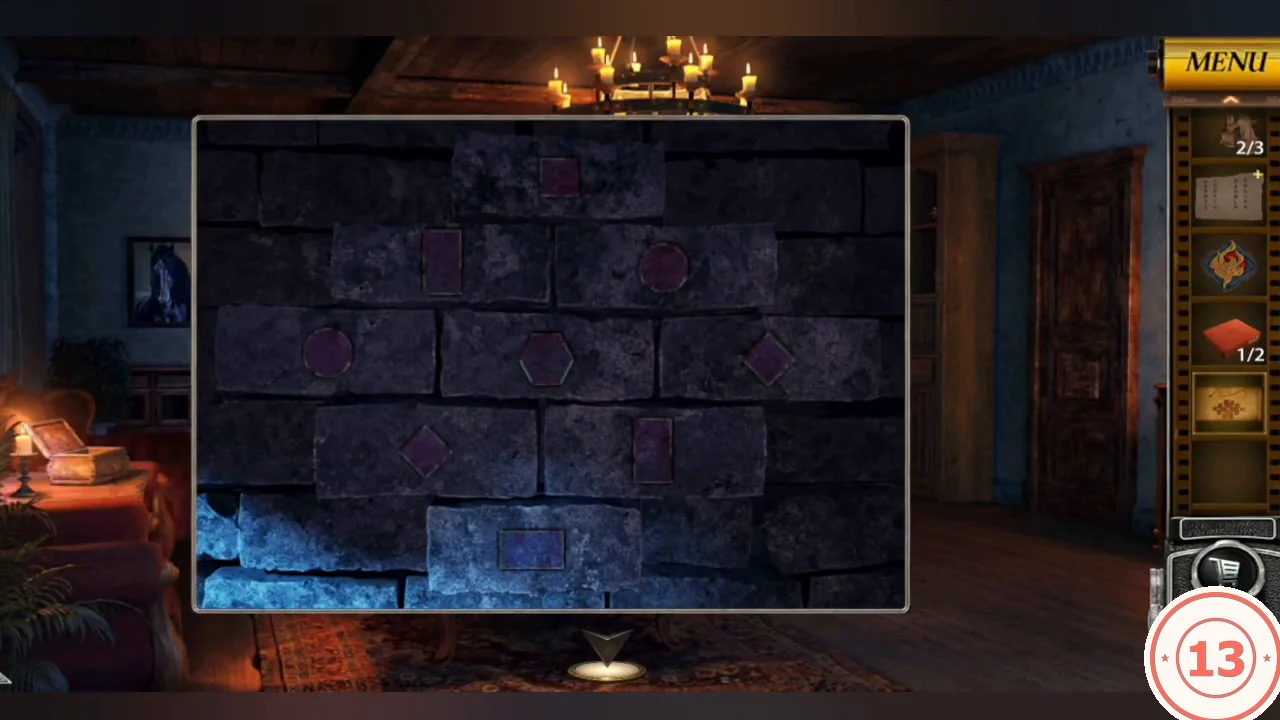
Under the mantel, the fireplace wall has nine shape bricks: a small square at the top; a tall rectangle and a circle in row 2; a circle, a hexagon and a diamond in row 3; a diamond and a tall rectangle in row 4; and a wide rectangle at the bottom.
- Take red Book 1/2 from the lower-right corner of the chess table.
- Place the antlered deer head on the carved box on the left side table. Read the Clue Note inside: a zigzag arrow drawn over the nine-brick layout.
- The zigzag follows the picture frames around the room: oval flower picture, wide rabbit landscape, tall cow painting, hexagonal labyrinth, diamond bird, tall horse portrait. Press the matching bricks in that order: circle in row 2 (right), the wide bottom rectangle, the tall rectangle in row 4 (right), the hexagon, the diamond in row 3 (right), the tall rectangle in row 2 (left).
- Take the wooden L-shaped block (the game calls it Cube) from the bottom-right compartment.
Groove Maze Door
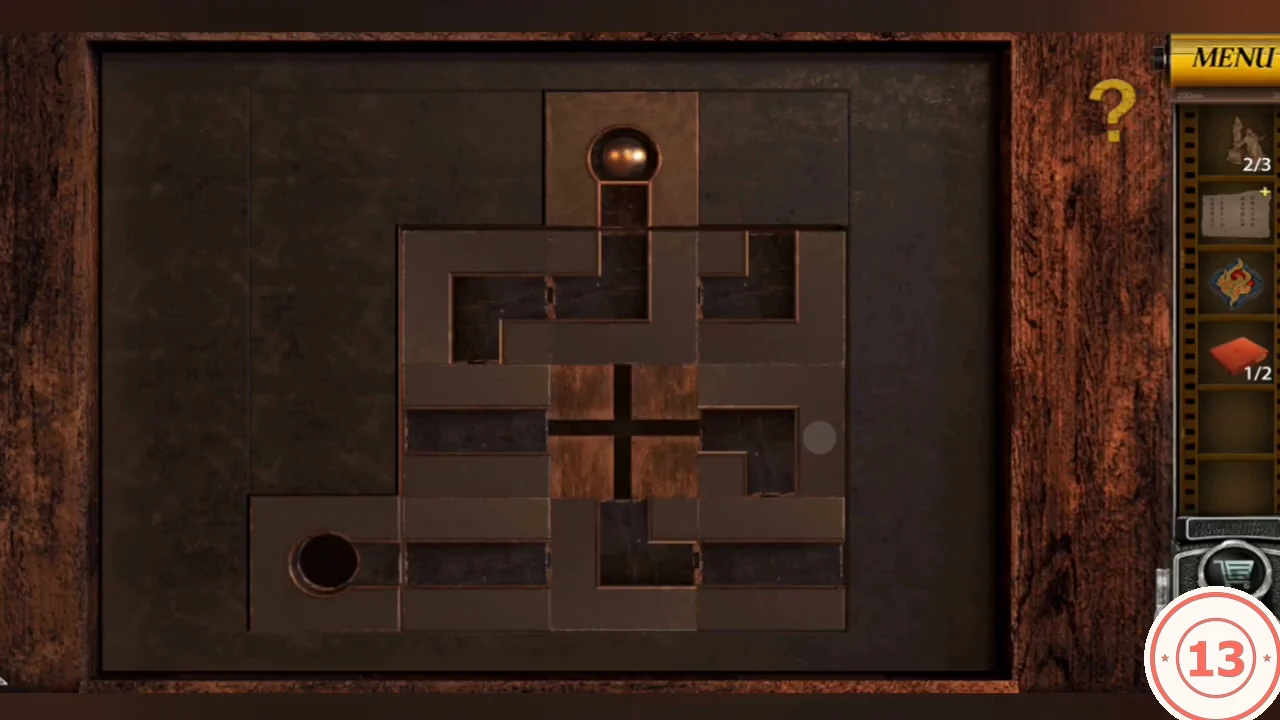
The wooden door on the right of the living room holds a sliding tile maze with an empty centre.
- Place the L-shaped block (Cube) in the empty centre.
- Slide tiles through the one empty space until the grooves form a continuous path from the ball at the top to the hole at the bottom left. The ball rolls through and the door opens to the study.
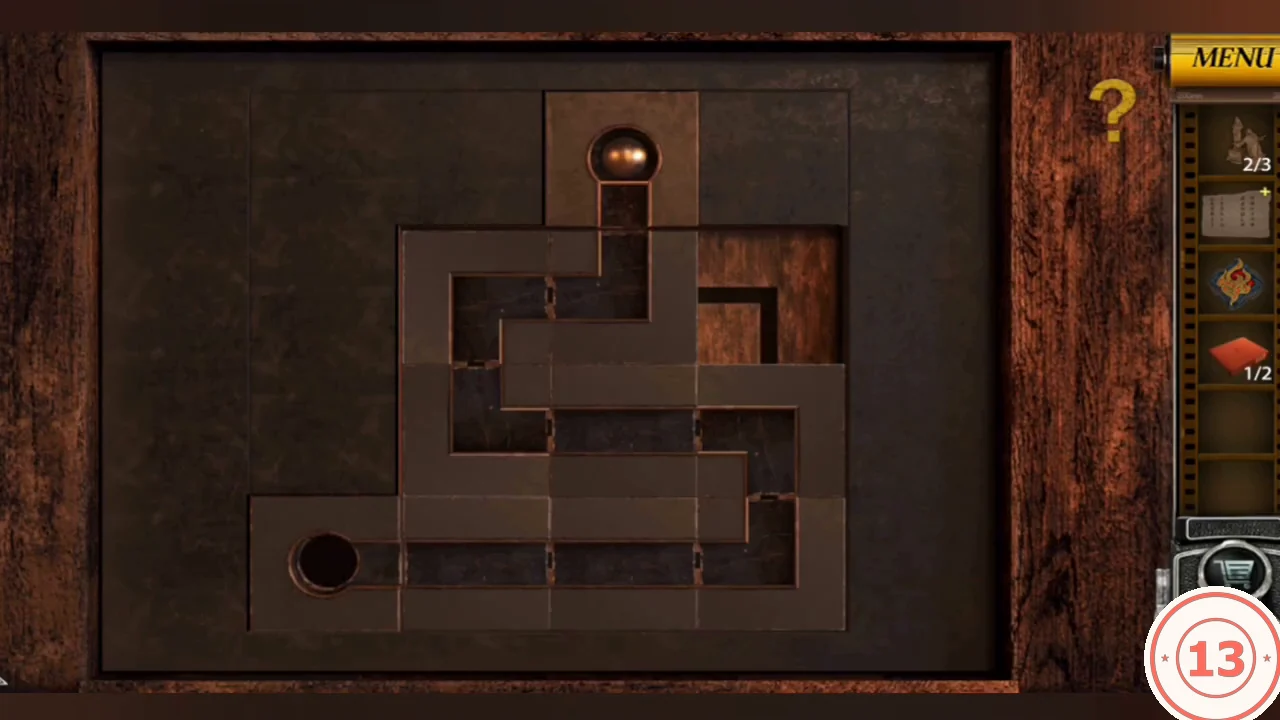
Solved: the groove path runs from the ball to the hole.
Golden Figurine Shelf
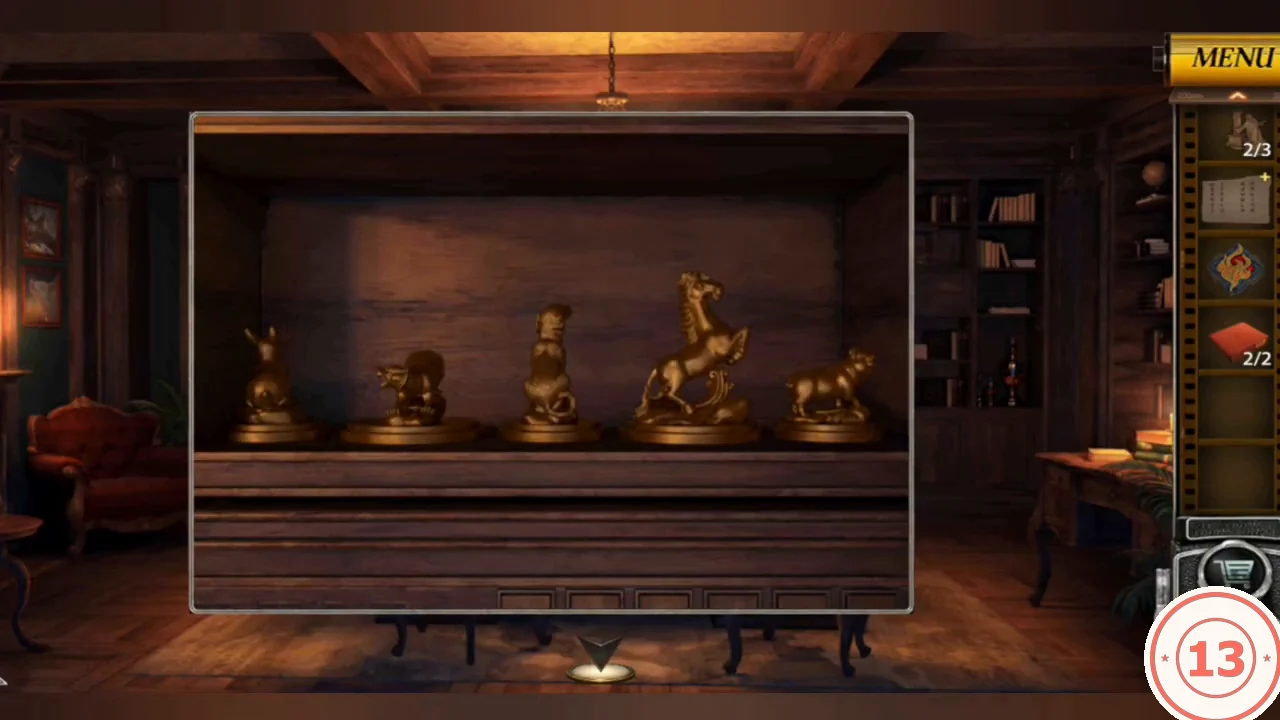
Five golden figurines stand on the right bookcase shelf, left to right: rabbit, weasel, dog, horse and pig. Tap one to turn it. Paintings in the study and living room show which way each animal faces.
- Take red Book 2/2 from the study desk. The small box on the desk is locked for now.
- Check the paintings: in the study, the weasel faces right and the pig faces left. In the living room, the black horse faces the front, the sheepdog runs right and the rabbit shows its back.
- Turn the figurines to match: rabbit back view, weasel facing right, dog facing right, horse facing front, pig facing left. Take the Hexagonal Wooden Block from the upper-left compartment.CODEBack, right, right, front, left
Hexagon Dot Box
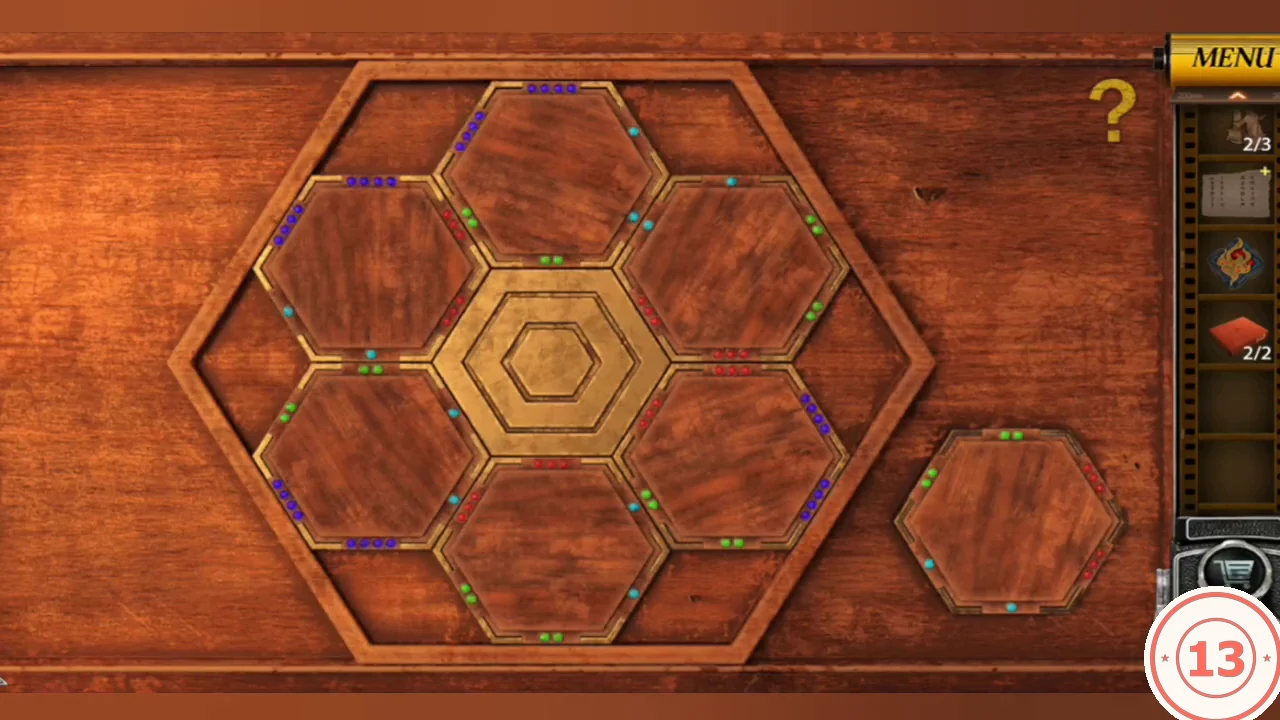
The wooden box on the study desk holds six hexagonal tiles around a gold centre, with a spare tile on the right. Each tile edge has one to four dots in blue, red, green or cyan.
- Place the Hexagonal Wooden Block in the empty ring slot.
- Select a tile (a green glow marks it) and swap it with the spare or rearrange tiles until every pair of touching edges shows the same colour and the same number of dots.
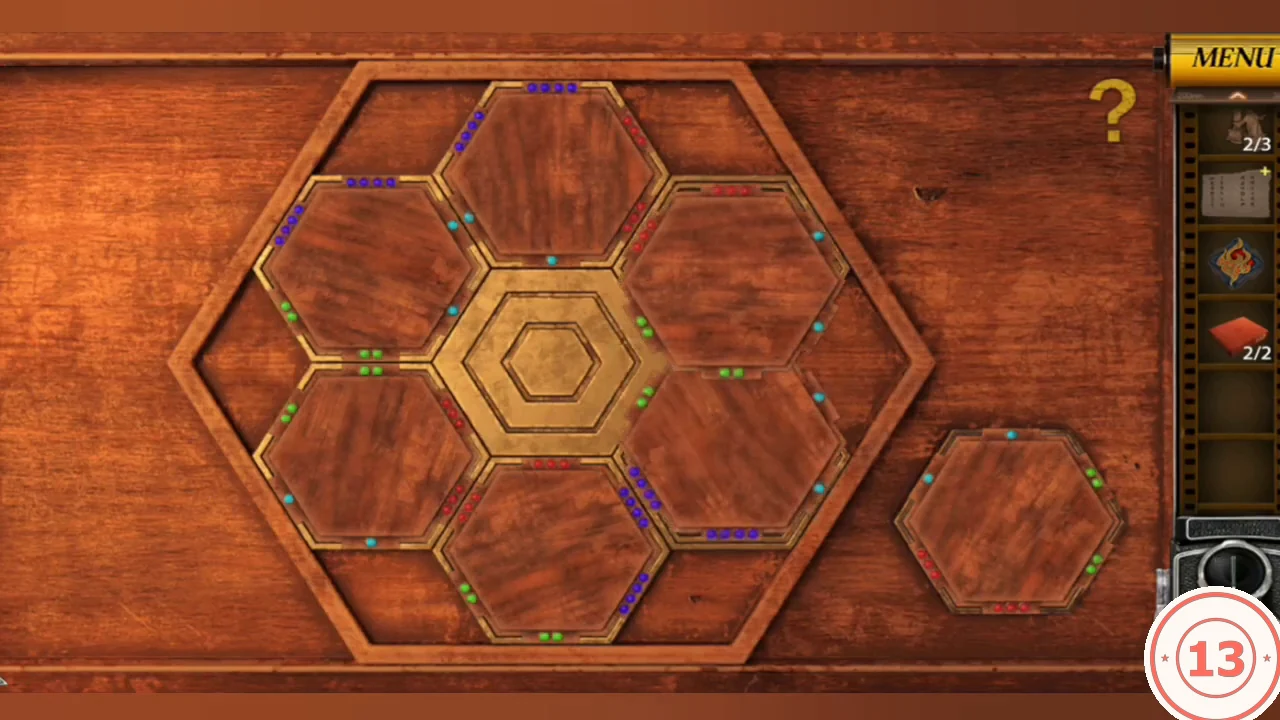
Solved: every pair of touching edges matches. - Take the light knight, Chess Piece 1/2, from the opened box.
Red Book Row
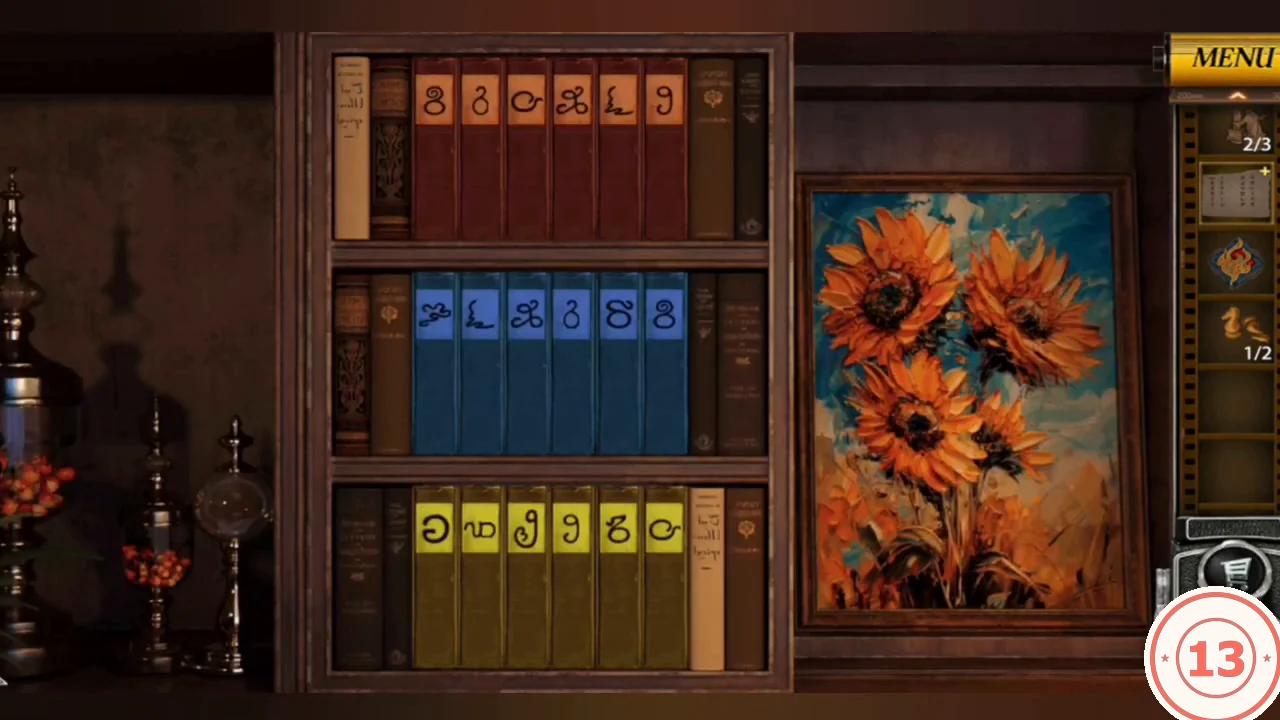
The left bookcase has three rows of books labelled with the Clue Image's numeral symbols. The blue and yellow rows already run from high to low numerals.
- Place the red Books in the gap in the top red row.
- Read each red book's symbol as a numeral with the Clue Image. Tap one book, then another, to swap them. Sort the row high to low like the others: XI, VII, VI, V, III, I.CODEXI, VII, VI, V, III, I
- The bookcase slides and the sunflower painting moves to reveal a locked wall safe. Take Chess Piece 2/2 (dark knights) from the niche beside it.
Knight Swap
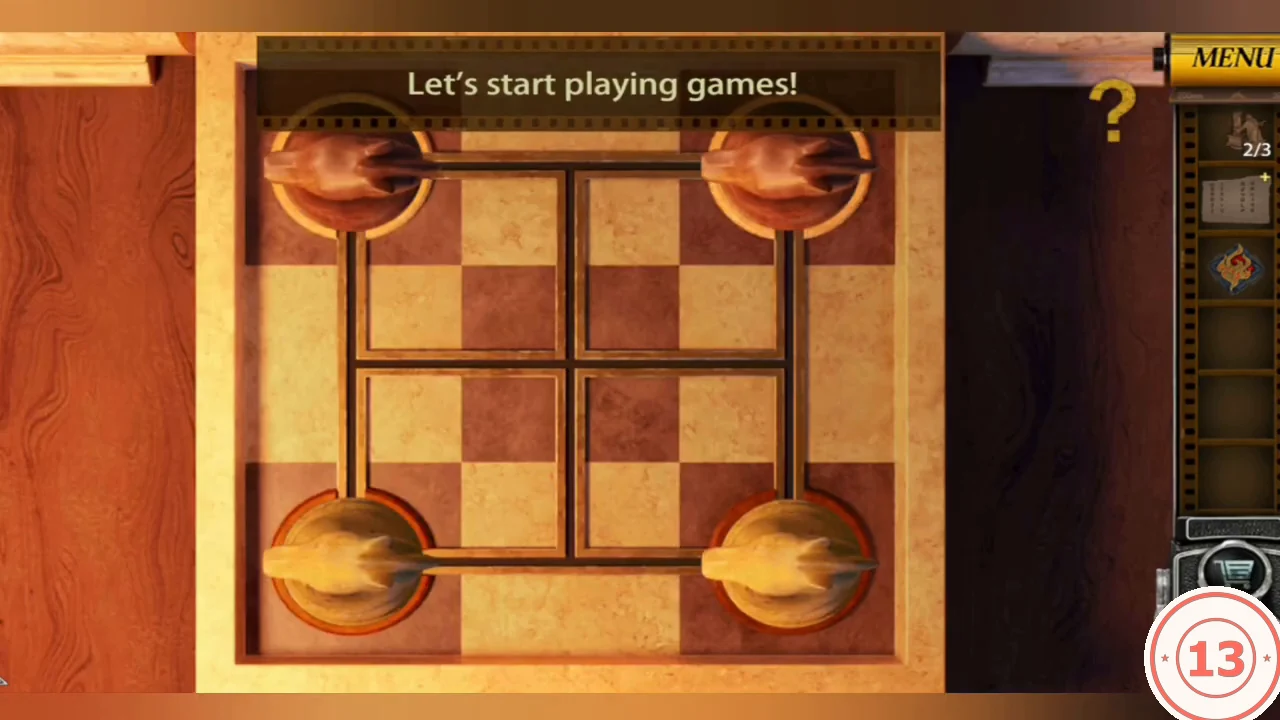
The drawer under the living-room chess table opens to a 3x3 knight panel. Positions are a b c / d e f / g h i; the centre is never used. Pieces move only by knight jumps. Dark knights start on a and c, light knights on g and i. Swap them.
- Use the Chess Pieces on the drawer below the chess board.
- Make these 18 moves (L = light, D = dark): L g→b, D c→h, L i→d, L d→c, D a→f, D h→a, D f→g, D a→h, L b→i, D h→a, D a→f, L i→d, L c→h, L h→a, L d→c, D g→b, D b→i, D f→g.
- Take the Key from the tray beside the panel. In the study, use it on the left desk drawer and read the chess diagram sheet inside.
Chess Pawn Numeral Cabinet
The sheet shows two worked chessboards with Roman numerals on the columns: for each row, add the column numbers of the white pawns and subtract those of the black pawns. Apply it to the top four rows of the living-room chess table.
- Set the four-dial lock on the left door of the cabinet on the right, top to bottom, to XII, IX, III, II.CODEXII, IX, III, II
- Take the iron Key from the cabinet.