Statue Pedestal Sliding Stones
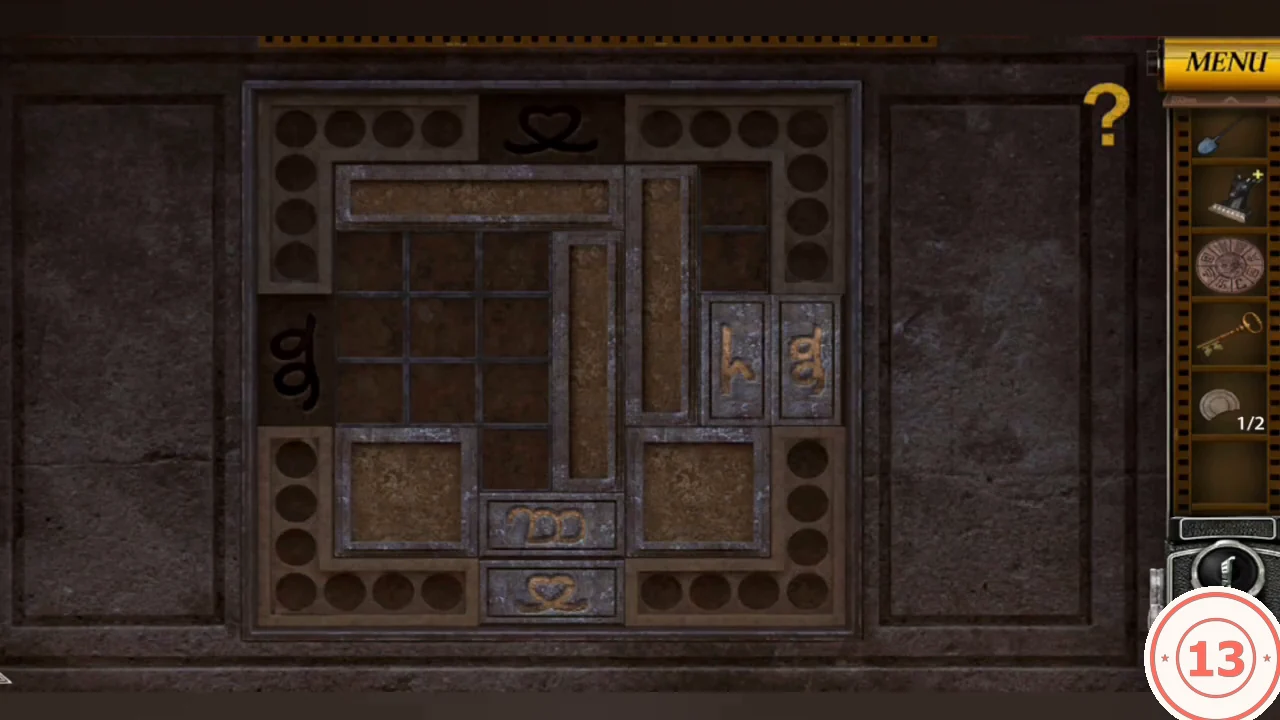
The statue pedestal in the town square holds a 6x6 sliding-stone board. Four engraved two-cell symbol tiles must each reach the carved slot with the matching symbol on the board's edge.
- Place the Patterned Blocks (both blue rune plates) on the statue pedestal in the town square. The sliding board appears.
- Slide the stones along their long axis to clear paths. Bring the heart-loop tile to the top slot, the double-loop (ꝏ) tile to the bottom slot, the g-shaped hook tile to the left slot and the h-shaped hook tile to the right slot. At the start the heart tile sits in the bottom slot with the double-loop tile above it, and the g and h tiles sit side by side at the right slot, so move the blocking stones aside first. This takes many moves: work one tile at a time and keep finished tiles in place while you clear the next path.
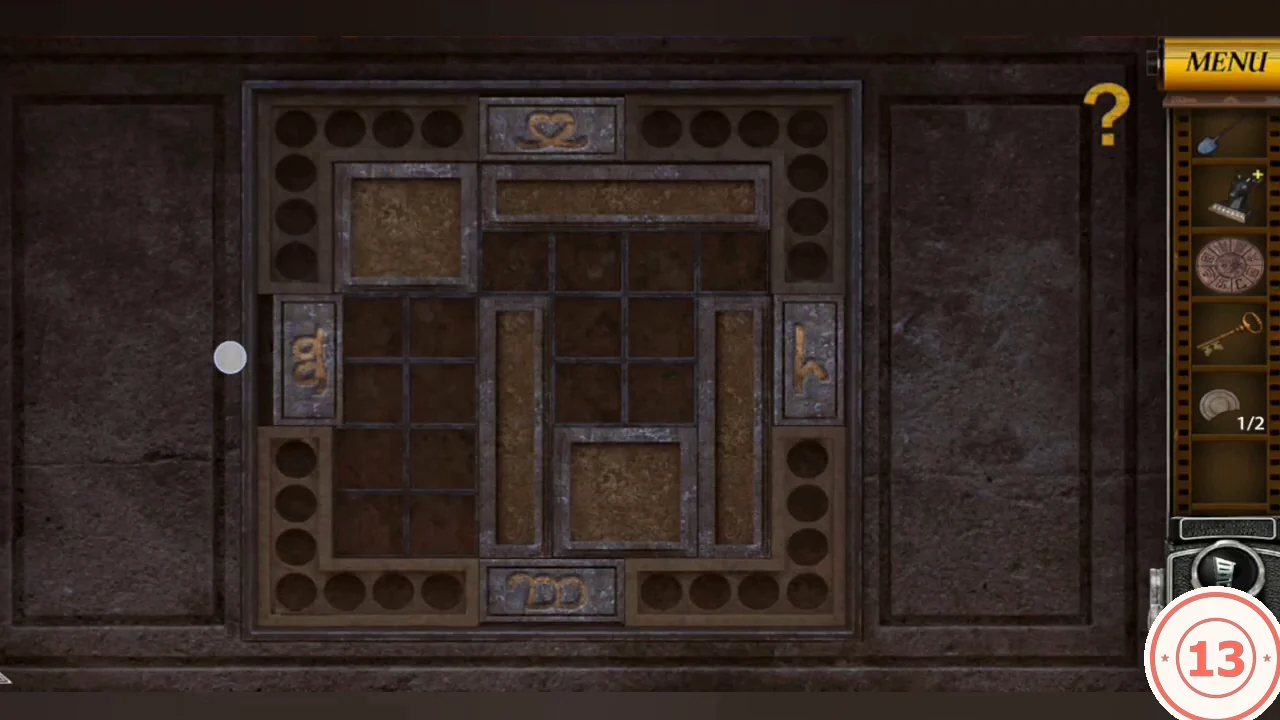
Solved: heart loop top, g left, h right, double loop bottom. - The pedestal front opens. Take Tower Figurine 1/3 and the Ladybug.
Ladybug Flower Board
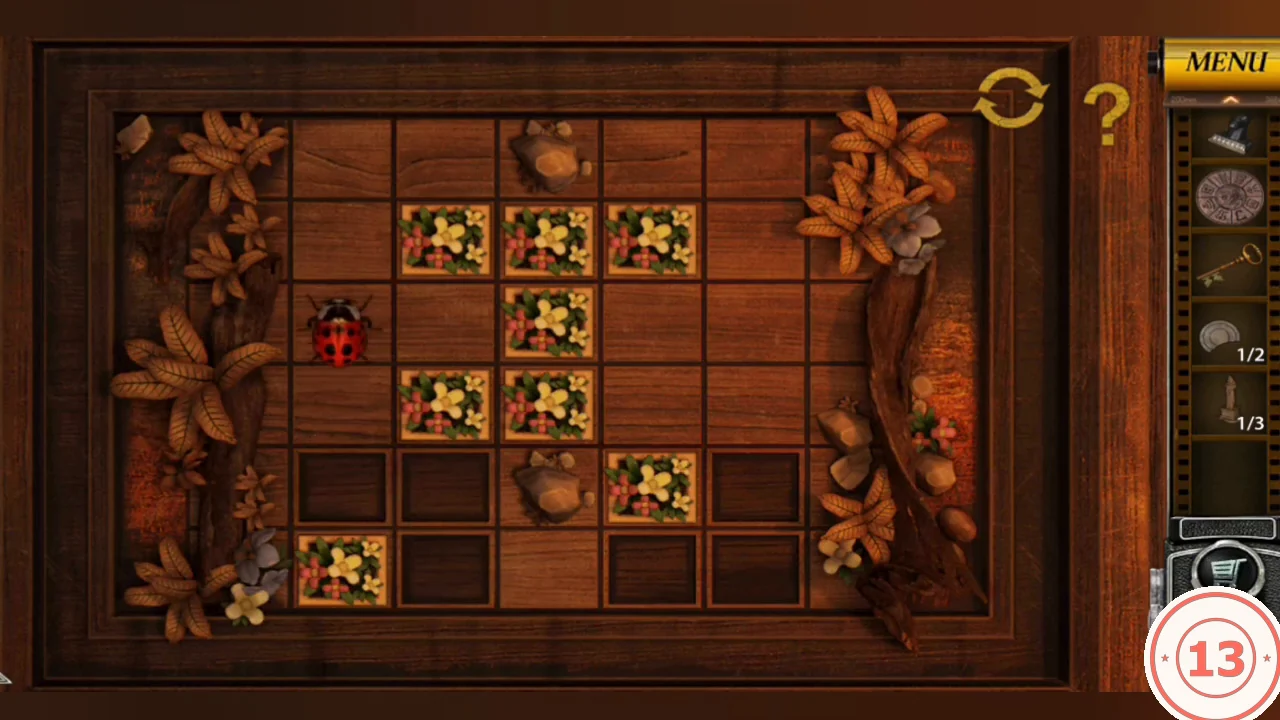
The leaf-framed wall board in the honeycomb house is a pushing puzzle: 5 columns by 6 rows, eight flower tiles, two rocks and eight recessed slots in the bottom two rows (columns 1, 2, 4 and 5).
- Place the Ladybug on the wall board in the honeycomb house.
- Each green arrow moves the ladybug one cell and pushes a flower tile ahead of it. Rocks block movement, and the restart icon (top right) resets the board. Push all eight flower tiles into the eight bottom slots. Avoid pushing a tile against a wall where you can no longer get behind it.
- The board slides away. Take the wooden broken plate half; with the grey half you now have Plates 2/2.
Flower Ring Double Door
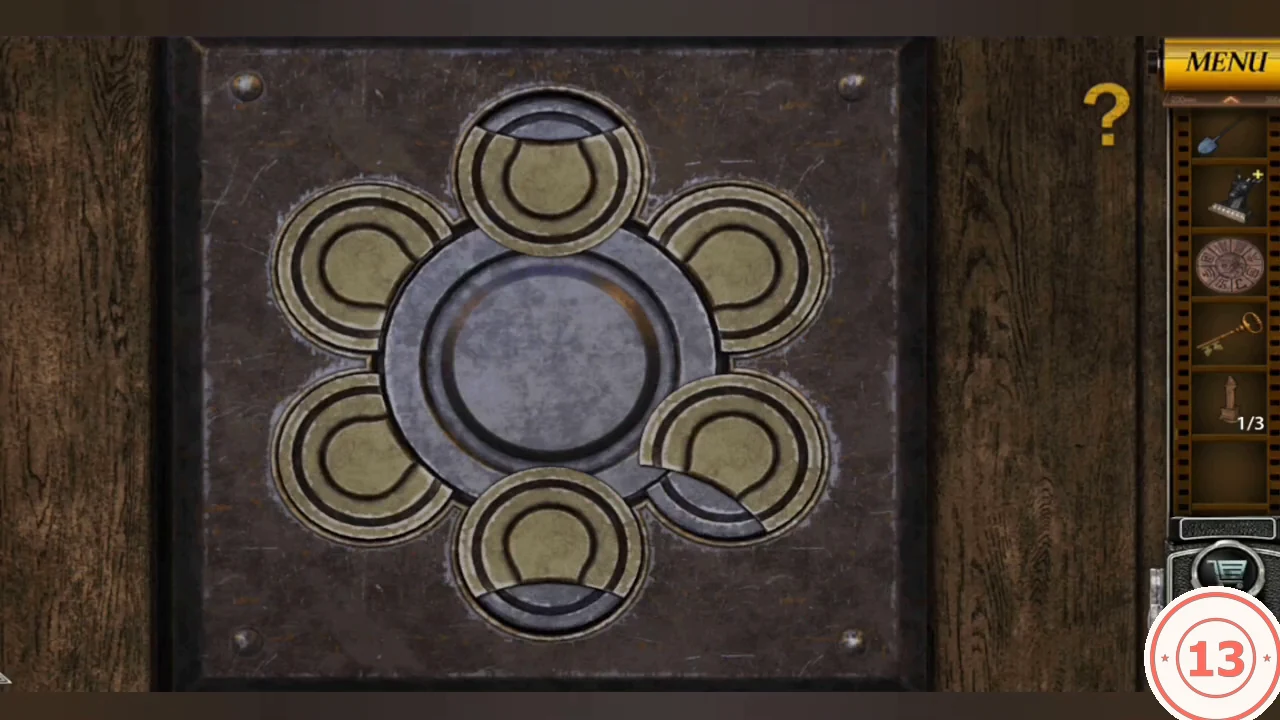
On the tower side of the town square, next to a padlocked double door, a second double door has a round flower lock. Six brass petal rings surround a centre ring, and dark arc segments sit in the petals.
- Place the Plates in the round flower lock on the double door.
- Tapping moves dark arc segments between a petal ring and the centre ring. Move segments until every petal is a plain brass ring and the centre ring is completely dark. This takes many taps; the puzzle is solved when no dark segment remains on any petal.
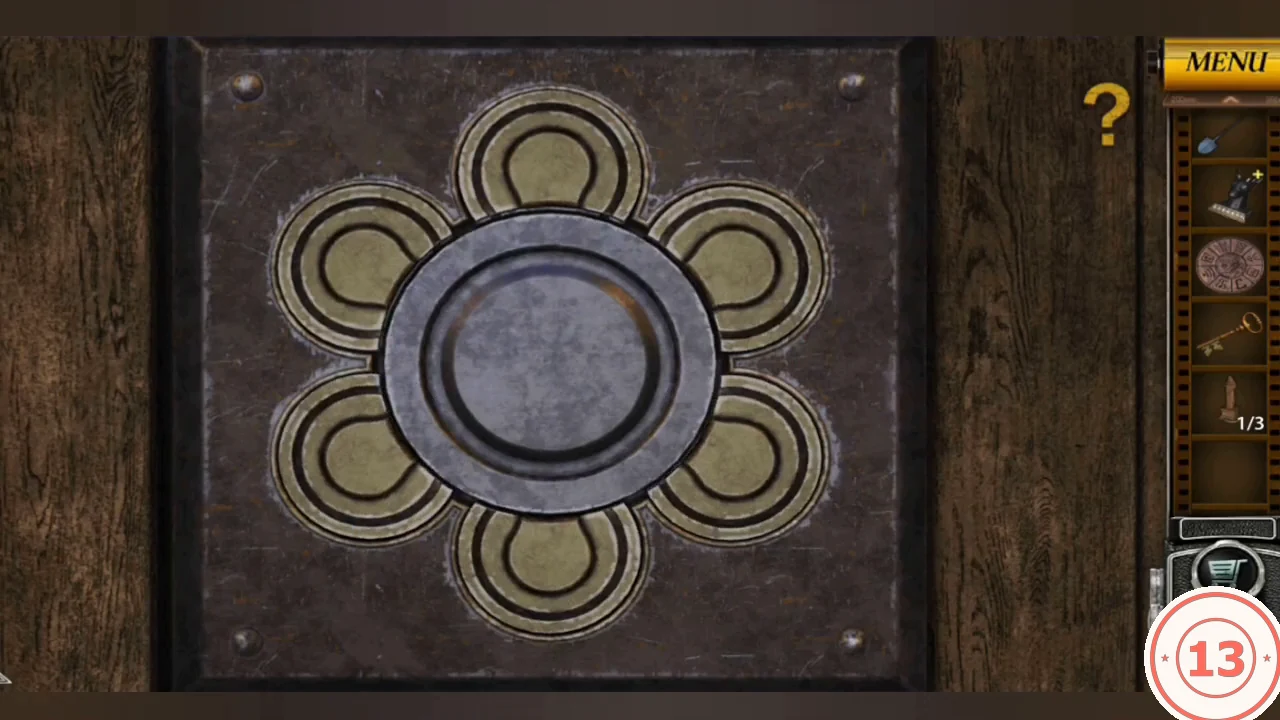
Solved: every petal is plain brass and the centre ring is complete. - The centre becomes a keyhole. Use Taya's house Key on it. The doors open to Mayor Morin's manor garden.
Mayor Morin and the Planked Door
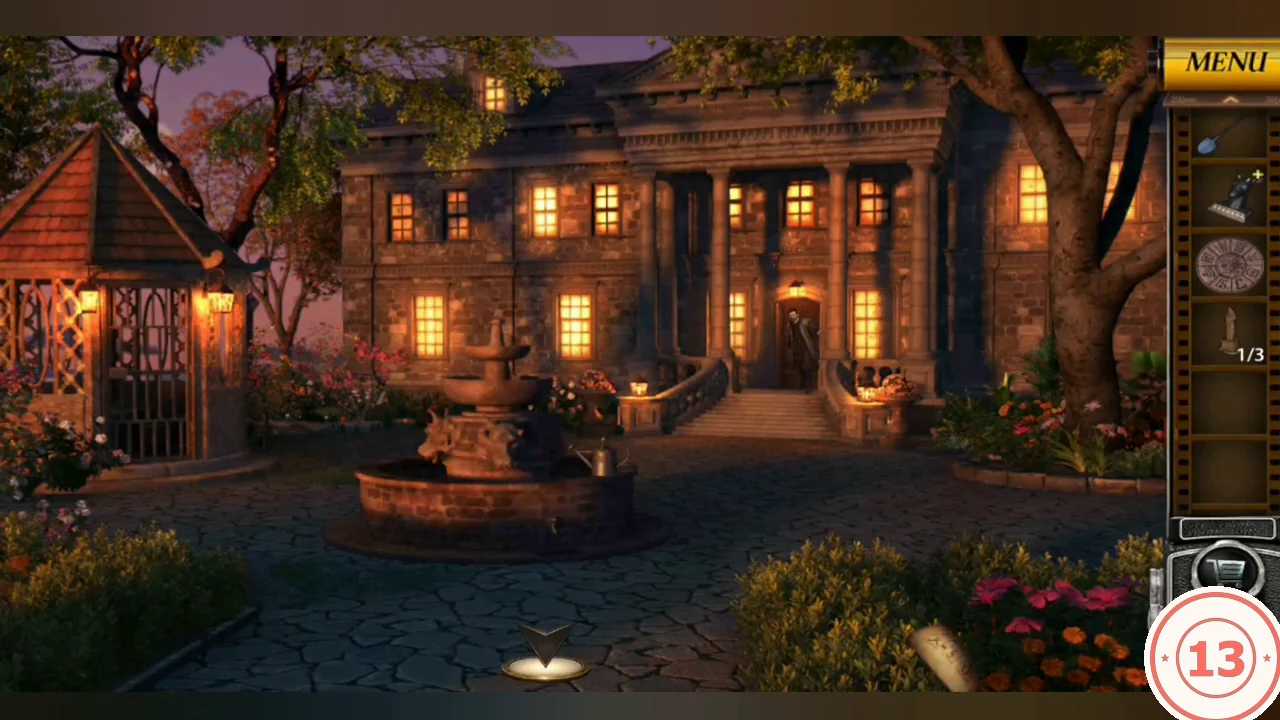
Talk to the Mayor and collect two items in the garden. The Mayor's key opens the barred door at the far left of the town square, which leads to the forest cottage.
- Enter the manor and talk to Mayor Morin, who gives you a Key with a red tag.
- In the flowerbed at the front right of the garden, take the Clue Note with three connected symbol pairs.
- Look at the stone head at the fountain. Take the slate Number Dial from its base. The rim below it is carved with VI. The fountain's faucet does nothing yet.
- Back in the town square, open the barred plank door at the far left edge with the red-tag Key. It leads to the forest cottage.
Buried Numeral Box
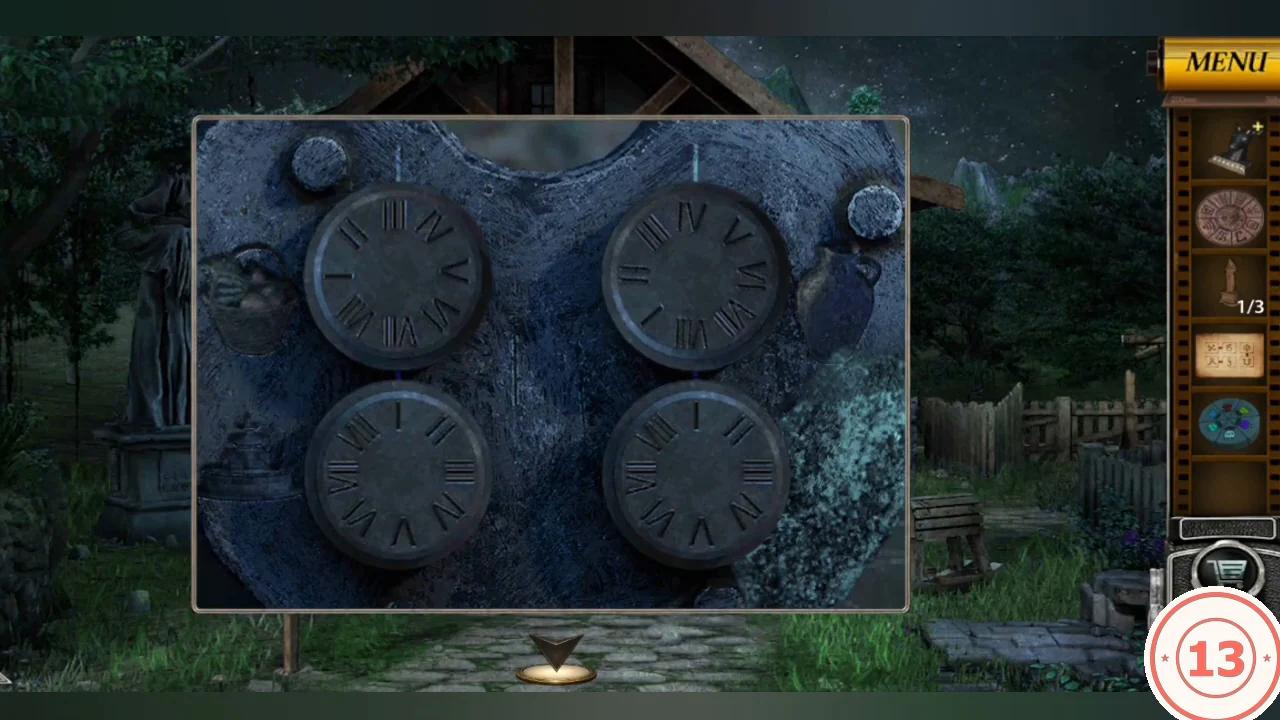
Collect two items at the forest cottage and dig up a stone box with four Roman-numeral dials. A small picture beside each dial shows where its number is found.
- Note the board inside the open cupboard on the cottage's left wall: five small 3x3 red patterns above a 6x6 tile grid. You need it later.
- Take the Round Stone (gem-studded stone disc) from under the wooden rocking horse right of the path.
- Use the Shovel on the dig spot by the shed. A stone box with four numeral dials appears, the top-left dial missing. Place the Number Dial in it.
- Read the clues: the leftmost basket on Aunt Mary's shelf shows III, the jug on the tavern table shows VIII and the fountain rim shows VI. The fourth picture is a hedge. Where its numeral appears was not confirmed for this guide, but VII is the value that opens the box.
- All dials start on I; the numeral at the top marker counts. Set top left III (basket), top right VIII (jug), bottom left VI (fountain) and bottom right VII (hedge). Take the Statue Piece.CODEIII, VIII, VI, VII
Statue Flower Wheels
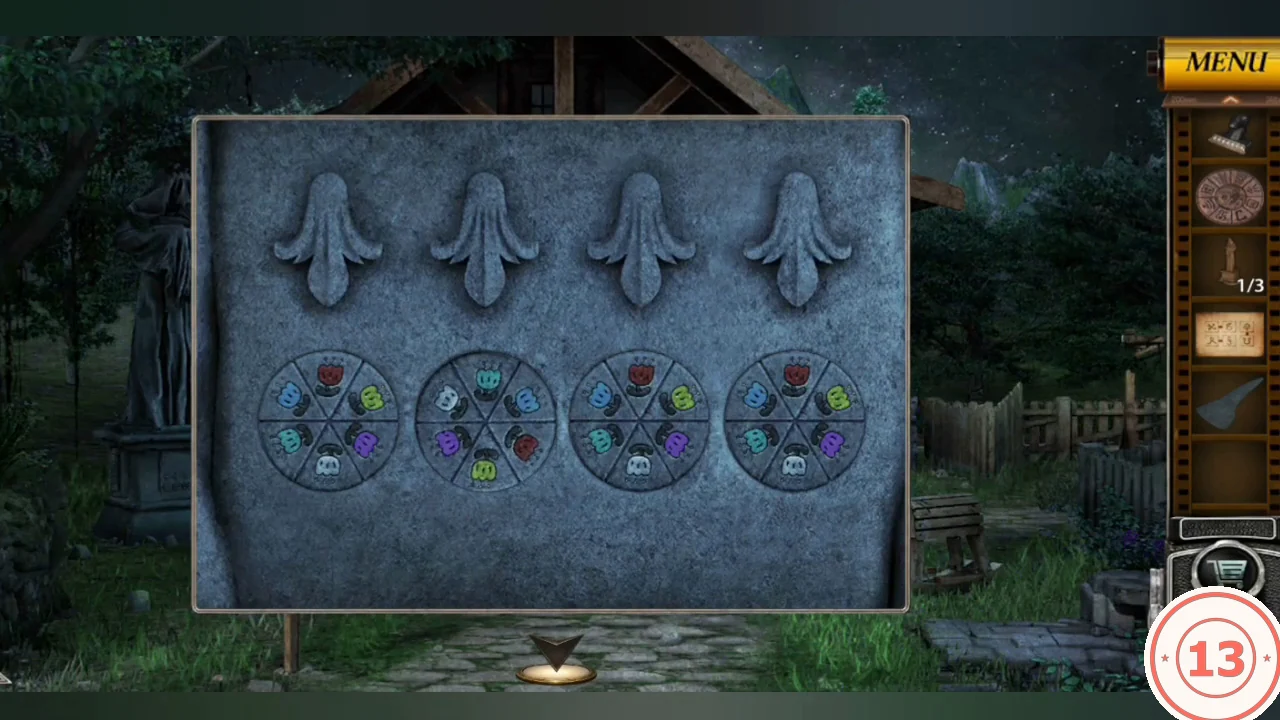
The hooded statue's pedestal (left of the cottage path) has four flower buds over four six-colour wheels. One wheel is missing.
- Place the Round Stone in the empty fourth wheel slot.
- Enter the cottage classroom and tap the misted window to wipe it. The flowerbed outside shows rows, left to right, red, yellow, purple and blue.
- Tap the wheels to rotate them so the colours under the buds read, left to right, red, yellow, purple, blue. Take the Cube from the pedestal's side.CODERed, yellow, purple, blue
Fountain Head and Olive Branch Lock
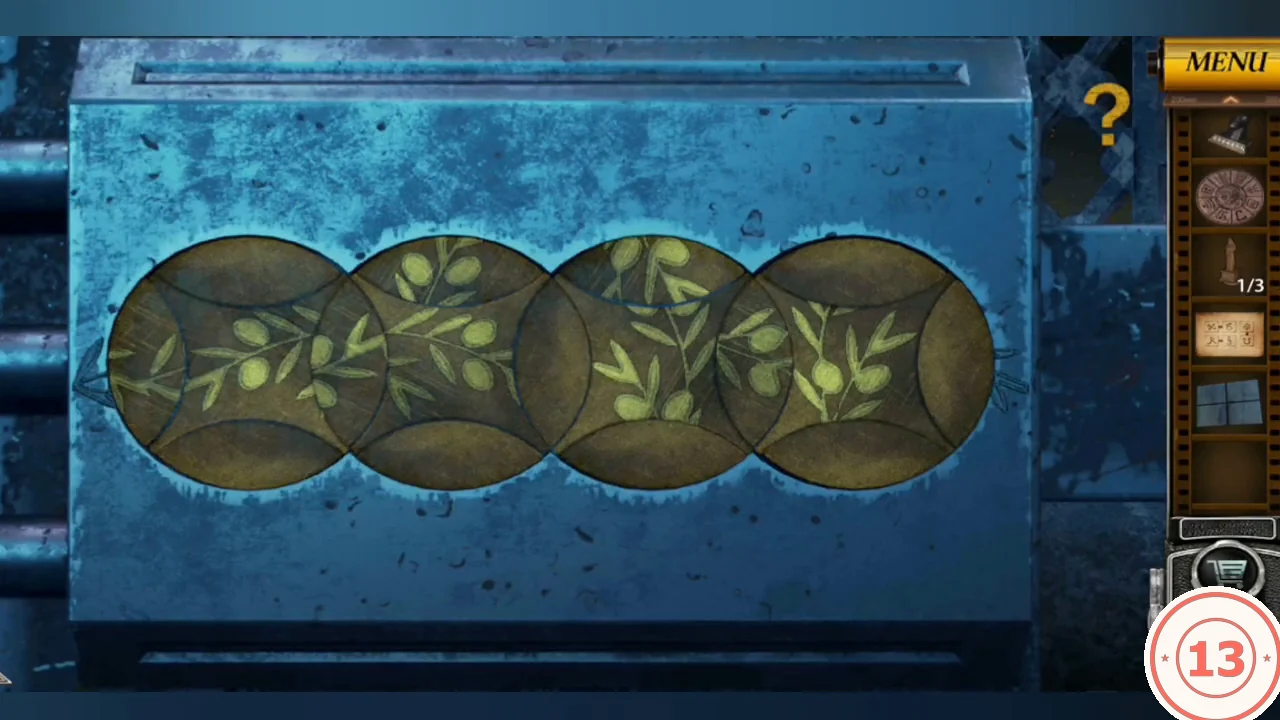
Restore the manor fountain to reveal the gazebo lock piece, then align the olive branch on the gazebo lock.
- In the manor garden, put the Statue Piece on the fountain's stone head. Water flows.
- Turn the faucet at the fountain base. The water flushes the drain grate and the Oval Piece floats up; take it.
- Place the Oval Piece in the gazebo's iron-cage lock. Four overlapping discs each carry part of an olive branch.
- Tapping a disc rotates only that disc. Turn them until a single continuous horizontal olive branch runs through all four discs.
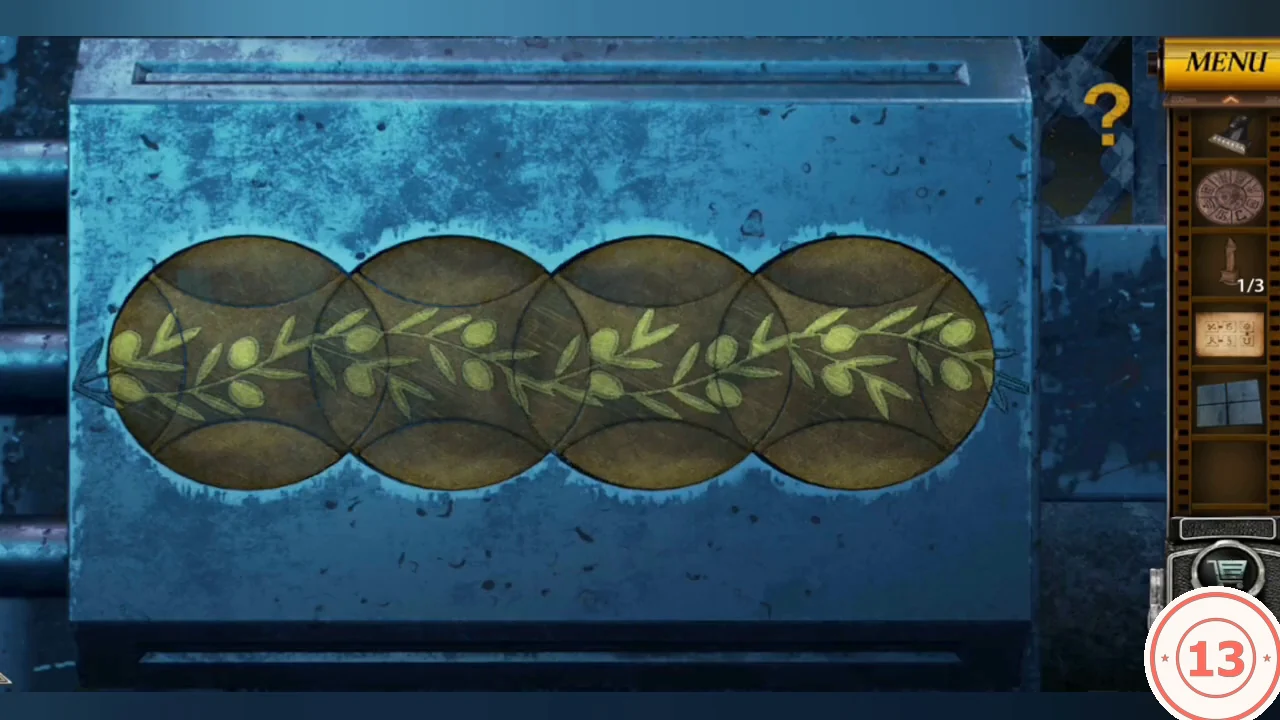
Solved: one continuous olive branch across all four discs. - Inside the gazebo, take the Drawer Handle from the tree-stump table. The stone slab on the table is a later puzzle.
Classroom Drawer and Clues
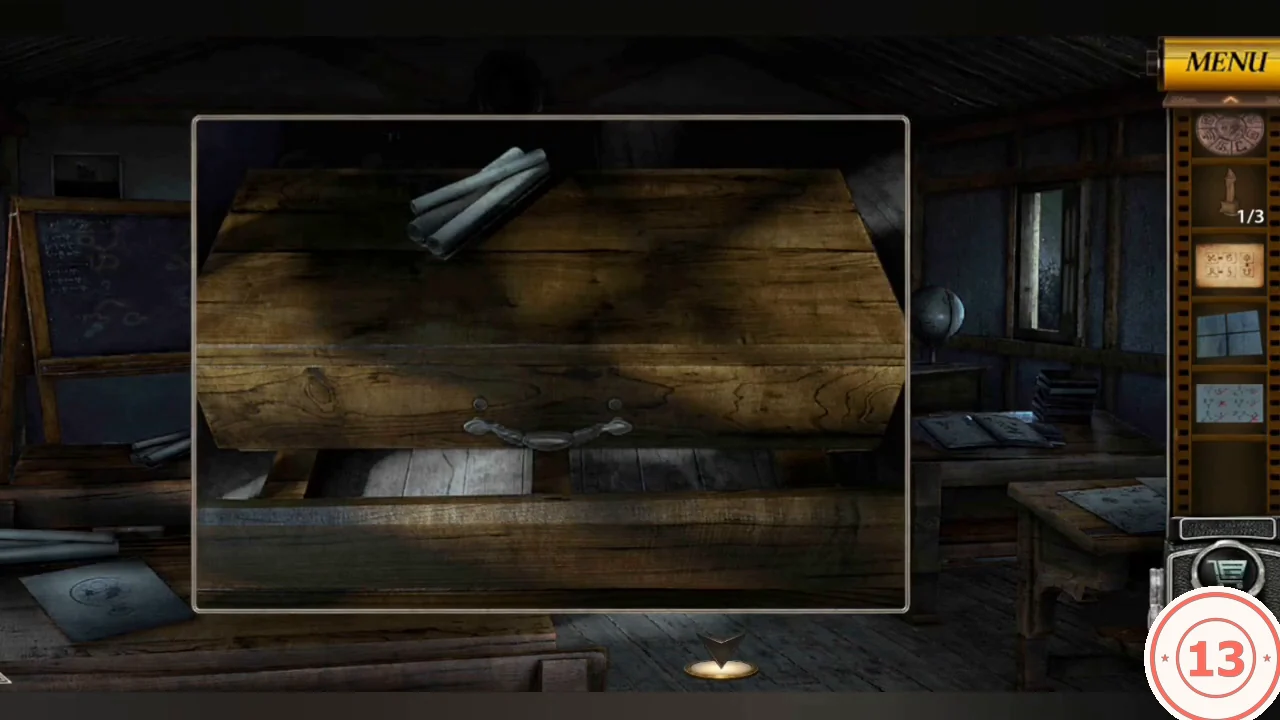
Collect clues and parts in the forest cottage classroom.
- Take the blue paper of symbol-pair rules from the front-right desk.
- Attach the Drawer Handle to that desk's drawer. Take the stone tile with the S-hook symbol. A box with five letter tumblers stays in the drawer for later.
- Take the teal carved tail-fan piece from the bottom-right ledge of the blackboard.
- At the rear desk with the eagle helm, take the torn Clue Image. One side links twelve symbols to the numerals I to XII; the other has five red circles. Flipped over, the circles mark the symbols for VII, II, X, V and VI.
Statue Symbol Column
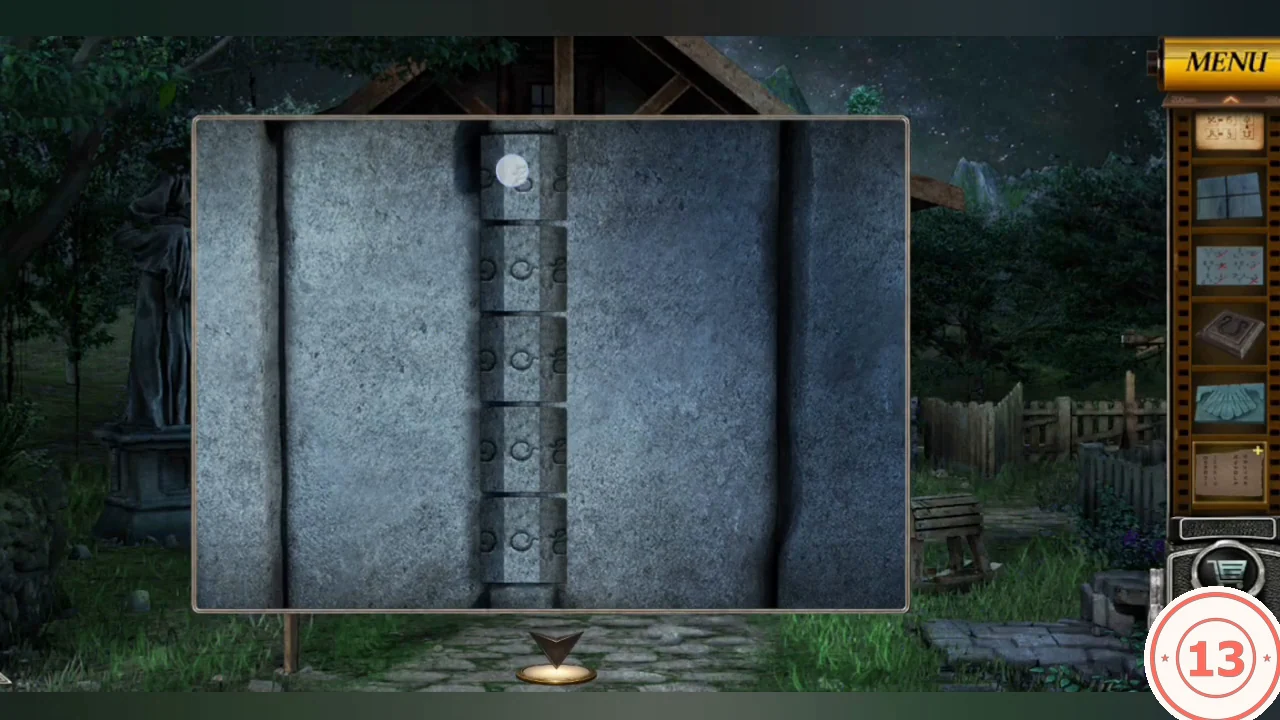
The other side of the hooded statue's pedestal has a column of five rotating symbol blocks.
- Tap the blocks to rotate them. All start on the symbol for I. Set them, top to bottom, to the symbols for VII, II, X, V and VI from the Clue Image.CODEVII, II, X, V, VI
- Take the blue carved medallion (the Moon-Engraved Stone) from the side compartment.
Pattern Tile Cupboard
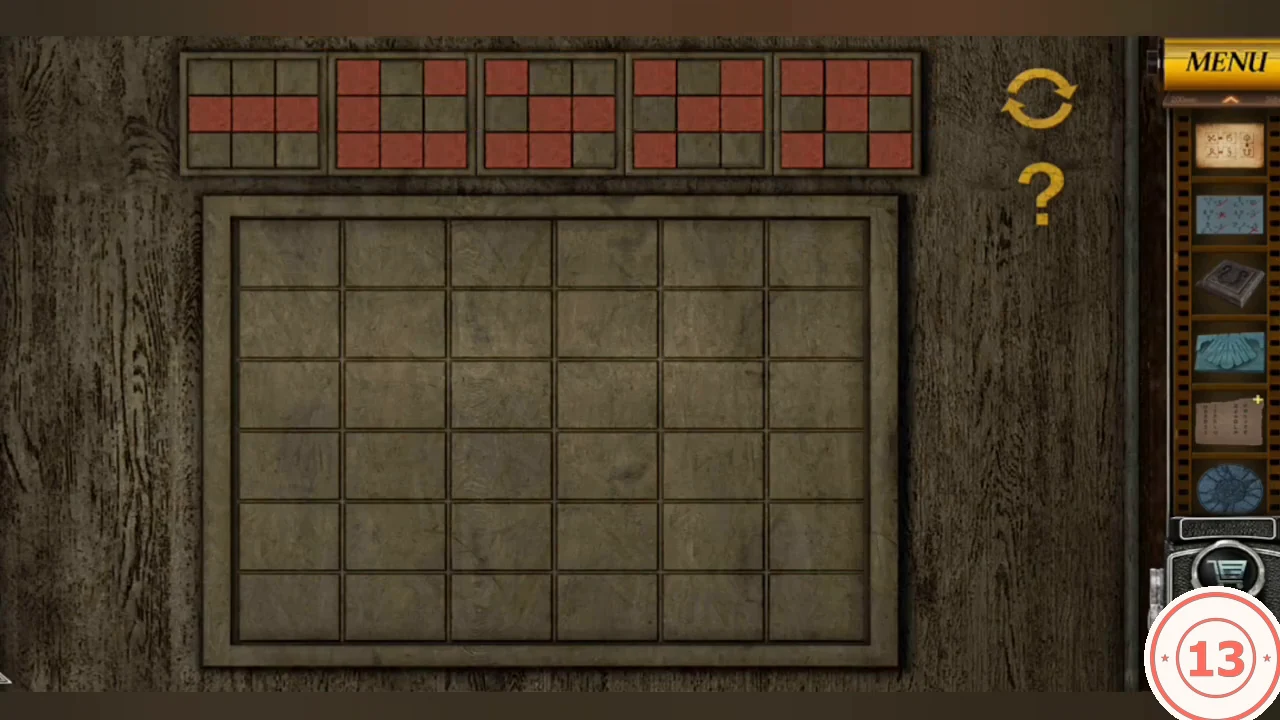
The cupboard board on the cottage's left wall shows five 3x3 red patterns over a 6x6 grid of tiles that toggle dark and light.
- Place the Cube on the cupboard board.
- Tap tiles to toggle them so each of the five red patterns appears somewhere in the grid. One solution (D dark, . light), rows top to bottom: DDD... / .D.DD. / D.DD.D / D...DD / DDDD.. / ......CODEDDD... / .D.DD. / D.DD.D / D...DD / DDDD.. / ......
- Take Tower Figurine 2/3 from the opened cupboard.
Eagle Sliding Tiles and Candle Cup
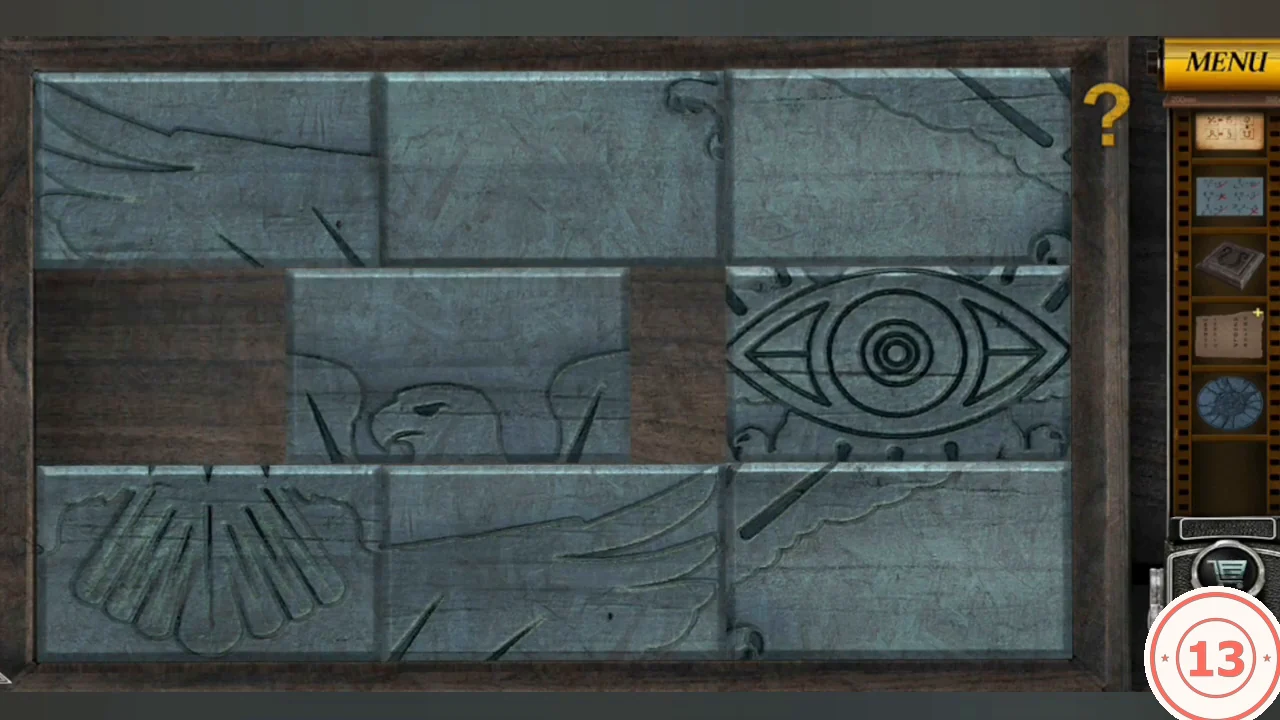
Two chests sit under the cottage porch. The left one is a 3x3 sliding picture of an eagle with one tile missing; the right one is solved later.
- Place the teal tail-fan piece in the left chest's empty space.
- Slide tiles into the empty space to rebuild the eagle: wings across the top row, eye in the centre, tail fan bottom centre, empty space bottom right.
- Take the Wooden Horse Head from the chest and attach it to the rocking horse in the yard. Take the blue candle cup from it.
- In the classroom, place the cup on the empty right arm of the candelabra on the back wall. The five cups carry symbols; the clue comes next.
Sun and Moon Book Pedestal
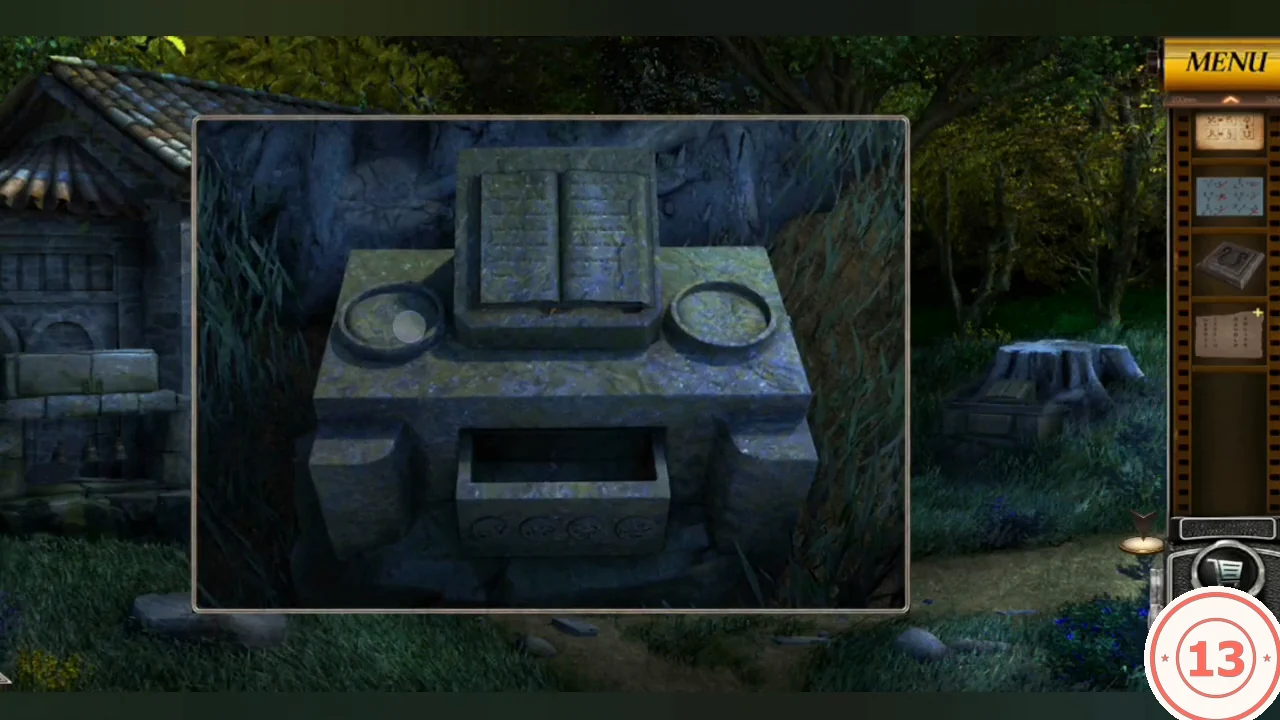
Beyond the town square, a small stone hut in the woods has a stone book pedestal with two round recesses.
- Place the Moon-Engraved Stone (blue medallion) and the Sun-Engraved Stone (the engraved disc from the burial pit) in the two recesses. Take the orange flame tile (Patterned Piece) from the centre drawer.
Gazebo Symbol Slab
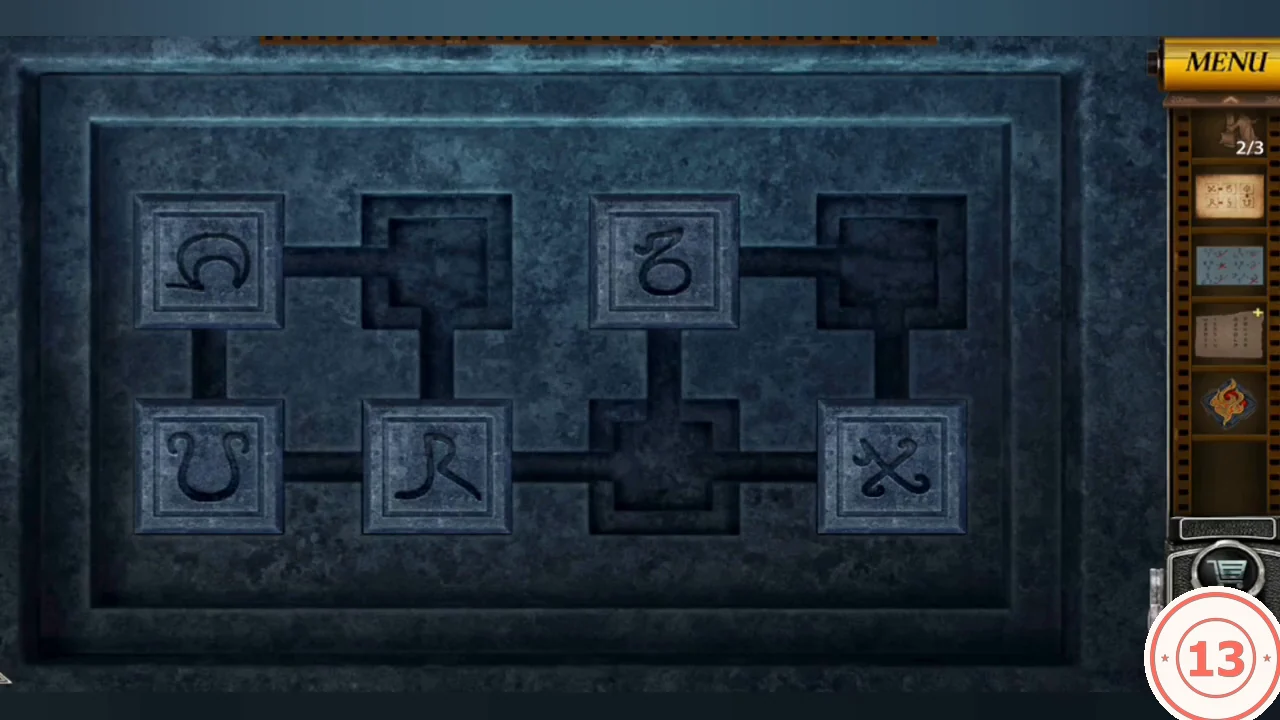
The stone slab on the gazebo's stump table has eight sockets joined by grooves. Three sockets are engraved with symbols, and five symbol tiles slide along the grooves.
- Place the S-hook stone tile on the slab.
- The Clue Note from the flowerbed shows which symbols must sit side by side or one above the other. Slide the tiles until the top row reads ✕-like, ठ-like, (the engraved ᑫ socket left empty), S-hook and the bottom row reads ʎ-like, (the engraved § socket left empty), U-shape, (the engraved ꞷ socket left empty).
- Take the Antler from the opened slab. In the inventory, combine it with the Deer Carving Piece to make the antlered deer head.