Fruit Peg Cupboard
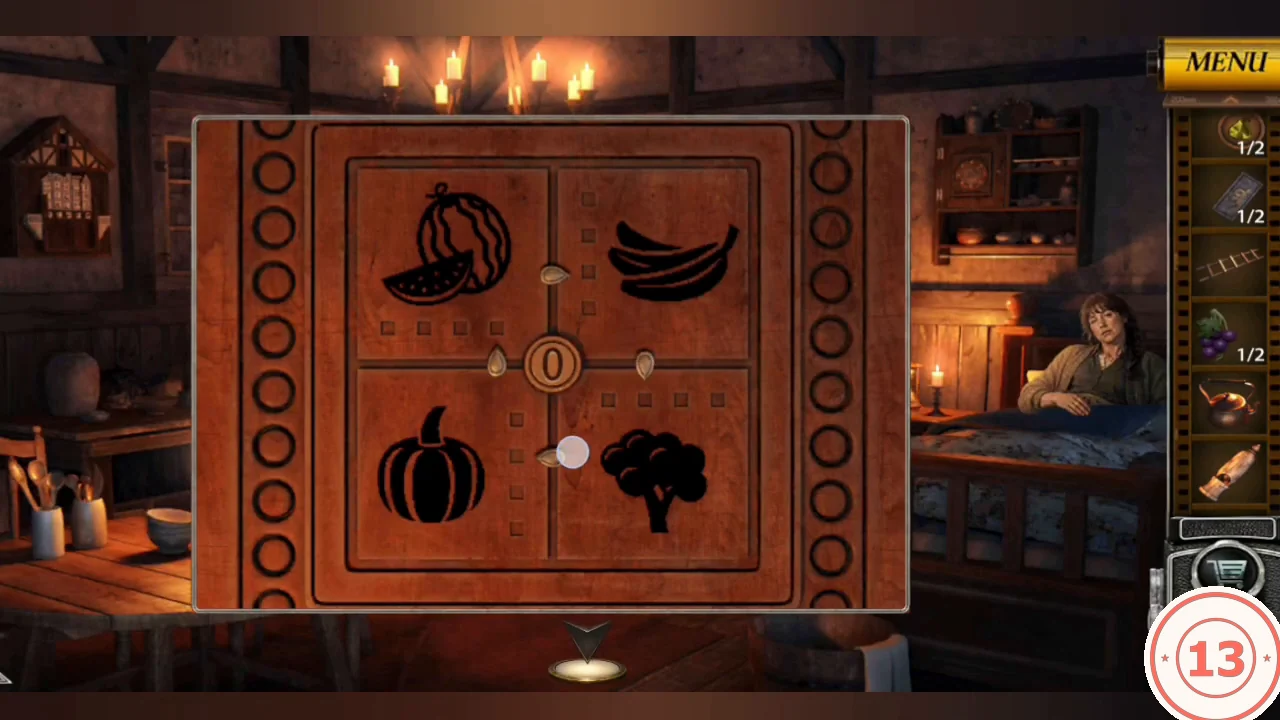
Collect two items in Aunt Mary's house, then open the small wall cupboard. Its door has four carved quadrants (watermelon top left, bananas top right, pumpkin bottom left, broccoli bottom right) and a peg on each arm that moves outward one dot per tap.
- Take the Kettle from the round table.
- Take the wooden Whistle from the middle shelf of the dresser.
- Count the produce in the baskets on the shelf: 1 watermelon, 2 bananas, 3 pumpkins and 2 broccoli heads.
- At the cupboard left of the window, every peg starts on dot 1. Tap the top peg (bananas side) once, the right peg (broccoli side) once and the bottom peg (pumpkin side) twice; leave the left peg (watermelon side) on dot 1. Final dots: left 1, top 2, right 2, bottom 3.CODELeft 1, top 2, right 2, bottom 3
- Take the Sulfuric Acid from the cupboard.
Woodshed Roof and Iron Box
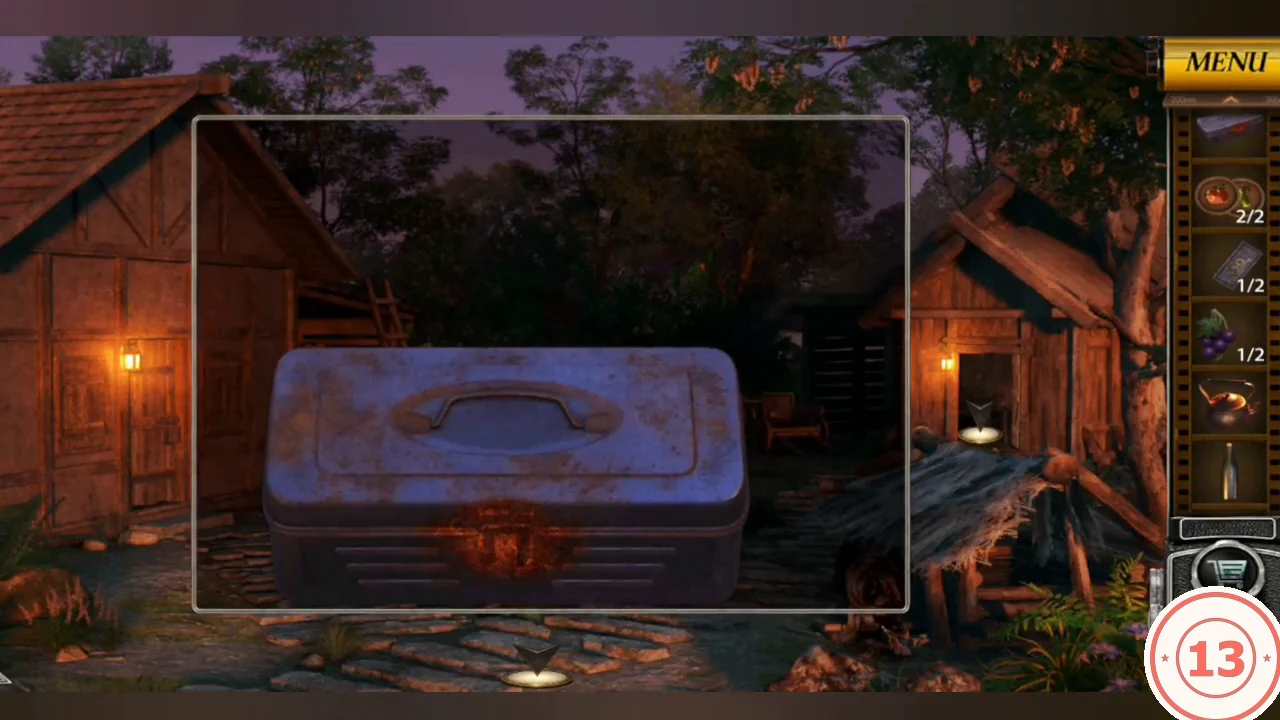
Use the repaired ladder, the whistle and the acid in the courtyard.
- In the courtyard, place the Wooden Ladder against the right side of the left barn by the woodshed roof.
- Climb to the roof and use the Whistle. The hawk flies off. Tap the spot it left to take Fruit Emblem 2/2 (tomato).
- Use the Sulfuric Acid on the Iron Box's lock. Take the grey broken plate half (1/2).
Dresser Fruit Wheel
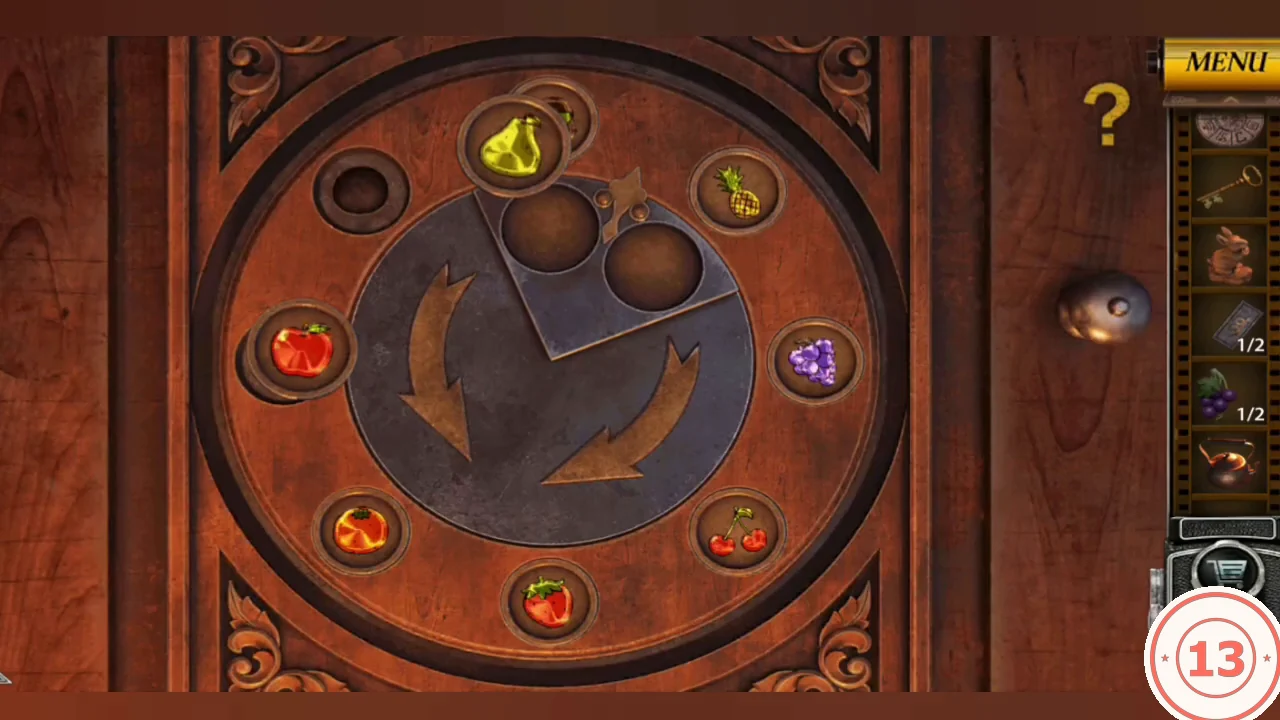
The dresser's clock-face door is a wheel with eight fruit slots on the rim and a rotating centre plate with two cups. Tapping while the cups sit over two neighbouring rim slots exchanges the cups' contents with those slots.
- Place both Fruit Emblems in the empty rim slots (tomato at 9 o'clock, pear at 10:30).
- Every fruit must move two slots clockwise. Pick up the tomato and pear (cups at 9/10:30). Turn to 12/1:30 and swap (you now carry nut and pineapple). Turn to 3/4:30 and swap (grapes and cherries). Turn to 6/7:30 and swap (strawberry and orange). Turn back to 9/10:30 and swap. Final order clockwise from 12: tomato, pear, nut, pineapple, grapes, cherries, strawberry, orange.
- Take the golden hexagonal flower emblem from the dresser's middle shelf.
Honeycomb Door
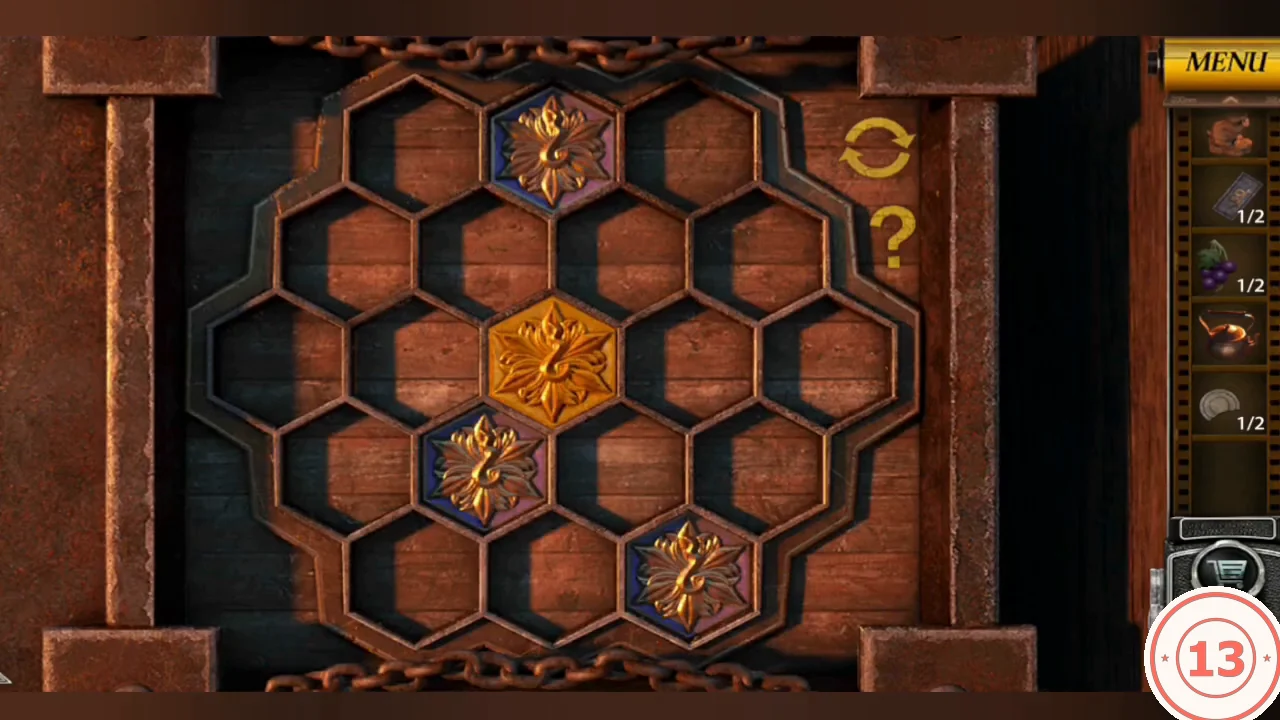
The courtyard house with the honeycomb lock has 19 cells in rows of 3, 4, 5, 4 and 3. Three carved flower cells block movement. Tapping a green arrow slides the emblem until it is blocked, filling every cell it passes. Fill all 16 open cells.
- Place the golden hexagonal emblem in the honeycomb lock. It moves to the centre cell.
- Use these arrows in order: up-right, down-right, down-left, up-left, down-left, left, up-left, up-right, down-right, down-left. All cells fill and the door opens.CODEUR, DR, DL, UL, DL, L, UL, UR, DR, DL
- Inside, take the carved L-shaped symbol tile (1/2) lying on the table beside the box.
Carved Animal Box
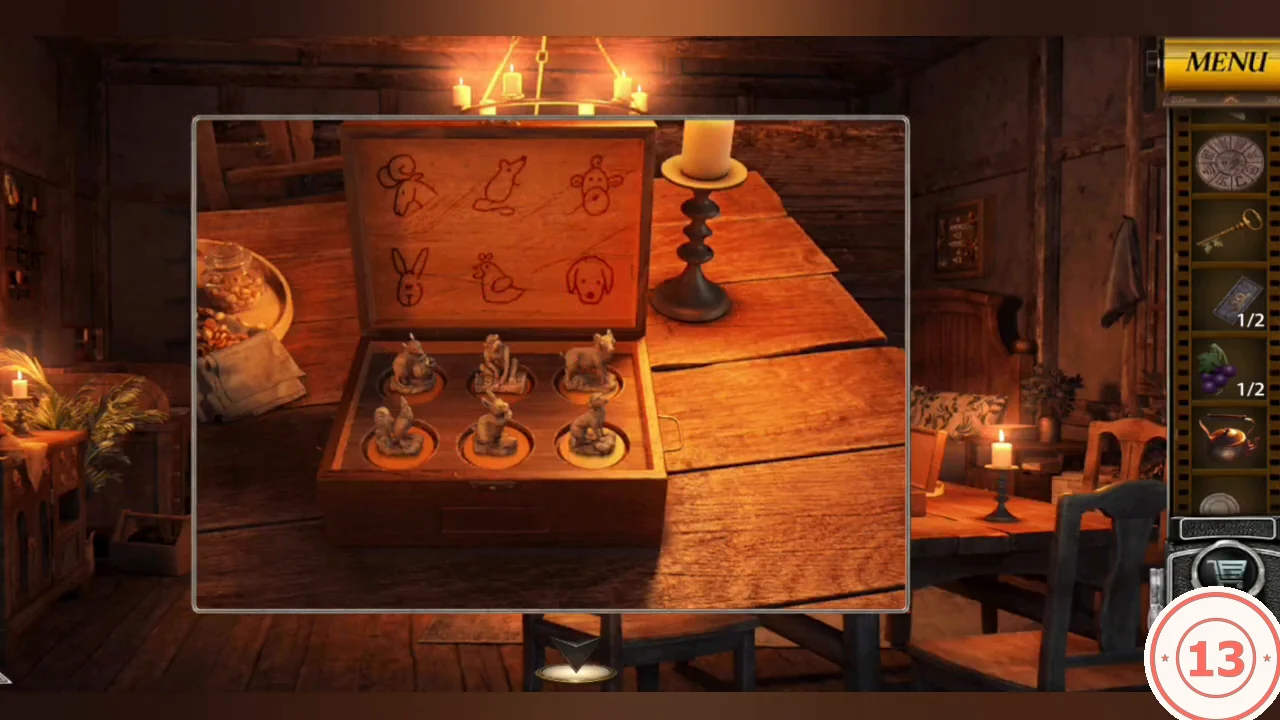
The box on the table has six figurine sockets. Its lid shows the top row as goat, mouse, pig and the bottom row as rabbit, hen, dog.
- Place the Rabbit Wood Carving in the empty front-middle socket.
- Tap a figurine, then another, to swap them. Finish with the back row (left to right) rabbit, rooster, dog and the front row goat, mouse, pig. A drawer opens.
- Take Gold Coin 1/3 from the drawer.
Rocking Horse Runes and Clock Padlock
The rocking horse on the left shelf has four rune tiles. The horse figurines on rune bases in the workshop cabinet (opened by the weights puzzle) give the runes in order.
- Look at the four horse figurines on rune bases in the opened workshop weights cabinet.
- Tap the rocking-horse tiles to cycle the runes. Set them, left to right, to the diamond-with-legs rune (ᛟ), the M-shaped rune (ᛗ), the crossed-diamond rune and the R rune (ᚱ). Take ornate tile 1/2.CODEᛟ, ᛗ, crossed diamond, ᚱ
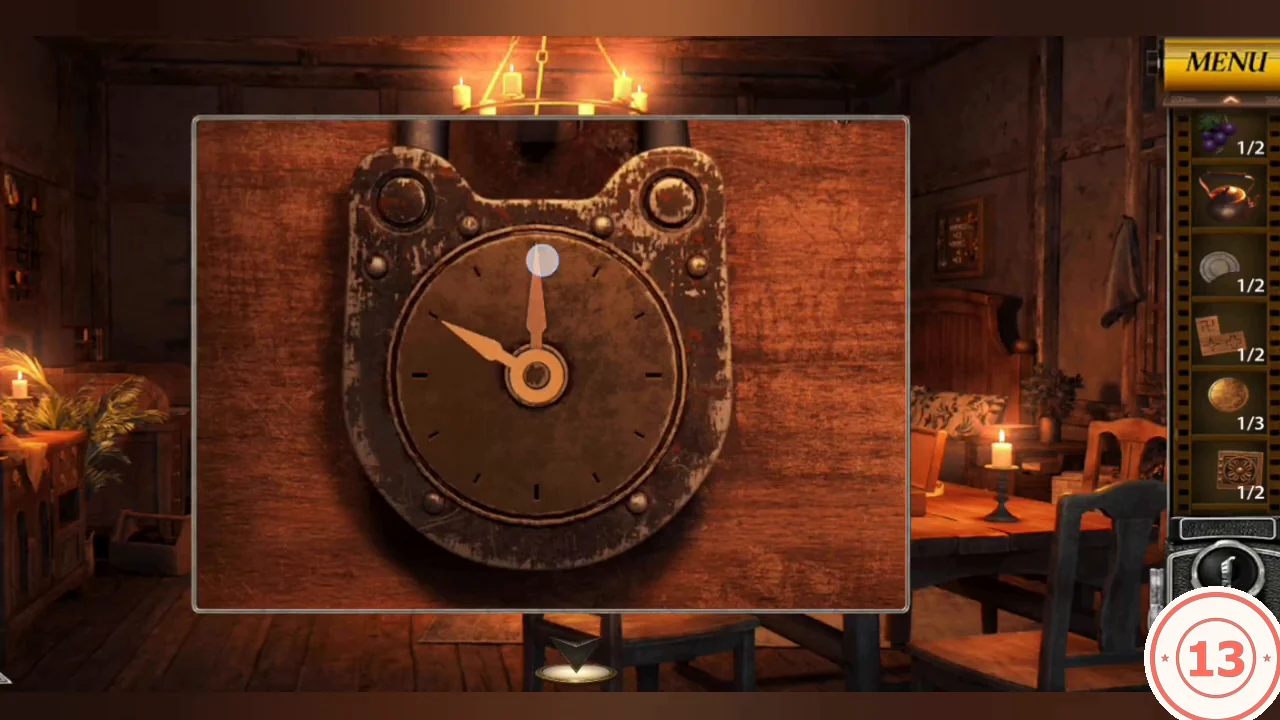
- The chest on the bed has a clock-face padlock. The wall clock above the bed shows 10:10. Set the hour hand to 10 and the minute hand to 2. Take ornate tile 2/2.CODE10:10
Dotted-Edge Tile Cabinet
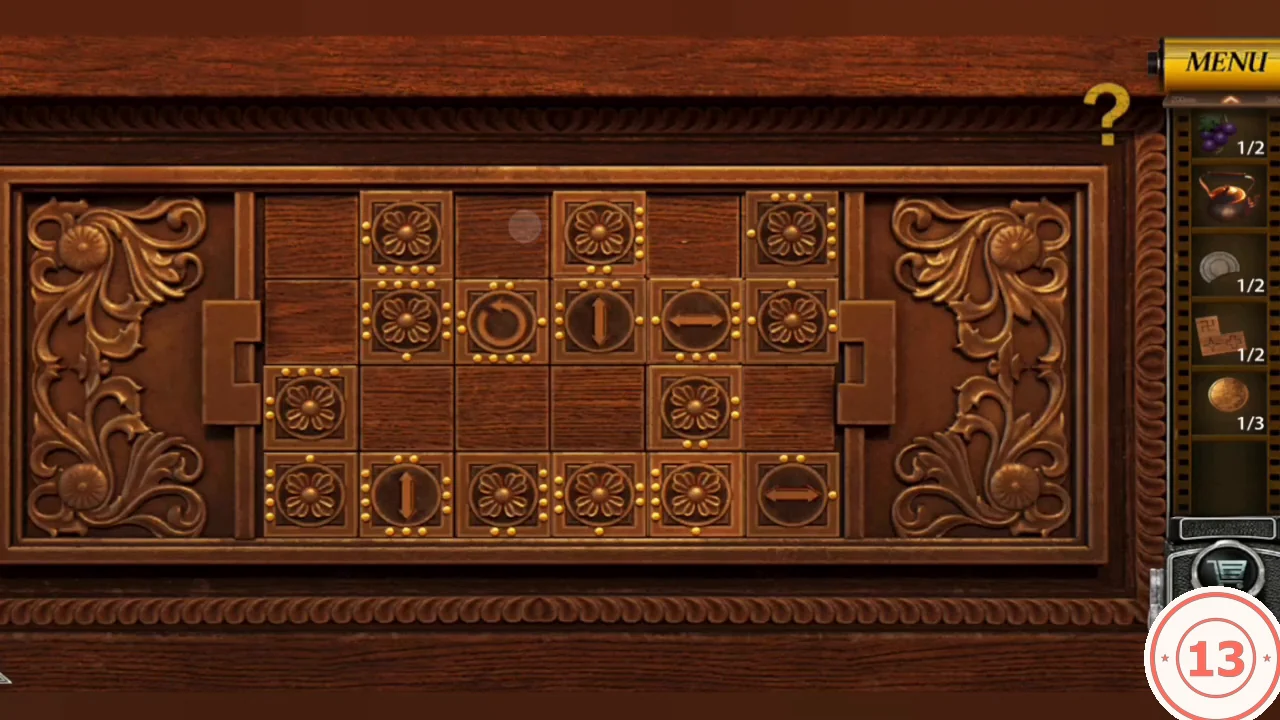
The lower cabinet under the left shelf is a 6x4 sliding-tile board. Flower tiles, arrow tiles (↕, ↔) and one rotate tile have gold dots on some edges.
- Place both ornate tiles on the board.
- Slide the tiles until every dotted edge meets a dotted edge of its neighbour. This is a lengthy puzzle, so the guide gives the finished arrangement instead of a move list. The solved layout (F = flower, _ = empty) is: row 1 _ _ F F _ _; row 2 _ F rotate ↔ F F; row 3 F ↕ F ↕ F F; row 4 ↔ F F _ _ _. Work towards that layout.
- Take the House-Shaped Block.
Forge, Kettle and House Symbol Board
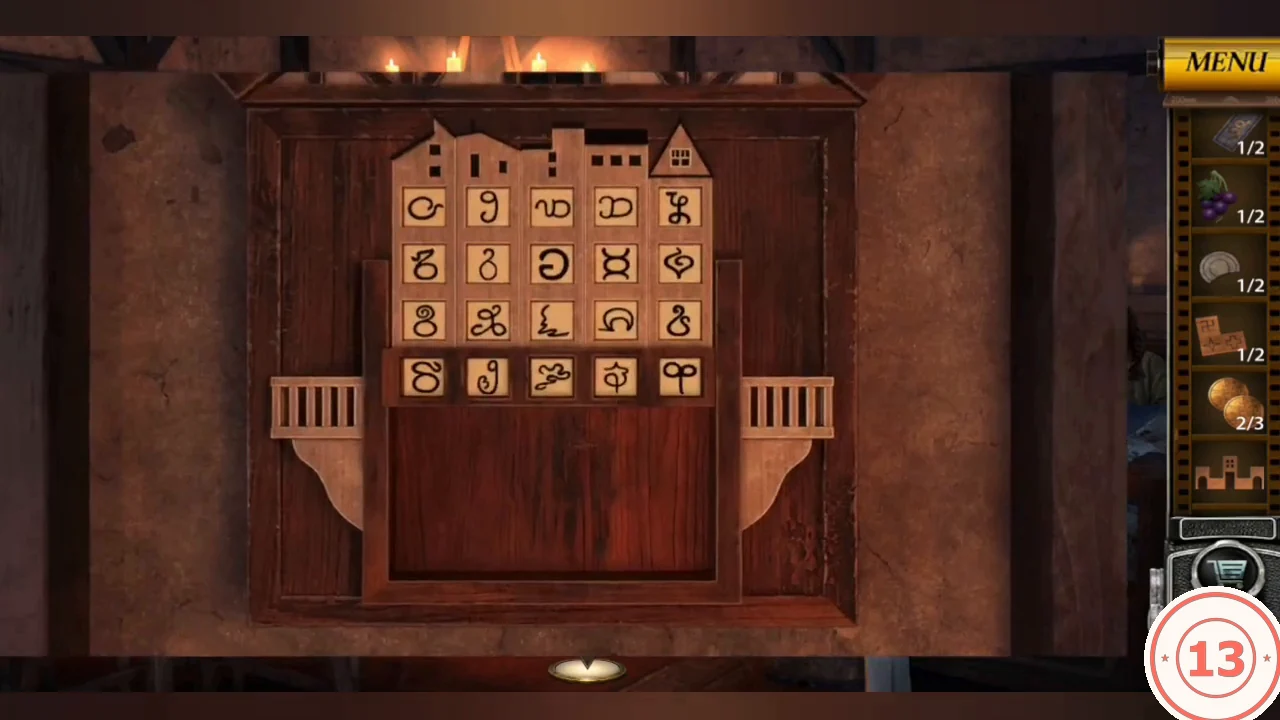
Heat the kettle in the workshop forge, then use it and the House-Shaped Block in Aunt Mary's house.
- In the workshop, take the Wood Shavings from the wooden box of sawdust.
- Use the Wood Shavings on the forge embers to make the fire blaze, then put the Kettle on the fire grate and take it back hot.
- In Aunt Mary's house, pour the hot Kettle into the bowl on the table. The spoon lifts out Gold Coin 2/3.
- Place the House-Shaped Block on the back-wall symbol board. Lower the five columns so the space under them matches the block's outline: column 1 down 1, column 2 down 2, column 3 not moved, column 4 down 2, column 5 down 1. The block fits and the cabinet opens; take Grapes 2/2.CODE1, 2, 0, 2, 1
Grape Press Board
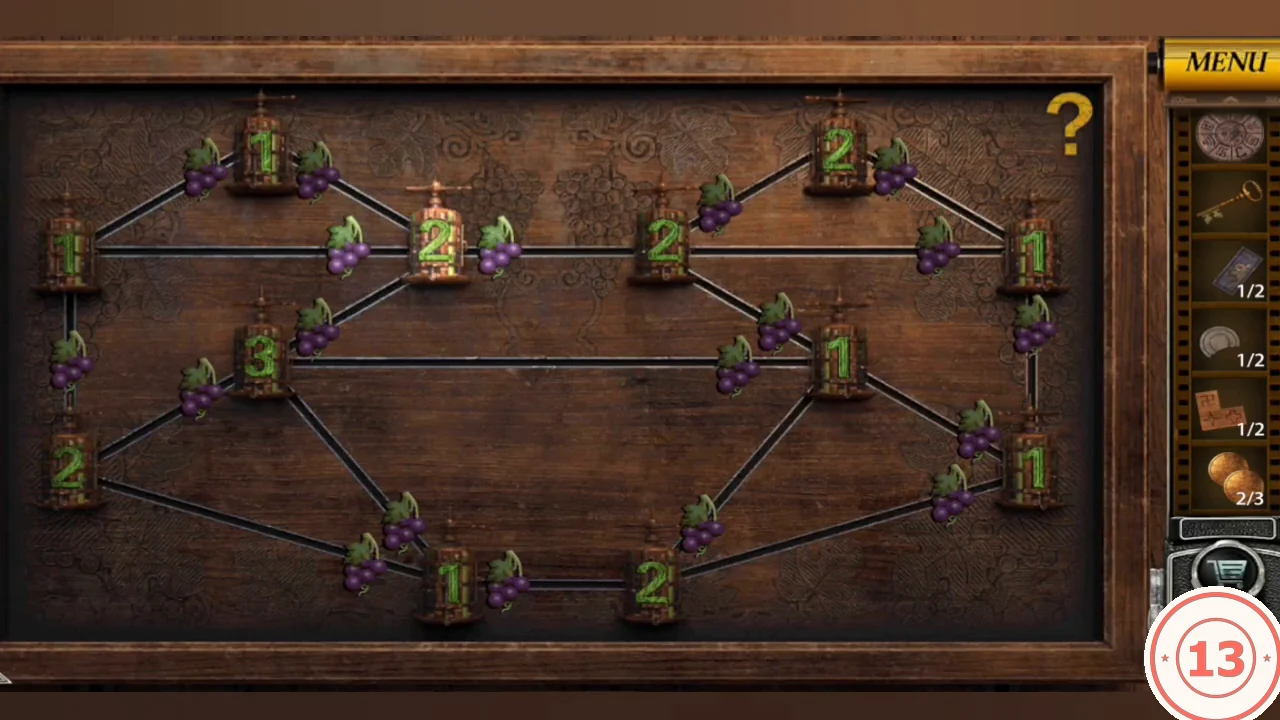
The tavern wall board has 12 numbered presses joined by lines. Each line has one grape bunch at one end.
- Place the Grapes on the board.
- Tapping a press flips the bunch on every line touching it to the far end of that line. Make each press have exactly as many bunches beside it as its number. No fixed tap list is given. Check every number after each tap, because one tap changes several presses. The board is solved when the compartment above opens.
- Take the blue hooded Doll (1/2) from the compartment.
Pointer Cabinet and Sophia's Diary
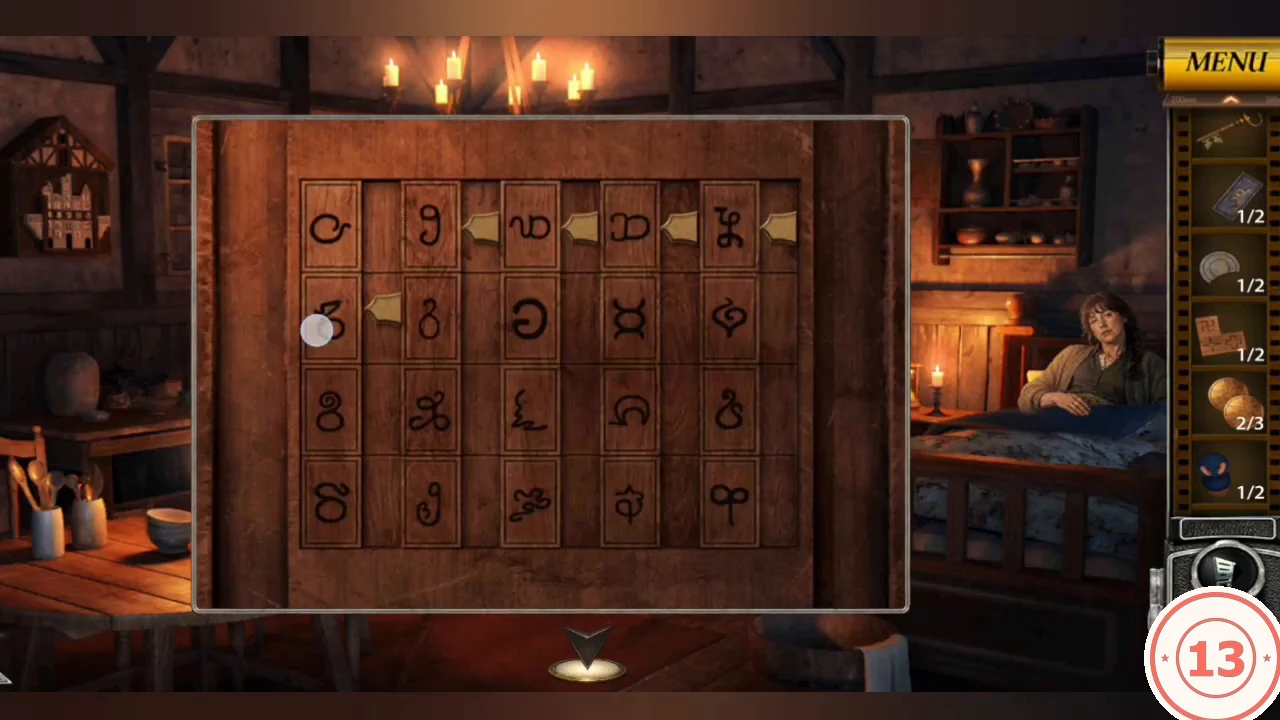
The lower cabinet left of Aunt Mary's bed has five symbol columns of four rows, with a sliding pointer beside each column. The castle plaque on the left wall is the clue: read its darker middle band.
- Read the darker middle band of the castle plaque: five symbols from left to right.
- Move each pointer beside the plaque symbol for that column (rows counted from the top): column 1 row 3, column 2 row 2, column 3 row 4, column 4 row 2, column 5 row 3. The cabinet opens.CODE3, 2, 4, 2, 3
- Open Sophia's Diary inside. Take L-shaped symbol tile 2/2 from the first page spread. The second spread has a colour clue: an arrow pointing left over a 2x4 grid (top row orange, blank, green, pink; bottom row blank, blue, yellow, blank).
Workshop Symbol Square
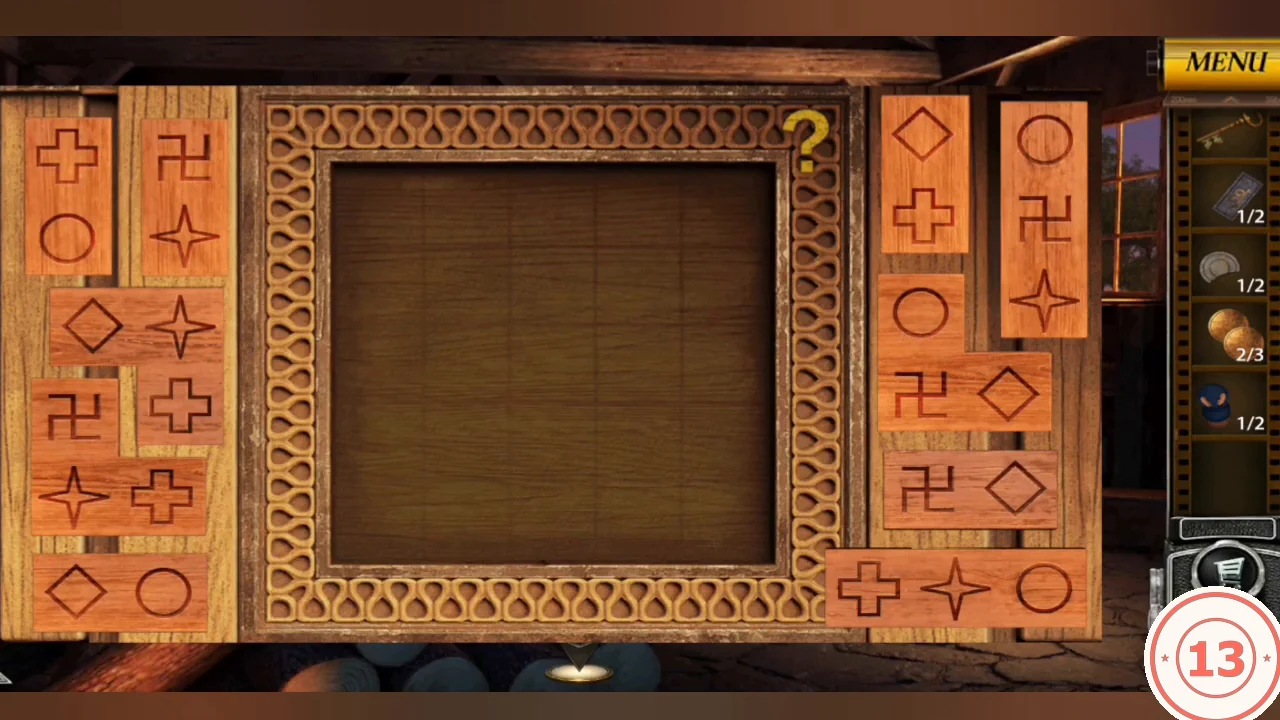
The box on the workshop bench is a 5x5 frame for ten symbol pieces carrying circles, four-point stars, crosses, hooked crosses and diamonds.
- Place the Building Block (the two L-shaped tiles) on the box.
- Drag the pieces into the frame so each symbol appears once in every row and every column. Solution (○ circle, ✦ star, + cross, 卍 hooked cross, ◇ diamond): row 1 ○ ✦ + 卍 ◇; row 2 卍 ◇ ○ ✦ +; row 3 ✦ + 卍 ◇ ○; row 4 ◇ ○ ✦ + 卍; row 5 + 卍 ◇ ○ ✦.
- Take the green hooded Doll from the drawer (Dolls 2/2).
Toy Train Doll Shelf
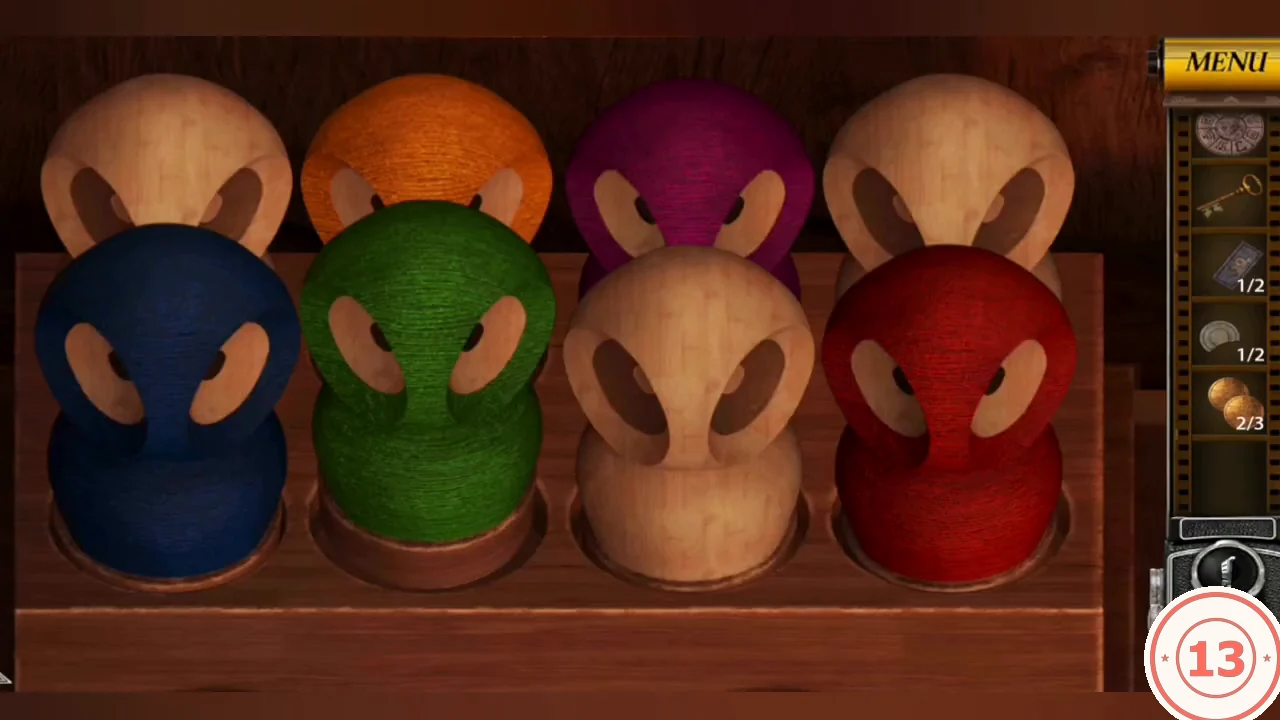
The toy train wagon in the honeycomb house is a shelf with two rows of four holes. The diary's colour grid is the clue; the game's colours look slightly different from the drawing.
- Place both Dolls in the empty front holes.
- Tap a doll, then a hole or another doll, to move or swap them. Finish with the back row (left to right) red, plain wood, green, purple and the front row plain wood, blue, orange, plain wood. Take Gold Coin 3/3.
- In the tavern, give the three Gold Coins to the innkeeper in exchange for the second blue plate: Patterned Block 2/2.