CEMETERY
Cemetery: Marta's Tomb
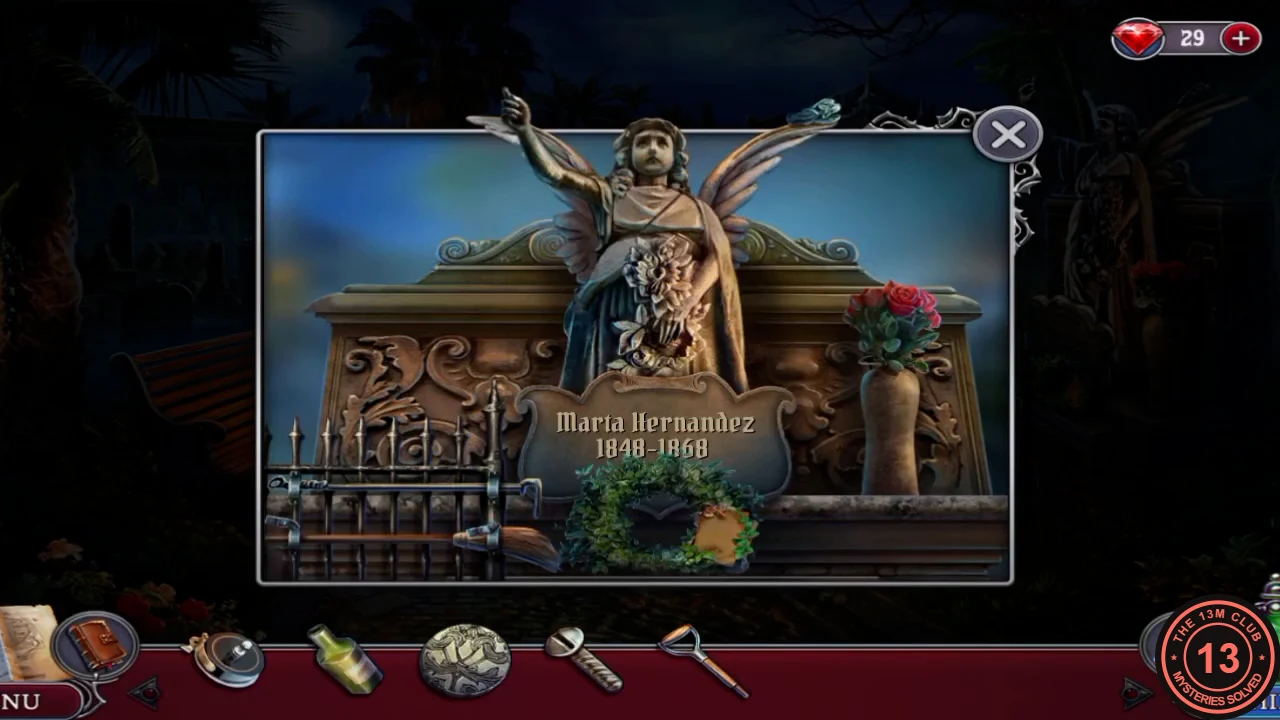
Get past the fence and search the crypt.
- Optional pickups. Collectibles: the ground between the bench and the roses; the ground at the right bottom side of the stairs to the workshop gate. Morphing objects: left of the monument with the small head on top; on top of the far arches, right of the highest one.
- The task is "Get to the workshop". Under the bench, take the silver Amulet part and note the shovel with no handle; the bouquet's knots need "something thin". In the flowerbed, take the small tool, which is the shovel's handle. At the tomb of Marta Hernandez (1848-1868), take the second small tool; Agatha notes she could get the poker if the brackets were broken. In the wreath, read the two notes and take the Amulet. On the "Statue Workshop: Closed" sign, take the Pin.
- Fit the handle on the shovel at the bench and take the Shovel. Untie the rose ribbon knot with the Pin to get the Rope.
- Dig the loose soil in the flowerbed with the Shovel and take the Lighter buried there. At the tomb, use the Rope on the fence bracket to pull down the blue angel token by the vase: "Here we go!" Then tap the crypt at the centre of the cemetery to open the search.
CEMETERY
Cemetery: Crypt Search
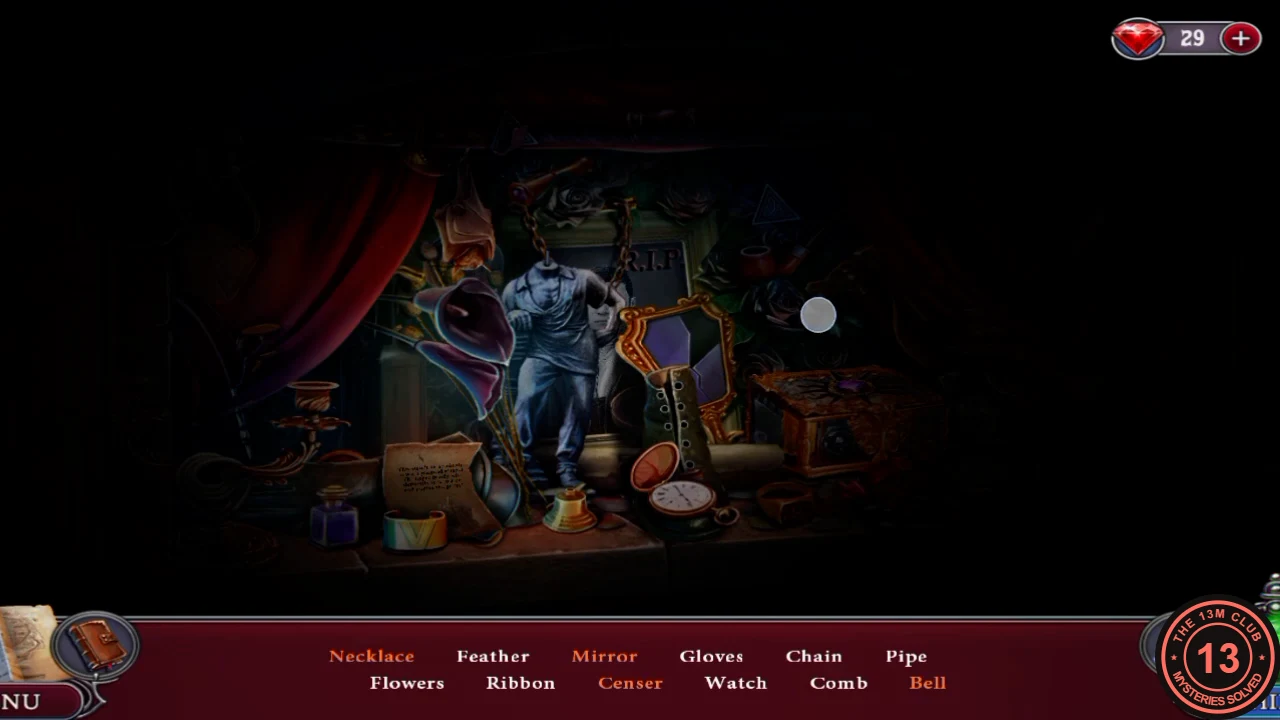
Light the crypt and search it.
- In the crypt, light the room with the Lighter and find: Necklace, Feather, Mirror, Gloves, Chain, Pipe, Flowers, Ribbon, Censer, Watch, Comb and Bell. The mirror piece is at the top, the bell handle is in the pelmet, and matches light the right candelabra. Open the curtain and the clasp with the bats. For the Necklace, tap the triangle pendant on the right curtain, just left of the stacked bronze discs, then tap the Necklace on its chain at top left. The sun on the box lid gains gold rays as you search, but the box stays shut until the sun is complete: "The box is missing sunlight rays." In the recording, with only the Censer left on the list, it still needed two: the gold ray on the beige roll between the boot and the box, and the gold ray poking out of the stone carving beside the grey rose at top left. The box then opens and its candles light the room. Take the Censer.
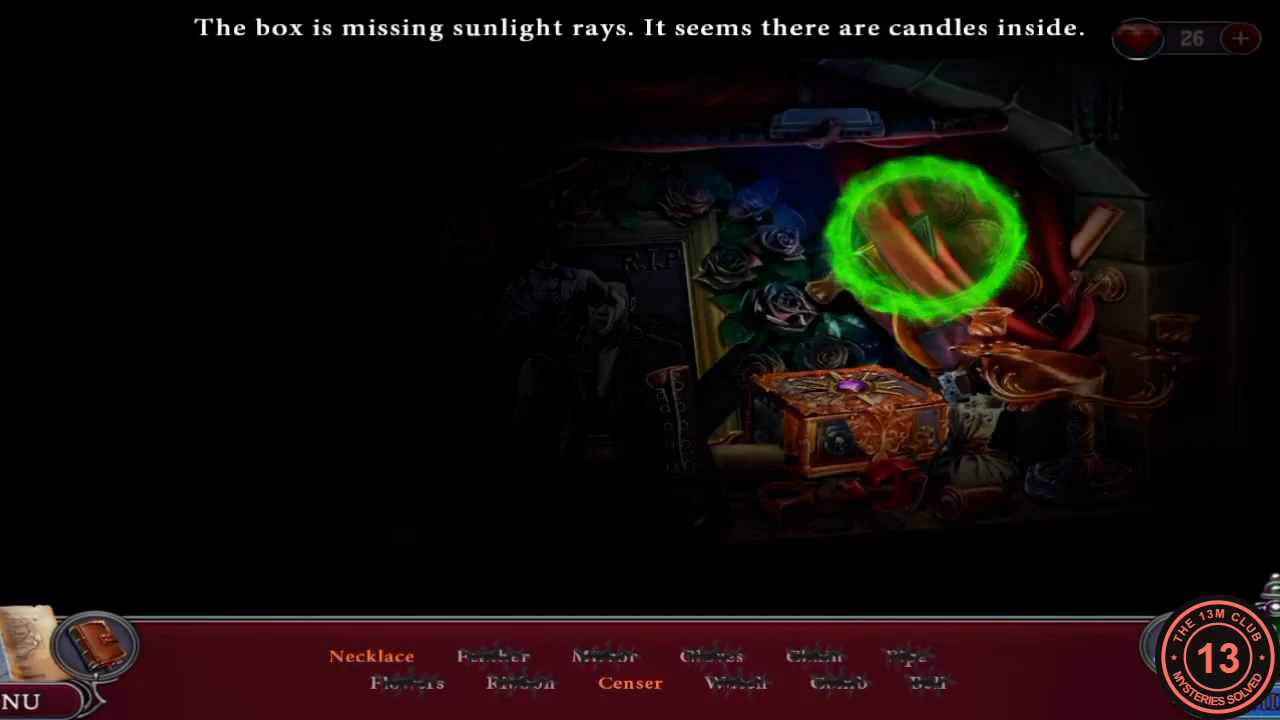
The game's green hint ring on the triangle pendant, on the right curtain by the bronze discs. 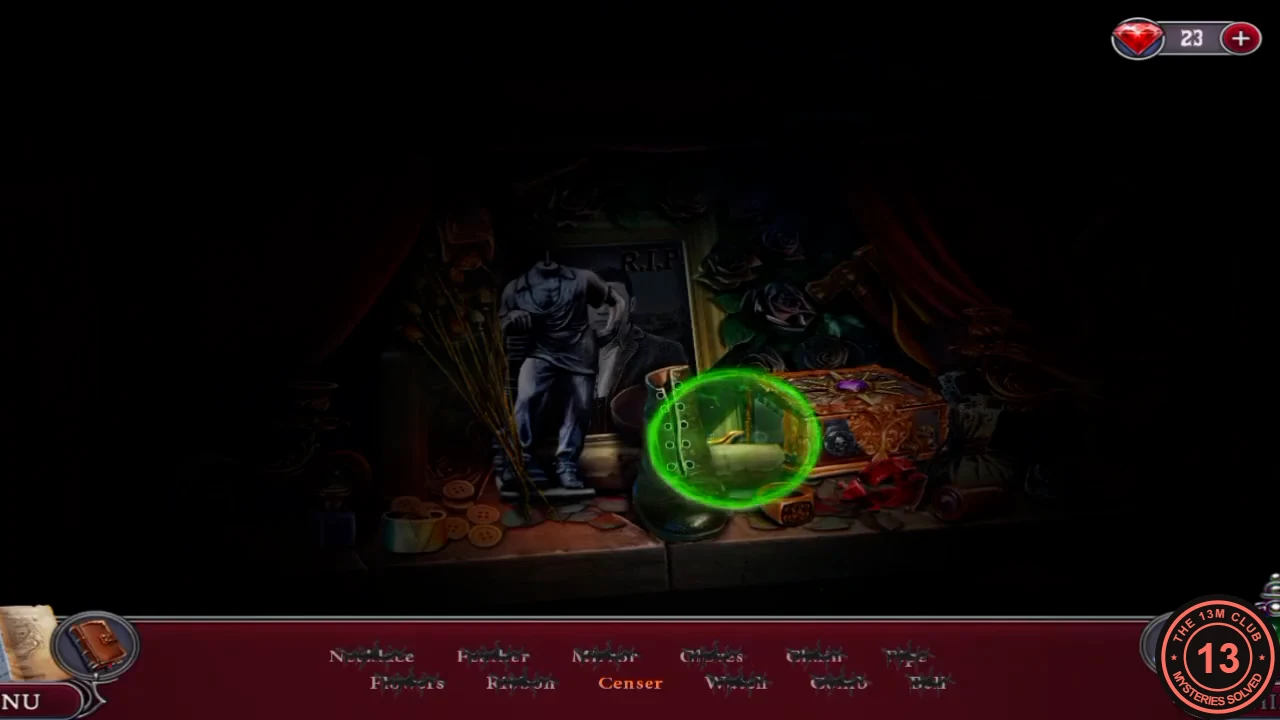
The game's green hint ring on the gold ray, on the beige roll between the boot and the box. 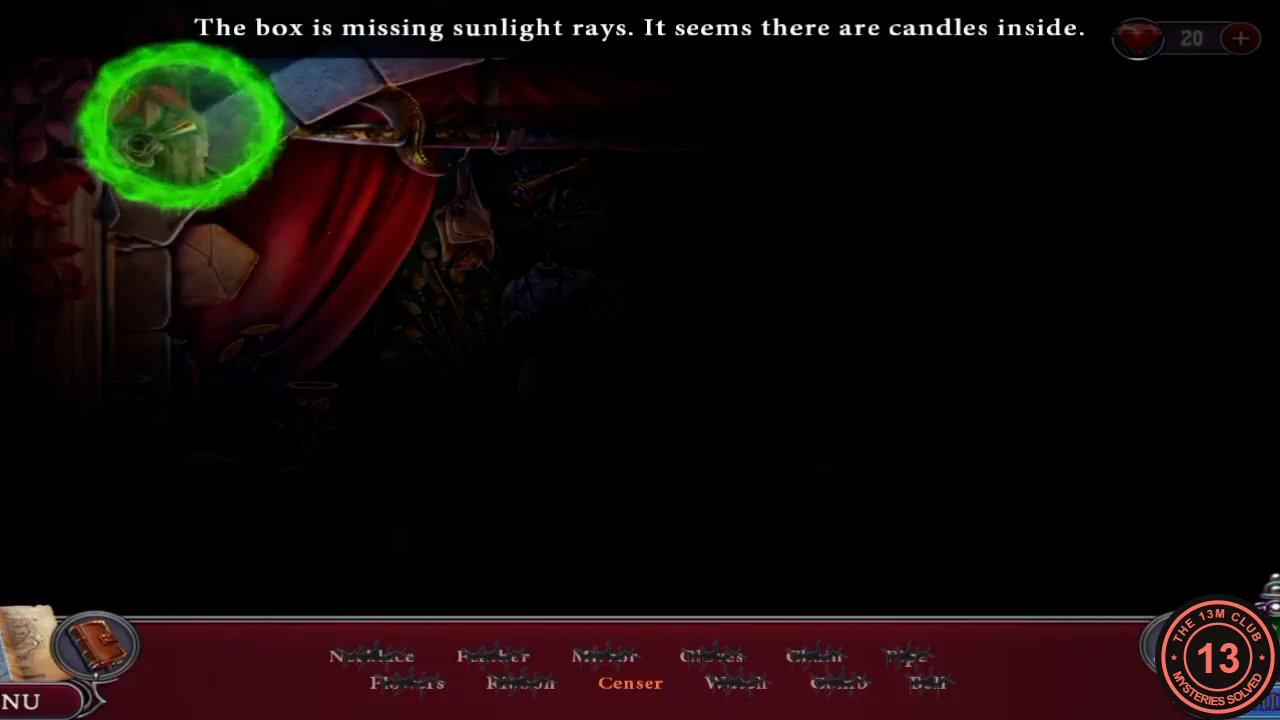
The game's green hint ring on the last gold ray, in the stone carving at the top left.
CEMETERY
Cemetery: Restoring the Amulet
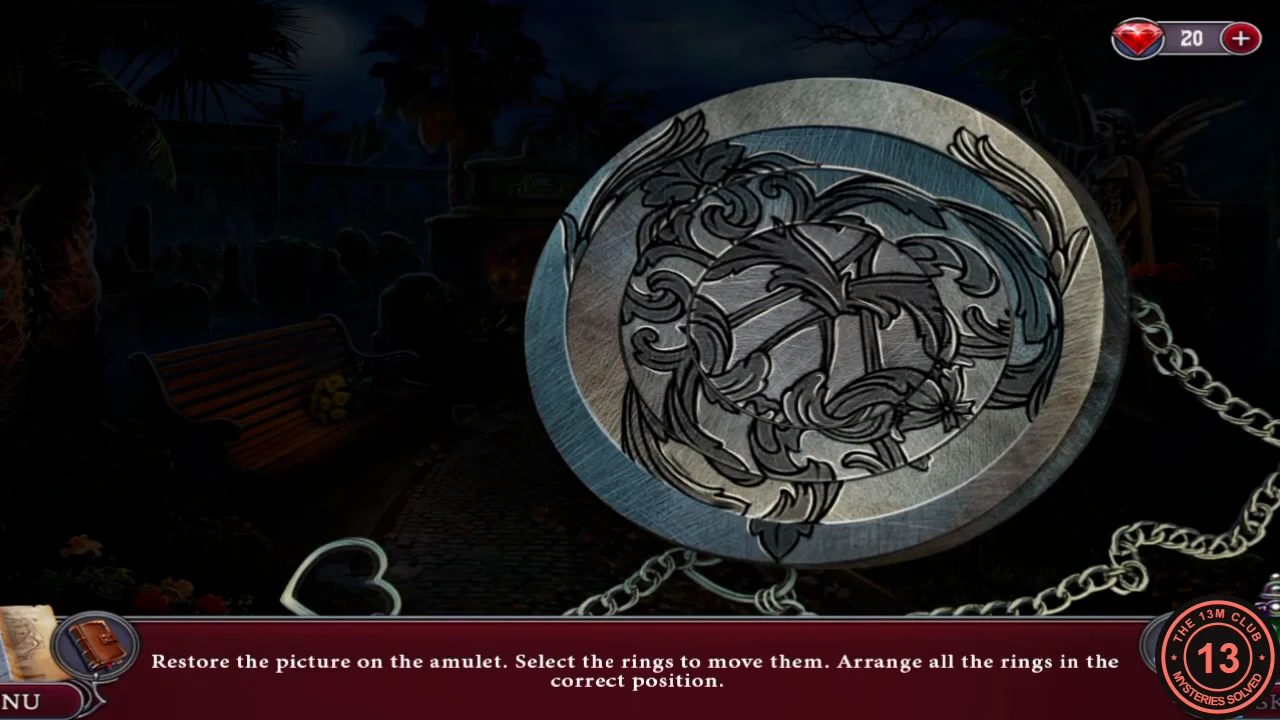
Restore the amulet, then free the workshop gate.
- Open the Amulet in your inventory and place the Amulet part from under the bench in its empty centre. Then select the rings to rotate them until the whole engraved picture lines up. It opens: take the handkerchief with Marta's initials.
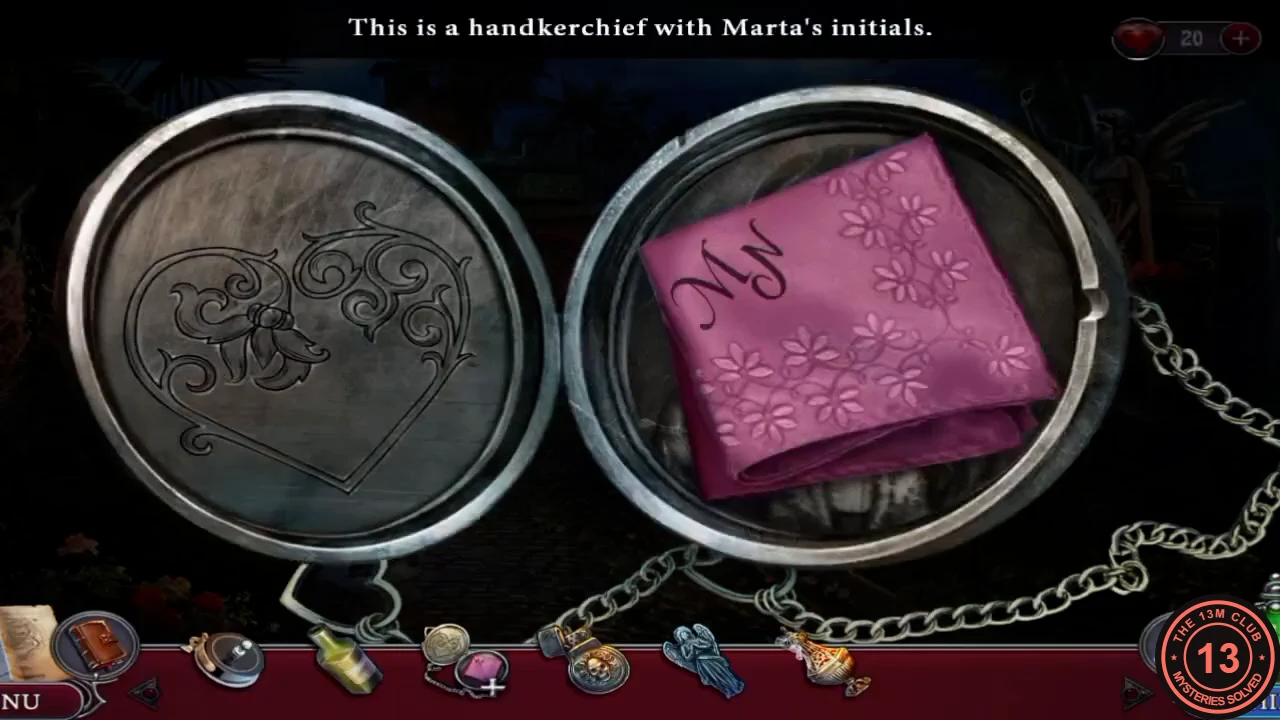
The restored engraved picture, with the handkerchief inside the opened amulet.
CEMETERY
Cemetery: Workshop Gate
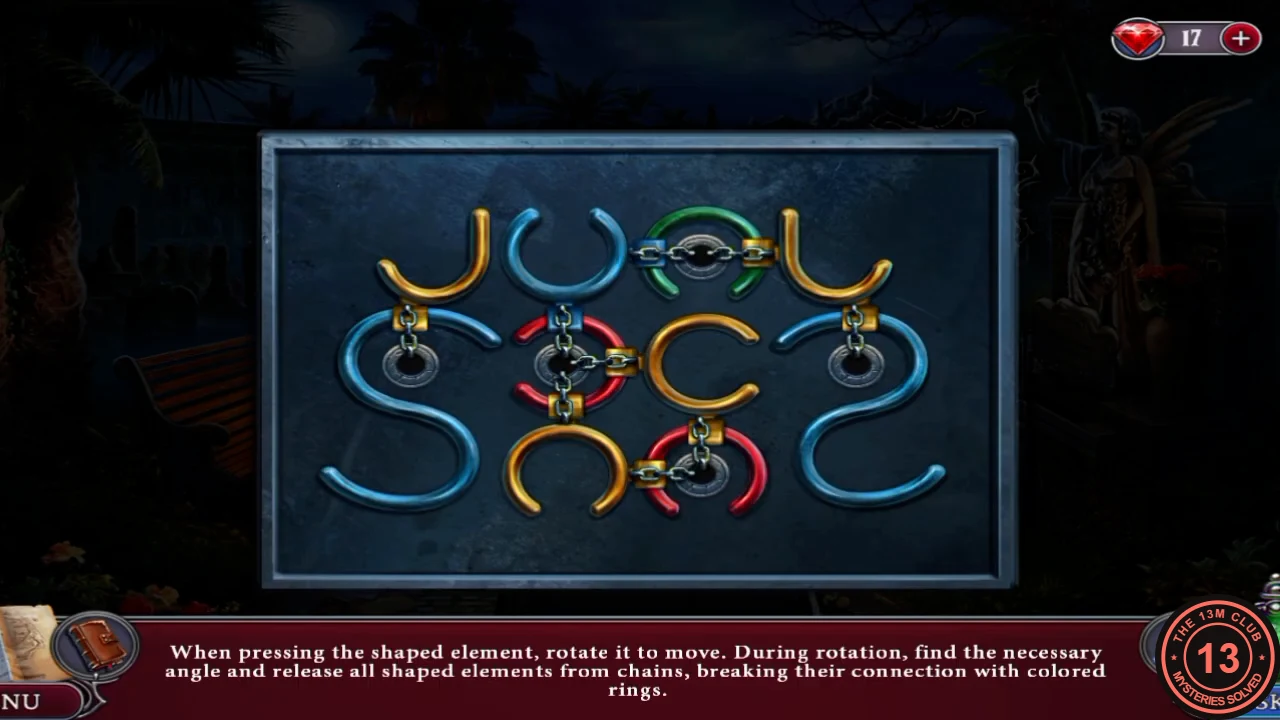
Use what the amulet held to free the workshop gate.
- Use the handkerchief to wipe the powder from the workshop gate plate, which has two angel recesses. Fit the blue angel token from the tomb in one of them.
- Put the Censer by the ants in the flowerbed and light it with the Lighter to smoke them away, then take the second angel token.
- Place the token to start the "shaped elements" gate puzzle. Rotate the curved pieces to unhook them from the chains; you can do them in any order. "The path is clear!" You can now enter the workshop.
STATUE WORKSHOP
Workshop: Secret Door Clues
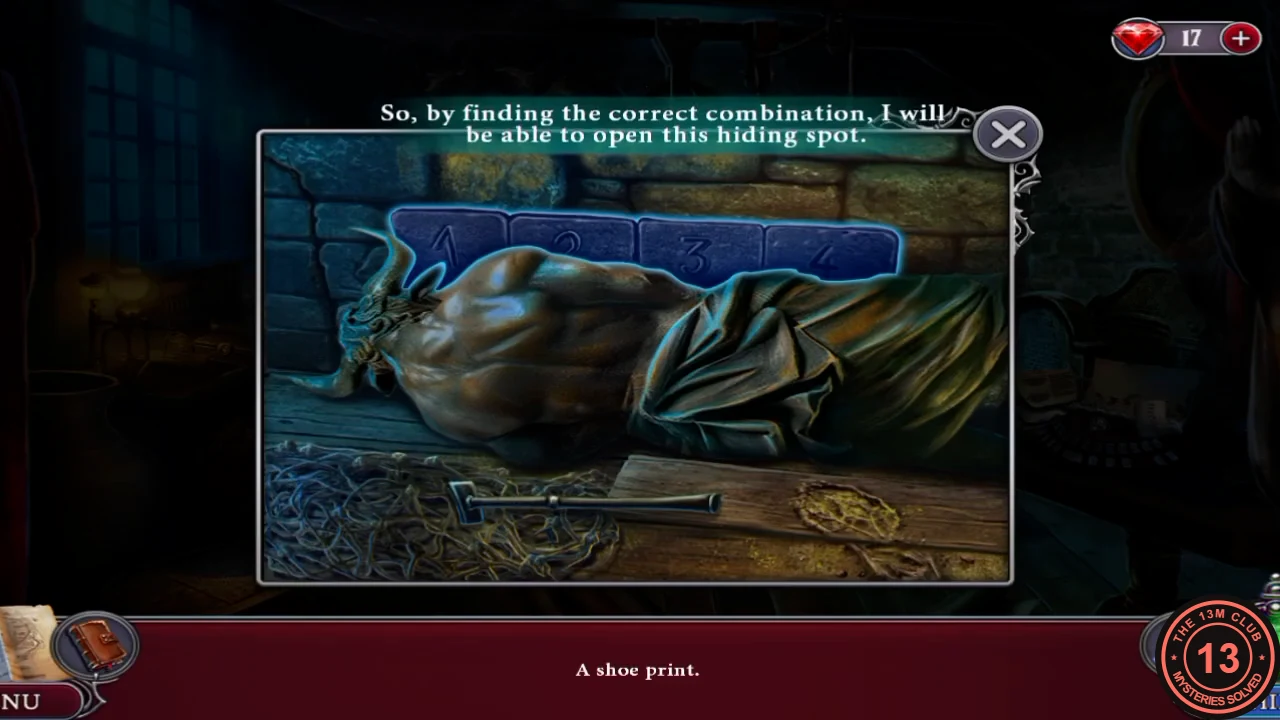
A hidden room lies behind the wall by the fallen bull.
- Optional pickups. Collectibles: the wall in the right corner at the top; right of the window. Morphing objects: the right corner on the top shelf; the ground left of the bag and the planks.
- The task is "Explore the workshop". At the winch, read the sketch of the spool, gears and hook, and take the long rod and the rectangular frame.
- At the fallen bull, find the clues: Buttons on the wall, A shoe print and yellow powder. There is a hidden room behind the wall, and the task becomes "Open the secret door".
- Use the rod on the board under the statue and take the gold diamond-mesh net.
- At the desk with the lamp and mannequin head, note the powder. Use the green Rust remover from the zoo office on the rusty hook and take the Hook.
- At the typewriter, take the paper slip reading 18273645.
STATUE WORKSHOP
Workshop: Alcove Silhouette Search
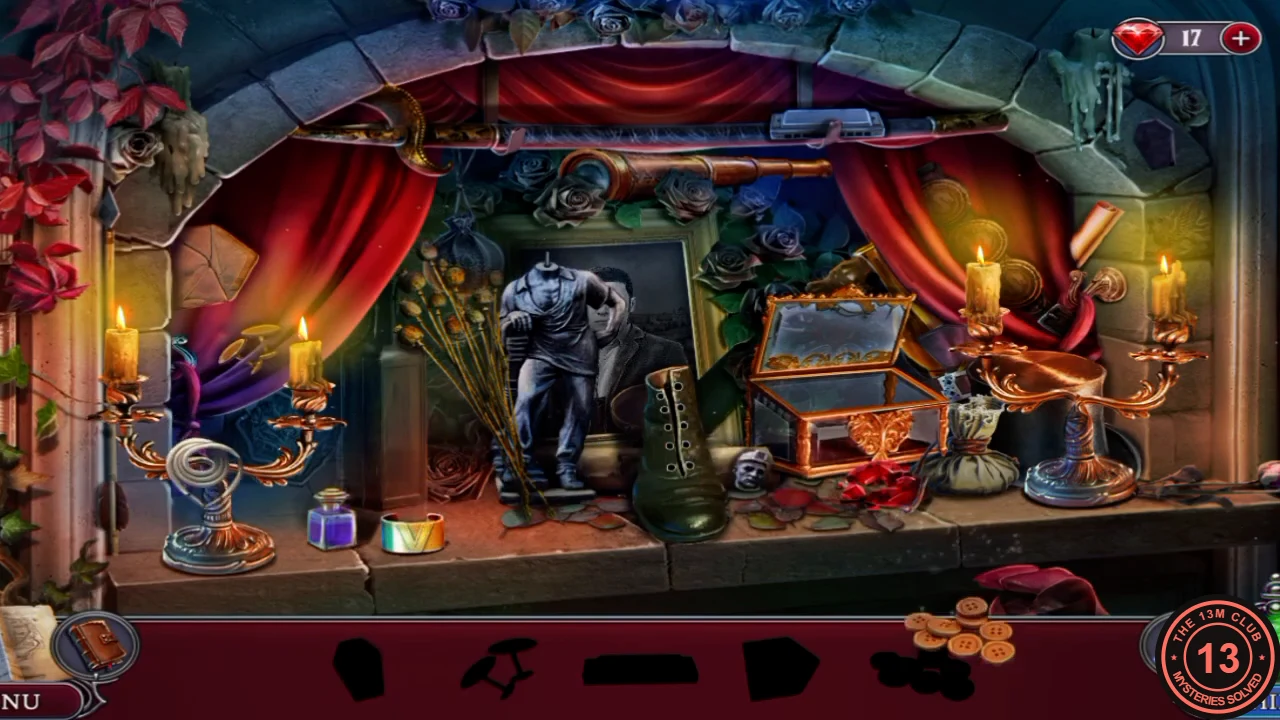
Use the net and your other finds in the alcove search.
- In the alcove with the red curtains, run the silhouette search. Net the bat with the mesh net, add shoelaces to the boot, assemble the spyglass and complete the tray. Your reward is the Vase.
STATUE WORKSHOP
Workshop: Gas Panel
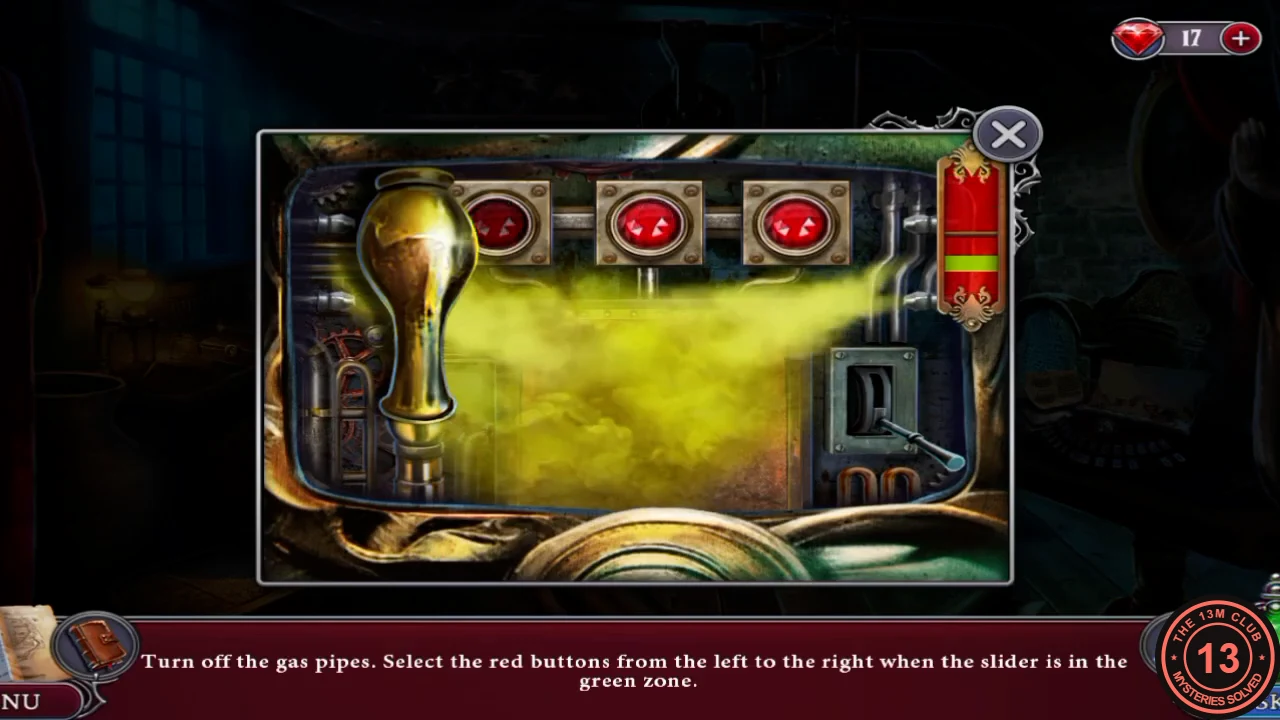
A timing puzzle, then the code from the typewriter slip.
- At the gas panel ("There is so much gas!"), put the Vase in the lower socket as the left lever and the rectangular frame as the right lever.
- Press the red buttons from left to right, pressing each one when the slider at the top right is in the green zone. The gas stops and a plate with a gear shape is revealed.
- Take the Gear and belt ring. At the winch, attach the Hook to the rope and the gears to the drum. The statue lifts and exposes the numbered bricks.
STATUE WORKSHOP
Workshop: Numbered Bricks
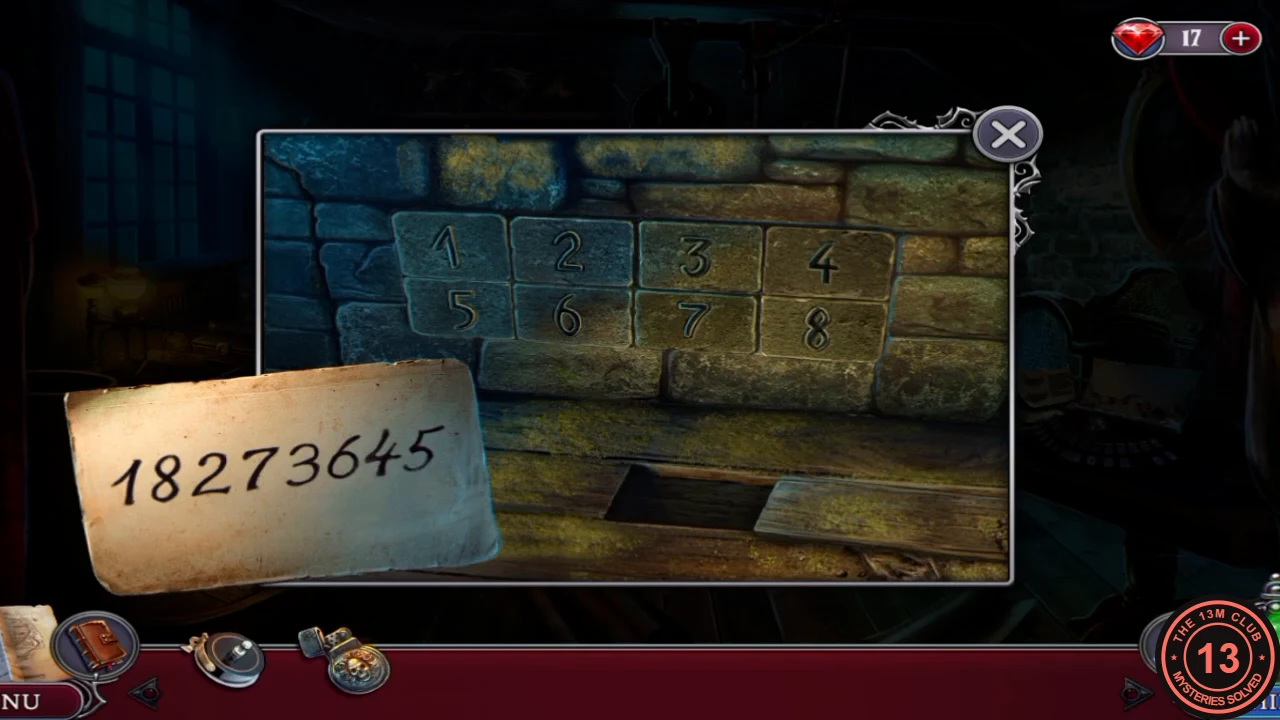
The statue has exposed a set of numbered bricks.
- The bricks are numbered 1-4 on top and 5-8 below. Put the slip on them and press in the order 1, 8, 2, 7, 3, 6, 4, 5. The door opens into the Secret Room.CODE18273645