Theater Exterior: Clearing the Crowd and First Kiosk Search
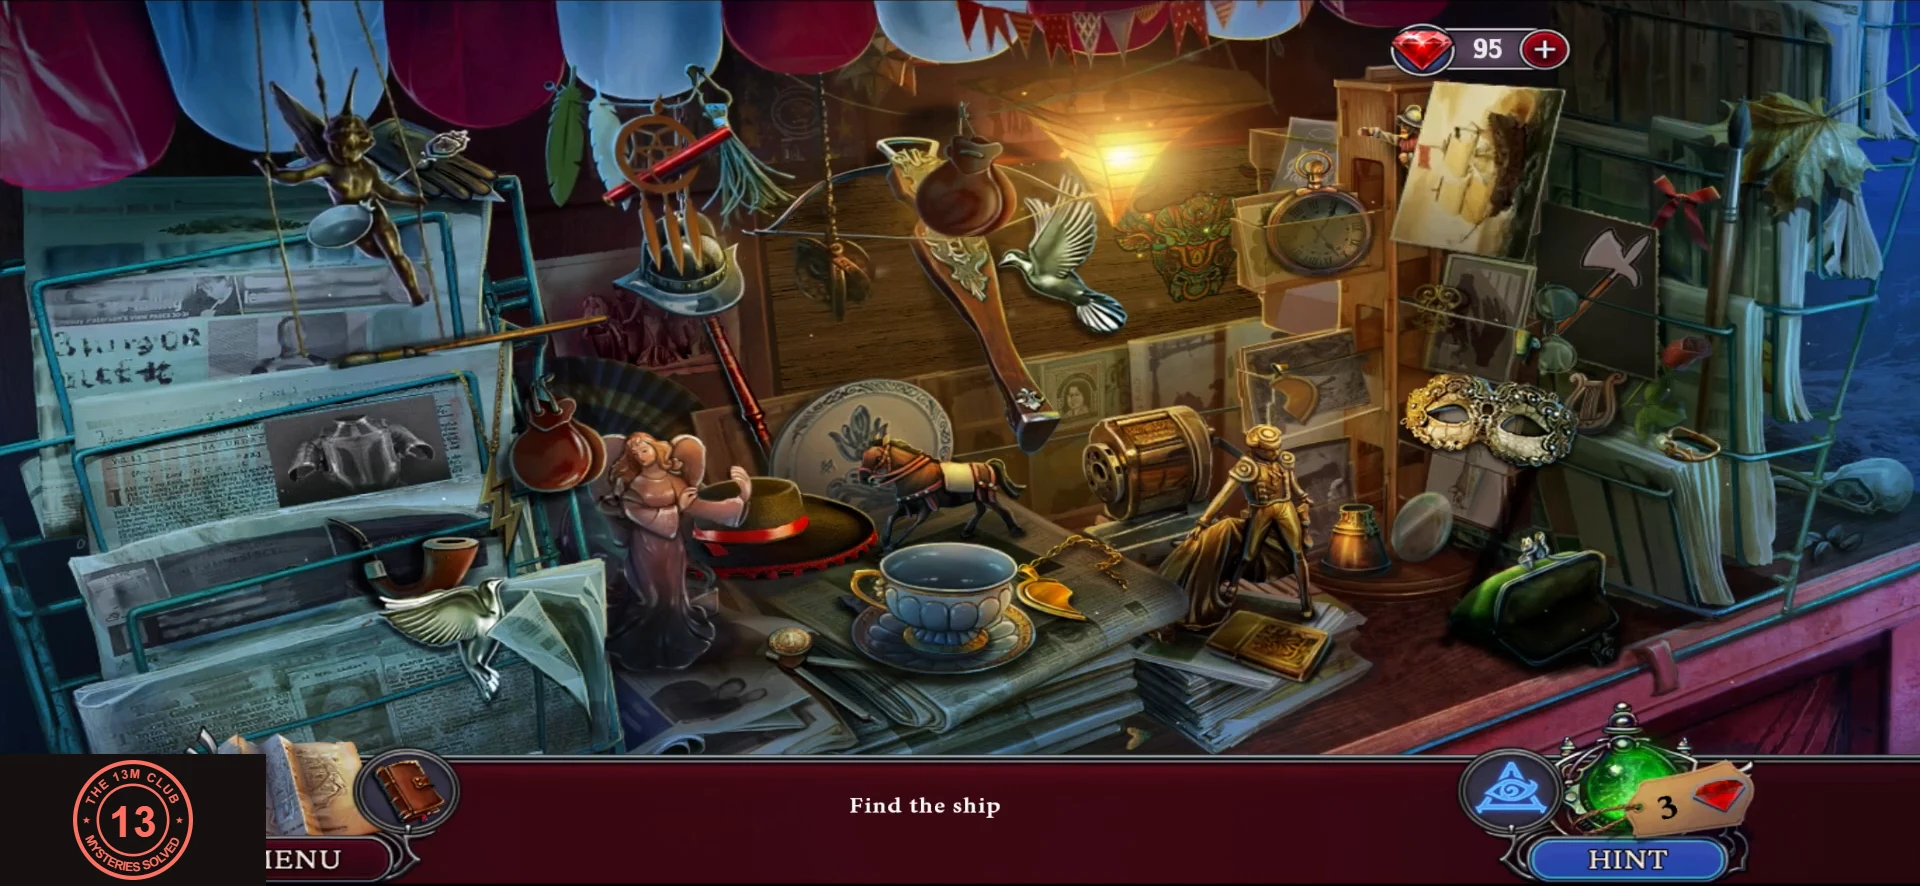
The stairs have collapsed, so you need another way up. Start by clearing the crowd.
- Optional pickups outside: 2 collectibles and 2 morphing objects. Places to check while the crowd is here: the ground at the far right, past the man in black; the top of the tower spire on the left; the cornice at the left of the theater dome. The fourth object comes after the kiosk is open.
- Tap the people in front of the theater. Each speaks and then leaves, and the man in black's departure uncovers a small fire at the door and a broken ladder. Agatha notes "You can't reach the roof from inside. The stairs to the attic collapsed a long time ago."
- Open the fountain pool. Take the matchbox from the lower edge of the pool. The arrow in the lily pads "is firmly lodged; it needs to be pried out", so use the Pliers from the Torres safe on it and take the Arrow. The Pliers stay in your inventory.
- Open the kiosk's lamp ("There's something in the lamp...") and take the shears from the bushes below it. Open the kiosk window and read the note on the counter ("The key is in the usual place"). Take the red figure from the counter and fit it into the lamp's window, which releases a key. Use the key on the kiosk padlock.
- Last optional pickup outside: the cobbles in front of the fountain, once the crowd has gone.
- Kiosk search by category: find the ships (x3), masks (x2), Bullfighting (x3) and Conquistador armors (x4). Your reward is a crossbow.
Theater Exterior: Repairing and Firing the Crossbow
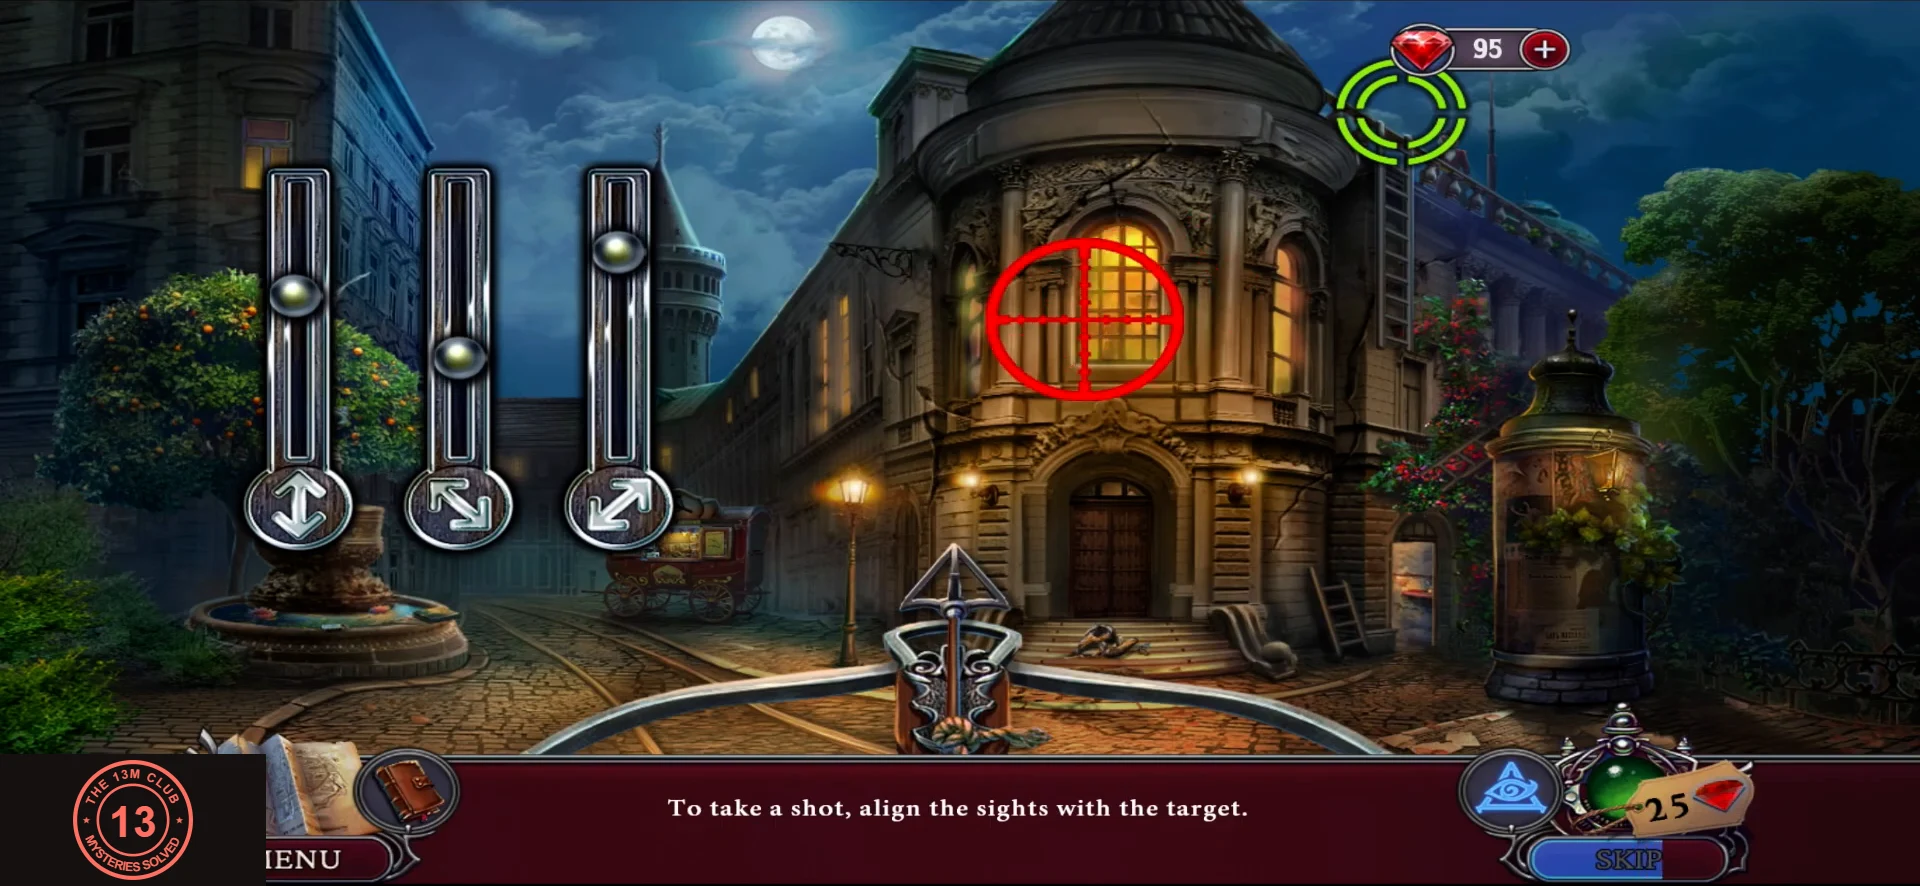
The crossbow needs an arrow, a bowstring and a rope before it can reach the roof.
- Open the crossbow in your inventory and fit the Arrow. Agatha says "I have to find something to replace the bowstring."
- At the right of the theater door, Agatha says "The wild roses have taken over the building": cut them with the shears. A boarded crate appears behind them. Pull the boards off with the Pliers.
- Inside the crate is a heap of sand beside a wooden bucket, which "needs to be scooped with something". Use the scoop from the Torres study to fill the bucket. Scooping also uncovers a coil of Rope in the sand: take it along with the Bucket of sand.
- Pour the Bucket of sand on the fire by the door. Once the flames are out, take the Bowstring that was lying there.
- Open the crossbow again and attach the Bowstring. Agatha says "I should probably tie a rope for the arrow", so add the Rope.
- Use the crossbow in the exterior scene. The prompt says "To take a shot, align the sights with the target": move the three sliders until the red sight sits on the green target on the roof. Then climb up the line.
Theater Roof: The Chained Figure and What Lies Around
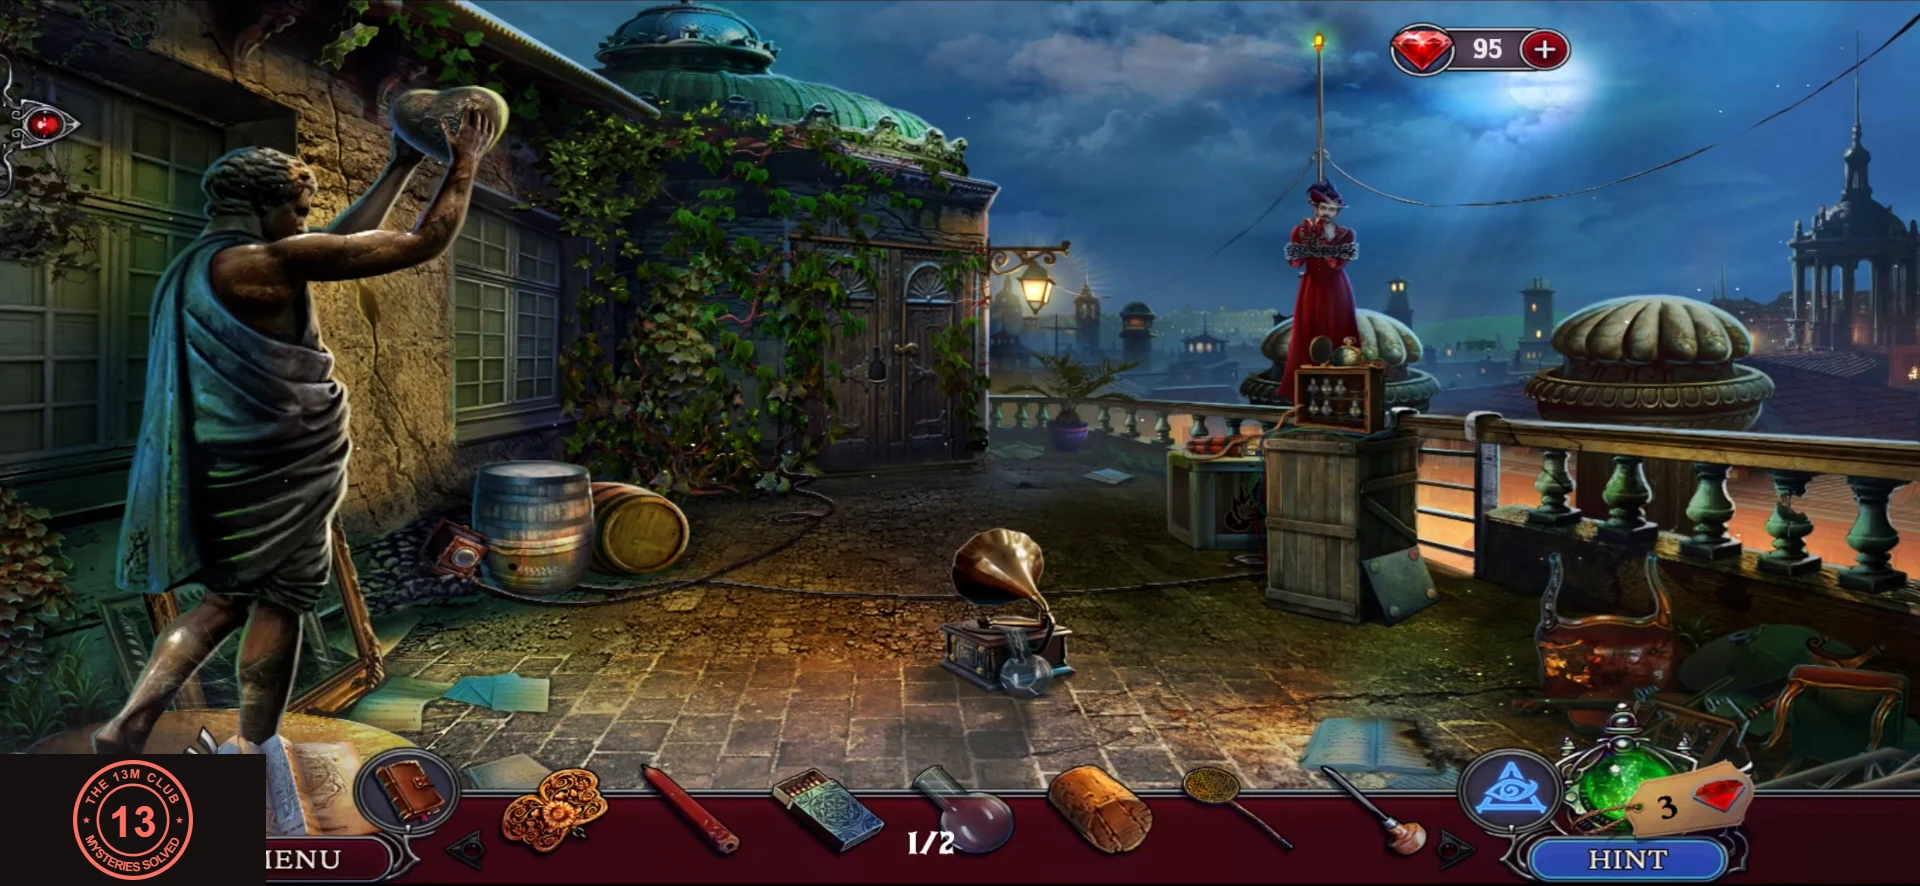
The figure in red is not what it seemed, and the mechanism beside it needs a full set of flasks.
- Optional pickups on the roof: 2 collectibles and 2 morphing objects. Places to check: the ground at the front left, by the statue base; the floor behind the gramophone, left of the pedestal; the vines on the wall at the top; the orange ball on the floor right of the gramophone.
- Open the figure in red: "Something's not right; the ghost isn't moving." Unmask it to find Pablo, chained to a panel with a clock ("It looks like a bomb"). Agatha says she will free him once she finds the key. Note the flask rack on the panel, which has empty slots.
- At the gramophone, the broken glass "shouldn't be handled with bare hands", so use the Gloves from the portrait puzzle. The pieces form a broken flask, which stays here because "the flask must be glued to be useful".
- At the barrels, take flask 1/2 lying on the coal. A cork plugs the barrel ("I need something to remove the cork"): pull it out with the Pliers and keep the Cork. Note the number 24568 painted on the barrel; you cannot copy it yet ("I need something to write down this code"). The camera lens beside it "is securely fixed", so leave that for now too.
- Take the Butterfly Net from the ivy on the wall, then open the door and pull out the Awl stuck beside its handle. The door itself "is locked from the inside".
Theater Exterior: The Coin and Second Kiosk Search
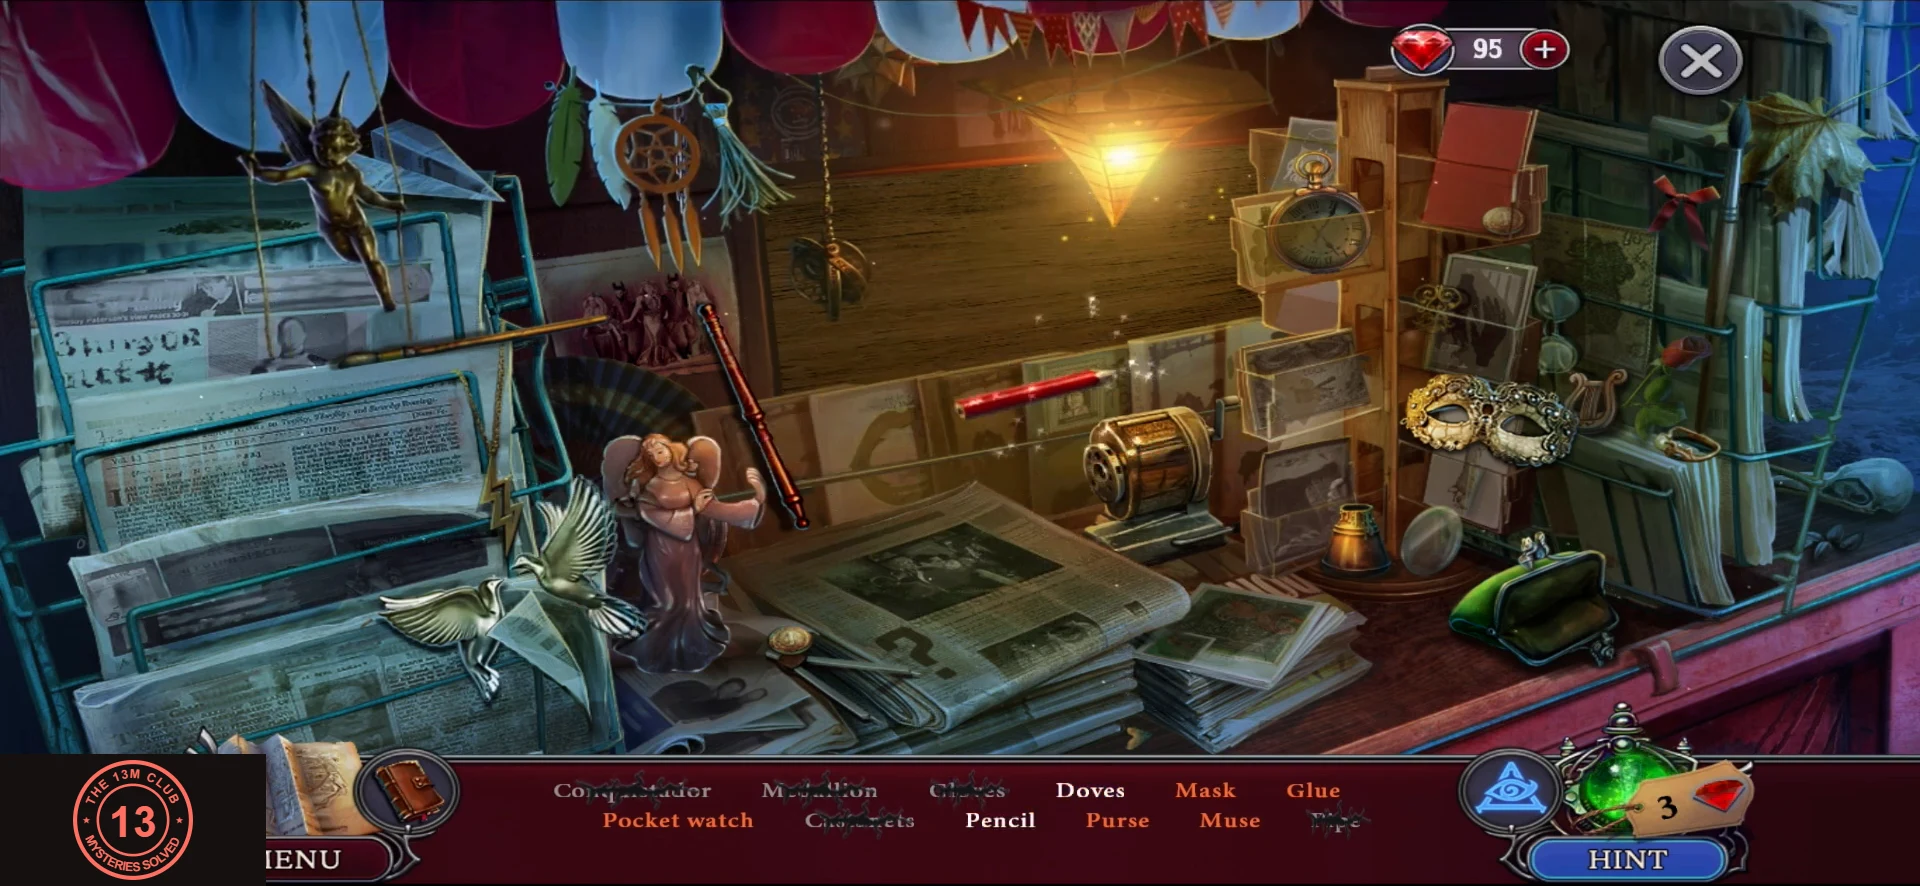
Go back down for two things the roof still needs.
- Return to the theater exterior and open the fountain pool. Sweep the Butterfly Net over the water to clear it, then take the Coin at the edge of the pool.
- Complete the second kiosk list: Conquistador, Medallion, Gloves, Doves (find the mate for the lonely dove), Mask, Glue, Pocket watch, Castanets, Pencil, Purse, Muse and Pipe. You keep the Glue.
Theater Roof: Separating the Liquids
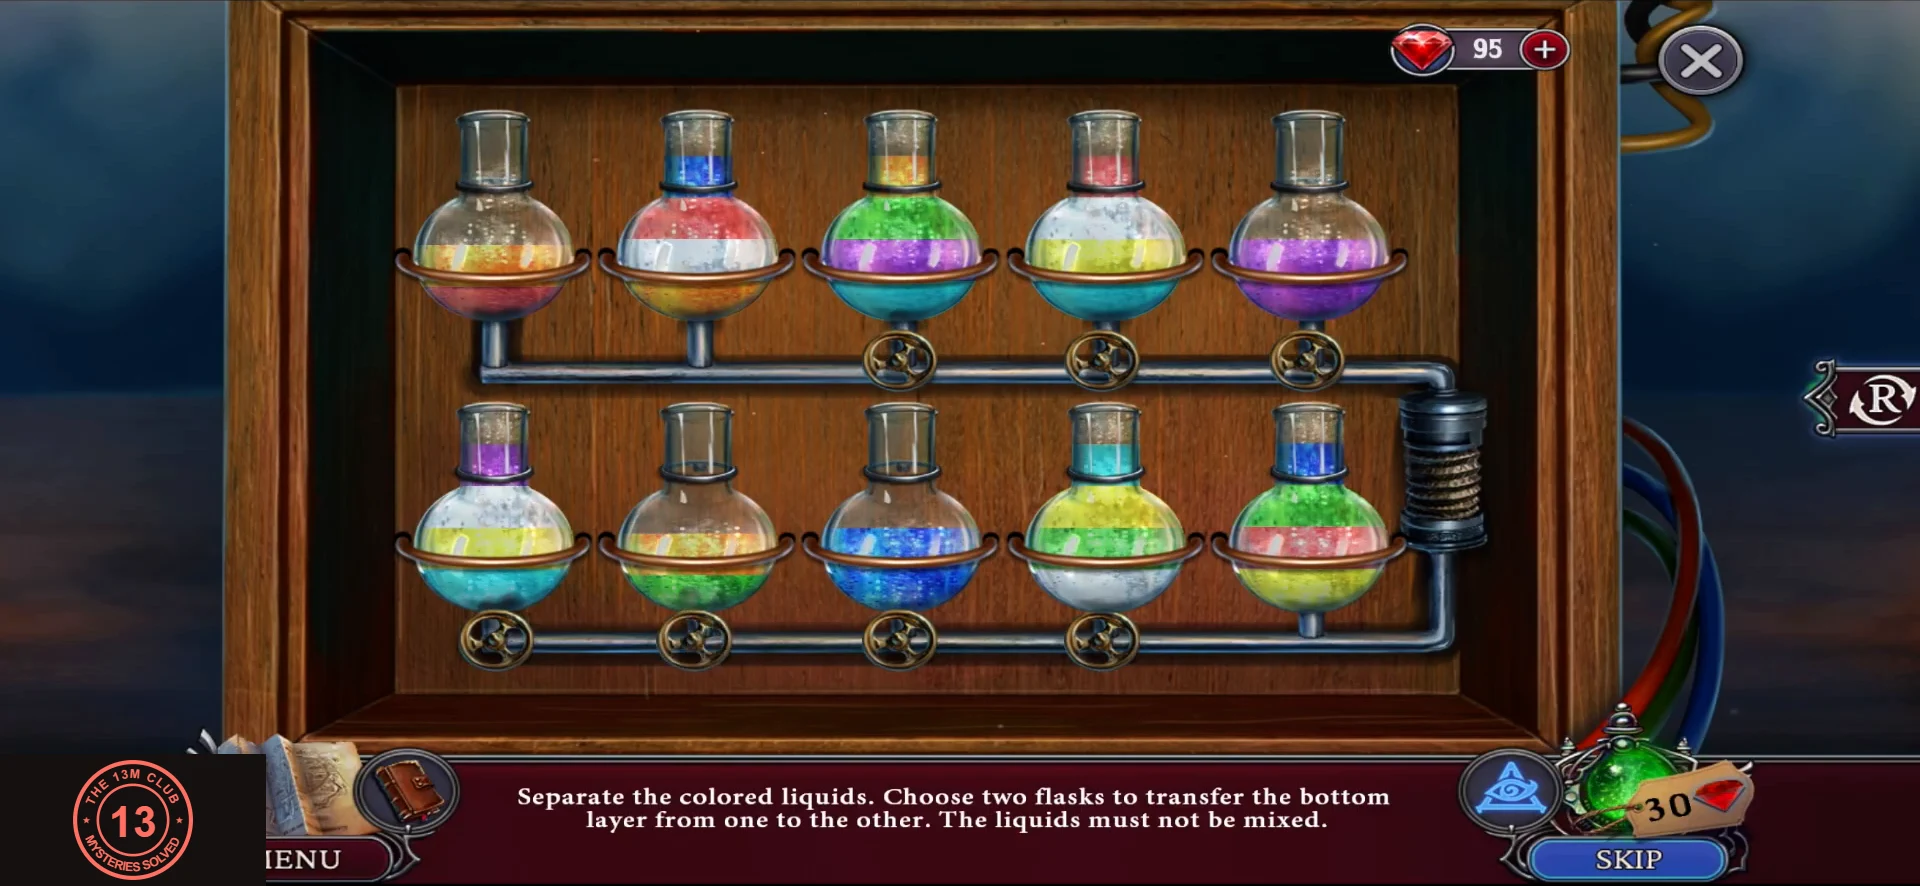
A lengthy sorting puzzle, so this guide gives the method rather than a move list.
- Back on the roof, use the Glue on the broken flask at the gramophone to repair it, and take it. This completes the set as flask 2/2.
- "I have to find something to unscrew the screws": use the Coin on the plate on the side of the gramophone's base, then take the Wick from inside.
- Open the panel beside Pablo and place the flasks on the rack. The prompt reads "Separate the colored liquids. Choose two flasks to transfer the bottom layer from one to the other. The liquids must not be mixed." There are 10 flasks, 2 of them empty. Use the empty flasks to hold layers while you dig out each colour; a bad pour gives "That's the wrong substance". Finish with every flask holding a single colour. The device is disarmed, though Pablo is still chained.
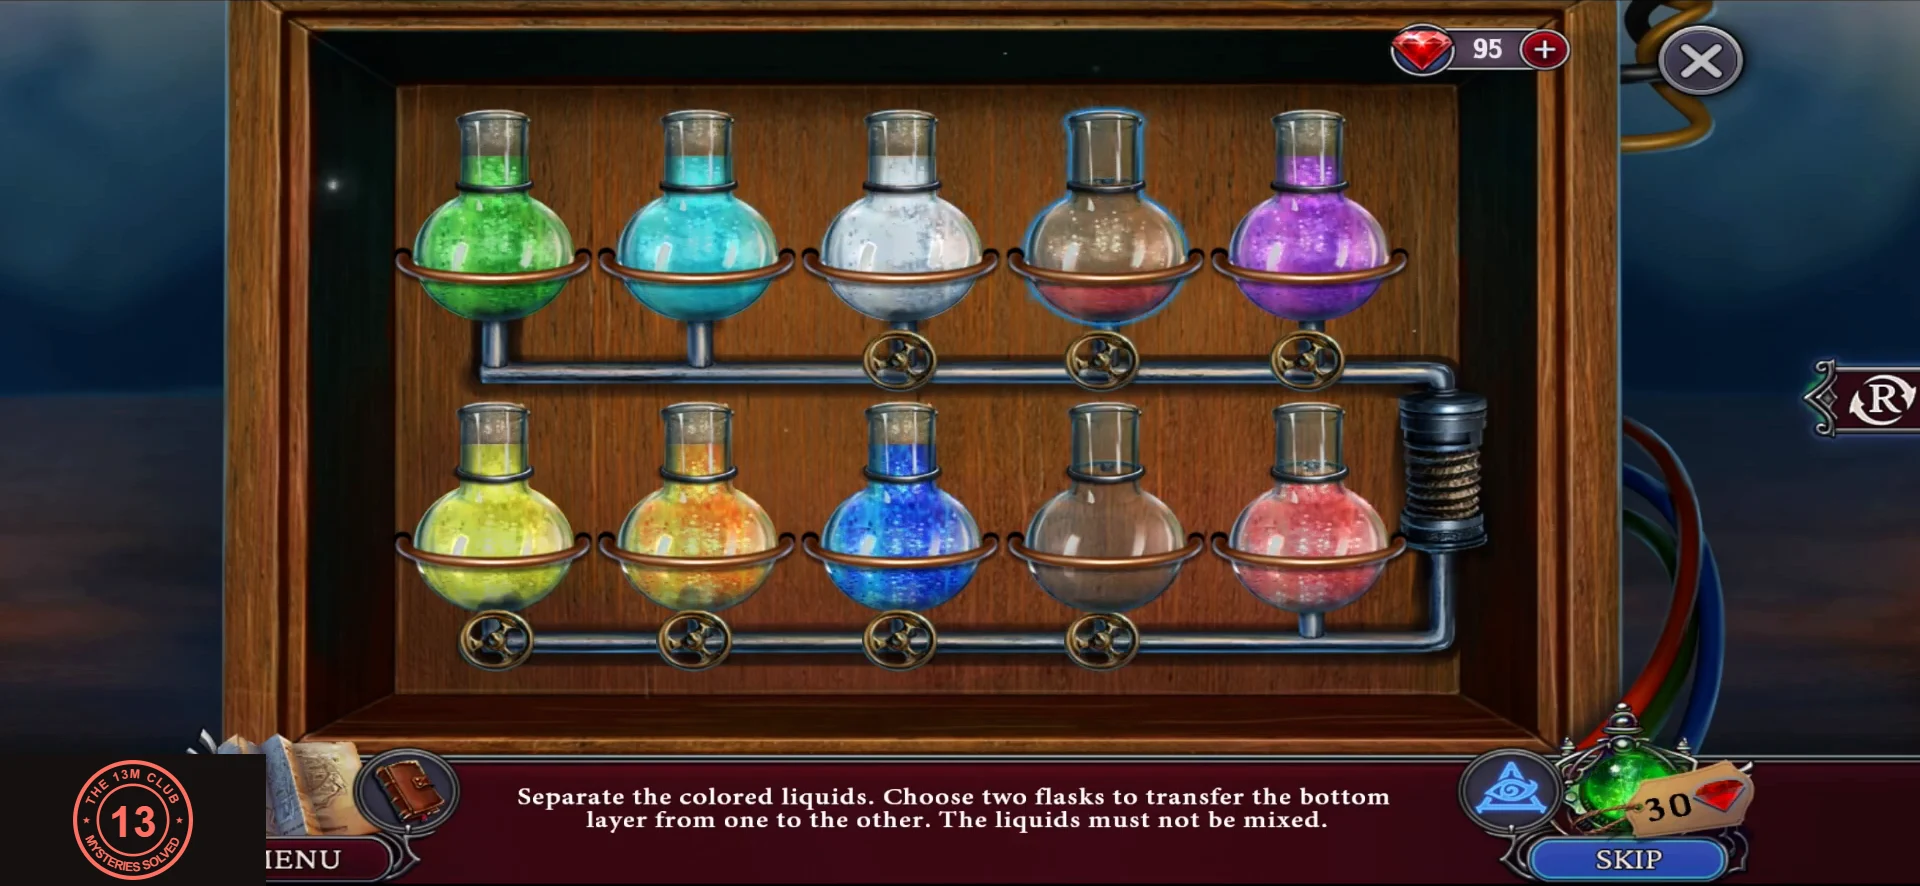
The completed rack: one colour per flask, with two flasks left empty. - Pablo admits he insured the theater, explains the anonymous note that lured him there, and says the villain went through the attic doors. The task becomes "Go to the attic".
- You now hold a flask of explosive that "needs to be securely sealed and ignited". Open it in your inventory, add the Cork, then the Wick, then strike a match from the matchbox. "Now this homemade bomb will explode!" Use the Bomb on the attic doors.
Attic: Dress Jigsaw
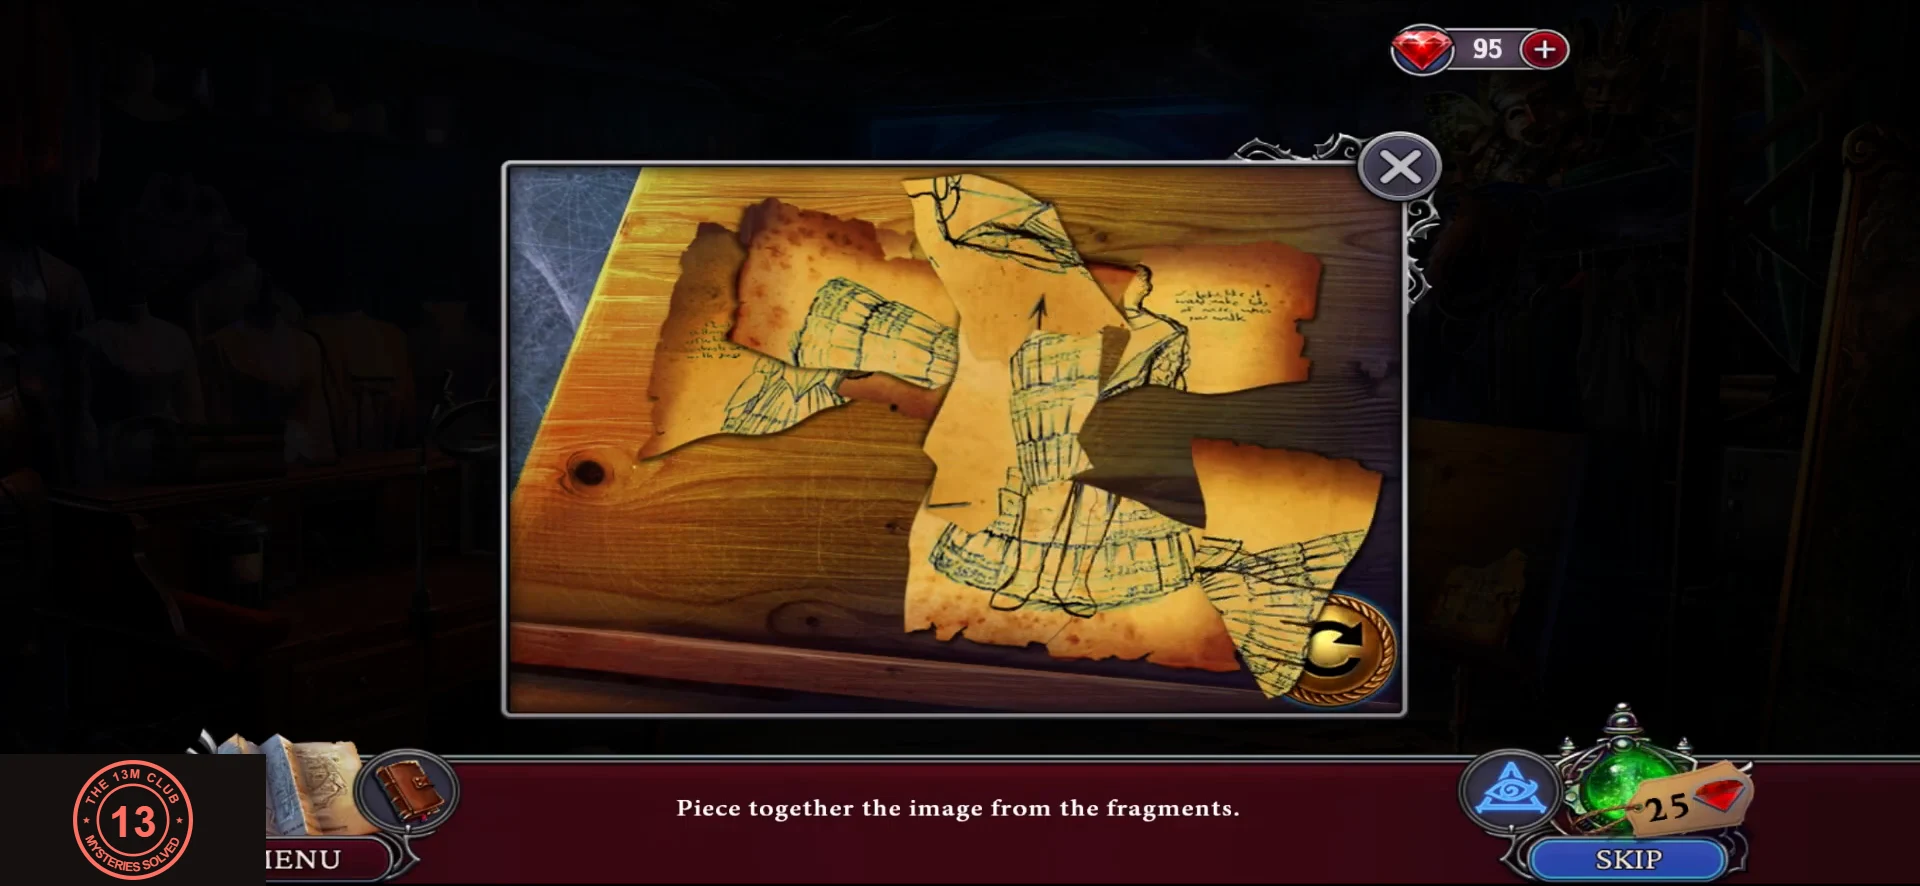
The task here is "Discover the identity of the criminal".
- Optional pickups in the attic: 2 collectibles and 2 morphing objects. Places to check: the back wall left of the balcony; the right end of the arched blue window; above the mannequins on the left; the floor left of the central steps.
- Check the chest ("I need something thin in place of a lockpick") and then the desk with the magnifier stand. The cabinet holds a fuse for detonating explosives "from a safe distance", and the cloth on the desk is a clue: "The dress on Pablo was made with the same fabric." Take the Paper from the desk, and the shard of Glass from the magnifier's cracked lens.
- Open the red curtain on the right of the room, tied with a rope that "is strong; I need to cut it with something". Cut it with the Glass. The curtain falls and uncovers an easel.
- At the easel, the prompt reads "Piece together the image from the fragments". Drag the fragments into place, using the gold button to rotate them. The finished sketch shows the dress was altered for a male figure, "so the culprit is a man. And a strong one".
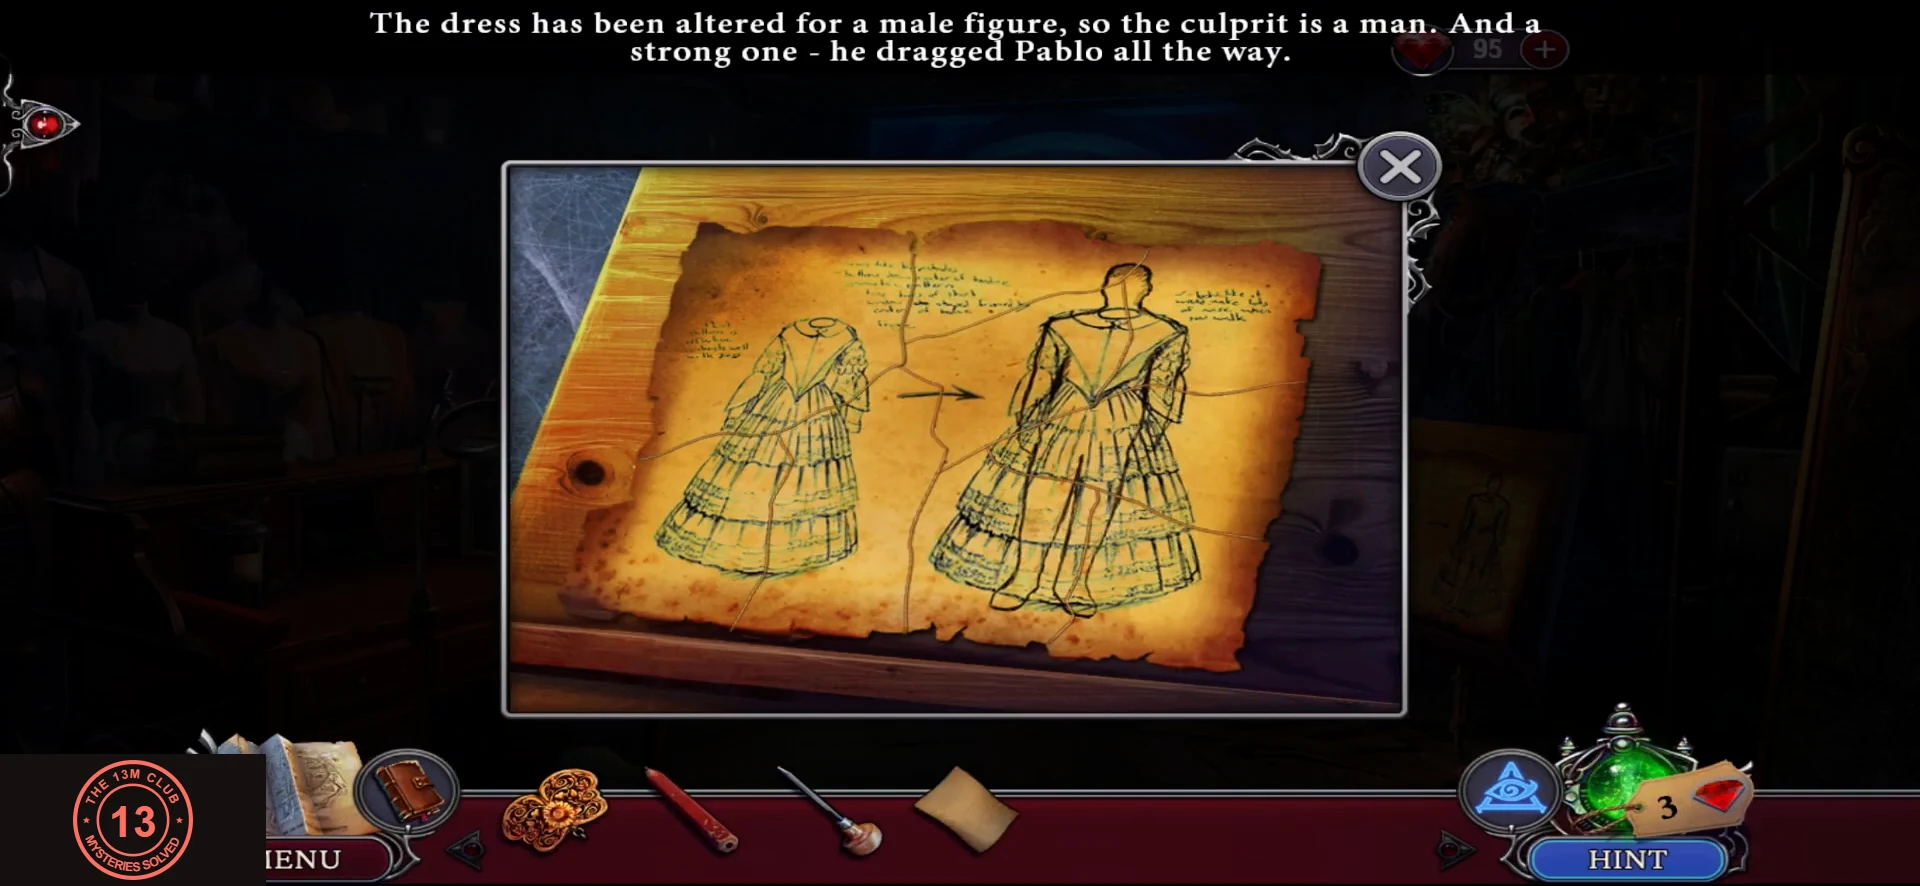
The completed sketch, showing the dress altered for a man. - A heart is now set in the bare board ("I can try to get the heart out"). Lift it out with the Awl and take the Heart.
Attic: Five-Digit Drum Lock
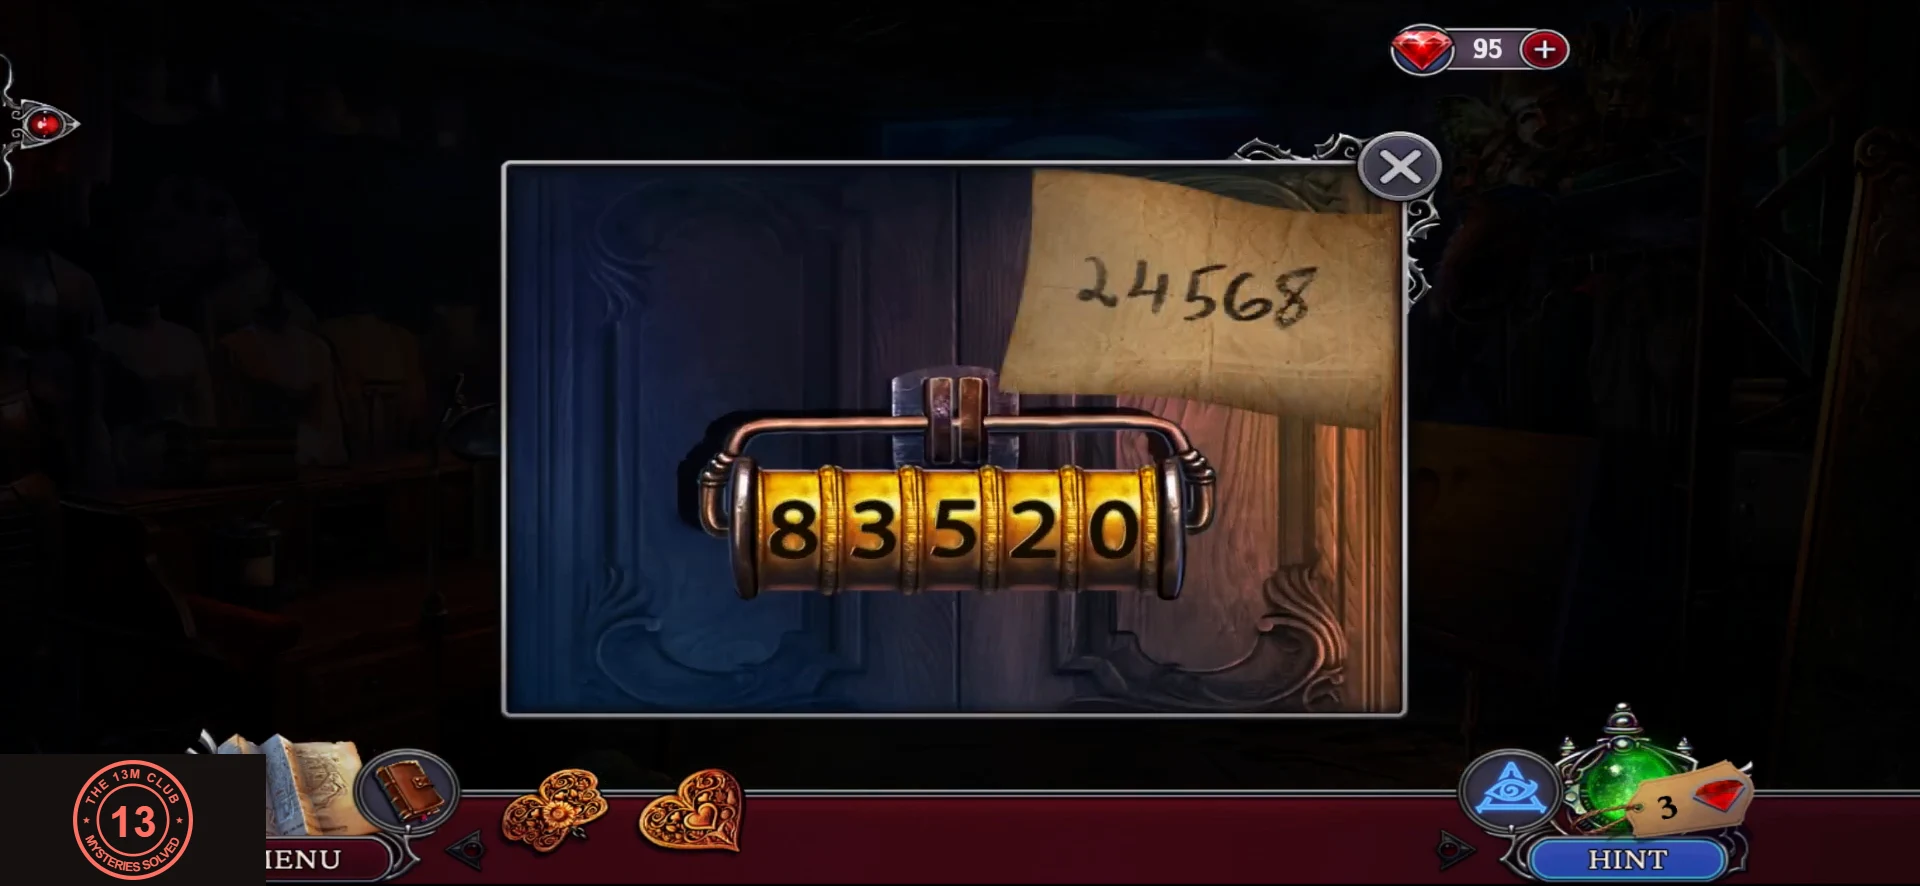
The code is on the barrel on the roof. Bring something to copy it with.
- Go back to the barrel on the roof. Use the Paper on it, then the Pencil you received after Bonus Deduction 1, to copy 24568 onto a Code slip.
- At the same barrel, pry out the camera lens with the Awl. Take it back to the attic and fit it on the desk stand: "Now I can use a magnifying glass." You will need the stand for the fingerprints later.
- Open the five-digit drum lock on the blue door at the back of the attic: tap the back wall below the balcony, behind the small desk. Use the Code slip on the lock and set the drums, which start at 8-3-5-2-0, to 2-4-5-6-8.CODE24568
Attic: Dartboard Panel and Ring Lock
The evidence points to Marcos.
- Behind the blue door, look at the two defaced photos of the Torres family and take the dart from the first. At the dartboard panel, place the Pendant and the Heart in their recesses. Read Victor's notes to Marcos ("You're a handsome actor. But writing isn't your thing. Forget it. Victor"), which suggest a motive. Take the blue piece. At the chest, use the dart as the lockpick, then read the magazine linking Simona and Marcos ("The star couple of the Corazon Theater has broken up!"). Under the magazine in the right-hand compartment, take the large Net. It is not the Butterfly Net, and you need it to catch Marcos.
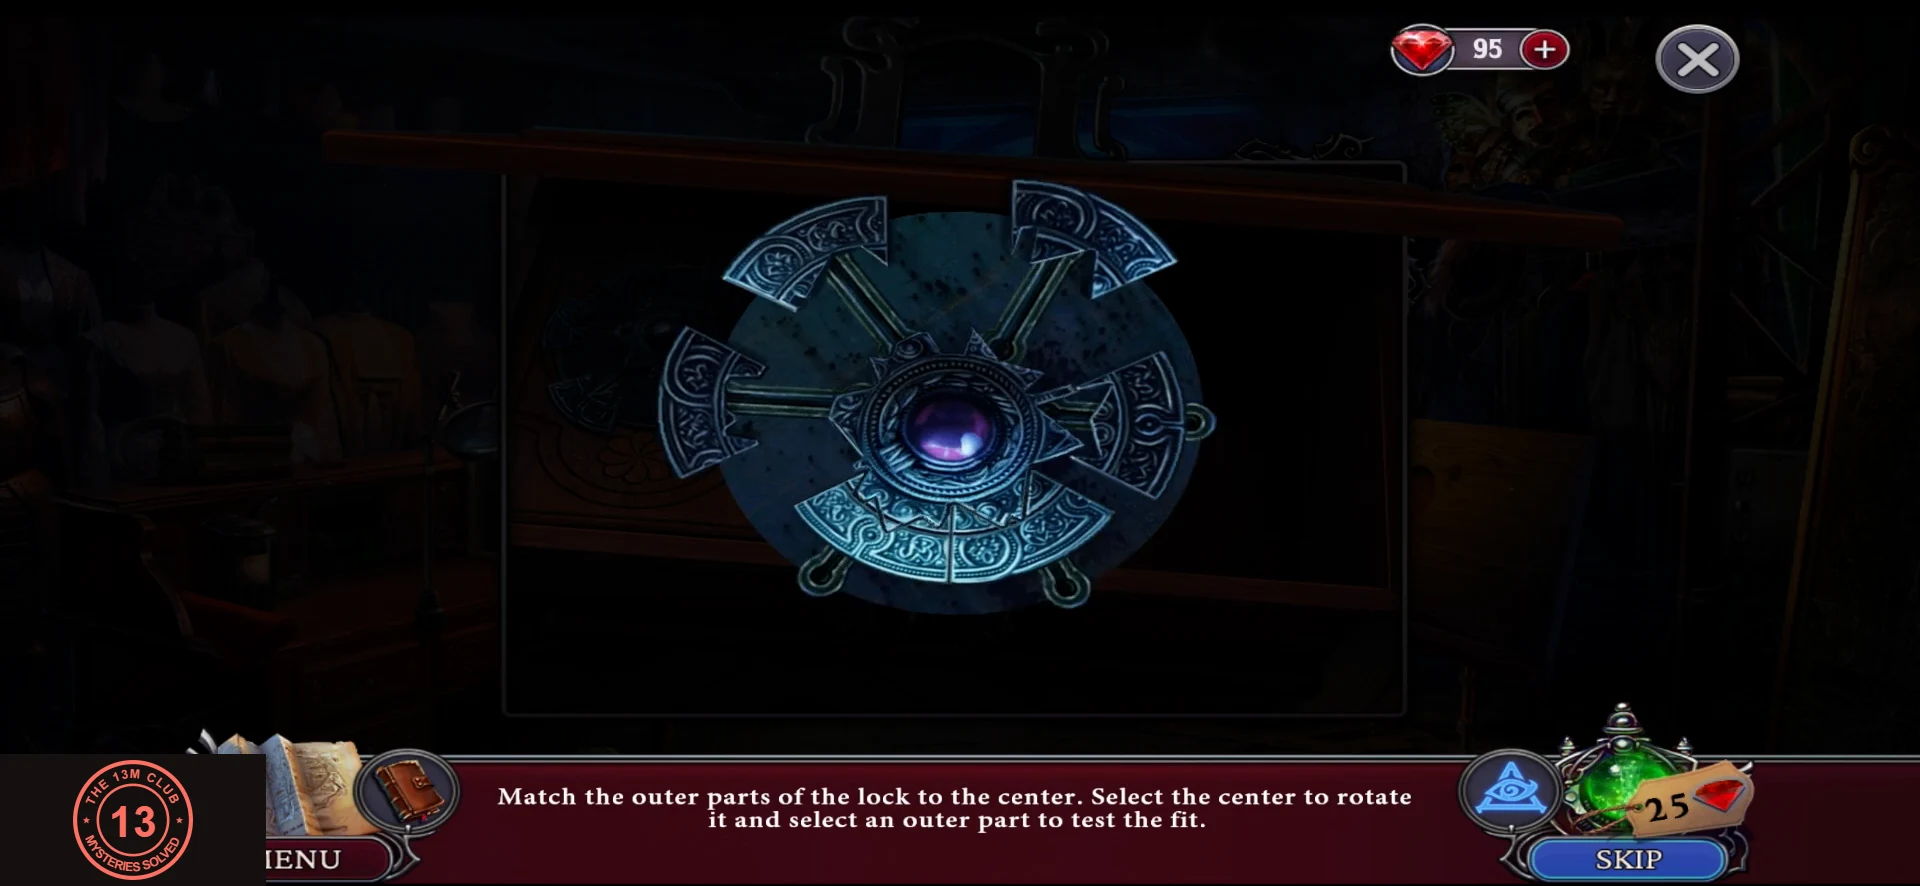
- The new task is "Open the secret compartment of the chest". Fit the blue piece to bring up the ring lock. The prompt reads "Match the outer parts of the lock to the center. Select the center to rotate it and select an outer part to test the fit."
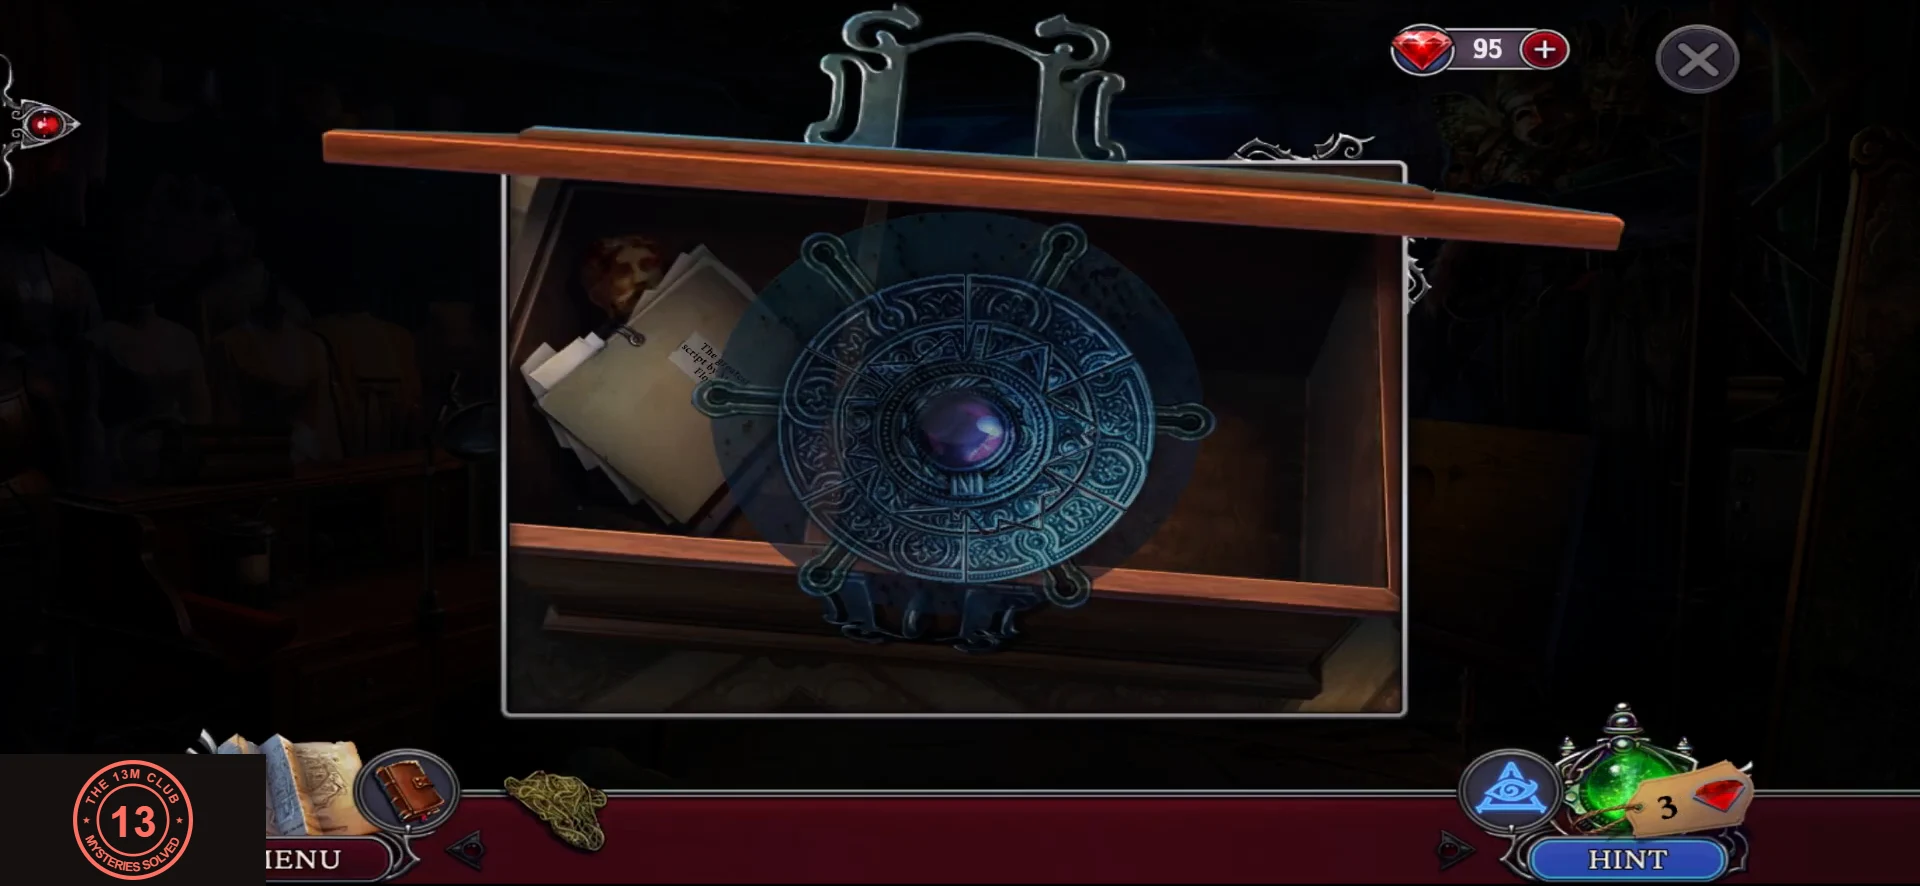
The solved ring lock, with the compartment opening.
Attic: Fingerprint Comparison
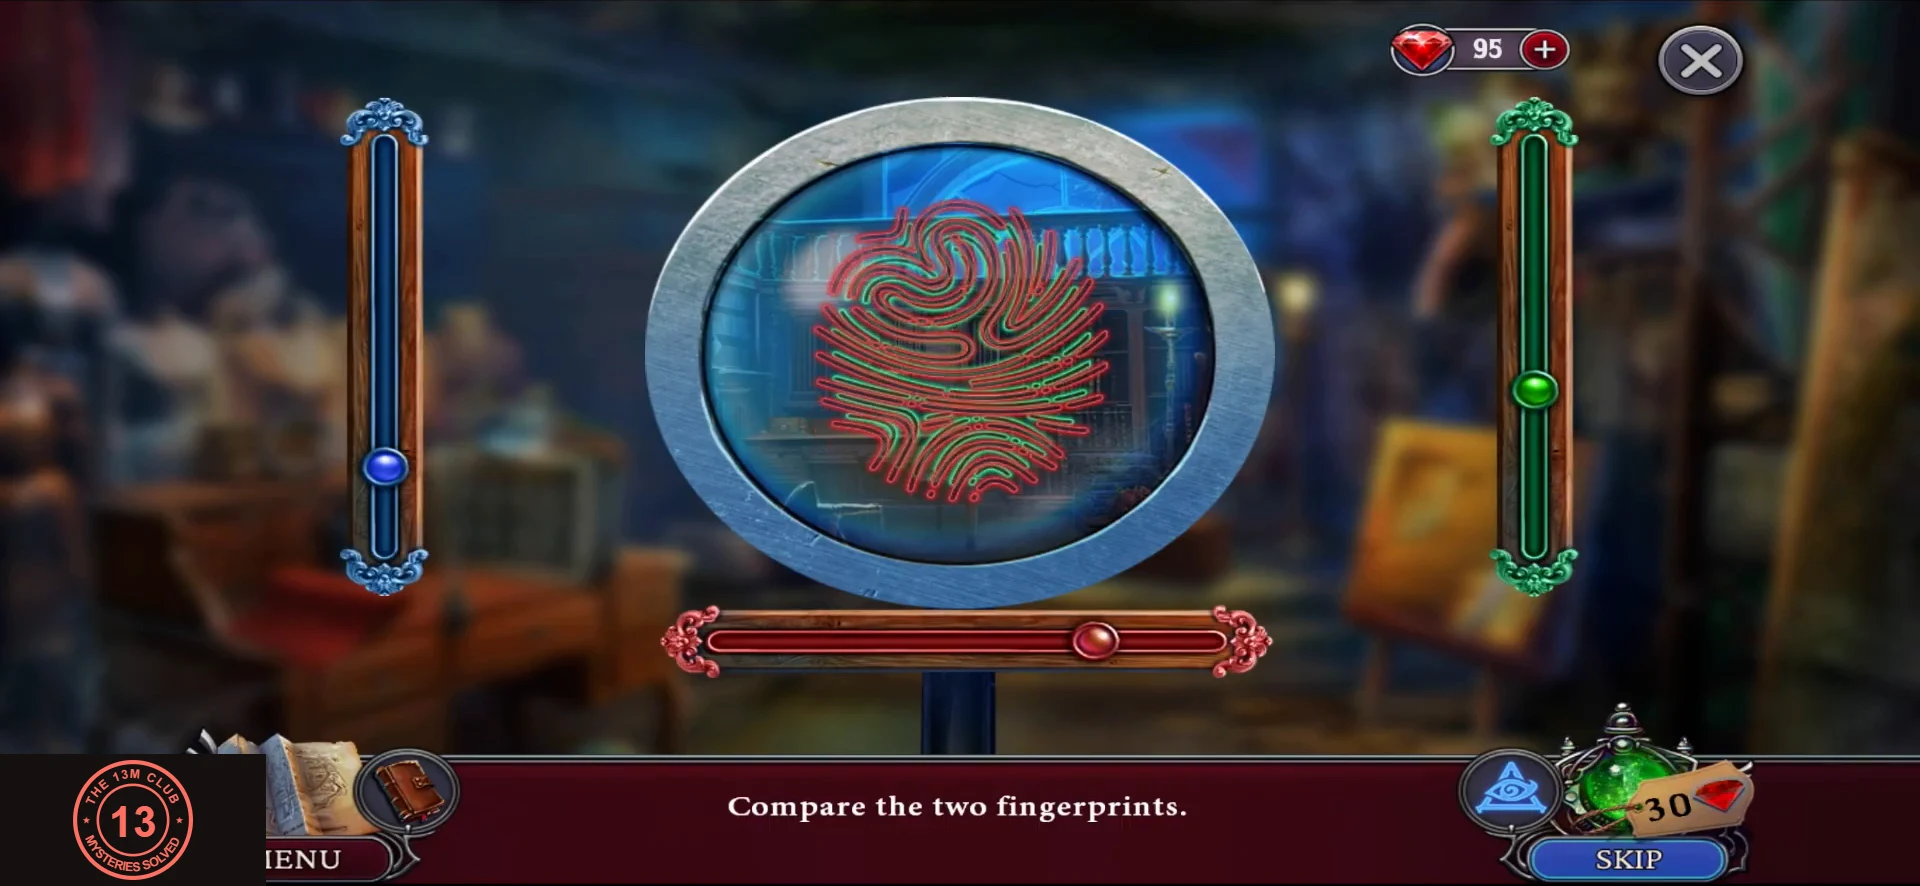
Lift a print from Marcos' script and compare it with the print on the bust.
- Read "The greatest script by Marcos Florks" from the compartment and tap the ink marks to lift Marcos' fingerprint.
- The secret compartment also holds a bust: the statue missing from the stage, with what looks like blood on it. Take it and place it on the attic desk under the magnifier. The desk refuses the Fingerprint until the bust is in place ("It's not the right time or place for this.").
- With the bust on the desk, use Marcos' Fingerprint there. The prompt reads "Compare the two fingerprints." Align the three sliders until the prints match. Agatha decides to get to the constable.
Attic: Bonus Deduction 2
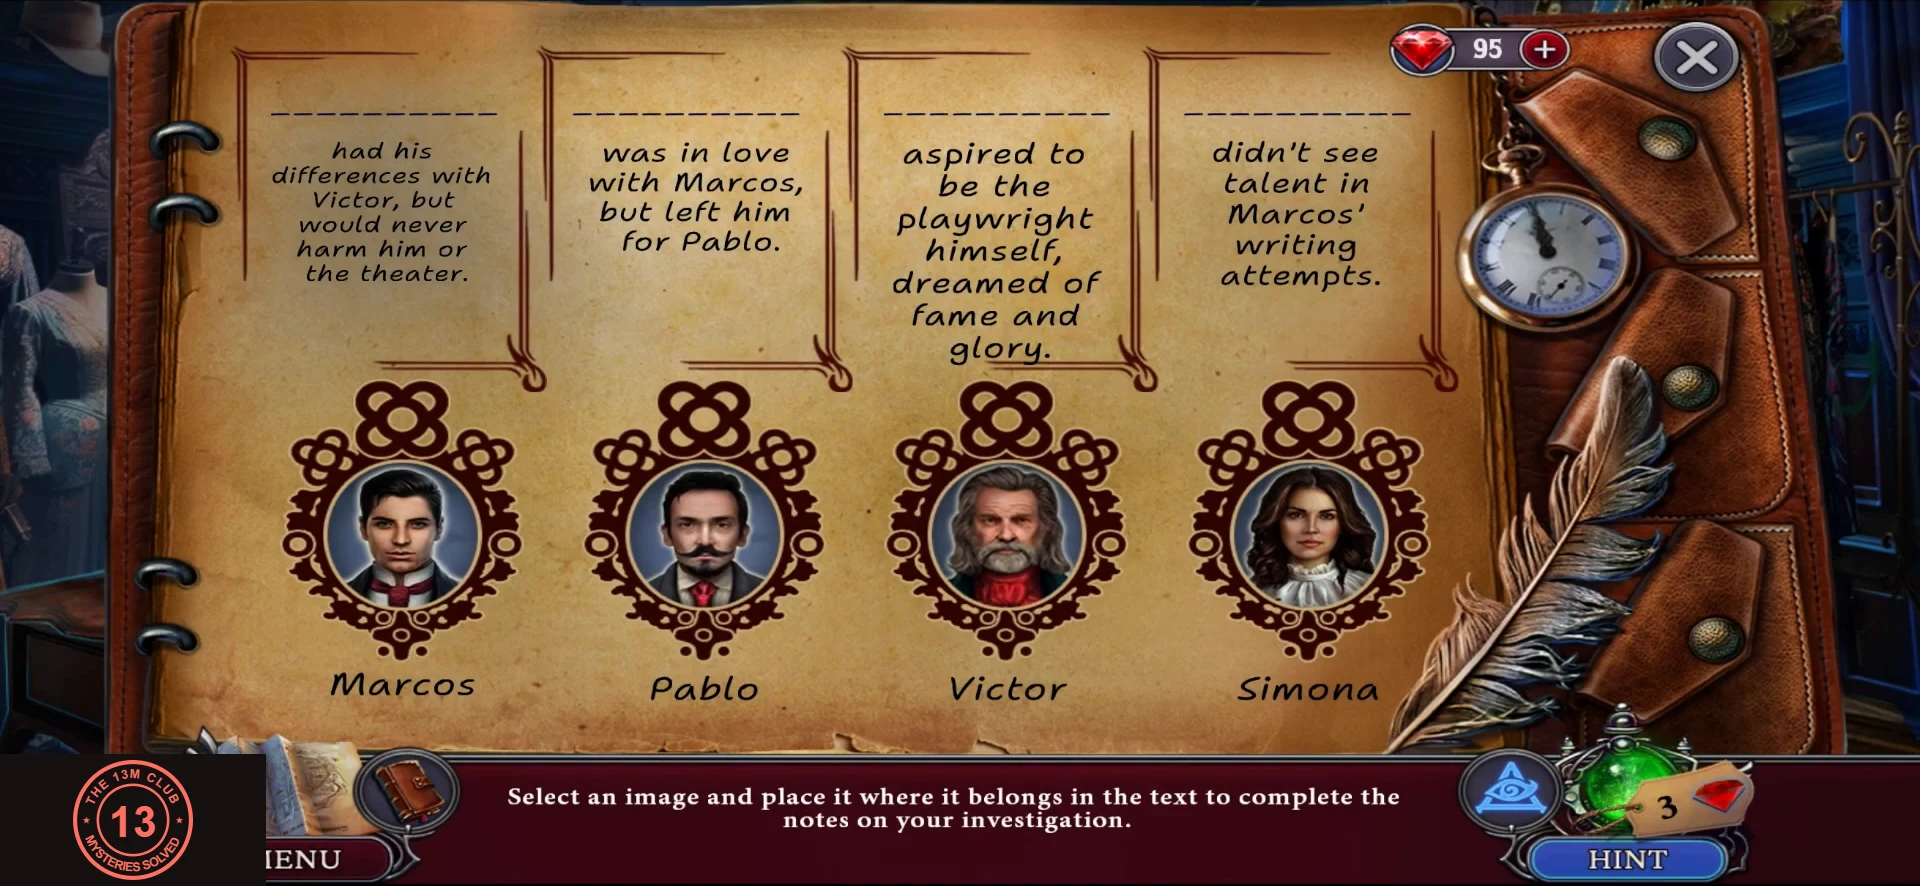
Set out what the evidence shows about Marcos.
- Bonus Deduction 2. Fill the slots left to right: Pablo; Simona; Marcos; Victor. The notes read: Pablo "had his differences with Victor, but would never harm him or the theater"; Simona "was in love with Marcos, but left him for Pablo"; Marcos "aspired to be the playwright himself"; Victor "didn't see talent in Marcos' writing attempts". A wrong arrangement gives "I'm not sure that's right". Left question: "Marcos framed Pablo to reunite with Simona and claim the insurance". Right question: "Marcos plotted to kill Victor and won't stop until Pablo is dead too". Centre question: "Marcos will return to finish Pablo, I need to stop the villain on the roof". Your reward is the Handcuffs, which you need after the fight, and the task becomes "Catch Marcos".
Bonus Finale: Catching Marcos and the Fight Tiles
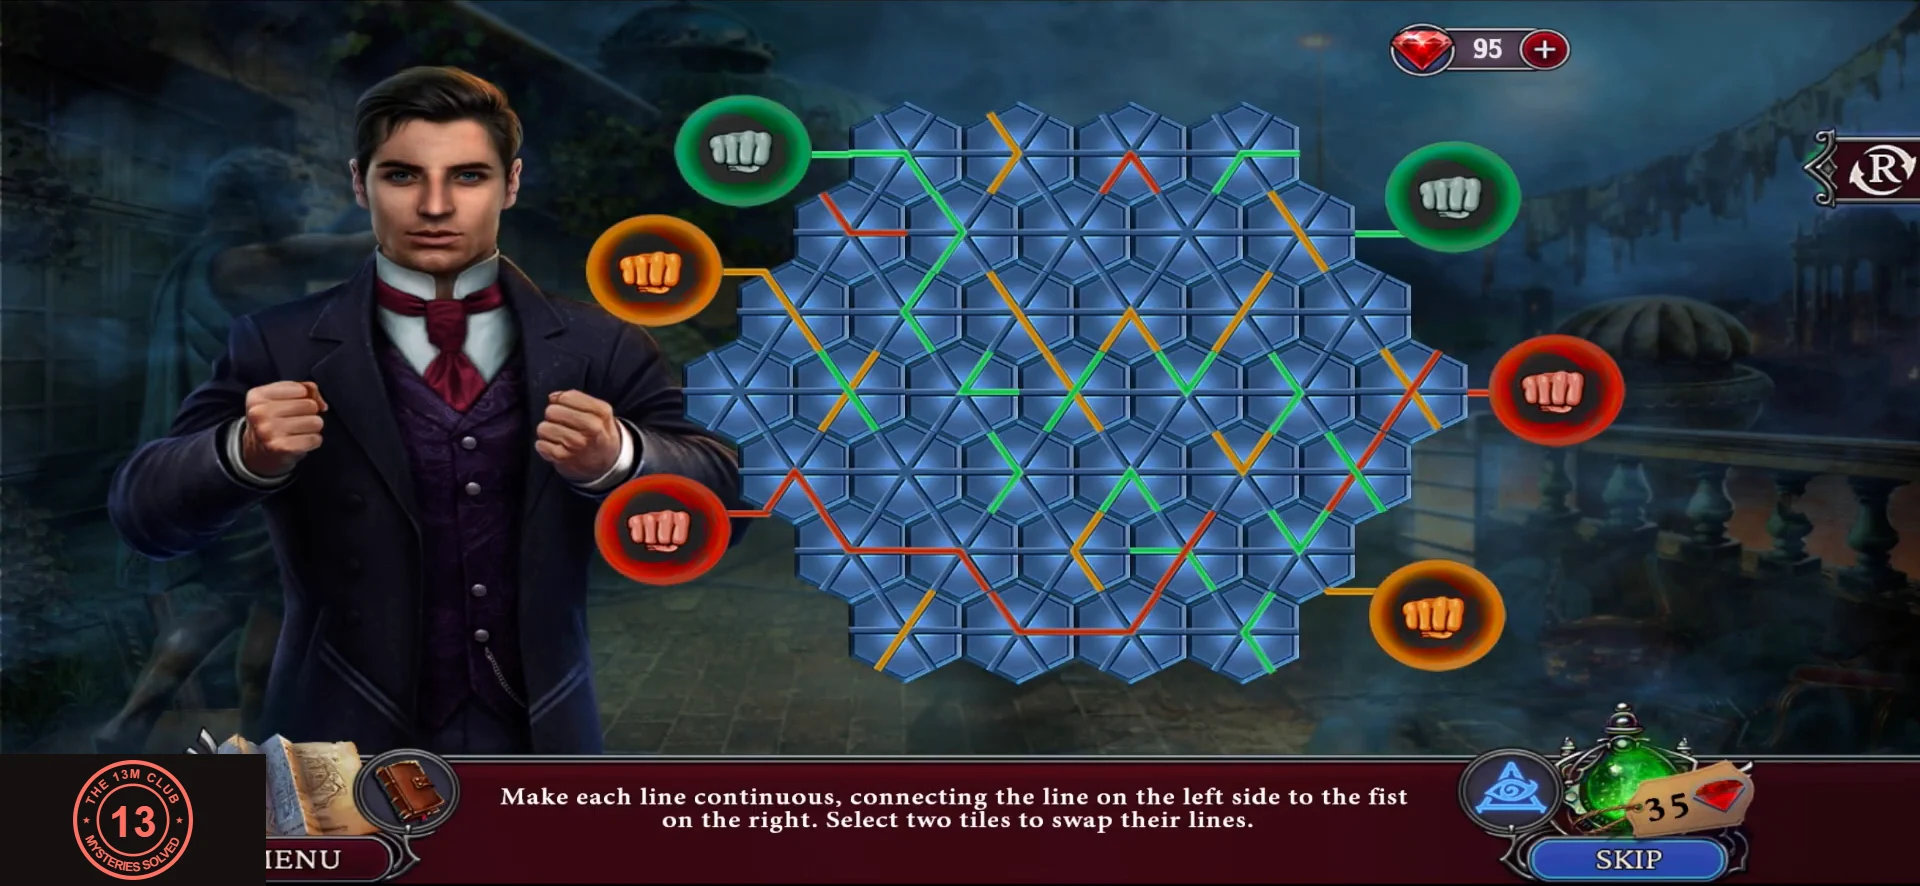
Catch Marcos on the roof, win the fight and free Pablo.
- On the roof, Marcos accuses you of ruining his plans. Use the large Net on him ("Your time in the spotlight is over!"). It drops over him, he says you have caught him, and the fight begins.
- The prompt reads "Make each line continuous, connecting the line on the left side to the fist on the right. Select two tiles to swap their lines." This puzzle is long, so this guide gives the target and a method rather than every swap. Three lines must run unbroken: green from the top left fist to the top right fist, orange from the middle left fist to the lower right fist, and red from the lower left fist to the middle right fist. The lines share some tiles and cross each other. Trace one colour at a time from its left end, swapping in tiles that continue that line. Check the shared junctions before each swap, so that a later swap does not break a finished path. The solved image below shows all three routes. Marcos is knocked out when all three lines are unbroken.
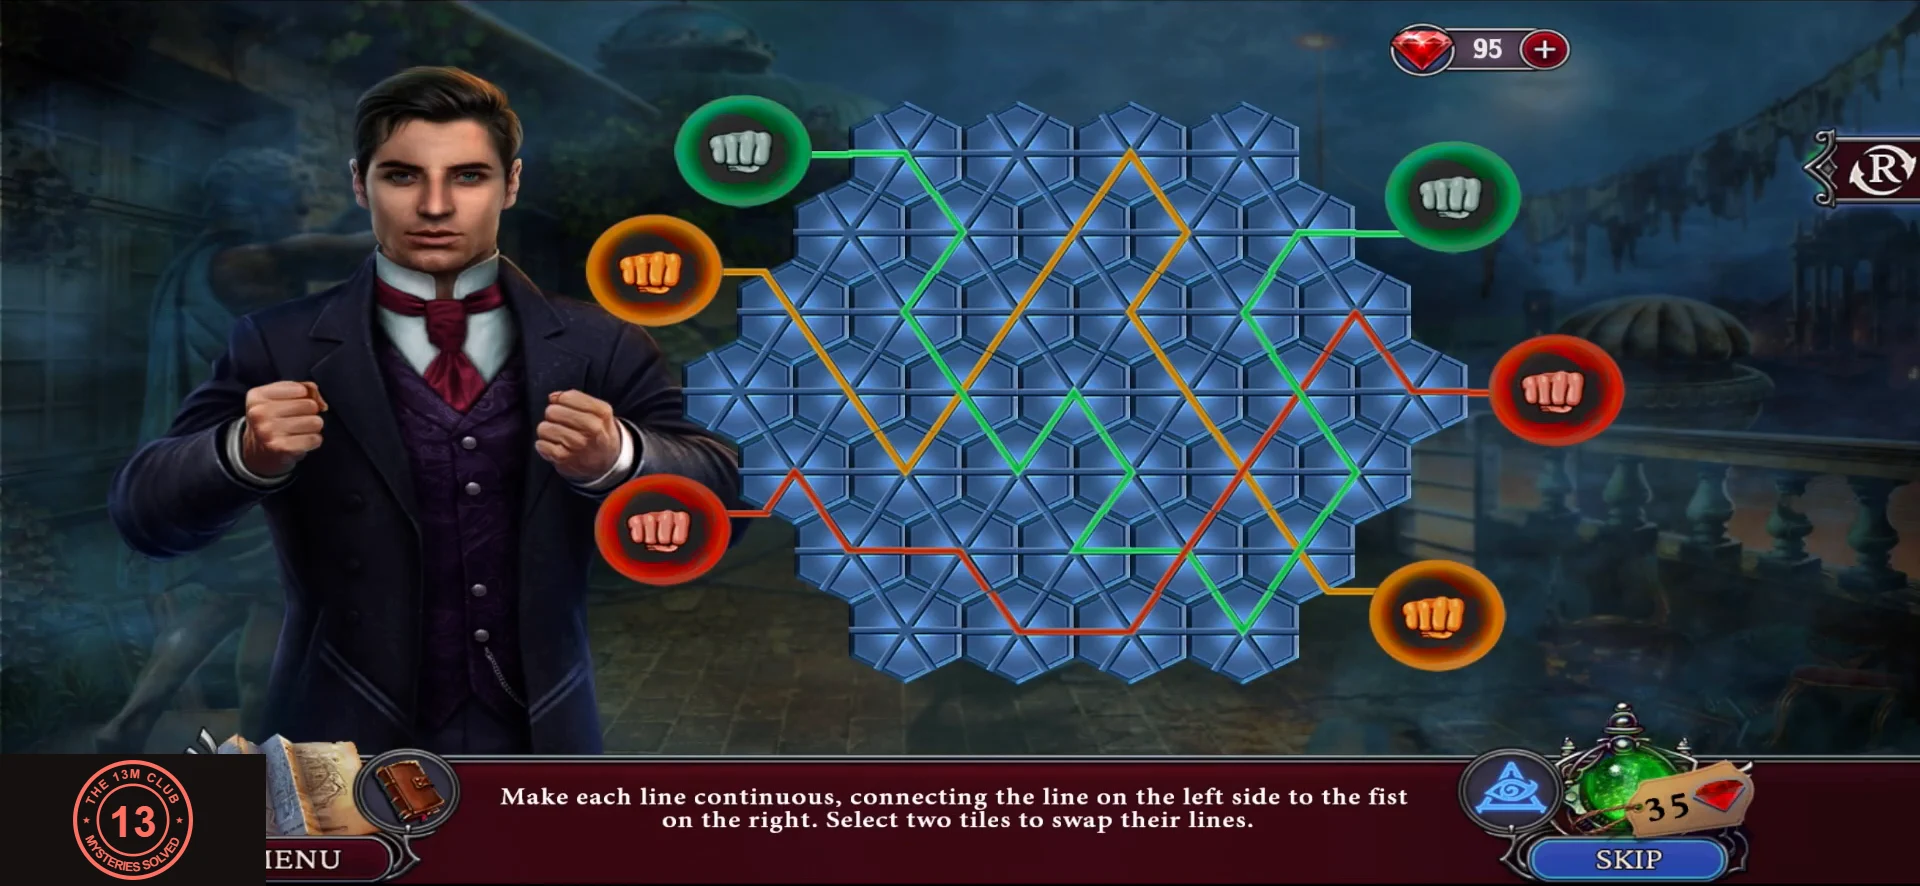
The completed fight tiles, with every line unbroken. - After the fight, use the Handcuffs on the fallen Marcos and take the Key he drops. "The handcuffs need to be removed from Pablo", so use the Key on Pablo's handcuffs.
- Watch Pablo thank you and read the epilogue, which ends "Well done! You've completed the bonus chapter!"
Extras: Collections and Find Missing Objects
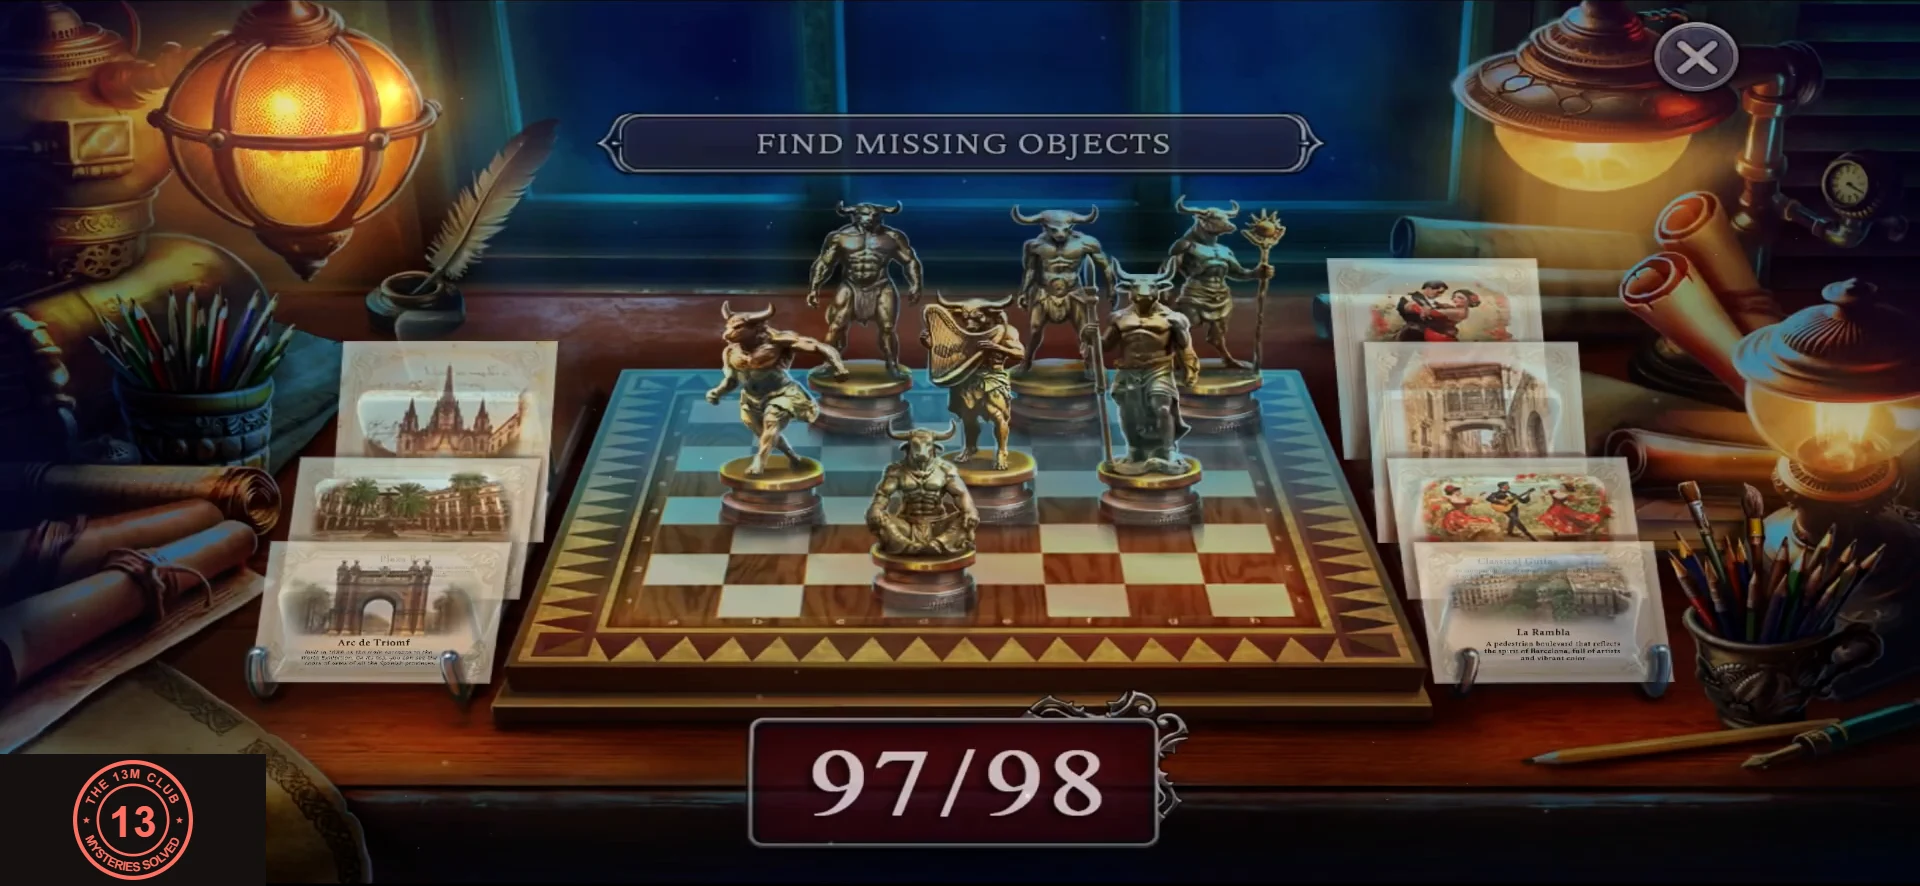
After the story you can clean up anything you missed. This menu is shown here after the Bonus Chapter, which is the only point where it was seen.
- From the main menu press MENU, then EXTRAS. It offers Mini Games, Concept Art, Music, Hidden Objects, Movies and Collections.
- Open Collections, at the lower right of the Extras screen, to see a chessboard of bull statues and a counter out of 98. Press the FIND MISSING OBJECTS strip at the top of this screen: the game jumps straight to a scene with an object still missing, and a popup on entry says what is left there. Pick it up and repeat. In the recording the strip brightens just before each jump, and the counter goes from 93 to 98 this way.
Extras: Final Hidden-Object Board
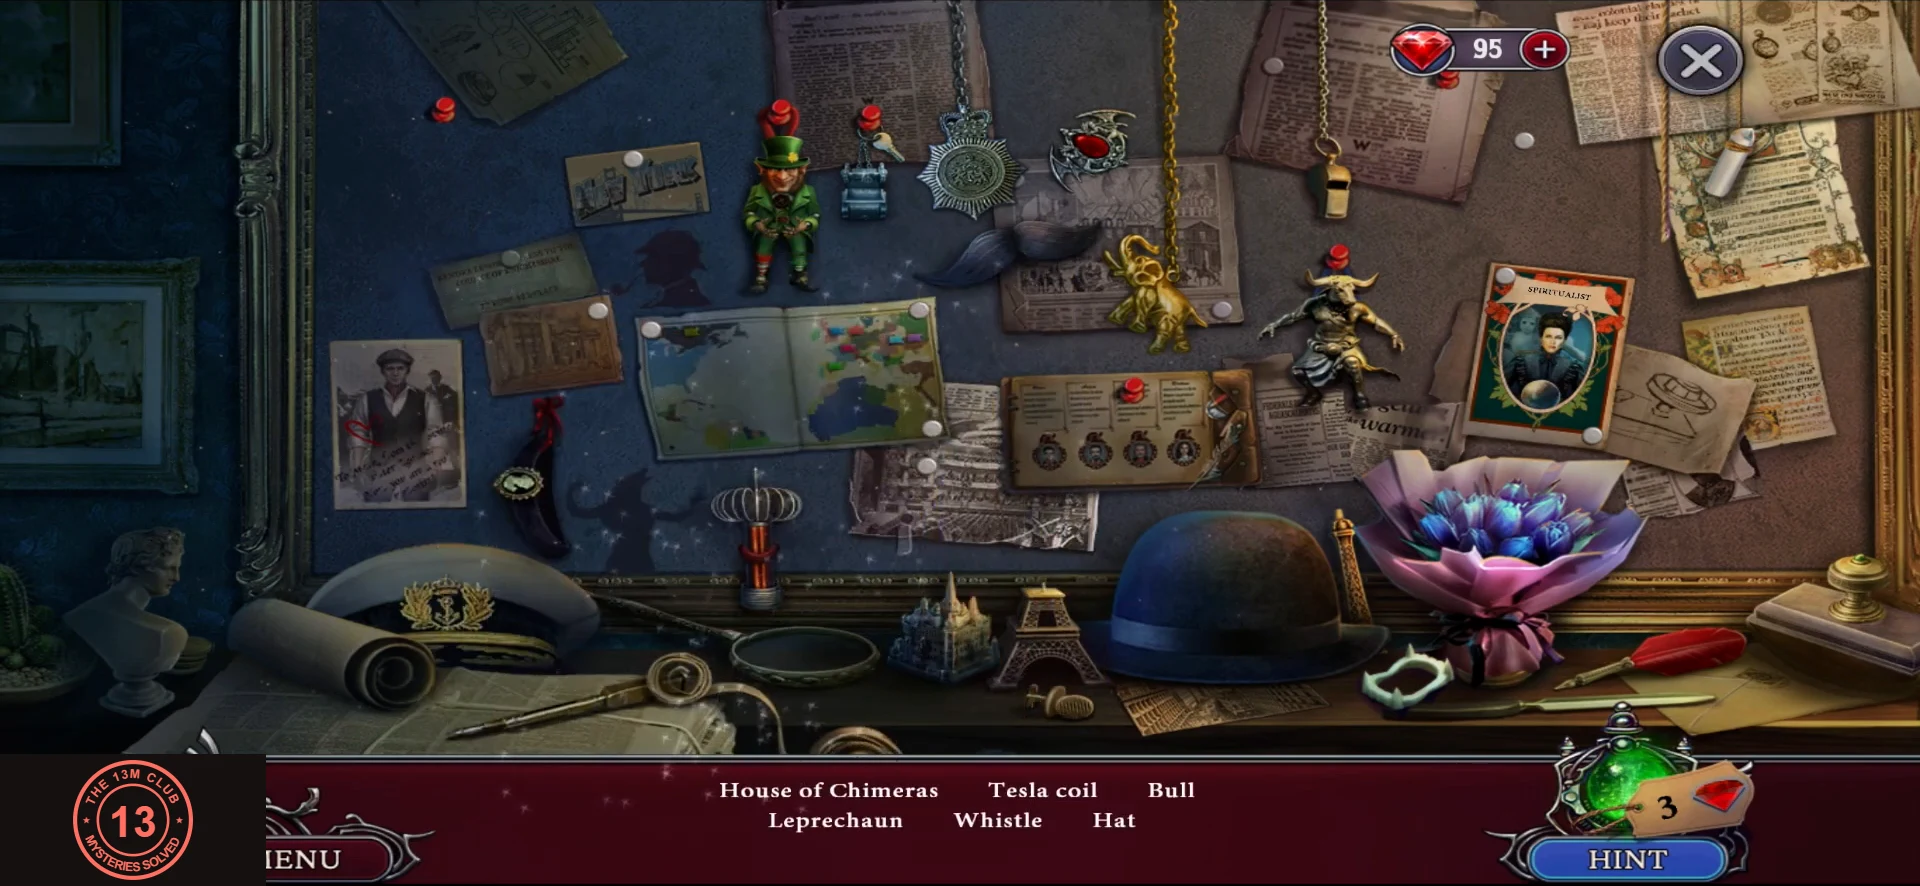
This board opens once every collectible and morphing object is found.
- PLAY replaces the counter once the last missing object has been found. Press it for a final hidden-object board. The set seen in the recording, which is an example because the game offers other sets, was Pocket watch, Binoculars, Goggles, Easter eggs, Folk doll, Friend, House of Chimeras, Tesla coil, Bull, Leprechaun, Whistle and Hat. Tap each named object on the board. When you finish, the game asks "Do you want to play with another set of items?" with NO and YES. The recording stops at this choice, so other sets were not seen.