ZOO
Zoo: Bulletin Board and Terrariums
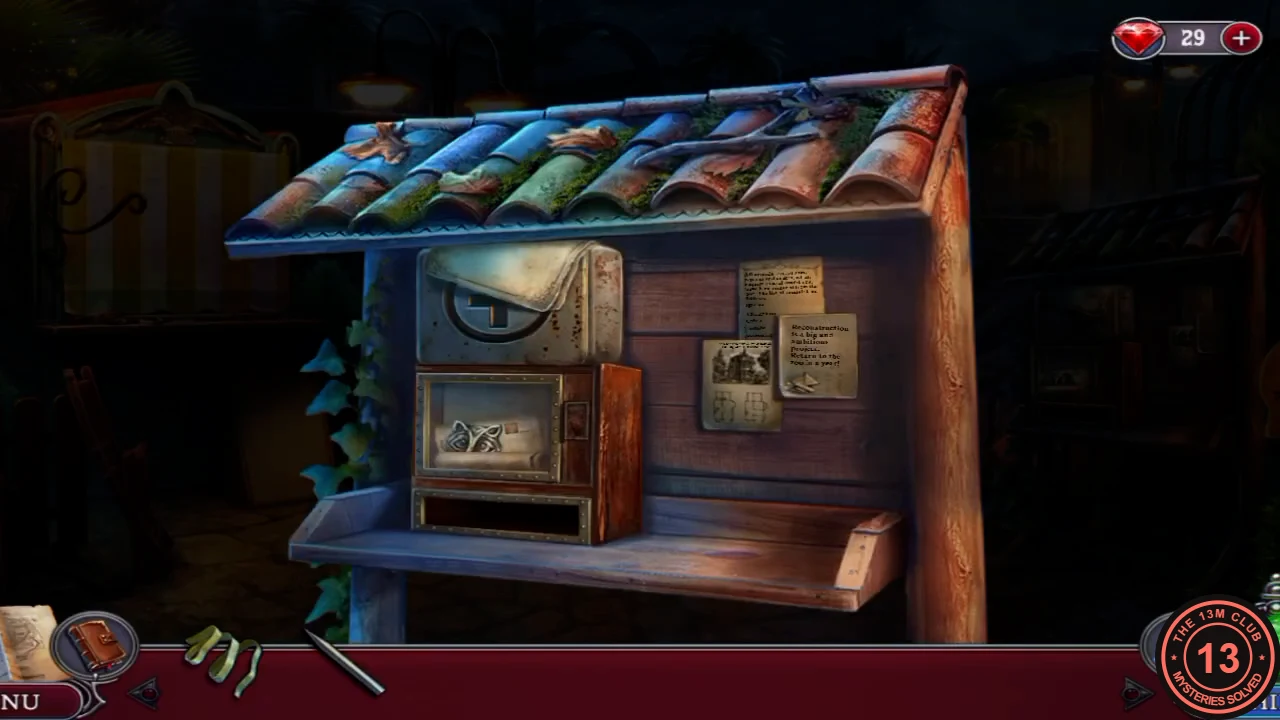
Find out what happened to the Boomslang.
- Optional pickups. Collectibles: the ground by the pile of broken stones; the wall below the yellow-striped curtain. Morphing objects: above the second lamp post; between the two lamp posts, above the green bushes.
- The task is "Check the bulletin board". Pair the postcards (elephants, zebras, blueprints). The list shows the Boomslang has not been relocated, and the task becomes "Find the Boomslang snake".
- Note the metal raccoon inlay on the first-aid box. At the poster, read the currency note and take the Sharp Shell. At the door, note the wood coin behind the grate, which you will have to fish out.
- At the terrarium crates, take the Lever from the straw between the chained crate and the glass case; you need it for the telegraph. Open the top-left case (iguana) and take the scraper, then scrape the dirty top-right case (chameleon). Move the tortoise in the bottom-right case and take the key beneath it. Use the key on the chained crate's padlock (cobra). The back terrarium holds a letter but needs a snake token.
- A raccoon steals the snake token, and the task becomes "Read the letter from the terrarium". Take the Magnet by the straw.
- Remove the cloth to reveal the caged raccoon crate with its padlock. Use the Magnet on the lower tray of the first-aid dispenser to get the Lockpick.
- Pick the padlock with the Lockpick; the raccoon runs off. Read the banana note, then cut the thread with the Sharp Shell to get the Strong Thread.
ZOO
Zoo: Claw Machine, First Coin
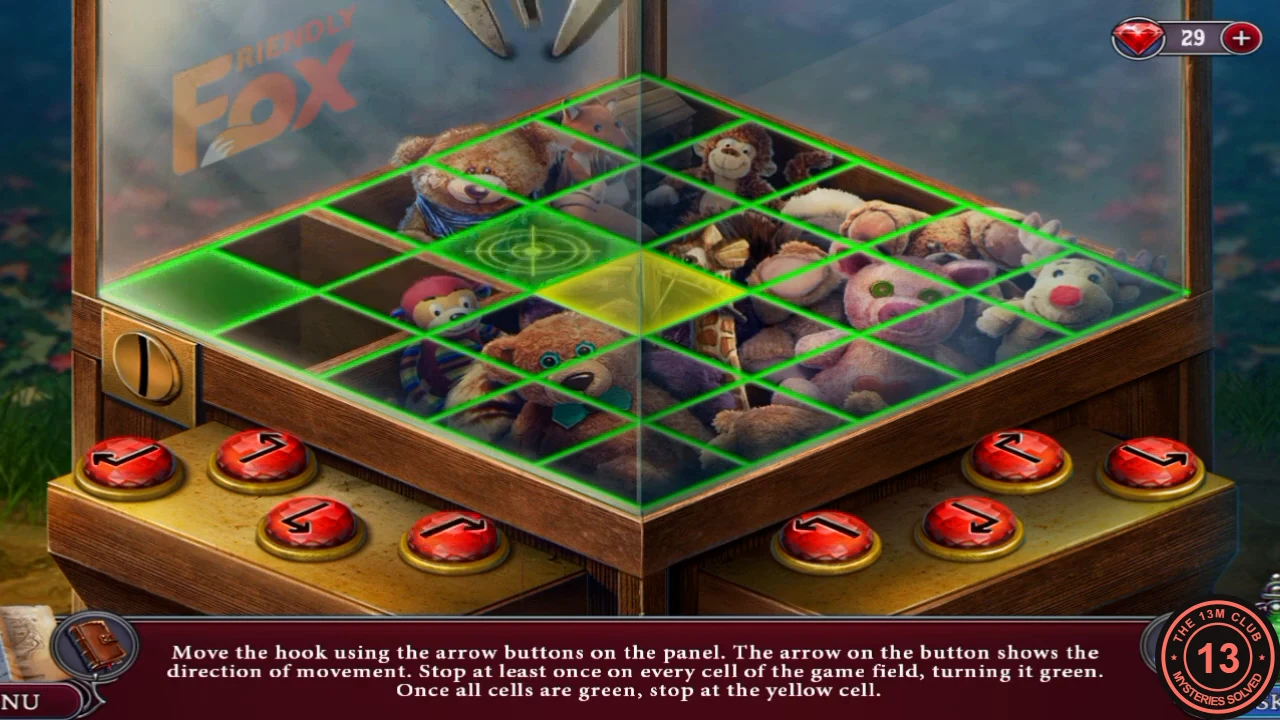
Pass over every cell of the grid with the claw to win the crossbow parts. The route is long, so this guide gives the rules and a method rather than every press.
- At the claw machine, read the note and take the Hook. Combine it with the Strong Thread, then use the Threaded Hook on the door grate to fish out the Zoo Coin.
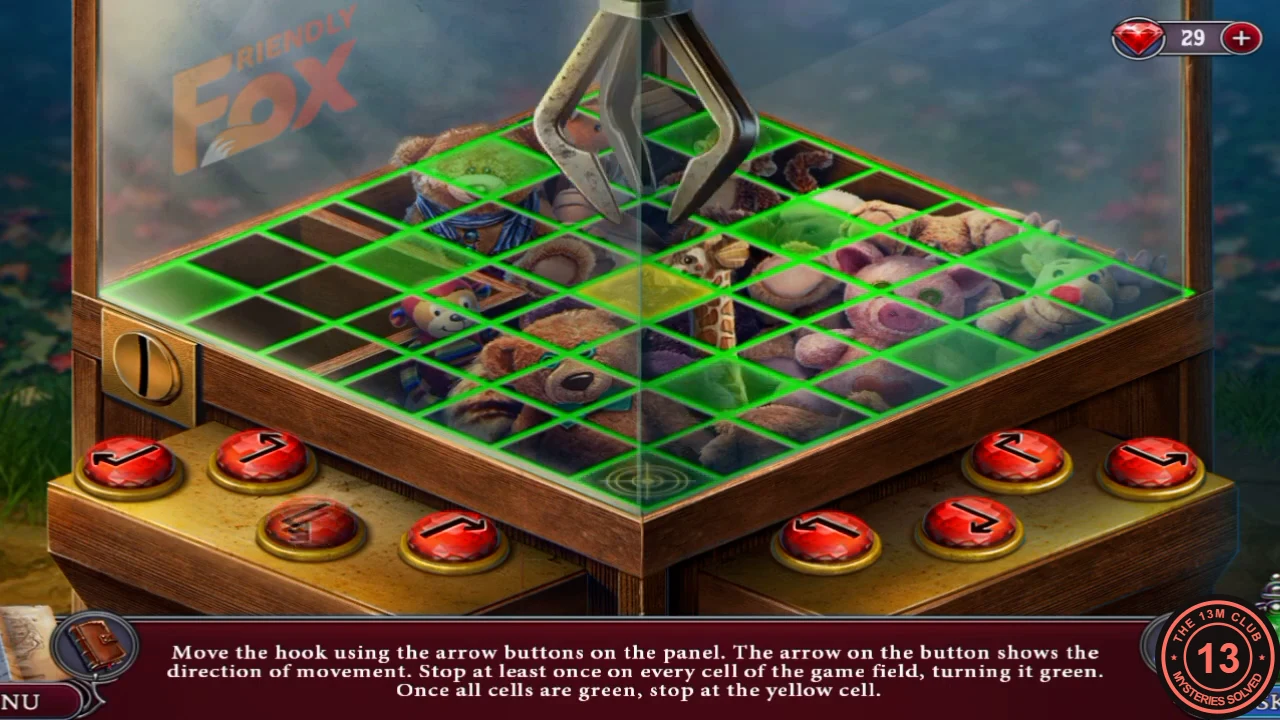
- Put the coin in the slot. The arrow on each panel button shows the direction the hook moves. You must stop at least once on every cell, which turns it green, and once all cells are green you must stop on the yellow cell. Work outward from the edge, clear the cells that are hardest to reach first, and finish on the yellow centre cell. The Disassembled Crossbow drops.
- Open the Disassembled Crossbow in your inventory, seat the green-fletched arrow in its groove and attach the Elastic Tape from the library clock as the string. Shoot the banana down from the tree: "Bullseye".
ZOO
Zoo: Souvenir Stall Search
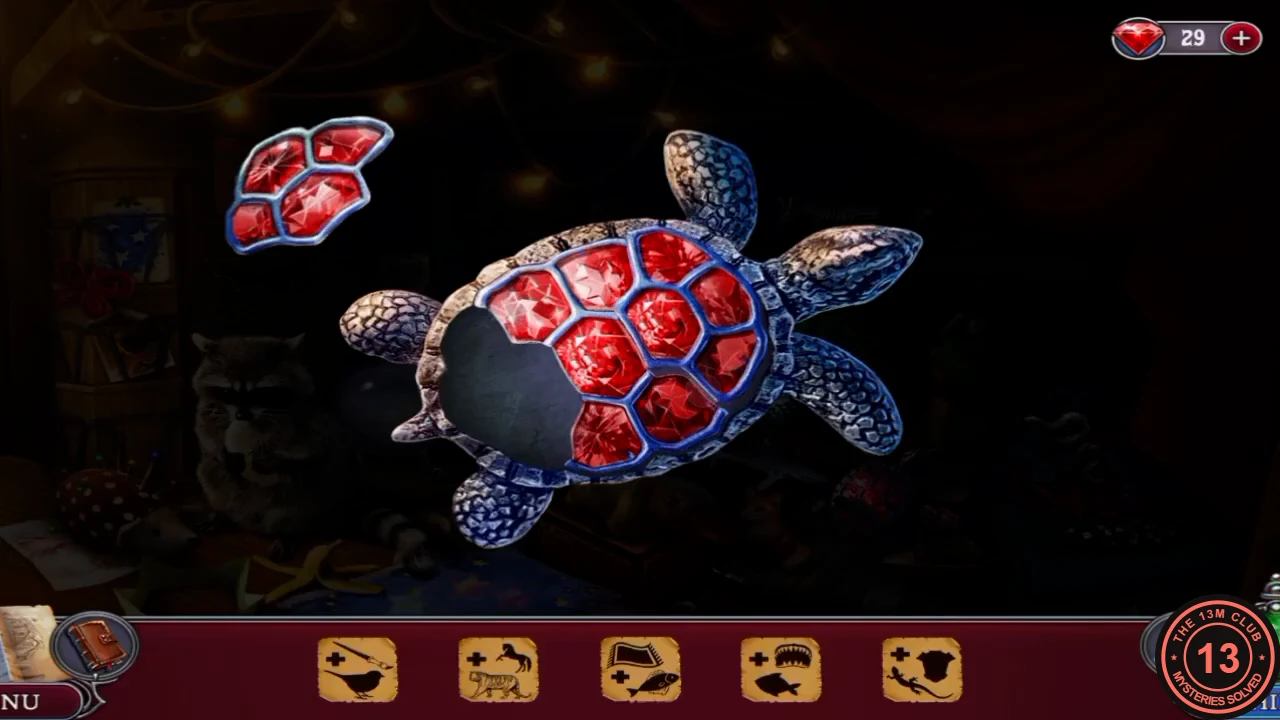
A staged hidden-object scene with the raccoon.
- Give the banana to the raccoon and complete the souvenir stall search, which includes turtle gems and hedgehog needles. "Oh no! He broke all the wires." Take the Snake token.
- Use the Snake token on the terrarium lock, read the letter and take the Paper Clip. Use the Paper Clip on the door lock to enter the guard booth office.
ZOO OFFICE
Zoo Office: Crab and Second Claw Round
The snake folder is behind a 4-digit padlock, and the code comes from a Morse tape.
- Optional pickups. Collectibles: the top right corner of the window; the top of the corner beside the jacket. Morphing objects: on top of the cage above the table; the floor right of the mannequin.
- The task is "Acquire the snake folder". At the telegraph table, take the green bottle, which is Rust remover; you need it much later in the secret room. Read the note, which says to wipe the record with a cloth and hydrogen peroxide, and take Cross token 1/2. Take the Crab Food from the cabinet and read the note about Morse.
- At the fishbowl, read Susana's letter and take the treble key on its ribbon. Use the Crab Food to get a second Zoo Coin.
- Play the claw machine again with this coin, on a larger grid but with the same rules, until "Bingo". Your reward is the Giraffe.
- Use the Giraffe on top of the wardrobe. It pushes down the Dirty record, and the Crab pen drops to the shelf. Take both.
- Use the Crab pen on the fishbowl, and Pedro the crab lets go of Cross 2/2. Go outside to the first-aid box with the green cross on the shed, open it with the crosses, and take the tweezers and the brown H2O2 bottle (hydrogen peroxide).
- Clear the dirt from the phonograph keyhole with the tweezers and open the drawer with the treble key. Take the Cloth and the pointed tool lying under it.
ZOO OFFICE
Zoo Office: Phonograph Words
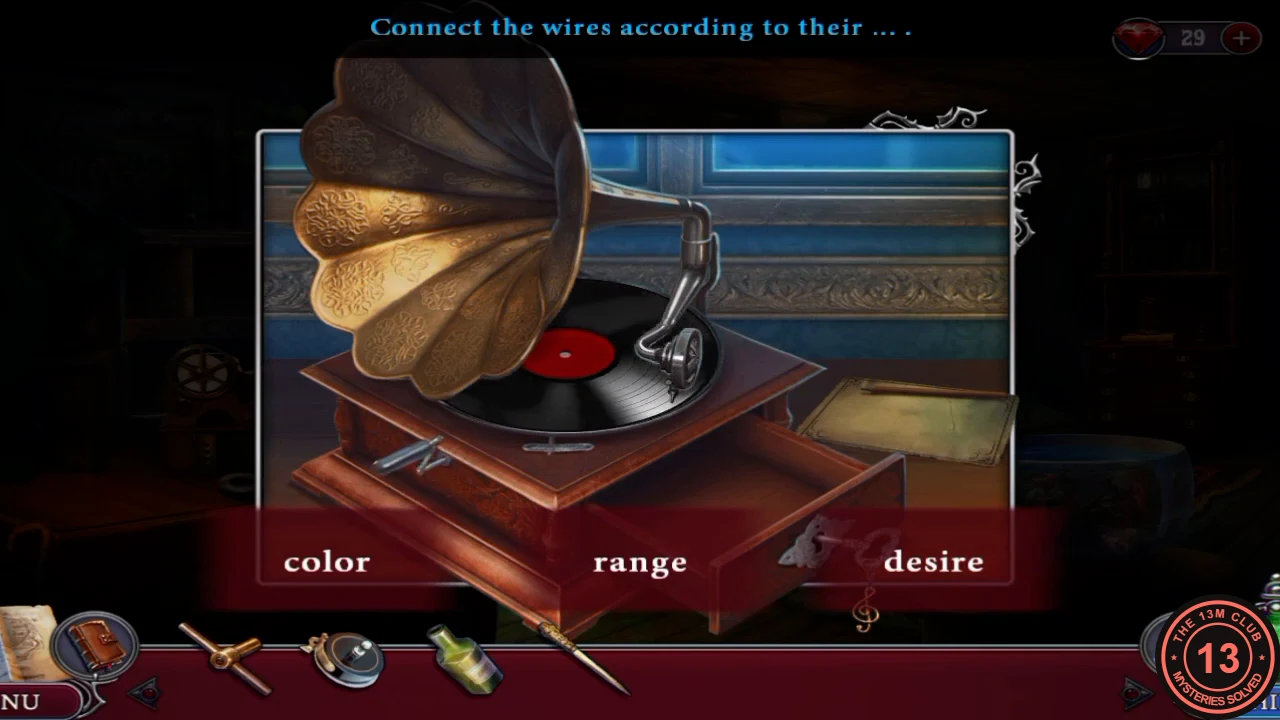
Clean the record, play it and catch the right words.
- Clean the Dirty record with the H2O2 bottle and the Cloth. Put it on the phonograph and add the Phonograph Needle from Deduction 5. As the record plays, tap the correct words in order: color, lever, code, Morse. When the record ends ("After that, cut the tape with the Morse code"), take the sheet of instructions lying to the right of the phonograph.
ZOO OFFICE
Zoo Office: Finding the Wires
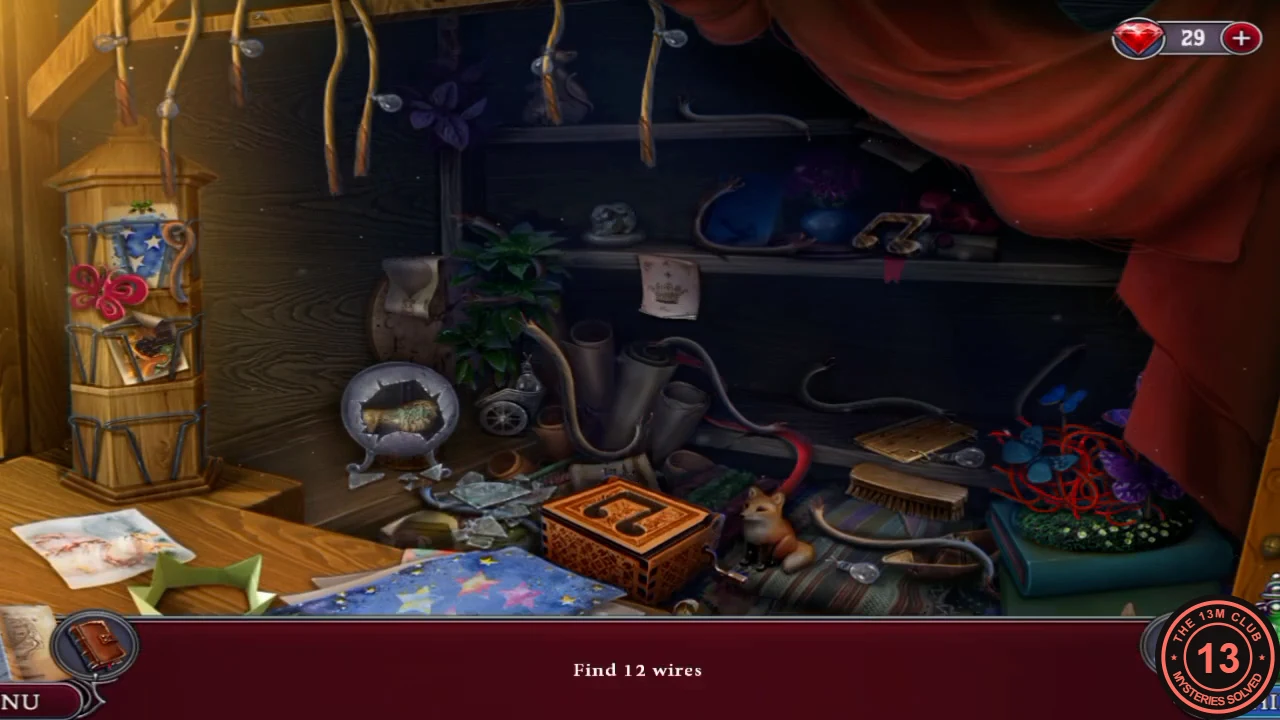
The telegraph needs wires, and the souvenir stall has them.
- At the telegraph, cut the wrapped tape with the pointed tool from the drawer. Agatha says she cannot fix this new technology without instructions, and the telegraph still has no wires. Leave the office for the zoo outside and go back into the souvenir stall, the one with the red curtain. Find the wires. Part of the search is the toy box: drag the musical note from the top shelf to the note-shaped slot on its lid to open it.
ZOO OFFICE
Souvenir Stall: Untangling the Thread
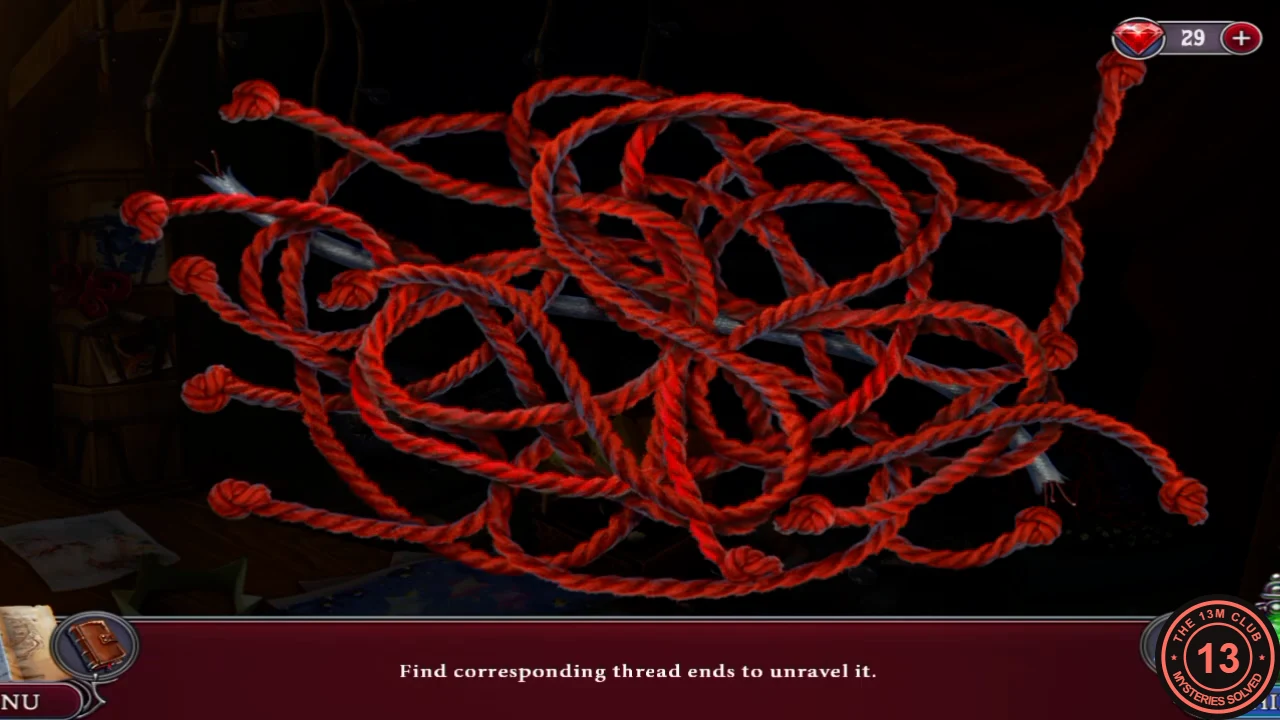
With 2 wires left, a tangle of red thread hides the next one.
- With 2 wires left, tap the open toy box and a tangle of red thread fills the screen. The prompt reads "Find corresponding thread ends to unravel it." Tap a loose end, then the end it belongs to, and that thread unravels. Continue until only the grey wire remains, and take it. Then find the last wire in the stall. You receive the Wires.
ZOO OFFICE
Zoo Office: Telegraph Flow
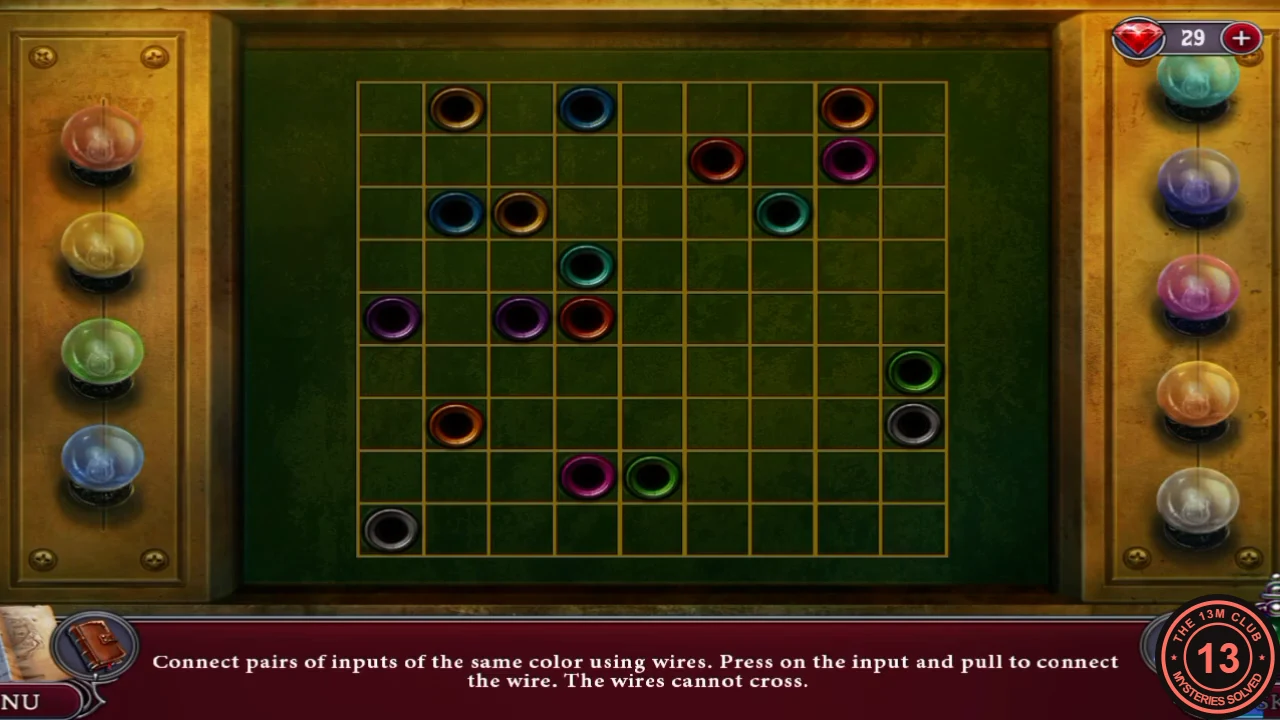
Connect the colour-matched wires so the signal flows.
- At the telegraph, place the sheet of instructions first, because the Wires alone are refused ("I need to think more carefully"). Then fit the Lever from the terrarium crates and add the Wires. The prompt says to connect pairs of inputs of the same colour by pressing an input and pulling the wire, and the wires cannot cross. Use the solved image as your target. The tape prints.
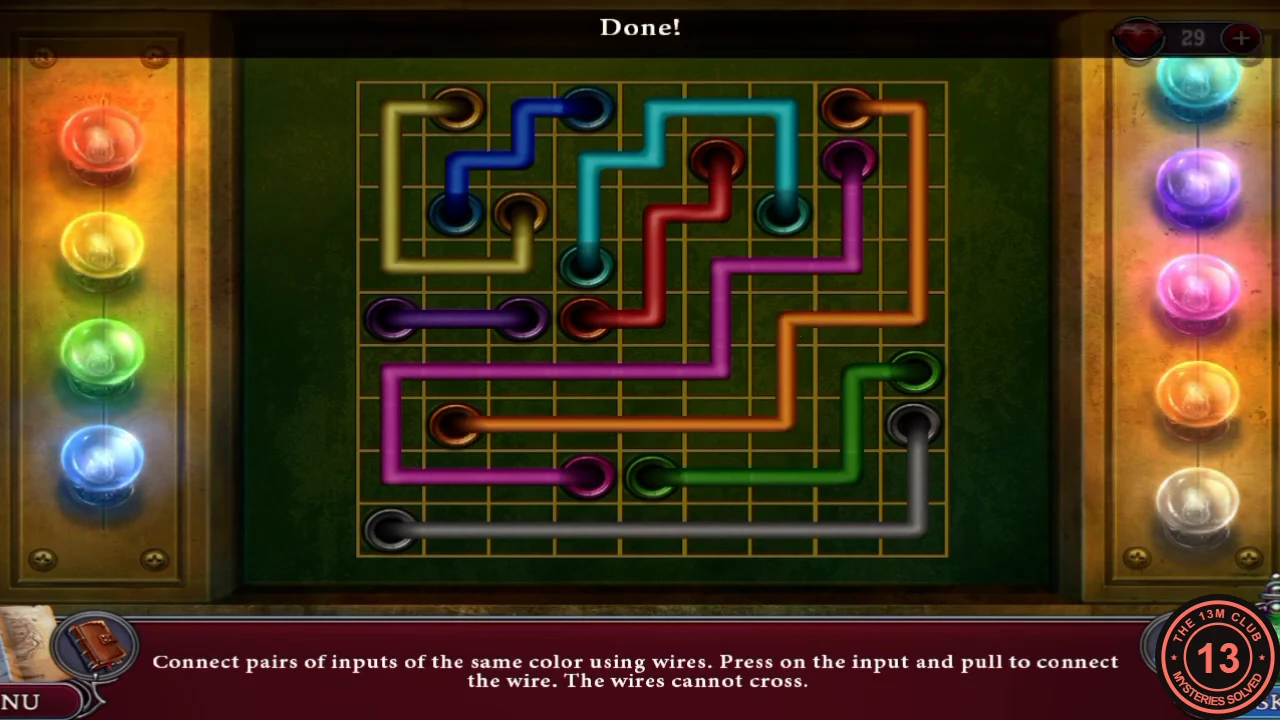
The completed wiring, with no lines crossing.
ZOO OFFICE
Zoo Office: Morse Padlock
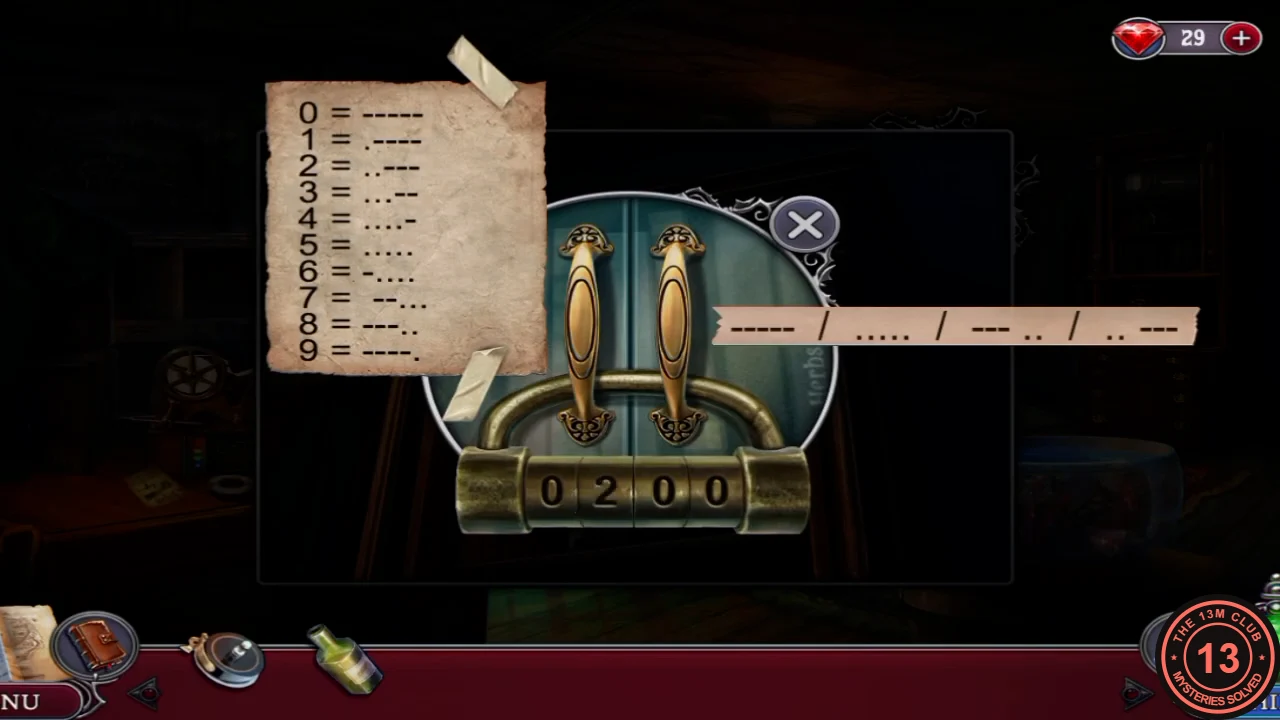
Convert the tape using the Morse sheet.
- Read the tape with the Morse sheet at the left: ----- ..... ---.. ..--- gives 0582. Set the padlock to that code.CODE0582
ZOO OFFICE
Zoo Office: Snake Folder Clues
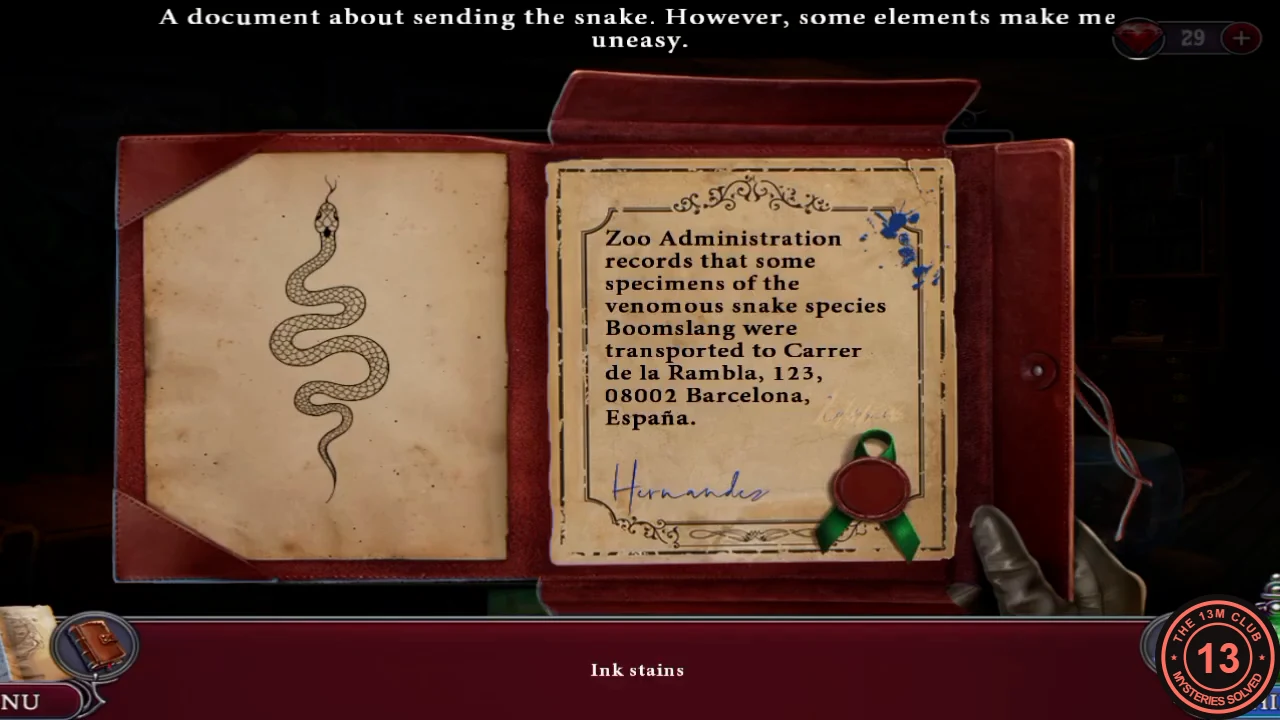
Check the document inside the folder.
- Open the cabinet and the folder and find the clues: Ink stains, Scratched name and Forged sign. The address, Carrer de la Rambla 123, is a forgery.
ZOO OFFICE
Zoo Office: Six Snakes
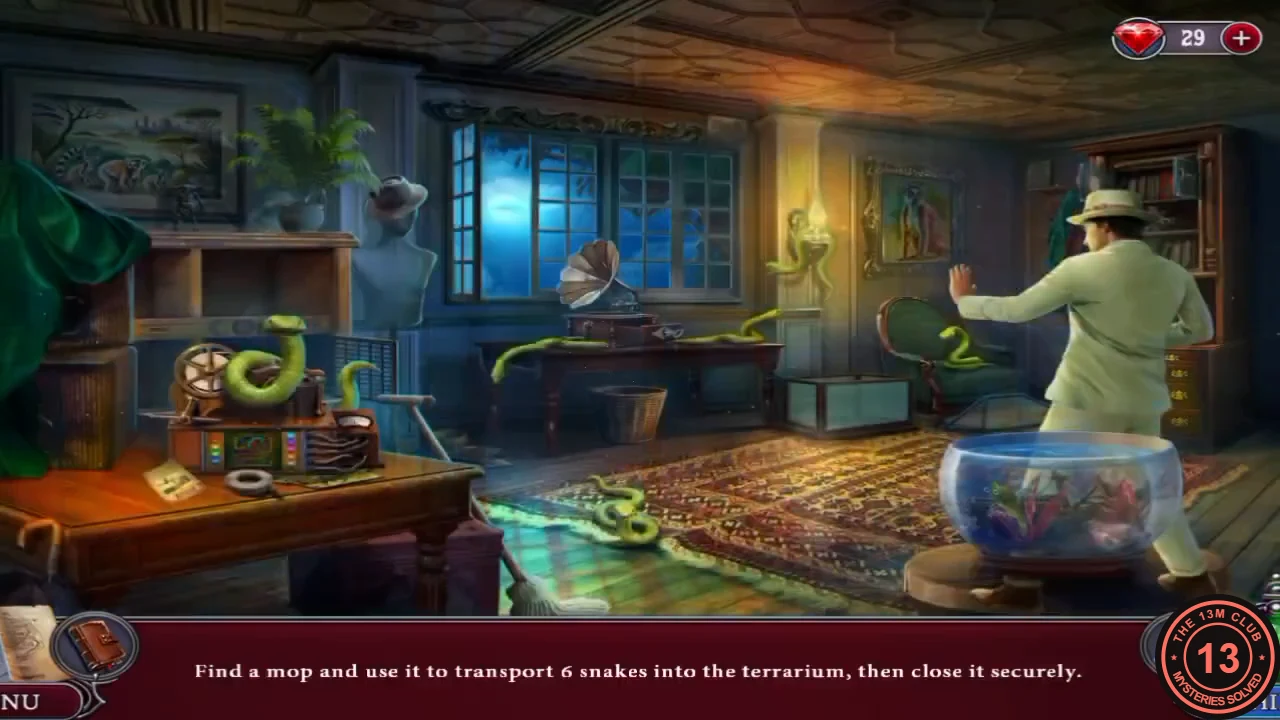
The lights go out and the snakes get loose.
- A noise draws you to Jose, the zookeeper, who apologizes for taking money. The lights go out and snakes get loose, and the task becomes "Get rid of the snakes". Assemble the mop, drag it to each of the six snakes and then to the terrarium, and close the terrarium.
ZOO OFFICE
Zoo Office: Torn Toucan Paper
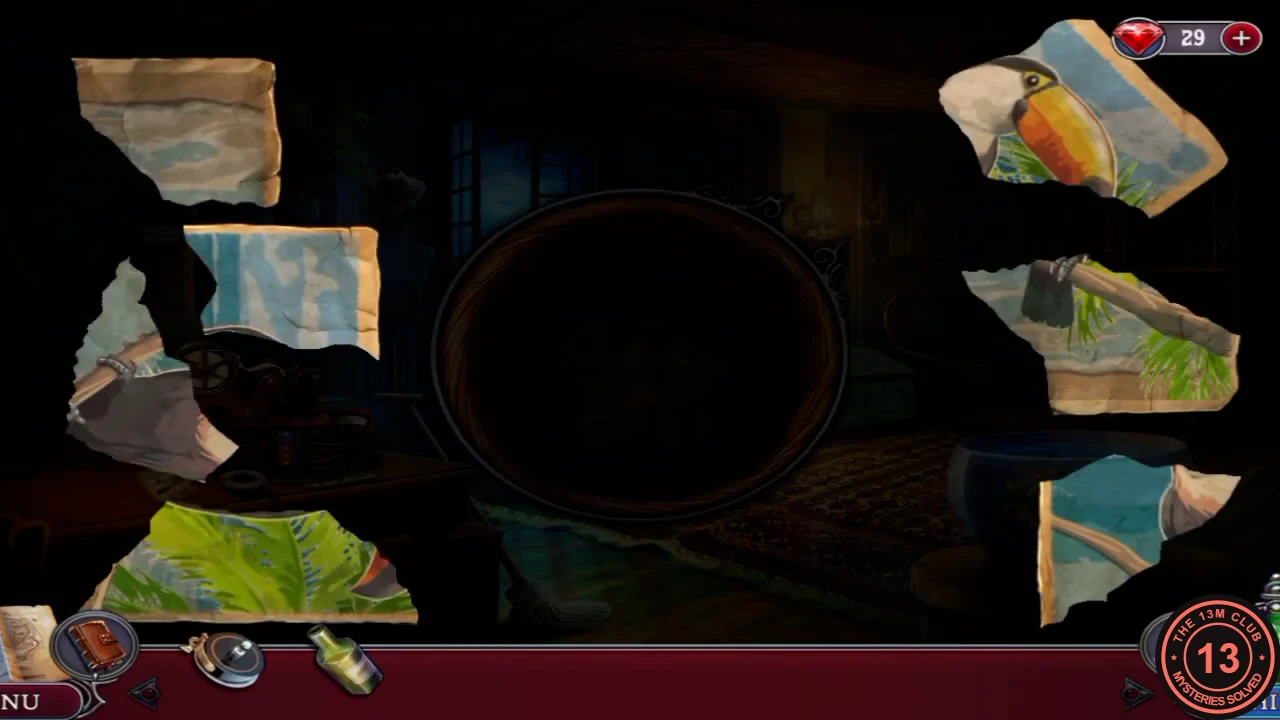
Piece the torn paper together to find the real address.
- The task is "Find out the real address". Under the table, take the torn toucan paper from the trash basket and assemble it. It reads Passeig de la Mare de Deu, 50-62, 08040 Barcelona, and the scene moves to the cemetery.CODEPasseig de la Mare de Deu, 50-62