HOSPITAL ENTRANCE
Hospital Entrance: Bell, Wallet and the Rose Box
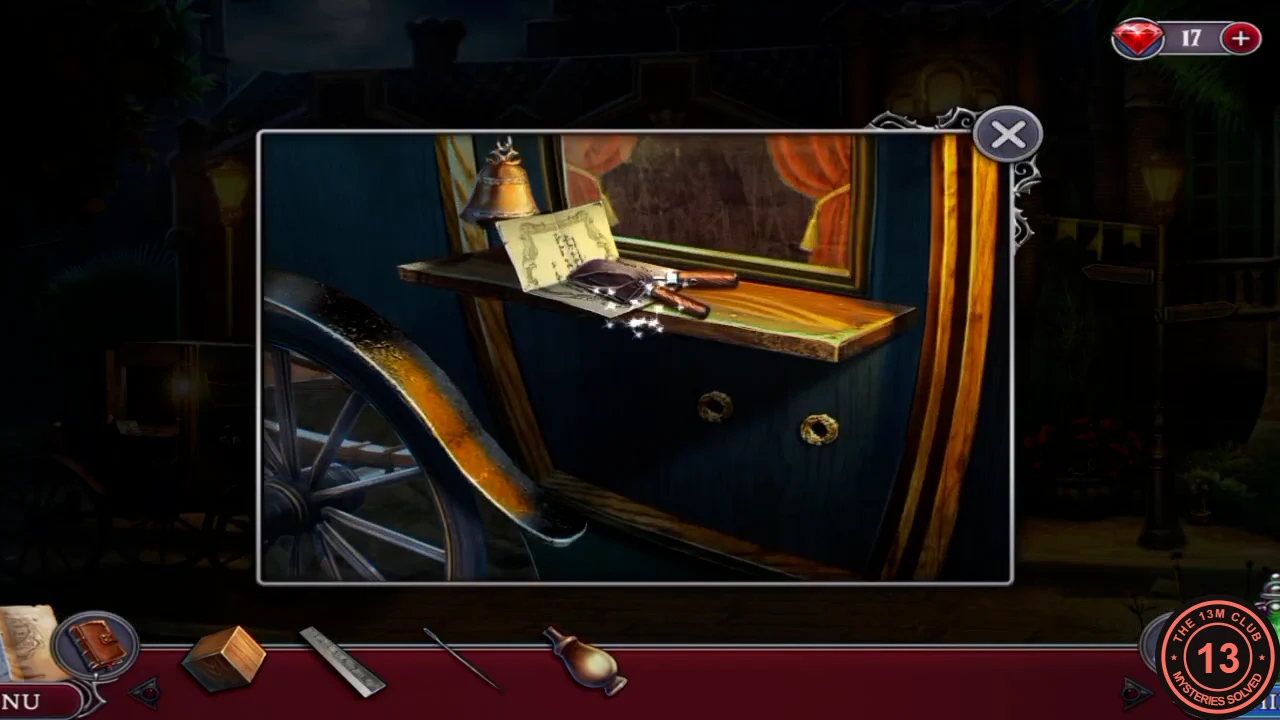
Summon the doctor, then find a way to distract him.
- Optional pickups. Collectibles: the right bottom side of the bench; on the roof, in the middle. Morphing objects: the left side of the roof above the lamp post; the ground right of the right lamp post.
- At the hospital door, read the note on the ledge and take the Bell clapper. Check the wallet on the ledge ("The button is missing."), the strong springs on the hinge and the bracket at the top left ("The bell will hang here."). At the carriage, tap the shelf under the window: take the leather piece, read the staff notice, and take the broken shears and the small tan button. Use the Bell clapper on the bell on the shelf, then take the Bell.
- Fit the button to the wallet on the door ledge, read the papers and take the ribbon. Hang the Bell on the top-left bracket; the doctor comes out and refuses visitors. Take the spring. The task becomes "Distract the duty doctor".
- Fit the spring on the broken shears to make Cutters. At the urn, use the Cutters on the thorny bushes and take the curved handle that appears, then cut again to uncover the box labelled "Sundries" and take the Y frame resting on it. Tap the four butterfly-like corner pieces to attach them, open the box, lift the wrappings, and take the spool and the first harness part (counter 1/3).
HOSPITAL ENTRANCE
Hospital Entrance: Carriage Door and Slingshot
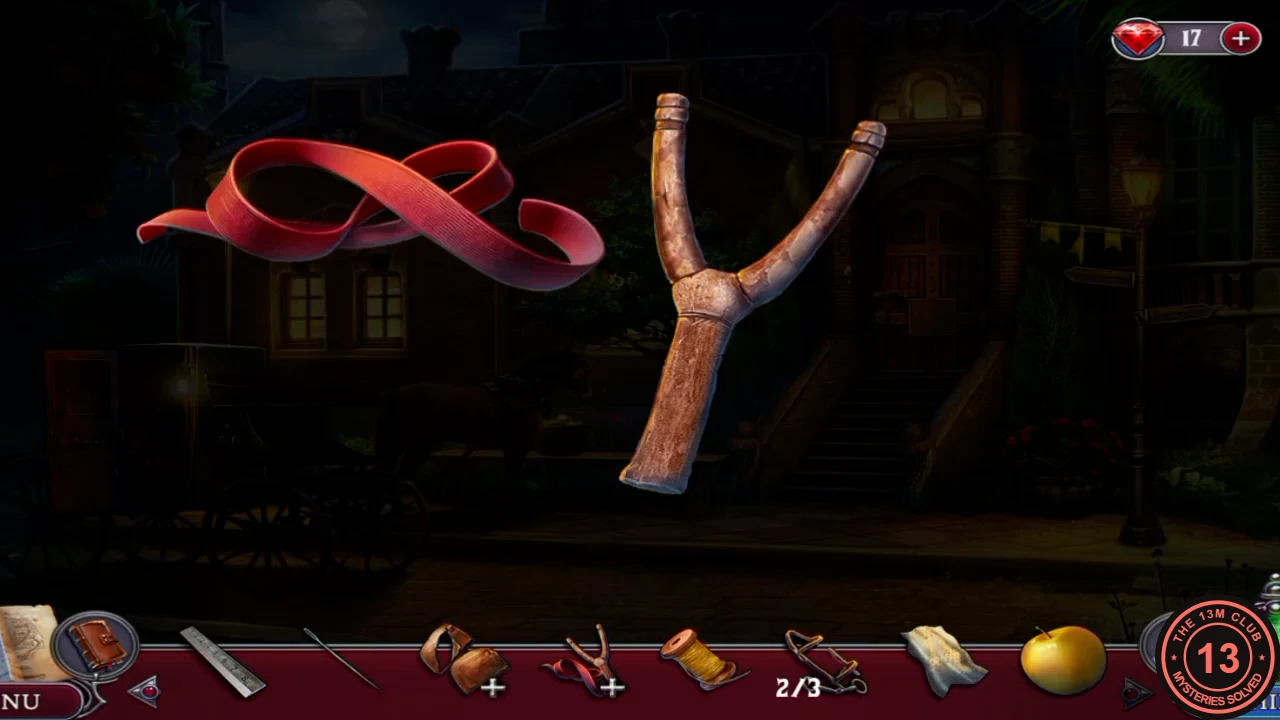
Scare off the horse so that the doctor runs after it.
- Fit the curved handle to the carriage door. The door is still held at its top right corner, so cut that fastening with the Cutters ("Success! Now I can open the carriage."), then open the door. On the seat, take the second harness part (counter 2/3) and the pale Scarf, which you need much later. Then take the torn blinders.
- At the horse, take the golden apple from the basket. Agatha says she should ready the horse, starting with its harness. Open the Y frame in your inventory and add the red ribbon and the apple to make a loaded slingshot.
- Shoot the yellow pennant on the Administration / Main Entrance signpost: "Got it!"
- In your inventory, use the long needle, the spool and the yellow cloth on the torn blinders: "Good as new!" The blinders complete the harness.
HOSPITAL ENTRANCE
Hospital Entrance: Three Tools for the Horse
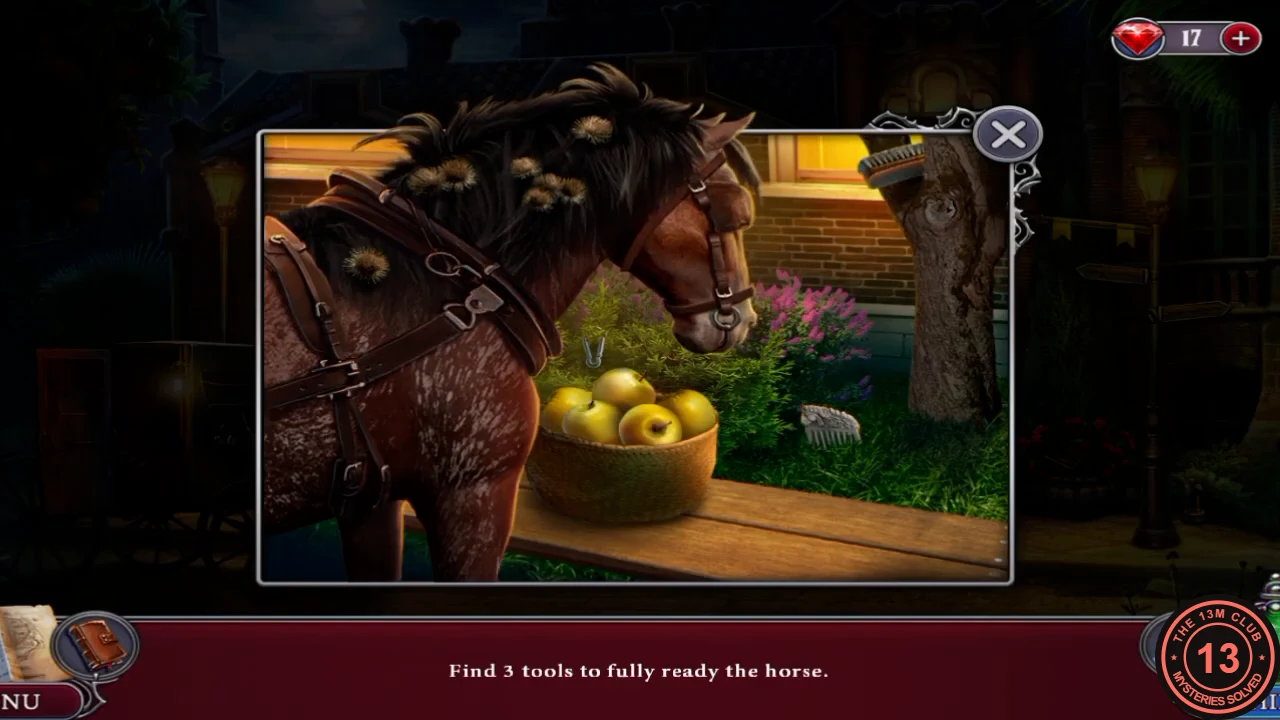
Harness the horse and ready it with three tools.
- Put the harness on the horse. "Find 3 tools to fully ready the horse": the comb is in the plants to the right of the apple basket, the brush is in the tree at the top right, and a small hooked clip is in the bush behind the basket. Comb the burrs out of the mane, brush the coat, and attach the clip to the ring under the horse's muzzle. "There you go, run!" The horse bolts, and the doctor runs after it. "It worked! Now I can enter."
- Note the bag that fell from the carriage by the urn. Its tile lock needs a token.
HOSPITAL LOBBY
Hospital Lobby: First Skeleton Search
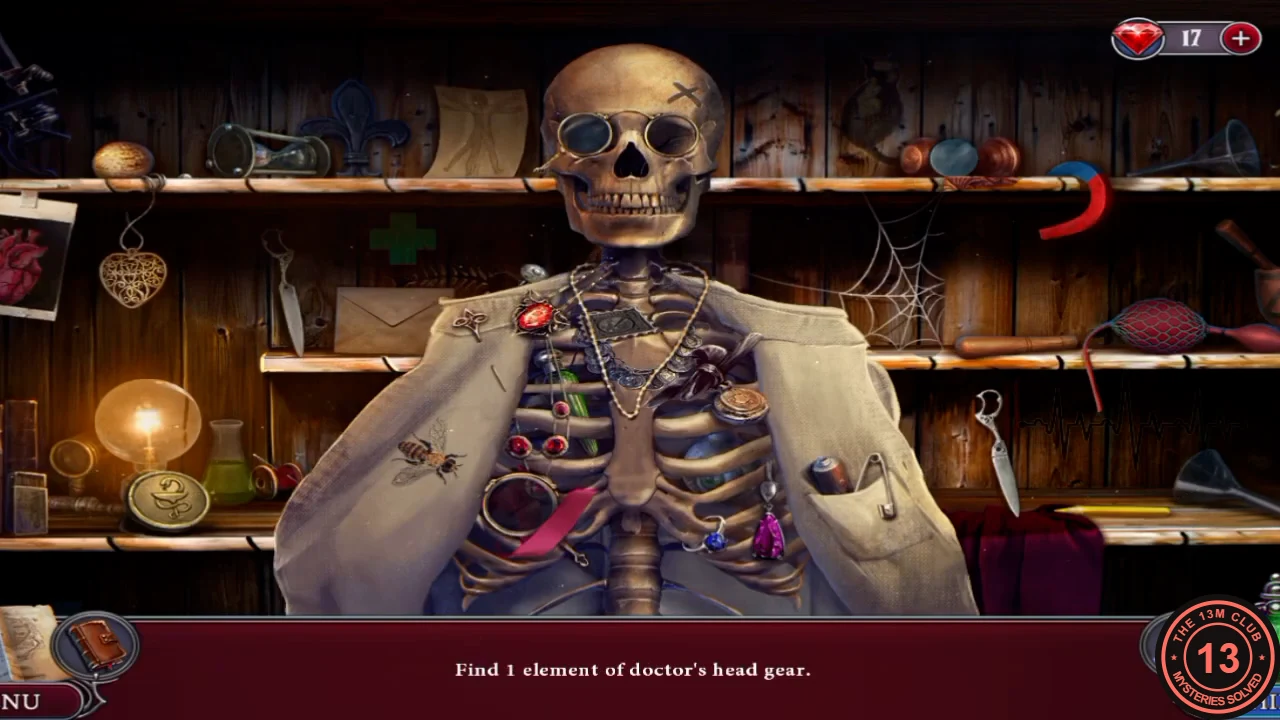
Alicia has blocked the office door, so you have to reach the vent.
- Optional pickups. Collectibles: the wall between two posters; the floor right of the red couch, in front of the small drawer. Morphing objects: the floor by the drawer with medications on top; the shelf left of the poster.
- Enter the lobby. Through the keyhole you see "It's Alicia! She blocked the door!" and find the door locked from the inside. The task becomes "Enter the vent".
- At the cart, take the cane; note that the kit there has a Hygieia symbol. At the sofa, move the cushion and take Wheel 1/3. Something has fallen under the sofa, and the leg needs bracing. Put the wooden Cube from the Secret Room under the broken leg, then use the cane to hook out the small key.
- Open the cabinet padlock with the key for the skeleton search: 3 doctor's instruments (assemble the syringe), 3 medical bottles, 3 elements of head gear and 3 medical symbols. Your reward is a round token.
HOSPITAL LOBBY
Hospital Lobby: Bag Lock Path
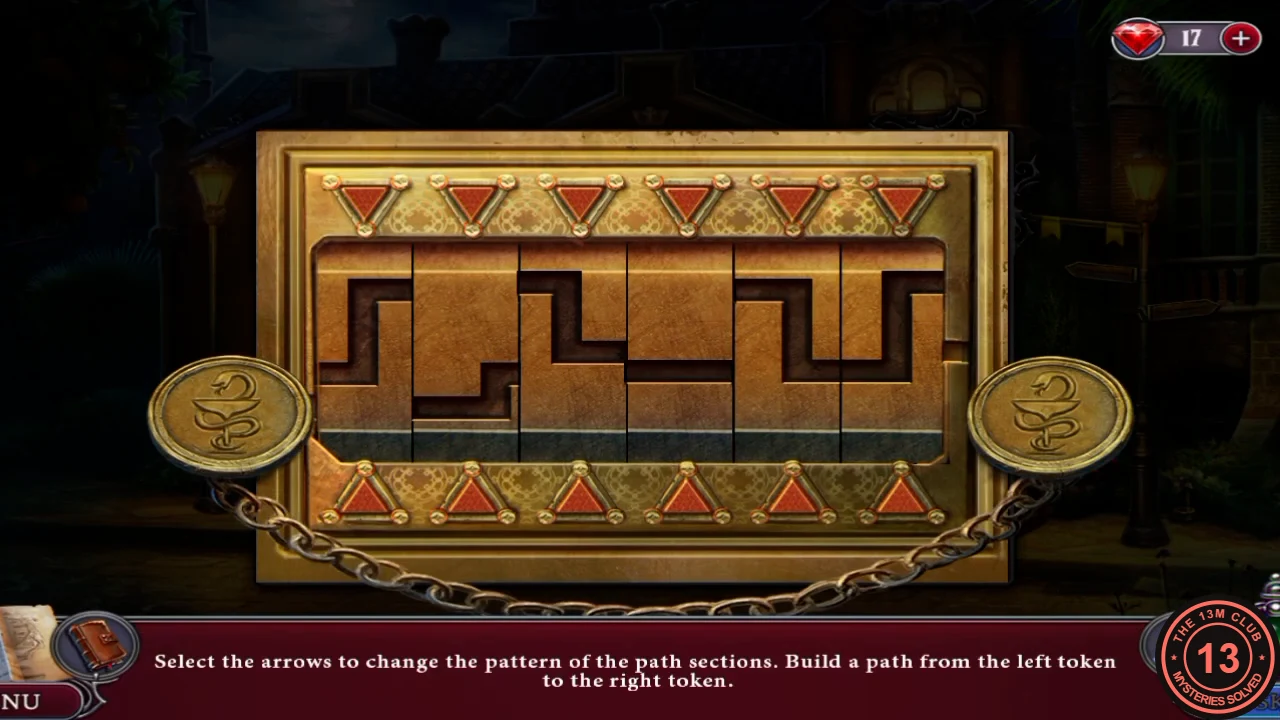
The fallen bag's tile lock needs one continuous path.
- Place the token on the fallen bag's lock. The prompt asks you to change the pattern of the path sections and build a path from the left token to the right token. The red arrows slide the 6 sections; match the solved image and the bag opens.
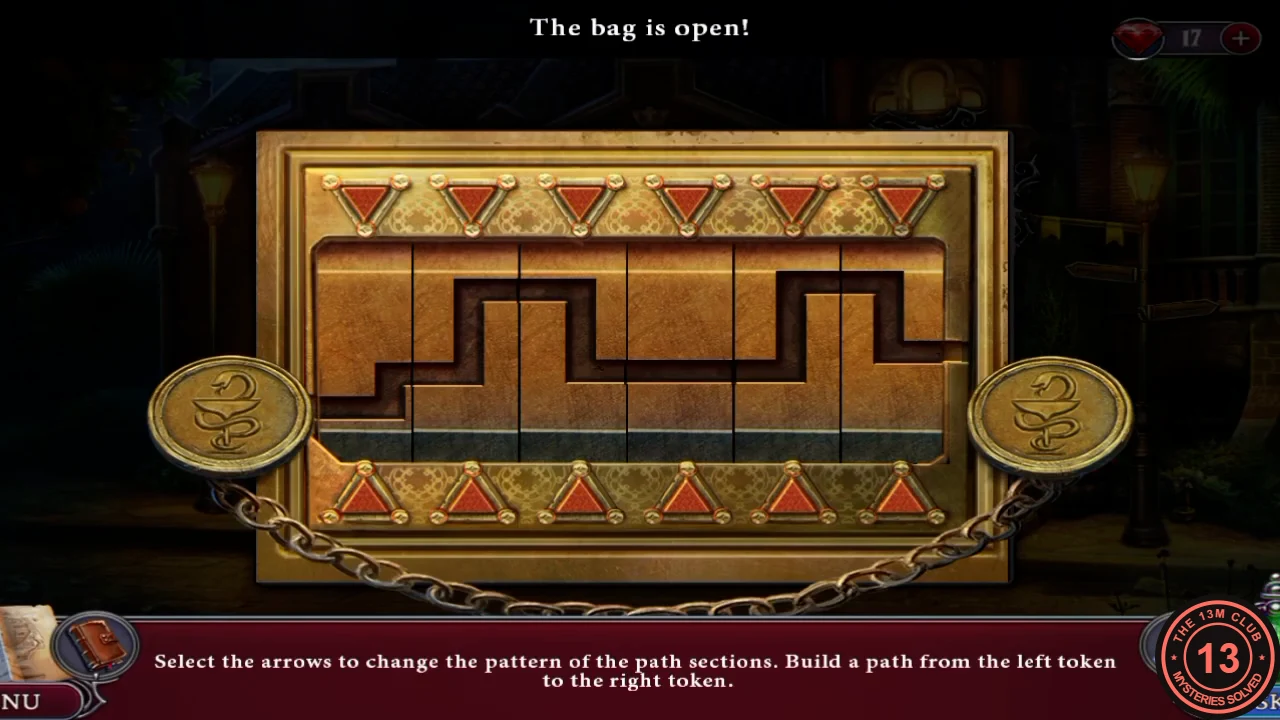
The completed path between the two tokens.
HOSPITAL LOBBY
Hospital Lobby: Second Skeleton Search
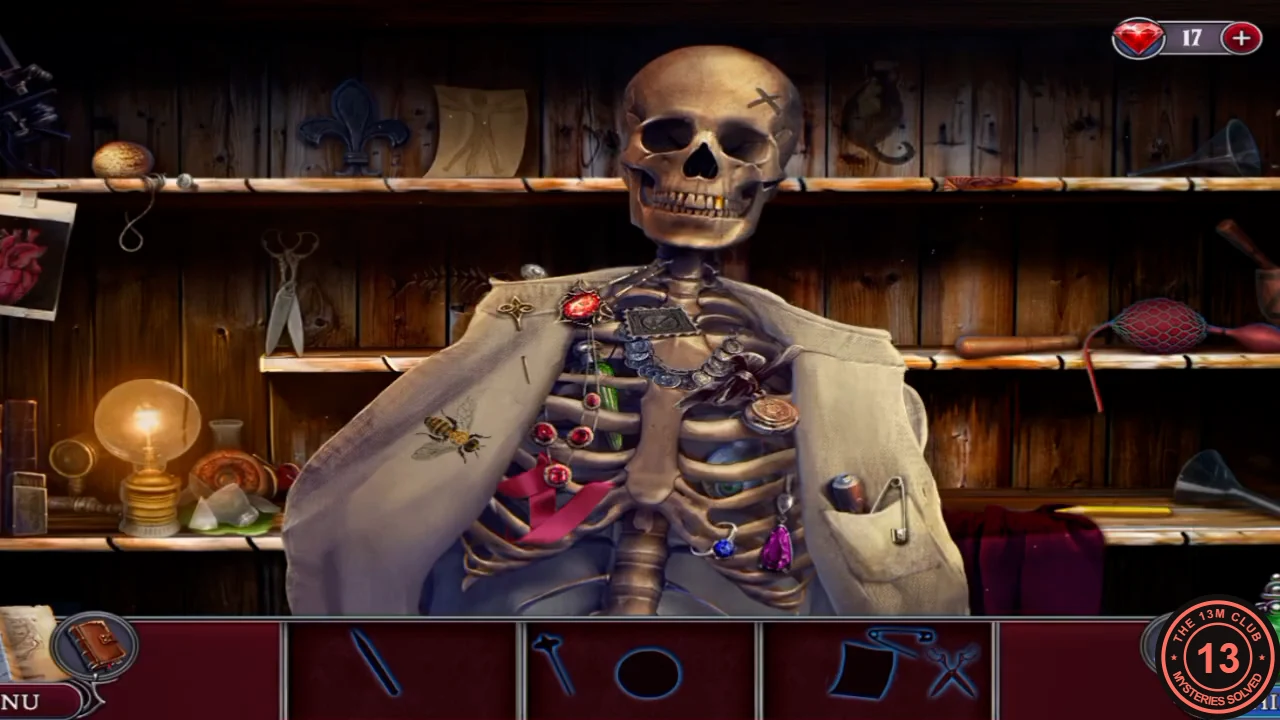
Get the remaining wheels for the stretcher.
- Take Wheel 2/3 and the Sponge from the bag. At the cart, put the Sponge in the dentures and take the thin Dental Pick. At the signpost ("The token is stuck. I need something sharp and thin"), use the pick and take the Medical emblem.
- Open the kit with the Medical emblem and take the Lamp bulb. Open the skeleton cabinet again; the search area is dark, so fit the Lamp to light it and start the second search.
- Work through the tray groups. Remove the glass, liquid and rust, assemble the scissors with the second blade and screw, and use them on the red cloth. Your reward is Wheel 3/3.
HOSPITAL LOBBY
Hospital Lobby: Stacking Under the Vent
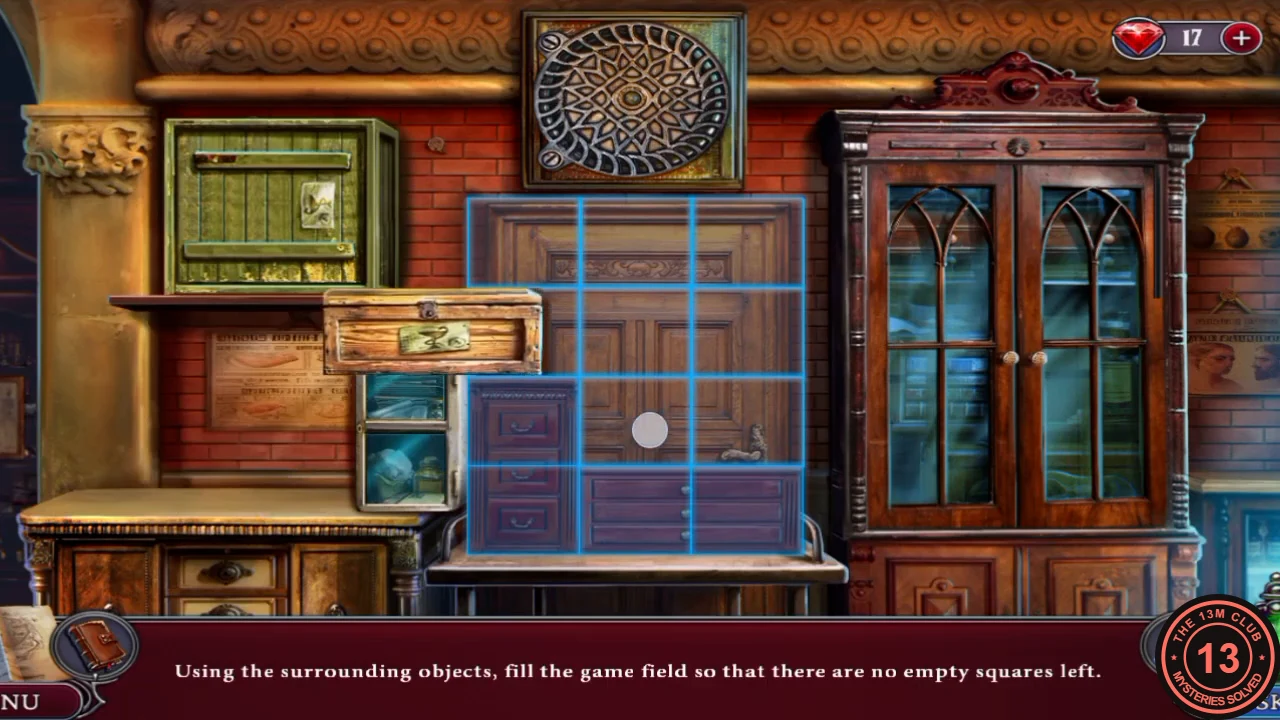
Build a stack of furniture up to the vent.
- Fit the wheels to the stretcher and push it to the door.
- The prompt asks you to fill the game field with the surrounding objects so that no empty squares remain. The grid is 3 wide and 4 tall. The solved layout is: the green cabinet (2 wide, 2 tall) top left; the teal case (1 wide, 2 tall) top right; the red case (2 wide) under the green cabinet, with the books (1 wide) beside it; and the wide drawers (3 wide) on the bottom row. The last pieces are inside the glass cabinet on the right.
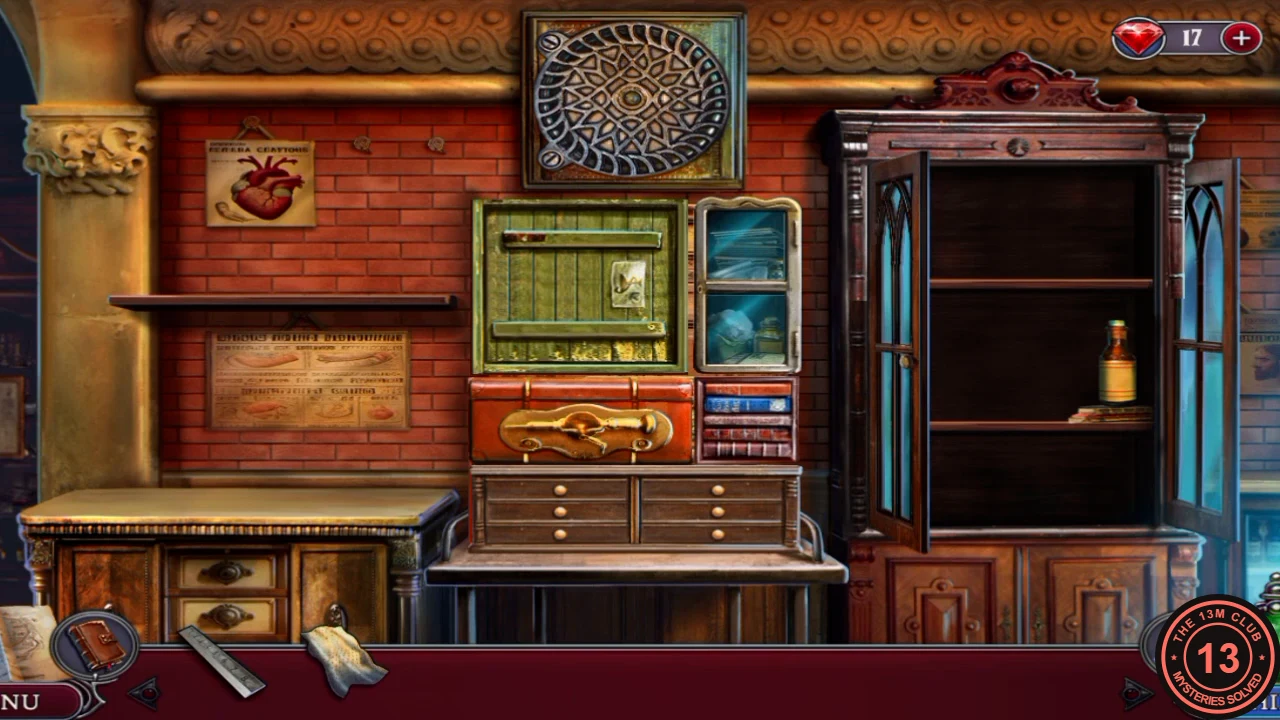
The solved stack, reaching the vent. - Remove the vent grate's fasteners with the metal ruler from the Secret Room projector. The fan is spinning, so throw the Scarf from the carriage into it ("It worked! Now I need to remove the fan"), remove the fan and crawl into the vent.
FINALE
Hospital Office: Coloured Stones and the Choice
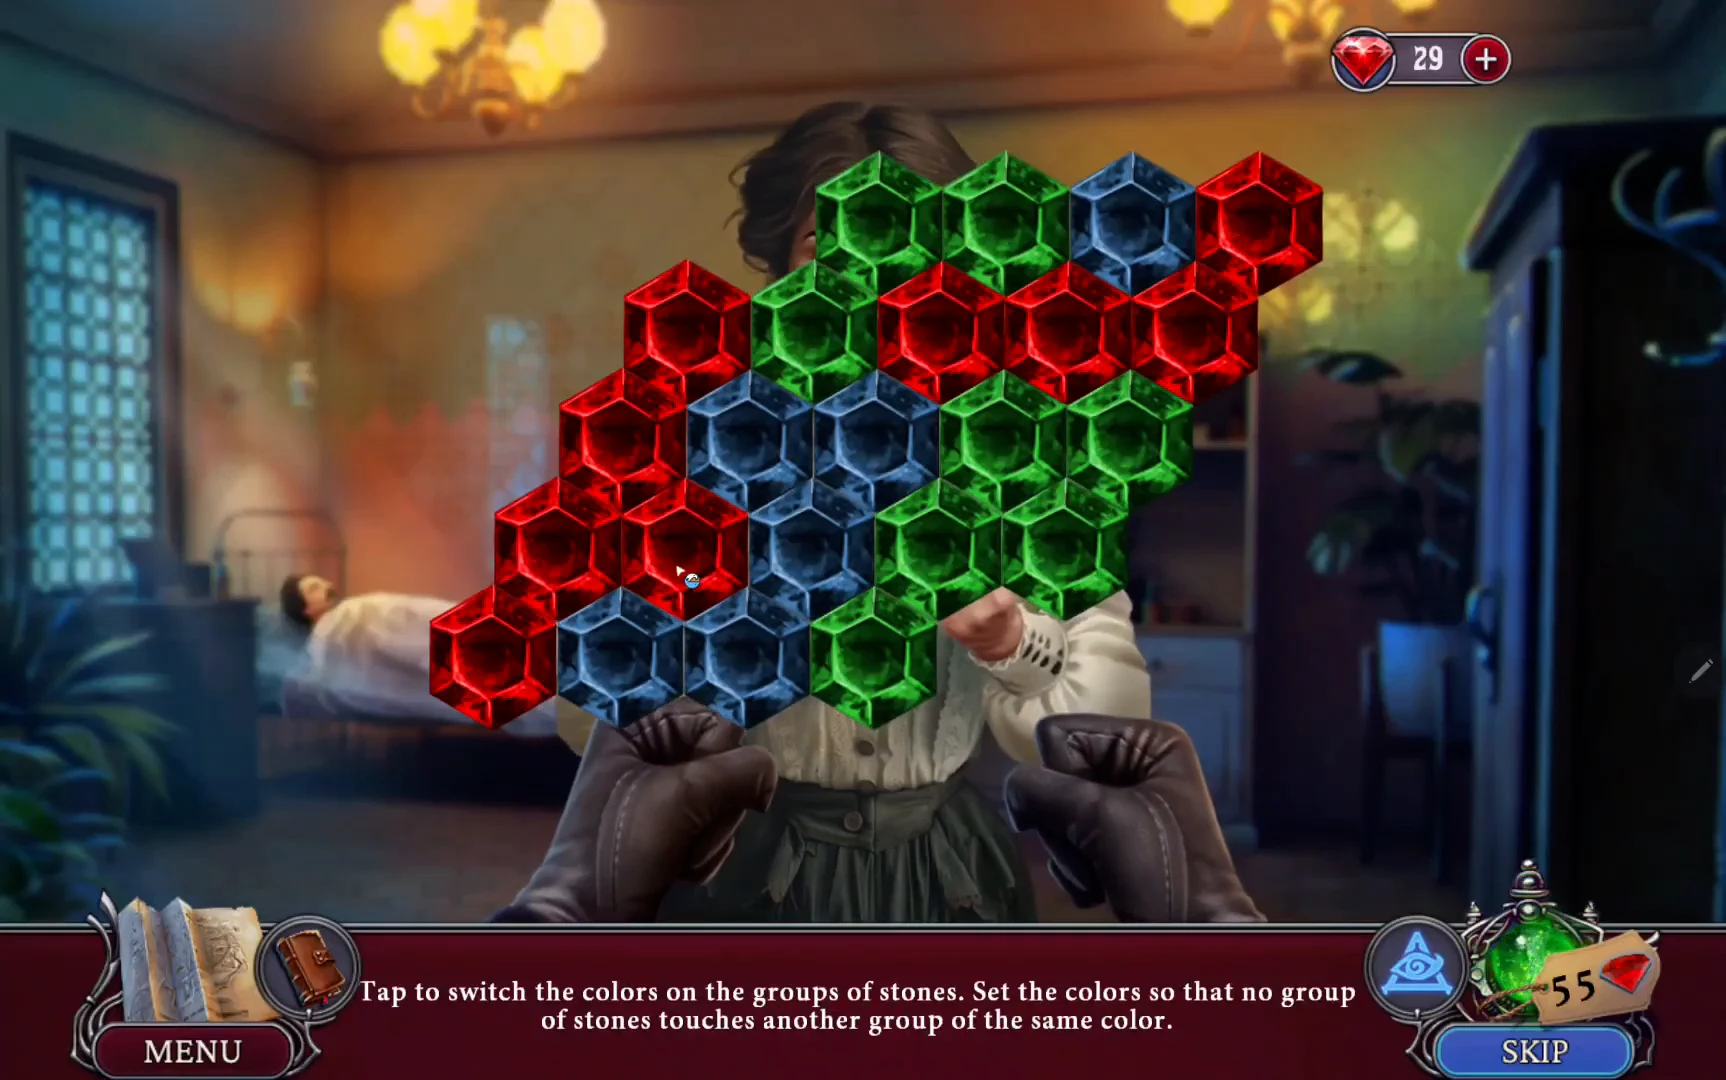
Face Alicia and decide her fate.
- "You again?!" Alicia stands over Riba with a syringe. The prompt reads "Tap to switch the colors on the groups of stones. Set the colors so that no group of stones touches another group of the same color." Each tap moves a group to the next of three colours: red, blue and green. Treat it like colouring a map: settle the group with the most neighbours first, then work outward and change any two touching groups that match.
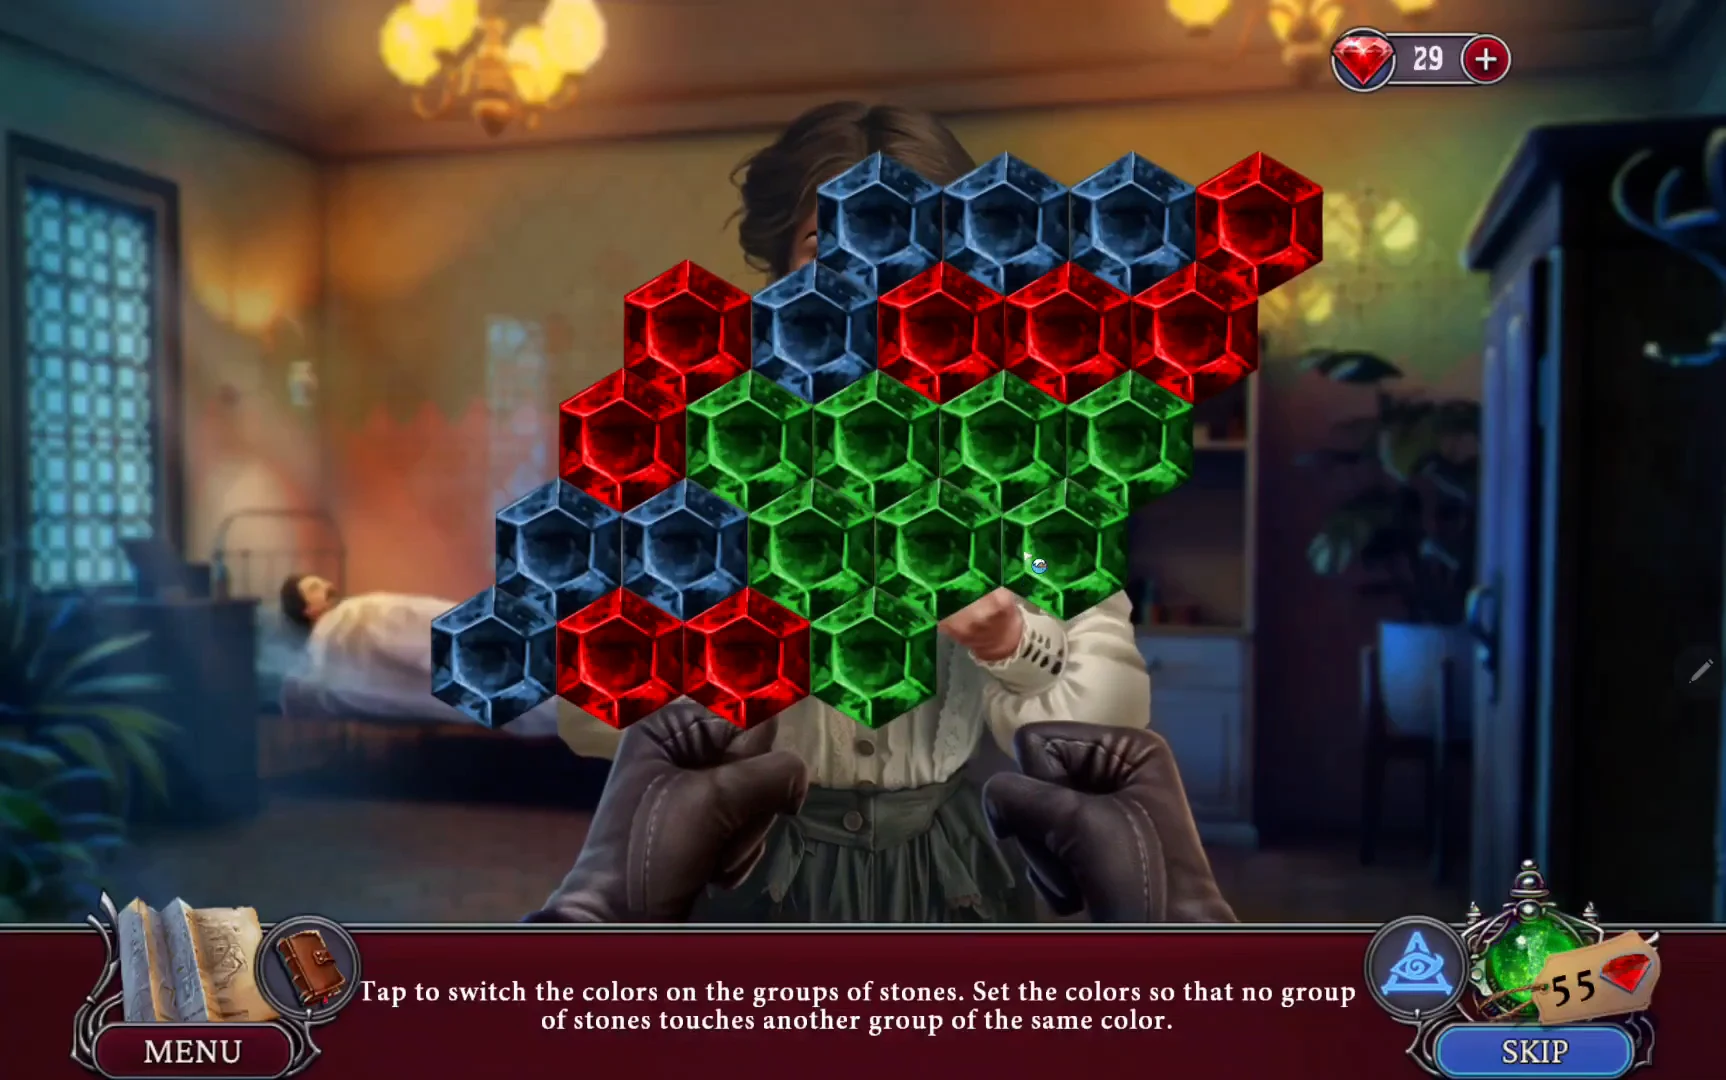
One accepted colouring, shown as an example; other colourings may also work. - After the dialogue the game asks "FORGIVE ALICIA?" with NO and YES. Either way Agatha answers "Revenge has clouded your mind, Alicia. Look at how many innocent people have suffered. Killing is not the answer. Antoni will face a fair trial." The syringe falls and the police arrive. The answer changes Alicia's fate in the epilogue, described in the next section.
ENDING
Ending and Unlocking the Bonus Chapter
The epilogue wraps up the case and unlocks the Bonus Chapter. Your answer to "Forgive Alicia?" changes one newspaper page, and the rest of the ending is the same.
- If you answered YES, the first newspaper page says Alicia confessed and admitted her mistakes, so the judge gave her a chance with a probationary period and community service. The following pages report that Riba survived but was ruined when his thefts and forgeries became public, that Senora Costa offered Carlos a long-term partnership for her hotels, and that a promising young architect took over Riba's role in the construction and exhibition.
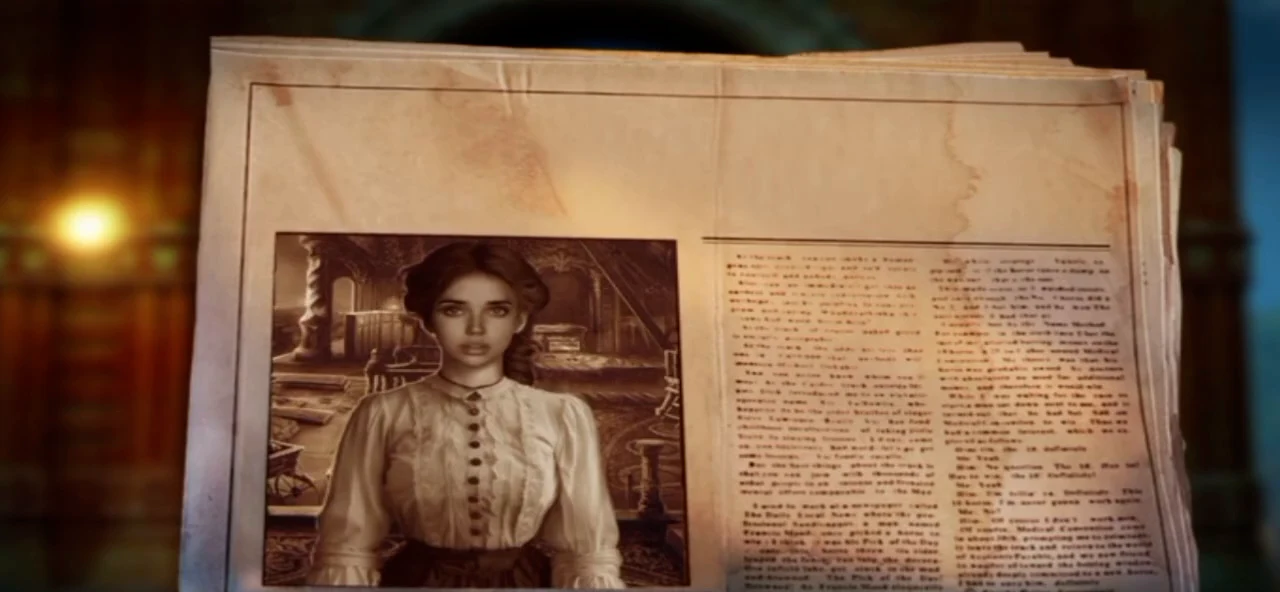
The YES newspaper page: Alicia gets probation and community service. - If you answered NO, the first page instead shows Alicia behind bars: "I feel sorry for Alicia. Life must have been hard without her mother, but she had to answer for her crimes." The Riba, Costa and architect pages are the same, and the story closes with "Another case closed. But I can't rest for long. Another adventure is always around the corner!"
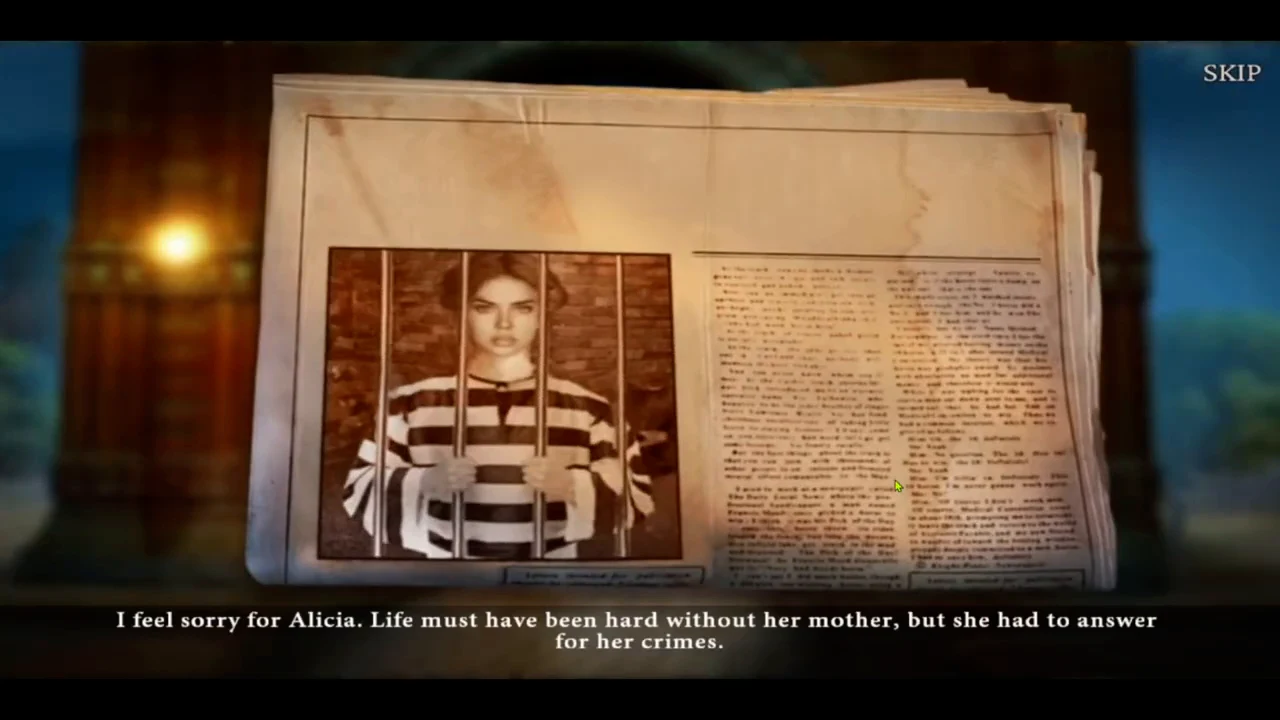
The NO newspaper page: Alicia behind bars. - The game returns to the title screen. Pressing PLAY now shows the chapter dialog with OK active beside Bonus Chapter. That access was seen after a YES ending; the NO playthrough available for this guide stops at the title screen. The Bonus Chapter is reported to be a paid extra, but no price or purchase screen could be confirmed, so check the in-game prompt.
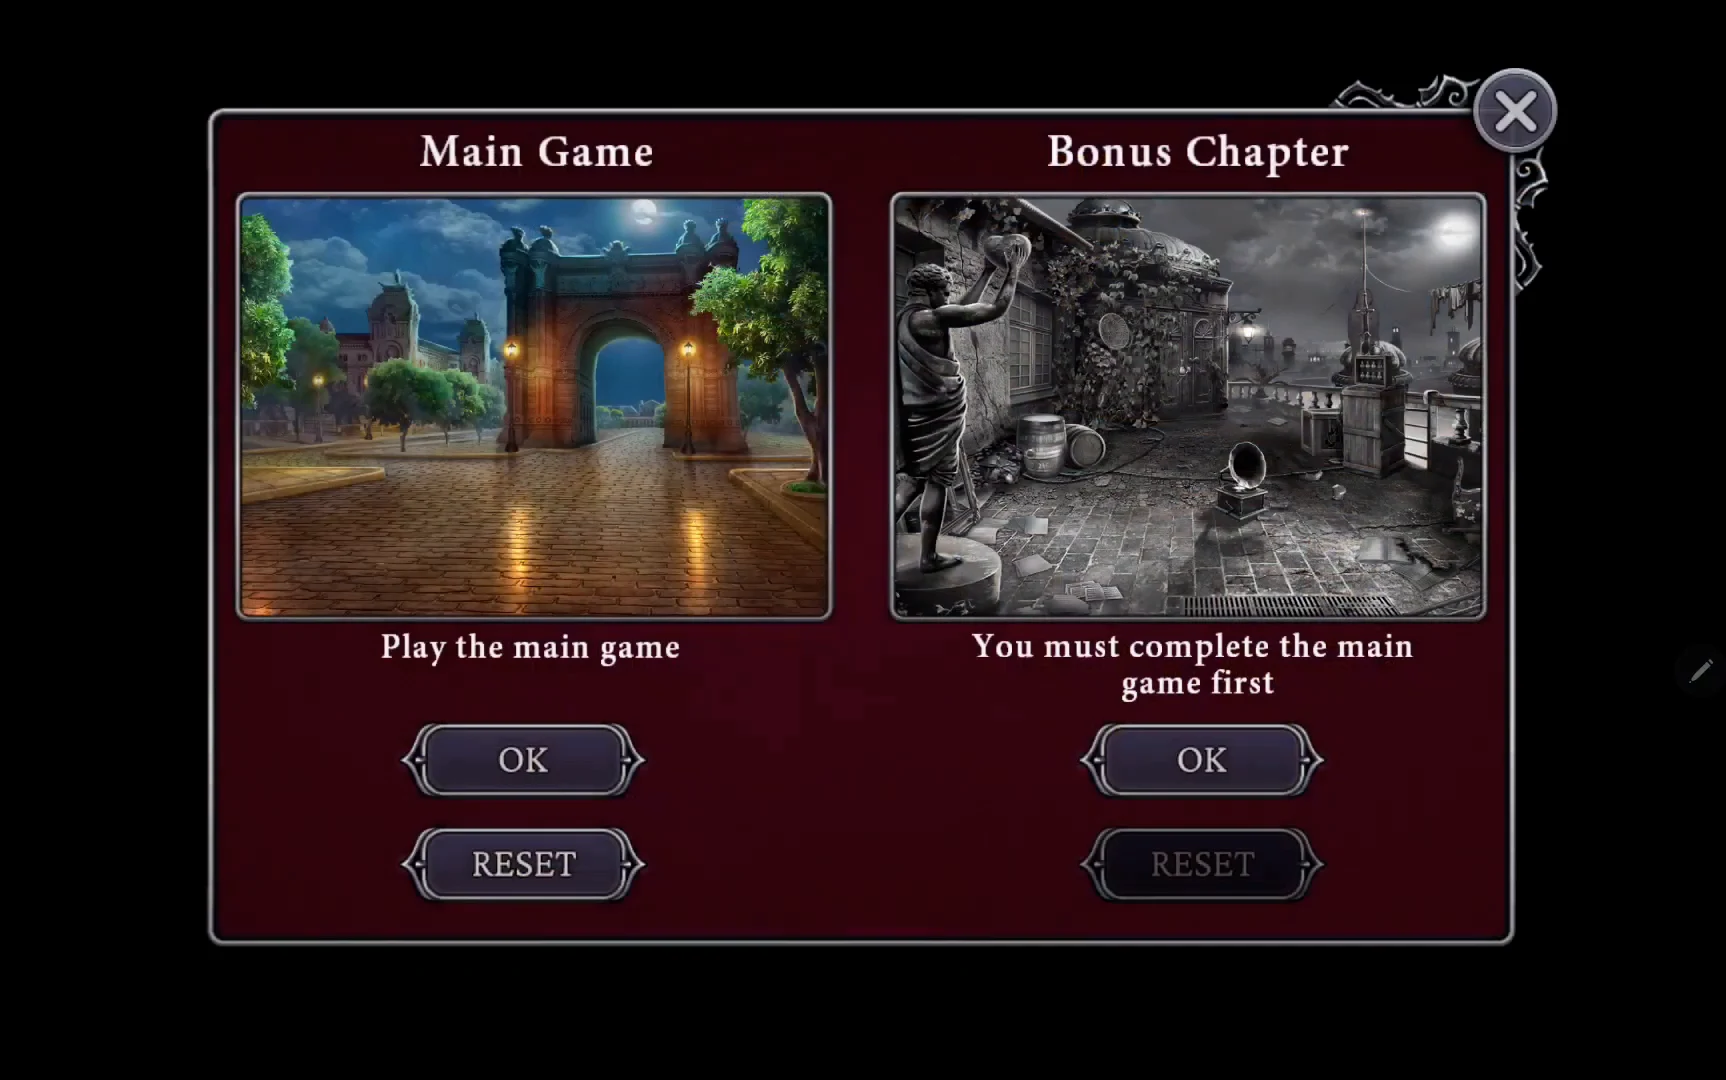
After the ending: OK under Bonus Chapter is active, even though the card keeps its old text.