Mimi's Garden: The Lamp and the Cats
The backyard is where the trap goes. Mavis says, "And here is the place for the trap!"
- In the garden, open the stump close-up with the wooden block and take the Stapler from the shrub.
- Open the leaf pile close-up, then the blue pump on it. Take the Pump. The leaves stay put for now.
- Open the red lawn mower close-up and take the Kerosene wedged by the rock. The lever is missing.
- Open the lamp in your inventory and add the Kerosene. The lamp lights.
- Open the wall hook close-up behind the hydrangeas and hang the lit Lamp. The flower wall lights up. Clear the scene: find all the roses. You get the Wood Carving Knife.
- Open the stump close-up and carve the wooden block with the Wood Carving Knife. Take the Cat Figurine.
- Inside, open the cat tower close-up and put the Cat Figurine on the small stand. A tray of toys opens. Take the pink feather.
- Open the sofa close-up and add the pink feather to the green feather on the quilt. You get the Cat Toy.
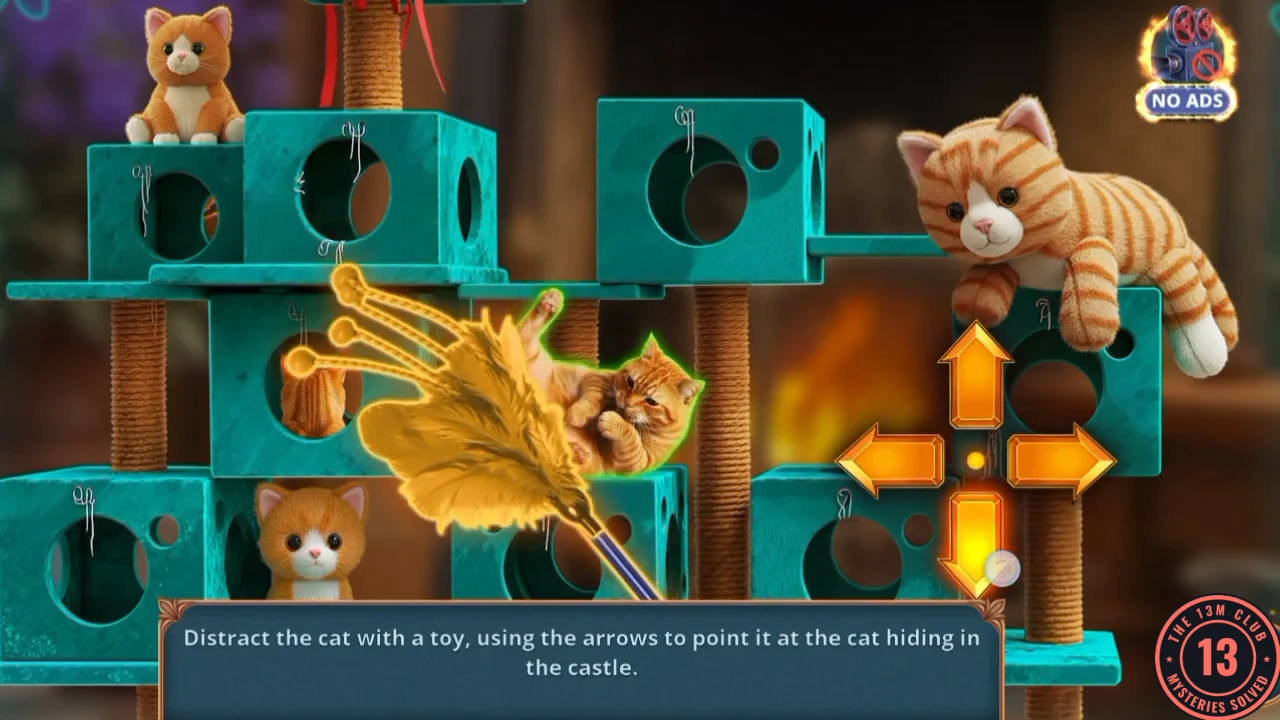
- Use the Cat Toy on the cat tower to start the puzzle. Use the arrows to steer the toy to each real cat hiding in the castle. Each cat you reach gets a green outline and stays out. The plush cat at the top right and the kitten at the bottom don't count. When every real cat is outlined, the puzzle ends. Take the second Thick Pillow (2/3) and the Stone Part.
Mimi's Garden: Mower, Leaves and Ratchet
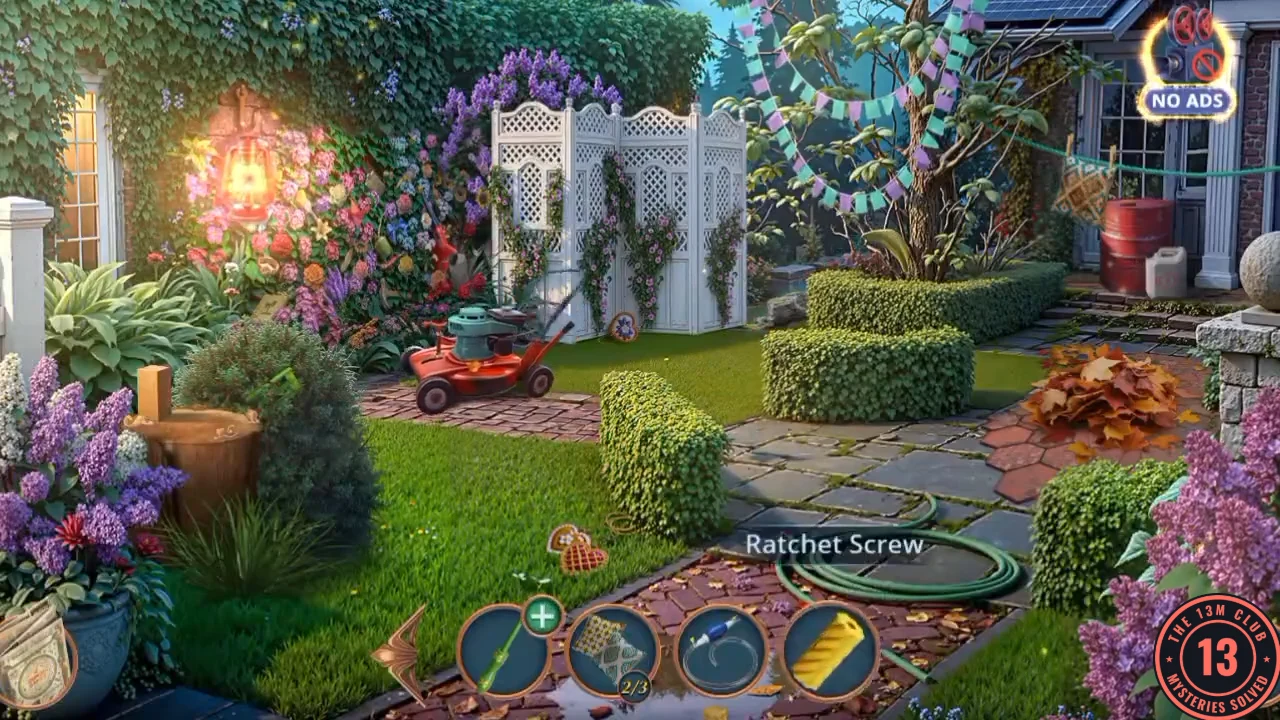
Get the mower going, clear the leaves and make the noise that sends the crow packing.
- Open the birdbath close-up and fit the Stone Part. Take the Umbrella Handle.
- Open the mower close-up. Fit the Umbrella Handle as the missing lever and fix it with the Stapler. The mower drives across the lawn. Take the Ratchet Screw.
- The flower wall sparkles again. Clear the riddle scene ("I'm full of holes, but I can hold water.", "I'm made from a ribbon, shaped with two loops..." and so on). You get the Leaf Blower.
- Use the Leaf Blower on the leaf pile. Take the Funnel and the Glove underneath.
- Open the shrub close-up at the stump and reach in with the Glove. Take the Ratchet Part. Tap the swirl that appears and finish the memory of Mimi arranging the pillows.
- Open the Ratchet Base in your inventory. Put in the Ratchet Part and the yellow Ratchet Screw to make the Ratchet. Mavis says, "Let's make it loud now!"
- Open Mimi's blue mailbox close-up and use the Ratchet to scare off the crow. Open the mailbox, read the note and take the Beater.
Mimi's Garden: Pillows and Oil
The red barrel holds the slipperiest liquid in the world, and the sofa needs its decoy.
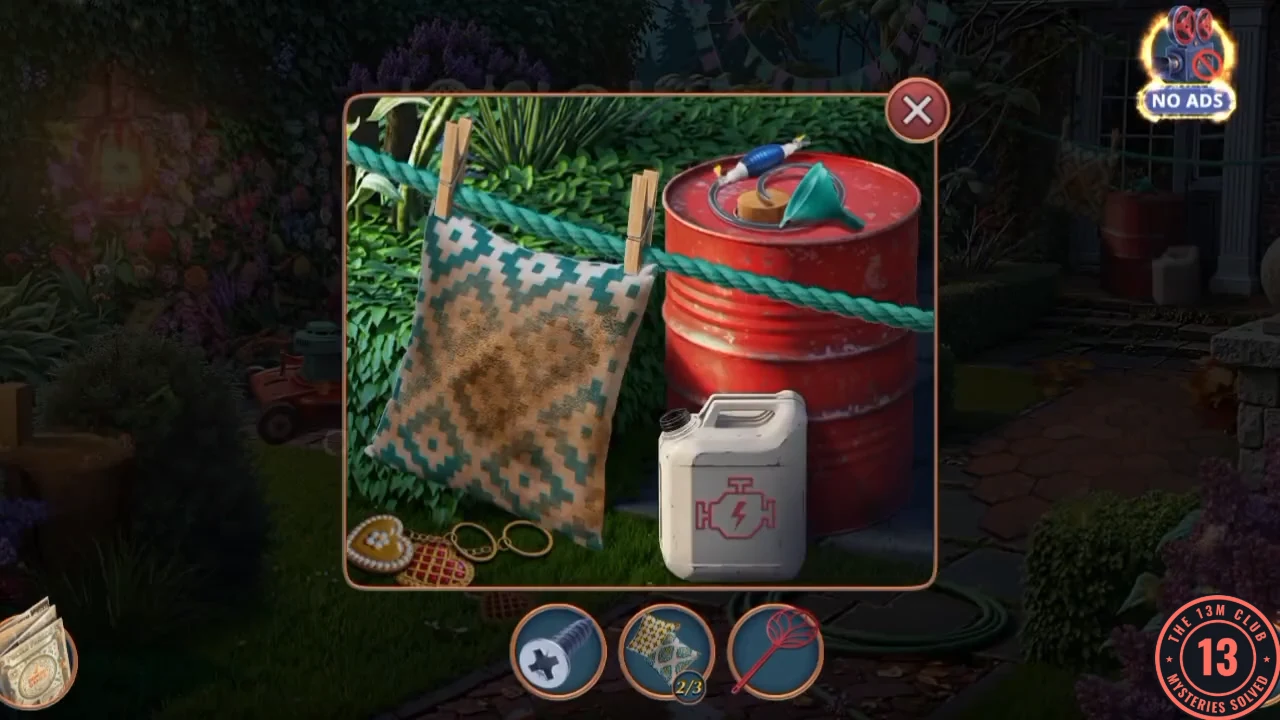
- In the garden, open the red barrel close-up. It has three slots. Fit the Funnel and the Pump. The cork still blocks it.
- Open the clothesline close-up ("How dusty!") and beat the pillow with the Beater. Take the third Thick Pillow (3/3).
- Open the sofa close-up and place the three Thick Pillows. You earn the trap achievement and find a note saying the corkscrew was lost in the yarn for the carpet.
- The tapestry sparkles again ("I need to look at it again"). Clear the picture scene in its 3 stages. You get the Corkscrew.
- Open the red barrel close-up and pull the cork with the Corkscrew. The Pump draws the oil through the Funnel into the white canister. Take the canister.
- Open the paving close-up and pour the canister on it ("It's time to pour oil on everything here"). The final puzzle starts.
Final Puzzle: Catch John O'Brien
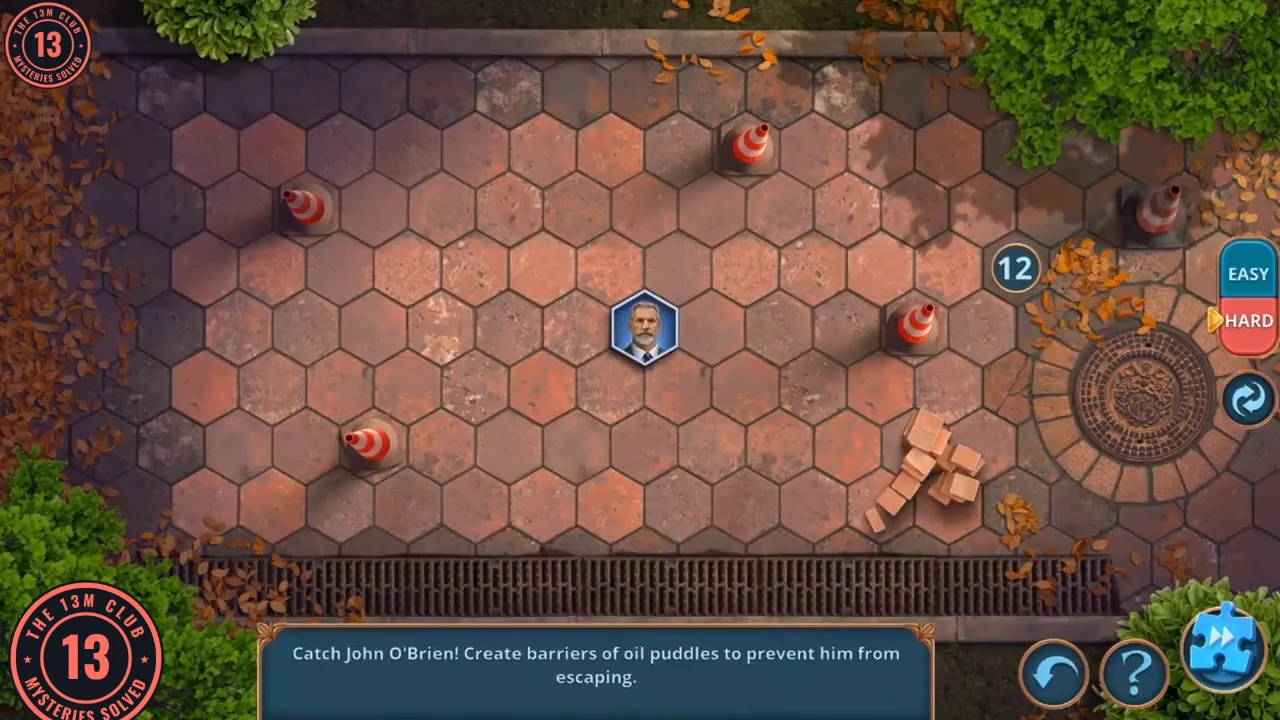
This is the last puzzle of the game. Create barriers of oil puddles to stop John O'Brien escaping across the hex paving. Tap a free hex to place one puddle, and he then steps to a neighbouring hex. You win when all six hexes around him are blocked. Cones and bricks block him too. HARD gives you 12 puddles and shows a counter; EASY has no counter. The EASY and HARD buttons are on the right, with undo and restart below them. A skip button sits at the bottom right.
- On EASY, no puddle limit is shown. Keep placing puddles on the side he is heading towards and you will close the ring.
- On HARD, don't chase him. Build a wide fence first, two or three hexes away, on the side nearest the edge he is heading for, and use the cones and bricks as part of it. Save the puddles right next to him for the final ring. If you run out, press restart and try again. Several tries are normal on HARD, and clean wins are possible.
- Here is one HARD win, in placement order, with O'Brien starting at the centre of the board. Puddle 1: the hex directly to his right. Puddles 2 to 5: four hexes side by side along the third row below him. Puddle 6: two hexes to the right of puddle 1. Puddle 7: just below and to the right of the right-hand cone. Puddle 8: between puddles 1 and 6. Puddle 9: the hex to the lower right of his starting hex. Puddle 10: the hex to the lower left of puddle 9. Puddle 11: two hexes to the right of puddle 10, which leaves one free hex between them. Puddle 12: the hex above and to the right of that free hex. He finished on that free hex, two rows below his starting row, ringed by puddles 2, 4, 9, 10, 11 and 12. He reacts to each puddle, and another HARD win fenced off the lower rows first, so use this as a pattern and not a fixed list.
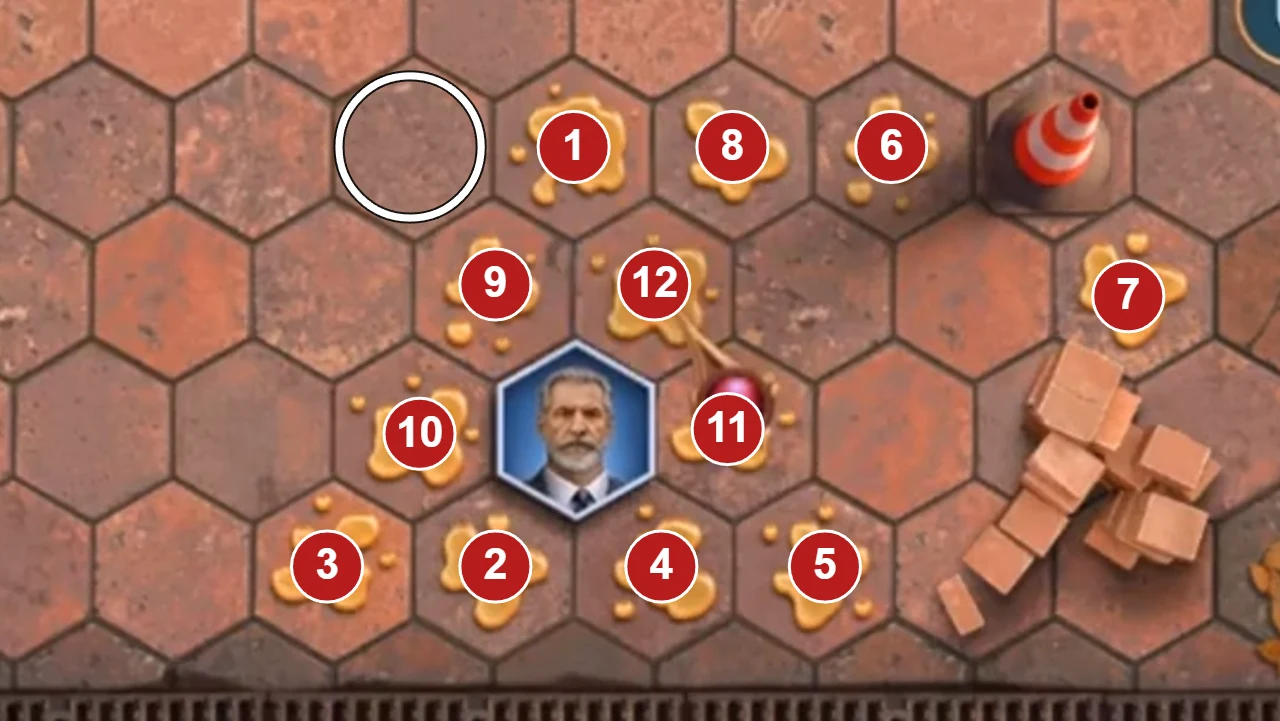
The finished HARD example. Numbers show the placing order and the white circle marks where he started.
The Ending and the Credits
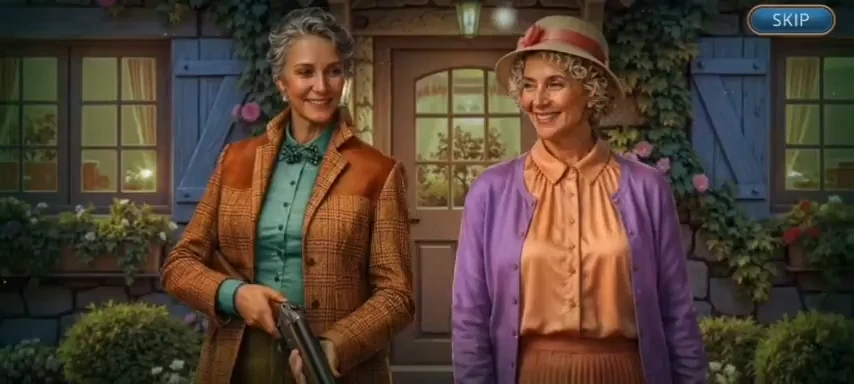
We found one ending. Your decision score sets the result card shown before it, and low and high scores both led to the same closing scene.
- The last Your Decision Points screen appears, out of 13: Calm Arthur down 1, Suggest Mimi go to the pub 6, Explain delicately 1, Try not to scare Mimi 4, Praise Mimi 1. The cards light up at 0, 4 or 10 points.
- The ending plays, with a SKIP button at the top right. Mimi and Marcus lie in wait with a shotgun. O'Brien picks the door lock and stabs the decoy pillows on the sofa. He runs across the garden, slips on the oil and gets handcuffed. Mimi thanks you, and Mavis decides a boring, steady life is a wonderful thing.
- The game congratulates you for completing it and the credits roll over the gazebo garden. The capture scene didn't appear in every recording we checked. The two that used the skip button on the final puzzle went from Your Decision Points straight to this screen. One HARD win showed a SKIP overlay on the board and then went to the credits as well. So we can't say that skipping the puzzle is what removes the scene. We saw no post-game chapter or menu after the credits.