CHAPTER 1
The Square at Night
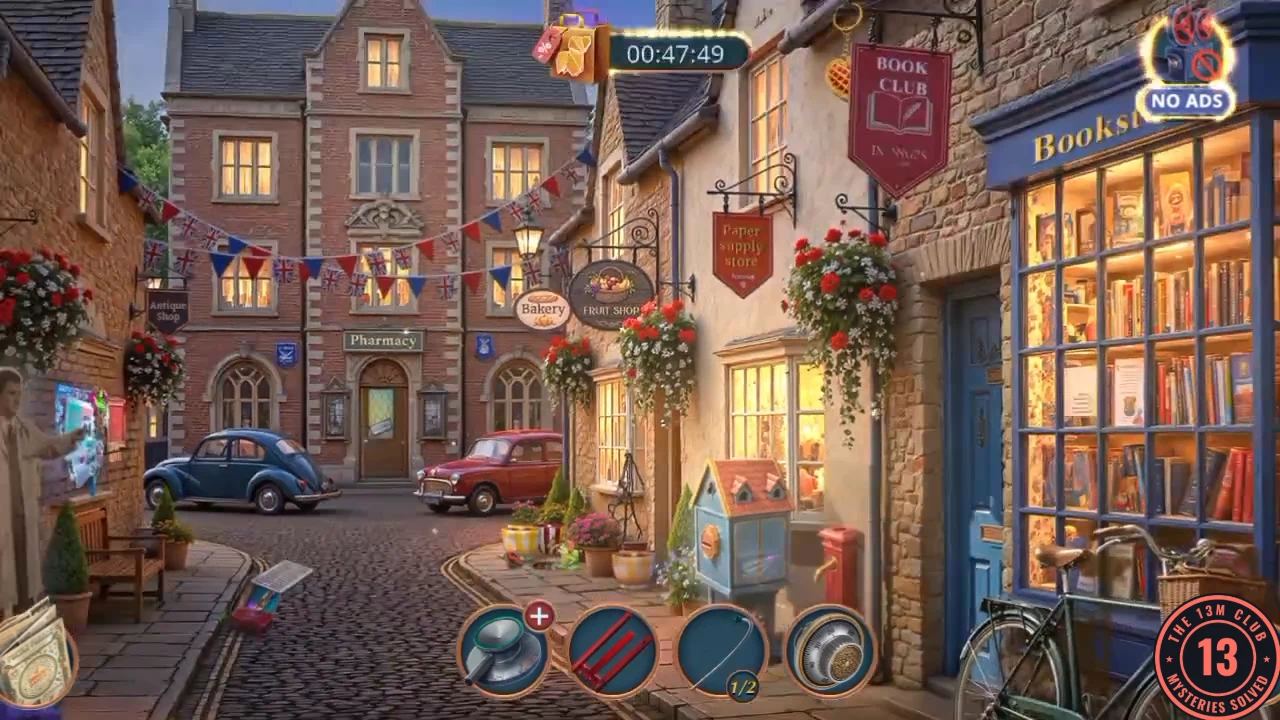
Night falls, and you need to get through the locked pharmacy door.
- At the frog planter take the Valve and the teal Y tube.
- Open the drain close-up and take the Canister. Lifting it exposes a thin silver wire: take it too, your Stethoscope Earpieces 2/2.
- Fit the Valve on the red post by the newspaper box and hold the Canister under the spout to fill it.
- Pour the Canister of Water into the drain. The floating board rises: take the Broken Ratchet and the Long Hairpin.
- Use the Long Hairpin on the lock above the CLOSED sign to enter the Pharmacy. Place the picture pieces to finish the memory of Agatha at the bookcase door.
CHAPTER 1
The Pharmacy at Night: Award Sliders
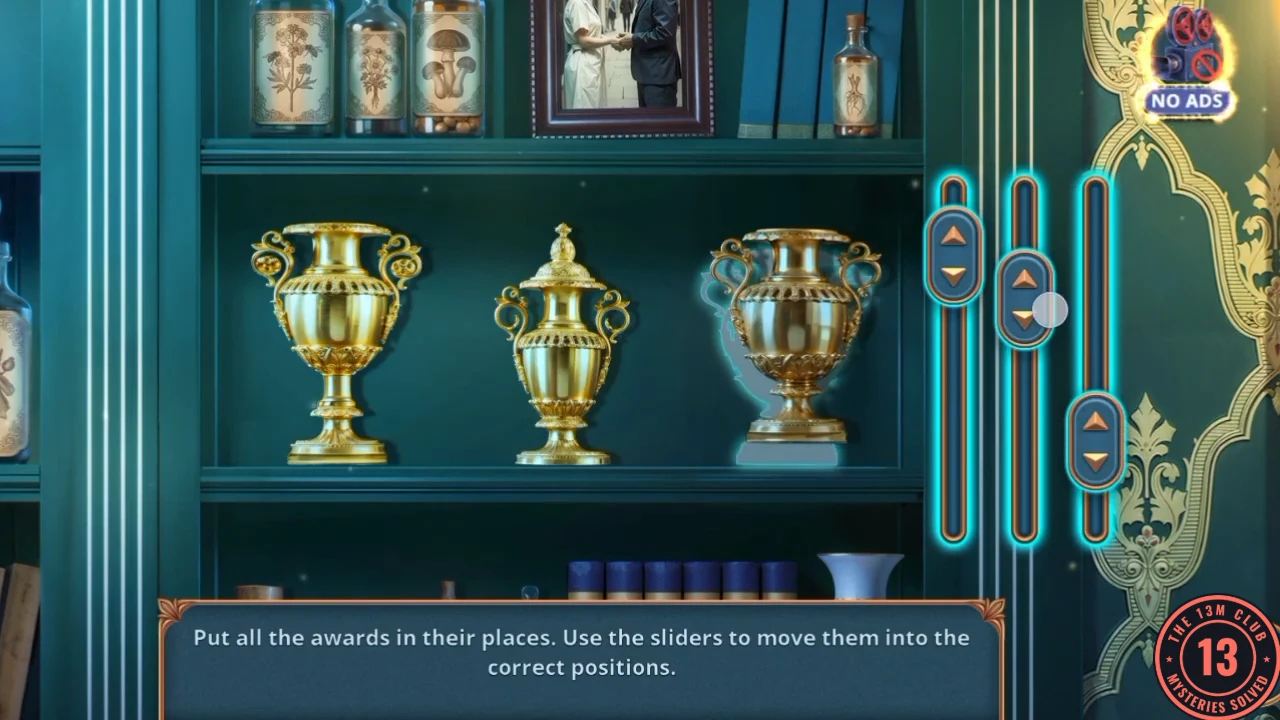
The awards shelf hides a secret door, and the award that's missing from the shelf is locked in the safe.
- Open the safe under the counter. Take the Tape from its door and fit the Safe Dial.
- Open the Stethoscope head in your inventory. Add the Y tube, the Stethoscope Earpieces and the Tape to build the Stethoscope.
- Use the Stethoscope on the safe dial. The safe opens: take the Award and the first gold Hygieia emblem part (1/3).
- Put the Award in the gap on the shelf. Use the three sliders to move the awards onto their silhouettes. The secret door opens to Agatha's lab.
CHAPTER 1
Agatha's Lab: Search
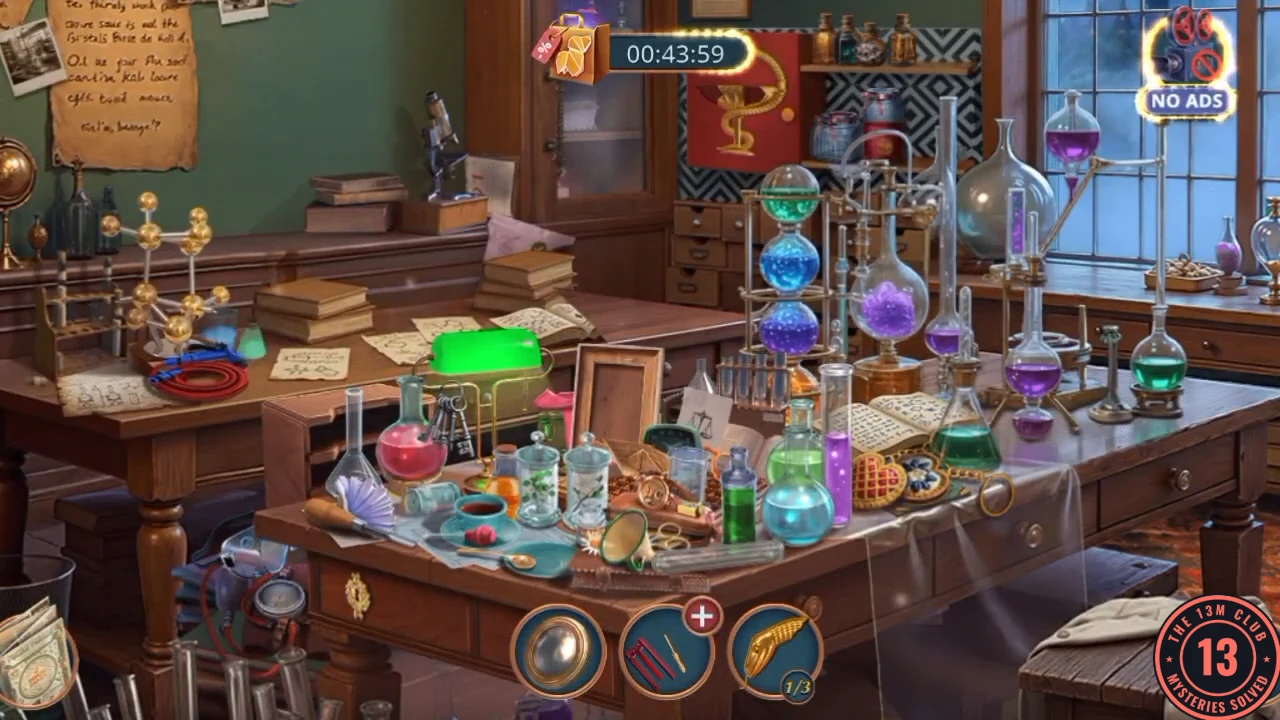
Agatha's lab is behind the secret door. You carry several items from here back to the square, so expect a few trips.
- Open the molecule model close-up and take the Hose. Beside the microscope take the Large Seashell and the pink fertilizer bag, then pull the Septum Ring off the handle of the display case.
- Pull back the rug corner and take the second emblem part (Hygieia 2/3).
- Open the floorboard with two holes and use the Septum Ring to lift the board. Under it is a chest with a padlock. Take the Desk Drawer Key.
- Unlock the desk drawer and clear its silhouette hidden-object scene. Read the journal page and take the Paper Filter.
- In the square, fit the Hose on the red post and spray the posters off the wall, then scrape the wet posters with the Large Seashell. Take the third emblem part (Hygieia 3/3) and the Chisel from the hole behind them.
- In the lab, complete the Hygieia emblem on the red cabinet to open it. Take the Metal Medical Ruler.
- Put the Paper Filter on the funnel over the jar of liquid. Take Molecules 1/2 (the gold sphere), then finish the memory of Agatha pouring a vial onto a book.
CHAPTER 1
Agatha's Lab: Token-Swap Lock
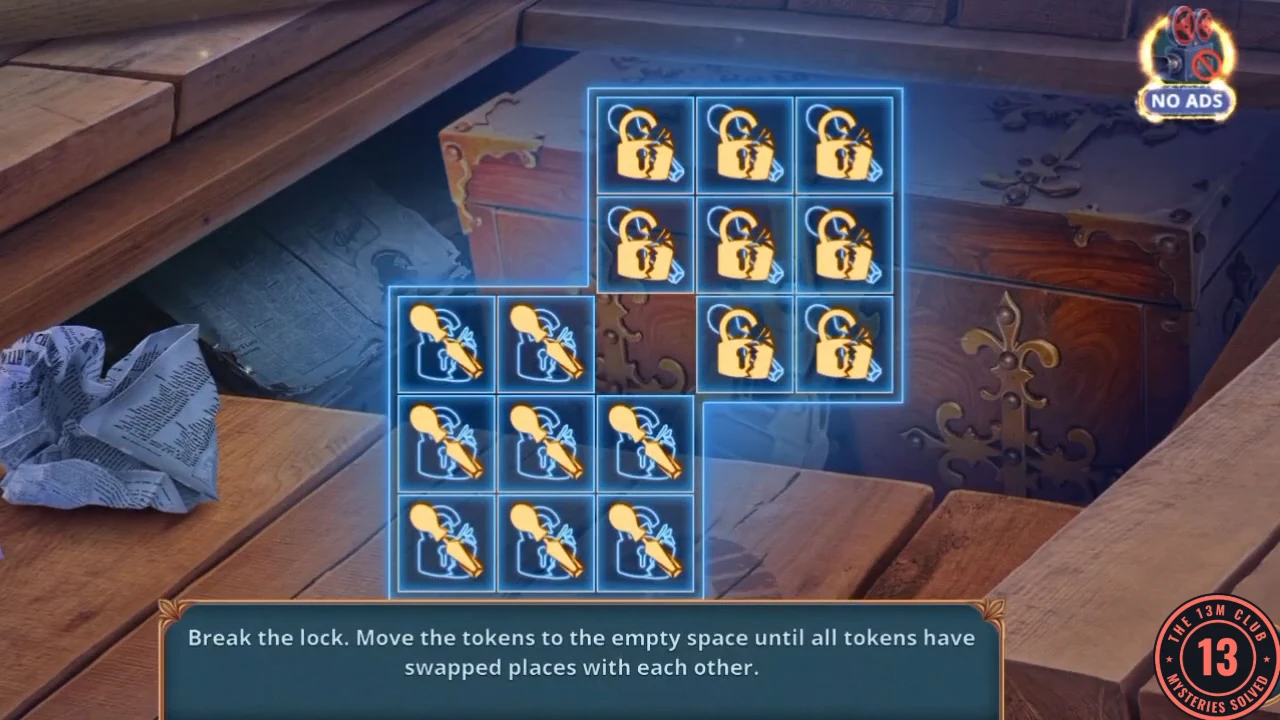
Your next goal is the padlocked chest under the lab floor.
- Slide the Metal Medical Ruler through the gap in the microscope cupboard to lift the latch. Take the Paperweight.
- Use the Paperweight and Chisel on the chest padlock. The lock puzzle starts.
- Break the lock. The rule reads: move the tokens to the empty space until all tokens have swapped places with each other. The board is two 3x3 blocks that share the empty centre cell. Keys fill the lower-left block and locks fill the upper-right block, and they must end up the other way round. A token either slides one cell into the empty cell or jumps over one neighbouring token into it. The full solution takes a few dozen moves, so here is the method and not every move. Keep keys and locks alternating around the gap, so that there is always a token of the other kind to jump over. Open on the centre row: slide the key on the left into the centre, jump the lock on the right over it, then slide that key on to the right. The row now reads key, lock, gap, key, lock. Do the same on the centre column, then feed the outer rows and columns through the centre. The game lets a token move backwards, which is how you recover from a dead end. Working through the rules shows you never have to: 46 moves are enough with keys going only right or up and locks only left or down. When all the tokens have swapped, the lock breaks. Take the Patterned Imprint.
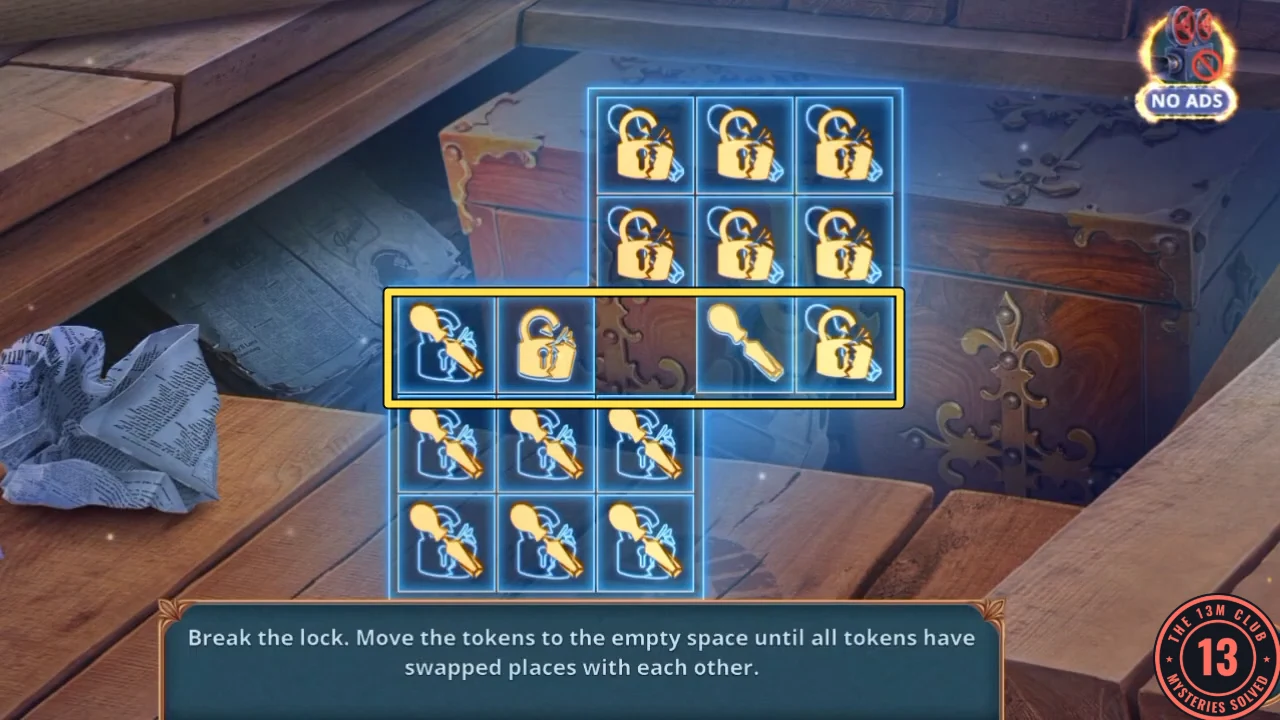
After the three opening moves, the outlined centre row reads key, lock, gap, key, lock. - In the square, press the Patterned Imprint into the cleaned wall panel and take the Trowel.
- At the planter pots, dig with the Trowel and pour in the pink fertilizer. The flowers bloom: take the Microscope Adjustment Knob. Then rotate the image parts to finish the memory of a signet ring with the letter O.
- In the lab, fit the Knob on the microscope. Its shelf opens: take the Glue and Molecules 2/2.
- Put both Molecules on the model. The yellow drawer opens: take the Screw and the Shears piece. You now have the Large Garden Shears.
- The desk has changed. Open it and clear the staged hidden-object scene to reach the secret book compartment and the Strange Vial.
- A three-button choice follows. For +4 decision points choose Protect yourself (the summary calls this Defend yourself). Hide is +2 and Get scared scores nothing.
CHAPTER 1
Mimi's Cottage
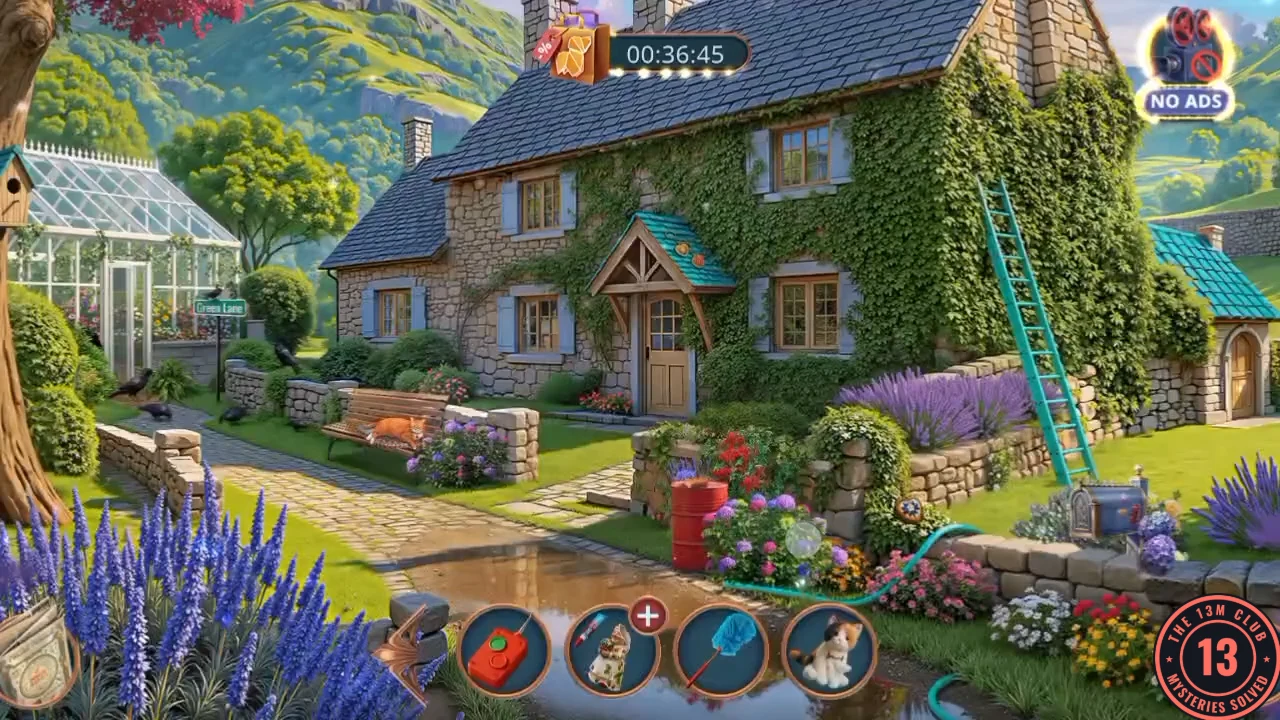
The new task is Pay Mimi a visit. Mimi isn't answering her door, and this visit turns into a long search of her front garden.
- In the lane, use the Large Garden Shears on the overgrown gate to reach Mimi's cottage.
- Open the bench with the sleeping cat and take the Shooting Machine Remote from beside him.
- Open the mailbox close-up. Take the Broken Figurine and the Duster.
- Open the greenhouse door where the crows sit and take the Torn Toy.
- Open the Broken Figurine in your inventory and use the Glue in the first slot. The second slot needs a part you do not have yet.
- Open the red barrel with the wood block on it and use the Chisel. Join the numbered dots in order, 1 to 6, for each of the three stages to carve the head of the Ratchet.
- Open the Broken Ratchet in your inventory and add the Ratchet Part and the carved head to make the Ratchet.
- Shake the Ratchet at the crows and they leave. Enter the greenhouse hidden-object scene (Gloves, Tomatoes, Cucumbers, then Twine) and take the Rake.
- Use the Rake on the twig pile at the lane gate to find the Mailbox Horn.
- Fit the Horn on Mimi's blue mailbox. Take the Crochet Hook and the Shooting Target Plate.
- A memory starts: click each circle to rotate it until its divisions line up. It shows a man hiding a knife while Mimi smiles at the door. Your new task is to stop him.
CHAPTER 1
The Rifle Shot
You have to find a rifle before the killer reaches Mimi. The last scene of the chapter is a shooting puzzle at her cottage.
- In the yard close-up, load the Shooting Target Plate on the launcher and press the Remote. The dog runs after the disc. Take the second Broken Figurine part (the hat) from the crate.
- Complete the Broken Figurine with the hat part to get the red-hat Gnome Figurine.
- Put the Gnome Figurine on the gnome bookshelf in the kitchen. A compartment opens: take the Earplugs. Keep them for Chapter 2.
- Use the Torn Toy on the sewing machine to repair it into the Cat Toy.
- Give the Cat Toy to the cat on Mimi's bench. You earn Furry Friends. When he leaves, take the first Rifle-Shaped Amulet from the bench.
- Clear the second greenhouse hidden-object scene (silhouettes) to find the Pesticide.
- Spray the Pesticide on the vines around the red barrel. The second Rifle-Shaped Amulet appears on the wall: take it.
- At the yard crate, put both amulets in the rifle-shaped plate. The crate opens: take the Rifle.
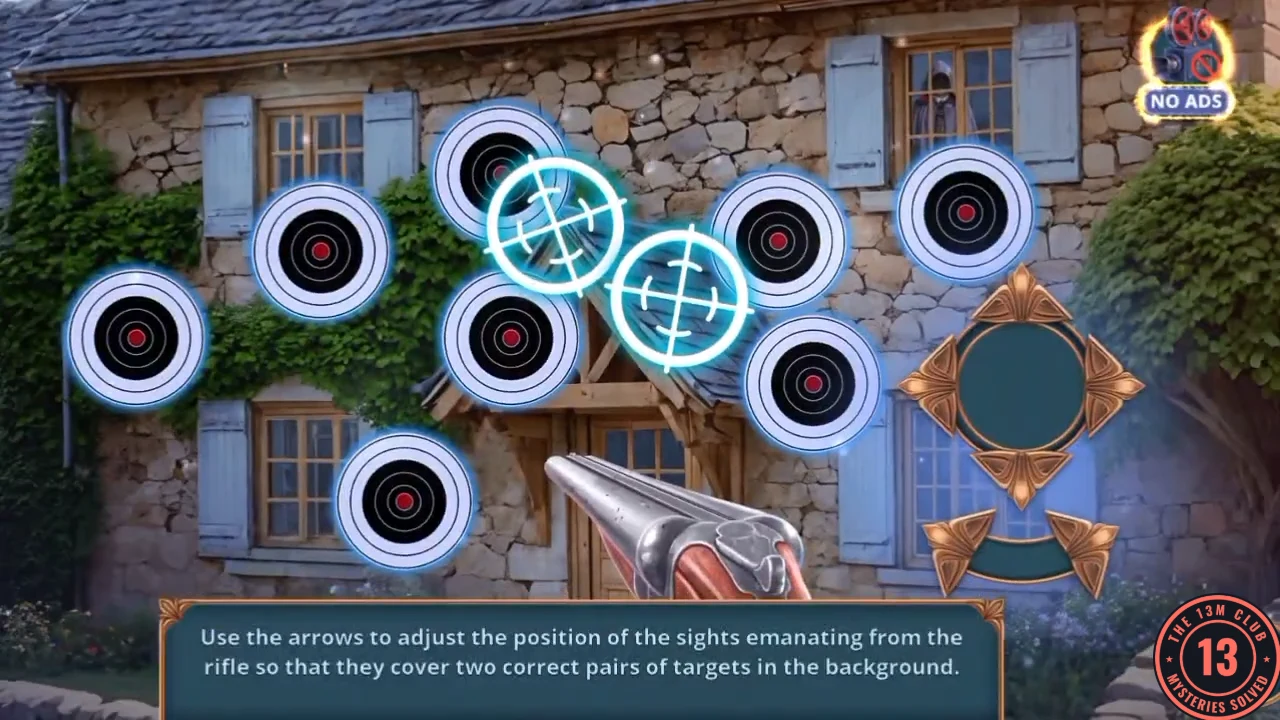
- Aim from Mimi's cottage. Eight targets are spread across the front of the house, and two sights float over them. The four arrows around the circle move both sights together. The lower-right arrow spreads the sights apart and the lower-left arrow draws them closer. Put both sights on two targets at the same moment and that pair vanishes. In one playthrough these four pairs cleared, in this order: the far top-right target with the one on the porch gable; the top centre target with its neighbour on the right; the low target on the left with the one to the right of the porch; and last, the two on the far left. The game asks for correct pairs, so if two covered targets stay put, try a different pairing.
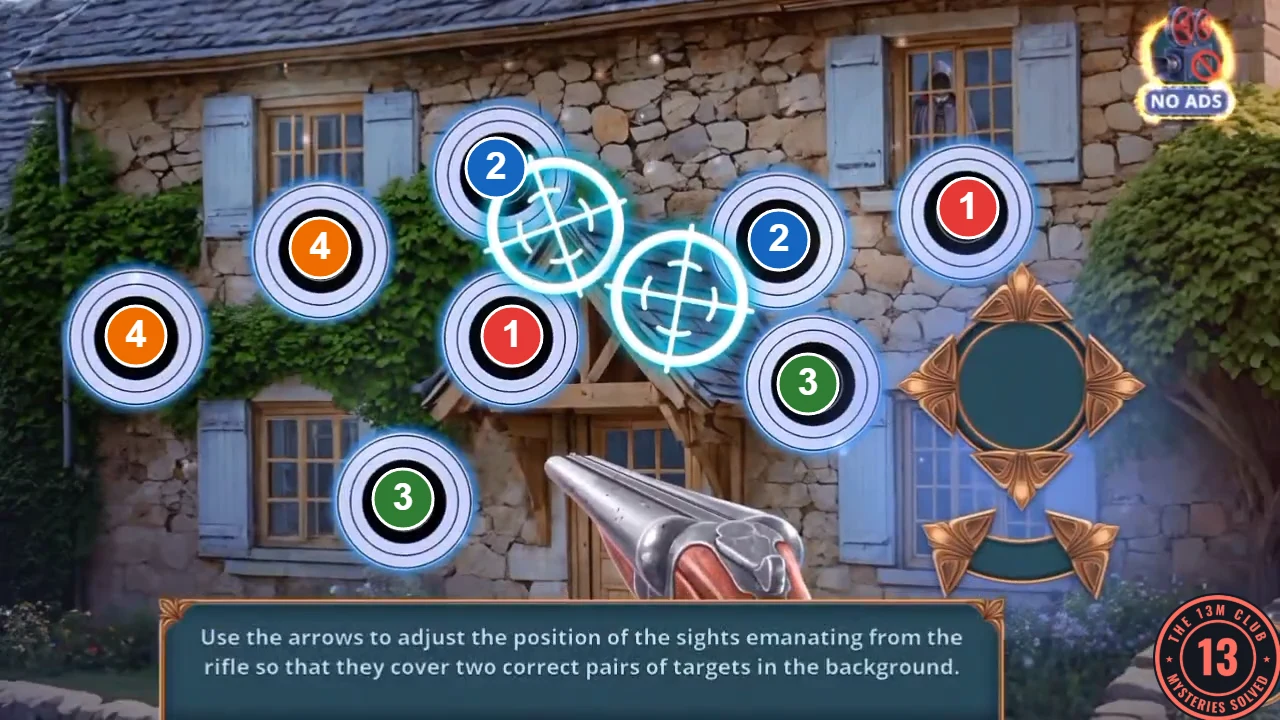
The four pairs in the order they cleared in one playthrough. Matching numbers mark a pair. - The chapter closes with Your Decision Points out of 13: Calm Markus 1, Ask warmly 1, Agree to go to the Book Club 6, Approach the conversation gently 1, Defend yourself 4. A result card lights up at 0, 4 or 10 points. Mavis's shot misses and the killer gets away.