Secrets Behind the Hedges: Kitchen Tea Maze
Chapter 2, Secrets Behind the Hedges, opens in Mavis's kitchen with Marcus asking about Albert Crow. Neither answer to that first question scores a decision point. Your inventory carries over, including the Duster, the Crochet Hook and the Earplugs from Chapter 1.
- Open the taped parcel on the chair and take the pink knitted Scarf piece from under it. The tape stays closed for now.
- On the gnome shelf, use the Duster on the pink piggy shards. Take the Small Key. The DOG BISCUITS tin beside it stays on the shelf until you have an opener.
- Use the Small Key on the blue padlock of the sink cabinet. Take the Porcelain Cup.
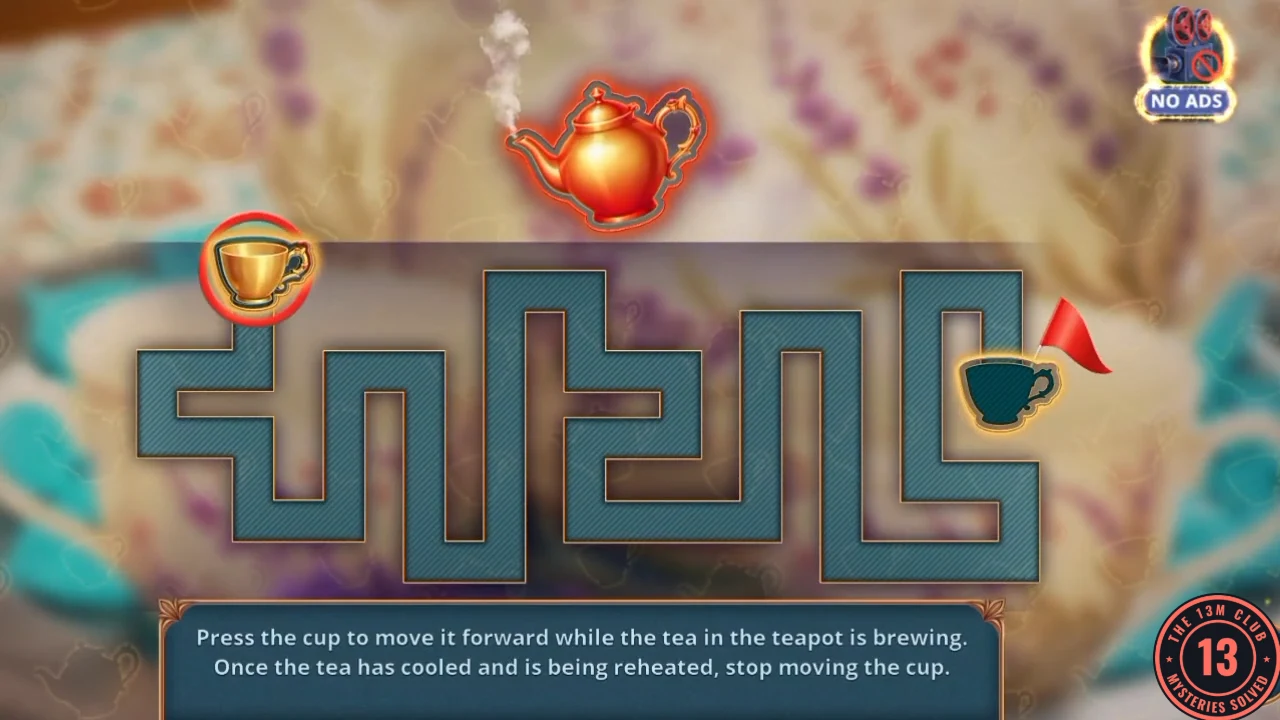
- Put the Porcelain Cup on the teapot tray to start the maze. Press the cup to move it forward while the teapot is red and steaming, and stop while the pot is gold, as it cools and reheats. Follow the corridor to the second cup at the red flag.
- Marcus asks for your comment on Mr. Crow. For +1 decision point choose "Actually, my gift has shown me a very alarming scene with him. It wouldn't hurt to check on him." (the summary calls this Tell about the vision). He gives you the Taser.
The Lane: Bring a Thing, Take a Thing
Your next task is to explore the lane. A scooter blocks the way to the Book Club, and you need a few items before you can start it.
- Open the fence close-up. The puppy has blue yarn: take the Yarn.
- Open the Scarf piece in your inventory and add the Crochet Hook and the Yarn. You get the Handmade Scarf.
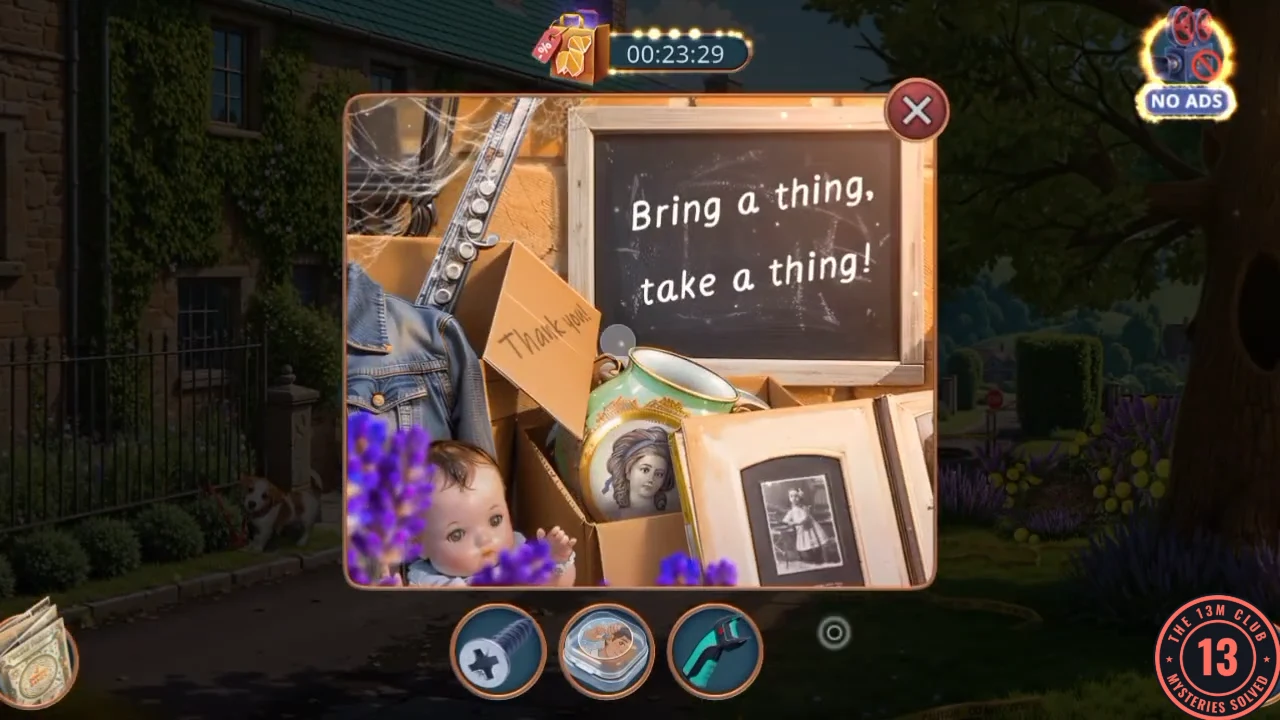
- Open the junk pile board that reads Bring a thing, take a thing! and put the Handmade Scarf on it. Clear the word-list hidden-object scene to get the Umbrella.
- Use the Umbrella's hook at the fence to pull out the red Wire.
- Open the tree trunk close-up and take the orange Screwdriver out of the bark.
The Lane: Scooter Chips
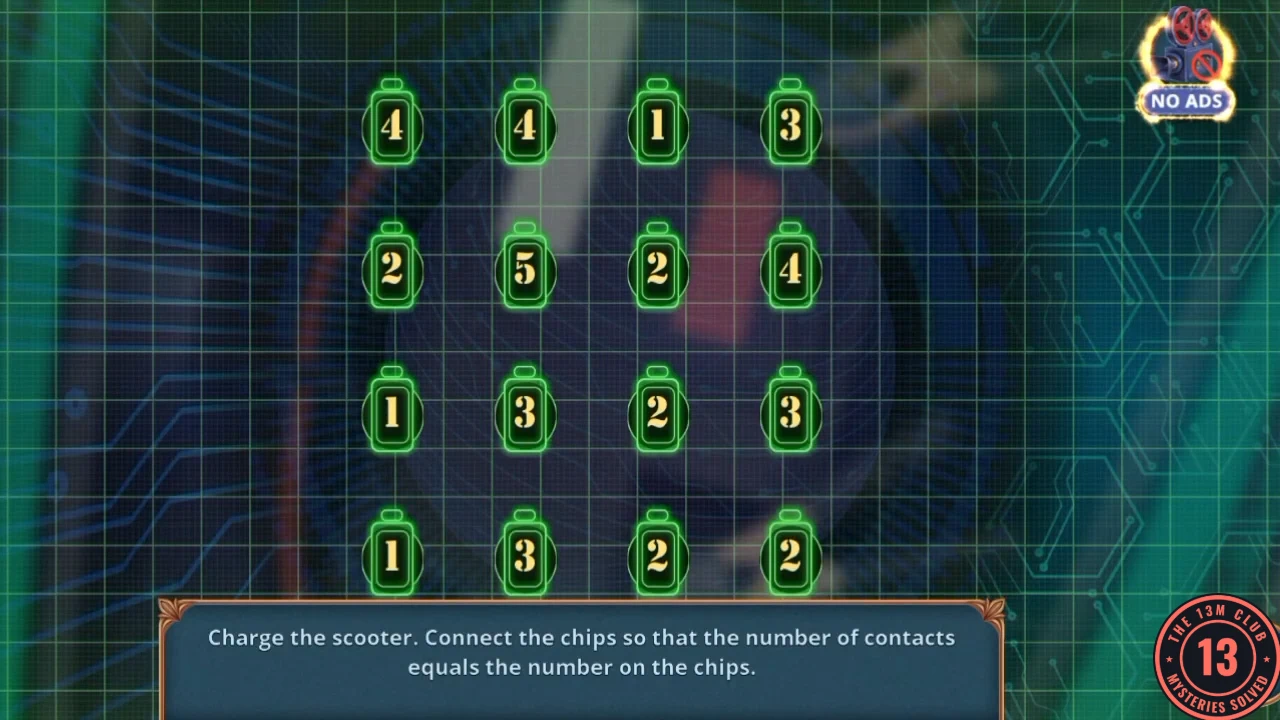
Starting the scooter moves it out of the road. The chip puzzle below is shown with the layout we saw. We can't say whether it changes between games, so compare your numbers first.
- Use the Screwdriver on the scooter panel. It opens: take the gold Hairpin. Clamp the Taser on the terminal to start the puzzle.
- Connect the chips so that each chip has as many contacts as its number. Lines may cross, and a chip that reaches zero turns purple. If your grid differs, start from the 1s and 2s, then spend what's left on the biggest numbers, counting down as you go. The starting grid we saw reads 4 4 1 3 / 2 5 2 4 / 1 3 2 3 / 1 3 2 2 (rows top to bottom). If yours matches, draw these 21 lines, written as row and column: R1C1-R2C2, R2C2-R3C3, R3C3-R2C4, R2C3-R2C4, R2C3-R1C4, R2C2-R1C4, R2C2-R1C2, R1C2-R2C1, R1C1-R2C1, R1C1-R3C2, R3C2-R4C2, R4C2-R3C4, R3C4-R4C4, R4C4-R4C3, R4C2-R4C3, R1C1-R1C2, R1C2-R1C3, R2C2-R3C1, R3C2-R4C1, R1C4-R2C4, R2C4-R3C4.
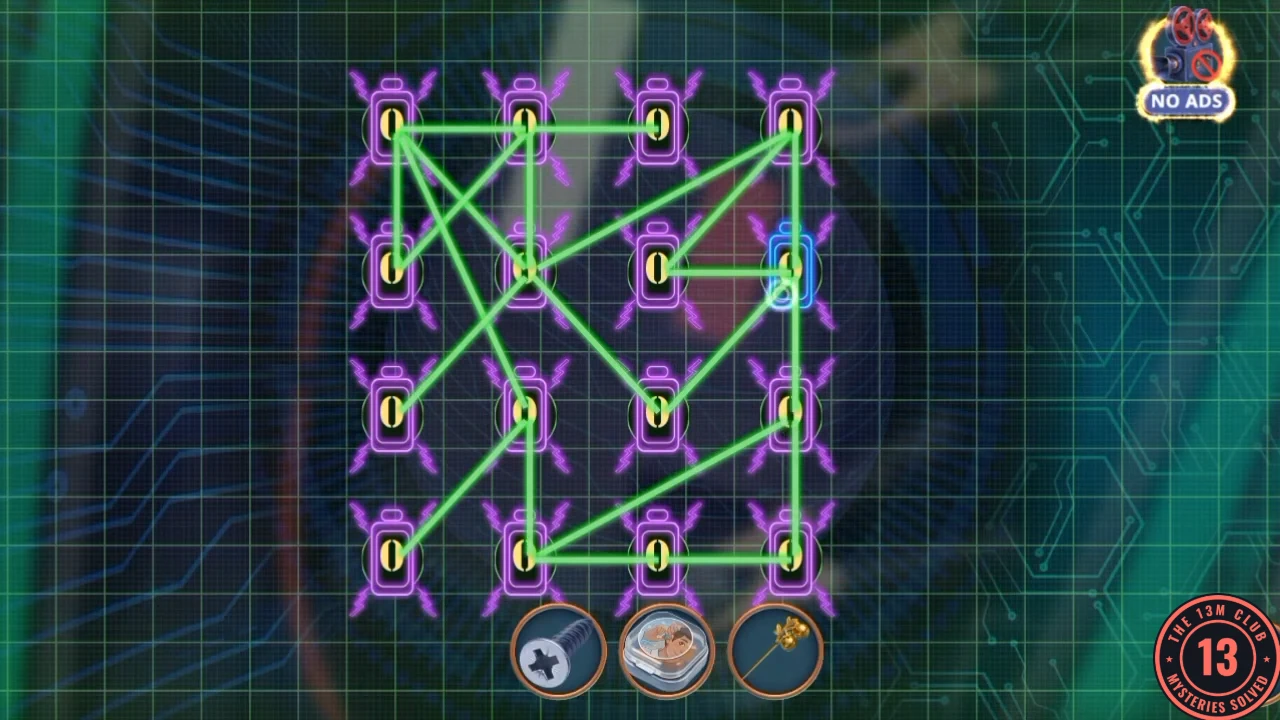
The same grid finished: all the chips read 0. This is an example for this layout.
The Book Club: Bingo Box
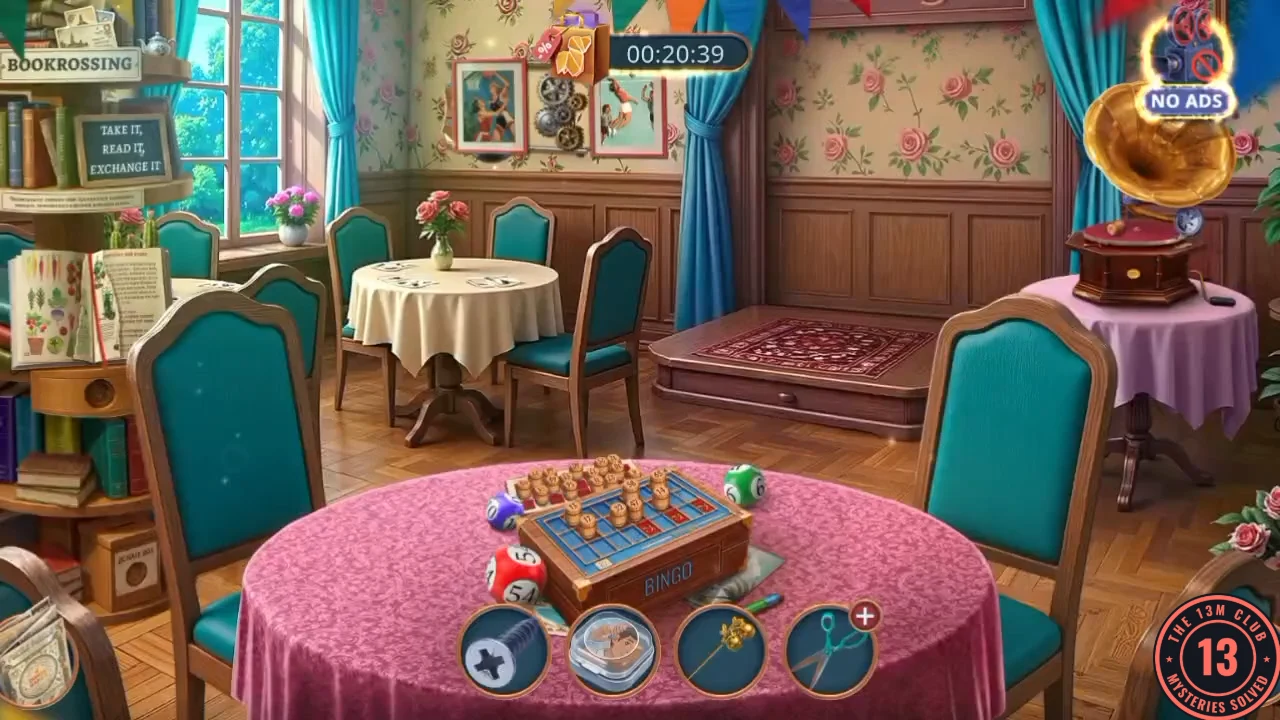
Enter the Book Club, the door the scooter was blocking. Nobody is home, and the room is a mess.
- Marcus remarks that nobody is here. For +1 decision point choose "They must have disagreed on something, and this mess tells us all about it." (the summary calls this Be attentive).
- Open the torn book on the round stand and take the Blunt Scissors. Open the gramophone close-up and take the first Bingo Piece (1/3).
- In the lane, open the flowerbed mound and take the Tweezers. Open the Tweezers in your inventory and fit the Earplugs on the tips to make Tweezers with Earplugs.
- At the Book Club wall poster, use the Tweezers with Earplugs on the poster frame and pull out the Record.
- Put the Record on the gramophone. When it plays, take the Ribbon and the second Bingo Piece (2/3).
- In the kitchen, use the Ribbon as a pull on the handleless drawer and take the Can Opener. Use it on the DOG BISCUITS tin to get the Dog Biscuit.
- Give the Dog Biscuit to the puppy at the lane fence. You earn the Best Friend achievement. The puppy drops Book Pages (1/2).
- Open the junk pile again and clear the silhouette hidden-object scene to get the Lucky Shovel.
- Dig the flowerbed mound with the Lucky Shovel and take the third Bingo Piece (3/3).
- Put the three barrels on the Bingo box. Its drawer opens: take the Silver Medal.
- Fit the Silver Medal in the round recess of the book stand drawer. You earn the Special achievement. Read the letter and take the Seeds and the red Flashlight. Then finish the fragment memory of Albert at the bookcase.
The Book Club: Sharpen the Scissors
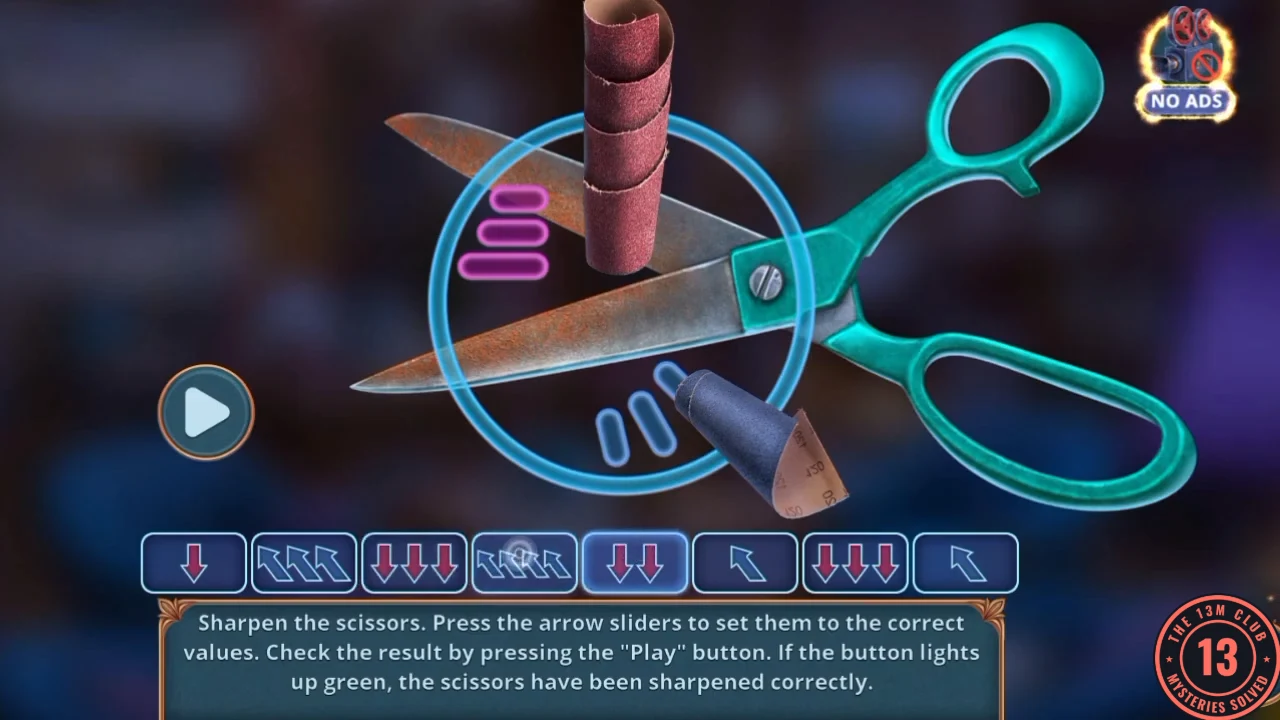
The remaining pages are behind a poster, and the poster is in the parcel you couldn't open earlier.
- Use the Flashlight in the dark tree hollow in the lane. A squirrel sits on the Sandpaper: take it. The Flashlight is now the Dead Flashlight, so keep it.
- Open the Blunt Scissors in your inventory and add the Sandpaper. Set the eight arrow sliders and press Play to test them. Slots that are right stay green, so change only the others until the button lights up green. You get the Sharp Scissors.
- Cut the kitchen parcel's tape with the Sharp Scissors and take the Poster.
- Put the Poster on the Book Club wall beside the basketball poster. It slides, and Book Pages (2/2) fall out. They fly to the book.
- Complete the tomato page in the book, then finish the fragment memory of Albert with the torn pages. Marcus points you at Albert's garden.
Albert's Garden
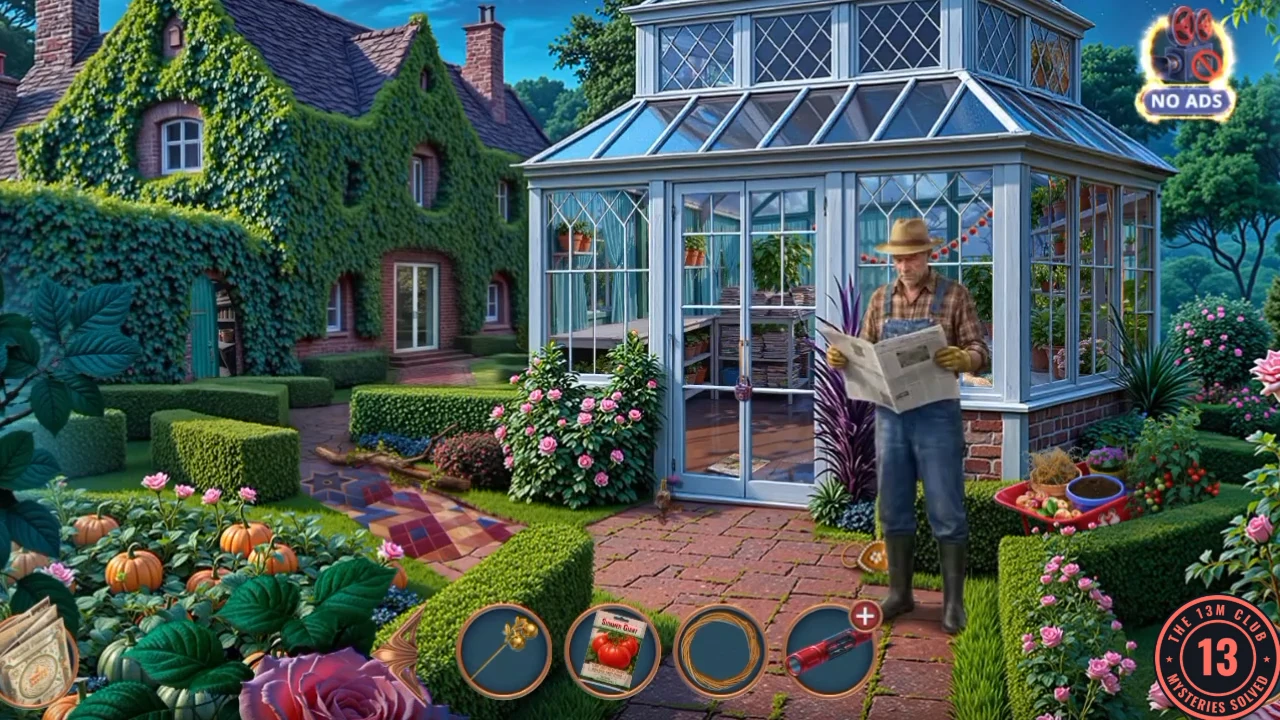
Albert is in his garden with a newspaper, and his greenhouse is padlocked. This is also where you can unlock the second Bonus Location.
- Talk to Albert. This is the chapter's bonus choice. "If you weren't such a grump, Albert, I'd help you out." is worth +6 and opens the Mr. Crow's Office Bonus Location. "You've become too secretive, my friend." scores nothing and leaves the office closed. On the mobile build the +6 line carries a DELUXE tag; see Decision Points and Bonus Locations in the last part.
- Open the greenhouse door close-up and take the Rusty Garden Faucet and the Perfume from the ground.
- Spray the Perfume on the wasps on the shelf. They leave. Clear the paired-items hidden-object scene to get the Garden Shears.
- Use the Garden Shears on the dead roots in the terracotta pot on the wheelbarrow. Take the teal Cloth, the Magnifying Glass and the Greenhouse Key. Then finish the hexagon memory of Albert with a crate.
- Use the Greenhouse Key on the padlock to enter the greenhouse.
Albert's Greenhouse: Basket and Faucet
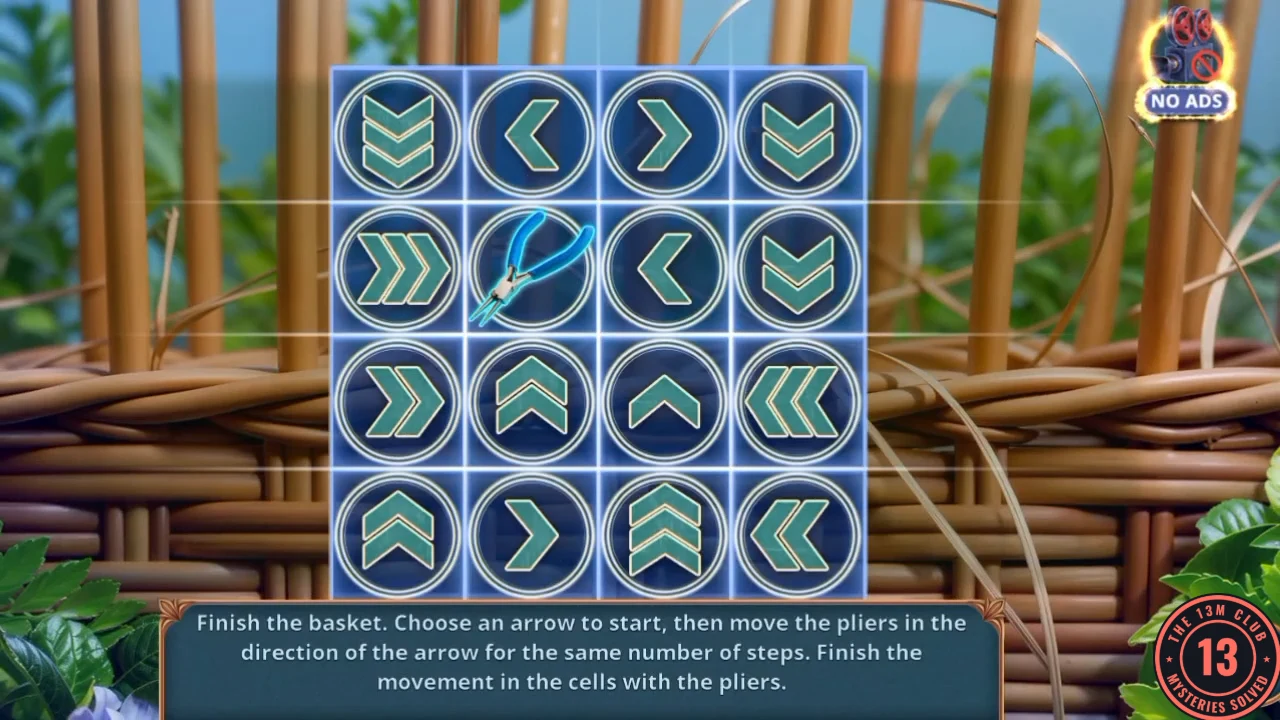
You need a Big Tomato for the scale. The crate here is nailed shut, so leave it for now.
- Use the gold Hairpin on the teal bag's clasp. The Elderwick Gardener magazine opens: tap the pictures that match the red words (the bushes, the globe for international, the medal) until the counter reaches 3/3. You earn an achievement. Read the DIY basket note and take the Weaving Pattern.
- Use the Weaving Pattern on the unfinished basket. The pliers sit on the empty cell. Every other cell has an arrow and a number that say where the next move lands, and you must pass through all of them and finish on the empty cell. If your grid differs, work backwards: find the cell that points to the empty cell, then the cell that points to that one, and so on. The grid we saw reads, row by row: R1 down 3, left 1, right 1, down 2. R2 right 3, empty, left 1, down 2. R3 right 2, up 2, up 1, left 3. R4 up 2, right 1, up 3, left 2. For that grid, start at R3C2 and go on to R1C2, R1C1, R4C1, R2C1, R2C4, R4C4, R4C2, R4C3, R1C3, R1C4, R3C4, R3C1, R3C3, R2C3 and finally the empty cell R2C2. Take the Wicker Basket.
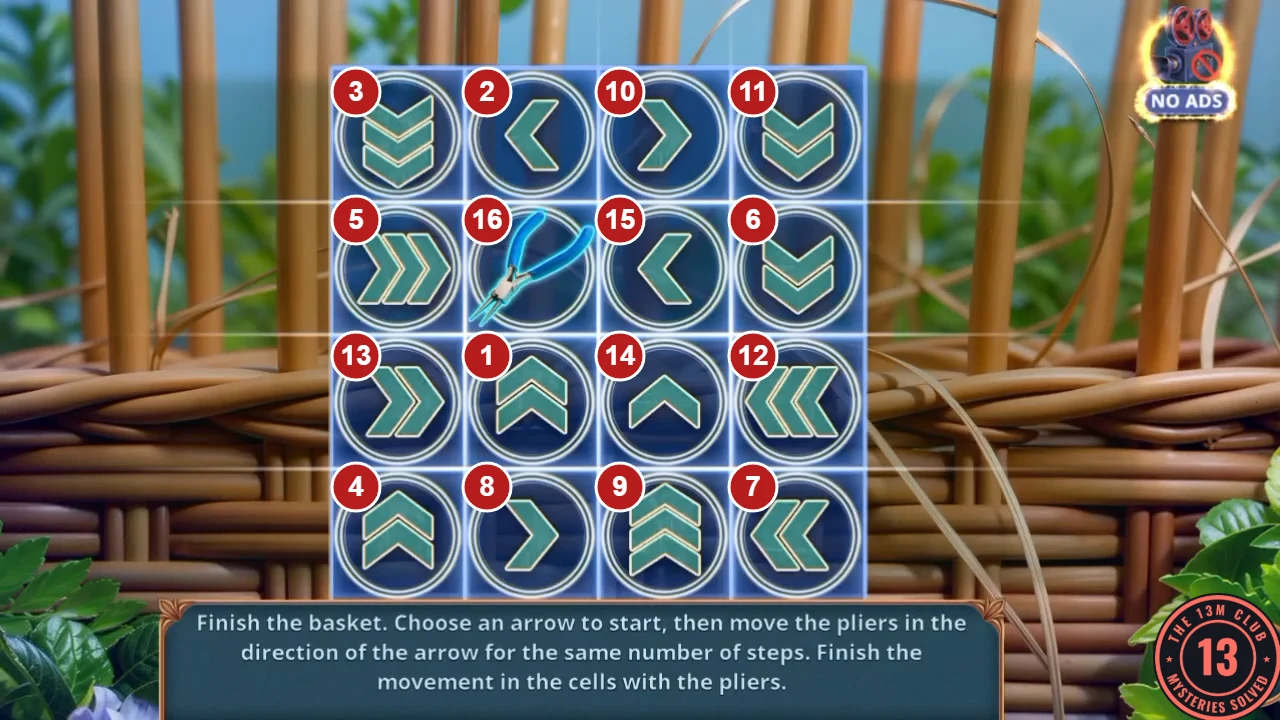
The visiting order for this grid, 1 to 16. Number 1 is where you start and 16 is the pliers cell. - Scoop the sand pile with the Wicker Basket. Blue granules stay in it, and you uncover the Lemon Juice.
- Open the Rusty Garden Faucet in your inventory. Add the Lemon Juice and the Cloth and wipe away the rust to get the clean Garden Faucet.
- Fit the Garden Faucet on the hydrant. Tap the valves to bring the needle into the green zone. The reading we saw started at 0 and these taps bring it to -12, in the green: -7, -25, +15, +5. If your needle starts elsewhere, combine the valves until it sits in the green. The lamp turns green and the bucket fills: take the Water.
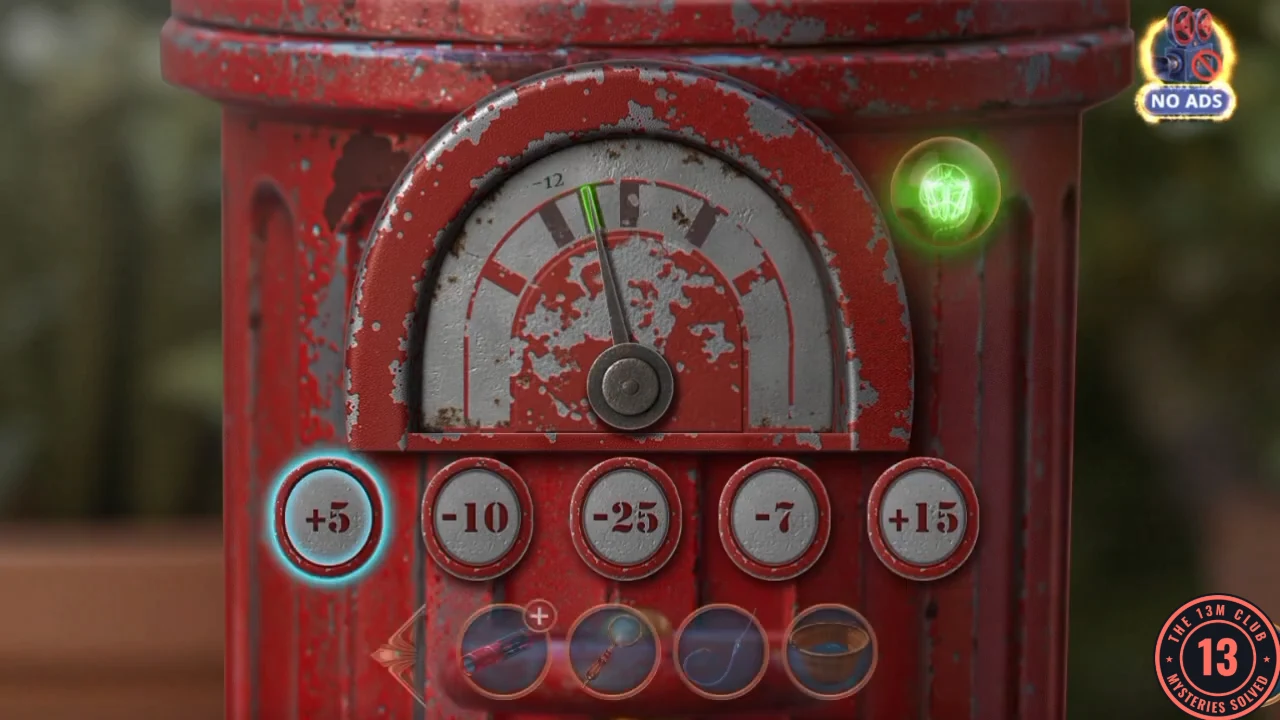
Solved from a reading of 0: the needle is in the green zone at -12 and the lamp has turned green. - At the blue pot on Albert's wheelbarrow, add the Seeds, the blue granules and the Water. The plant grows: take the Big Tomato. If you unlocked the office, do the next section before you weigh the tomato.
Mr. Crow's Office: Pieces of Paper
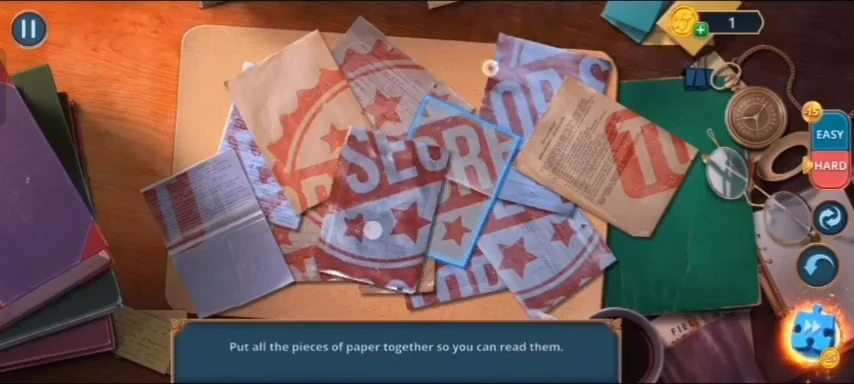
Bonus Location, Chapter 2. How to unlock it: choose the +6 line with Albert in his garden, then pick Mr. Crow's Office from the Chapter 2 tab of the map. These steps were checked on the free-to-play build, where the line has no tag and no visible charge. The access note under Decision Points and Bonus Locations also applies here. The new task is Clean up Albert's office. Finish it before you put the tomato on the scale.
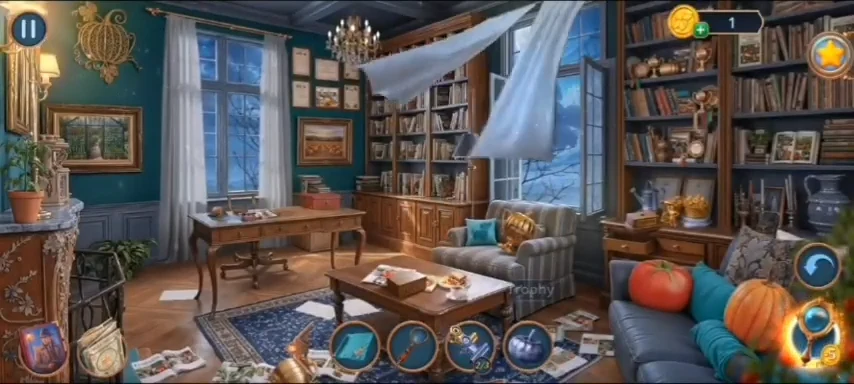
- Enter the office through the map. Open the coffee table and take the Domino Box from the papers.
- Open the side table with the dominoes and use the Domino Box on them. Take the gold Statuette Part left behind.
- Open the rug with the broken pink vase and take the first Paper Clamps.
- On the trophy shelf, put the Statuette Part in the gold strongman's raised hand. A small drawer opens: take the Jack.
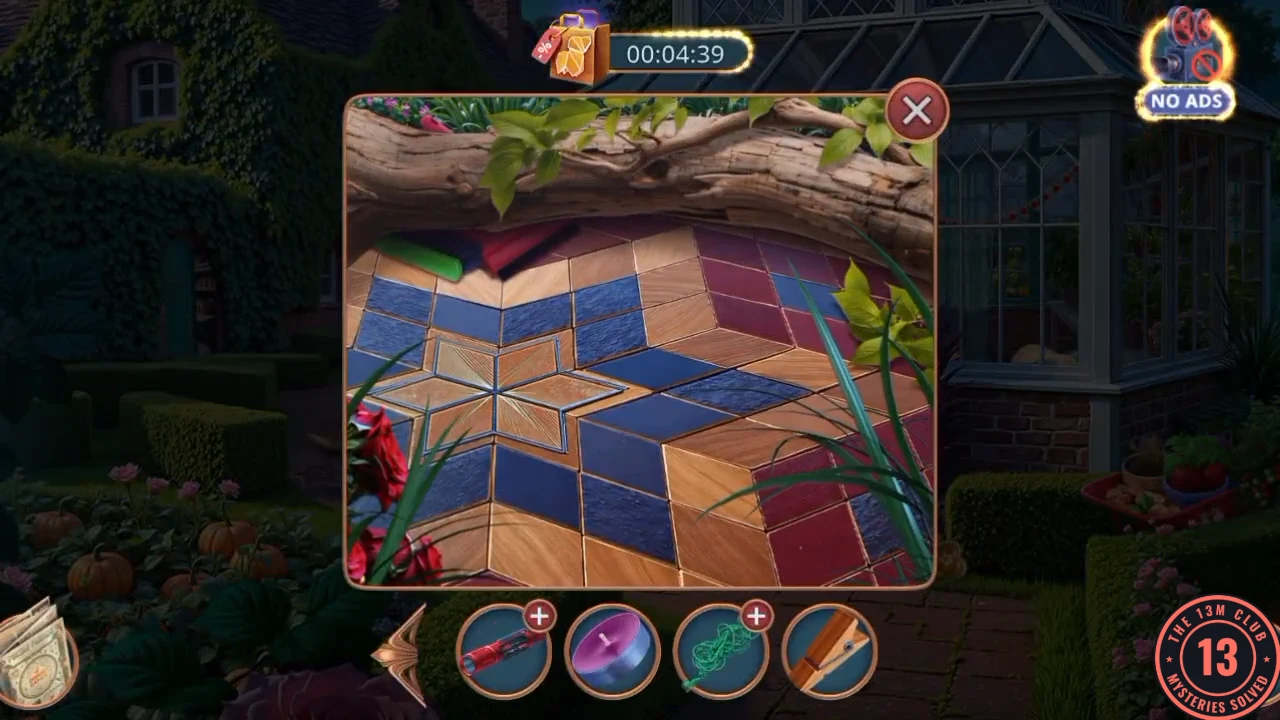
- In the garden, use the Jack under the red wheelbarrow by the star mosaic. Take the Scoop and Brush from under it.
- Sweep the shards and roses on the office rug with the Scoop and Brush. Take the blue pumpkin Trophy. Put it on the PUMPKIN stand and take the Pin.
- In the greenhouse, use the Pin on the leather case at the crate. It opens: take the second Paper Clamps.
- Use the Paper Clamps on the papers on the office coffee table. Move the pieces of paper together so they can be read; the TOP SECRET stamp is a useful landmark as you rebuild the sheet. An EASY or HARD setting is available. You earn Prize Winner and Clean up Albert's office completes.
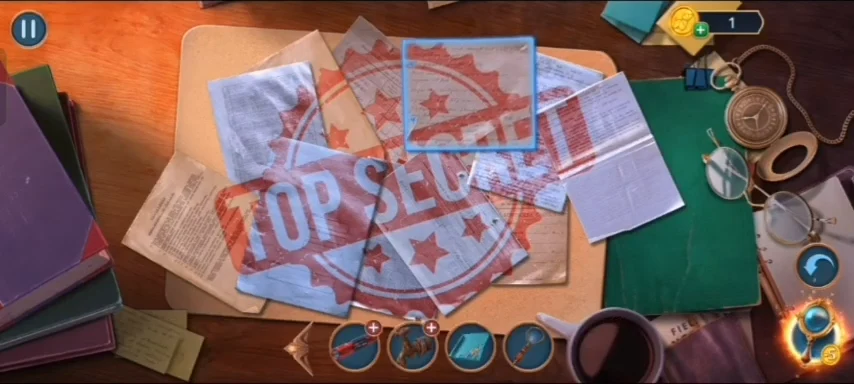
Nearly finished: the red TOP SECRET stamp has come together, with one sheet still being moved.
The Scale and the Crate
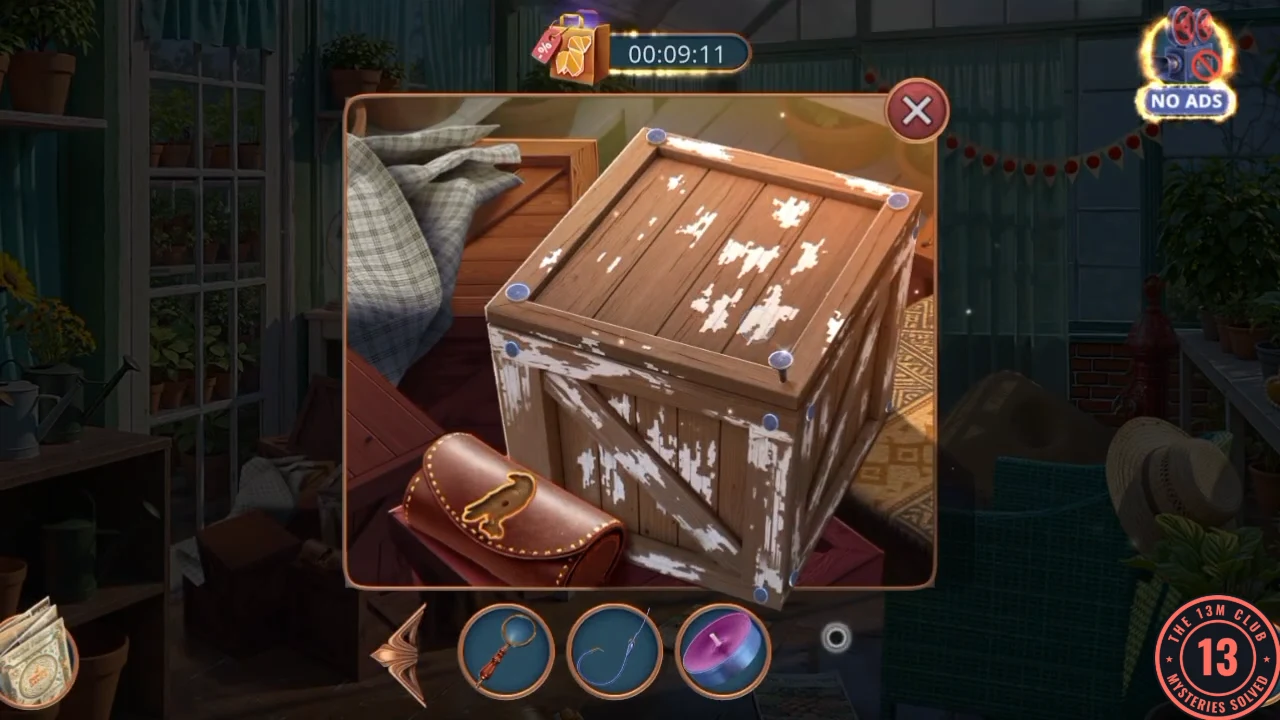
The scale is the point of no return for the first half of this chapter. Check the Heart Keychains section before you use it.
- Put the Big Tomato on the greenhouse scale. A warning says you cannot go back for missed items. Answer YES when ready. A drawer opens: take the Candle and the Nail Puller.
- Finish the hexagon memory of Albert with a sledgehammer.
- Use the Nail Puller on the crate. Marcus pries it open: it holds cucumbers for a vegetable-growing competition.
- When you hear a sound, a three-button choice appears. For +4 decision points choose Arm yourself and run outside. Run toward the sound is +2 and Freeze scores nothing. Outside you find Mr. Graham's body.
Crime Scene and the Hardware Store Door
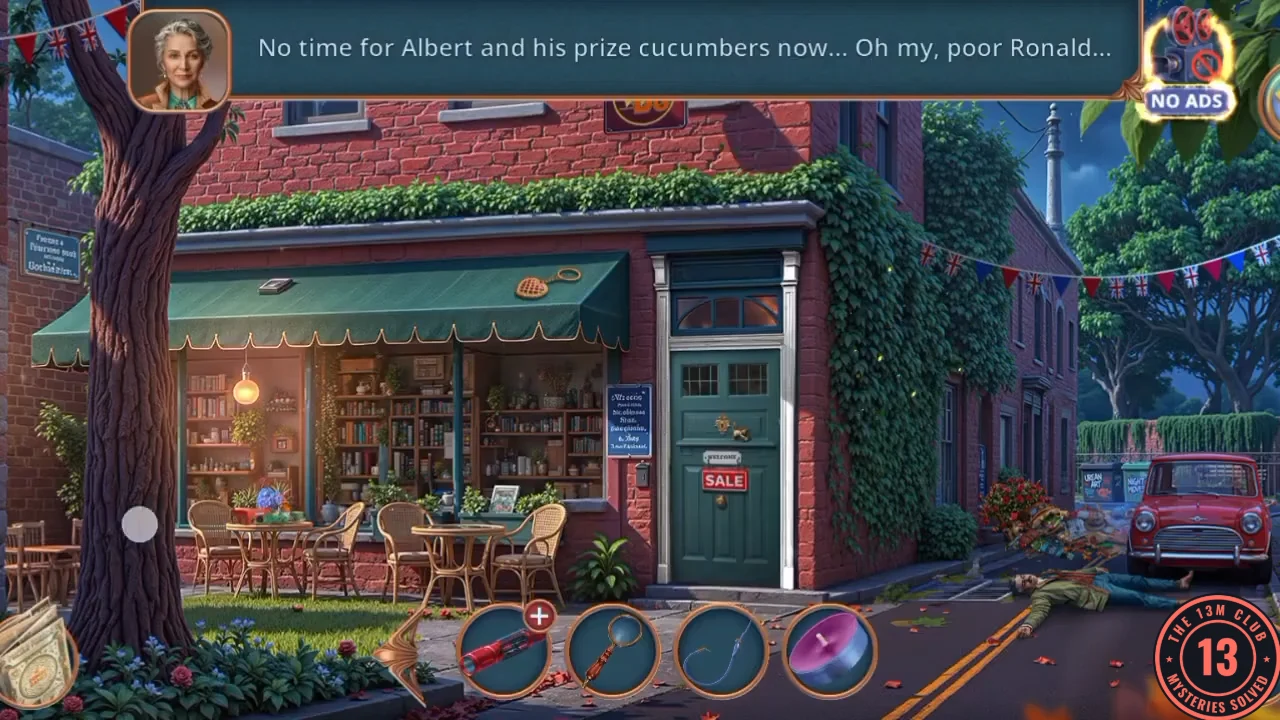
You now need to get into Mr. Graham's hardware store, starting with his belongings at the crime scene.
- Use the Magnifying Glass on Mr. Graham's bag. In the hidden-object scene, tap the objects named by the yellow words in the text. You finish with the store Key.
- Open the patio table with the red tin and take the Rope and the Handle.
- Open the grate close-up and use the Handle on the hatchet head stuck in the upper right corner. You get the Hatchet.
- Use the store Key on the SALE door. It opens part way and a beam blocks it. A plain Clothespin comes out of the gap and goes into your inventory without a tap. Keep it for Chapter 3. Use the Hatchet on the beam and tap each time the marker is on green, four hits in all.
- Marcus warns about leaving prints. For +1 decision point choose "Right now is our best chance to find the killer!" (the summary calls this Present an argument).
The Hardware Store: Star Mosaic and Pit
Search the shop, then expect to go back and forth to Albert's garden and greenhouse.
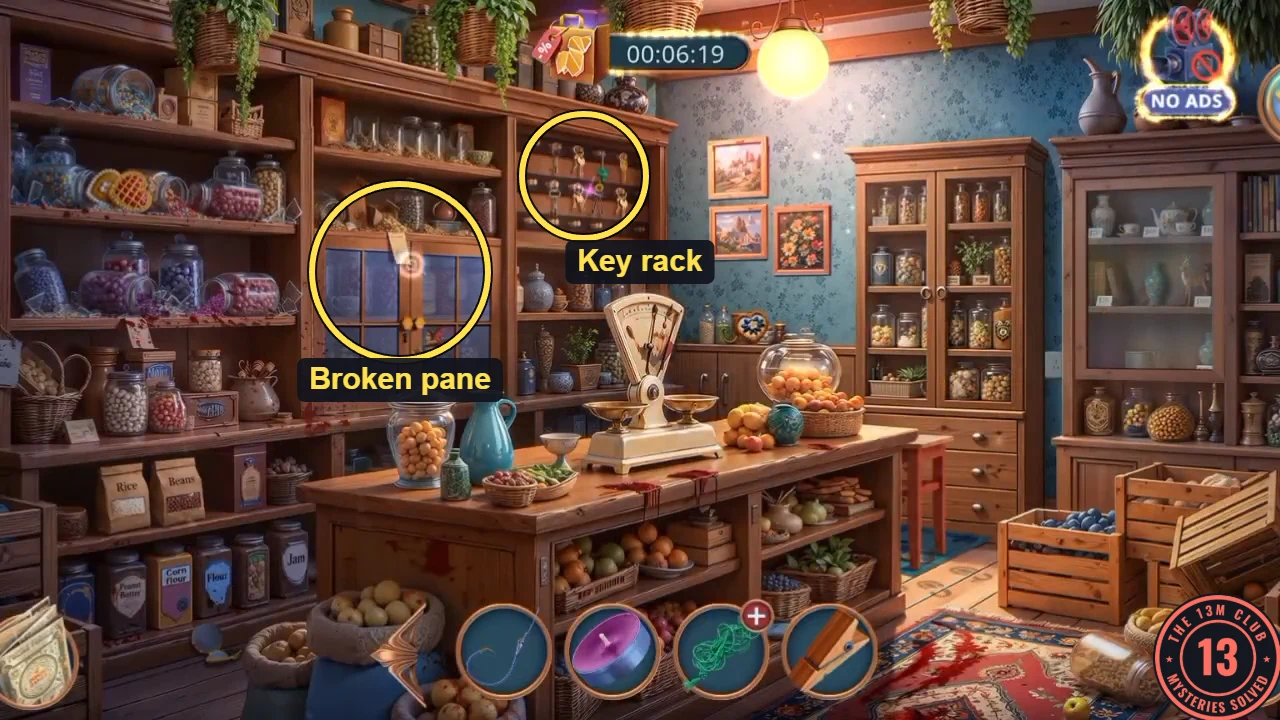
- Open the shop's food shelf and take the Mirror from the floor.
- At the window frame with the broken pane, hold the Mirror to the pane. Then pass the fence Wire through it (your inventory now labels it Hook with Line) to lift the yellow latch. The cabinet opens: take the Plunger.
- Open the mug shelf by the socket. A strip memory of Mr. Graham and Albert outside the greenhouse starts; finish it.
- Open the mug shelf again and take the star-shaped tile.
- In Albert's garden, put the tile in the star mosaic. Use the Plunger to lift the completed star. Read Mr. Graham's note and take the Empty Aroma Lamp.
- Take the Batteries from the pit under the star. Open the Dead Flashlight in your inventory and fit them to make the Working Flashlight.
- Shine the Working Flashlight into the pit. Find all the differences between the two backgrounds, using the swap button to compare, to get the Cane.
- In the shop, use the Cane on the key rack high on the right shelves to hook the green Key with the sunflower fob.
- In the greenhouse, use that Key on the green toolbox with the sunflower motif. Take the Magnet and the Lighter.
- Open the Empty Aroma Lamp in your inventory and add the Candle and the Lighter.
- Open the Rope in your inventory. Pull the knots until it is untangled, then attach the Magnet to get the Magnet on Cord.
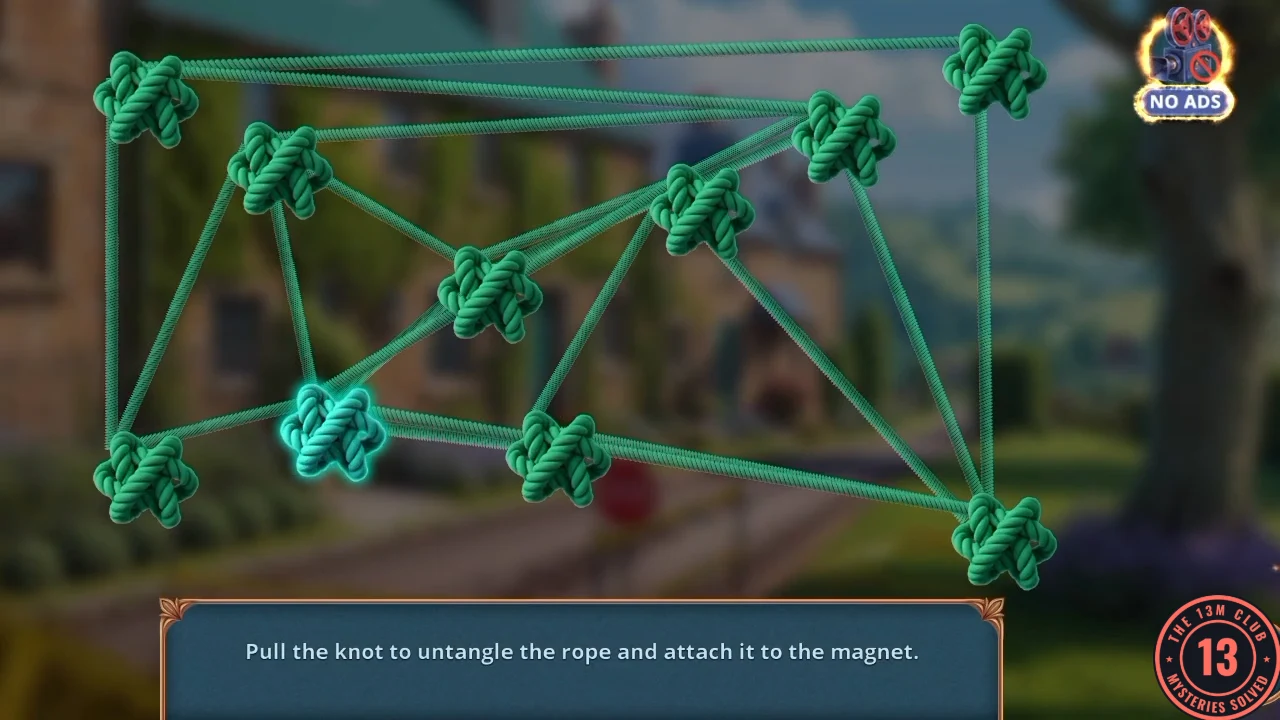
The rope puzzle: drag the knots until the rope comes untangled.
The Hardware Store: The Seal and the Aroma Lamp
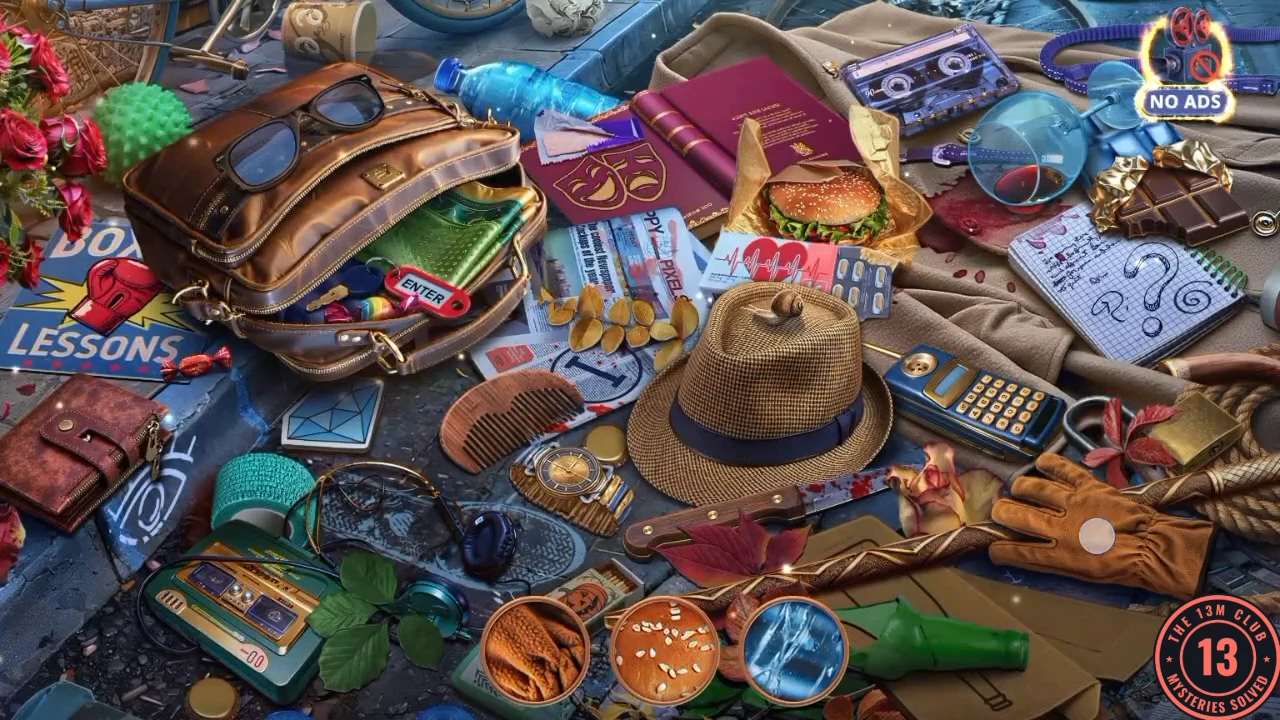
Mr. Graham's locked red tin is next, and the items inside it lead you to the shop's floor hatch.
- Lower the Magnet on Cord into the grate and pull up the Round Battery. Fit the battery in the round slot of the red tin on the patio table. Read the letter and take the Superglue.
- Open Mr. Graham's belongings at the crime scene again and clear the silhouette hidden-object scene to get Mr. Graham's Seal.
- Open the shop floor hatch and take the Cracked Magnifying Glass. Use the Seal on the hatch, read the letter from the Northshire Development Trading Company, and take the Engraved Corkscrew from the cobwebs.
- Use the Engraved Corkscrew on the bottle in the red tin to get the Essential Oil. Then finish the hexagon memory of Mr. Graham pouring wine at the table with two glasses.
- Add the Essential Oil to the lamp to make the Aroma Lamp. Place it by the crate in the greenhouse. The moths leave and you earn an achievement. Take the Lens, the Cable and the teal hand fan that is there too.
The Hardware Store: Boiler and the Prints
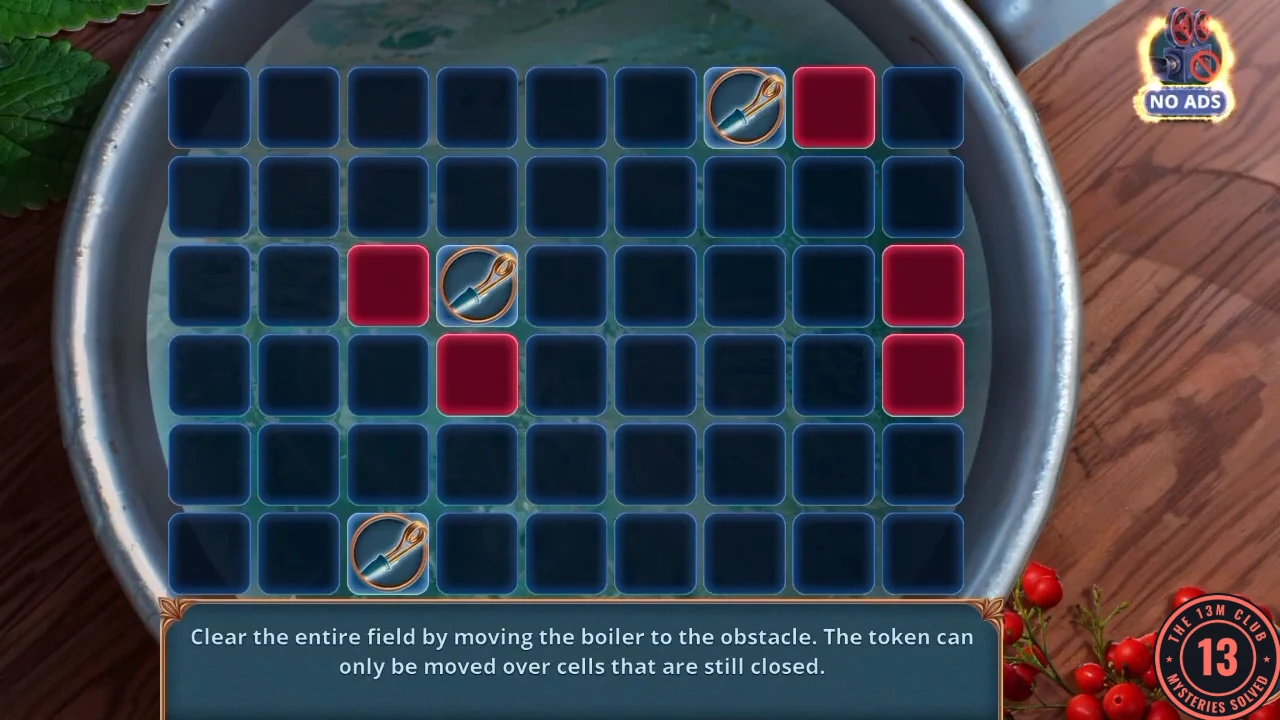
Mavis wants hot water to fix the Cracked Magnifying Glass. Once it's fixed, you can read the shop for prints.
- Use the Cable on the shop's mug shelf to plug in the boiler. The board has 6 rows and 9 columns, with red blocks at R1C8, R3C3, R3C9, R4C4 and R4C9. A boiler token slides in a straight line until it hits an obstacle, opening every cell it crosses, and it can only cross cells that are still closed. You must open every cell. With HARD highlighted on the buttons at the right, the board starts with three tokens, at R1C7, R3C4 and R6C3. A different layout can flash for an instant as the board opens, so wait until it settles. The EASY layout wasn't shown in any playthrough we checked; if your board differs, tap HARD to match this one. This path clears everything. R1C7 token: left along row 1, down column 1, right one cell, up column 2 to row 2, right along row 2, then up to the corner R1C9. R6C3 token: right along row 6, up to R5C9, left along row 5, then up to R4C3. R3C4 token: right along row 3, down to R4C8, then left to R4C5. Take the Hot Water.
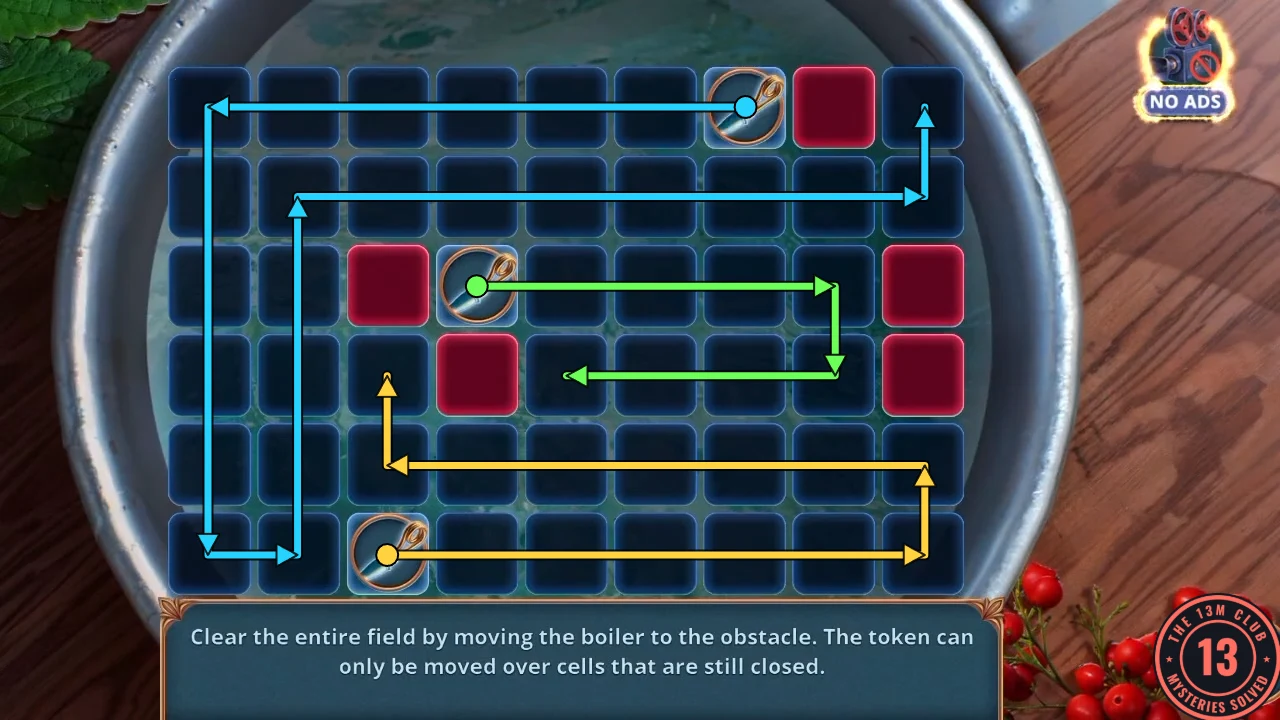
The path from the step above. Cyan is the token at R1C7, yellow the one at R6C3 and green the one at R3C4. - Open the Cracked Magnifying Glass in your inventory. Add the Hot Water, the Lens and the Superglue to get the repaired Magnifying Glass.
- Find the seven prints in the shop. Use the arrows to steer the Magnifying Glass over the shelves, and tap each print as you spot it. A row of seven lights at the top counts your finds.
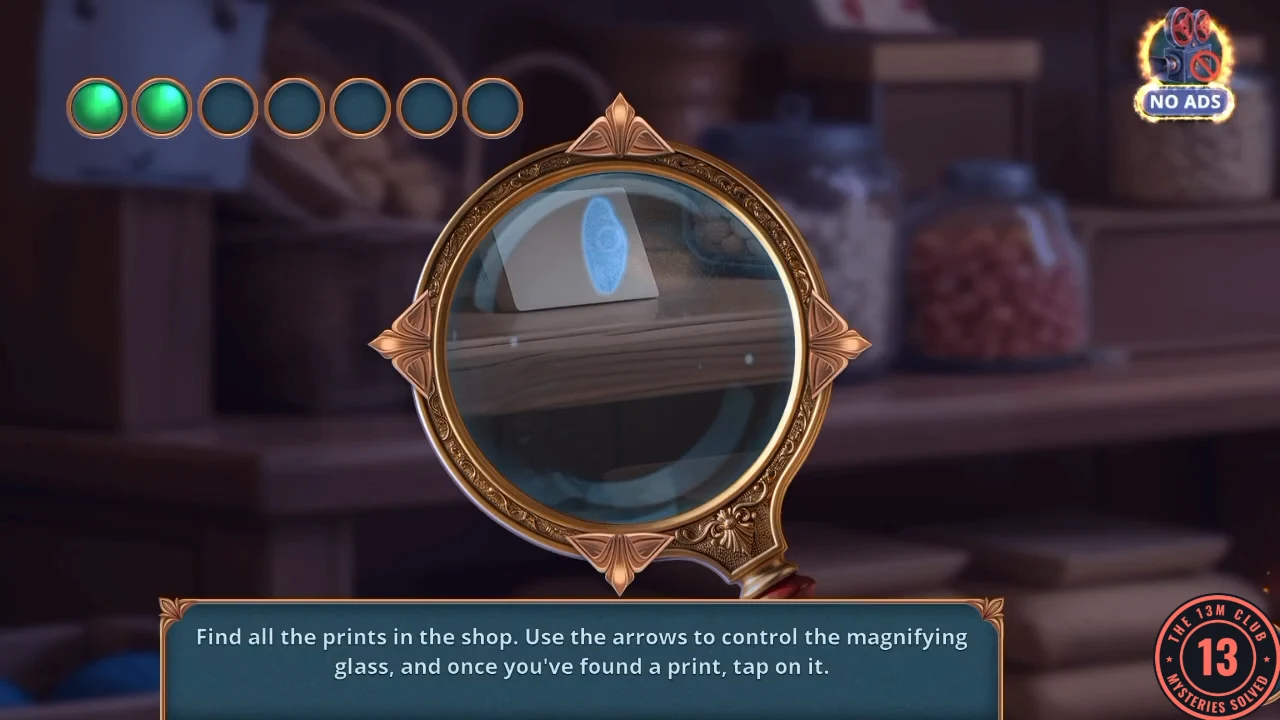
Steering the Magnifying Glass over the shelves. The lights at the top count your finds, two of seven here. - Chapter 2 ends with Your Decision Points out of 13: Tell about the vision 1, Be attentive 1, Suggest that Albert clean his office 6, Arm yourself 4, Present an argument 1.