Unmasked in the Dark: Mavis's Car
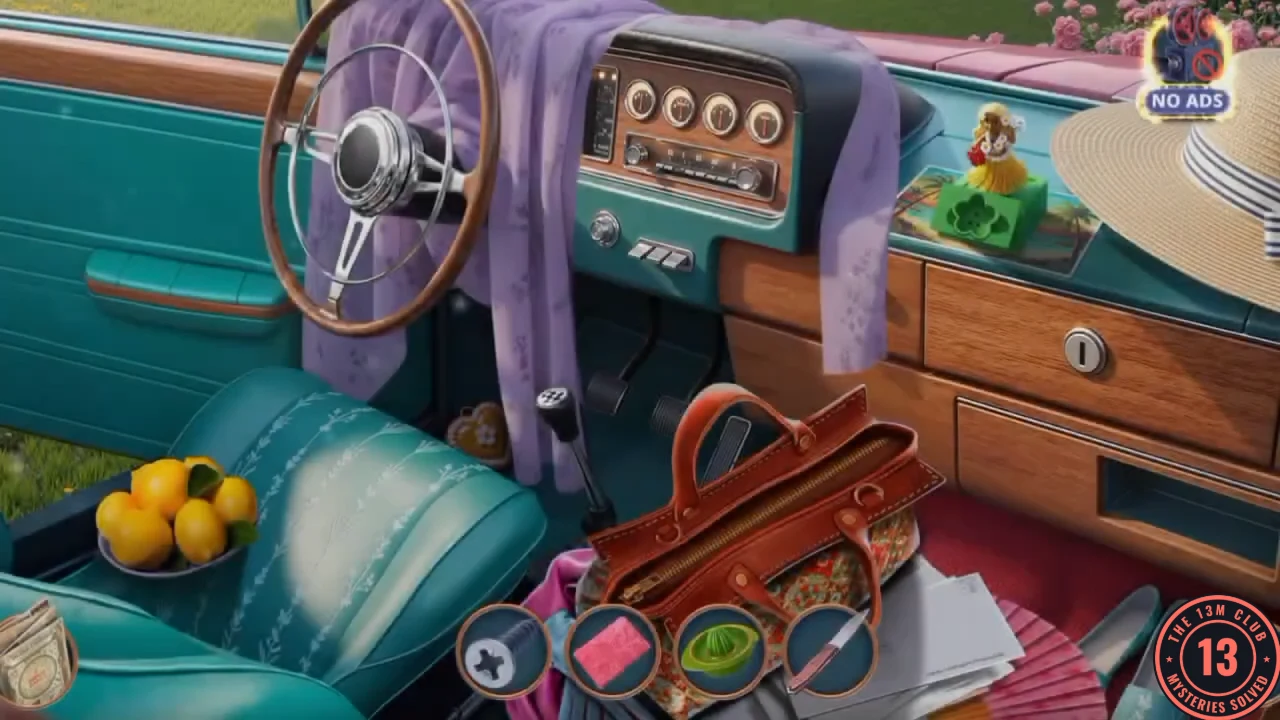
Chapter 4, Unmasked in the Dark, opens in Mavis's car. Marcus has asked her to check Arthur's documents, and they are locked in the glove compartment. Your inventory carries over, including the Soap, the Knife and the Juicer from Chapter 3.
- Open the seat close-up and take the bowl of Lemons.
- Open the red handbag close-up and use the Soap on the stuck zipper. Clear the scene by finding all the paired objects. You get the Glove Compartment Key.
- Use the Glove Compartment Key on the glove box. Take the Water Bottle and read the letter. The blue diary stays locked by a heart padlock. A memory starts: swap the pieces to see Arthur's bearded contact at Port Clare.
- Arthur reports to you on Mimi's patio. For +1 decision point choose "Don't be afraid, but you'll have to clean up the mess you made" (the summary calls this Calm Arthur down). "Don't relax just yet, nobody's forgotten about the stamps." scores nothing.
Mimi's Patio: The Tarp and the Gnome
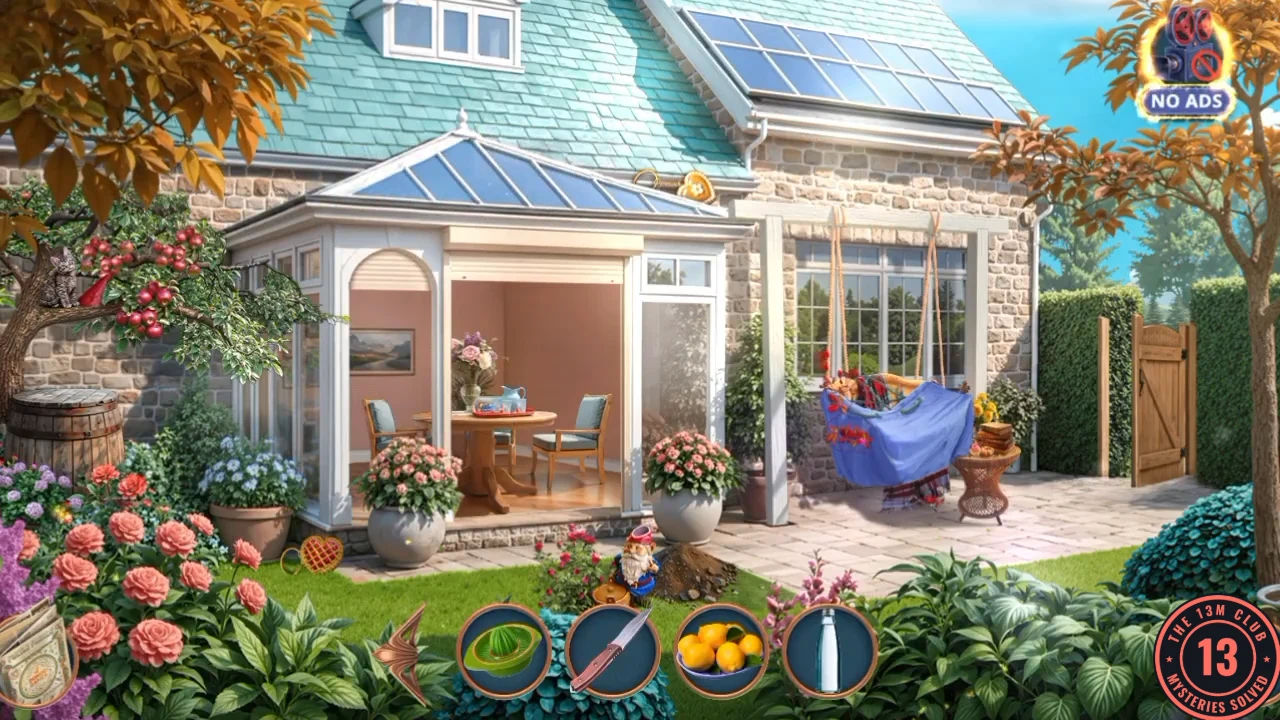
Mavis decides to make lemonade and treats for everyone. This starts the task Prepare lemonade and treats.
- Open the table close-up with the jug and the red tray. Take the Trowel and the Matches.
- Open the basket on the right, covered by a blue tarp. Cut the tarp with the Knife. Clear the riddle scene: each line combines two clues, such as Treble Clef + Tube or Snail + House, and points to one object. You get the Small Plate.
- Open the gnome and mound close-up and dig the mound with the Small Plate. Take the Brush.
The Bakery Lane and the Torn Notice
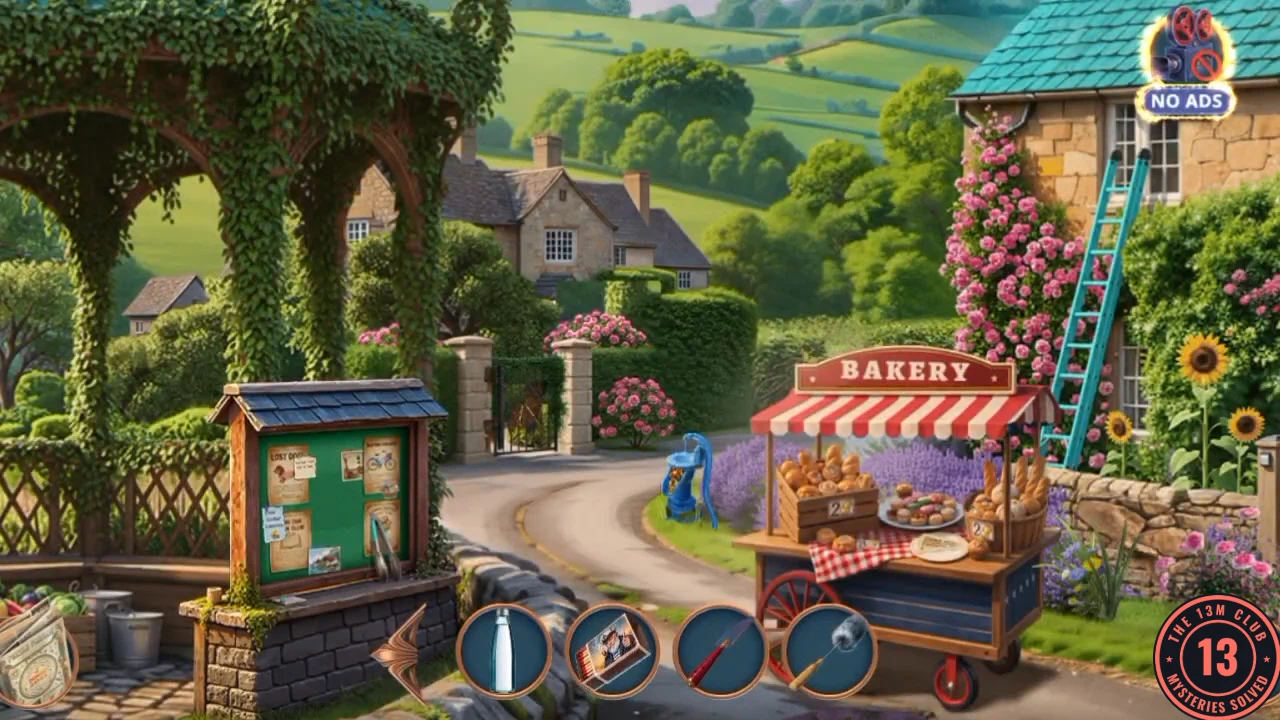
The bakery stall holds the treats, but you have to pay for them, and the notice board has been torn up.
- Go to the Bakery lane and open the stall close-up. Take the torn paper under the plate. This is the first of the Pieces of Announcement (1/3).
- Open the notice board close-up and take the Kitchen Tongs.
- Open the blue pump close-up and clear the yellow leaves with the Brush from the patio gnome. The Trowel does not work here, so keep it for later. Take the flower-shaped Steel Token.
- In the car, open the dash close-up with the hula figure on a green box. Fit the Steel Token in the flower-shaped hole and take the Stickers. A memory starts: click the image pieces into place to see the postman at Port Clare.
- Open the torn advert in the glove box and use the Stickers on the rips. The mended sheet goes into your inventory as the second Piece of Announcement.
- Open the car seat close-up and pull the purple Opener out of the gap with the Kitchen Tongs.
- Tap the swirl on the patio and finish the memory of Mimi with her groceries and the man in the trench coat at the ladder.
The Apple Tree: Wash the Apples
The apples are up the tree, and a kitten has the gnome's hat.
- On the patio, open the tray close-up and use the Opener on the tin. Take the Cat Food.
- Open the apple tree close-up and put the Cat Food on the barrel. You earn the Fluffball achievement. The kitten comes down. Take the Gnome Hat from the branch.
- The basket on the patio sparkles again. Clear the fragments scene. You get the Garden Basket.
- Put the Garden Basket on the barrel under the apple tree. It fills with Apples.
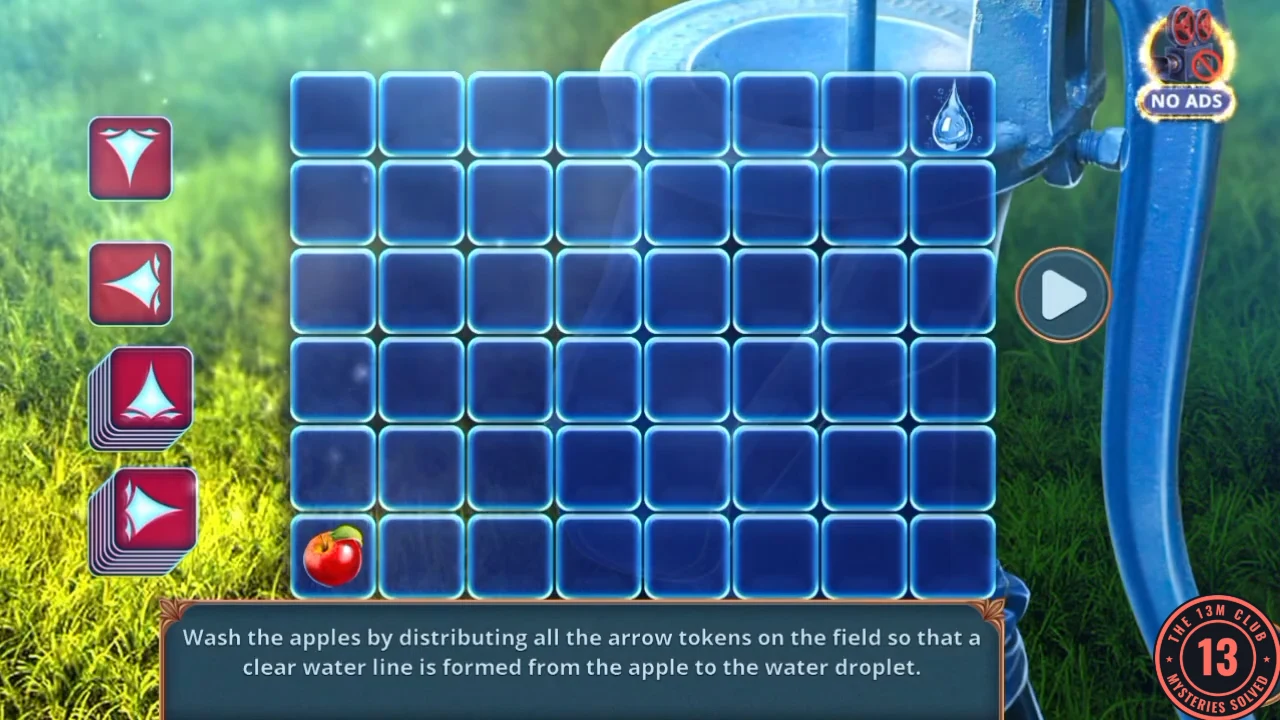
- Use the Apples on the blue pump in the Bakery lane to start the puzzle. Lay arrow tokens on the 8-by-6 grid so that one clear line runs from the apple in the bottom-left corner to the droplet in the top-right corner, then press Play. There are 15 tokens: 7 right, 6 up, 1 left and 1 down. Here is one working layout, by row from the top and column from the left: row 6 column 2 right; row 6 column 3 up; row 5 column 3 right; row 5 column 4 up; row 4 column 4 up; row 3 column 4 left; row 3 column 3 up; row 2 column 3 up; row 1 column 3 right; row 1 column 4 right; row 1 column 5 down; row 2 columns 5, 6 and 7 right; row 2 column 8 up. You get the Clean Apples and a Dull Needle. Keep the needle for the next section.
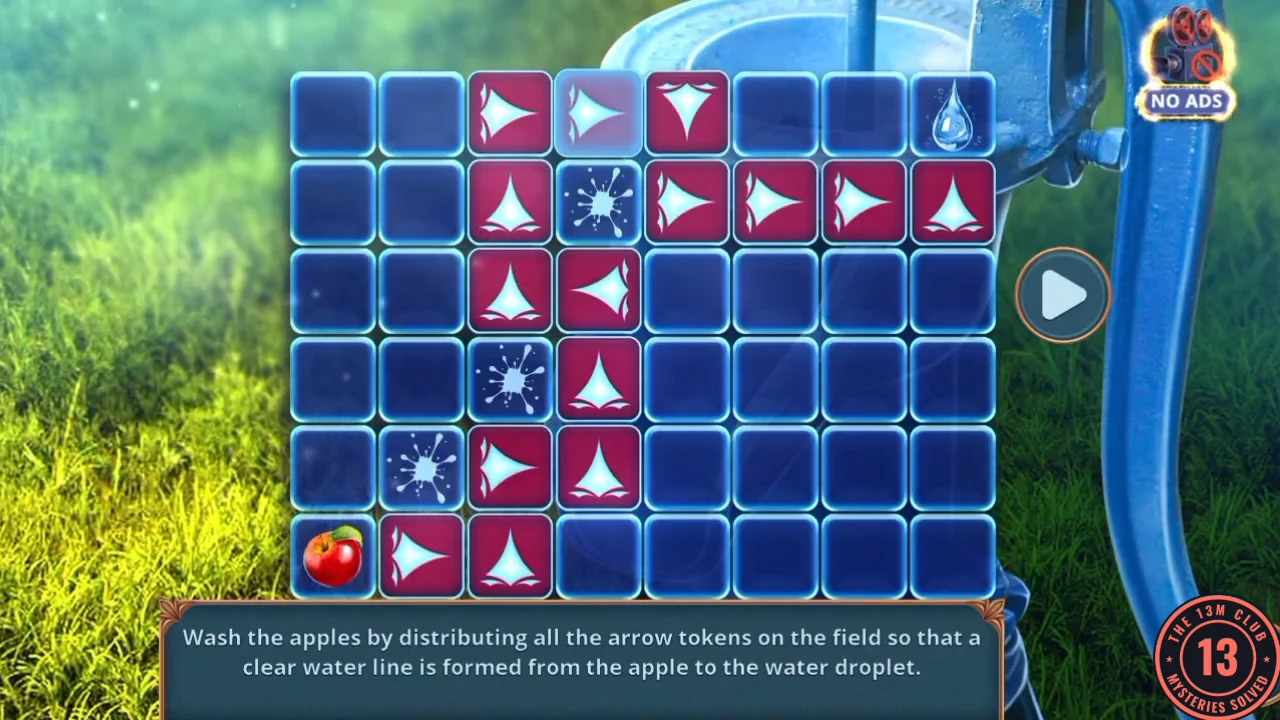
The working layout from the step above, before pressing Play. The splash marks are not tokens from the stacks.
The Notice, the Diary and the Handbag
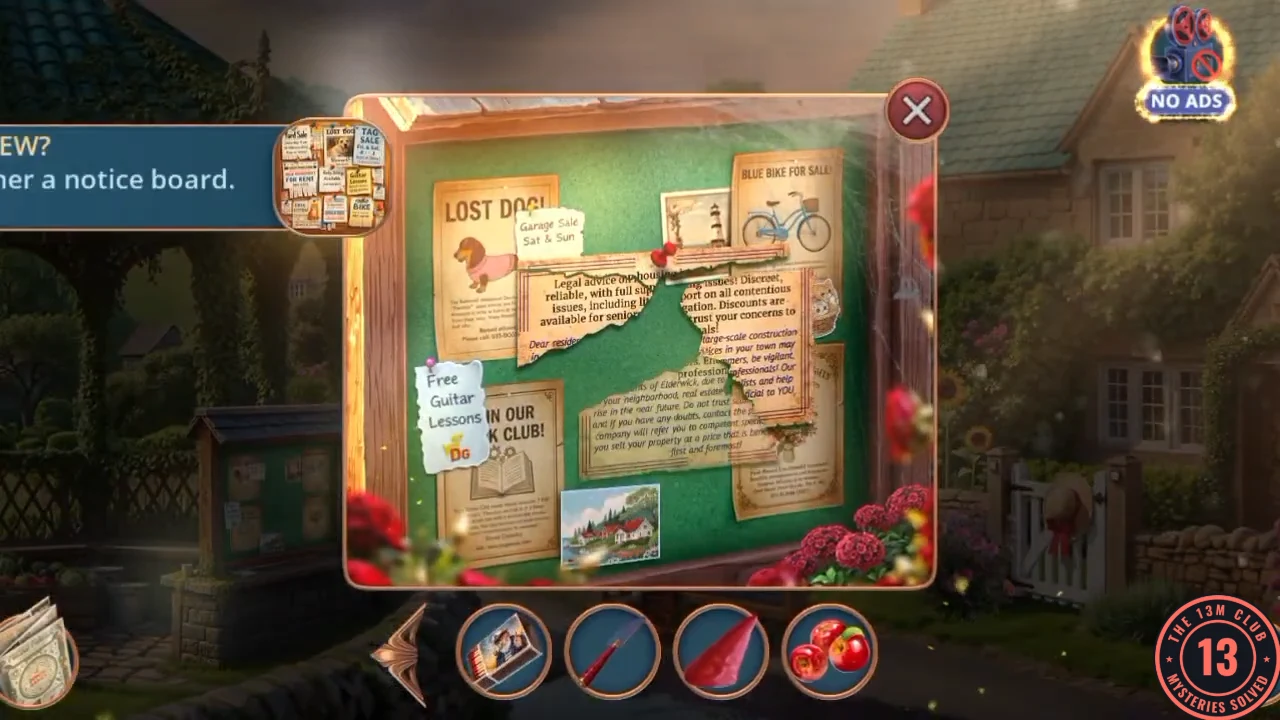
Put the torn advert back together, then find the money to pay the baker.
- In the Bakery lane, open the close-up with the bread roll and flowers by the stall. Pull the third Piece of Announcement out with the Dull Needle.
- Open the notice board and place all three Pieces of Announcement. Read the advert and take the Glue. Finish the memory of the black gloves tearing the notices down.
- On the patio, open the gnome close-up and use the Glue to fix the Gnome Hat on him. Take the Earring.
- In the car, open the blue diary and fit the Earring in the heart padlock. Read Dear future me. It tells you to always keep your wallet in your bag. Take the Ticket from the diary.
- The red handbag now sparkles. Clear the riddle scene: each line describes one object, for example "I am a curved thread that connects the pages to hold important thoughts in a single space." The last object gives you the Wallet.
Lemonade and Treats
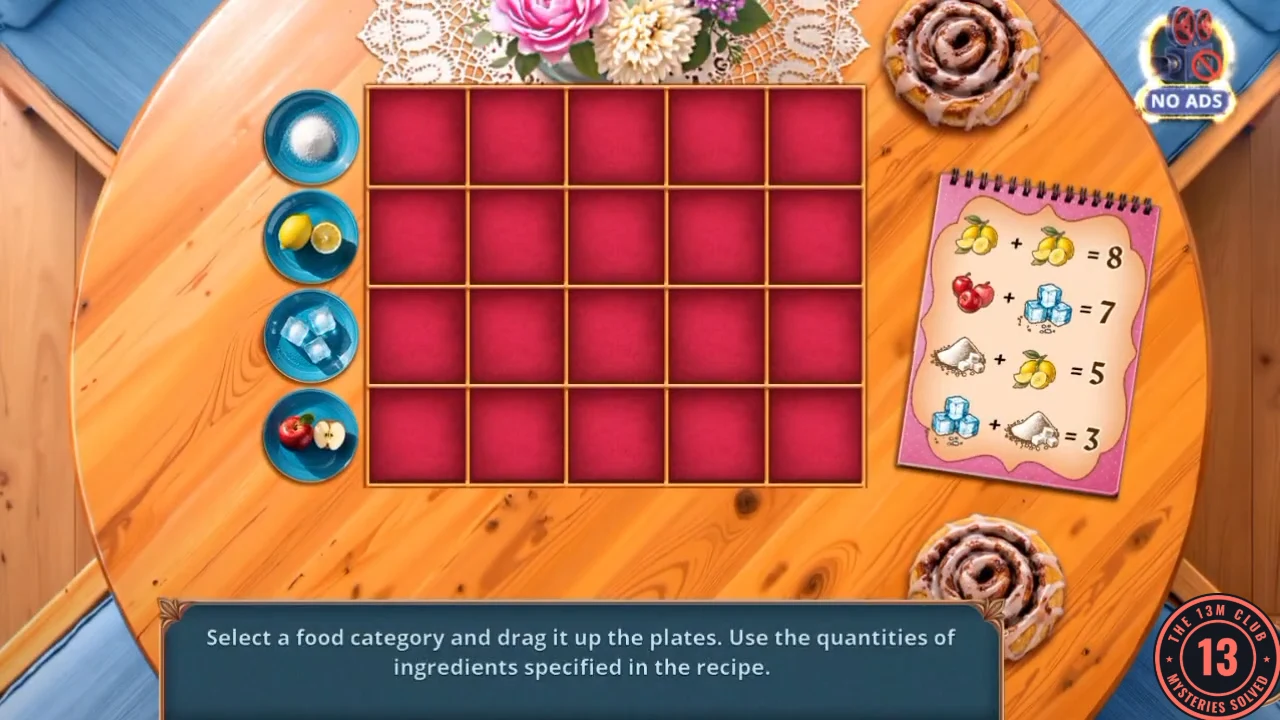
Pay for the treats, set the tray and work out the recipe.
- Open the bakery stall close-up. Put the Ticket on the plate, then the Wallet. You pay and get the Baked Goods.
- On the patio, open the tray close-up and fill the four slots at the side: Baked Goods, Clean Apples, Juicer and Lemons.
- Solve the food grid. Each row takes one food: drag it along its row to the column that equals its quantity. The recipe note gives lemon + lemon = 8, apple + ice = 7, sugar + lemon = 5, ice + sugar = 3 and honey + sugar = 4. That makes sugar 1, ice 2, honey 3, lemon 4 and apple 5. Check the note in your own game. If its numbers differ, work the values out the same way, starting from the line with two of the same food.
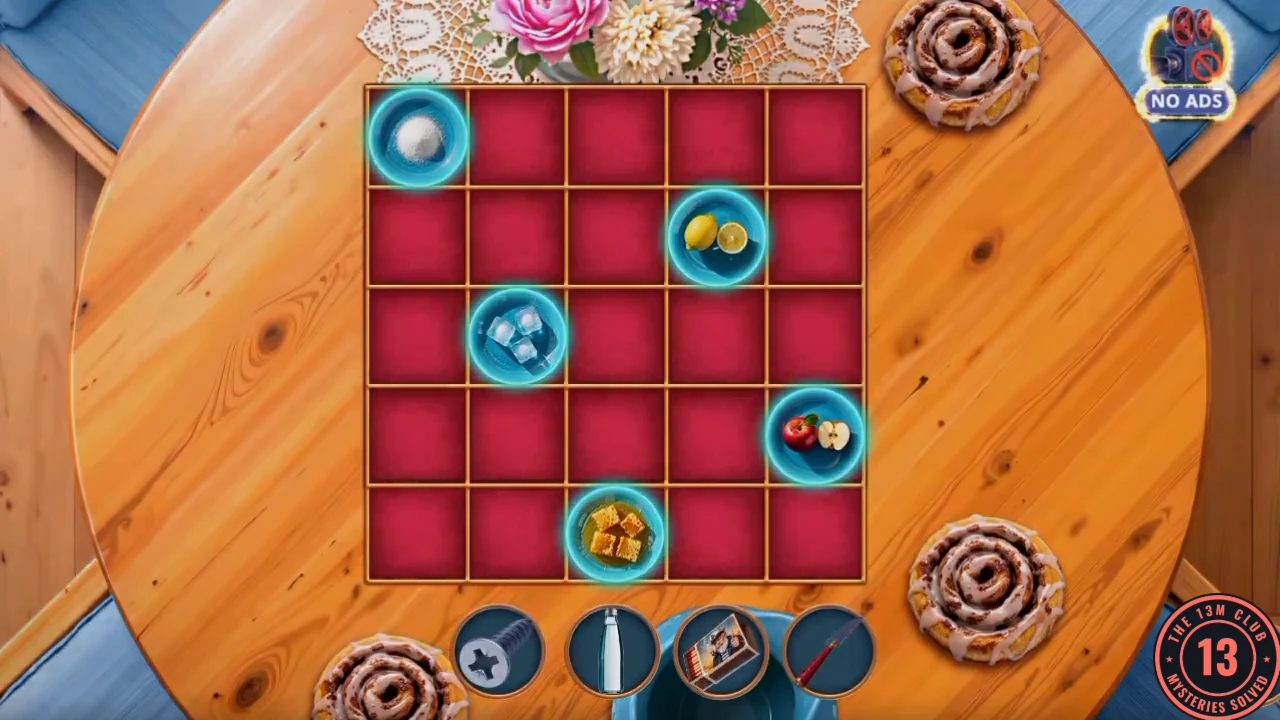
Solved: sugar in column 1, lemon in column 4, ice in column 2, apple in column 5 and honey in column 3.
The Flower Shop: The Back Room
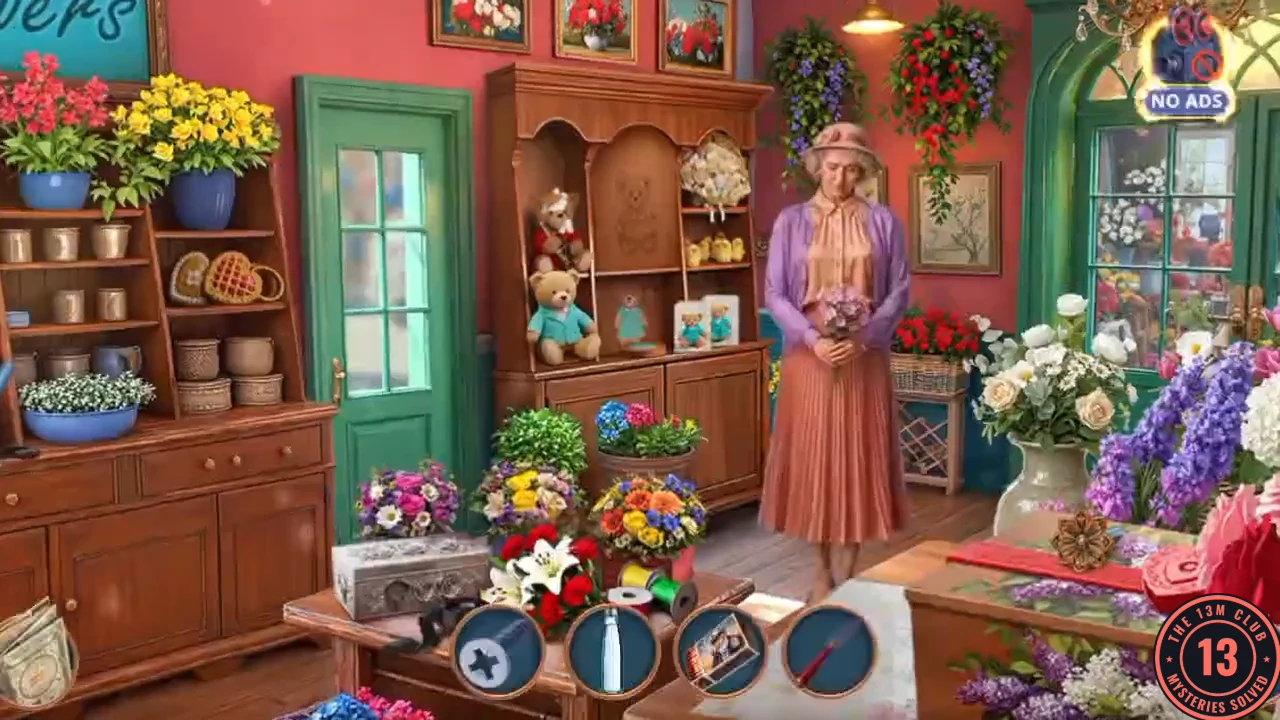
Marcus shows that the letters went to several residents, including the victims. Go and warn Mimi at the flower shop. This is also where you can unlock the last Bonus Location.
- Mimi is at the flower shop. This is the chapter's bonus choice. "Oh, sweetie... take a break, go to the pub. My treat." is worth +6 and opens The Pub Bonus Location. "I'm afraid I have more bad news for you." scores nothing and leaves it closed. On the mobile build the +6 line carries a DELUXE tag; see Decision Points and Bonus Locations in the last part. The task Put together a bouquet starts.
- Open the lilac counter close-up and take the Flower Amulet.
- Open the double door handles ("Another strange lock"). The right plate already has a flower. Put the Flower Amulet on the left plate. Clear the counted scene (Butterfly x2, Violet x3, Bird of Paradise x2, Bluebell x2 and so on). You get the Souvenir Bear.
- Open the wrapping shelf ("One roll is missing") and take the Flower Vase. Open the vase in your inventory. It asks for four things: put the Water Bottle in slot 1.
- Open the teddy shelf and put the Souvenir Bear in the empty outline. A panel opens. Take the Key.
- Use the Key on the counter box. Read the Three main rules notes, tapping the red words until the counter reaches 3/3, and take the Scissors.
- Open the ribbon box and take the Special Wrapping Paper. The vase will not take it yet.
- Use the Special Wrapping Paper on the wrapping shelf to start the puzzle. Fit every sheet into the square with no empty spaces and no sheets left over. The control at the top centre rotates the selected sheet. The finished square has an X through its centre with the yellow diamond at the bottom of the centre, so place the sheets that form the X first. Take the Special Wrapping.
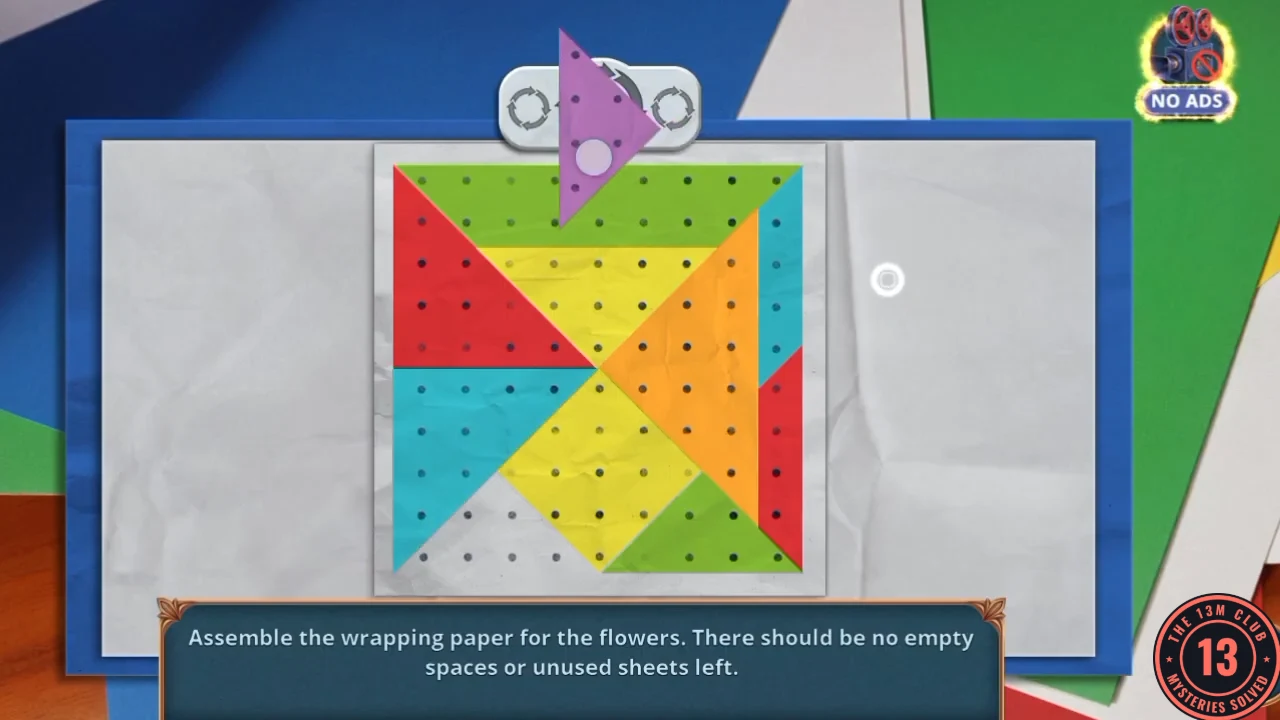
Nearly finished: only the purple sheet is left, for the empty gap at the bottom. - Marcus checks in. For +1 decision point choose "You can't just dump something like that on her doorstep; she has a weak heart." (the summary calls this Explain delicately). "Do you want a stroke to finish her off before O'Brien does?" scores nothing.
The Pub: First Visit
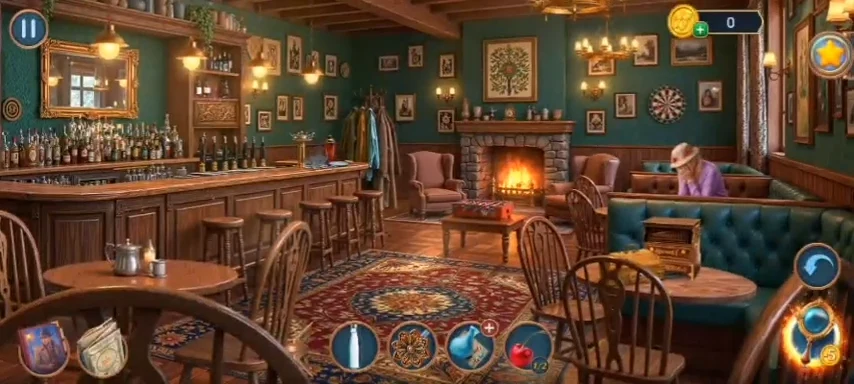
Bonus Location, Chapter 4. How to unlock it: offer to take Mimi to the pub with the +6 line, then choose The Pub from the Chapter 4 tab of the map. You can start at any time after the choice. These steps were checked on the free-to-play build, where the line has no tag and no visible charge. The access note under Decision Points and Bonus Locations also applies here. The task is Have a drink with Mimi.
- Open the map and go to The Pub. Marcus says to skip the alcohol and not to forget Mimi's favourite cherries. Open the jukebox close-up and take the Cherries on the mat.
- Open the bar corner close-up with the saucer and glasses. Take the Magnet Ringlet. Note the empty saucer.
- Open the foosball table close-up and use the Magnet Ringlet on the metal disc at the left. Take the Magnetic Keychain.
- Open the jukebox drawer, press the Magnetic Keychain on the round lock and take the Marble Flower.
The Flower Shop: The Farewell Bouquet
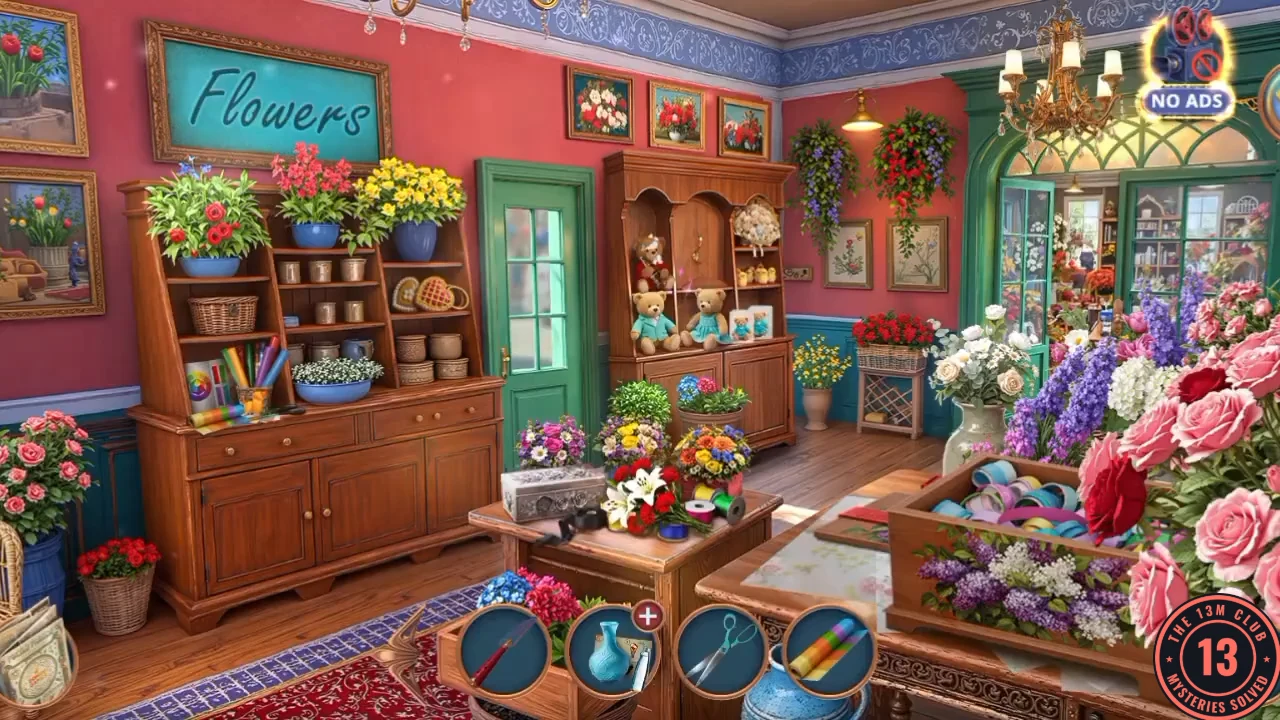
Finish the bouquet for Mr. Graham. If you unlocked The Pub, finish the next section as well before you put the bouquet on the counter.
- Open the flower table close-up and use the Scissors on the dangling spool to cut the Black Ribbon.
- Use the Special Wrapping on the bouquet on the table and take the wrapped Bouquet.
- Open the Flower Vase in your inventory. Put the Black Ribbon in slot 2 and the Bouquet in slot 3. Mavis sighs about a farewell bouquet.
- Open the silver box on the table and take the note beside it. It is the Florist's Instructions, asking for lycoris. The box itself stays shut unless you have the Marble Flower from The Pub.
- Open the teal door close-up and use the Florist's Instructions on it. Clear the silhouette scene. You get the Lycoris.
- Open the Flower Vase and put the Lycoris in slot 4. You get the Flowers for Mr. Graham. Don't place them on the counter yet if you still have The Pub to finish.
The Pub: Mimi's Drink
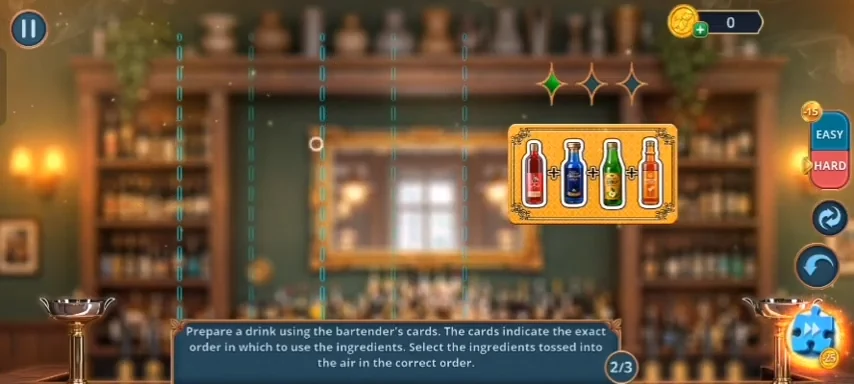
Bonus Location, Chapter 4, only if you unlocked it. Finish this before you put the bouquet on the counter, because the game warns that you can't go back after that. You need the Marble Flower from your first visit. These steps were checked on the free-to-play build, where the line has no tag and no visible charge.
- In the flower shop, fit the Marble Flower into the flower-shaped slot on the silver box. The lid opens. Take the Handle of a Hurdy-Gurdy.
- In The Pub, open the jukebox close-up and fit the handle on its right side. Crank it. The front panel falls open. Take the Football Player Figurine.
- Open the foosball table and fit the Football Player Figurine. The table turns. Take the Thread and Needle.
- In the flower shop, open the teddy shelf and use the Thread and Needle on the torn teddy. Take the Bottle.
- In The Pub, open the whisky shelf. It holds three bottles: add the Bottle as the fourth. A carved panel drops open with glasses and cherries.
- Open the bar saucer and put the Cherries on it. Solve the drink puzzle. Each of the bartender's cards shows the exact order of the ingredients, and the ingredients are tossed in the air across the screen. Tap them in the card's order. There are 3 rounds and an EASY or HARD setting.
- Talk with Mimi and ask anything you like. She says someone has been walking around her house and the lawn is trampled. You earn the Best Mates achievement and the task completes.
Mimi's Cottage: Setting the Trap
Placing the bouquet ends your visit to the earlier locations, so pick up any Heart Keychains you still want before you confirm. After that, the action moves to Mimi's cottage at night.
- Use the Flowers for Mr. Graham on the counter box. A warning says you can't go back to previous locations to find remaining items. Choose YES when you are ready. Finish the memory of the florist and her customer with the orchids.
- Mimi asks what you came to say. For the highest score choose Try not to scare Mimi (+4). Tell her she's in danger is +2, and Vaguely talk about the danger scores nothing.
- At Mimi's cottage at night, Marcus goes over the plan. Neither reply scores a point. The task Set a trap for the killer starts. Open the birdbath close-up and take the Cleaner Spray and the Ratchet Base.
- Open the blue mailbox close-up, where a crow is sitting. Take the Threads.
- Open the potted hydrangea close-up. Spray the Cleaner Spray on the dirt at the base of the pot, then clear the soapy dirt with the Trowel from the patio table. Take the Spare Key.
- Use the Spare Key on the cottage door and finish the memory of Mimi on the sofa.
- Mimi asks if she is doing a good job as bait. For +1 decision point choose "We're not helpless. Take you, for example - you're very brave." (the summary calls this Praise Mimi). "Don't freak yourself out, or you'll mess everything up." scores nothing.
- Open the French door close-up and take the Empty Oil Lamp. Note the crocodile-shaped hole in its lock.
- Open the tapestry close-up and take the first of the Thick Pillows (1/3). Then open the lamp in your inventory and put the Matches in it. It still needs fuel.
- Open the tapestry close-up and use the Threads on it. Clear the paired items scene. You get the Stick.
- Open the cat tower close-up and poke the top with the Stick. The Wind-Up Crocodile falls down. Take it.
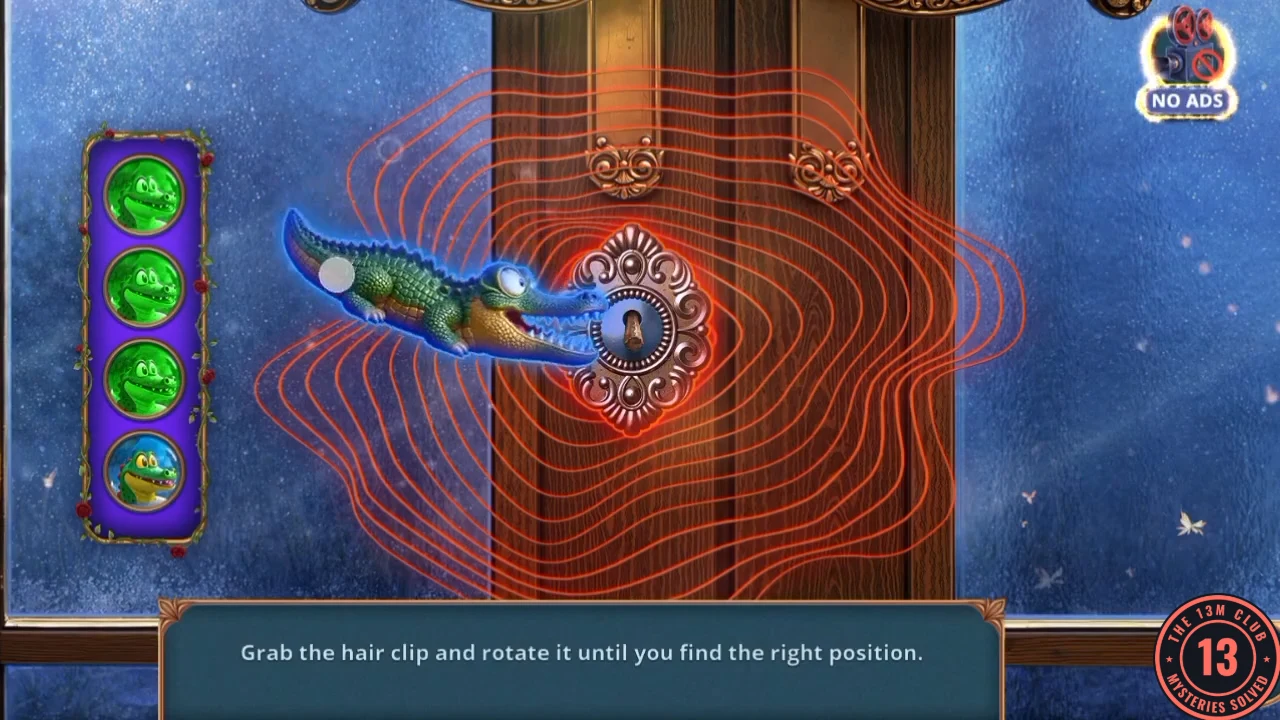
- Use the Wind-Up Crocodile on the French door lock to start the puzzle. Drag the hair clip around the lock and rotate it until the waves turn from red to green. Red means wrong and green means right. Each of the four lights on the left needs a new angle, and the angle changes every time, so sweep slowly around the lock until the waves turn green. The door opens.