Clarissa's Living Room
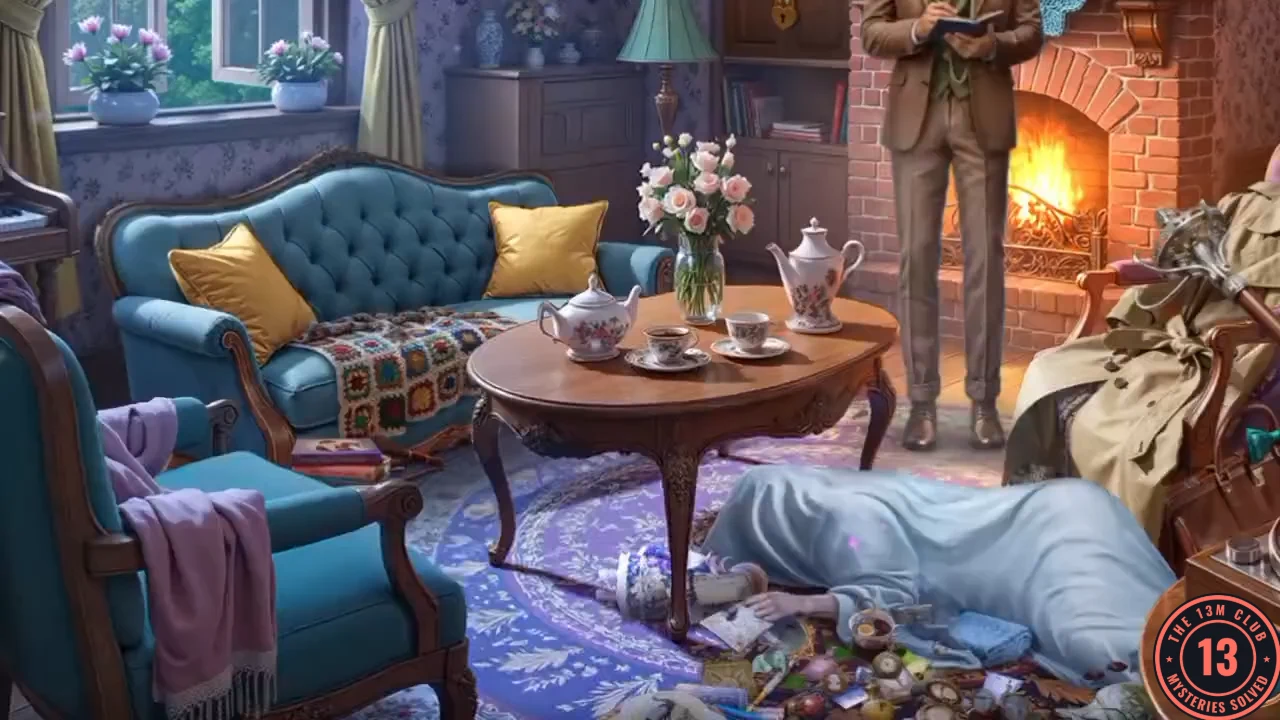
Chapter 1, The Murder at Elderwick, opens at Clarissa's house with the task Gather evidence (0/3). The game first asks you to pick a difficulty: Casual, Advanced, Hardcore or Custom. Your first answer to Detective Marcus carries no decision point, so answer as you like. If you want the Heart Keychains, keep that section open as you play, because warnings later in the chapter close off earlier locations.
- Open the sofa close-up. Take the first Hanger (1/2) and the Coarse Salt from the pile of romance novels, then slide the novels under the broken sofa leg. This uncovers a pink music box and the Rubber Garden Gloves. Take the gloves.
- Use the Rubber Garden Gloves on Clarissa's hand. In the hidden-object scene, tap the objects named by the yellow words in Mavis's text. The last one gives you the Strange Letter.
- Give the Strange Letter to Marcus. He hands you the Ballerina Figurine.
- Put the Ballerina Figurine on the pink music box. It opens: take the Gold Token (1/2), the Sponge and the Key.
- Use the Key on the heart padlock on the sideboard. Take the Sprayer and the second Hanger from inside.
- Use both Hangers on the heap of coats on the armchair. Tidying them reveals a fresh footprint, your second piece of evidence. Take the Brush and the Magnifying Glass.
- Use the Magnifying Glass on Clarissa's hand and find all the objects with writing on them. This uncovers a torn note and completes Gather evidence (3/3).
Mavis's Kitchen: Bake a Pie
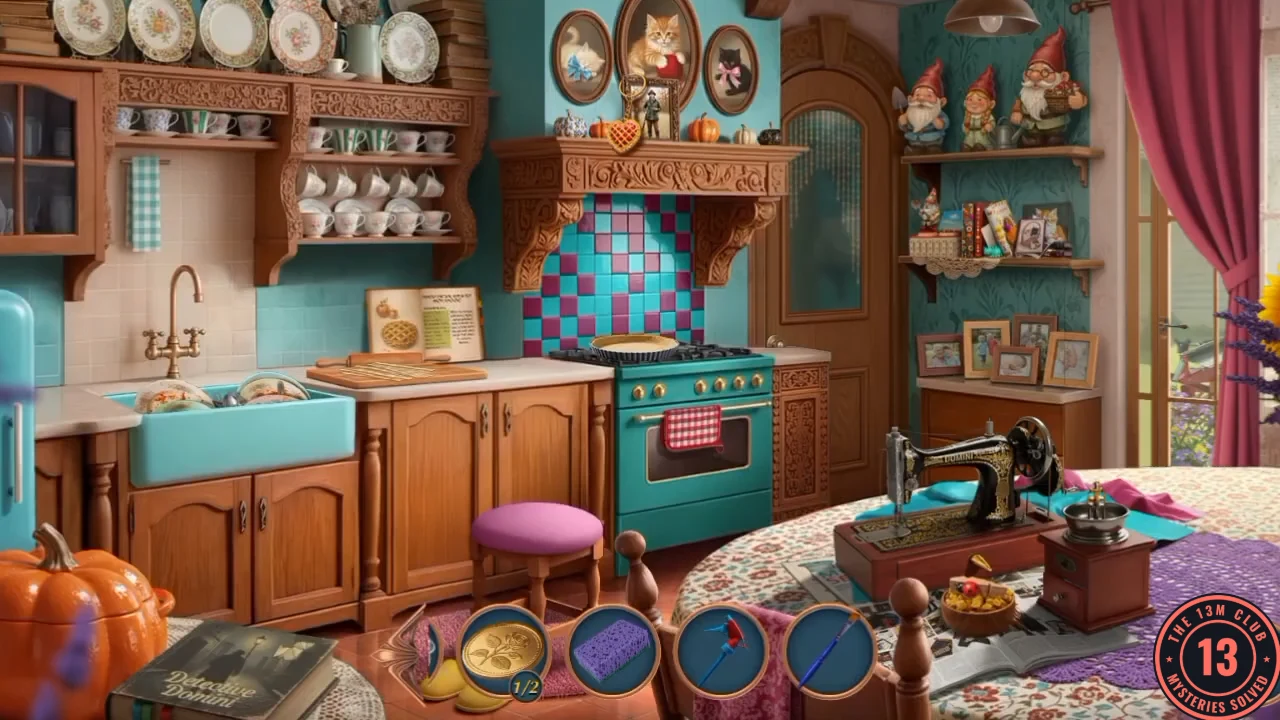
Back home, the task is Bake a pie. Everything you need is in this room.
- Open the sewing machine table. Take the first Clothespin Part (1/2) and the Raisins from the dish.
- Open the gnome bookshelf and read the album. Tap the three ringed spots (1/3 to 3/3) to relive the memory, then take the Apples.
- Use the Sponge on the dishes in the sink. The clean stack gives you the Mill Lever.
- Open the mill on the sewing table. Fit the Mill Lever, add the Coarse Salt and grind it into Ground Salt.
- At the stove, fill the crust with the Apples, Raisins and Ground Salt, lay the lattice strips over the top and put the pie in the oven. You get the Pie and the Pastry Chef achievement.
- A memory follows. Swap the four picture pieces into place to finish it.
- When you talk with Marcus, choose "It's a secret, love... When I touch things, I can see the past and sometimes even the future..." for +1 decision point (the summary screen calls this Calm Markus). The other line scores nothing.
Elderwick Lane: Mr. Higgins
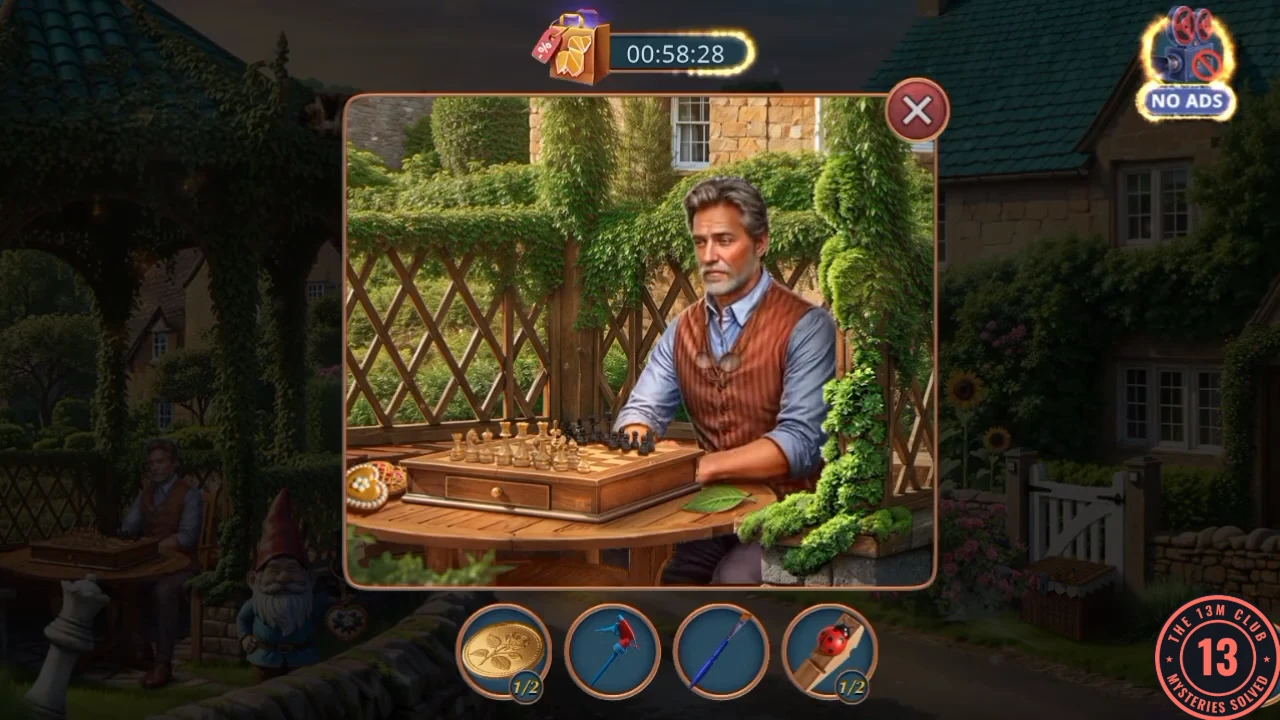
Your next task is to question Mr. Higgins, who sits at the chess table in the lane.
- Give the Pie to Mr. Higgins. For +1 decision point choose "Mr. Higgins, you have insomnia, aren't you? Did you see anything odd around Clarissa's house at night?" (the summary calls this Ask warmly). He gives you the Insecticide.
- Combine the Insecticide with the Sprayer in your inventory to get Insecticide Spray.
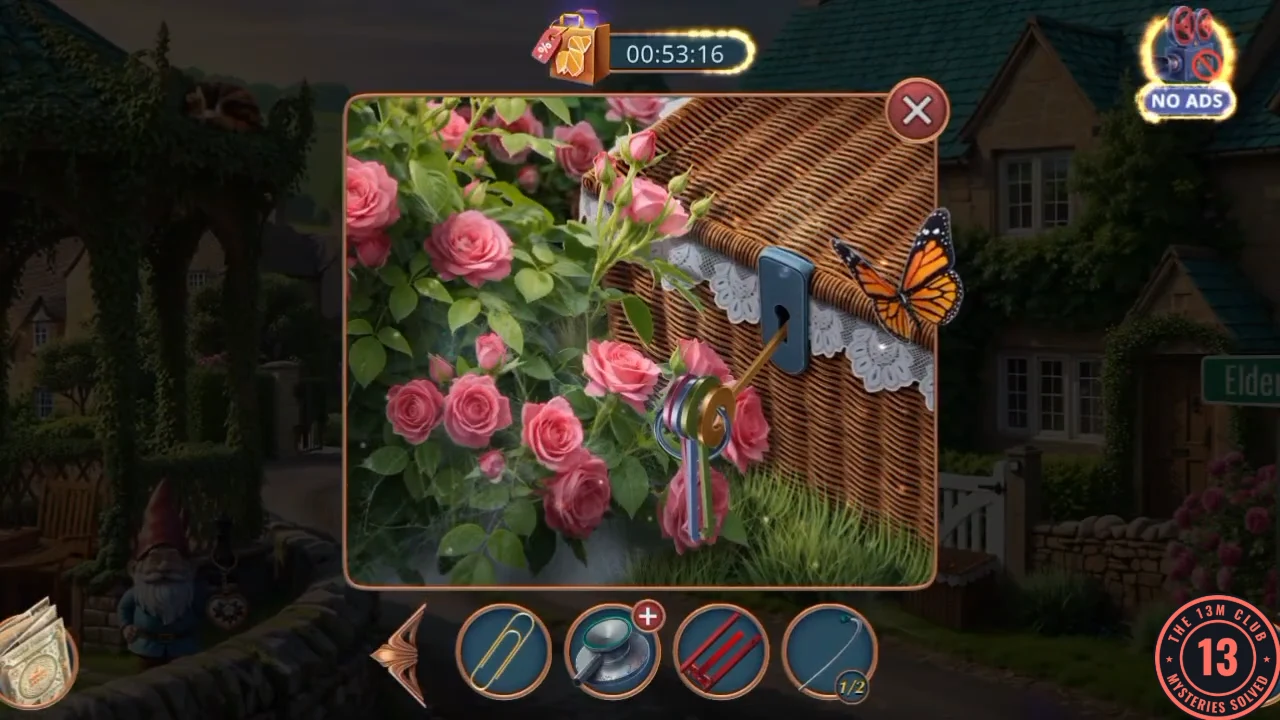
- Spray the webs on the wicker basket among the roses to expose the Shoe Polish, then take it. The basket's blue lock stays shut for now.
- Use the Shoe Polish on the rusted gate hinges. The gate to the square opens.
The Square by Day
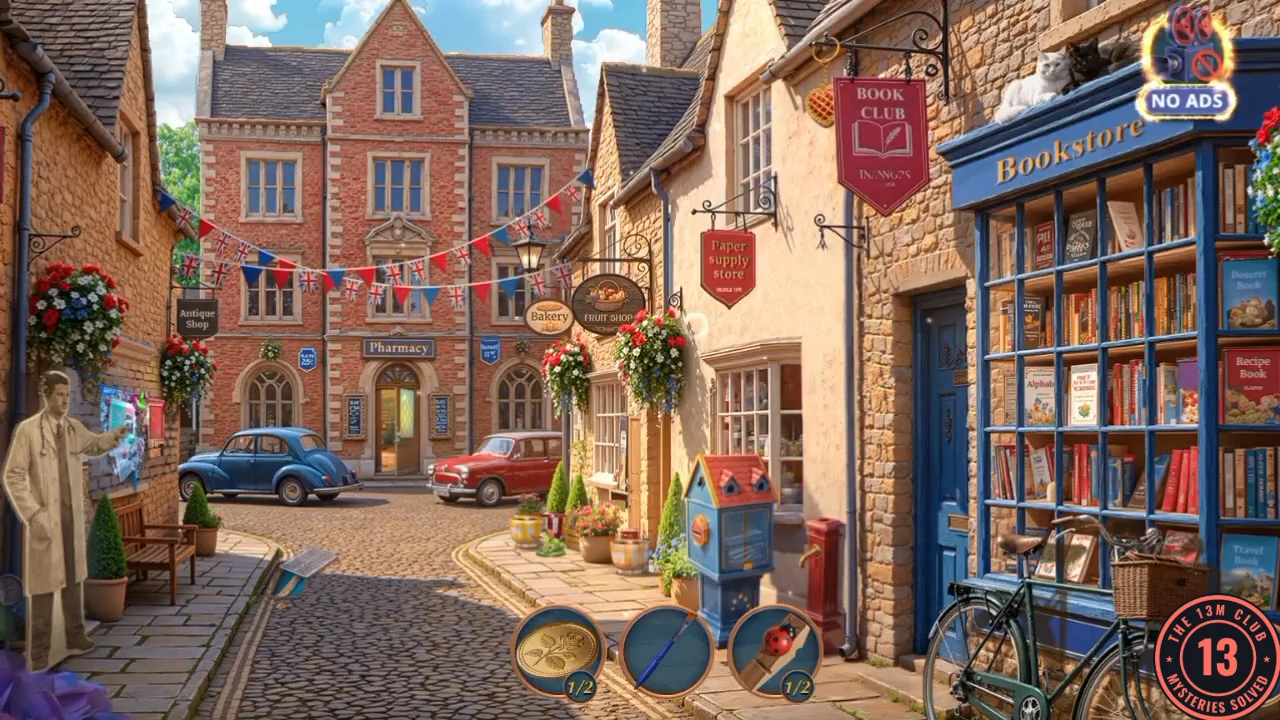
A memory of a hooded man at the pharmacy door plays as you arrive. After that you need your medicine from the Pharmacy. This is also where you can unlock the first Bonus Location.
- Swap the picture pieces into place to finish the memory of the hooded man at the pharmacy door.
- Mrs. Peabody stops you with the chapter's bonus choice. "I didn't call on Mrs. Peabody for a good while. I'm curious about the talk of the town these days." is worth +6 and opens the Mrs. Peabody's Bookshop Bonus Location. "I'm sorry, I just can't subjugate myself to the Book Club's rumor mill." scores nothing and leaves the bookshop closed. On the mobile build the +6 line carries a DELUXE tag; the next section explains what that means for you.
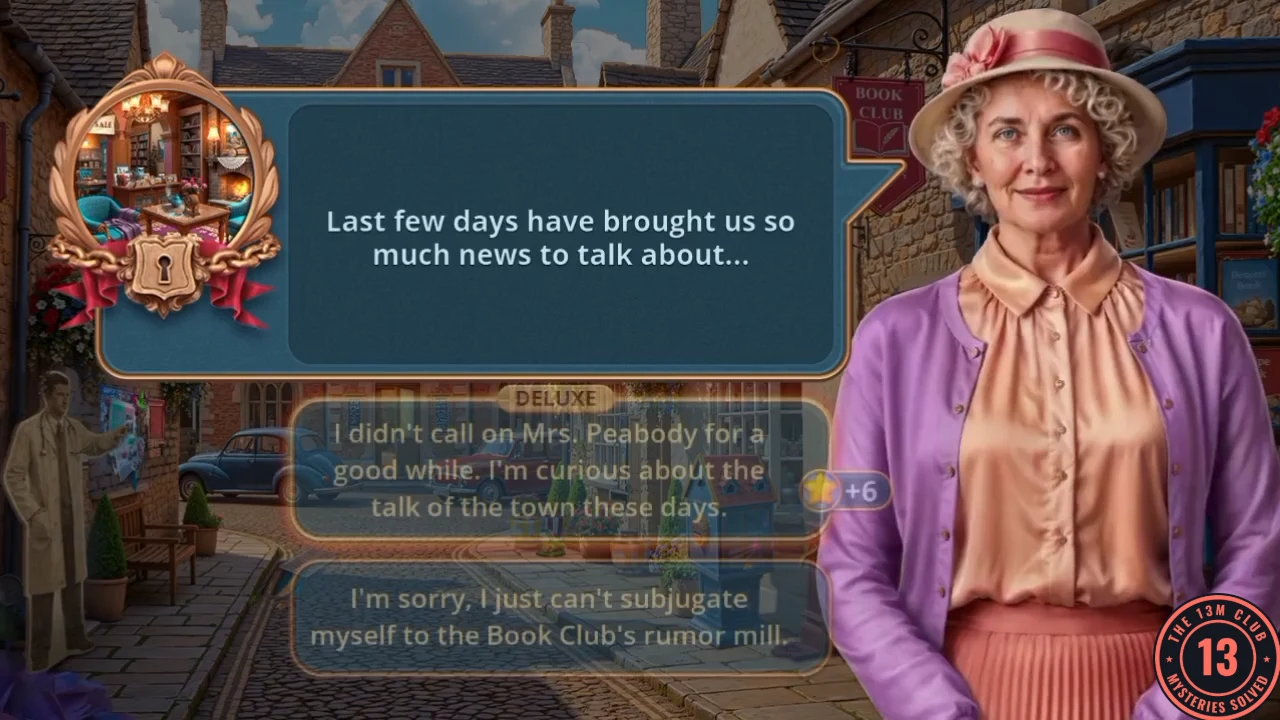
The two replies as they fade in on the mobile build. The upper line has the DELUXE tag and the +6 star. - Open the drain close-up and take the Ceramic Butterfly.
- Open the frog planter and put the Ceramic Butterfly on the frog's tongue. It gives you the second Gold Token (2/2).
- Put both Gold Tokens in the slot of the blue newspaper box. Take the Newspaper, the Paperclip and the first of the Buttons (1/2).
Mrs. Peabody's Bookshop: First Visit
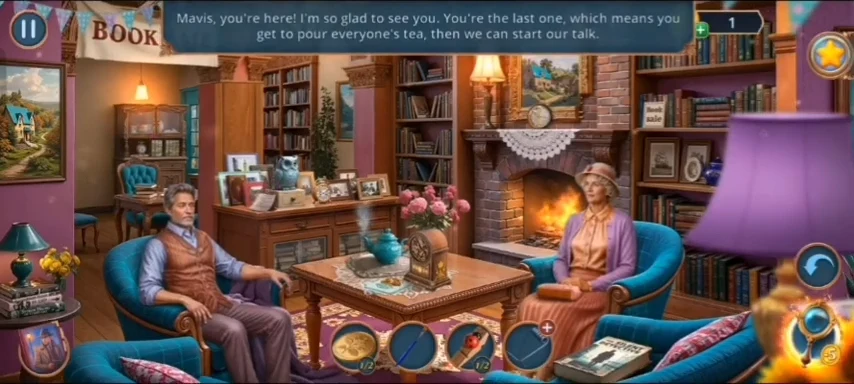
Bonus Location, Chapter 1. How to unlock it: choose the +6 line with Mrs. Peabody in the square. The bookshop door then glows and the map gains a Bonus Location tile for it. These steps were checked on the free-to-play build, where the line has no tag and no visible charge. On the mobile build the same line is tagged DELUXE, and the players we could check declined it, so we can't tell you what tapping it does there or whether it costs anything. If you refuse the line, skip the bookshop sections; the main story doesn't need them. The new task is Prepare the tea.
- Enter the glowing bookshop door. Mrs. Peabody says you are the last to arrive and must pour everyone's tea.
- Open the painting above the mantel and take the Clock Face.
- Open the owl shelf. Read the Book Club Meeting Schedule and take the Red Leaves from the bottom of the shelf.
- Open the tea table and fit the Clock Face on the mantel clock. Its case opens: take the Drawer Handle.
- Open the cupboard, fit the Drawer Handle on the drawer and take the Tweezers. The tea isn't ready yet, so leave the bookshop and carry on with the main route. You come back in Brew the Tea below.
The Pharmacy by Day: Poster Lightbox
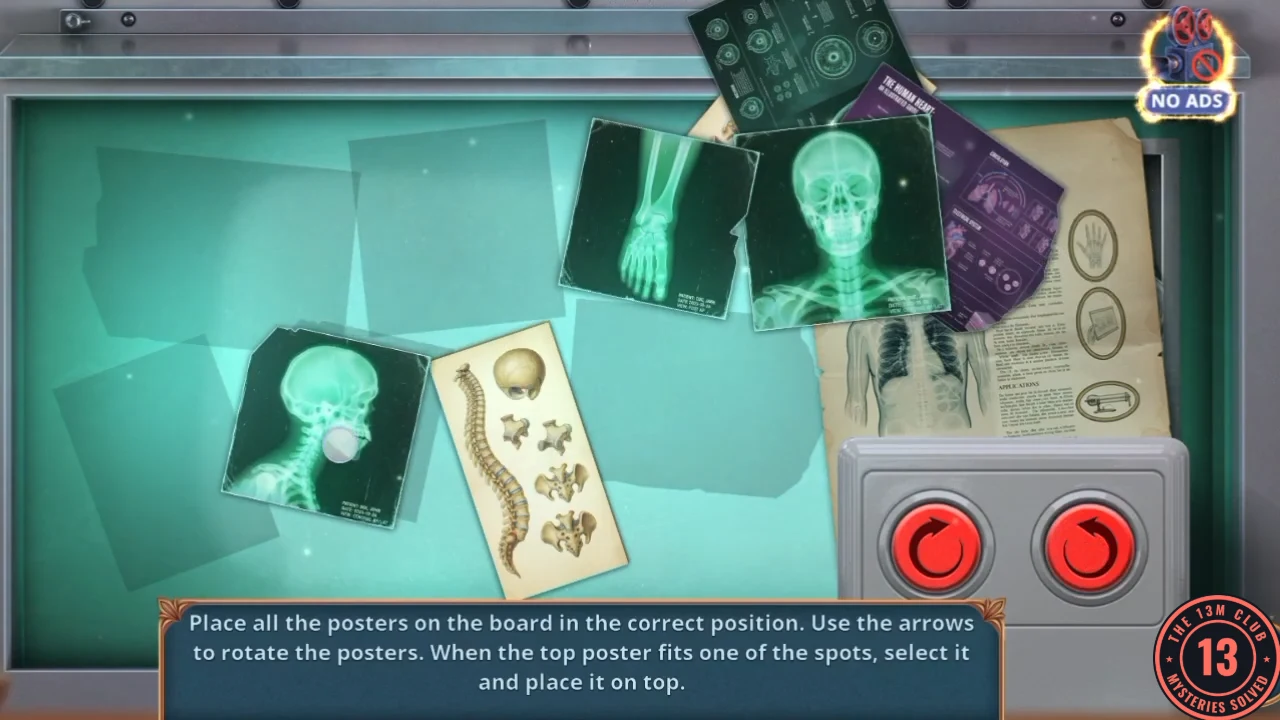
Nurse Agatha will only talk once you have bought your medicine, and you don't have the money yet. Start by searching the shop.
- Enter the Pharmacy. Take the second of the Buttons (2/2) from the dish on the counter and the Stethoscope head from the floor by the wheelchair.
- Open the X-ray lightbox. Take the Ratchet Part, then put the Buttons in the two round sockets to switch it on.
- Solve the poster board. The two arrow buttons rotate the stack of posters. When the top poster fits one of the free spots on the board, select it and place it. Repeat for all seven posters. A compartment opens: take the Ink Developer and the first Stethoscope Earpieces (1/2).
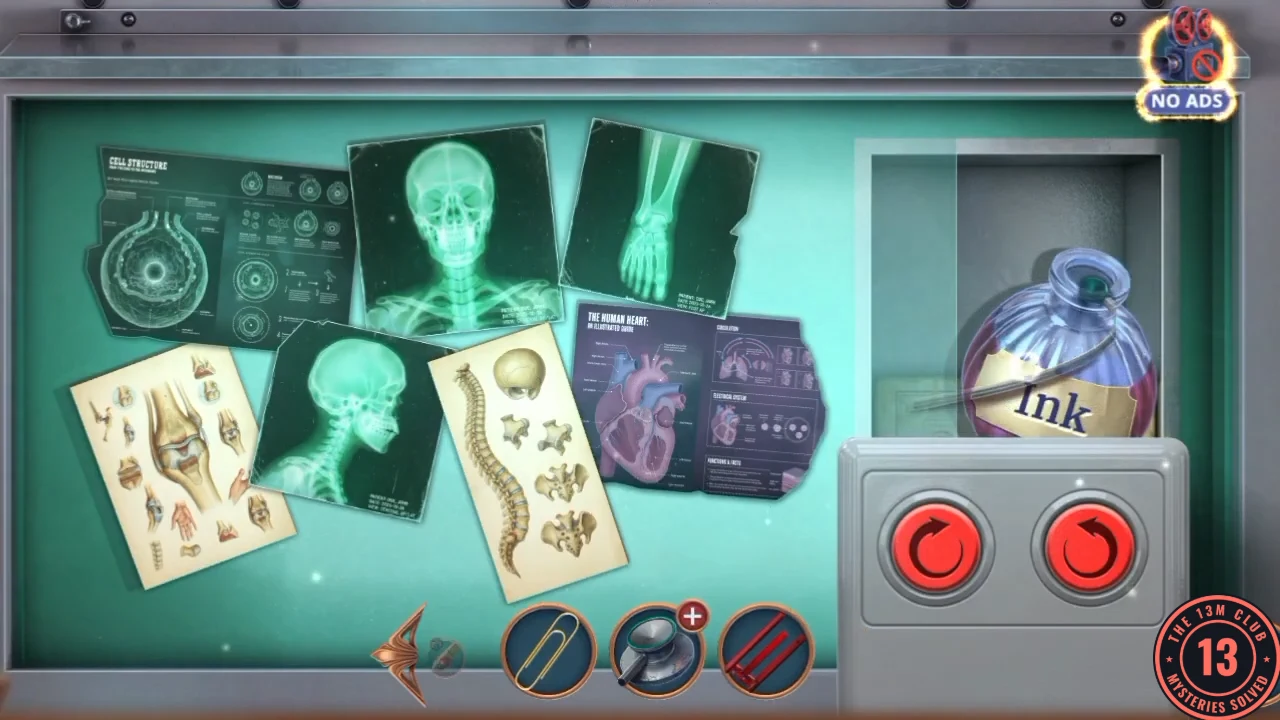
Completed board: all seven posters are placed and the compartment is open, with the Ink Developer inside. - Open the discount flyer on the counter. Use the Ink Developer, then the Brush on it to reveal the Pamphlet.
- Use the Pamphlet on the cabinet doors and clear the hidden-object scene to get the Lock Picks.
Lane and Back Yard Errands
You now need money and the medicine's label. Both are somewhere in the lane or at Mavis's house.
- In the lane, use the Lock Picks on the blue lock of the wicker basket. Take the Scraper.
- Use the Scraper on the ivy post beside the chess table. Take the red Oiler it uncovers.
- In the kitchen, use the Oiler on the back door handle to open the yard close-up.
- On the yard crate take My Wallet, then tap the small wooden piece that lay next to it. That is Clothespin Part 2/2.
- Open My Wallet from your inventory and use the Paperclip on its zip. Take the Banknote.
- At the Pharmacy counter, put the Banknote on the dish. The bottle slot beside it stays empty for now.
- In the lane, open the twig nest and take the Clothespin Spring. Open the spring in your inventory and add both Clothespin Parts to make the ladybug Clothespin.
- At the kitchen sewing table, use the Clothespin as a handle on the small drawer. It stays on the drawer. Take the Old Medicine Label and the Safe Dial.
Mrs. Peabody's Bookshop: Brew the Tea
Bonus Location, Chapter 1, only if you unlocked the bookshop. Finish this before you put the Drops on the Pharmacy counter, because the warning there closes the earlier locations.
- On the blue newspaper box, use the Tweezers in the hole of the triangular panel. Take the Owl's Eye.
- In the bookshop, fit the Owl's Eye on the owl on the shelf. The drawer opens: take the Cookie and the Chess Piece.
- At Mr. Higgins's chess table in the lane, place the Chess Piece and take the Frame Part.
- Back in the bookshop, put the Frame Part on the painting. It swings aside to show a niche: take the Book.
- Put the Book in the gap in the cupboard's row of books. The upper shelf opens: take the Four Teacups.
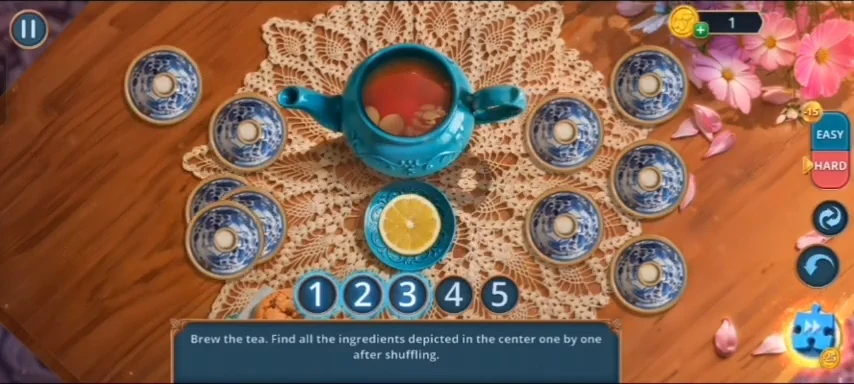
- On the tea table, place the Four Teacups, the Cookie and the Red Leaves in the three side slots. The tea mini-game starts.
- Brew the tea. The ingredient saucers flip face down and shuffle, and the centre saucer shows which ingredient to tap. Follow that ingredient's saucer with your eyes during the shuffle, then tap it. There are five stages. The shuffle changes as you play, so there is no fixed order to learn. An EASY or HARD setting is available.
- Listen to the talk: you hear that John O'Brien has been visiting Agatha Flynn. Prepare the tea completes and you earn the News Over a Cup of Tea achievement.
Buying the Medicine
This finishes the day. Check the Heart Keychains section first, because the warning in this section means you can't return for anything you missed.
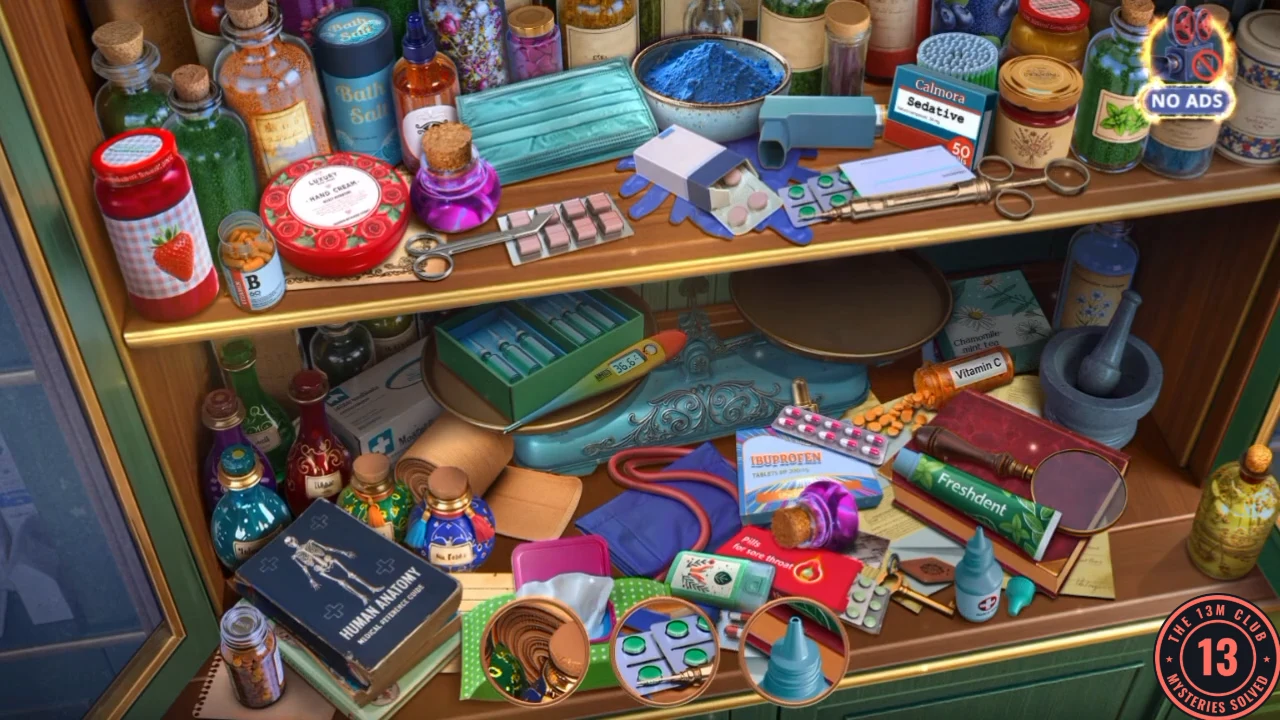
- Use the Old Medicine Label on the second cabinet and clear the silhouette hidden-object scene to find the Drops.
- Put the Drops on the counter. A warning says finishing the task stops you going back to earlier locations. Answer YES when you are ready.
- Ask Agatha about her night walks. For +1 decision point choose "Agatha, love. There's no denying it - you were seen walking late at night. Taking a stroll, were you?" (the summary calls this Approach the conversation gently).
- Place the picture pieces correctly to finish the memory. Buy the medicine completes and the new task is Get into the pharmacy.