Postmarks and Lies: Bookshop Street
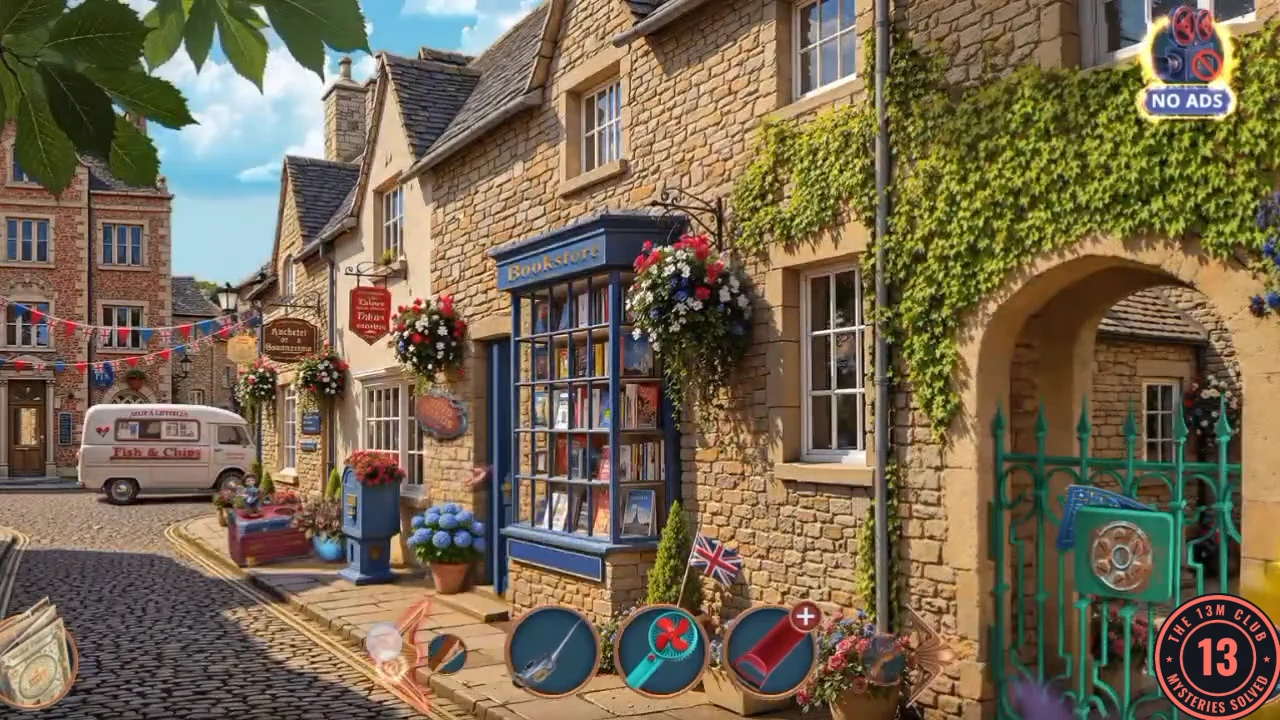
Chapter 3, Postmarks and Lies, opens with Mrs. Peabody on Bookshop Street. She mentions the charity fair at the bookshop. The green gate on the right is jammed, and the way to the Post Office is behind it. You'll use three things kept from earlier chapters: the plain Clothespin from the hardware store door, the Oiler and the hand Fan.
- Open the red letterbox crate close-up beside the blue pot and take the Pump without Nozzle.
- Open the KIND HANDS charity fair sign and take the Brush lying on top of it.
- Open the green gate close-up. A piece of blue paper is stuck in it. Use the plain Clothespin from the hardware store door in Chapter 2 to pull it out. It is the Coupon.
- Open the Bookshop door close-up and hand in the Coupon. Clear the charity fair word-list scene (Vintage Clock, Jewelry Box, Fan, Amber Earrings, Houseplant, Magazine, Plaid, Chess, Tea Service, Lace Napkin, Deck of Cards, Pince-Nez). The last tray object gives you the Screwdriver.
- Albert stops you on the street and invites you to the topiary competition. This is the chapter's bonus choice. "I thought you wouldn't offer. My pleasure, Albert." is worth +6 and opens the Topiary Competition Bonus Location. "I'm not really in the mood, sorry." scores nothing and leaves it closed. On the mobile build the +6 line carries a DELUXE tag; see Decision Points and Bonus Locations in the last part.
- At the gate, use the Oiler on the wheel, then the Screwdriver to open the screw board. Press every screw until it has a blue ring: the 6 screws on the wheel and the 4 in the corners. The wheel turns as you go.
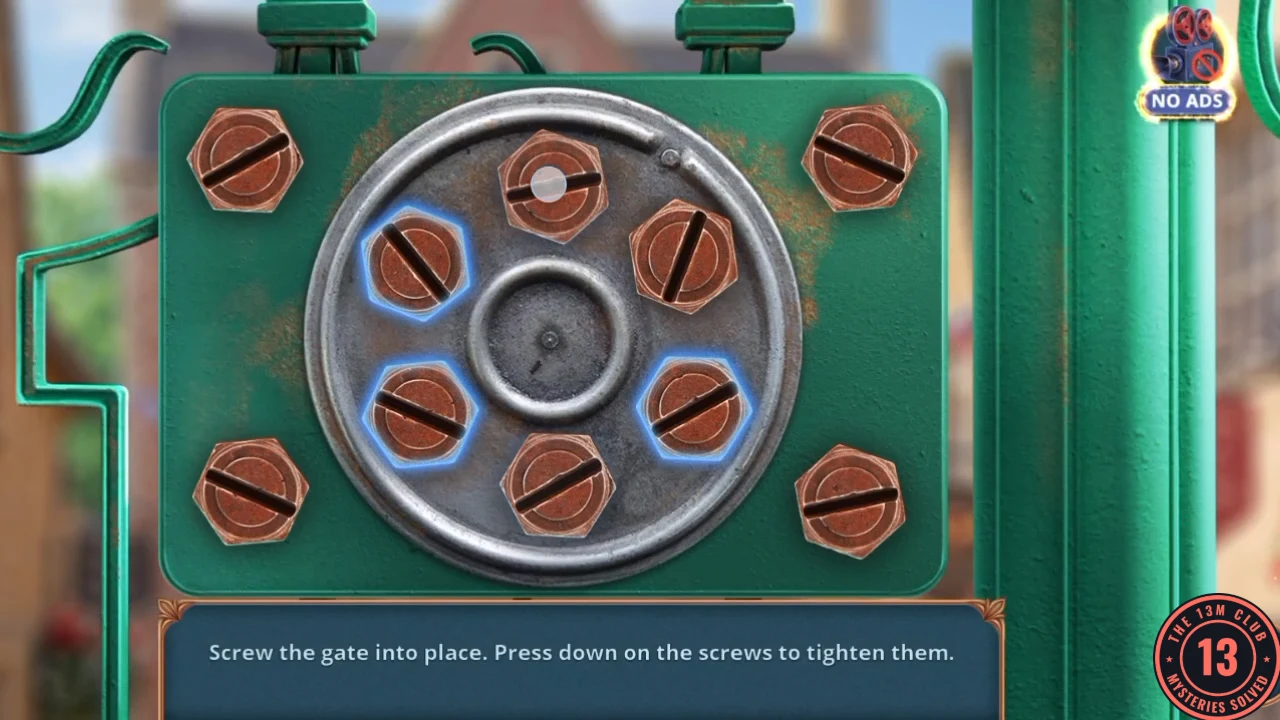
The screw board part-way through. A blue ring marks each screw you have already pressed.
Topiary Competition: Find the Flowers
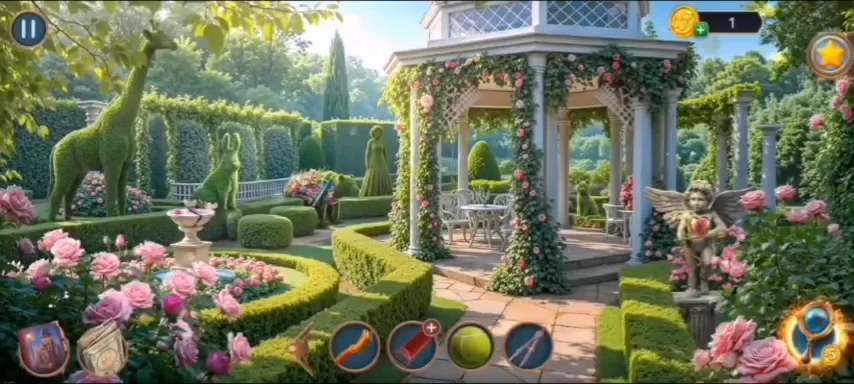
Bonus Location, Chapter 3. How to unlock it: accept Albert's invitation with the +6 line, then choose Topiary Competition from the Chapter 3 tab of the map. These steps were checked on the free-to-play build, where the line has no tag and no visible charge. The access note under Decision Points and Bonus Locations also applies here. The task is Decorate the topiary, and it needs three Flowers. You collect two now and the third after you get inside the Post Office.
- Open the map and go to Topiary Competition. Open the cupid statue and take the pink flower from its heart. That is the first of the Flowers.
- Open the bear topiary and take the Rake leaning against it.
- Use the Rake on the rose trellis to pull the lattice aside and take the Bottle with Nutrient.
- Open the broken birdbath with the dove and dip the bottle in it to get the Nutrient.
- Go back to Bookshop Street and open the red letterbox crate. Pour the Nutrient on the blue pot. Blue flowers and roses bloom. Tap the blue flower for your second Flowers piece, then take the white Bird.
- Back at the topiary birdbath, put the Bird beside the dove. Together they form a gold heart. Take it to the cupid statue. The heart and arrow are restored and you get the Pendant.
The Post Office Steps
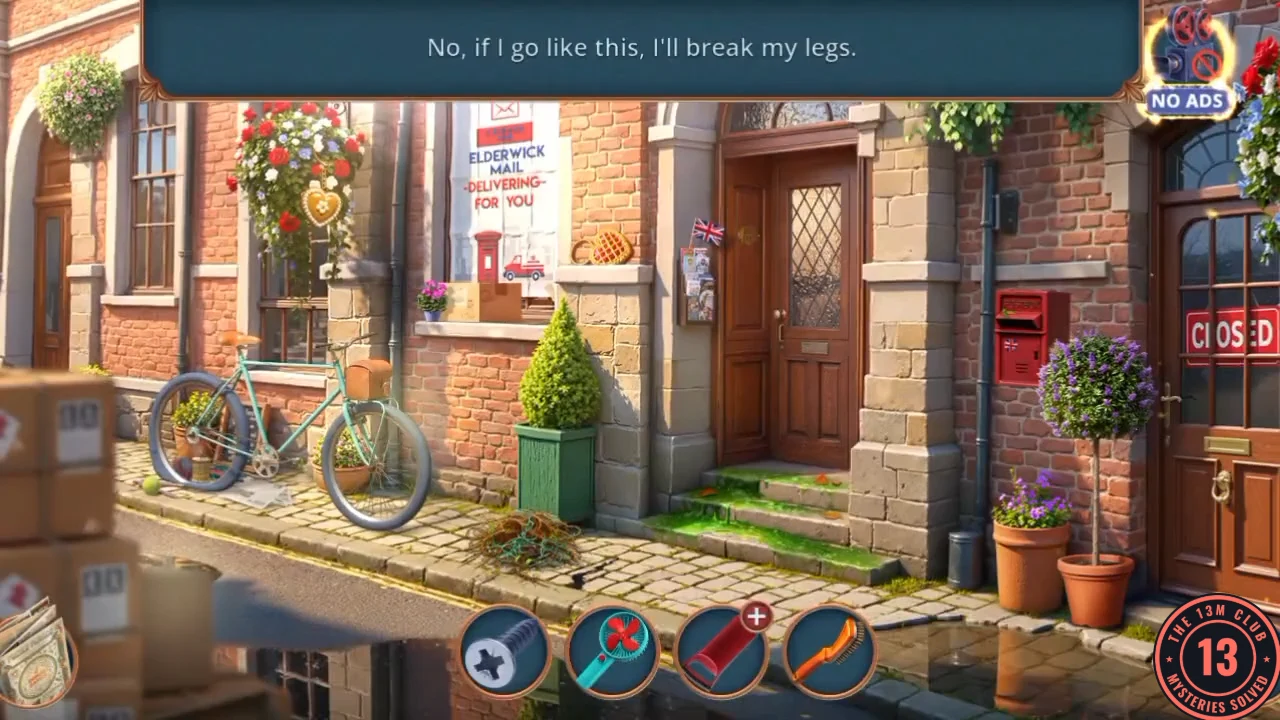
The Post Office is closed, and its steps are too slimy to climb.
- Open the bicycle close-up and take the Tennis Ball and the Dividers.
- Open the thorny manhole close-up. Use the Dividers on the thorns and take the Key.
- Use the Key on the red box and clear the riddle scene. Each line combines two clues, such as Travel + Sky or Brick + Roof, and points to one object. The last one gives you the Paper Knife.
- Cut the parcel on the window ledge with the Paper Knife and take the blue Dropper and the Cleaning Spray.
- Use the Cleaning Spray and the Brush on the slimy steps. Wipe the stains in the sequence the game asks for until the counter reads 3/3. The door opens.
Inside the Post Office: Tracks
Marcus is waiting inside, on the bench. The teal case on the counter has a red latch that you can only open on the bonus route, using the Pendant.
- Marcus asks if you know anything about Arthur. For +1 decision point choose "Great minds. Lately, there has been delays with the mail..." (the summary calls this Recall Arthur's oddities). "I'm not sure. He's a sweet lad, very polite." scores nothing.
- Open the trolley close-up and put the Tennis Ball under it. You earn the Padel achievement. The trolley rolls away. Take the gold Hairpin from the floor by the cabinet, and note the round recess in the cabinet.
- Open the teal case close-up with the spilled cup. Use the hand Fan to dry the coffee on the crossword. You earn an achievement. Take the first Number Fragment.
- Open the Out to lunch window and take the teal jar. It is the Unfinished Solution. Then use the Hairpin on the metal tray below it to start the tracks puzzle.
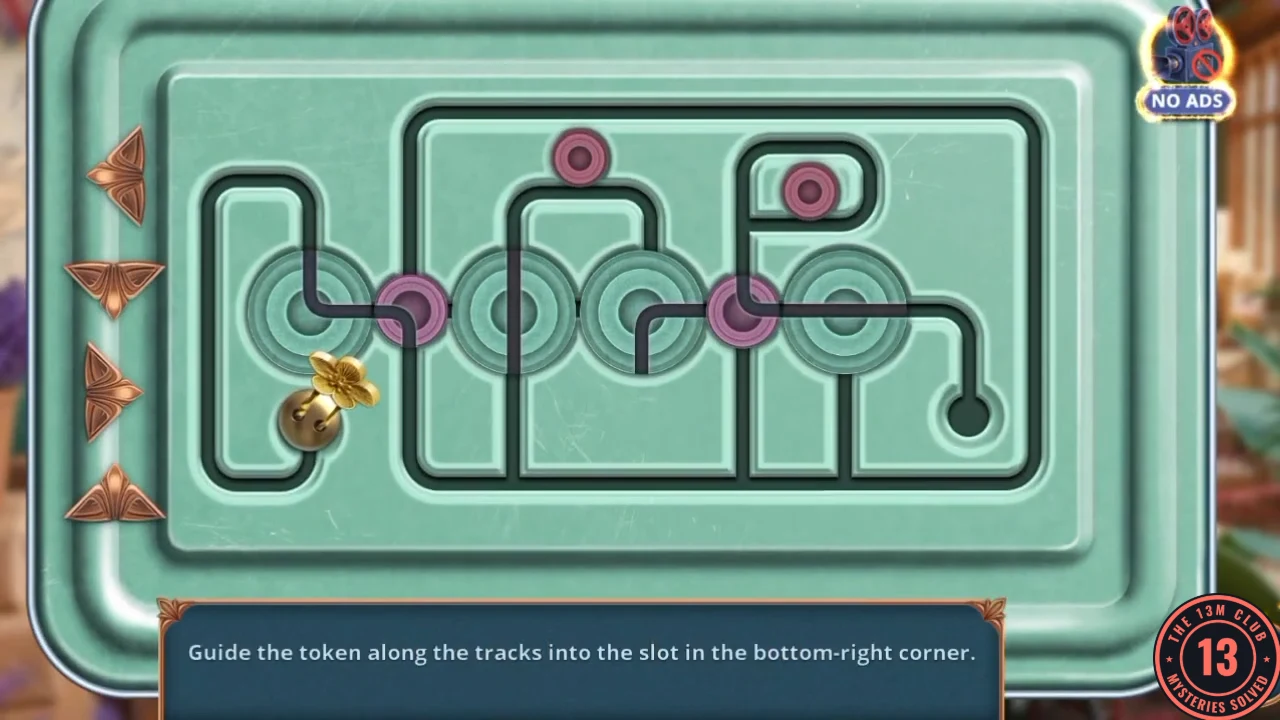
- Guide the token along the tracks into the slot in the bottom-right corner. The arrows at the left turn the pink pivots, so line up each junction before you send the token through it.
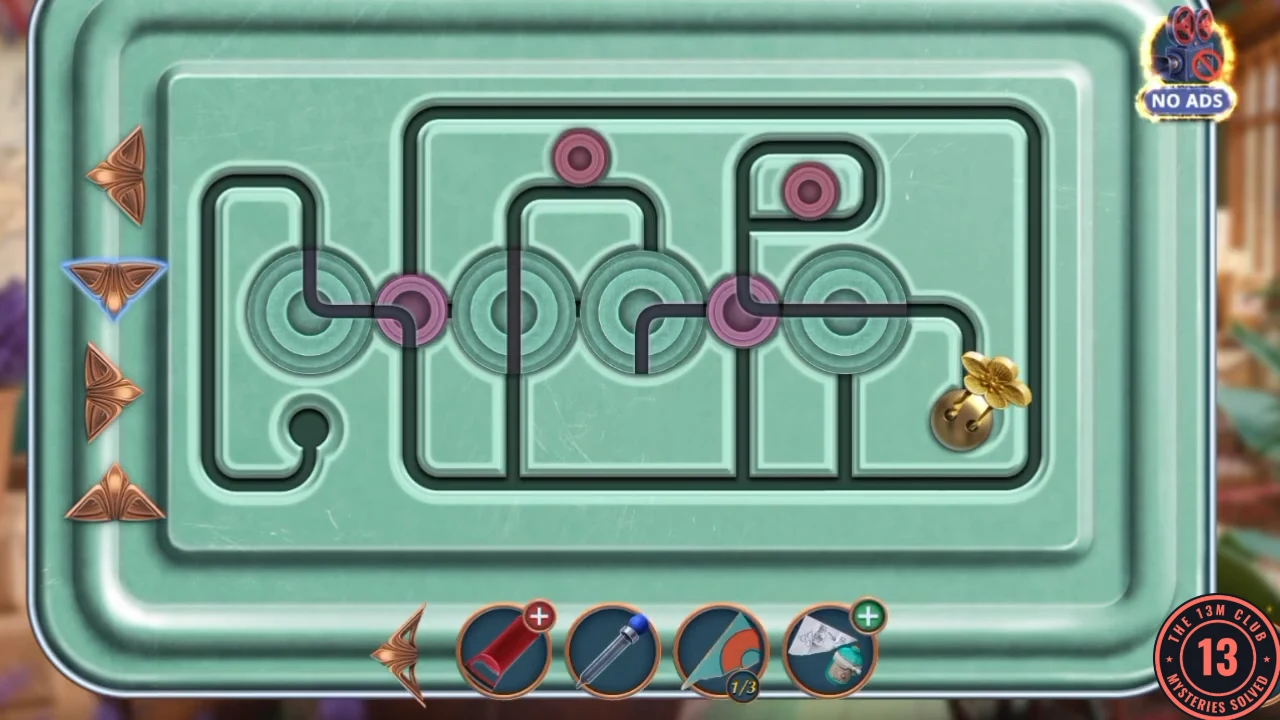
Solved: the token has reached the slot at the bottom right. - The tray opens. Read William's note about the lost pink case key and take the Chopsticks. The note sends you back to the charity fair.
- Open the Unfinished Solution in your inventory. It shows a diagram and three slots. Put the Dropper in slot 2 and close it.
Topiary Competition: Flower Threads
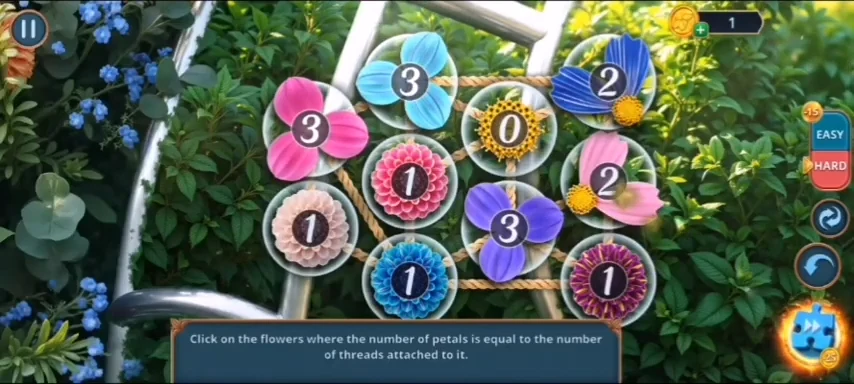
Bonus Location, Chapter 3, only if you unlocked it. Finish it now, while everything is still reachable. You need the Pendant from your first visit. These steps were checked on the free-to-play build, where the line has no tag and no visible charge.
- In the Post Office, open the teal case and use the Pendant on its red latch. It opens: take the Scissors.
- Open the map and return to Topiary Competition. Open the rose trellis and snip the pale pink dahlia with the Scissors. That is your third Flowers piece.
- Open the bear topiary and place all three Flowers. You earn the Dream Topiary achievement. Solve the puzzle: click each flower whose number of petals equals the number of threads attached to it. Tapped flowers vanish with their threads, so the counts change as you go; recount after every tap. An EASY or HARD setting is available.
- Albert concedes and offers his gossip. Ask either question: both get answers, and he tells you to look for an outsider. The task Decorate the topiary completes.
Fragments and Parcels
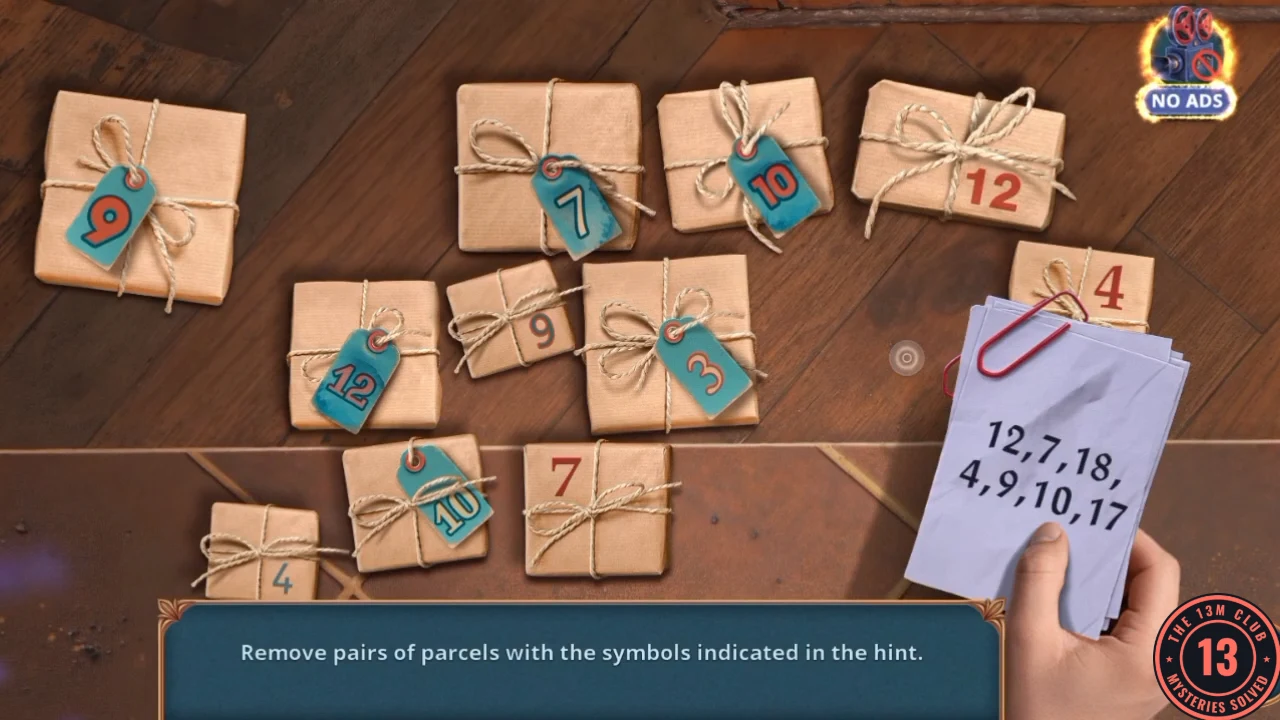
William's note points you back to the charity fair. You also need three Number Fragments before you can sort the parcel on the cabinet.
- Open the Bookshop door again and clear the second scene (Toy Car x2, Candlestick x2, Set of Paints x3, Vinyl Record x3). The last tray object gives you the Girl Figurine.
- Open the red letterbox crate and put the Girl Figurine on the lid beside the gnome. The crate opens. Take the Pipe.
- In the Post Office, fit the Pipe in the pipe-shaped recess on the cabinet. It opens. Take the Fake Hook and the second Number Fragment. A postman figure stands on a note inside.
- On Bookshop Street, use the Fake Hook on the upper left of the KIND HANDS sign. The sign swings and the third Number Fragment appears behind it.
- Put the Number Fragments on the cabinet note. The numbers read 12, 7, 18, 4, 9, 10, 17. In the parcel puzzle, remove the matching pairs carrying those numbers until the parcel tagged 3 is left.
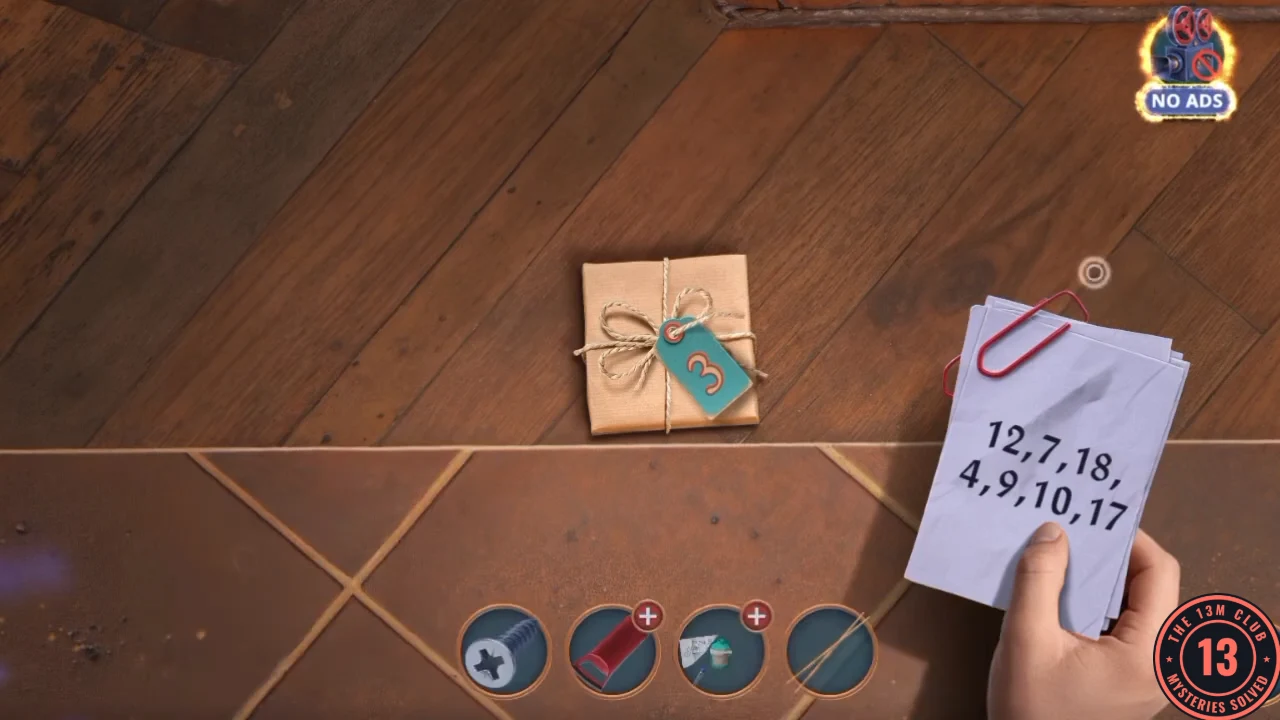
Finished: only the parcel tagged 3 is left. - Open the tag 3 box and take the dark Bottle and the Oven Mitten.
Bicycle, Mailbox and the Storage Room
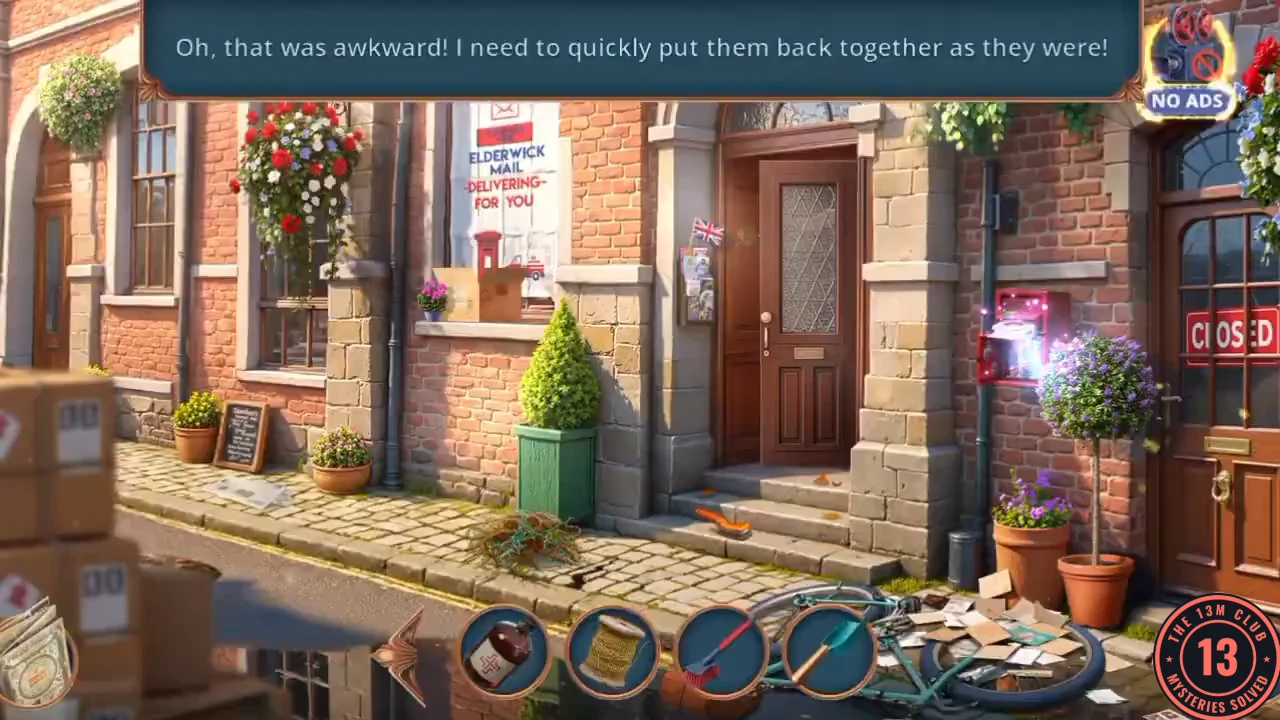
You can now pump up the bicycle and work out the storage room code. Use the digits your own crossword shows if they differ from the code below.
- Use the Oven Mitten on the thorns at the manhole to clear them and take the black Nozzle.
- Open the Pump without Nozzle in your inventory and fit the Nozzle. You get the Pump.
- Use the Pump on the bicycle's flat tire. The bike rolls forward. Read the letter to Arthur behind the wheel, and take the Threads and the Scoop. The bike then falls over.
- The mailbox now glows. Open it and clear the differences scene, using the button to switch between the two backgrounds. You get Half of Manual.
- Open the Unfinished Solution in your inventory. Put Half of Manual in slot 1 and the dark Bottle in slot 3. You get the Developer.
- Use the Developer on the crossword by the teal case. The digits 2426 appear in green. This is the Storage Room Code.CODE2426
- Enter 2426 on the keypad to the right of the counter.CODE2426
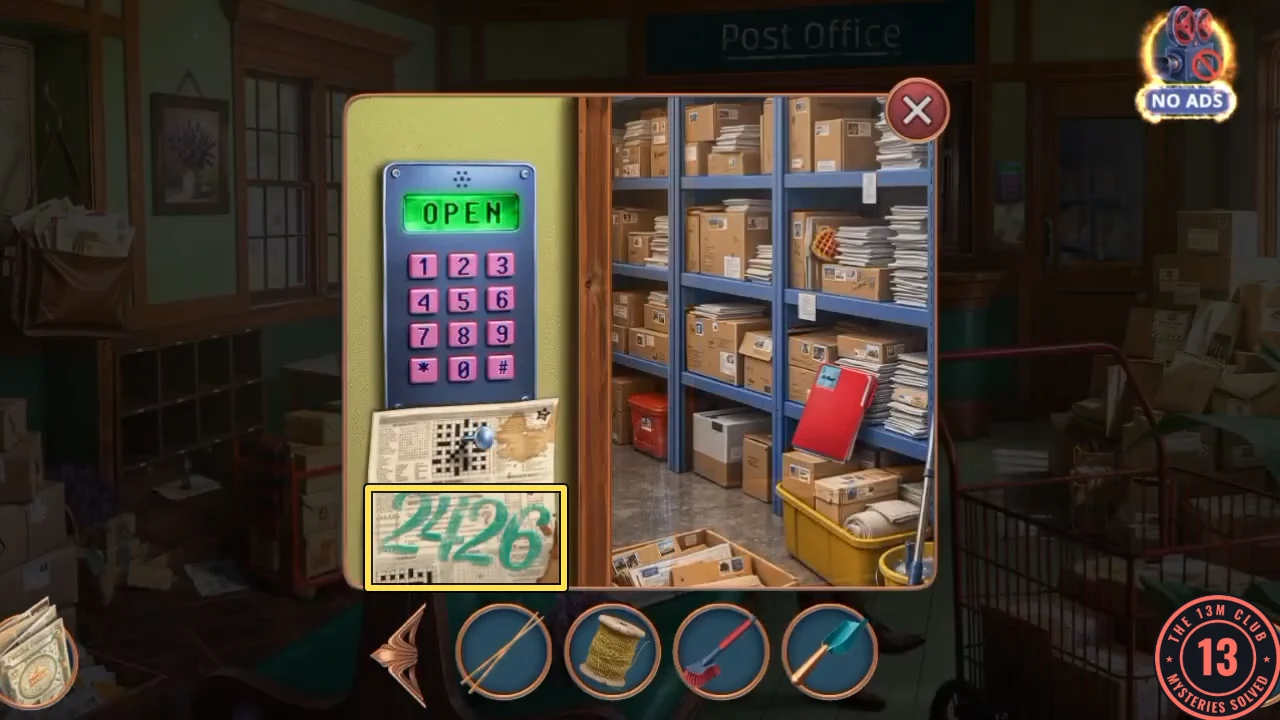
The keypad reads OPEN after 2426. The crossword's green digits are outlined below it. - Read Arthur's letters. On each of the 3 pages, tap the picture that matches the red word, for example a clock for time. Take Arthur's Notes, then finish the hexagon memory of the postman reading.
- Take the notes to Marcus. He asks how long Arthur has worked in the village. For +1 decision point choose "Three years, no less. Do you think those suspicious letters were his doing?" (the summary calls this Provide information). "I think you're exaggerating. Remember Albert?" scores nothing.
Arthur's Caravan
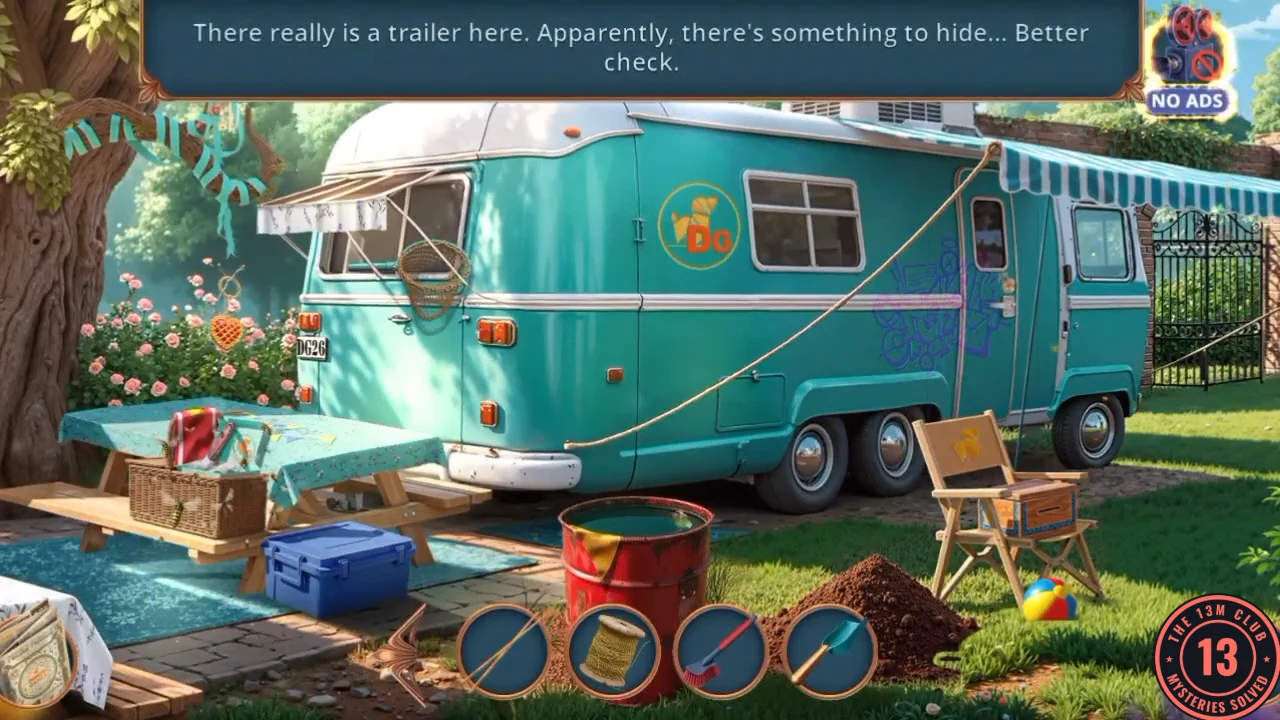
Arthur's caravan stands locked in a sunny yard.
- Open the folding chair close-up. Dig the dirt mound with the Scoop and take the Lock Picks.
- Open the branch close-up above the caravan awning and take the Torn Net. The kite ribbon stays out of reach for now.
- Use the Lock Picks on the caravan door and finish the circle memory: click and move the circle parts until they fall into place.
- Open the toaster and record player close-up and take the Nets.
- Open the orange shamrock bag and hook its zipper with the Chopsticks. Take the Refrigerator Handle. Note the shaped recess inside the bag.
- Fit the Refrigerator Handle on the red fridge door and clear the word-list scene (Milk, Mayonnaise, Eggs, Potato, Salami, Butter, Yogurt, Bun, Sausages, Sandwich, Jam). The last tray object gives you the Cold Soda.
- Use the Cold Soda on the record player. Take the Metal Disc.
- Put the Metal Disc in the bag's recess. The dark album slides out. Finish the second circle memory of the postman at the table.
- The next scene is a three-way choice. For +4 decision points choose Fire a warning shot (the summary calls this Fire a blank shot). Throw a stone is +2 and Scream scores nothing.
Arthur's Barbecue
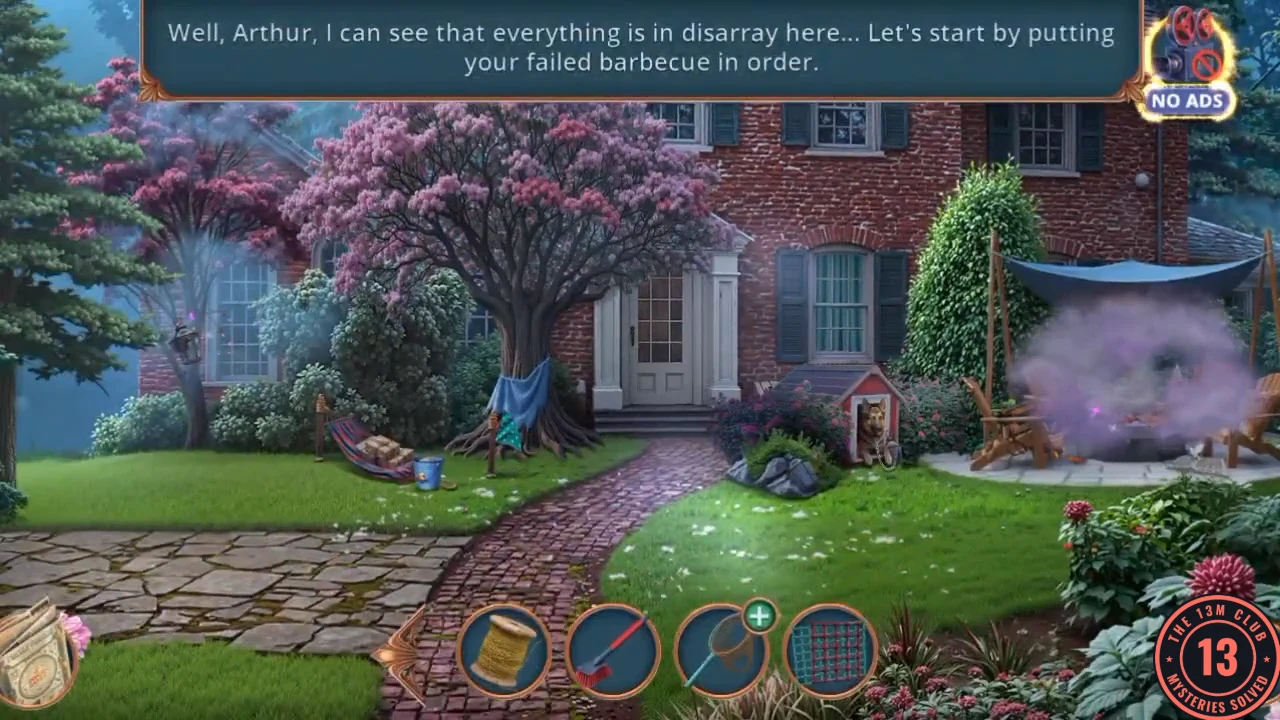
Arthur owns up to the letters, and the tidying starts with his smoking barbecue.
- Open the hammock close-up and take the Bucket of Sand. The hammock itself is hanging by a broken rope and needs a quick connector.
- Open the doghouse close-up and take the first of the Lanterns beside the German Shepherd.
- Pour the Sand on the barbecue. Clear the scene: find all the paper figurines. You get the Leather Glove.
- Open the branch lantern close-up and use the Leather Glove on the broken lantern. Take the Glass Shard.
- Cut the hammock's stitching with the Glass Shard and take the Flags.
- Open the Torn Net in your inventory and add the Nets and the Threads. The third slot stays empty for now. Finish the third circle memory: click to scroll each circle until its divisions line up.
Arthur's Living Room
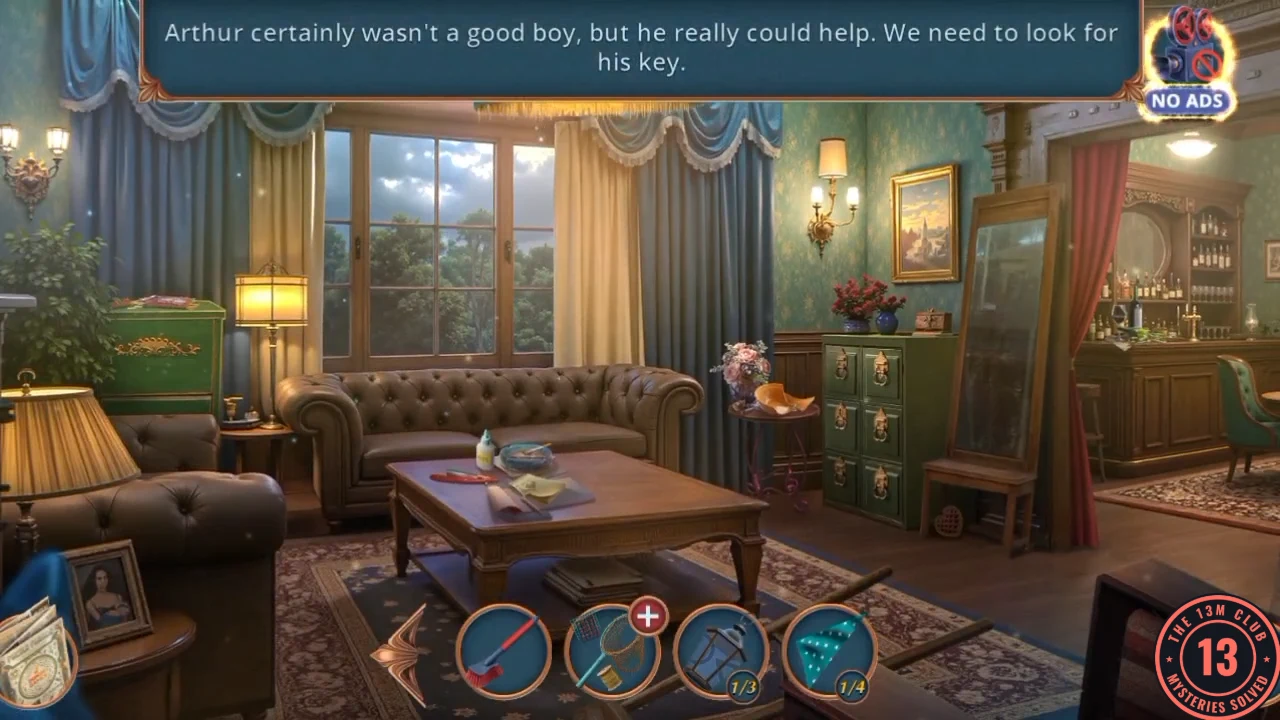
Inside the house you are looking for the key to the green cabinet.
- Open the coffee table close-up and take the Glue by the ashtray.
- Open the close-up beside the green cabinet doors and use the Glue on the broken orange bowl on the doily. Take the mended Bowl.
- Open the broken green bottle on the table. Use the Brush and the Bowl on the shards. Take the Spoon underneath. Finish the rhombus memory by swapping the pieces.
- Marcus reasons that the letter was sent from the village. For +1 decision point choose "You see how good it is to trust people who truly love their work?" (the summary calls this Encourage Marcus). "Well, there you go, and you were ready to slap handcuffs on him." scores nothing.
The Scoop Net and the Hammock
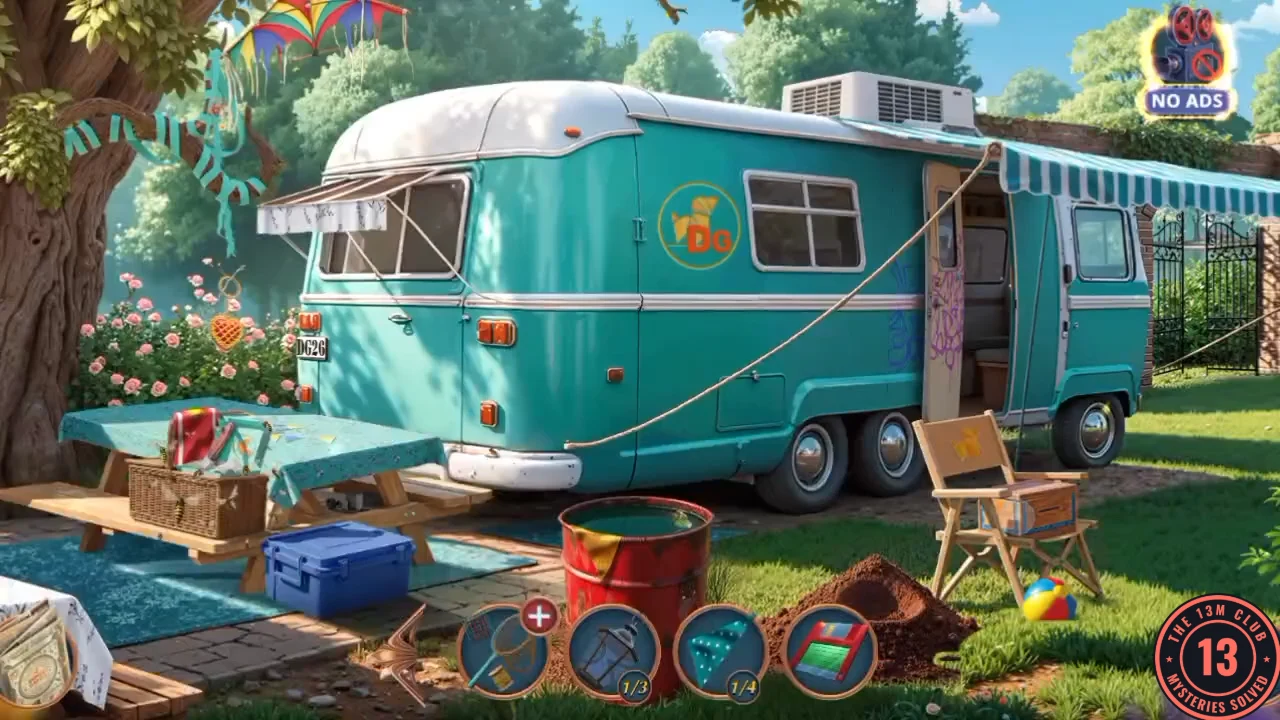
A chain of small items from the caravan finally completes the net, and the net sets the hammock right.
- In the caravan, open the seat close-up with the green towel. Pry it with the Spoon and take the Toaster Handle.
- Fit the Toaster Handle on the red toaster. It pops up the Floppy Disk.
- In the yard, open the folding chair close-up and put the Floppy Disk in the blue box. The lid opens. Take the Needle.
- Open the Torn Net in your inventory and add the Needle to the third slot. You get the Scoop Net.
- Open the red barrel close-up and fish the water with the Scoop Net. You get the Steel Bracelet.
- Use the Steel Bracelet on the hammock rope as the connector. The hammock hangs up again, and the Soap falls out. Take it.
- The barbecue sparkles. Open it and clear the silhouette scene. You get the Scraper.
- Open the doghouse close-up and use the Scraper on the bush at its side. Take the Comb.
The Green Cabinet Drawer
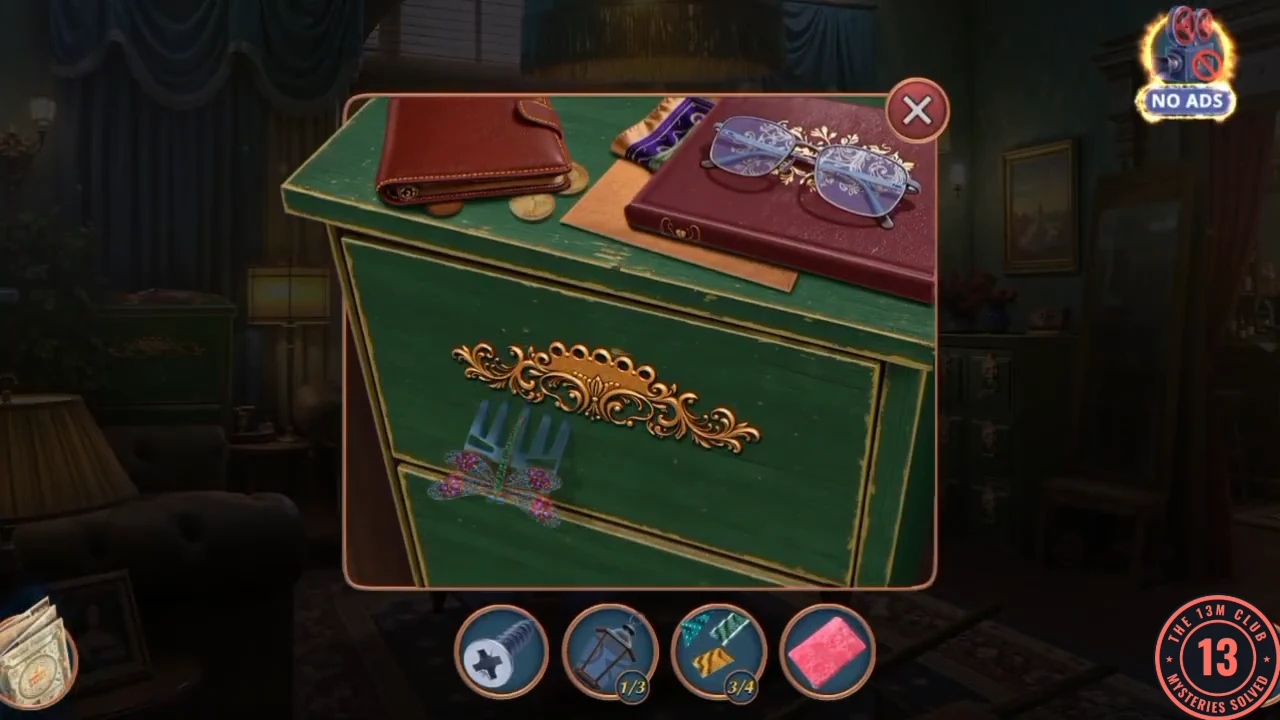
Back in the living room, the low green chest at the far left, behind the armchair lamp, has a drawer with a gold scroll on its front.
- Use the Comb on the gold-scrolled front of the green chest at the far left, not the taller green cabinet with lion-head handles on the right. The drawer opens. Take the Juicer and the Grindstone. A box inside needs a sharp blade.
- Open the coffee table close-up and use the Grindstone on the red-cased razor. Take the Razor.
- Cut the box in the drawer with the Razor and take the Jack. Finish the hexagon memory by swapping the pieces. Afterwards Mavis decides to win over the dog with pate from the caravan.
The Dog, the Lanterns and the Archive Key
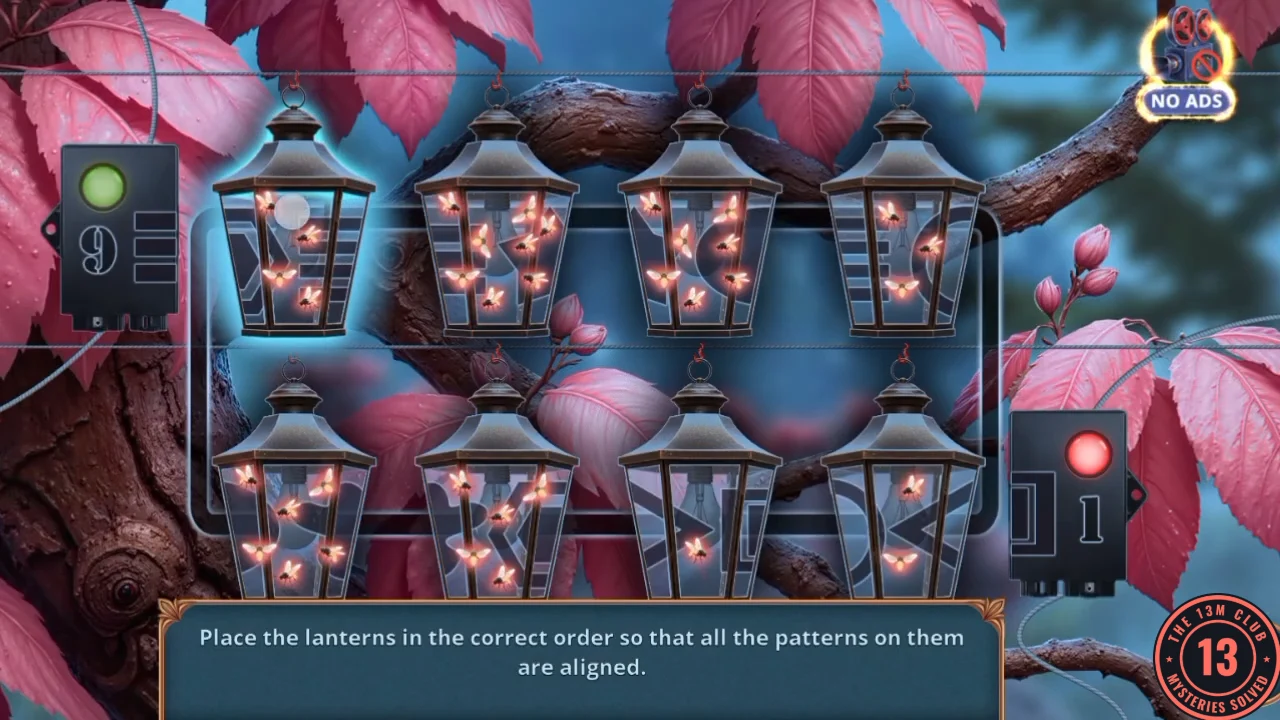
Feeding the dog frees the last lantern, and the lanterns lead you to the Archive Key.
- In the caravan, open the seat close-up and raise it with the Jack. Take the Lantern underneath.
- The fridge now sparkles. Open it and clear the silhouette scene. You get the Pate.
- Open the doghouse close-up and use the Pate. The dog comes out and the last Lantern is free. Take it.
- Open the branch lantern close-up and hang the Lanterns to start the puzzle. Eight lanterns sit in two rows, and they must be ordered so that their patterns line up across each row. Tap two lanterns to swap them. The side lights show your progress: left for the top row, right for the bottom row. Each turns green when its row is correct, so finish one row, then the other. Take the Insect Repellent.
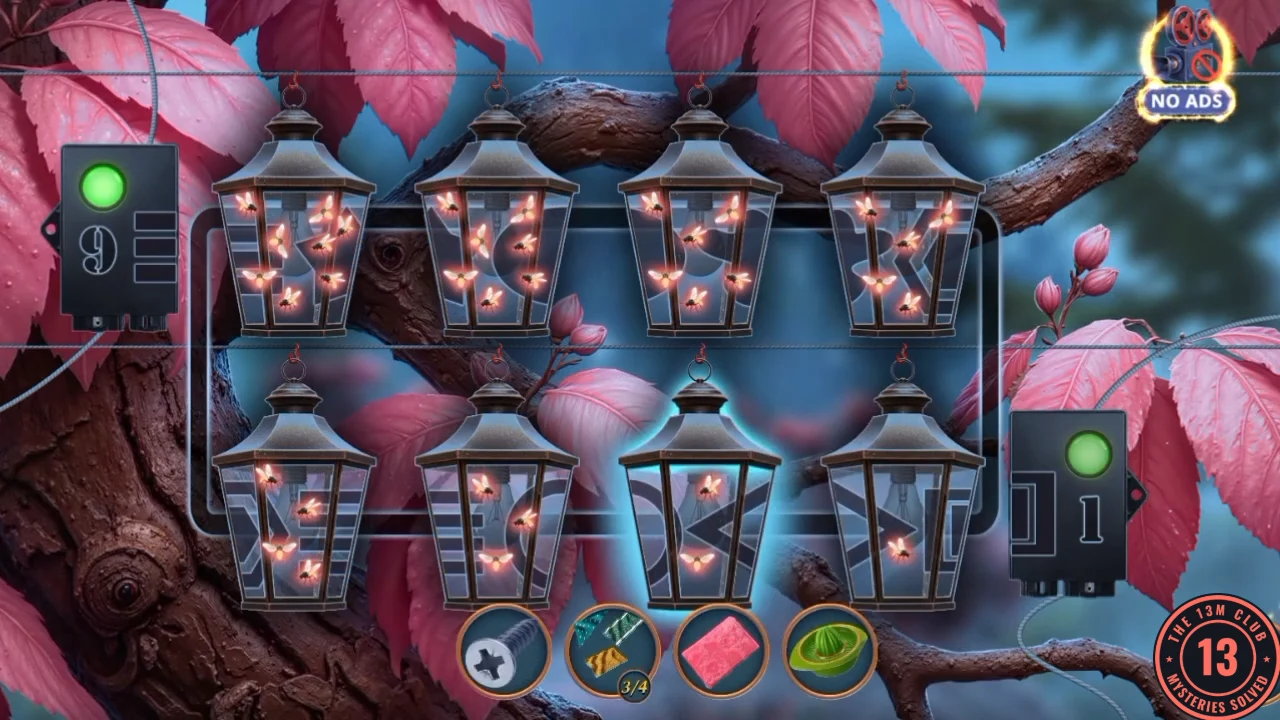
Solved in one playthrough: both lights are green and the patterns line up across each row. - In the caravan yard, open the picnic basket and spray the wasps with the Insect Repellent. You earn an achievement. Take the Knife.
- Open the branch close-up above the awning and throw the Flags over the high branch. The Archive Key drops down.
- In the living room, use the Archive Key on the green cabinet door and finish the rhombus memory. It ends with an envelope addressed To Mimi, Elderwick.
- Chapter 3 ends with Your Decision Points out of 13: Participate in the competition 6, Recall Arthur's oddities 1, Provide information 1, Fire a blank shot 4, Encourage Marcus 1.