ACT 4
Altar consoles
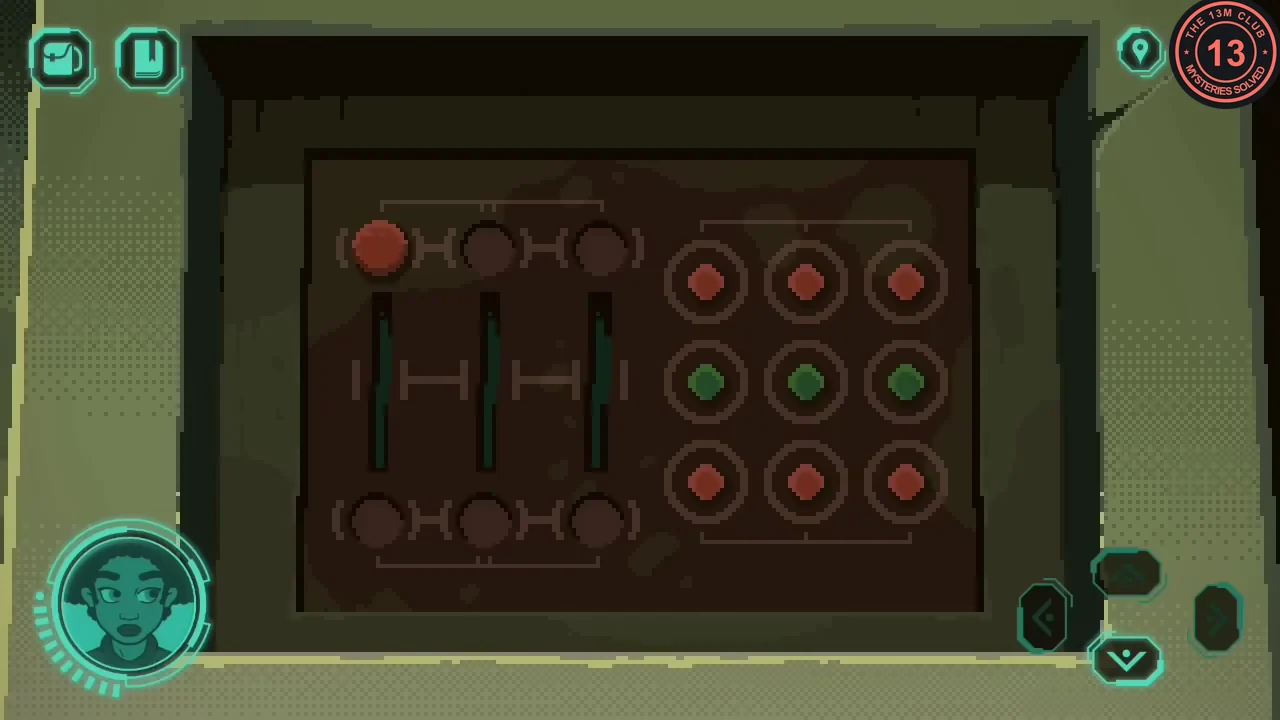
Two lever walls open a console each; journal pages 8 and 9 show the light patterns they need.
- Take the perforated metal and the cartridge the alien offers, and the curved handle floating in the canal. In the large chamber, go to the alcove on the left with two skeletons and pick up the old cup lying beside them. Scan the canal water (it is pure), fill the cup there and pour it on the hard mud to free a second piece of perforated metal.
- Optional: scan both skeletons in that alcove, the one lying on the left and the one sitting on the right.
- Each of the two torch-lit corridors has a wall with three levers. Tapping a lever moves its handle and can also shift a neighbouring handle, so the taps you need depend on how the wall starts. The goal is all three handles resting level on their centre marks; the wall then opens one console shutter at the altar automatically. Aim first for the left handle up and the middle and right handles down: from there, one tap on the left lever settles all three on the centre marks. Two examples, reading the handles from left to right: a wall starting up, down, centre is solved by tapping right, middle, right, right, middle, left; a wall starting down, centre, down is solved by tapping middle, right, right, middle, left. If your wall starts in another position, other taps may be needed, so check the handles after each tap and work towards left up, middle and right down before the final left tap. Do this in both corridors.CODEStart up, down, centre: right, middle, right, right, middle, left. Start down, centre, down: middle, right, right, middle, left. Goal: all three handles centred
- Each console has a display of three top lights, three bars and three bottom lights, plus a 3 x 3 grid of round buttons laid out the same way: a top-row button switches the top light in its column, a middle-row button switches the bar in its column and a bottom-row button switches the bottom light in its column. Journal pages 8 and 9 sketch two patterns. Pattern A (the left-hand sketch): top-left and bottom-left lights with the middle and right bars. Pattern B (the right-hand sketch): top-left light, bottom-middle light and the right bar. Your two perforated metal plates are different, and each one's holes and slots line up with the lit lights and bars of one pattern: the Pattern A plate has round holes at the top-left and bottom-left and two slots for the middle and right bars; the Pattern B plate has round holes at the top-left and bottom-middle and one slot for the right bar. Which console takes which pattern differs between playthroughs. Set one pattern on a console and lay its matching plate over the display. If that console does not accept it, switch to the other pattern and its plate there, then use the remaining pattern and plate on the other console. When both consoles are covered, the lift opens.
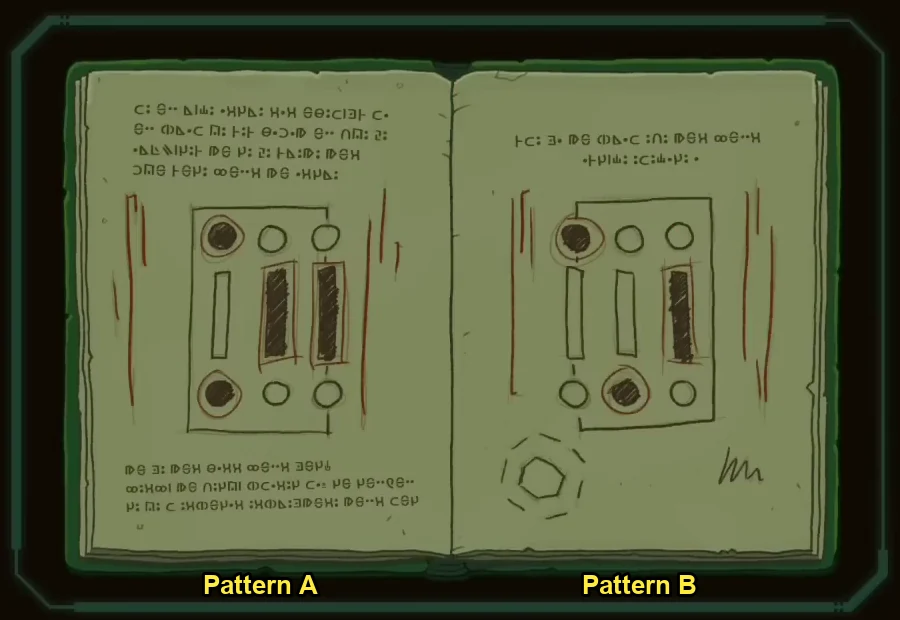
The two console patterns. Each console takes one of them. - Fit the curved handle in the lift. The lift panel lists seven levels marked with number glyphs; choose a level with the vertical selector and slide the handle to travel.
ACT 4
Heat panels, sphere device and steam
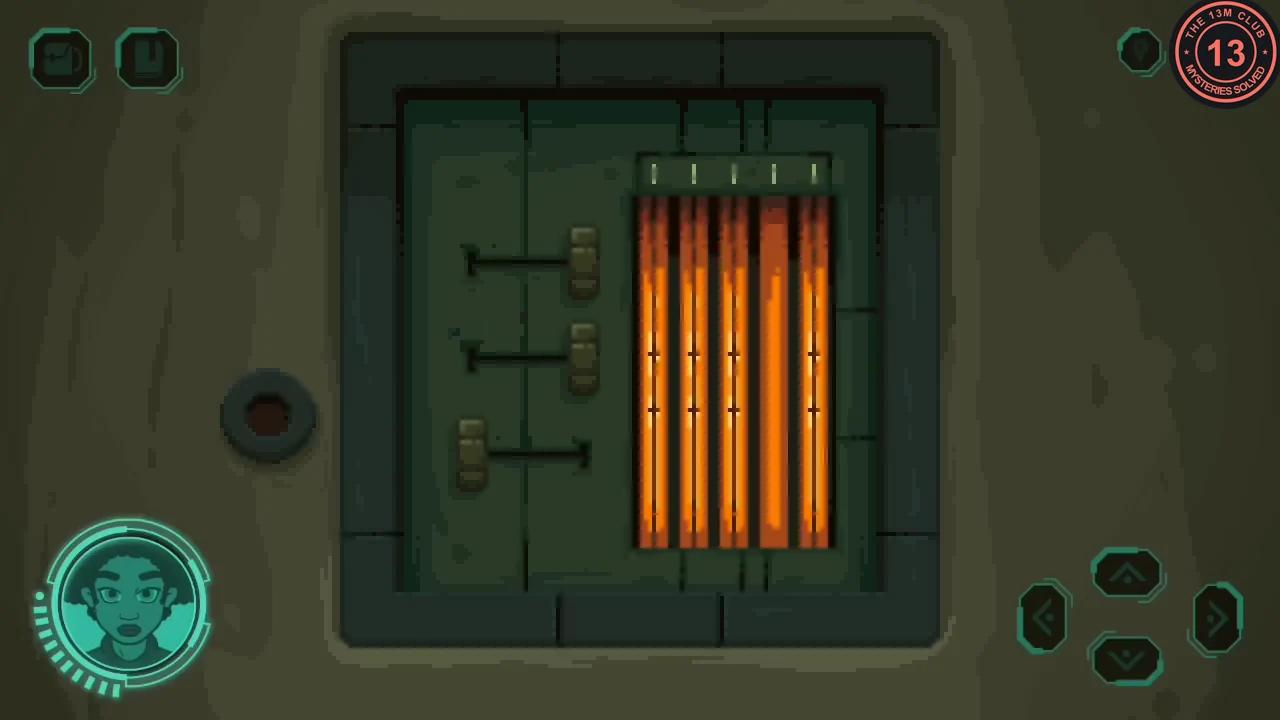
A beast blocks a corridor on level 4. Re-route the pipes on level 7 and send steam through to scare it away.
- Ride to level 6 (the transport capsule). Pick up the hand tool from the floor in front of the transport, and note that its side panel needs three vials.
- Ride to level 7. Press the red buttons to open the two handle panels. Left panel: top and middle handles right, bottom handle left. Right panel: all three handles right. The round hatch opens on a valve wheel; turn it before you leave.
- Ride to level 5 and turn the wheel; a chain rises. Return to level 7, which has changed. Left panel: top handle left, middle and bottom right. Right panel: all three right. The hatch now holds a hanging sphere device.
- Ride to level 2 (the greenhouse). Remove the four screws on the brown wall box with the hand tool and take off the cover to see a panel of creature symbols.
- Back at the sphere device on level 7, start from its original position. Tap the left arm twice so it points left, just above horizontal, and tap the right arm once so it points to about 2 o'clock. The device accepts the setting.CODELeft arm x2, right arm x1
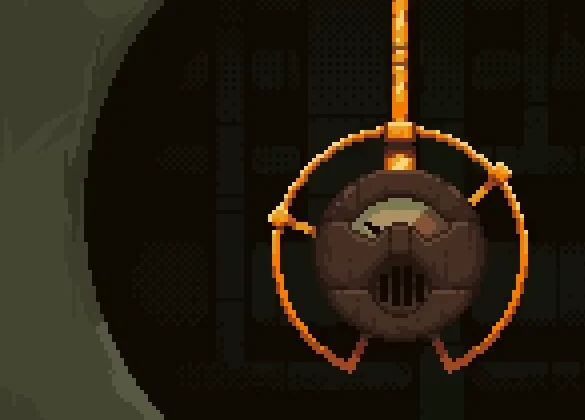
The accepted arm positions. - Turn the wheel on level 5 again, then turn the valve in the level 7 hatch. Steam vents into the beast's corridor and it leaves.
ACT 4
Red vial, terminal and vents
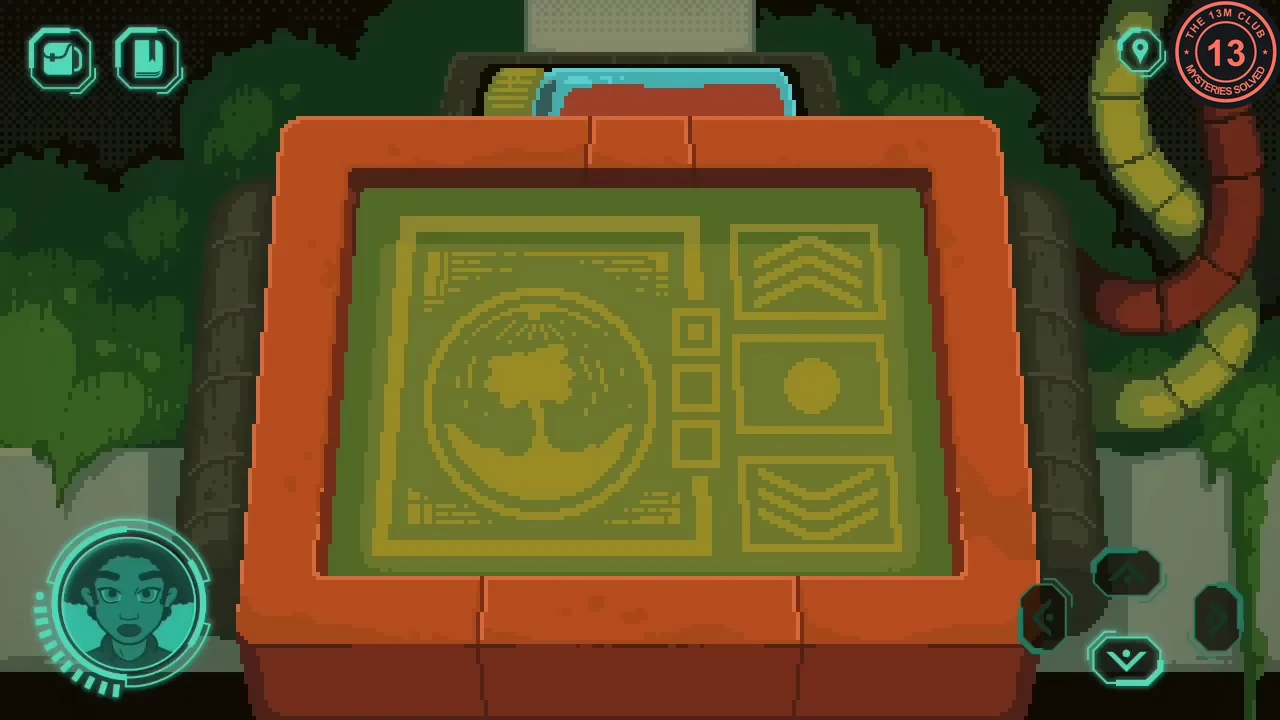
A red vial powers the greenhouse terminal, which can stop the fan blocking the vent.
- On level 4, take the vial of red liquid from the twitching hand under the corridor door.
- On level 2, insert the red vial into the top of the greenhouse terminal. Use the arrows to move between its three screens (tree, fan and canisters) and the round button to switch the shown option. Switch the canisters on: the vial mixer mounted on the large tree powers up. Then switch the fan off.
- Climb into the vent where the fan has stopped and crawl right, collecting the three circular objects. Exit on level 3 and press the red button there to reveal two empty light sockets.
ACT 4
Gear doors, tubes and family photos
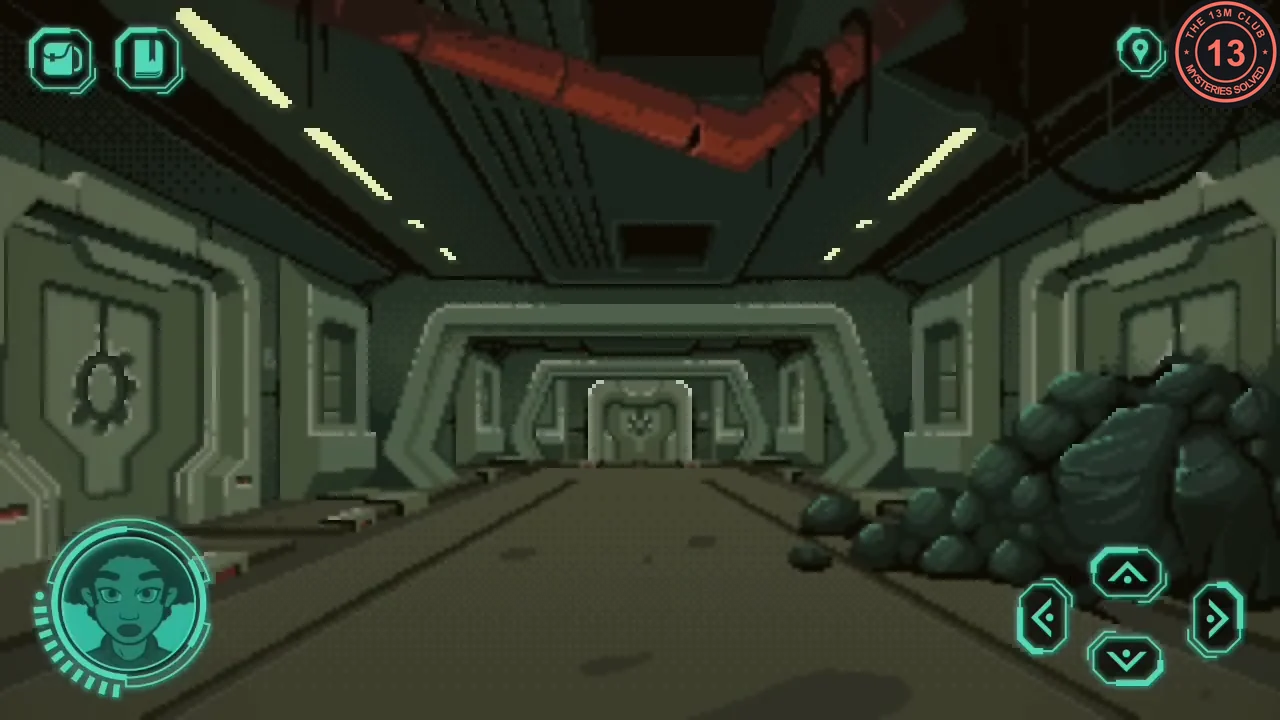
The living quarters on level 4 hold the clue for the spiky device.
- On level 4, open the doors marked with gears using the circular objects. In one bunk room take the two glass tubes; in another, look at the doll.
- Press the red button beside the bunks to raise the caddy, insert the cartridge and press it again to watch a slideshow. One photo shows the spiky device with some spikes pushed in.
- On level 2, return to the greenhouse terminal, go to the tree screen and switch it off as well, so the tree is crossed out. Leave the fan off and the canisters on.
- Crawl back through the vent to level 3, put the two glass tubes into the light sockets and press the red button. The lights show red, purple and orange.
ACT 4
Spiky device and the vials
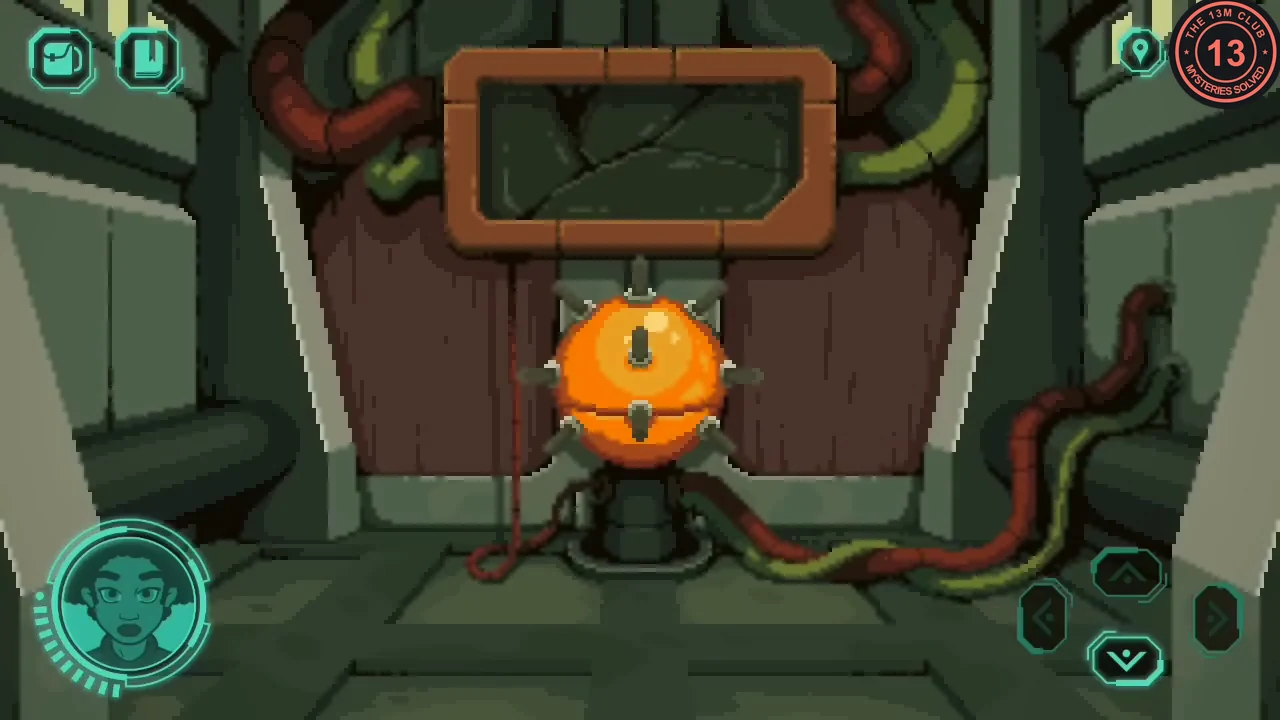
Journal page 15 gives the flower-machine settings for red, blue and yellow liquid.
- On level 5, set the spiky device as in the photo: leave the top, right, bottom-front and lower-left spikes sticking out and press in the other five (upper-left, upper-right, front-centre, left and lower-right).
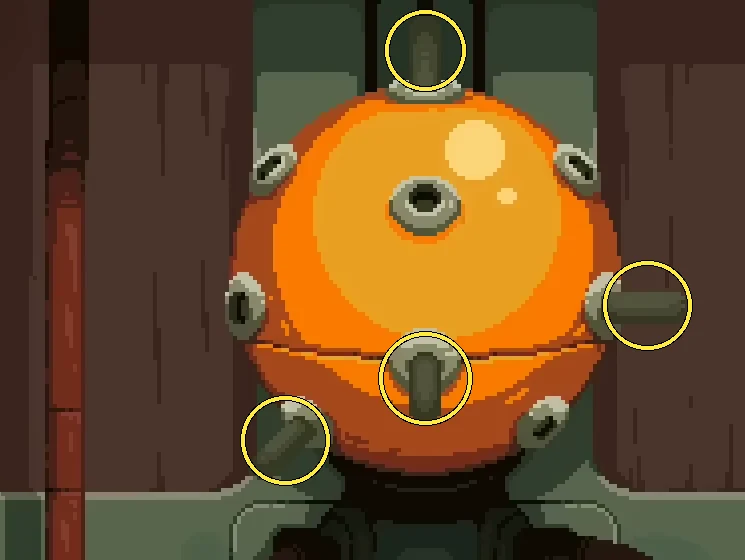
Leave the four circled spikes sticking out. - In the portal room behind the blast door, take the box of empty vials.
- At the flower machine on level 2, put an empty vial in the slot on the right, choose each of the five values with the side buttons and press the round button to fill it. Make three red vials, one blue and one yellow.CODERed 2-2-4-3-5 (x3), blue 4-3-5-5-3, yellow 2-1-3-2-1
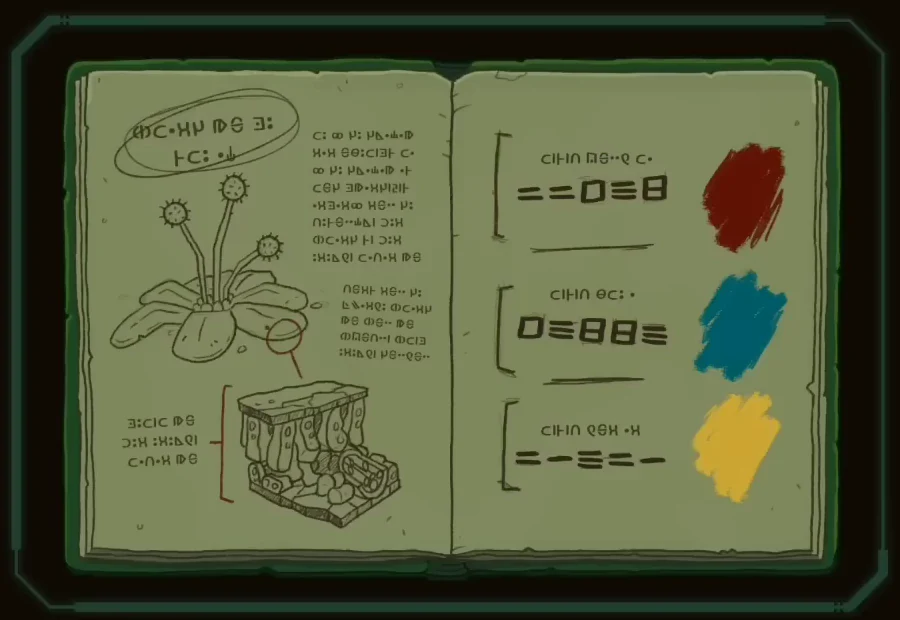
Flower-machine values for red, blue and yellow. - At the vial mixer on the large tree (powered from the terminal earlier), put red in the left slot, an empty vial in the middle and blue on the right. Press the button on top of the mixer; both outer liquids drain into the middle vial and turn it purple. Take all three vials: the middle one is purple and the outer two come back empty. Repeat with red, empty and yellow to make orange. You still have one red vial left.
- On level 6, insert red, purple and orange into the transport panel from left to right, board the transport and slide its handle.CODERed, purple, orange