Colour bridge
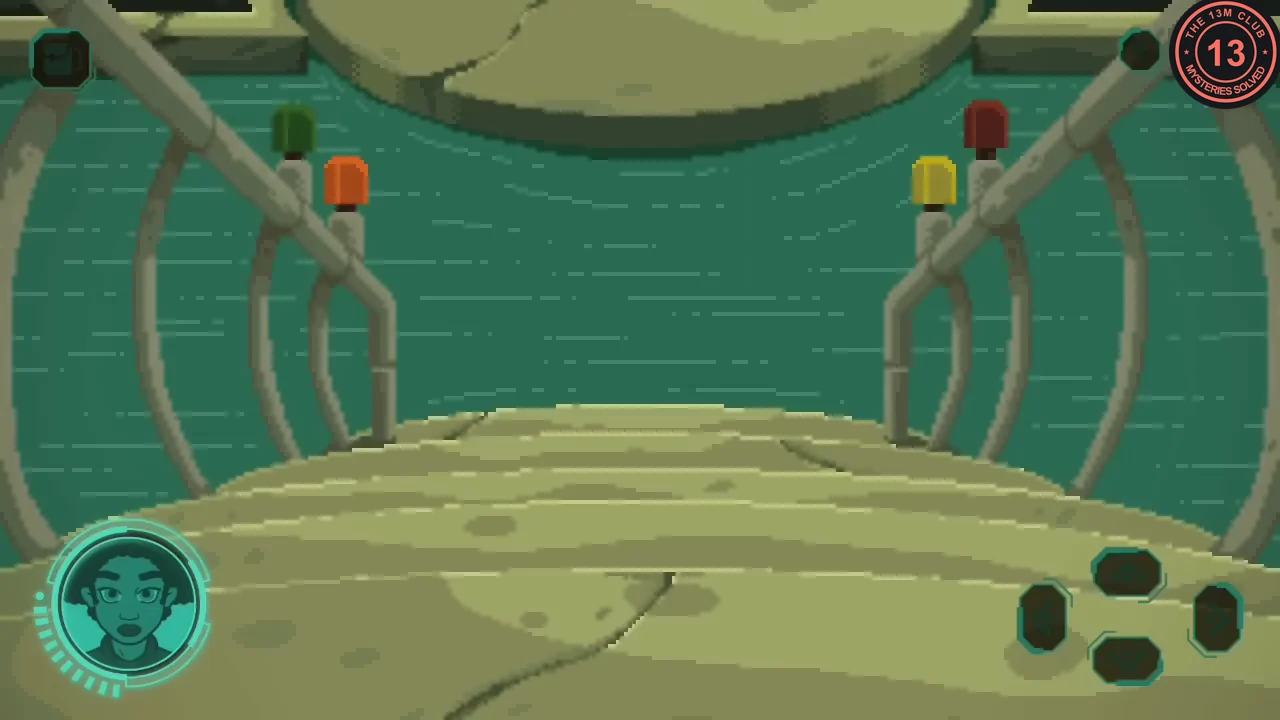
Coloured buttons on the bridge posts need an order, which is hidden on a large wooden block.
- Take the tree branch from inside the doorway on the left, and the mortar and pestle near the steps on the right.
- Rub the branch over the large wooden block to reveal six painted circles: green, red, yellow, yellow, orange, red.
- Return to the bridge posts and press the coloured buttons in that order. The bridge extends.CODEGreen, red, yellow, yellow, orange, red
Domes and the lift gate
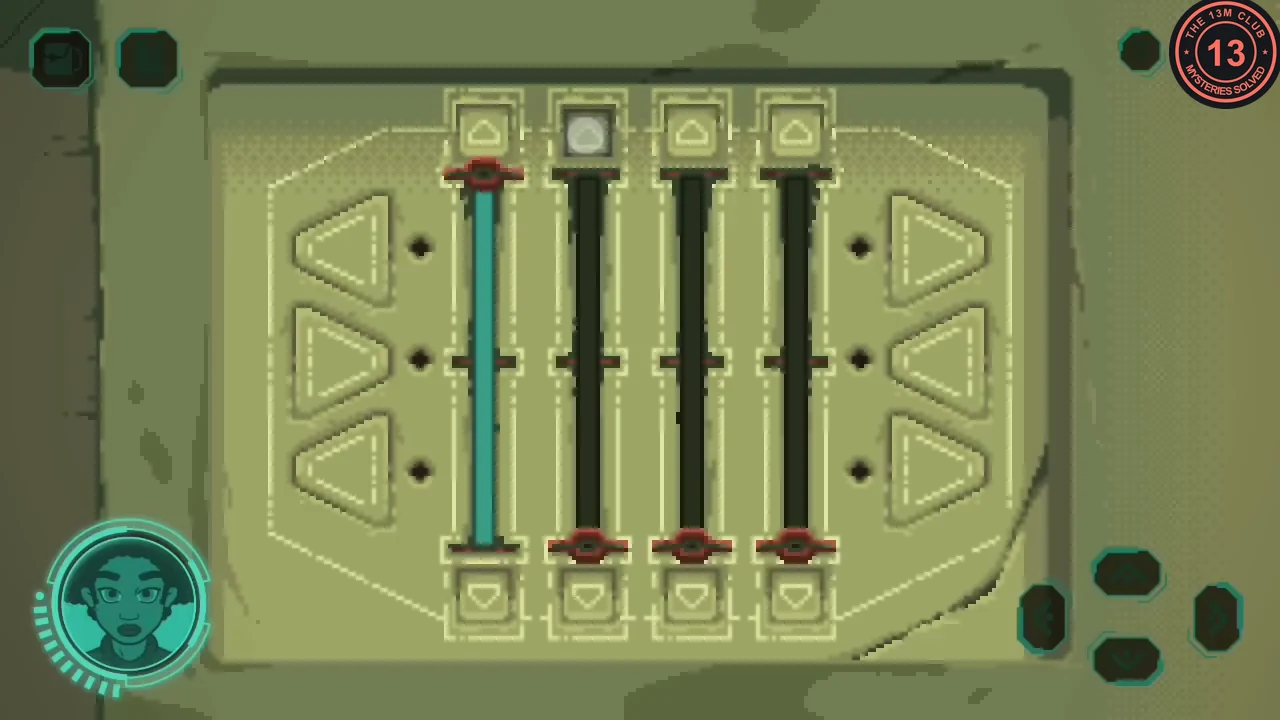
The journal you find here is used for many later puzzles. One of its sketches gives the slider setting for the lift gate.
- Enter the left dome. Read the green journal on the bed all the way to the end, then take the key card that falls out. Also take the statue torso.
- Enter the right dome and take the spigot valve and the pulley. In the fountain courtyard, pick up the statue arm lying to the left of the headless statue.
- Examine the controls beside the closed lift gate. Set the four sliders to match the journal sketch: first, third and fourth sliders all the way up, the second slider halfway. Insert the key card.CODESliders: up, half, up, up
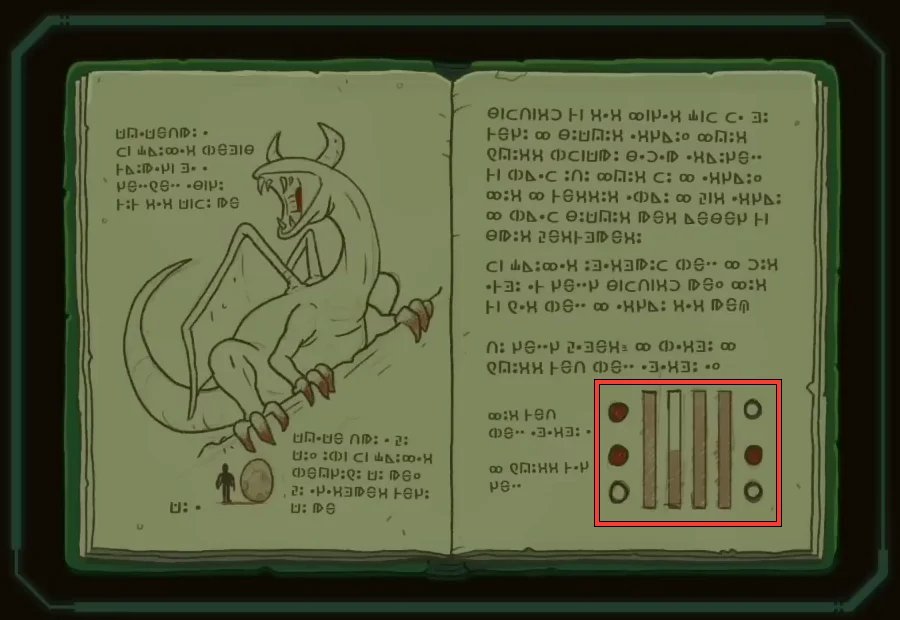
The journal sketch of the slider setting.
Water tank and zip line
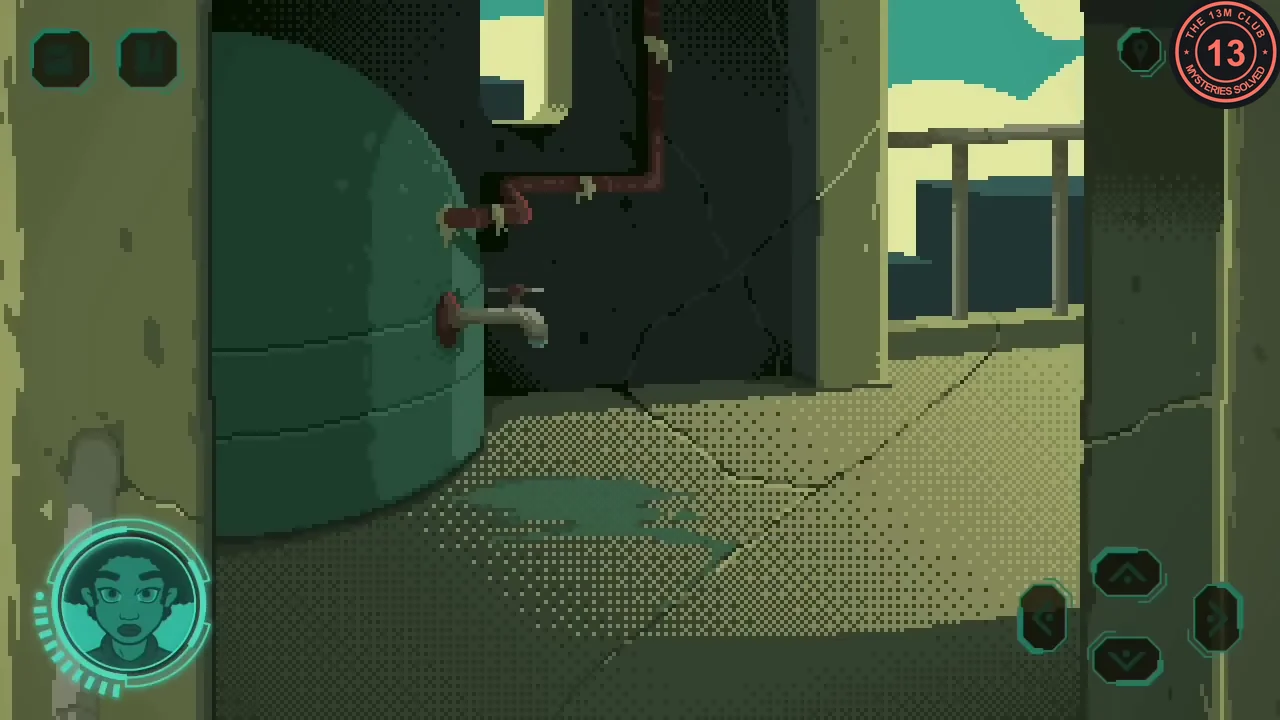
Build a trolley to cross the cable to the tower.
- Ride the lift up. At the water tank, attach the spigot valve and scan the tank: it holds pure water.
- On the broken walkway, tap the loose metal rod so it falls to the ground. Ride the lift down, pick up the rod and ride back up.
- Climb the ladder to the top. Combine the rod with the pulley and use the trolley on the cable to slide across to the tower.
Ring maze door and resin
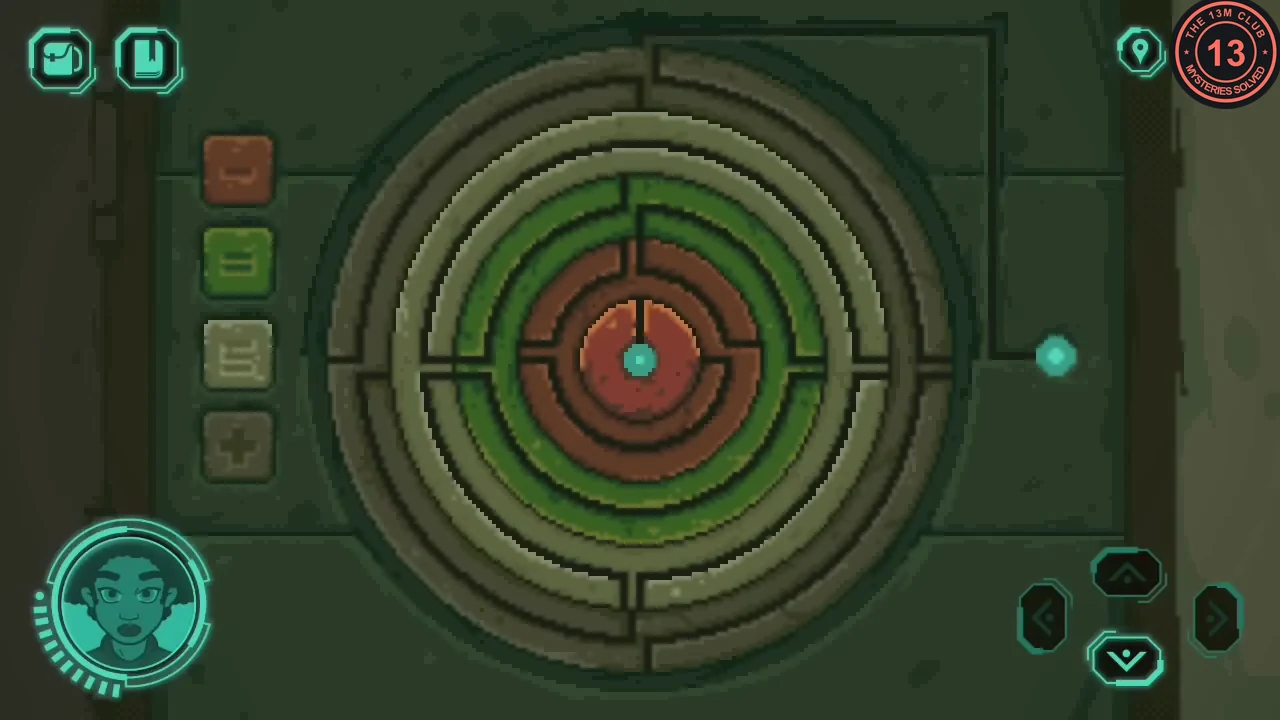
Rotate the four coloured rings until an unbroken path joins the two blue discs. Each button turns its ring by one step.
- Open the small panel by the tower door. From the starting position, press brown three times, green twice and red three times. Leave silver alone. The path connects and the door opens.CODEBrown x3, green x2, red x3, silver x0
- Scan the plant on the wall (crystallised sticky resin), chip some off with the hatchet and put it into the mortar.
Robot, rope and terminal passwords
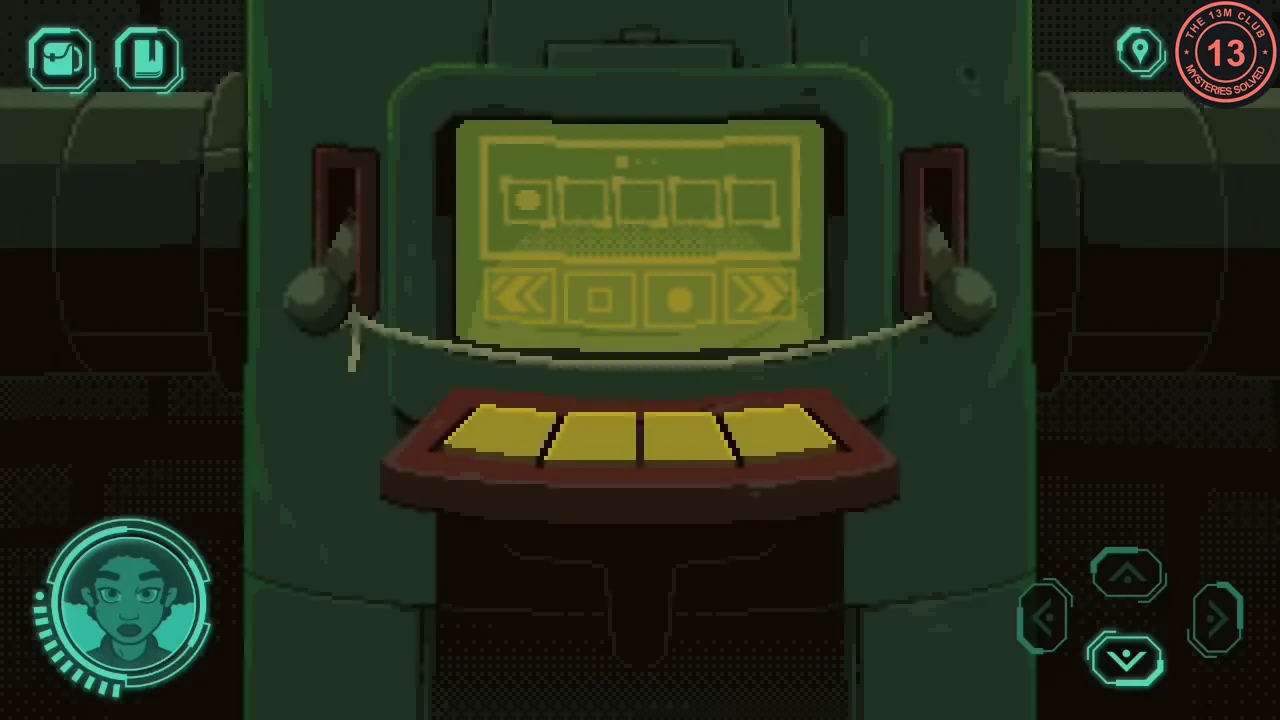
A small robot fetches what you cannot reach. The terminal then asks for three patterns from the journal.
- Ride the tower lift down one floor. Open the small panel beside the dormant robot and scan the exposed power port; the robot wakes up. Take the robot.
- Use the robot on the hole in the wall. In the side view, tap the rope at the end of the girder so the robot walks out and picks it up, then tap back by the hole so it carries the rope to you.
- Ride back up. Tie the two far-apart levers together with the rope and pull them down. The terminal switches on and asks for passwords.
- The journal page with four rows of five boxes holds the passwords; the crossed-out second row is wrong. Enter the other three rows in order (● filled, ○ empty). Move with the arrow keys, fill a box with the dot key and clear it with the empty-box key.CODE●●○●○, ○○○●●, ○●●○●
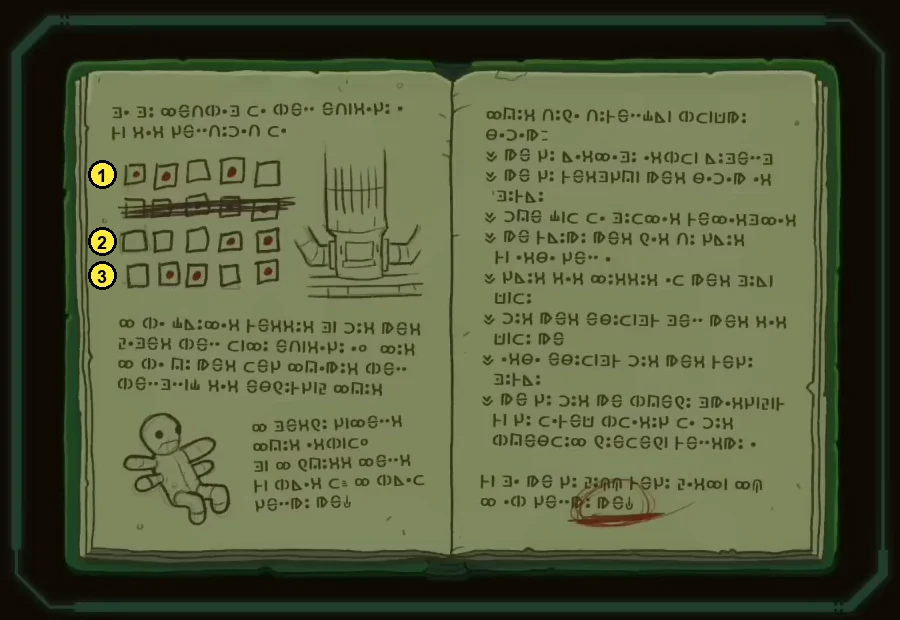
The three passwords, entered in the numbered order. - In the menu, choose the left option, move the cursor to the far-right symbol and press the dot key: the lift can now reach the sub-level. Then choose the right option, move the cursor to the box at the far right of the next screen and press the dot key; debris crashes down a few floors and forms a bridge.
Circuit door
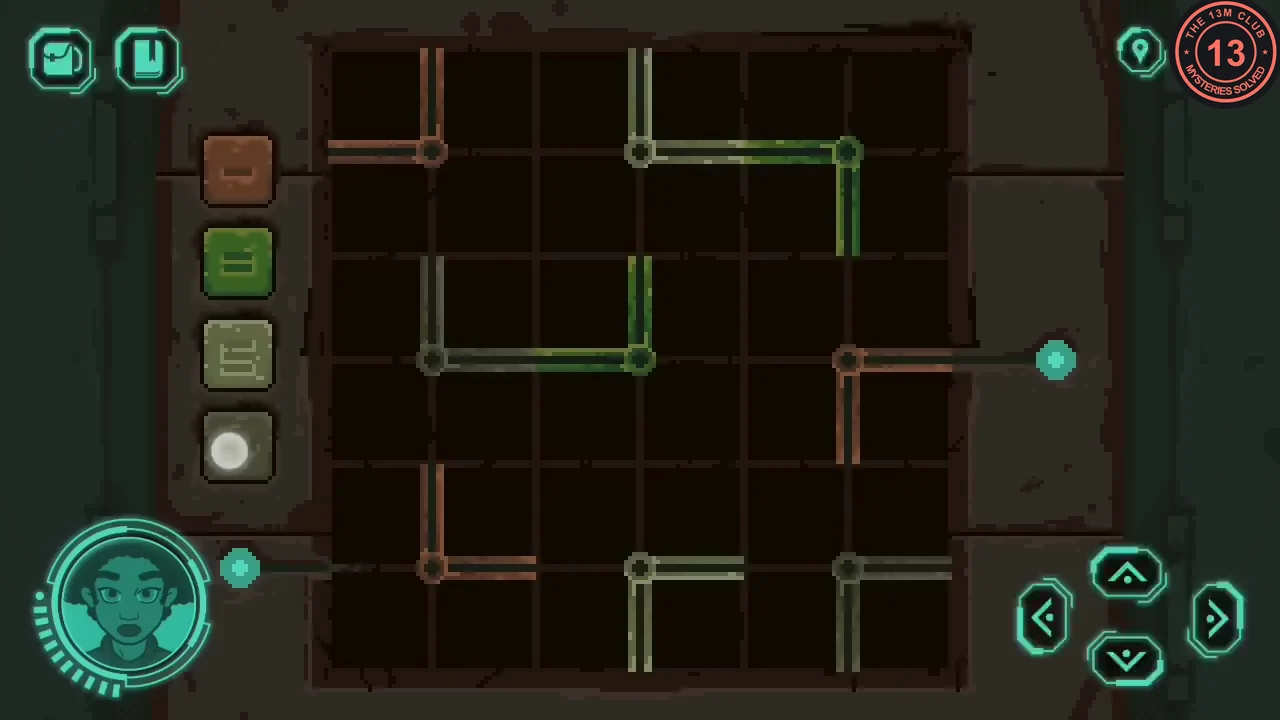
This panel is a grid of rotating pipe pieces worked by four coloured buttons. Each press turns pipe pieces; join the two blue discs with an unbroken pipe.
- Ride the lift to the ground floor, cross the fallen debris and open the panel beside the round door. From the starting position press red three times, silver once and brown three times; leave green alone.CODERed x3, green x0, silver x1, brown x3
Restore the fountain statue
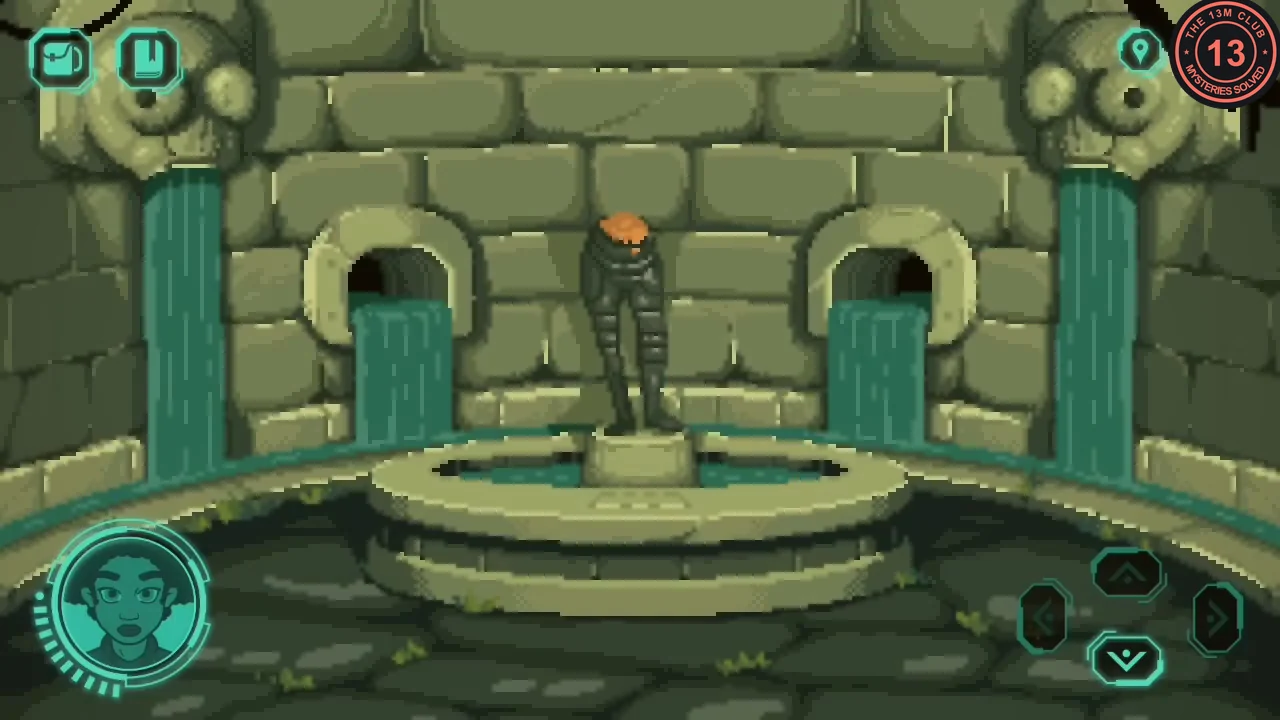
Gather the missing statue pieces and glue them back with resin.
- Back in the right dome, use the robot on the broken ladder so it climbs to the roof. Tap the statue head to the left of the robot; it walks over and knocks the head down. Then tap the ladder so the robot walks back to it and comes down to you: you need the robot again for the tram. Pick up the fallen head downstairs.
- Take the lift down to the sub-level. Pick up the lens on the floor outside the mannequin room, and the red staff beside the golden mannequin.
- Optional: fit the lens into the lookout viewer on the terrace and look through it for a view across the landscape.
- At the water tank, put the mortar under the tap and open it to make the resin sticky again. Pick the mortar back up from under the tap.
- At the fountain statue, apply resin and add the torso, apply resin again, then add the arm, the head and the red staff. Note the finished pose and take the medallion from the compartment in the base.
Mannequin pose and the tram
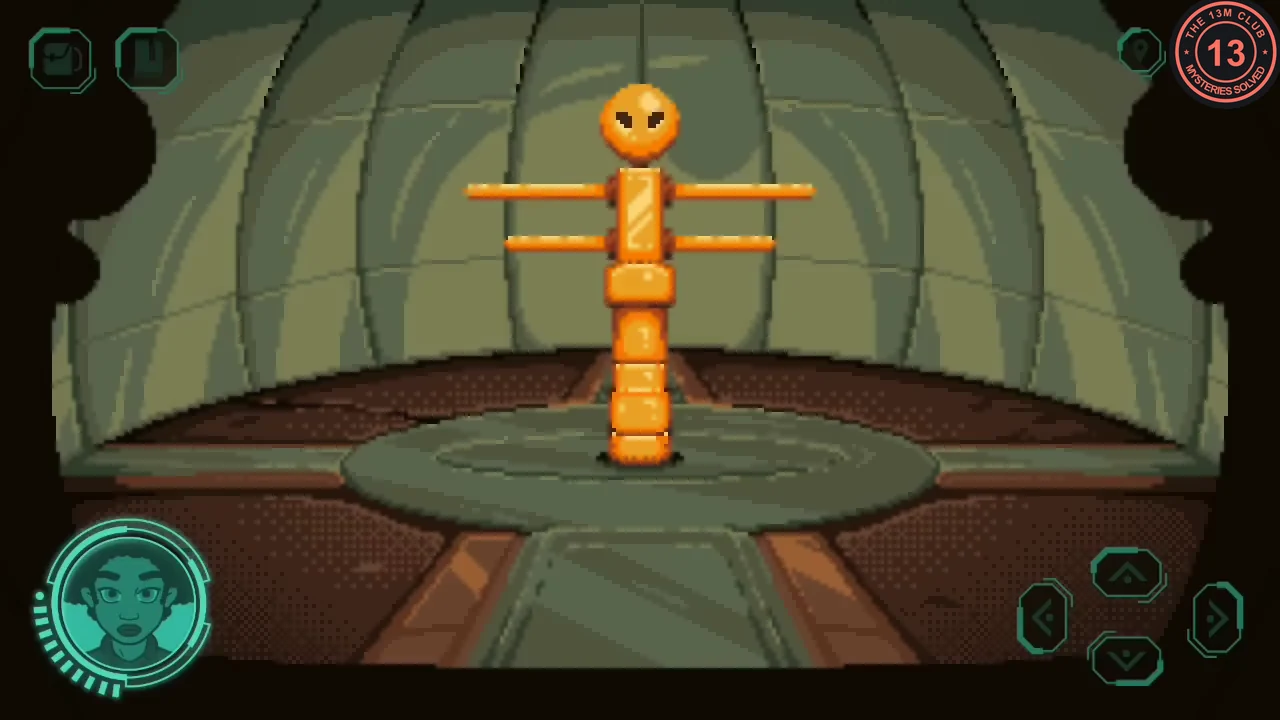
Pose the golden mannequin like the restored statue to open the way to the tram.
- On the sub-level, tap the mannequin's head and arms to set the statue's pose: head turned to your right, upper-left arm down, upper-right arm up, lower-left arm straight out, lower-right arm down.
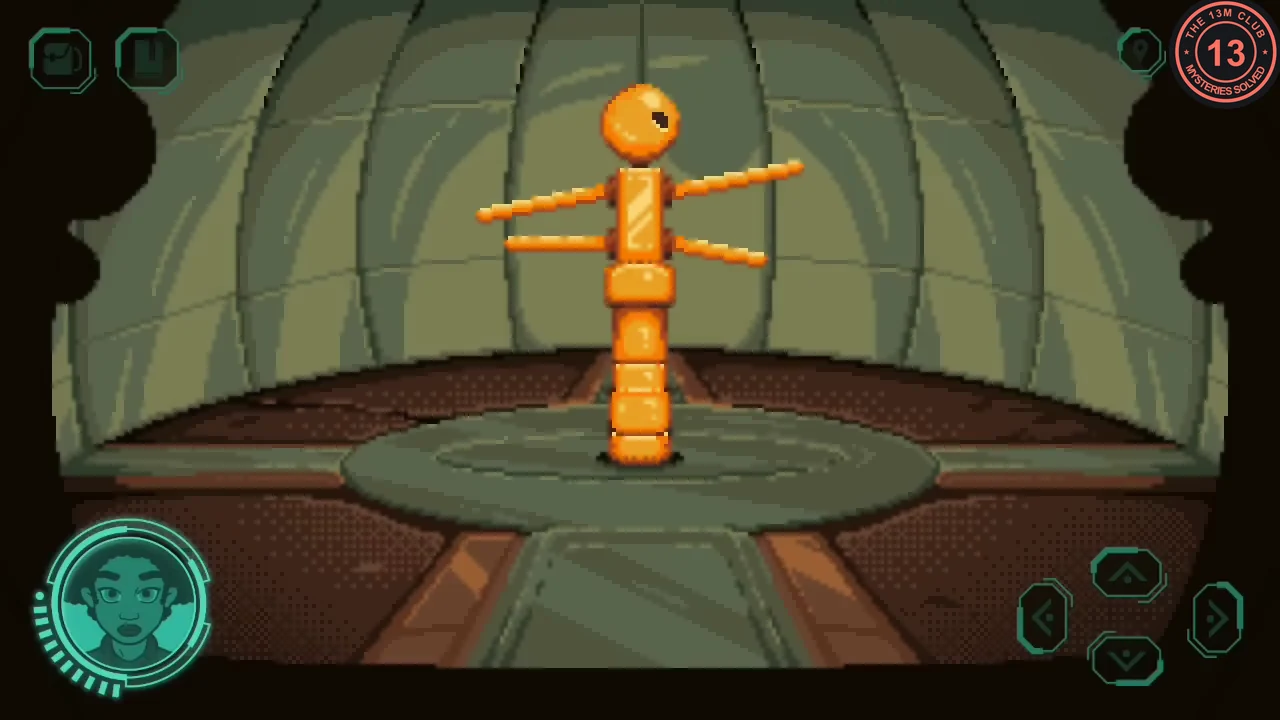
The finished mannequin pose. - Place the medallion in the opening on top. The column sinks and reveals a doorway. Go through to the tram platform.
- Optional: walk right up to the tram and scan it with the fusion scanner (from the platform it is too far away). It is made mostly of steel.
- Board the tram, put the robot into the slot on the dashboard and pull the lever.