ACT 1
Escape the crashed ship
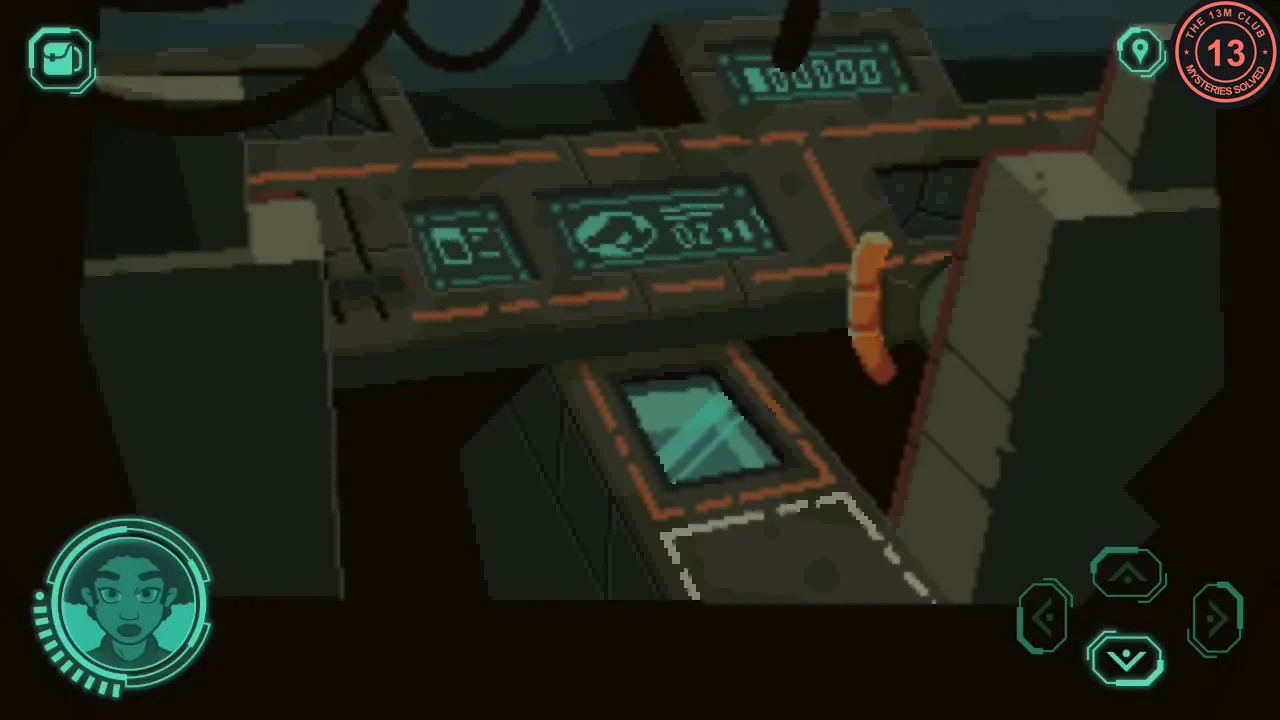
You wake in the wrecked cockpit. The airlock is jammed and its emergency release sits behind a glass cover.
- Turn around in the cockpit and take the broken pipe lying in the hold.
- Turn back, smash the glass panel with the pipe and press the red button behind it. The airlock door is blasted off.
- Step outside. Take the ultrasonic dish from the top of the ship, move the bush beside the airlock and take the emergency hatchet from the hull panel.
- Go back inside, break open the sealed crate with the hatchet and take the powered hand grip.
- Open the inventory and combine the dish with the hand grip to make a sonic emitter. Leave the ship and follow the jungle path to the fountain with the stone head.
ACT 1
Fountain, gate and the dial pillar
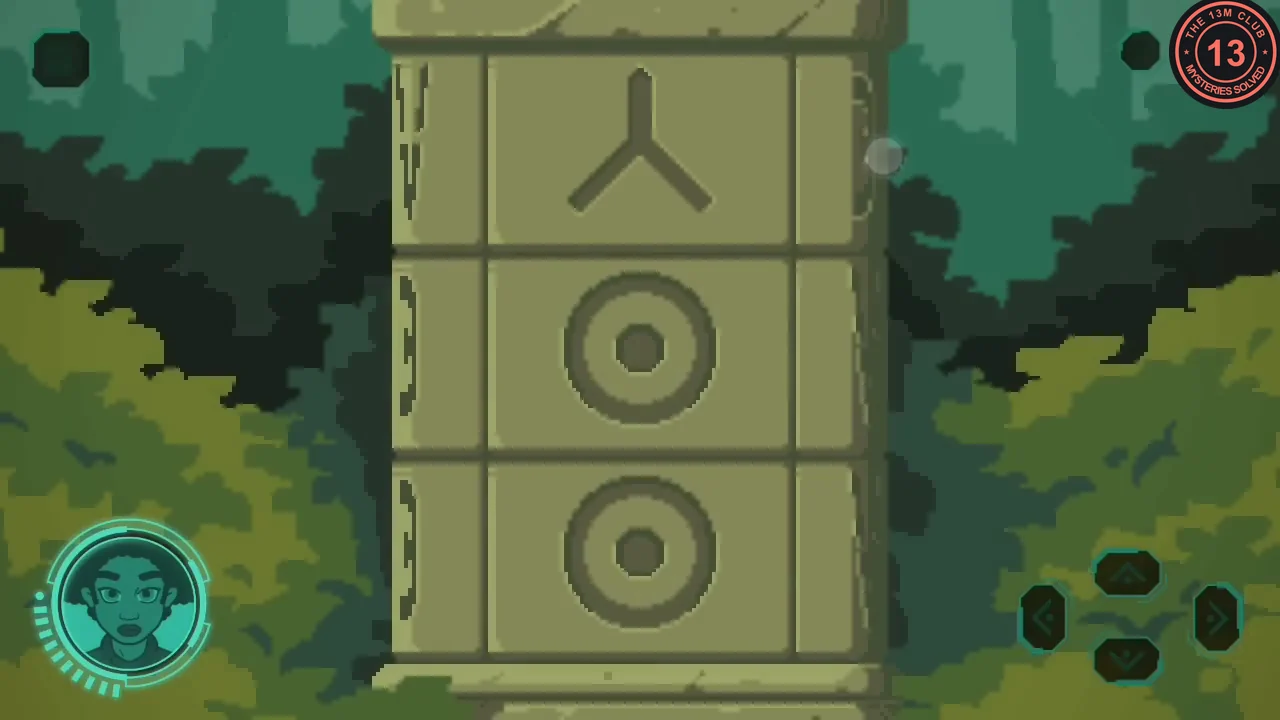
Two carved marks near the fountain give the settings for a three-dial pillar further along the path.
- Cut the bamboo to the left of the fountain with the hatchet and take the bamboo receptacle.
- Go right to the steps, move the bushes and take the golden ring. Press the top of the short red-striped post on the left of the steps to slide the gate open, then look at the mark on the right gatepost: a branching rune in the top position, nothing in the middle or bottom.
- Go through the gate. Cut away the spiky bush on the left so light falls into the cavern below, then continue to the bent tree and take the rope.
- Back at the fountain, look closely at the markings in the middle of the face: blank at the top, a V in the middle, blank at the bottom.
- At the carved pillar by the bent tree, turn the top dial to the branching rune and the middle dial to the V. The bottom symbol has no clue: keep turning the bottom dial (the answer is a U-shaped symbol lying on its side) until the symbols glow and a compartment opens.
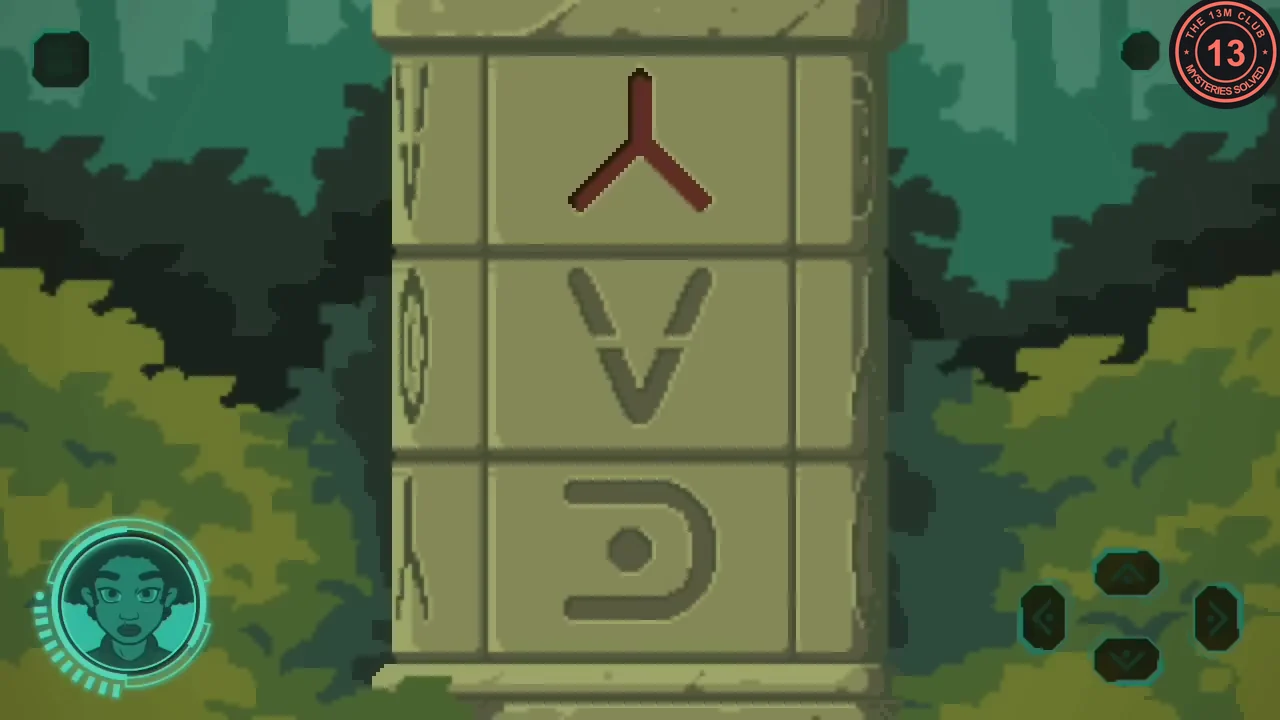
The correct dial setting. - The red gem inside is stuck. Pry it out with the hatchet, then place it in the empty right eye of the fountain head.
ACT 1
Light pedestal and the cavern hatch
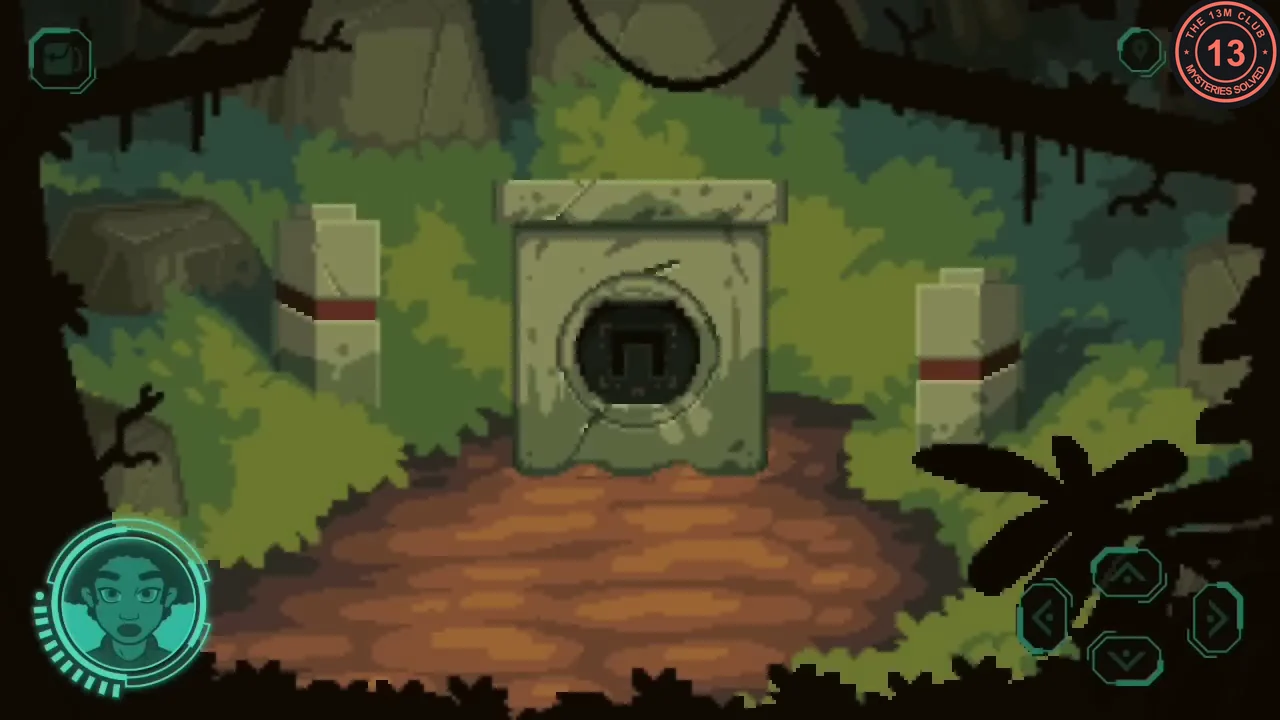
A stone pedestal plays a sequence of seven lights. The round hatch nearby has seven buttons in the same layout.
- In the clearing with the red-striped posts, press the buttons on the posts. Pick up the red U-shaped block and insert it into the pedestal, rotated so the open side faces down.
- Watch the lights. They come on in this order: top, lower-left, lower-right, upper-left, upper-right, left, right. The sequence repeats if you miss it.
- Go to the round stone hatch in the central clearing and press its buttons in the same positions and order.CODETop, lower-left, lower-right, upper-left, upper-right, left, right
- Tie the rope to the tree beside the hatch and climb down.
ACT 1
Caverns and the ring board
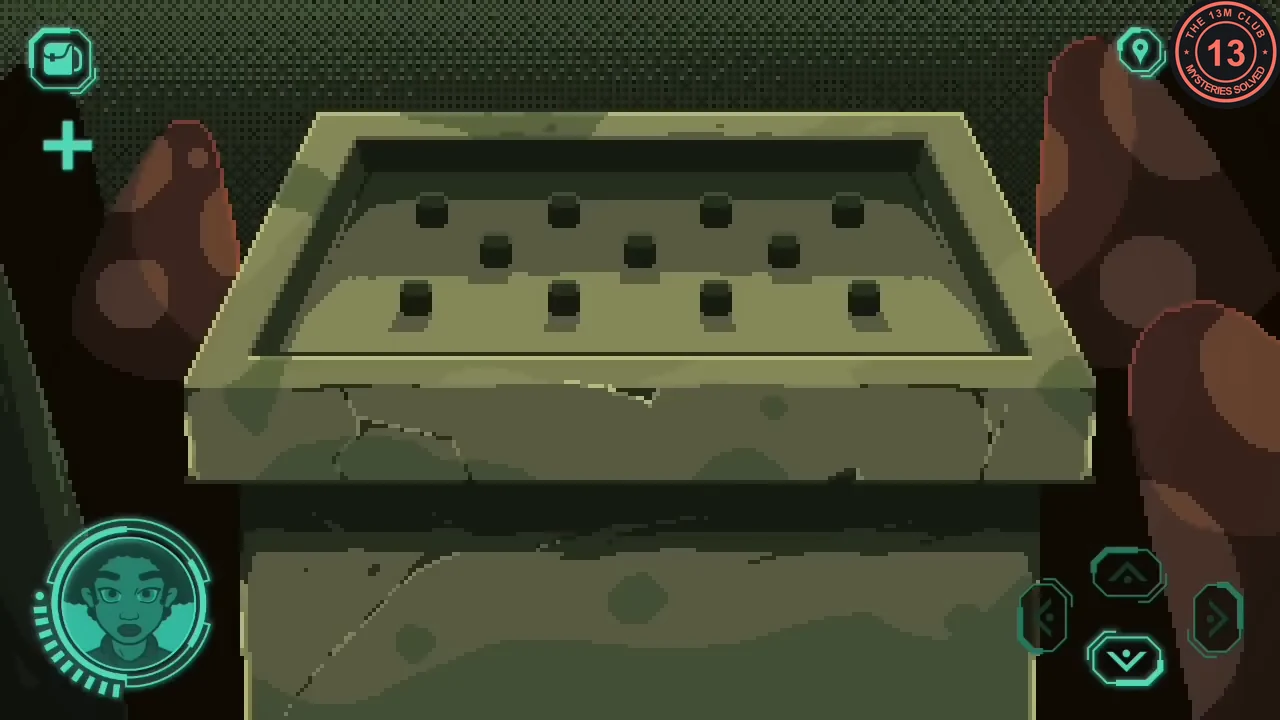
You need five golden rings. A dark inscription shows where they belong on the stone peg board.
- Find the skeleton with something calcified in its eye socket. Nearby, scan the green pool with the fusion scanner (it is a weak sulfuric acid). Move the small mound of dirt to the right of the pool to uncover a golden ring, take it and fill the bamboo receptacle with acid.
- Optional: use the fusion scanner on the skeleton itself. The astronaut notes that it looks humanoid and is made of carbon.
- Pour the acid on the skeleton's eye socket and take the golden ring it frees.
- In the mushroom chamber, scan the glowing plants (they are safe to touch) and take some. Then cross the lily pads to the passage by the broken stairs, move the small mound of dirt on the ledge to the left and take the golden ring underneath.
- Use the glow plants on the dark inscription. Read the dots that light up: top row 2nd and 4th, middle row 1st, bottom row 3rd and 4th.
- Examine the stone peg board beside the glowing mushrooms. The fifth ring is lying on it: take it, then place all five rings on the pegs matching the lit dots (back row 2nd and 4th, middle row 1st, front row 3rd and 4th).CODEBack row 2 and 4; middle row 1; front row 3 and 4
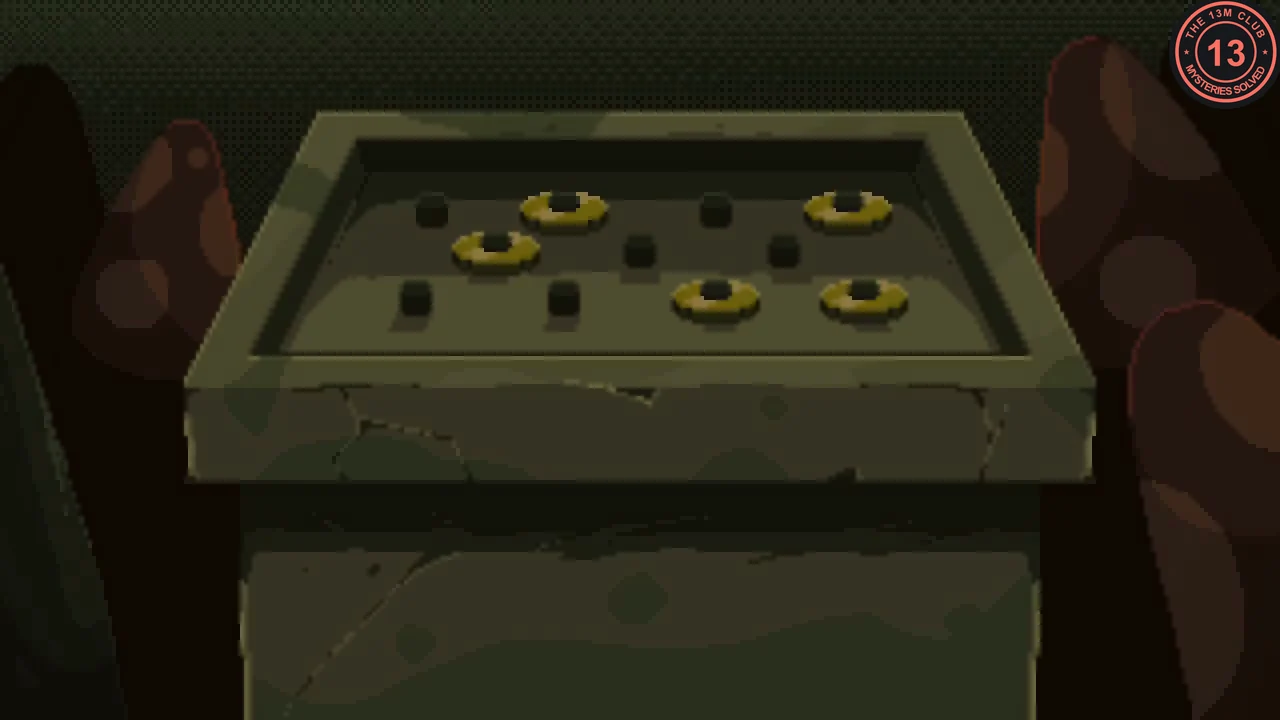
The finished ring arrangement. - Climb the new stairs back to the surface.
ACT 1
River crossing and the city gate
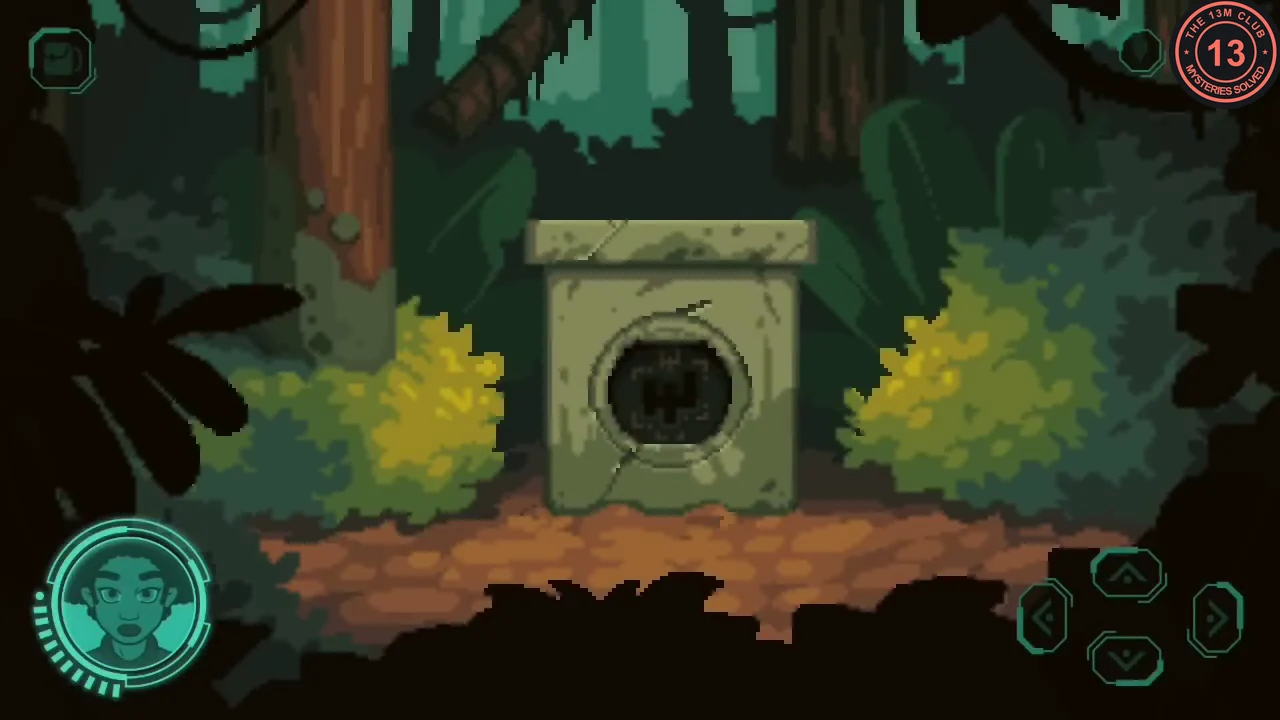
Two carried blocks raise a second light pedestal, whose sequence opens the city gate.
- At the overlook, dig up the stone block with the hatchet. Further along the path, pick up the red W-shaped block.
- At the waterfall, the stone pedestal has three square plates on top, and each press moves the stepping stones in the river. From the starting position, press the middle plate, then the left plate, then the middle plate twice more. Watch the stones after each press. When a complete row of stones links the banks, cross the river.CODEMiddle, left, middle, middle
- A spiky creature blocks the path. Use the sonic emitter on it; it runs off and the emitter is used up.
- Put the stone block into the gap in the pillar on the right and press the pillar buttons. A pedestal rises in the clearing; insert the W-shaped block with its prongs pointing up.
- Watch the new sequence (lower-left, upper-right, right, upper-left, lower-right, left, top), then press the buttons on the city gate in the same order. On Android and iOS, you need full-game access to continue into Act 2. This is available through a one-time purchase or, on Android where offered, Google Play Pass.CODELower-left, upper-right, right, upper-left, lower-right, left, top