Tram junction and the Archipelago
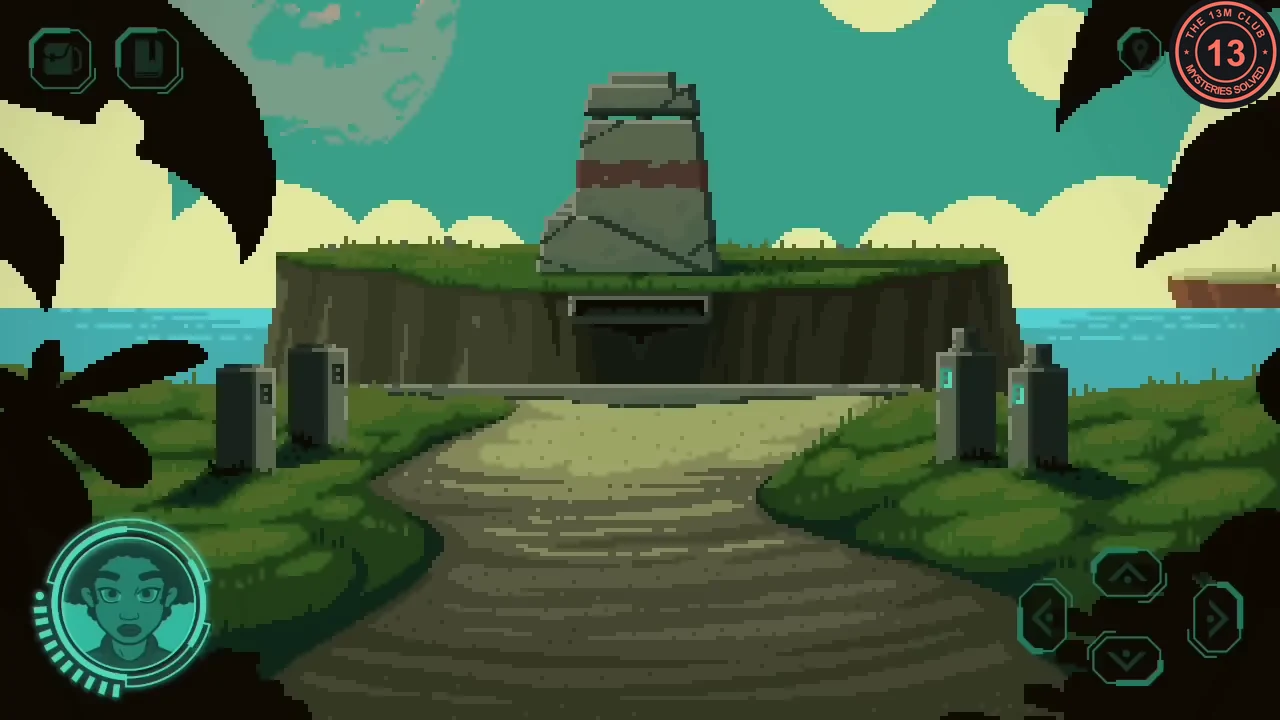
The tram serves three islands: Forest (left), Archipelago (middle) and Desert (right). Change the destination on the console and pull the lever to travel. Glyph markings found on each island are codes for the seven domes later.
- At the junction, set the destination to the middle island (the Archipelago) and pull the lever.
- Look around: the fishing line in the stilt hut has nothing on it, and the stone pillar by the pavilion is carved with glyphs. Take seeds from the giant flowers and the paddle from the beach.
- Collect four rectangular stone blocks: one is inside the stilt fishing hut and the others lie along the island paths, some hidden behind bushes you can move aside. Place them on the four small pillars by the steps.
- Climb the watchtower. Note the glyphs on the wall halfway up, take the golden object beside the skeleton at the top, then look through the viewer and pan right to see glyphs on the cliff.
- Optional: scan the skeleton at the top of the watchtower with the fusion scanner.
Desert island: arch maze and pillar bridge
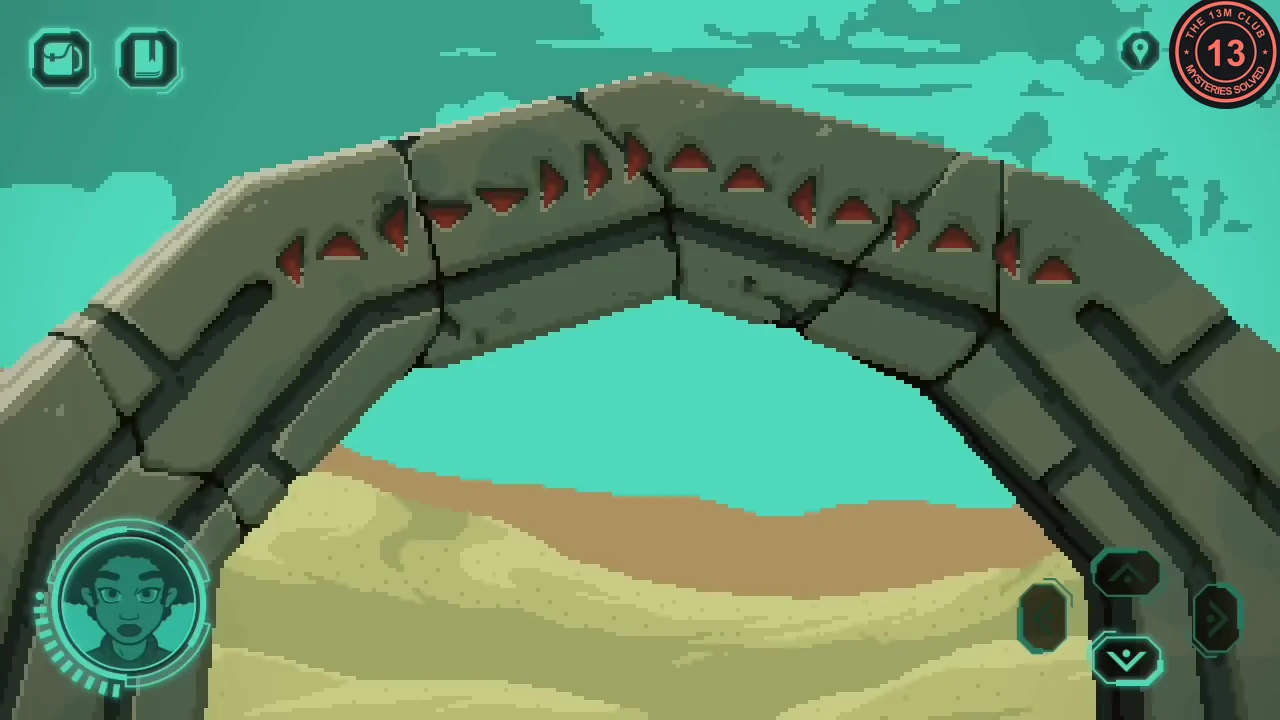
The repaired stone arch shows the route through the dunes, and a journal sketch turns the chasm pillars.
- Take the tram to the right island. By the canal stand three posts with red buttons: two short ones in front and a tall one further back. Press the button on the short left post, then the one on the short middle post. If a button pops back up, press the middle one again until both stay down. Leave the tall post alone. The round doorway in the rock opens onto a pool with a dome, which stays locked until you have the dome key later.
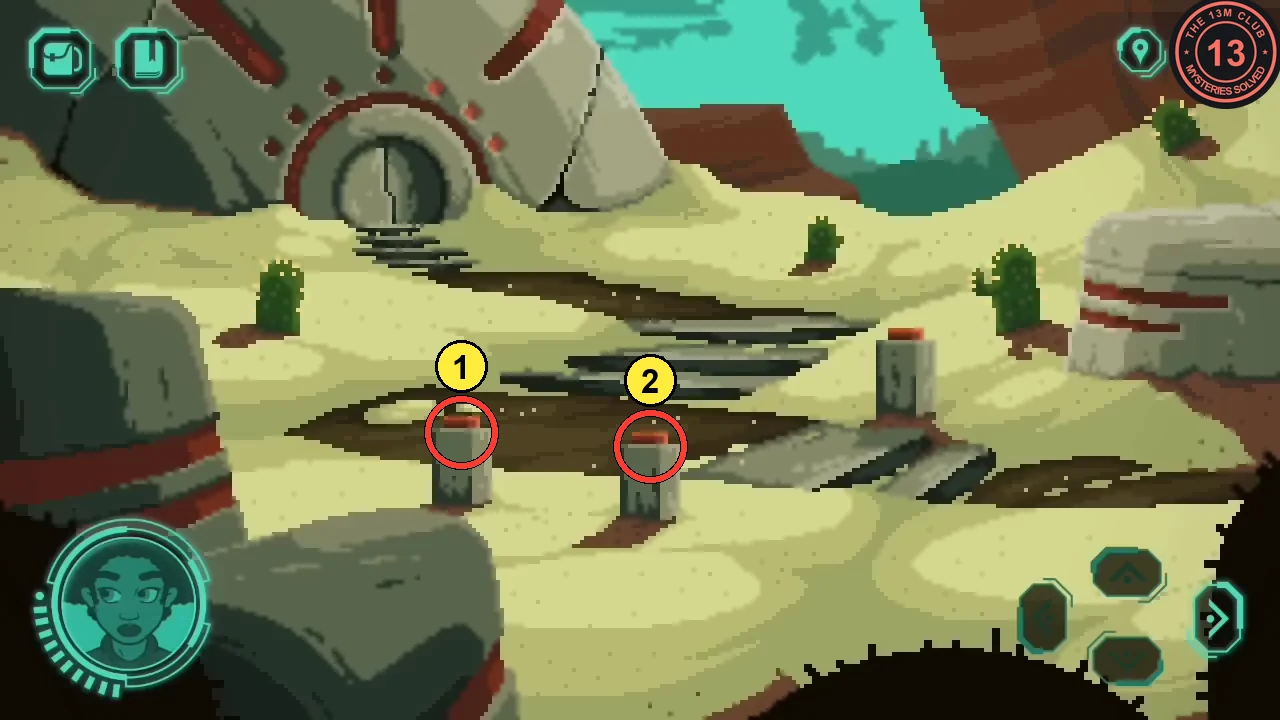
Press the short left post (1), then the short middle post (2); leave the post at the back alone. - Walk from the cactus junction towards the broken stone arch. On the way you pass three poles with red ribbons tied at different heights (the clue for the right-hand panel on the forest island) and then a rock archway with a glyph plate on its wall (the code for the jungle dome on the Archipelago). At the broken arch, pick up the arch pieces lying around it and in the dunes next to it, then fit each piece into the gap it matches.
- The arch shows red arrows. Move through the dunes in that order (up = forward, down = back): left, forward, left, back, back, right, right, right, forward, forward, left, forward, right, forward, left, forward.CODEL, F, L, B, B, R, R, R, F, F, L, F, R, F, L, F
- A large creature guards the dome at the end; leave it for now. At the four pillars by the chasm, open the journal sketch with four top-down views and turn each pillar to match: from the left, tap them 0, 1, 2 and 3 times.CODEPillar 1 x0, pillar 2 x1, pillar 3 x2, pillar 4 x3
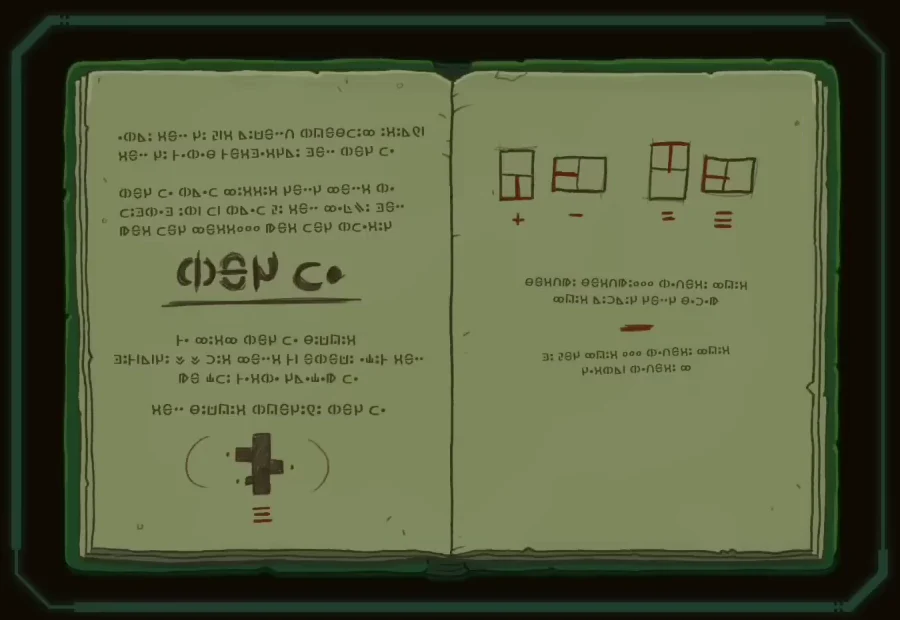
The journal sketch for the four chasm pillars. - Cross the bridge to find a sealed door with seven red buttons, and note the dock near the chasm path for later.
Forest island
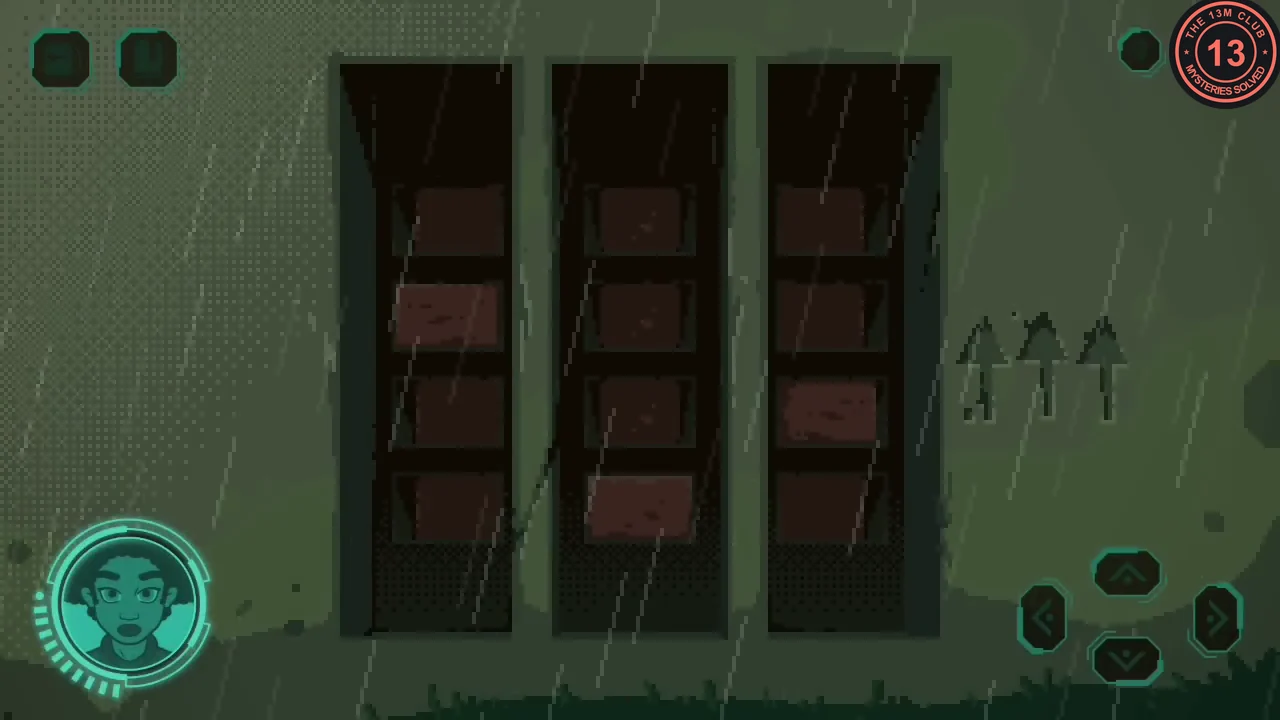
Ribbons tied at different heights set the two panels on the ladder wall.
- Take the tram to the left island. Take the straight rebar stuck in the ground by the platform and note the ribbon heights on the trees.
- The wall behind the ladder has a panel on each side, each with three columns of four blocks; tap a block to light it. Left panel (forest tree ribbons): second block from the top in column 1, bottom block in column 2, third block in column 3. Right panel (the three ribbon poles on the way to the desert arch): third block in column 1, bottom block in column 2, top block in column 3.CODELeft: 2nd, 4th, 3rd from top; right: 3rd, 4th, 1st from top
- Climb the ladder and note the glyphs carved on the tree at the top (the code for the dune dome on the desert island). In the first hut, put the rebar into the metal bender twice. In the second hut, take the two golden objects from the cupboard and the red cloth from the doorway.
- Back on the ground, take the pine cone and pick up the raft. Plant the seeds in the patch of fertile soil and take the flower that grows. Note the glyphs on the stone slab by the lake dome.
Heptagonal key
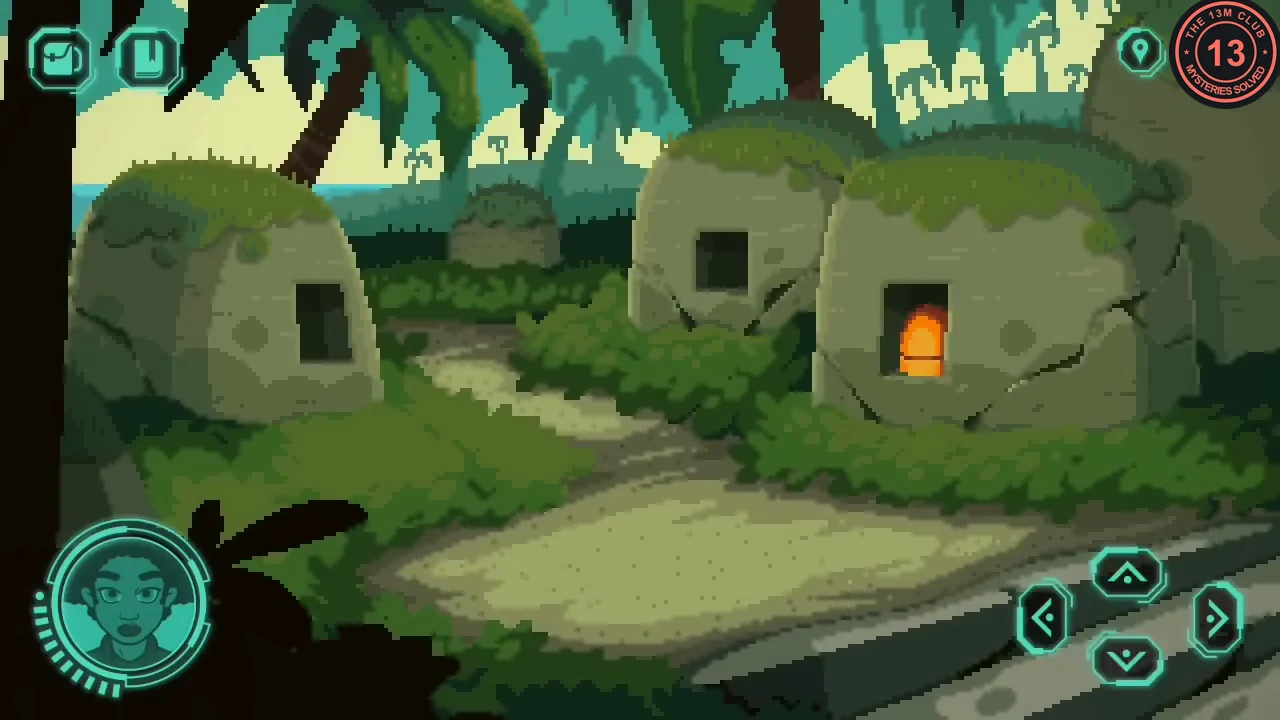
Three golden objects open the shrine on the Archipelago.
- Return to the Archipelago. Put the three golden objects into the three shrine openings; a pedestal rises. Take the heptagonal key from it.
Raft journey
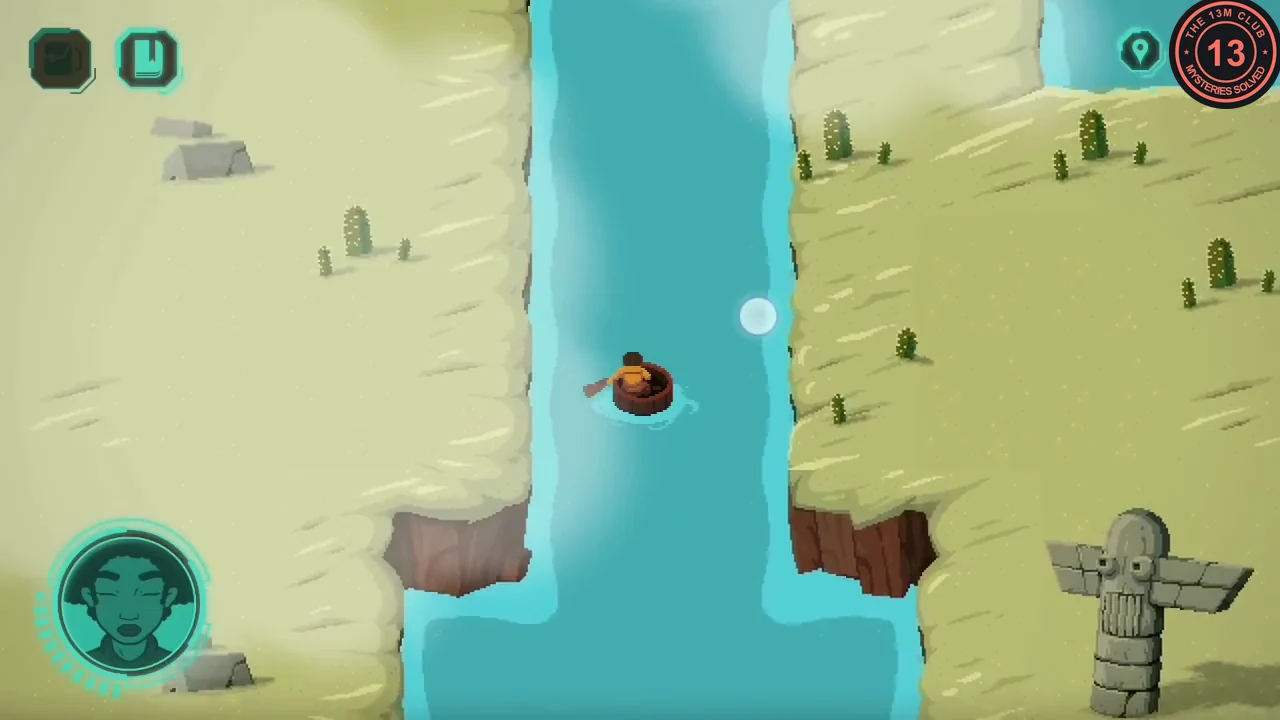
On the raft, drag in the direction you want to paddle through the canals.
- At the desert dock, launch the raft and use the paddle on it. Along the canals, read the glyphs on the stone in the water.
- Paddle on to the right until you pass an archway in the cliff above you with a dome inside (you will need it later).
- Optional: from the archway, keep paddling right past the stone statue into the open sea until the astronaut decides not to go any further, then turn back. On platforms with achievements, this unlocks one.
- Paddle back left past the archway, take the channel leading upwards and follow it around to the right to a low arched hut beside a waterfall (not the stilt hut on the Archipelago). Take the hook from the fishing line on the post outside.
- Paddle to the small camp on the beach. Scan the speckled rock, then chip flint from it with the hatchet. Climb the stone steps behind the camp into the canyon and take the chunk of meat lying beside a small animal skeleton.
- Optional: scan the small animal skeleton beside the steps.
- Go further to the large egg and break it with the hatchet. The creature guarding the dune dome flies off. Paddle back and leave the raft at the dock.
Fishing and cactus
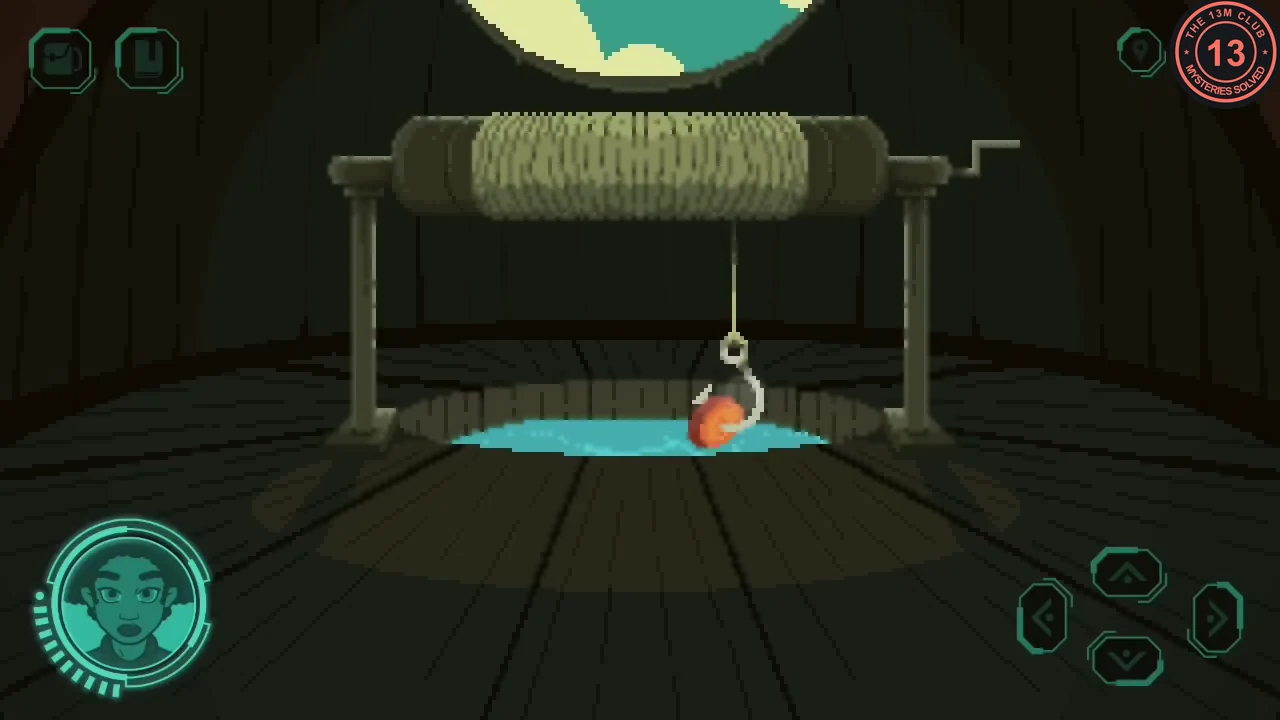
Two of the offerings for the obelisk bowls: a fish caught on the Archipelago and a cactus from the desert.
- In the Archipelago stilt hut, attach the hook to the fishing line and the meat to the hook. Fit the bent rebar to the winch as a handle, lower the line and reel in the fish.
- On the desert island, wrap your hand in the red cloth and pick the cactus.
Seven domes
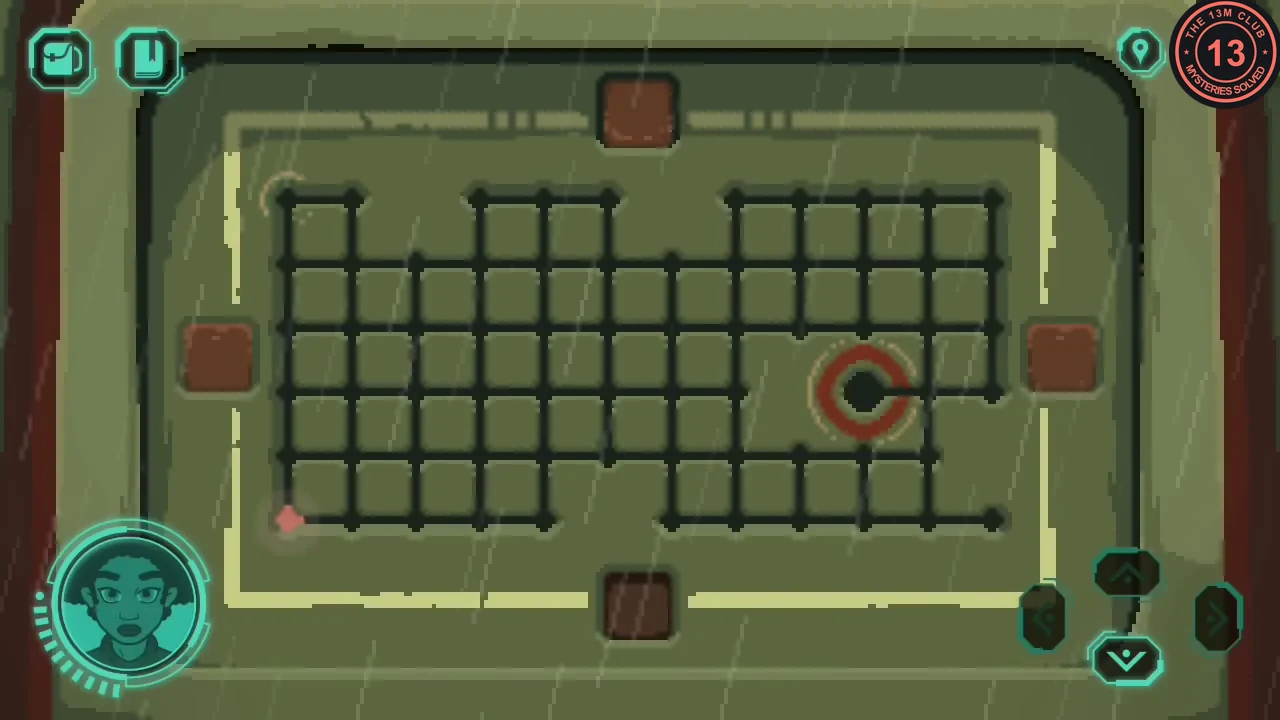
Each dome needs the heptagonal key set to a seven-glyph code found on one of the islands, then a sliding-dot puzzle. The codes and moves below are fixed.
- How the key works: the glyphs are numbers. One bar = 1, two bars = 2, three bars = 3, square = 4, square with a bar = 5, three uprights = 6, divided box = 7. Number the key's sides clockwise starting from the lower-left side (1) to the bottom side (7). Tap the sides in code order. Each tap lights one of the seven bars, so the bars show how many glyphs you have entered, not whether each one is right. Then use the key on the dome; it only works if the whole code is correct. In the dot puzzle, the dot slides until it hits a wall; use the four edge buttons to move it.
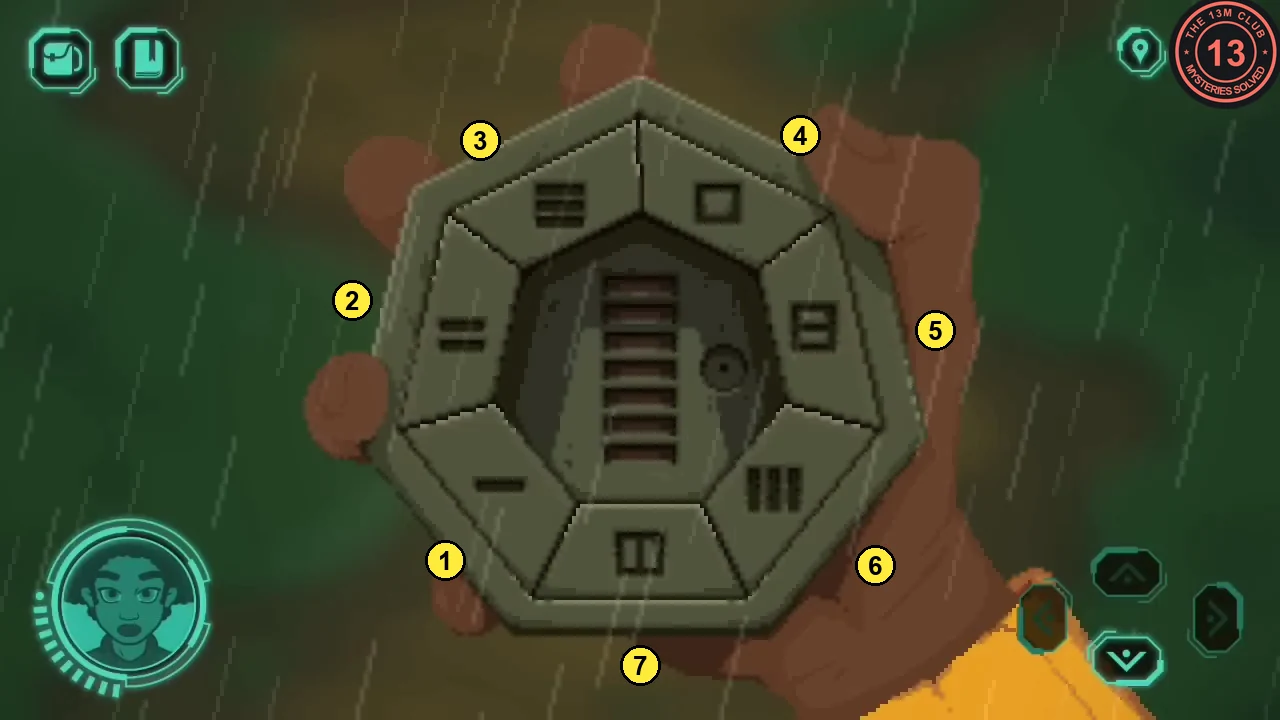
Side numbering for entering the dome codes. - Forest island, dome below the cliff (code from the cliff glyphs seen through the watchtower viewer). Dot moves: down, right, up, right, down, right, up, right, down, left.CODE3351471
- Forest island, tree-top dome (code from the glyphs halfway up the watchtower). Dot moves: up, left, down, right, up, left, up, left, down, right.CODE6417651
- Archipelago, jungle dome (code from the glyph plate on the way to the desert arch). Dot moves: down, right, up, left, down, right, up, left, down, left, up.CODE5432567
- Archipelago, lagoon dome (code from the pavilion pillar). Dot moves: down, right, up, left, down, left, down, right, down.CODE1625347
- Desert island, dome sitting in the small pool beyond the round rock doorway that the two short posts opened (code from the stone in the water). Dot moves: up, left, down, right, up, left, down, right, up, left, down.CODE2552536
- Desert island, dune dome at the end of the arrow route, now that the creature has gone (code from the glyphs at the top of the forest ladder). Dot moves: up, right, down, right, up, left.CODE4471431
- Desert island, dome on the islet reached by raft (code from the forest stone slab). Dot moves: right, up, right, down, right, down, right, down.CODE7764125
Obelisk door and offering bowls
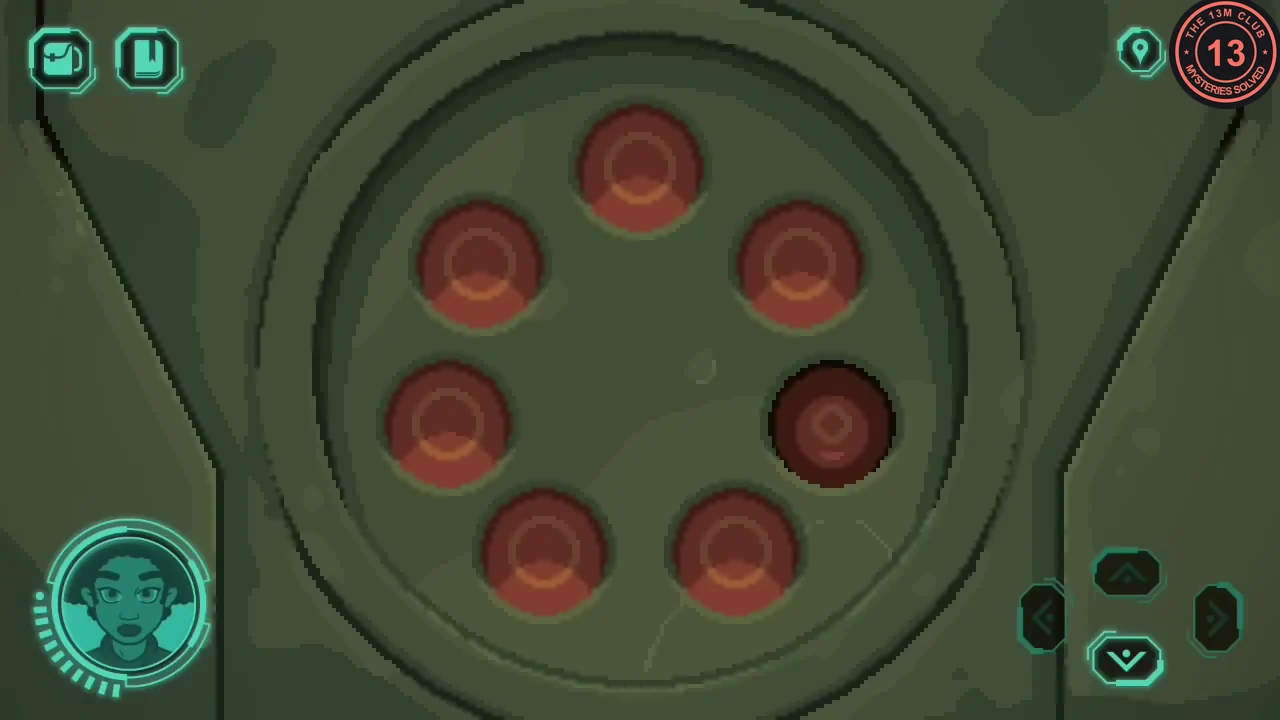
With all seven domes active, the distant obelisk shows the code for the sealed desert door.
- Climb the Archipelago watchtower again, look through the viewer and pan to the obelisk. Watch its lights: right, upper-left, top, lower-right, left, lower-left, upper-right.
- Go to the sealed door beyond the desert pillar bridge and press its buttons in the same order.CODERight, upper-left, top, lower-right, left, lower-left, upper-right
- Inside are four offering bowls, each marked with a symbol. Water bowl: the cactus. Fish bowl: the fish. Flower bowl: the flower. Fire bowl: the pine cone, wrapped in the red cloth and lit with the flint.