Hall Door and Library Floor
The casket key fits the carved round lock of the door at the upper right of the hall, and the hexagon tile completes the library floor.
- Open the door at the upper right of the hall with the KEY. The room behind it is a study; you can explore it now or after the next two puzzles.
- In the library, put the HEXAGON TILE in the gap on the left of the floor pattern to start the puzzle.
Library Floor Strips
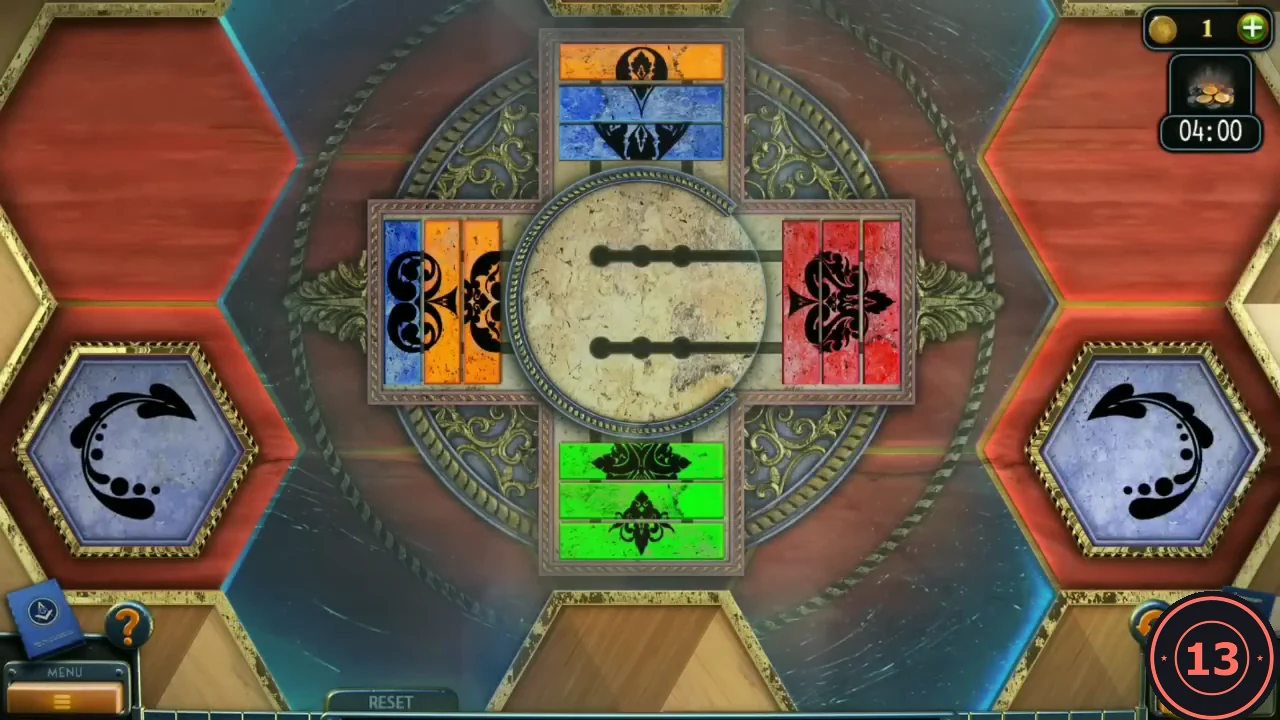
A cross of four arms holds three coloured strips each. From the outer end inward: top orange, blue, blue; left blue, orange, orange; right red, red, red; bottom green, green, green. The centre disc carries a two-rod fork that holds up to three strips, and the hexagon buttons at the left and right turn the disc 90 degrees. Tap the arm the rods face and its innermost strip slides onto the fork. Tap the disc and the last strip loaded slides back out into the arm the rods face. Goal: top all orange, left all blue (right red and bottom green are already done). Solving it in under 2 minutes gives the Skillful achievement. Check your start colours first.
- Turn the disc until the rods face the top arm and tap the top arm twice (two blue strips onto the fork). Turn to face the left arm and tap it once (an orange strip; the fork is now full).CODEtop, top, left
- Turn to face the top and tap the disc (the orange strip goes into the top arm). Turn to face the left, tap the left arm (the second orange strip), turn to face the top and tap the disc again.CODEdisc to top, left, disc to top
- Turn to face the left and tap the disc twice: both blue strips go into the left arm and the floor glows. Take BALL (3/3) and the LENS.CODEdisc to left x2
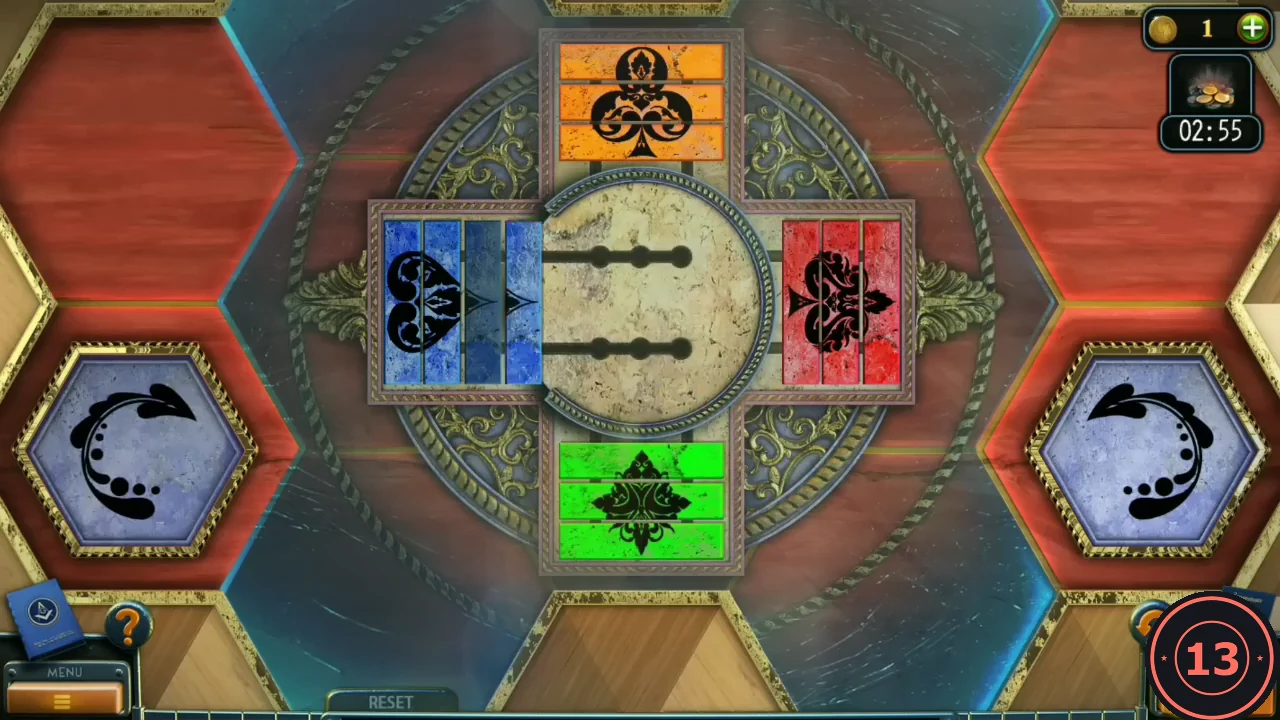
Solved: top all orange and left all blue.
Telescope and Wall Squares
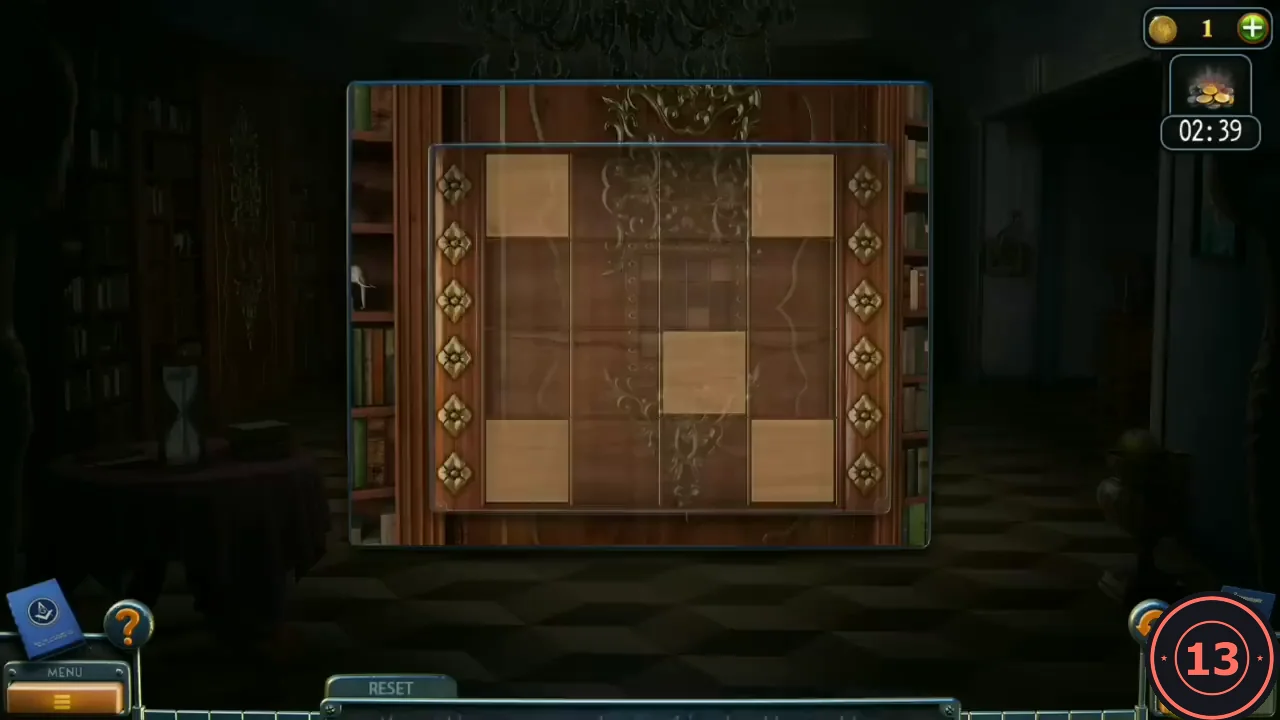
The telescope on the library balcony shows a pattern that is needed for the carved panel on the library's left wall.
- Put the LENS in the telescope on the balcony. It shows a tower roof whose dark and light tiles form a 4 by 4 pattern.
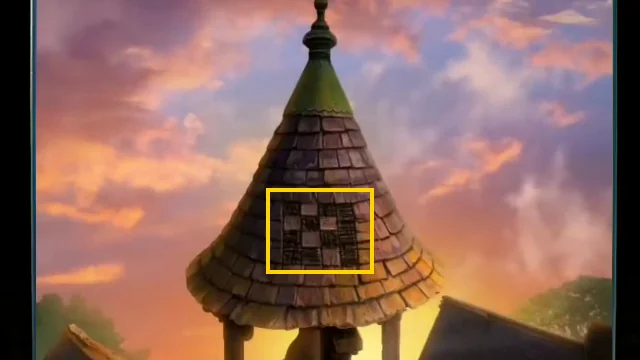
The tower roof seen through the telescope (close-up). The light and dark tiles in the marked patch give the 4 by 4 target pattern. - Zoom into the carved panel on the left wall: a 4 by 4 board with five light squares. Swipe a light square to move it one cell into an empty neighbour. Count rows and columns 1 to 4 from the top left. Start: row 1 column 1, row 1 column 4, row 3 column 3, row 4 column 1, row 4 column 4.
- Goal (the roof pattern): row 1 column 2, row 2 column 1, row 2 column 3, row 3 column 2, row 4 column 3. Seven swipes: row 3 column 3 up; row 1 column 1 down; row 1 column 4 left twice; row 4 column 1 right, then up; row 4 column 4 left.CODER3C3 up; R1C1 down; R1C4 left x2; R4C1 right, up; R4C4 left
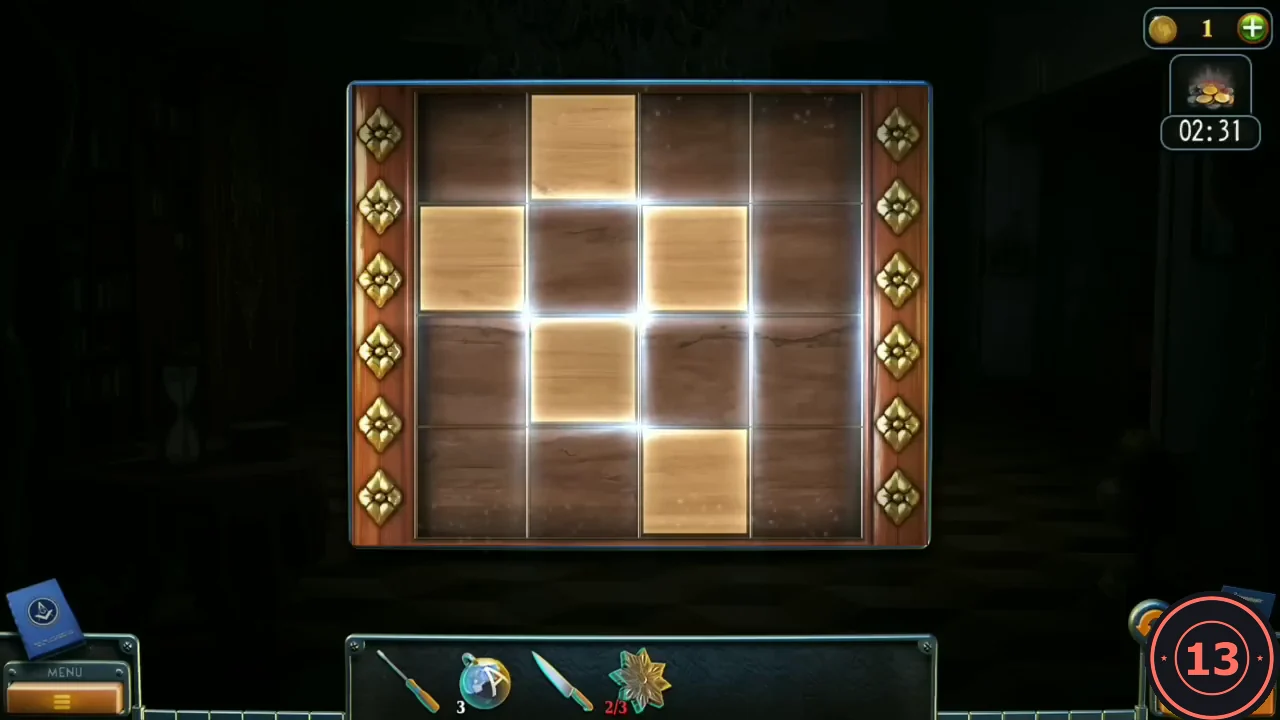
The finished pattern glows before the panel slides away. - The panel slides away and uncovers a wooden double door with a diamond-shaped recess. It is still shut; it opens later with the amulet.
The Study
The study behind the hall door belongs to someone important in the Order. It holds a Newton's cradle, a model table, a desk map with a magnifier arm, a book with a torn page and a switch box by the phone.
- Enter the study. Put the three BALLS on the Newton's cradle on the cabinet at the left. The seven balls now read I A R G A N A from left to right; you need a clue before you can do anything else here.
- On the desk map, take MINIATURE SHIELD (1/2) from under the magnifier arm. Remove the screws of the wall switch box by the phone with the SCREWDRIVER: MINIATURE SHIELD (2/2).
- Laura phones Bishop: the Order is bringing the monsters from the paintings to life to build an army. New task: find monsters.
- In the library, put both MINIATURE SHIELDS on the base of the glass dome on the round table. The dome lifts: take the FIGURINE (a rider).
- Put the FIGURINE on the model table in the study to start the diorama puzzle.
Wild West Diorama
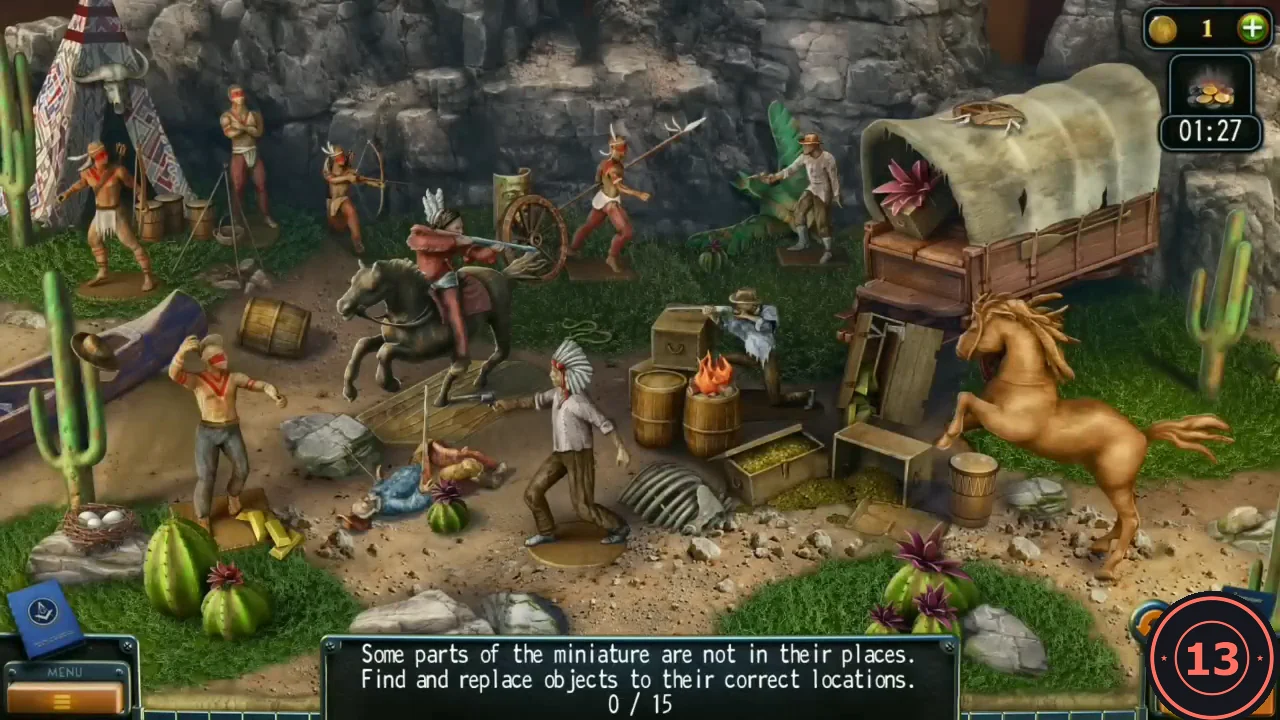
In-game rule: some parts of the miniature are not in their places. Find and replace objects to their correct locations (counter x/15). Drag each misplaced object to where it belongs; a wrong drop only shows "A different item is needed". You can zoom and pan the view.
- 1 to 5: the buffalo skull on the teepee onto the buffalo skeleton at the bottom; the round painted shield on the wagon cover onto the spear warrior left of the wagon; the gold bars beside the shirtless warrior into the open crate in front of the wagon; the fallen cowboy in the blue shirt onto the rearing tan horse; the barrel lying behind the shirtless warrior to the barrels by the campfire.
- 6 to 10: the pink cactus flower in the box on the wagon front onto the round cactus in the bottom-left corner; the bird nest beside the big cactus onto the rock ledge by the eagle at the top right; the paddle against the wagon into the canoe on the left; the carved totem top lying behind the cowboy onto the totem pole behind the rider on the dark horse; the feather war bonnet from the white-shirted settler onto the man with crossed arms by the teepee.
- 11 to 15: the campfire flames on top of the barrel under the cooking pot by the teepee; the small drum by the tan horse's hind hooves to the drums by the teepee; the wagon wheel by the shield warrior onto the wagon's back axle; the tomahawk in the crate into the raised hand of the shirtless warrior; the cowboy hat on the tall cactus onto the settler's head.
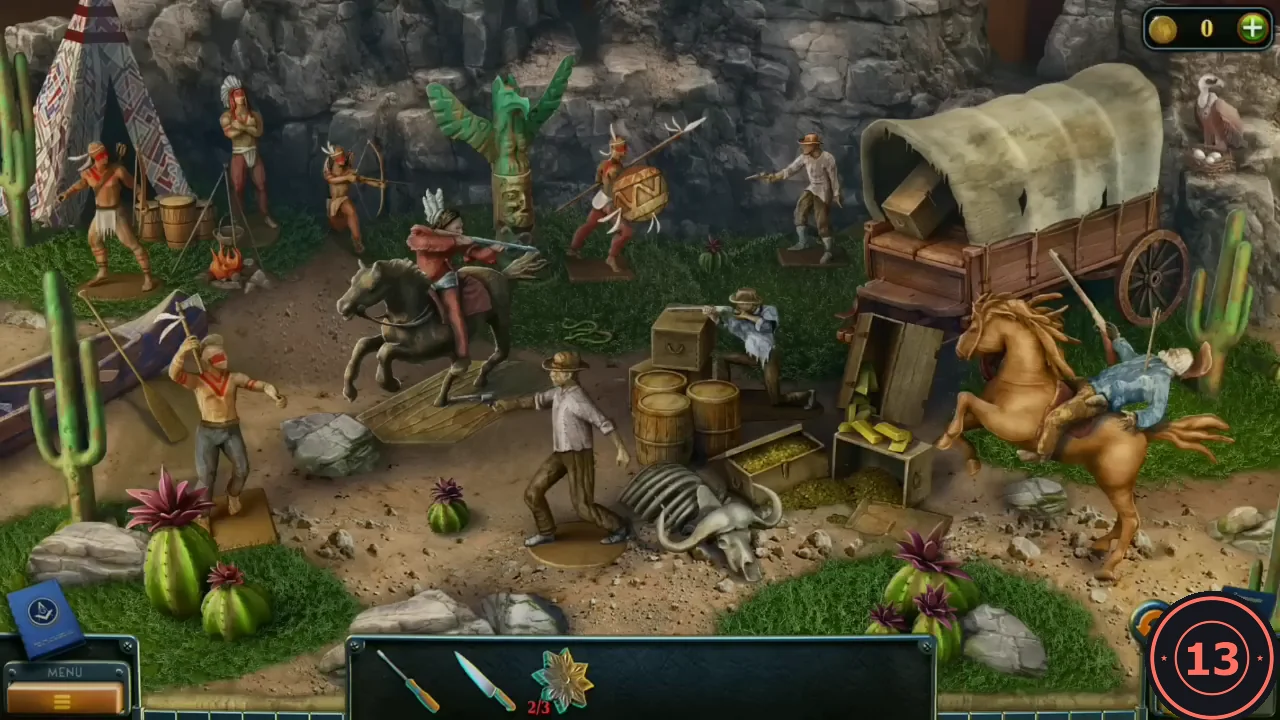
The diorama after all 15 objects are back in place. - Open the drawer in the diorama base and take the LENS.
Newton's Cradle
The magnifier on the desk map can now read the tiny place names.
- Put the LENS in the magnifier arm on the desk map. The magnified label reads NIAGARA.
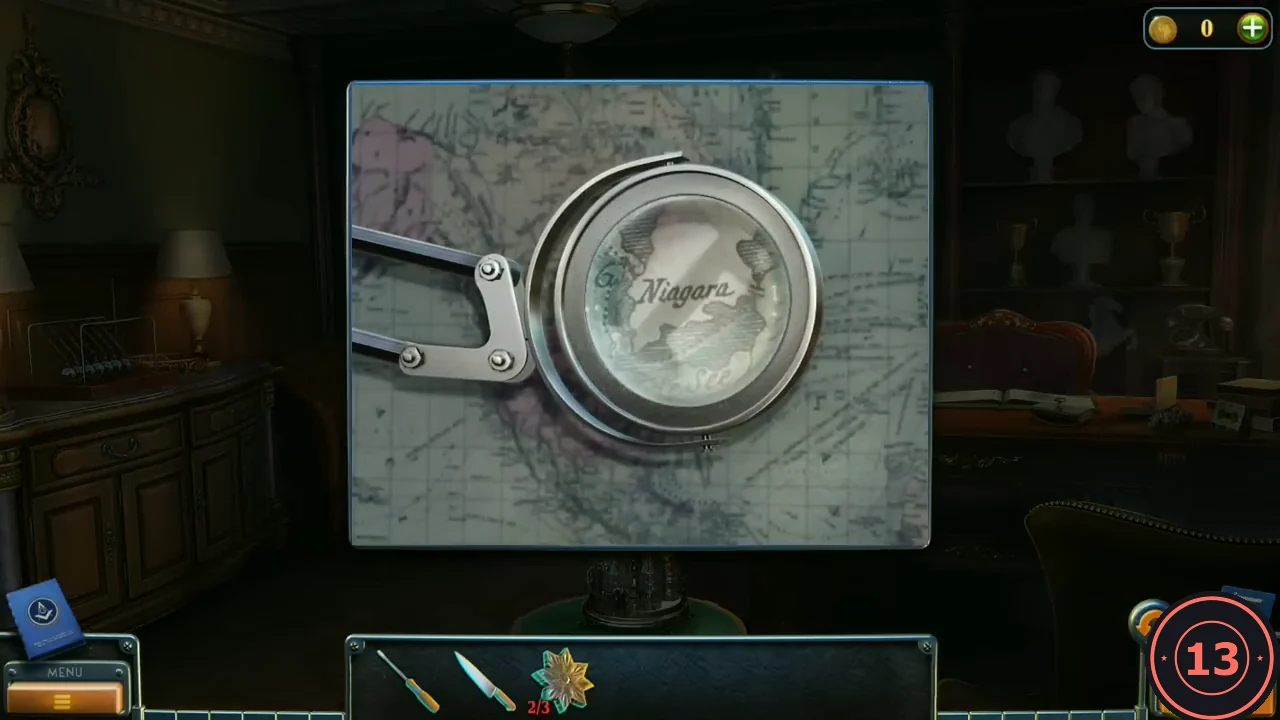
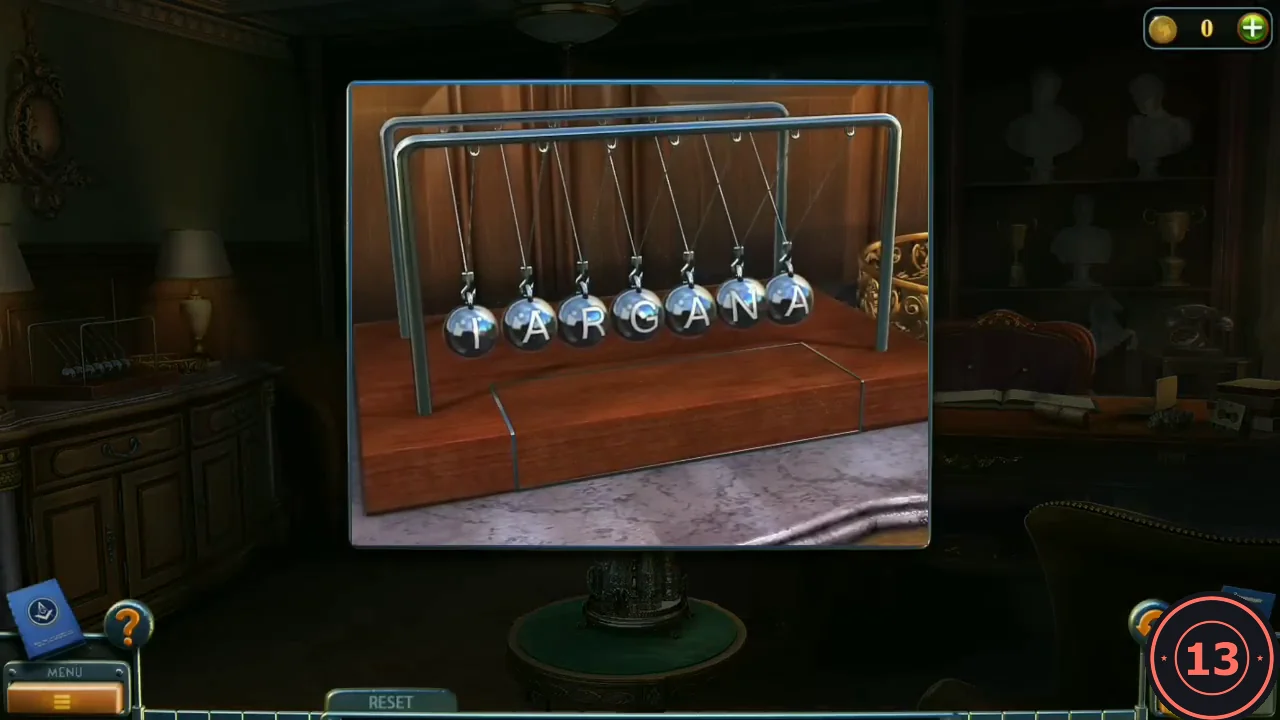
The magnifier on the desk map shows NIAGARA. - Zoom into the Newton's cradle. In-game rule: swap the balls to match the hint you saw. Tap two balls to swap them until they spell N I A G A R A. From I A R G A N A: swap balls 1 and 6, then 2 and 6, then 3 and 6.CODENIAGARA
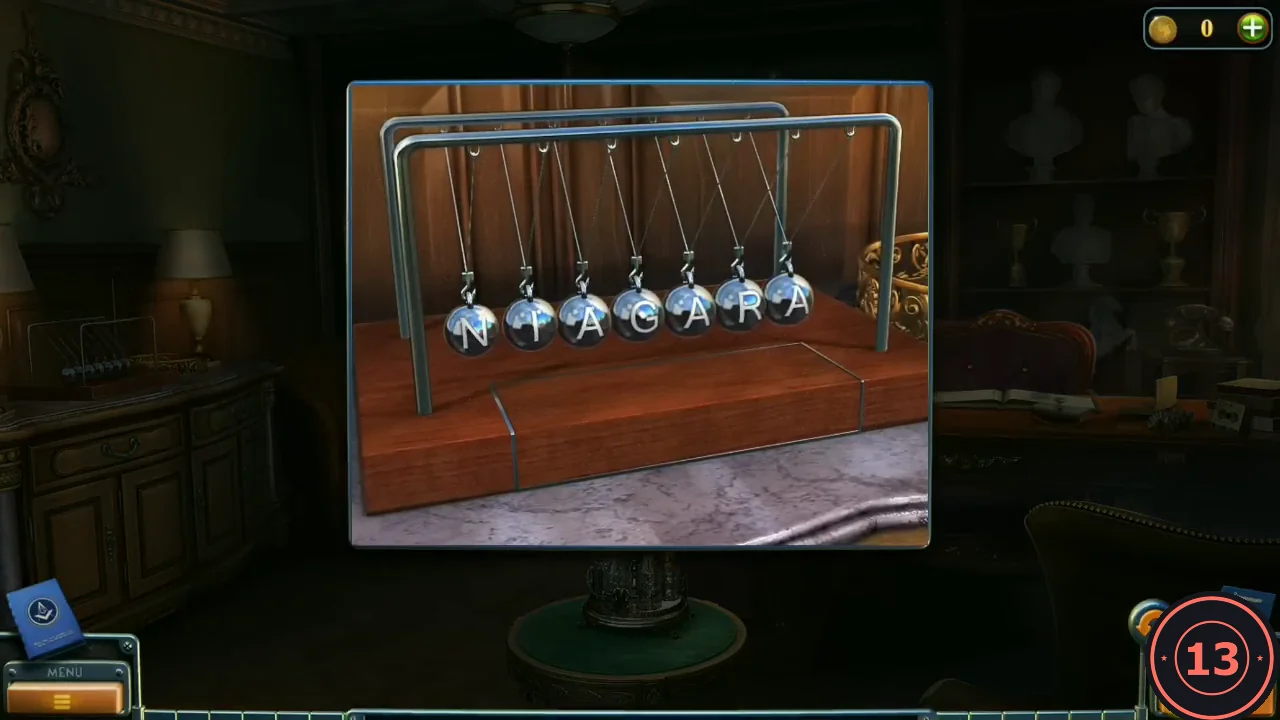
The balls spell NIAGARA. - The base drawer opens: take the HOURGLASS EMBLEM and the GRAPHITE PENCIL.
- Rub the torn page of the desk book with the GRAPHITE PENCIL. It shows a poem about a tree with mighty roots that keeps a secret, and a sketch of a diamond-shaped pendant.
- In the library, put the HOURGLASS EMBLEM on the lid of the hourglass on the round table: FLOWER (3/3).
The Workshop
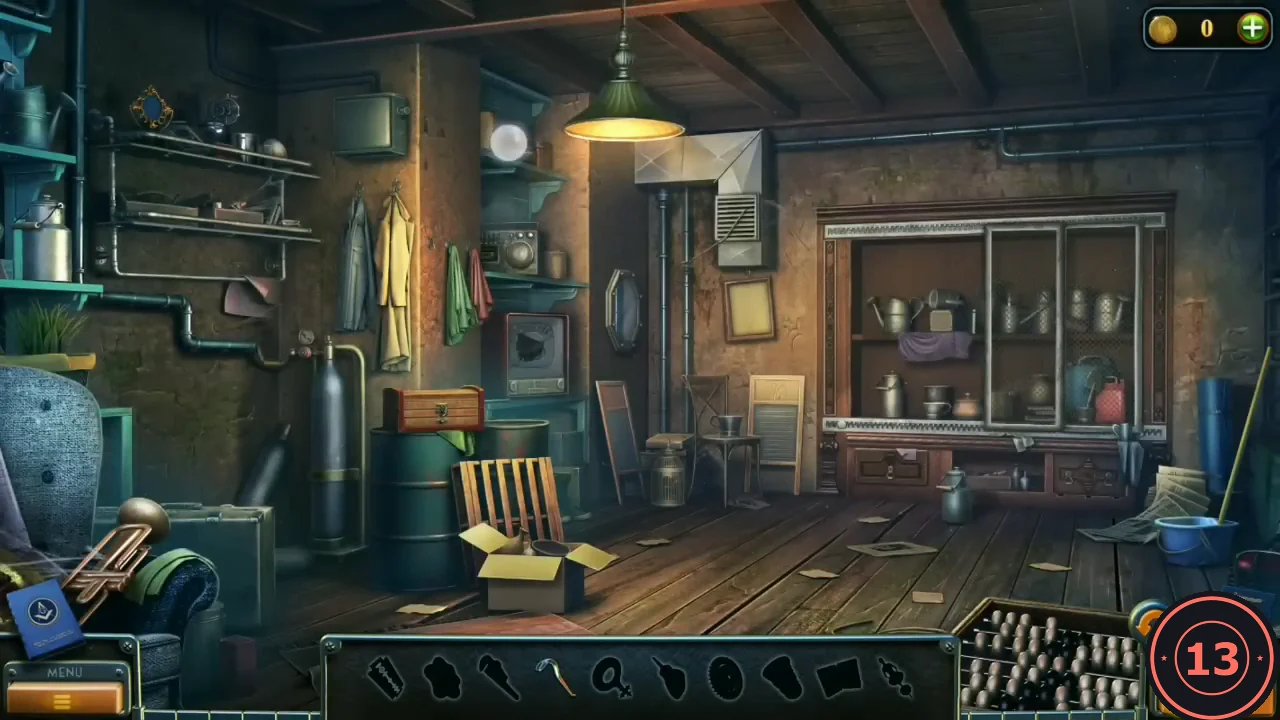
The wooden door at the back of the upstairs hall (beyond the stair railing) has a carved flower garland with three empty sockets. Behind it is a workshop that works as an interactive search room: the bar at the bottom shows ten tool silhouettes, and several tools are only found by using others.
- Put the three FLOWERS into the sockets of the back door in the hall, turn the handle and go into the workshop.
- Take the CROWBAR, the red-handled hook stuck in the broken TV screen behind the barrels. Pull open the workbench drawer: JEWELER'S TOOLS (the flat case). Tap the metal cup at the right of the drawer: VALVE.
- Pull the nails in the drawer with the CROWBAR: GEAR, then a KEY beneath it. Open the lock plate in the middle of the wire-mesh cabinet on the right with the KEY: it hides a gear mechanism.
- Fit the VALVE on the right gas cylinder on the left wall, then tap the fitted valve to turn it and release the pressure. Laura says: "Now I can open it." Search the blue bucket with the broom on the right floor: RAZOR BLADE and PIPE WRENCH.
- Cut the wire on the vent grille (top centre) with the RAZOR BLADE: BALLERINA FIGURINE. Unscrew the brass fitting on the left pipe of the gas cylinders with the PIPE WRENCH: it is the DRUM FOR THE MUSIC BOX.
Music Box and Tool Cabinet
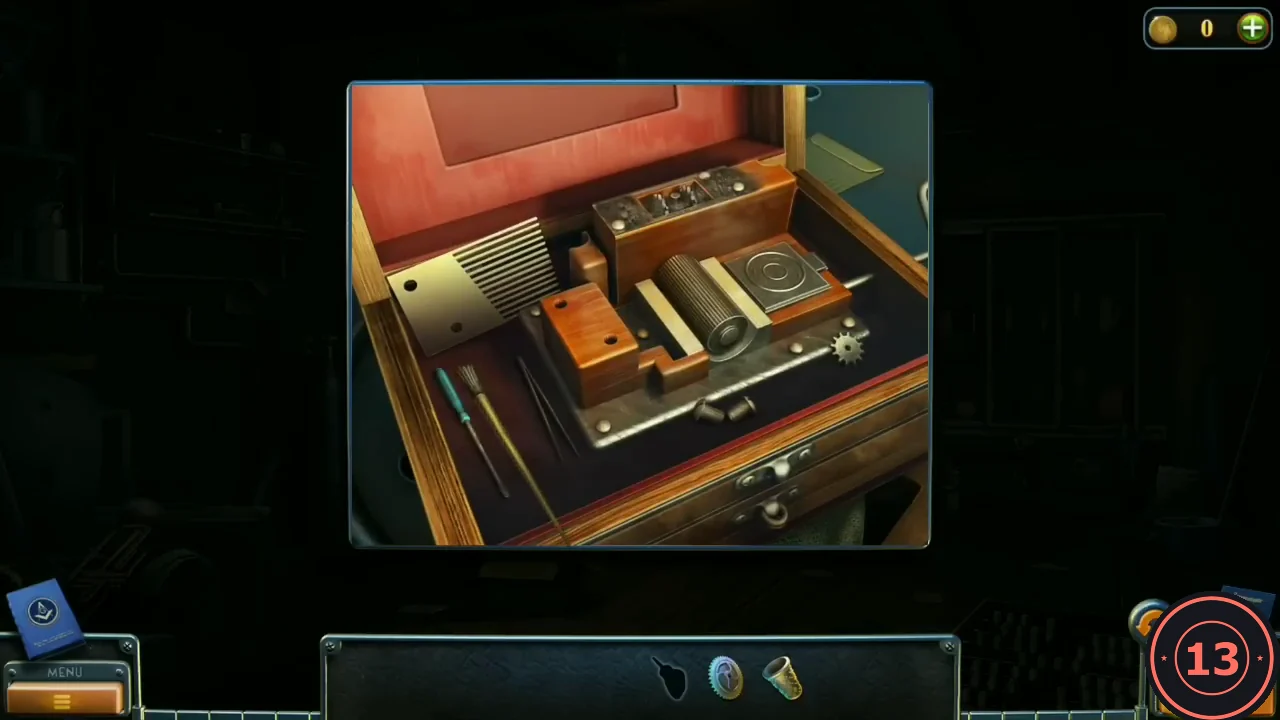
The wooden box on the barrels has a ballerina-shaped slot in its lid.
- Put the BALLERINA FIGURINE in the lid slot of the box on the barrels. Inside is a broken music box. Lay the JEWELER'S TOOLS out beside it.
- Repair it: put the DRUM on the spindle, drag the comb plate onto the drum, tighten the comb screws with the screwdriver from the kit, then use the long tool on the small cog at the right. The melody plays and a drawer opens: OILER.
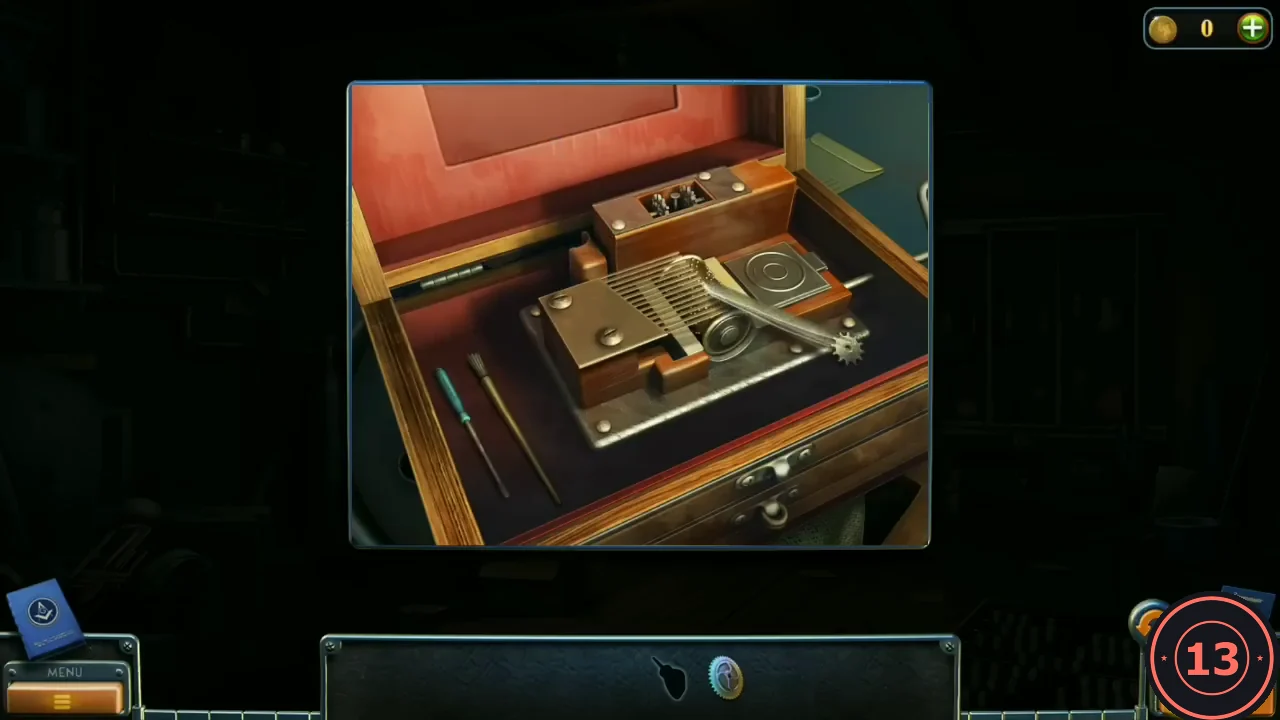
Last repair step: turn the small cog at the right with the long tool. - Put the GEAR on the cabinet mechanism and oil it with the OILER. The gears turn and the cabinet doors open; the tool scene ends. Take the GARDEN SPADE from the cabinet shelf.
Amulet and Elevator
The poem from the book points to the roots of a tree.
- In the bedroom, dig in the big potted plant at the left with the GARDEN SPADE: AMULET (diamond-shaped).
- In the library, put the AMULET in the diamond recess of the wooden double door on the left wall. The doors open to an elevator: ride down.
- In the utility room, cut the tape of the cardboard box on the crates at the left with the KNIFE: BATTERY. Unscrew the floor hatch in the centre with the SCREWDRIVER: HANDLE. The chain on the centre gate has no lock; it needs cutting.
- The left door only opens when you go down: press the blue button on the panel on the right wall. Go through the left door to the bunker.
The Bunker
A striped blast door on the left has a control box with an empty knob socket. A forklift with a loaded pallet stands in the middle; the gasoline barrel at the lower right is for later.
- Lift the floor plate of the forklift cab and put the BATTERY in. Press the green button and pull the red lever: the forks raise the pallet. Take the BOLT CUTTER from the floor under it.
- Go back to the elevator room and cut the gate chain with the BOLT CUTTER. Take the DETAIL (a rotary knob) from the crate behind the gate.
- Put the DETAIL in the control box by the blast door. The light turns green and the door opens. Laura finds a prisoner, and then the story jumps to Howard, sent by Bishop to Eugene Perry's abandoned house.