Plus: No Applause — how to unlock it
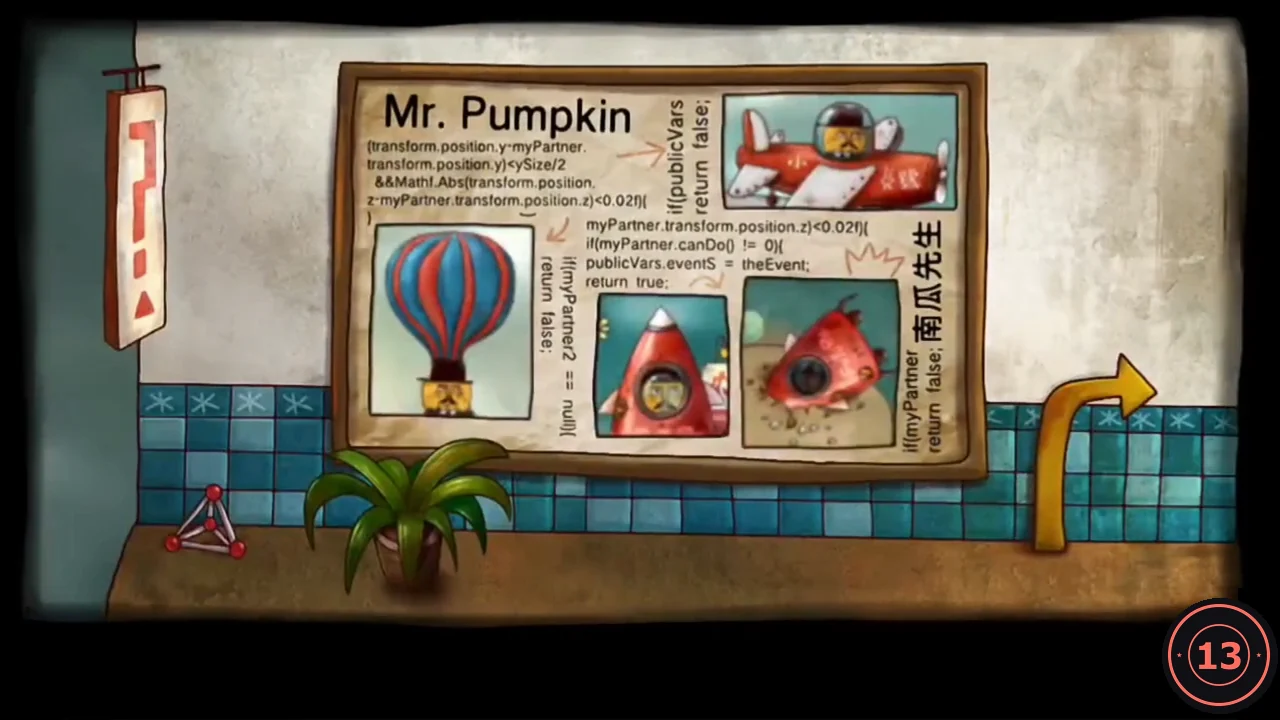
The hidden chapter unlocks once you have seen all three endings: A (the plane, Chapter 6), B (the blue pill, Chapter 7) and C (Shell Beach, Chapter 8). The pictures on the SECRET board on the main menu light up as you see each ending. If you followed this guide, you saw all three in one playthrough. Clearing the chapter earns The Dream Voyagers.
- On the main menu, tap SECRET at the left. On the board of ending pictures, tap the crashed rocket at the bottom right to start Plus: No applause.
No Applause: the statue dot panel
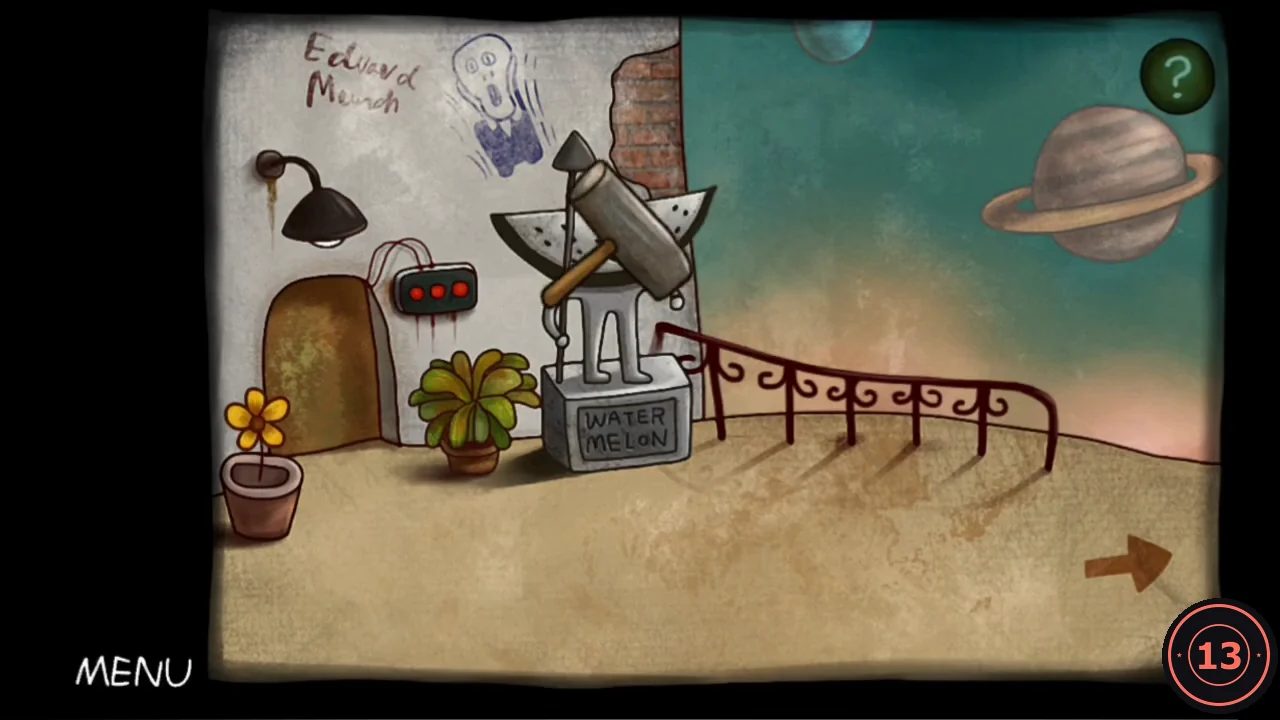
The panel on the statue stand has 12 red dots in three rows: 2 on top, 4 in the middle and 6 at the bottom, centred above each other. The dot with a solid white arrow is your position. Outlined arrows mark the nearest unvisited dot in each direction, skipping over dots you have already visited, which turn cyan. Tap an outlined dot to move there. Visit all 12 dots to solve it; ↺ starts again. Below, rows are counted from the top. Columns 1–6 follow the bottom row, so the top row holds columns 3–4 and the middle row columns 2–5.
- Go right from the crashed rocket to the statue screen. Take the hammer at the left and the flower from the pot.
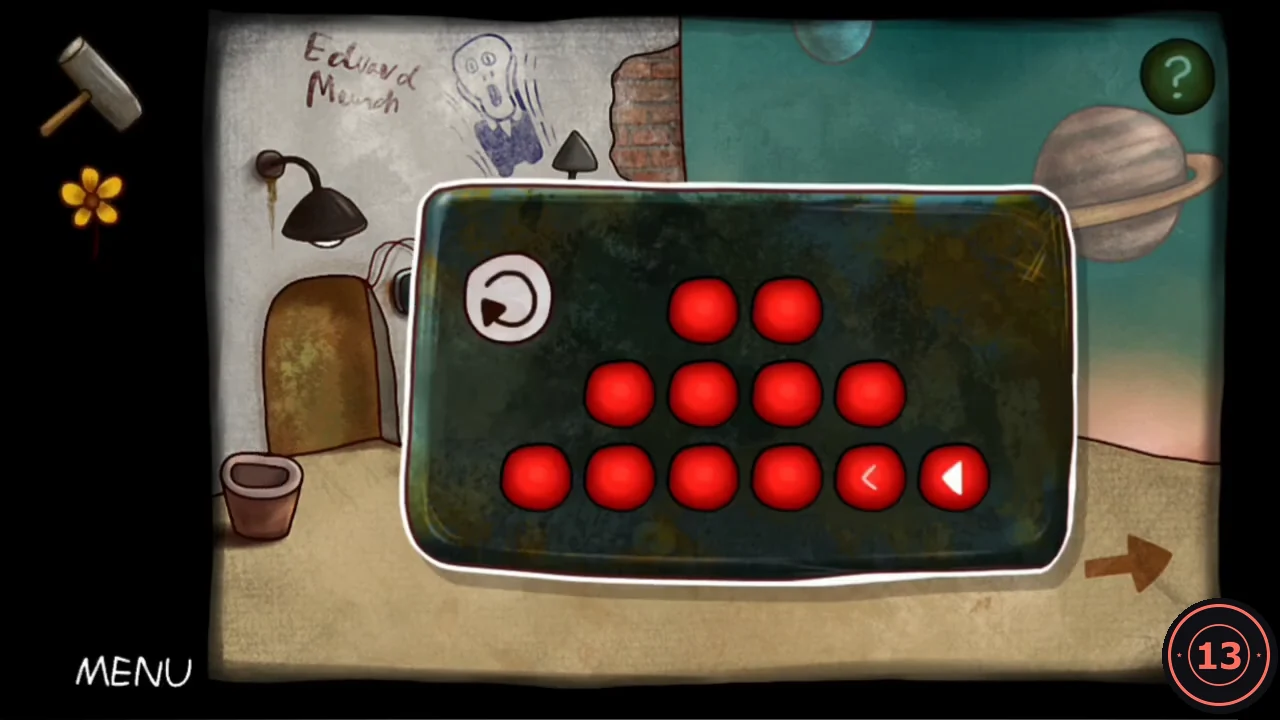
The dot panel at the start. Outline arrows mark the dots you can move to. - Open the panel on the statue stand. You start at the right end of the bottom row (row 3, column 6). Move to r3c5, r2c5, r2c4, r2c3 and r2c2. Then go to r3c2, r3c3 and r1c3, jumping over the visited r2c3. Next go to r1c4, then r3c4, jumping over r2c4. Finish at r3c1, jumping over the visited r3c3 and r3c2.
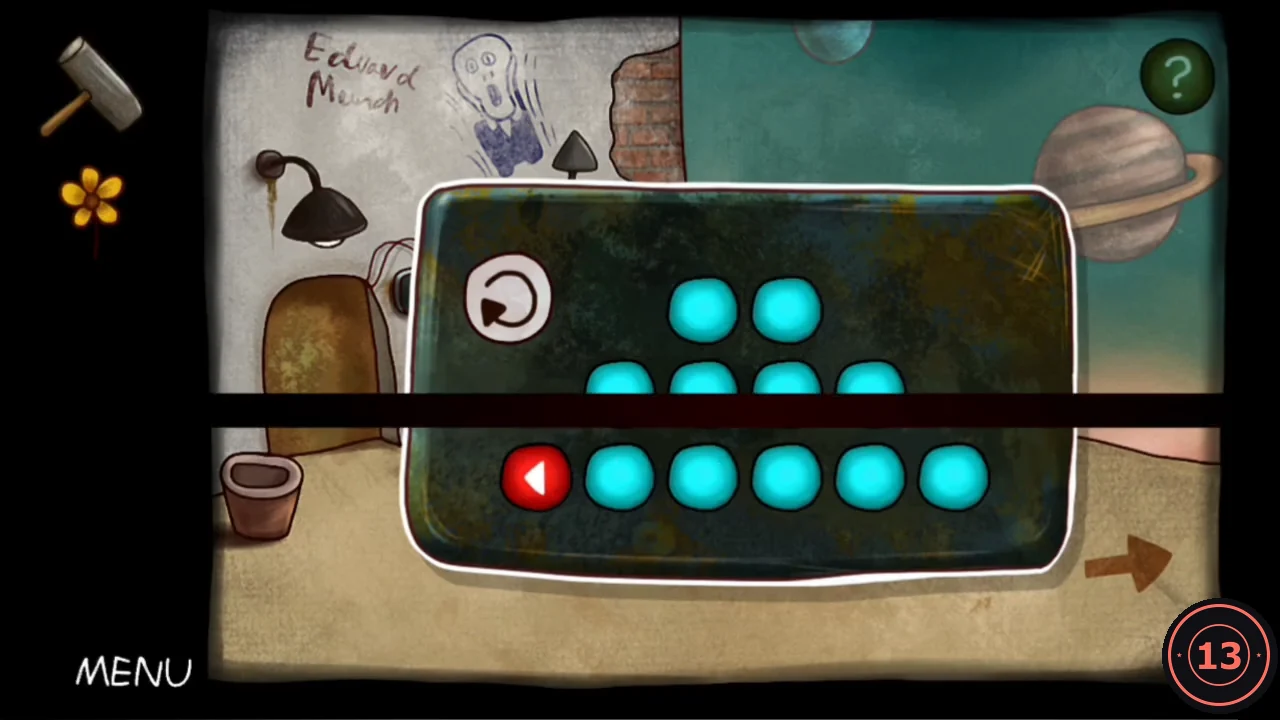
Every dot visited, ending at the left end of the bottom row.
No Applause: the worm, the switch and the robot
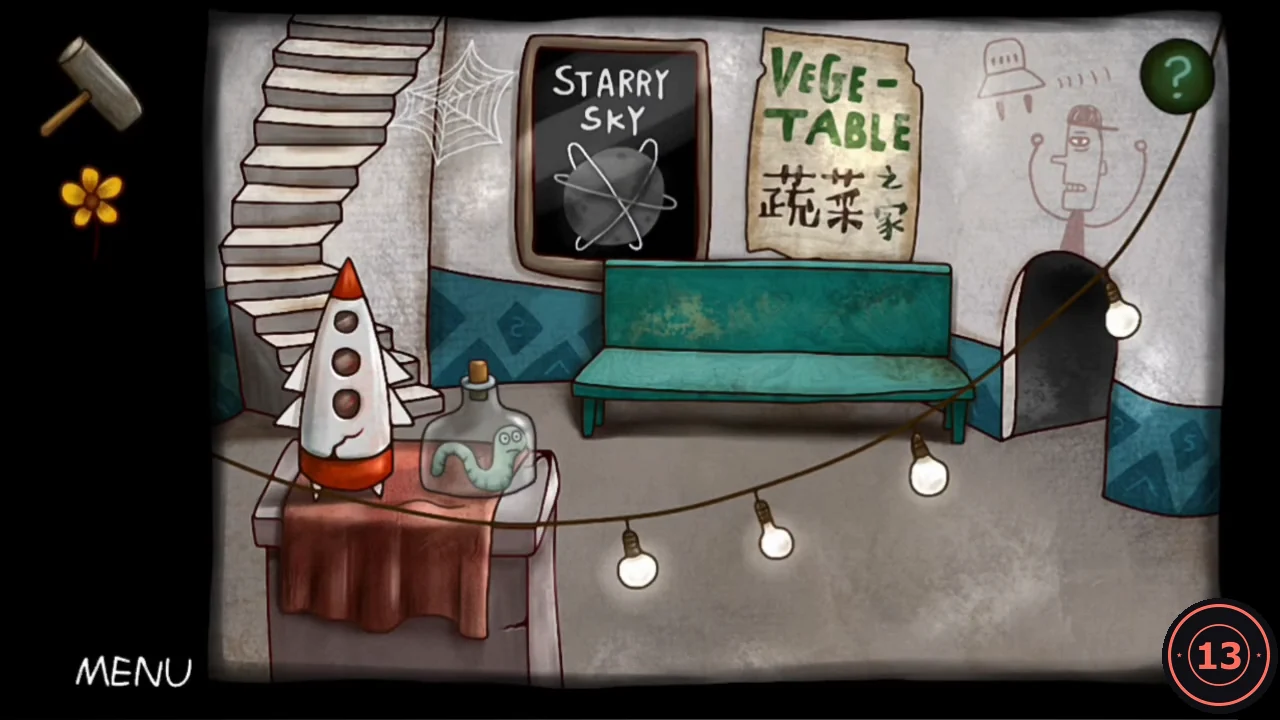
The hammer frees a worm for the cabbage-headed man. His TV then starts the planet numbering, and the flower opens the robot grid.
- Go through the opened arch. In the room with the STARRY SKY board, smash the glass jar on the table with the hammer and take the worm.
- Go right and give the worm to the cabbage-headed man by the TV. Then tap the switch: the TV turns on and shows 1 Jupiter, and an arrow appears at the right.
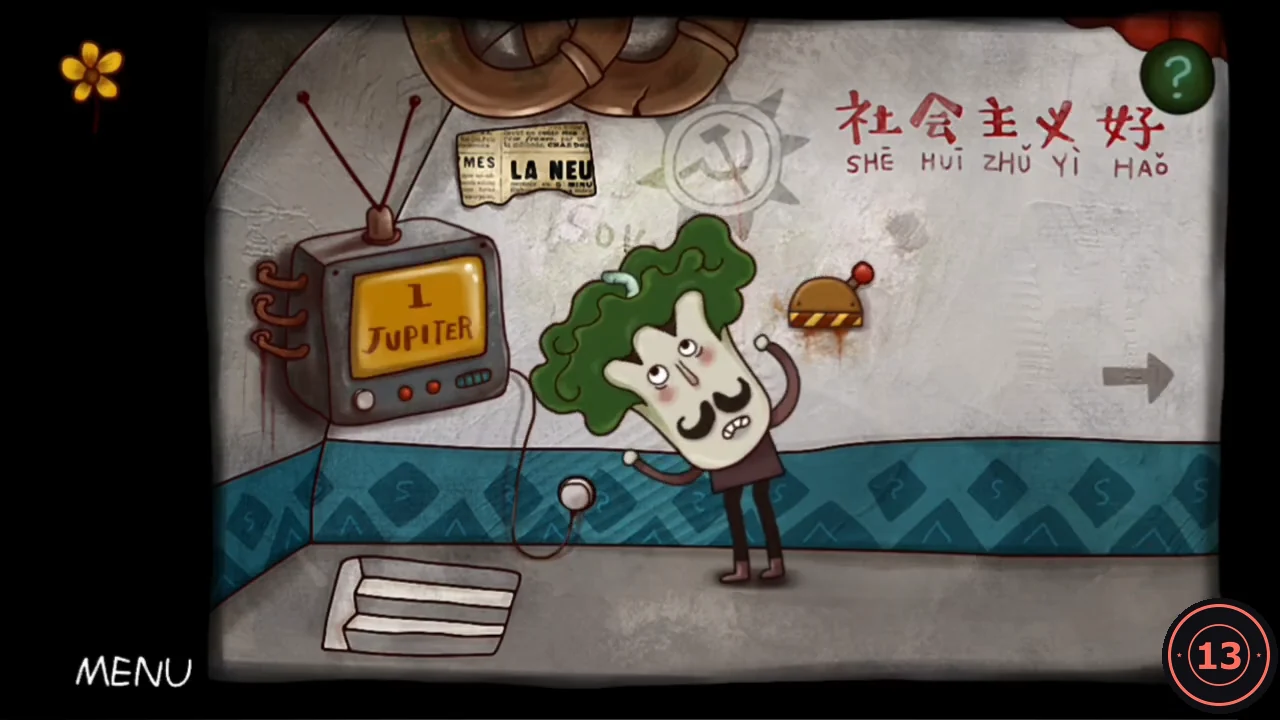
After the switch: the TV shows 1 Jupiter and the arrow to the robot appears. - Follow the arrow right to the robot and give it the flower. A 4×4 grid panel opens.
No Applause: the robot grid
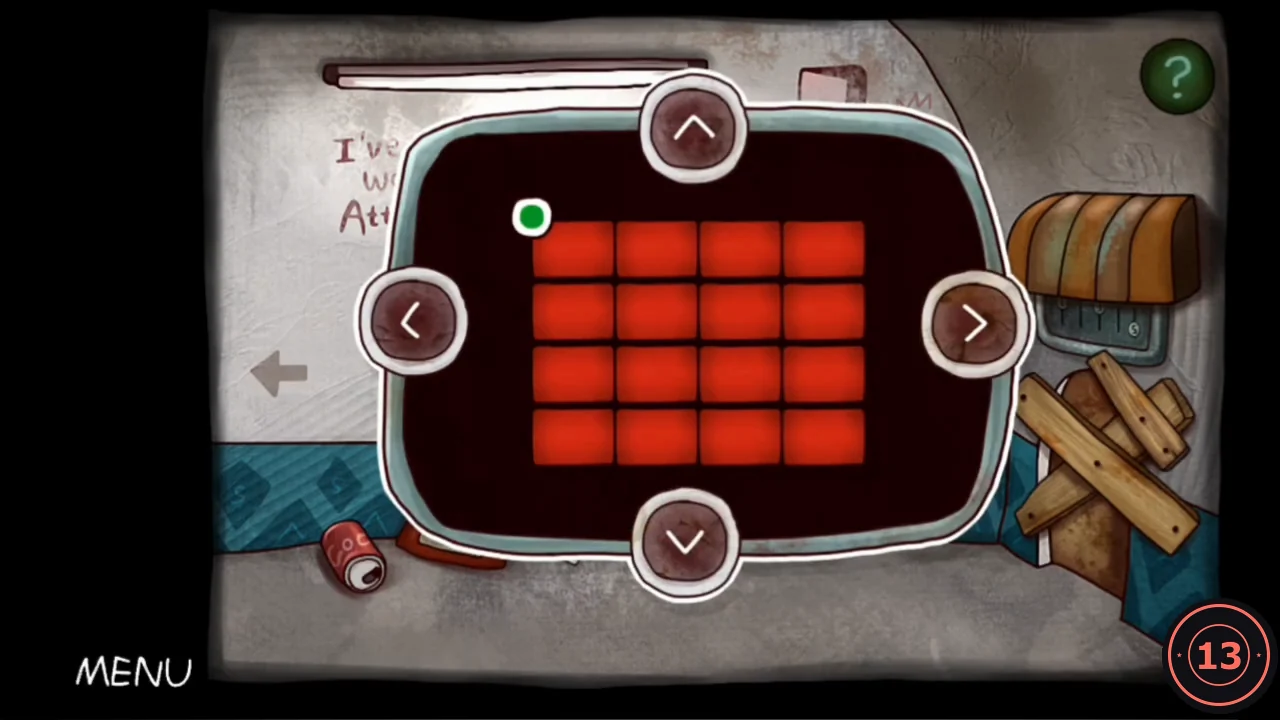
All 16 cells start red. A green dot sits on the grid lines and starts at the top-left corner. Each arrow button moves it along one line segment to the next crossing. Each move flips the colour of the cells on both sides of that segment; along the outer border there is only one such cell. Turn every cell green. The 18-move route below was worked out from this rule; the reference player solved it by trial. If you have already moved the dot and lost track, push the remaining red cells towards a corner and clear them last.
- From the start, press: right, right, right, right, down, left, down, right, down, left, left, left, left, up, right, up, left, up.
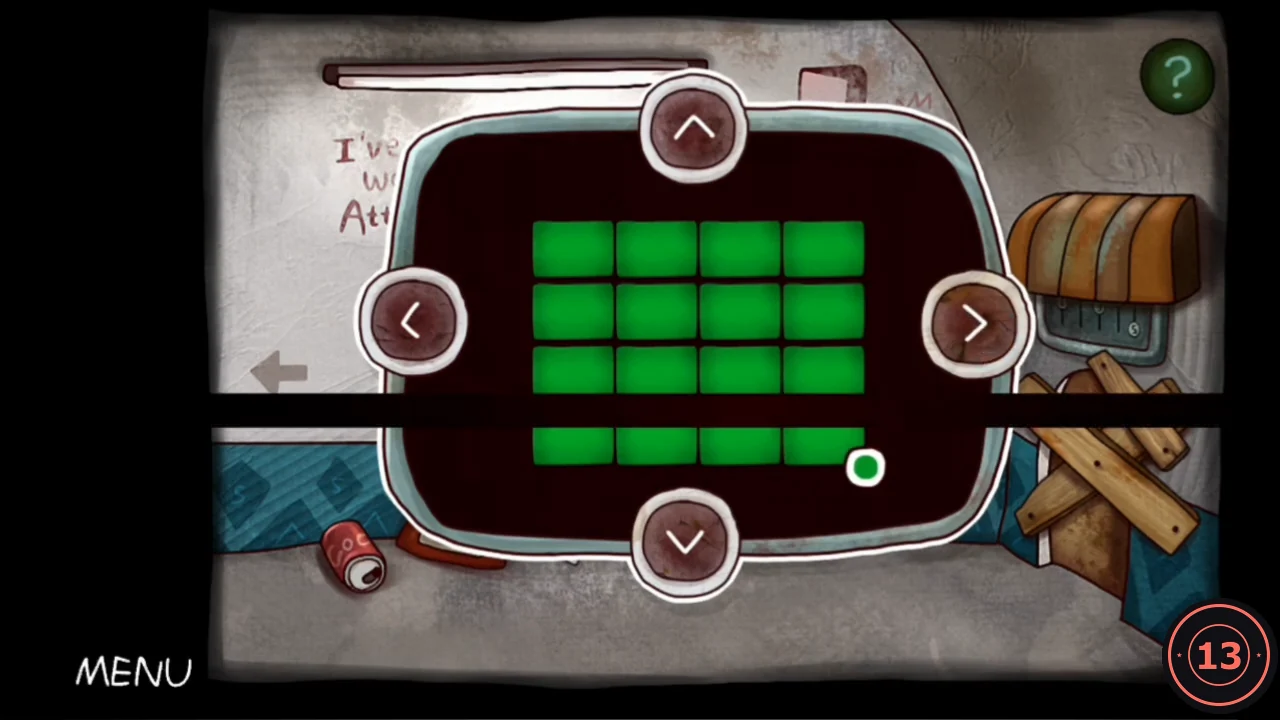
All sixteen cells green. - The robot fires its lasers and breaks the crate to its right. Tap where the crate stood to open a panel of five sliders numbered 1–5.
No Applause: the planet sliders
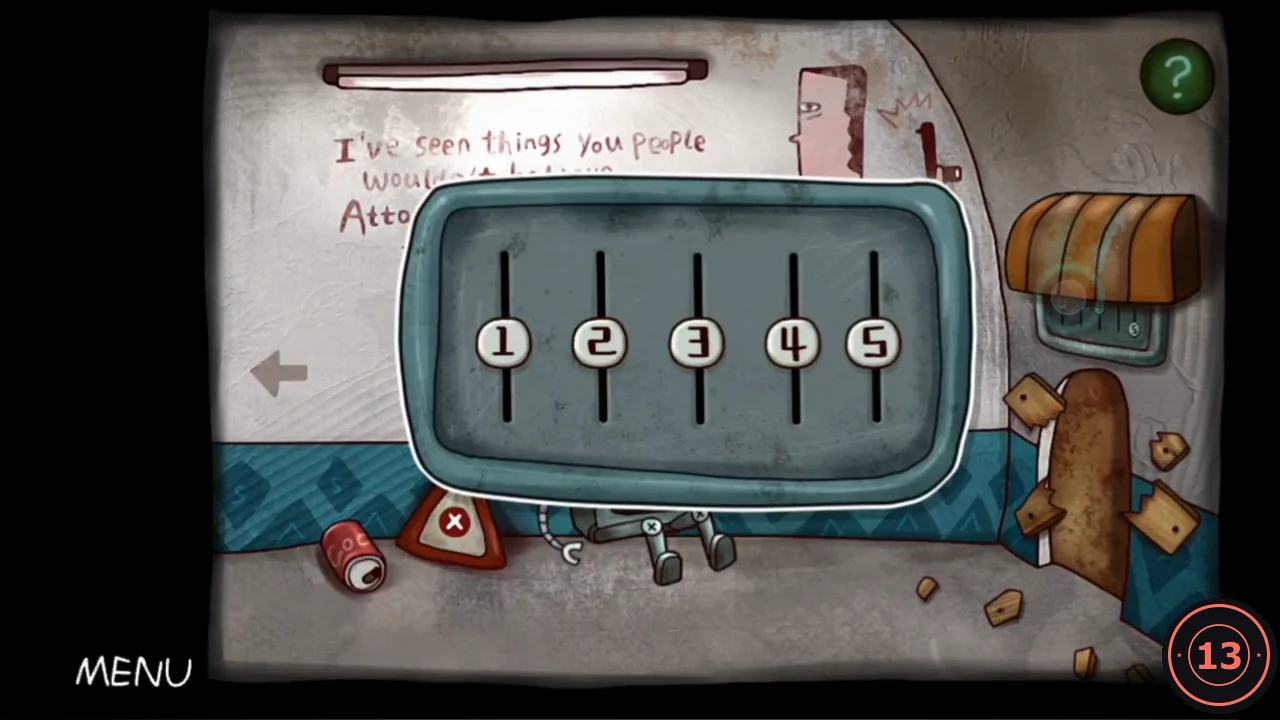
The cabbage-head TV cycles five numbered planets: 1 Jupiter (yellow), 2 Earth (blue), 3 Uranus (green), 4 Mars (red) and 5 Moon (white). Each slider stands for the height of that planet in the sky outside. On the statue screen, blue Earth is at the top edge and big ringed Jupiter is in the upper middle. At the crash site, small red Mars is high at the top left, green Uranus is in the middle and the grey Moon is low near the horizon.
- Watch the TV to learn the numbering, then walk back left to the crash site and the statue screen to compare the planets' heights.
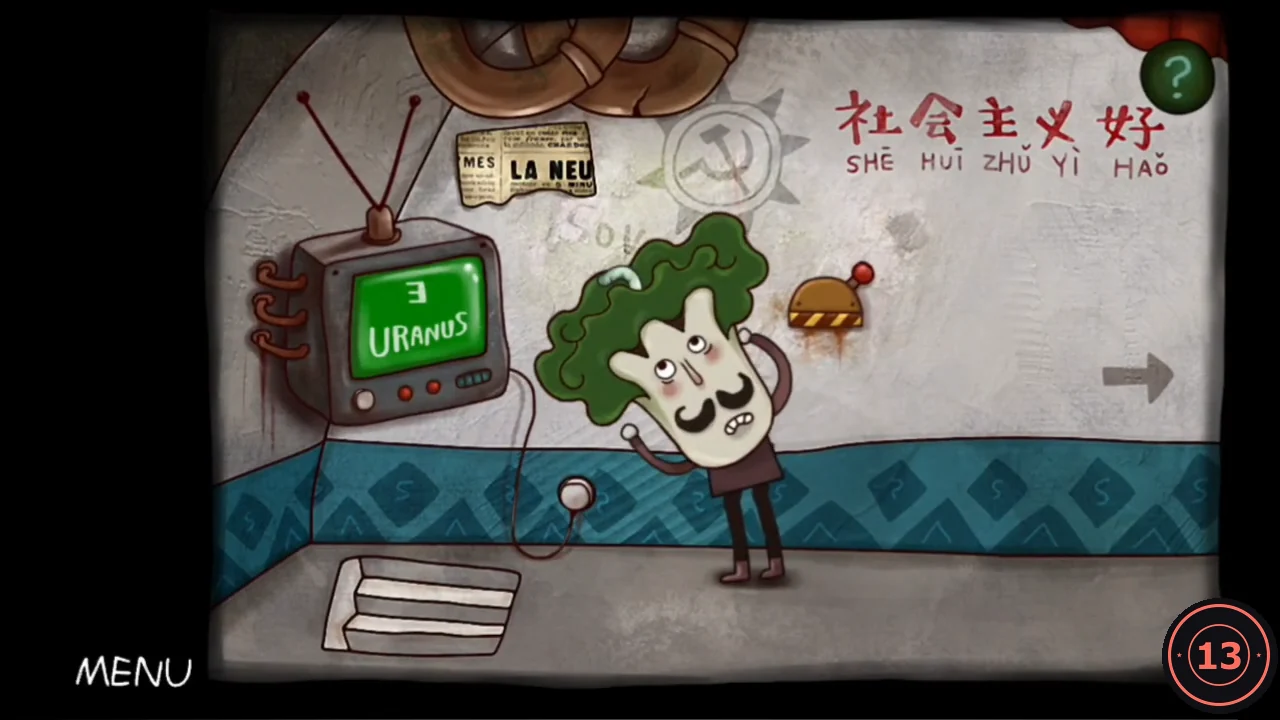
The TV cycles through the planet numbers: 1 Jupiter, 2 Earth, 3 Uranus, 4 Mars, 5 Moon. 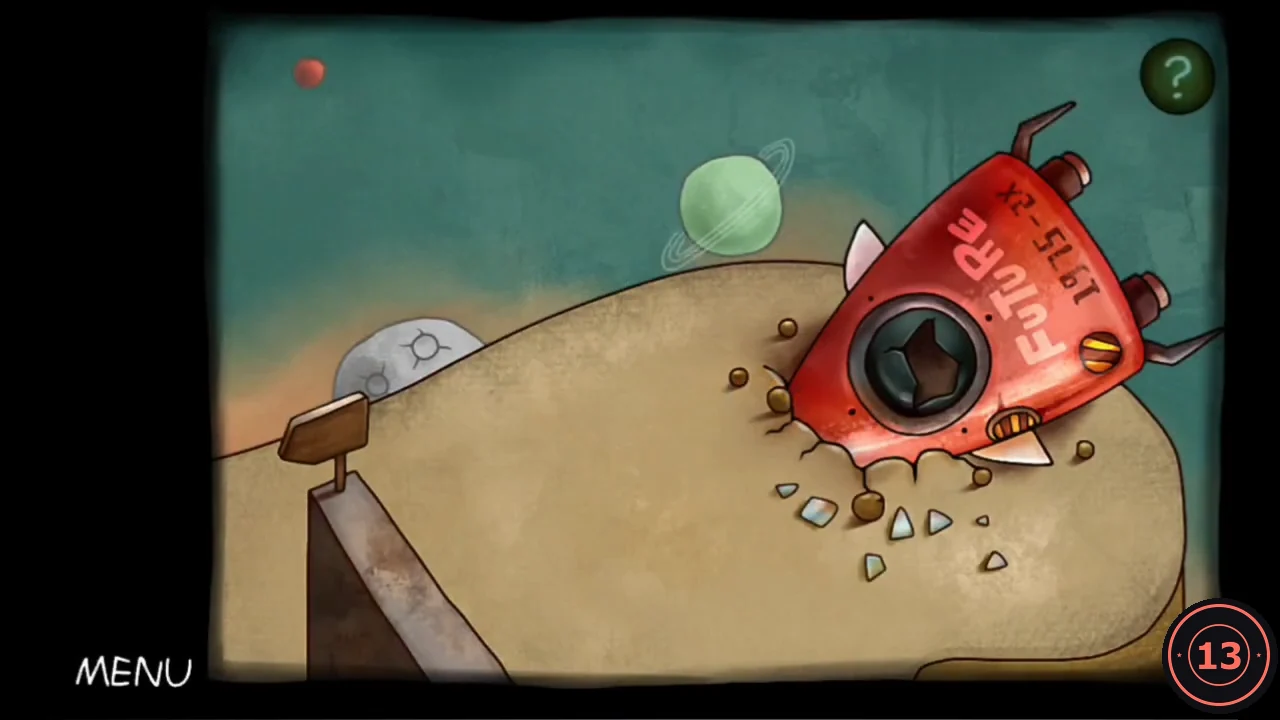
The crash site sky: Mars high, Uranus in the middle, the Moon low. - All sliders start in the centre. Drag slider 2 (Earth) to the very top, slider 3 (Uranus) down to about three-quarters of the way down, and slider 4 (Mars) up to about a quarter of the way down. The panel accepted the answer with sliders 1 (Jupiter) and 5 (Moon) left in the centre. A written guide suggests setting 5 at the bottom, matching the low Moon; if the centre does not work for you, try that.
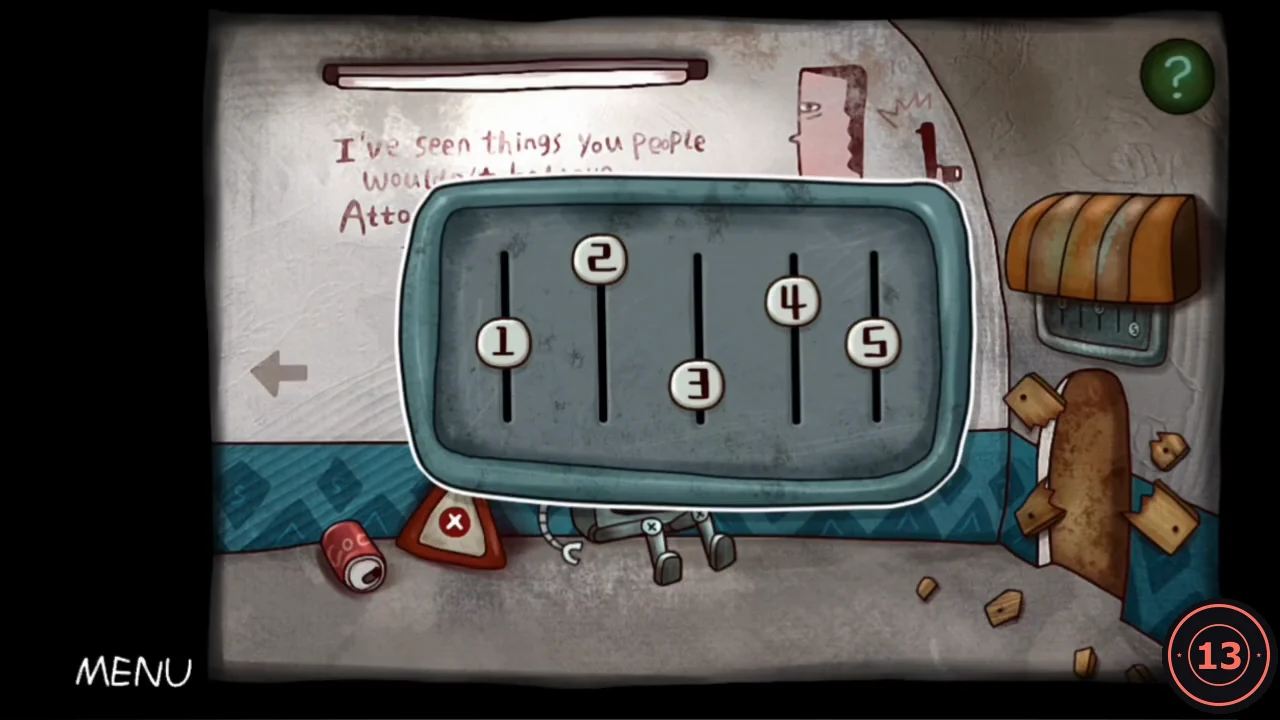
The accepted slider positions. - The robot screen shows THANK YOU FOR PLAYING! and a closing scene with all the characters, and you return to the main menu (achievement The Dream Voyagers).
Achievements: Collector, Jumper and Domination
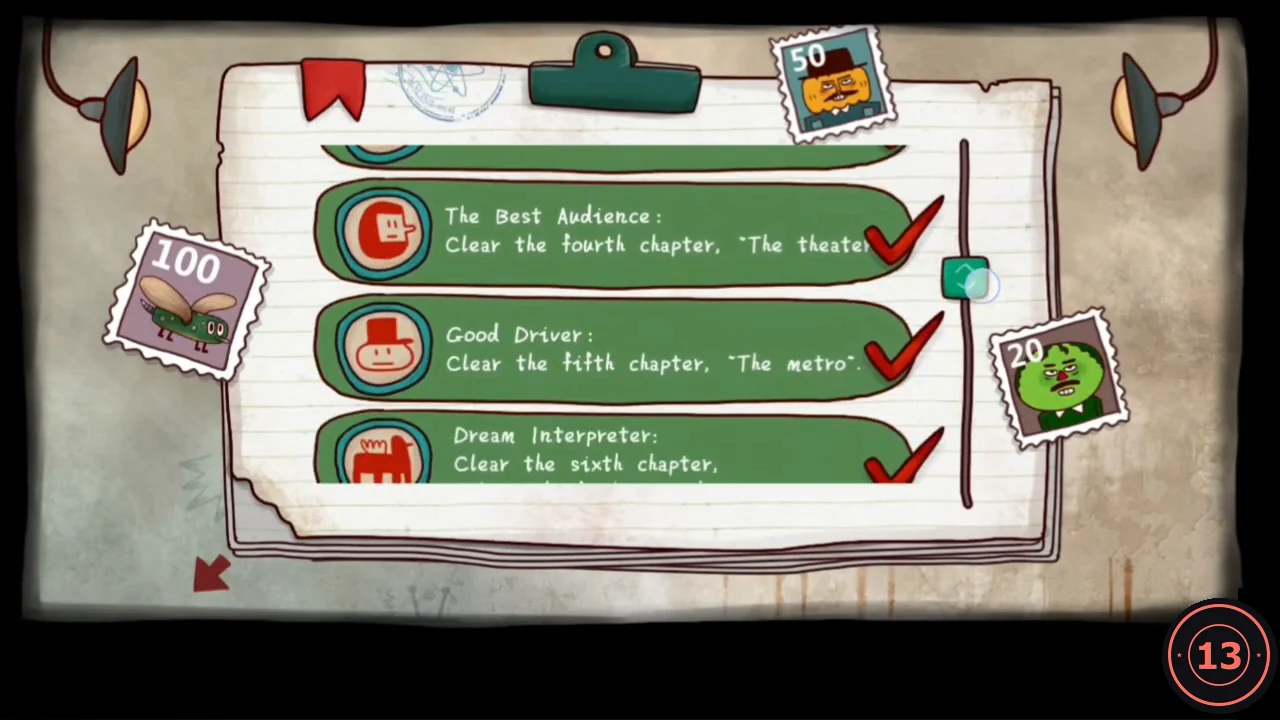
Most achievements come with the story. Clear Mind, Escaper, Mechanist, The Best Audience, Good Driver, Dream Interpreter and Another Clear Mind are for clearing Chapters 1–7. Pilot, Astronaut and Traveler are for Endings A, B and C, and The Dream Voyagers is for the secret chapter. The three below need extra attention. The mini-game steps come from a separate recording of the Steam version, which uses mouse clicks instead of taps.
- Collector: collect all 32 diary pieces, four per chapter, listed in each chapter above. Chapter 8's pieces exist only on the red-pill route. Check the diary (D) before leaving each chapter so you know all four pieces are in.
- Jumper: while playing any chapter, tap the green ? at the top right. A blackboard challenge counts down 3-2-1-Go, and Mr. Pumpkin runs along a chalk line. Tap to make him jump over the squares coming from the right, both on the ground and in the air. Each square you clear scores 10. At 200 you win and receive a tip for your current puzzle; close it with the X.
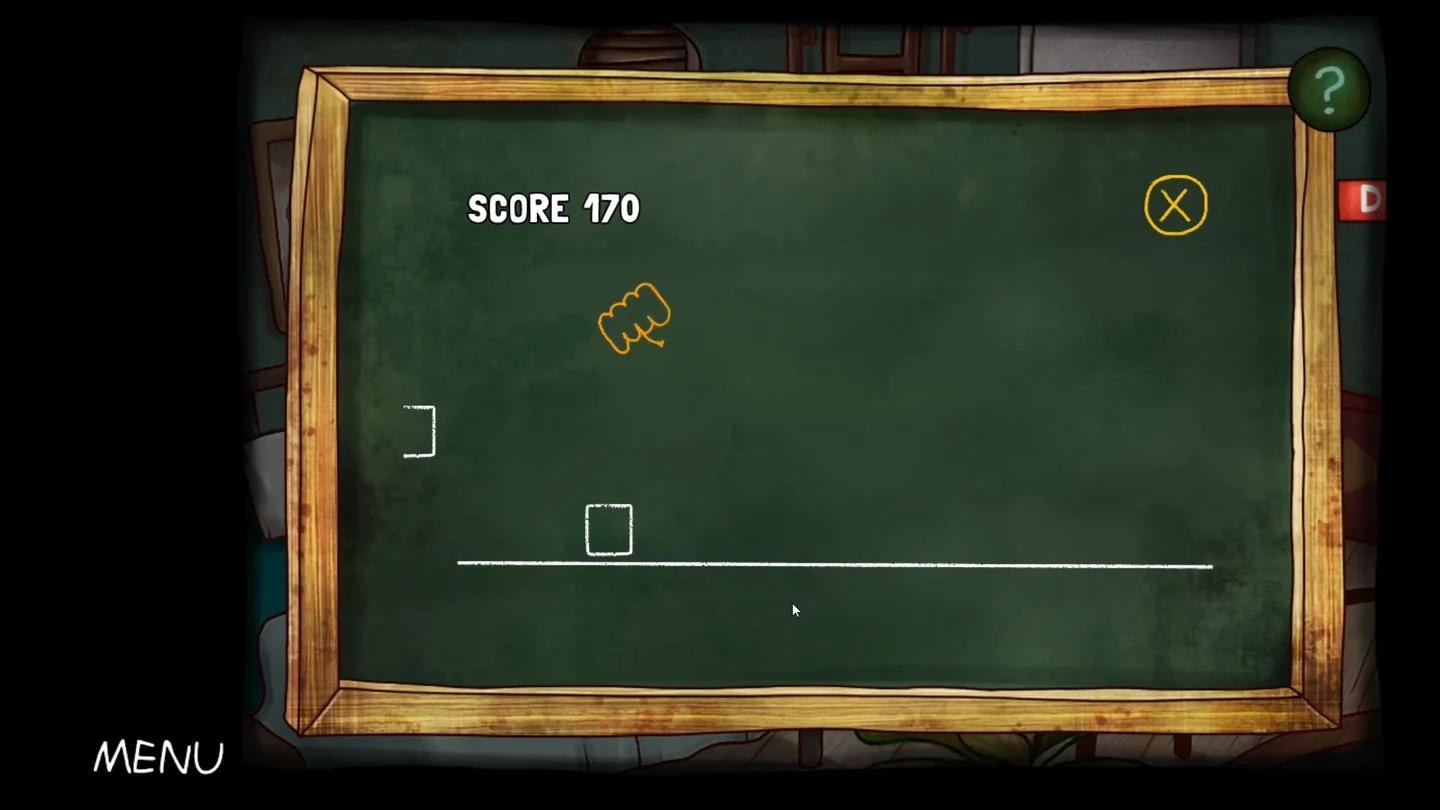
The hint mini-game. Tap to jump; reach 200 to win. - Domination: see all three endings, then win the hint mini-game at least 5 times and lose it at least 10 times. A written guide says the wins and losses must come within one playthrough and do not add up across new games. Losing is quick: touching a square ends the run with Game Over, and the challenge restarts by itself. After a win the tip is shown instead of a new challenge. In the reference recording the player used MENU → LOAD to reload a save and get a fresh challenge before each further win.