Controls, diary pieces and hints

Tap an object to inspect or use it, and drag an item from the inventory column on the left onto its target. The D tab opens the diary. Each of the eight chapters hides four torn diary pieces (32 in total, for the Collector achievement); this guide lists each one where you find it. The green ? button at the top right starts a short jumping mini-game that rewards a hint for your current puzzle. It also counts towards the Jumper and Domination achievements (see the last part). The game has three endings and a secret chapter. All of them can be reached in one playthrough in the order this guide follows.
- On the main menu tap NEW, then confirm with Sure. The game opens with a short tutorial room.
Tutorial: the blackboard room
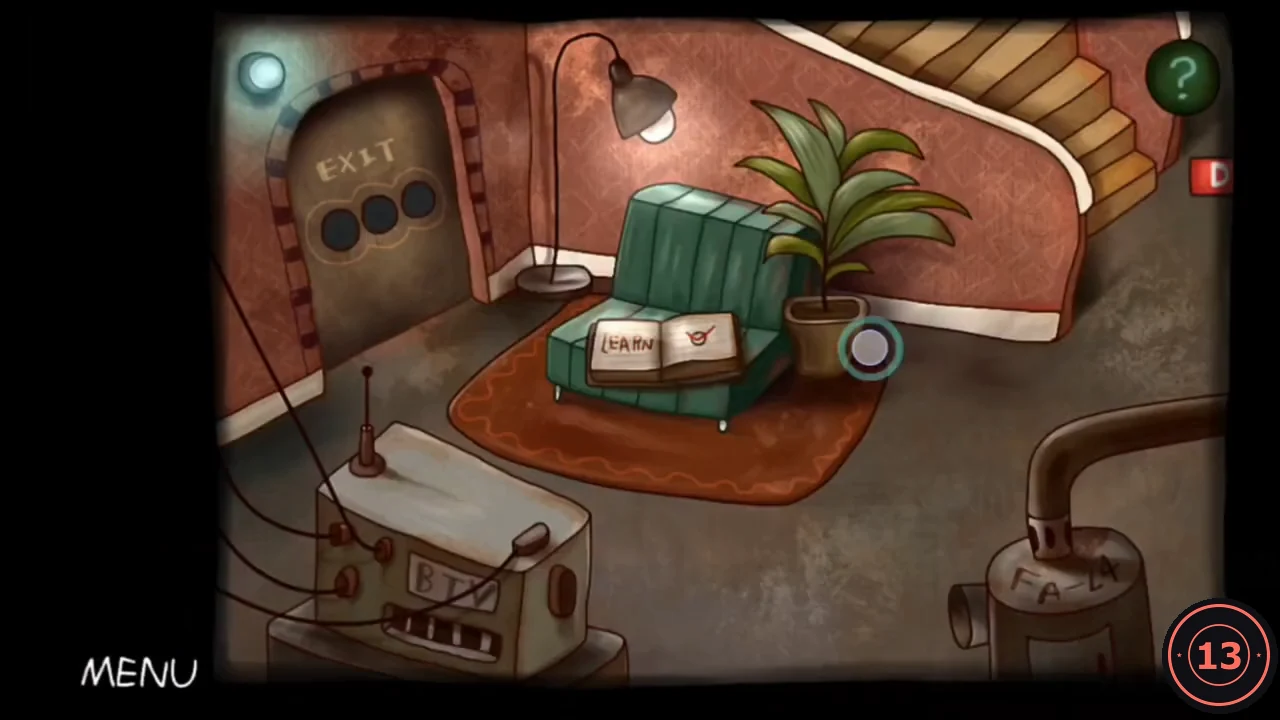
The tutorial teaches item use, the rotating-wire puzzle and code locks. The code you need is written on the blackboard once the lights work.
- Climb the stairs and open the small cabinet under the blackboard. Take the screwdriver.
- Drag the screwdriver onto the wall panel at the bottom right to open it.
- Tap the wire tiles to rotate them until one unbroken line runs from the battery to both bulbs. Once the bulbs light up, the blackboard shows 257.
- Tap the notice on the floor to go back downstairs, then enter 2, 5, 7 on the exit-door lock.CODE257
- Walk through the opened door. Chapter 1 begins.
Wake up: the bedroom and the attic
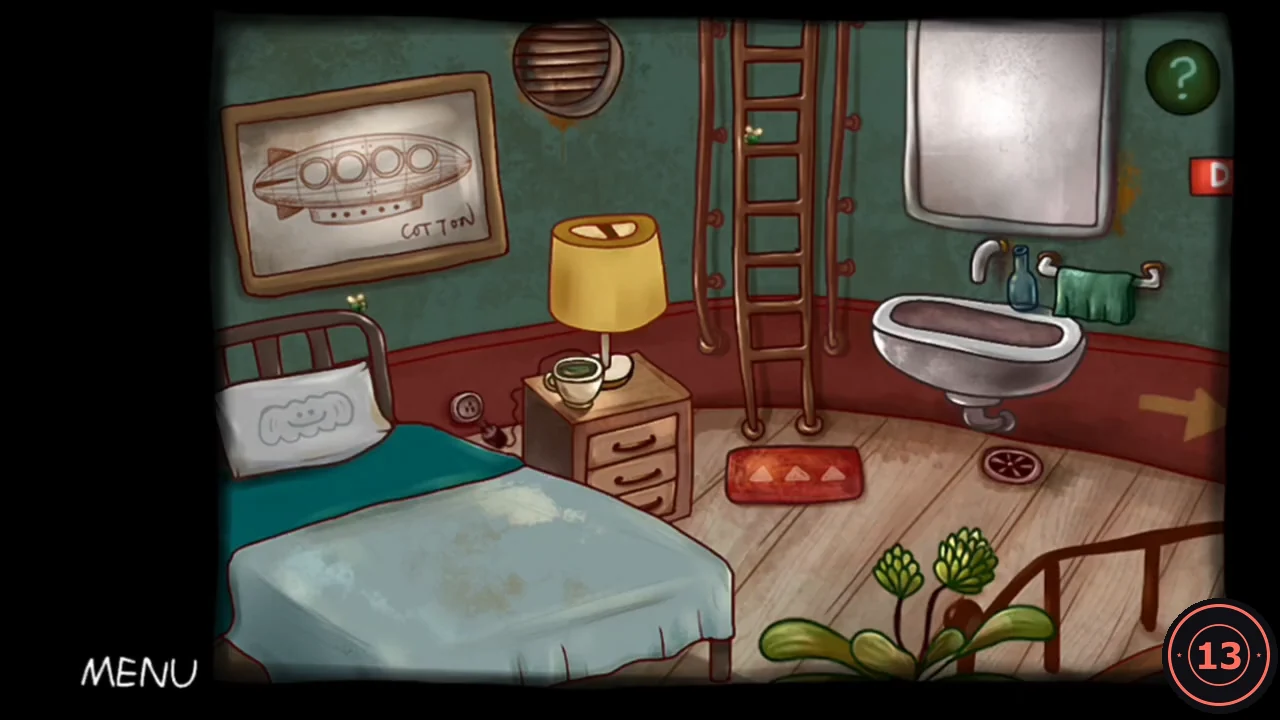
The upper floor runs from left to right: the bedroom (with a ladder up to the attic), the robot room and the window room. Stairs in the window room lead down to the living room.
- Diary piece 1 of 4: pick up the paper on the bedroom floor.
- Climb the ladder to the attic and take the knife. The fly up here has a thought bubble showing a piece of fruit; you will bring it one later.
Wake up: the robot room wire box
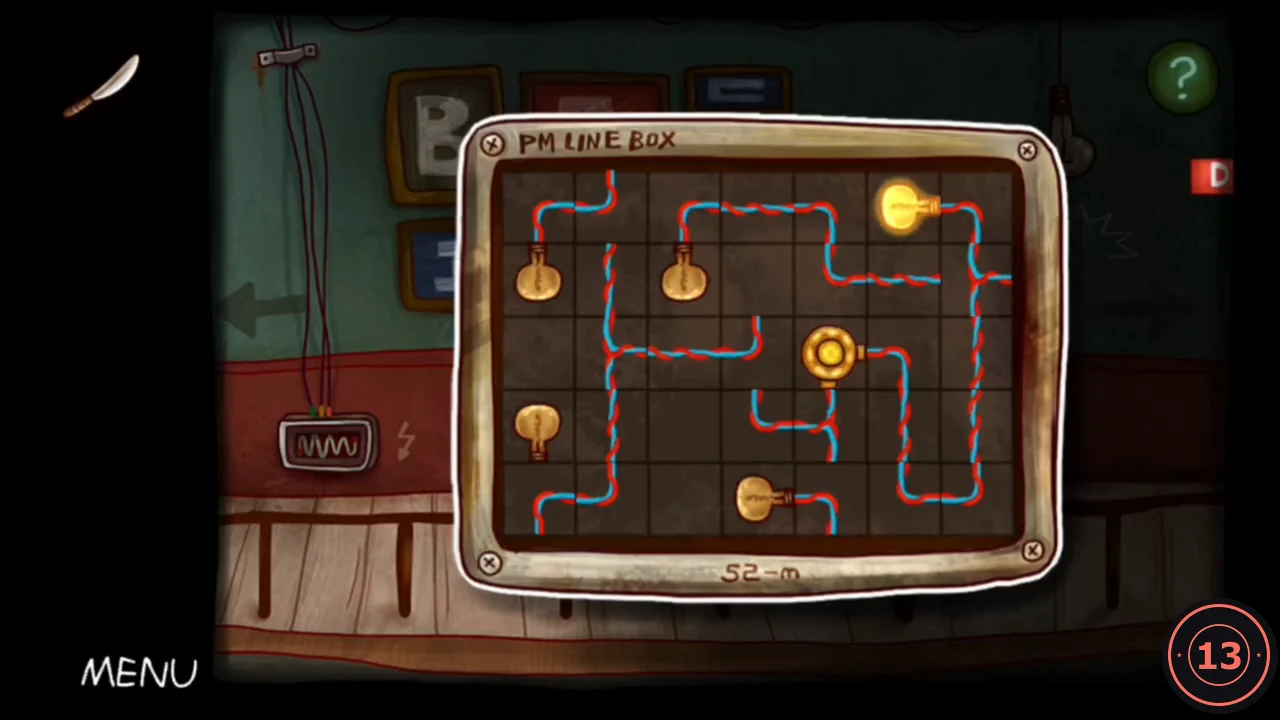
The PM LINE box on the robot room wall is another rotating-wire puzzle, like the one in the tutorial.
- Open the PM LINE box and tap the tiles to rotate them until the current runs all the way to the bulb.
Wake up: the window room and the living room
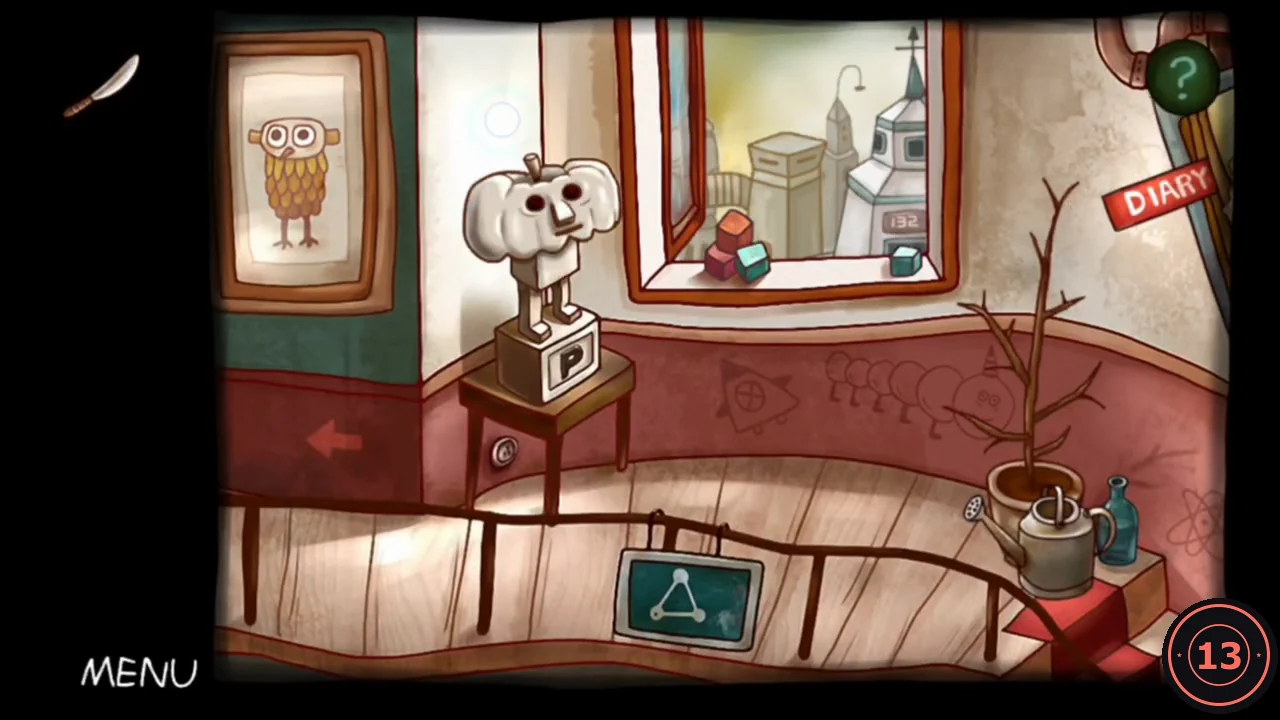
Two pickups and a switch that matters later. The window room has a diary piece and the watering can, the living room downstairs has another diary piece, and its TV must be left switched on.
- Diary piece 2 of 4: in the window room, take the paper beside the plant. Take the watering can too.
- Go down the stairs. Diary piece 3 of 4 is the note beside the stairs in the living room.
- Switch on the living-room TV. It only shows static for now; leave it on.
Wake up: the PUMPKIN suitcase
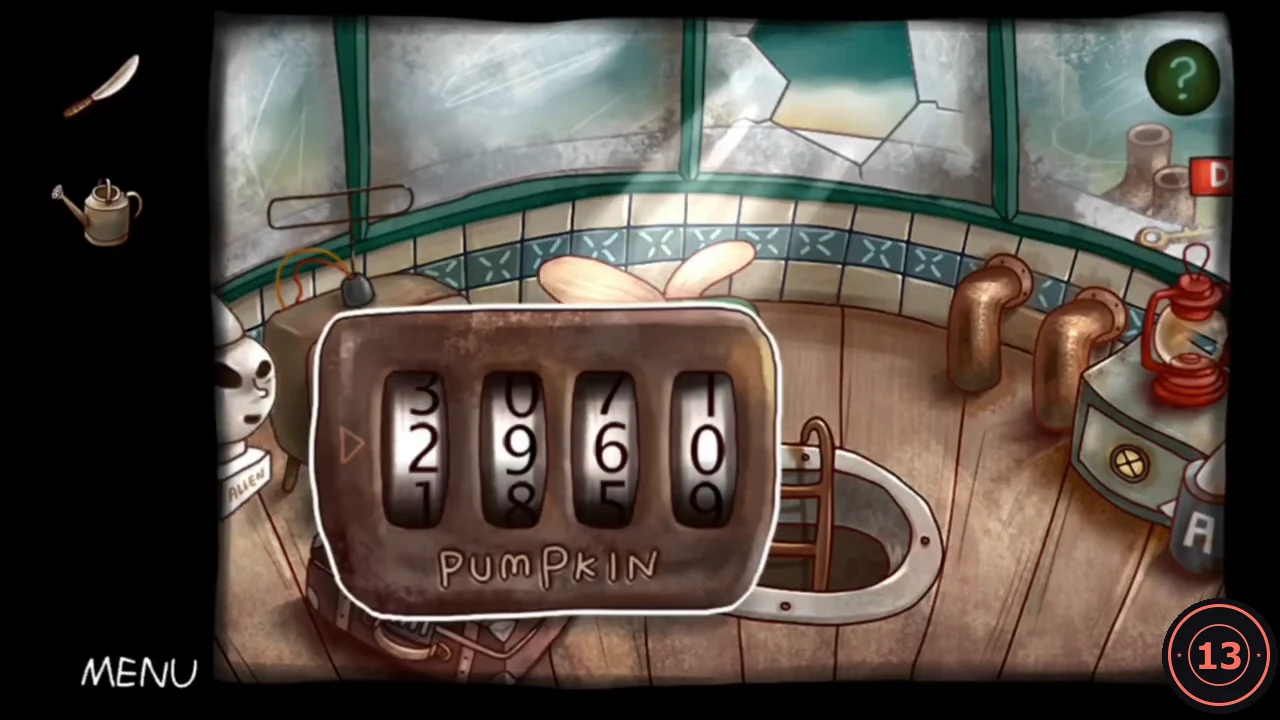
The suitcase in the attic (beside the fly) has a four-roller lock labelled PUMPKIN. The code appears on the bedroom nightstand once the lamp is on.
- In the bedroom, switch on the lamp. In the lamplight the nightstand front reads 21OX and its drawer reads S=X.
- Climb to the attic, open the suitcase lock and set the rollers to 2 0 1 5.CODE2015
- Take the robot head from the open suitcase. Diary piece 4 of 4 is also inside.
Wake up: fruit for the fly
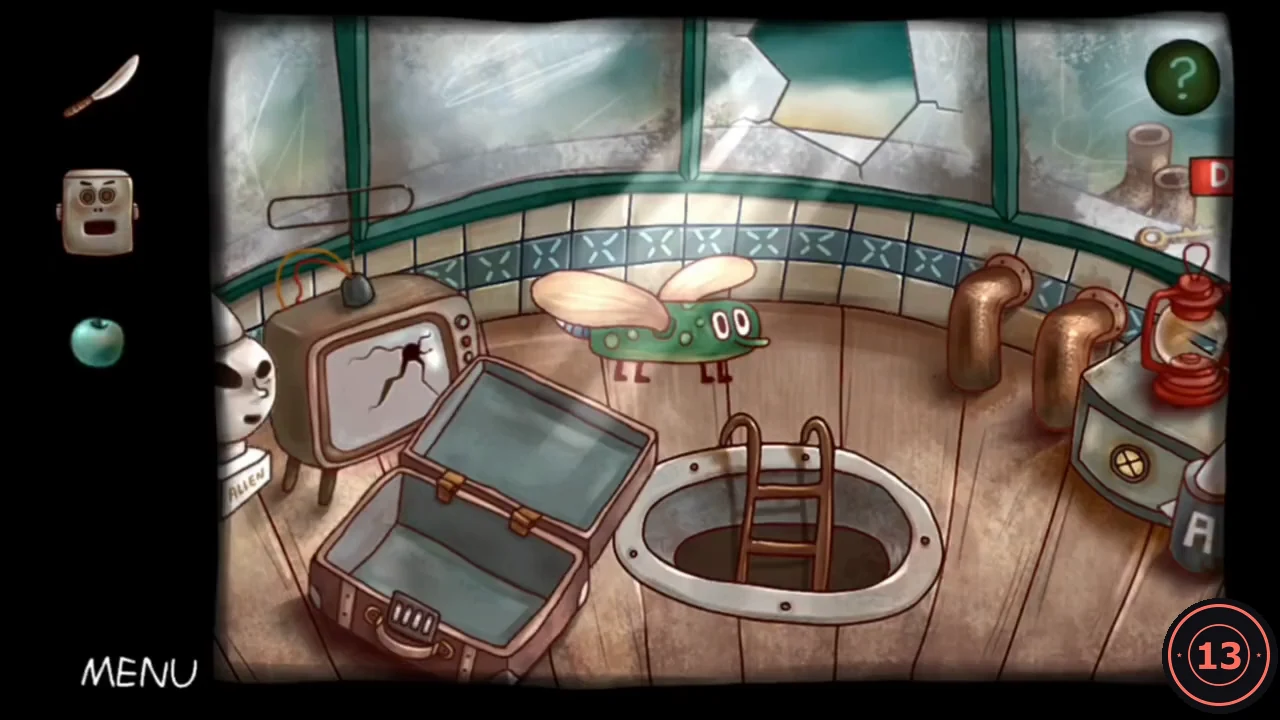
The fly in the attic wants fruit. Grow it on the window-room plant with water from the fishbowl, and the fly drops a key.
- Fill the watering can at the fishbowl in the living room.
- Water the plant in the window room. Take the fruit that grows on it.
- Give the fruit to the fly in the attic. A key drops; take it.
Wake up: rebuilding the robot
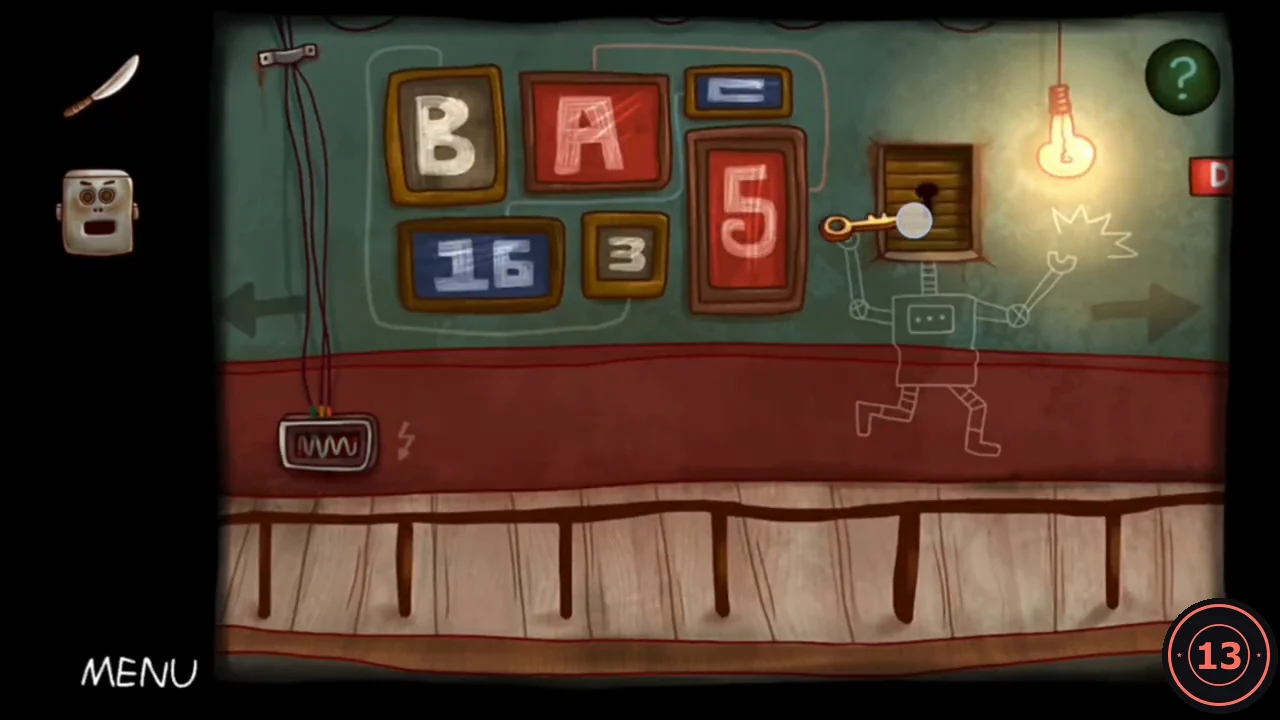
The key opens the wooden box in the robot room. Once the robot has its head, it hands over the paper that sets the order of the exit code.
- In the robot room, use the key on the wooden box on the wall. It opens to reveal the robot's body.
- Place the robot head on the body. The robot hands over a paper with four boxes. Arrows label the first box A, the middle two together E, and the last box B. This is the order of the exit code: A, then E (two digits), then B.
Wake up: the TV formula
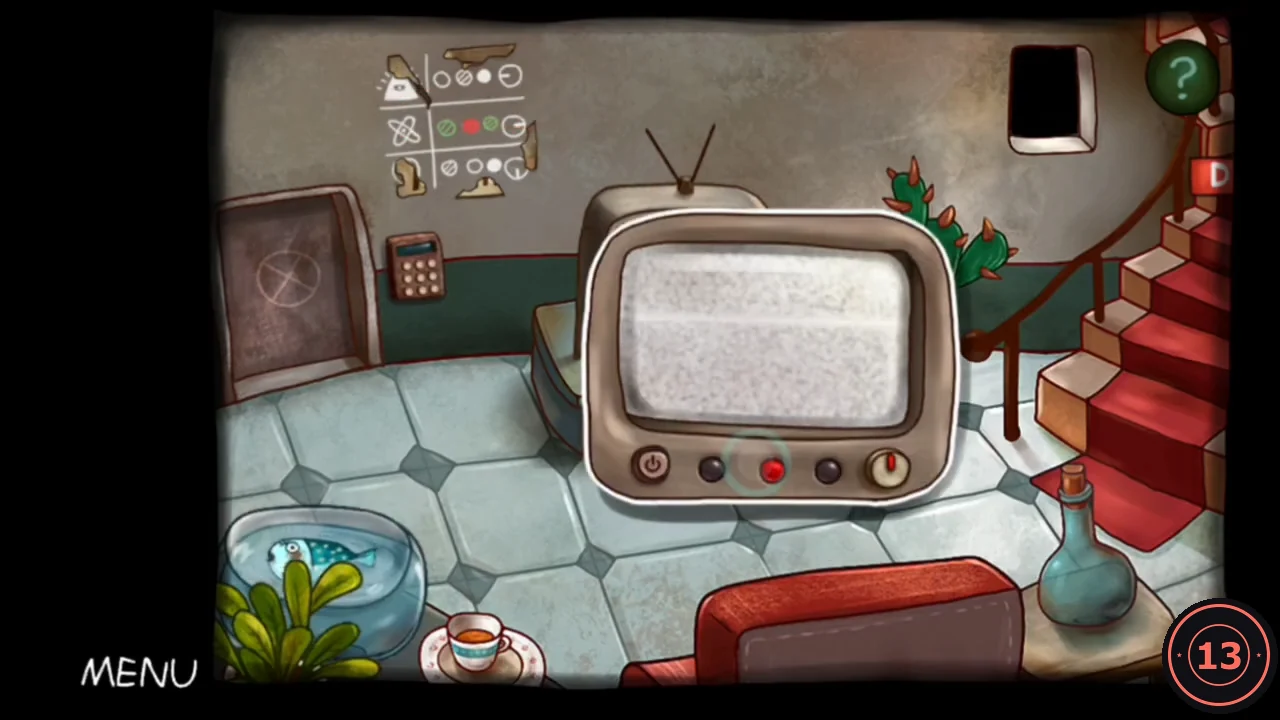
The TV needs the right button colours before it shows anything useful. The colours are on a chart hidden behind a poster.
- Use the knife on the MELIES poster in the living room. The torn poster reveals a chart of symbols with coloured button rows. The atom row reads green, red, green.
- Zoom in on the TV. Tap its three buttons until they show green, red, green, then turn the knob. A cartoon points to E, and the screen shows the formula E = A + C.
Wake up: the exit keypad
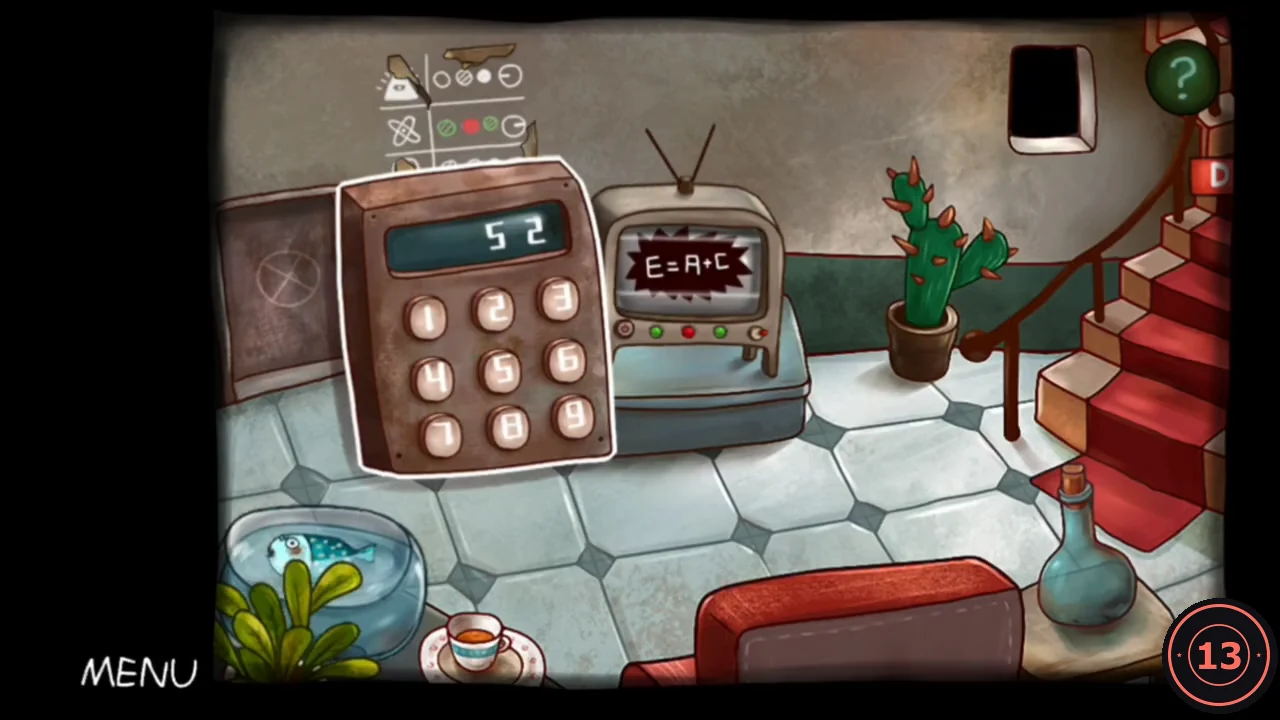
The robot room wall has coloured letter blocks (A red, B orange, C blue) and coloured number blocks (5 red, 3 orange, 16 blue). Match each letter to the number of the same colour.
- Read the values: A = 5 (red), B = 3 (orange), C = 16 (blue). From the TV formula, E = A + C = 5 + 16 = 21.
- Put the values in the robot paper's order A, E, B: 5, 21, 3. Enter 5213 on the keypad to the left of the living-room door.CODE5213
- Leave through the opened door to clear the chapter (achievement Clear Mind).