Escaping: the street and the sewer valve
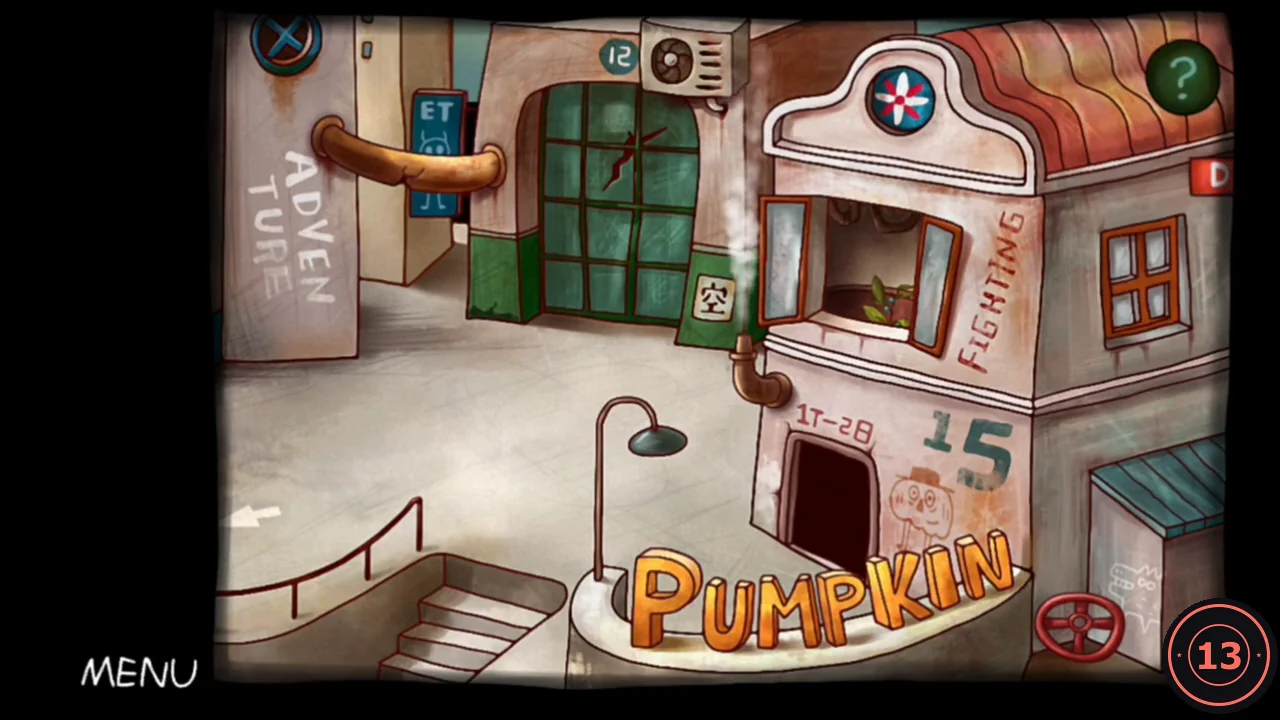
You start on the PUMPKIN street. Stairs at the bottom left lead down to the sewer, and the left arrow leads to a courtyard with a furnace. From the courtyard an up arrow climbs to a rooftop, and door B leads to a control room once it is unlocked.
- Diary piece 1 of 4: tap the paper on the street sign at the top right.
- Take the red valve wheel lying at the bottom right of the street.
- Go down the stairs into the sewer. Diary piece 2 of 4 is at the upper right.
- Fit the valve wheel onto the bare pipe stem in the sewer and turn it. Oil leaks out and forms a puddle up on the street.
Escaping: a torch for the chili pepper
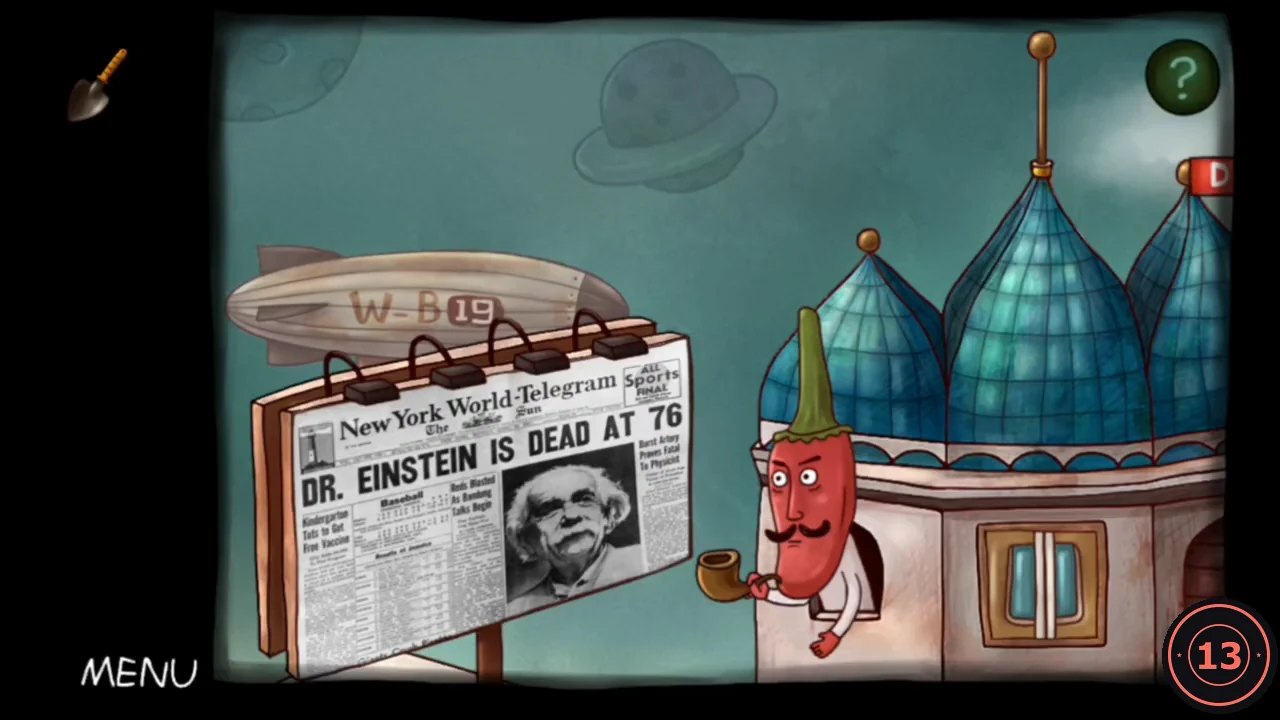
The chili pepper on the rooftop wants fire. Make a torch from the antenna stick, oil and the courtyard furnace; burning the billboard uncovers the clue for the lever panel.
- In the furnace courtyard, take diary piece 3 of 4 from the frame of the START door. Take the shovel beside the furnace.
- Climb to the rooftop. The chili pepper wants fire. Take the stick from the dome antenna.
- Dip the stick into the oil puddle on the street, then hold it into the courtyard furnace to light it.
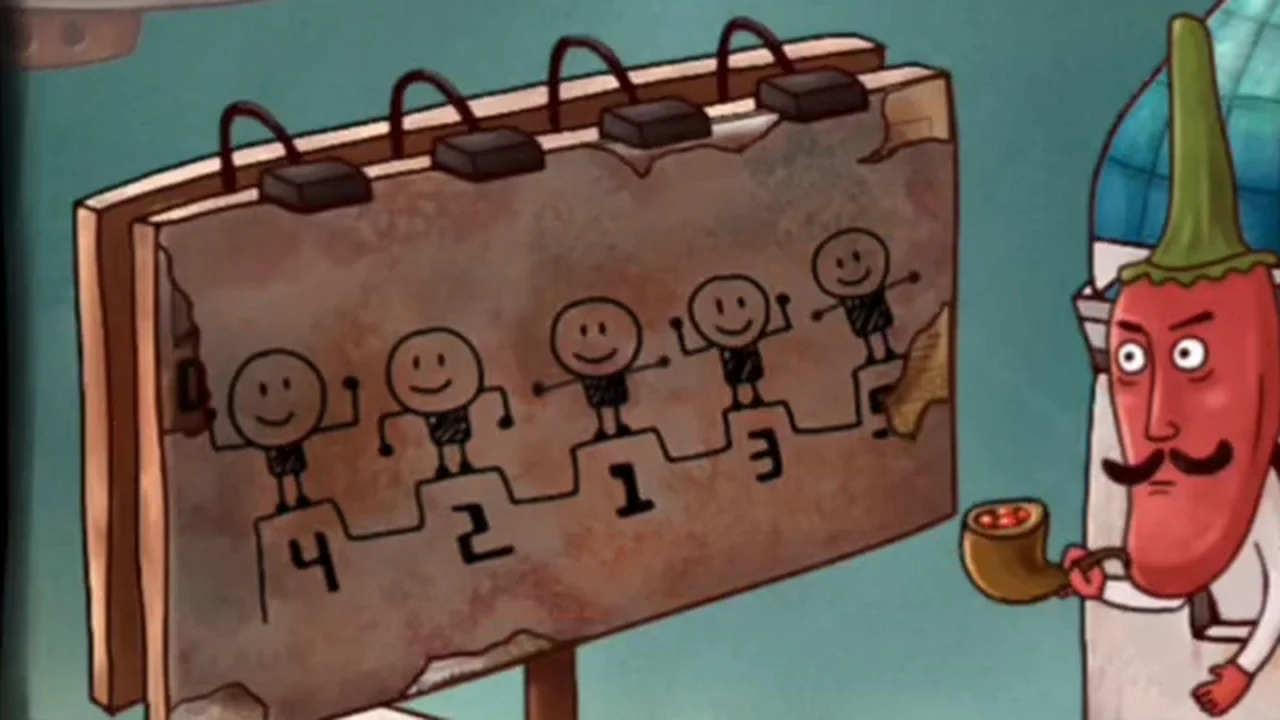
- Give the torch to the chili pepper on the rooftop. The billboard burns away and reveals five stick figures on steps. Each has a number and an arm pose. From left to right they are numbered 4, 2, 1, 3, 5.
Escaping: the five-lever panel
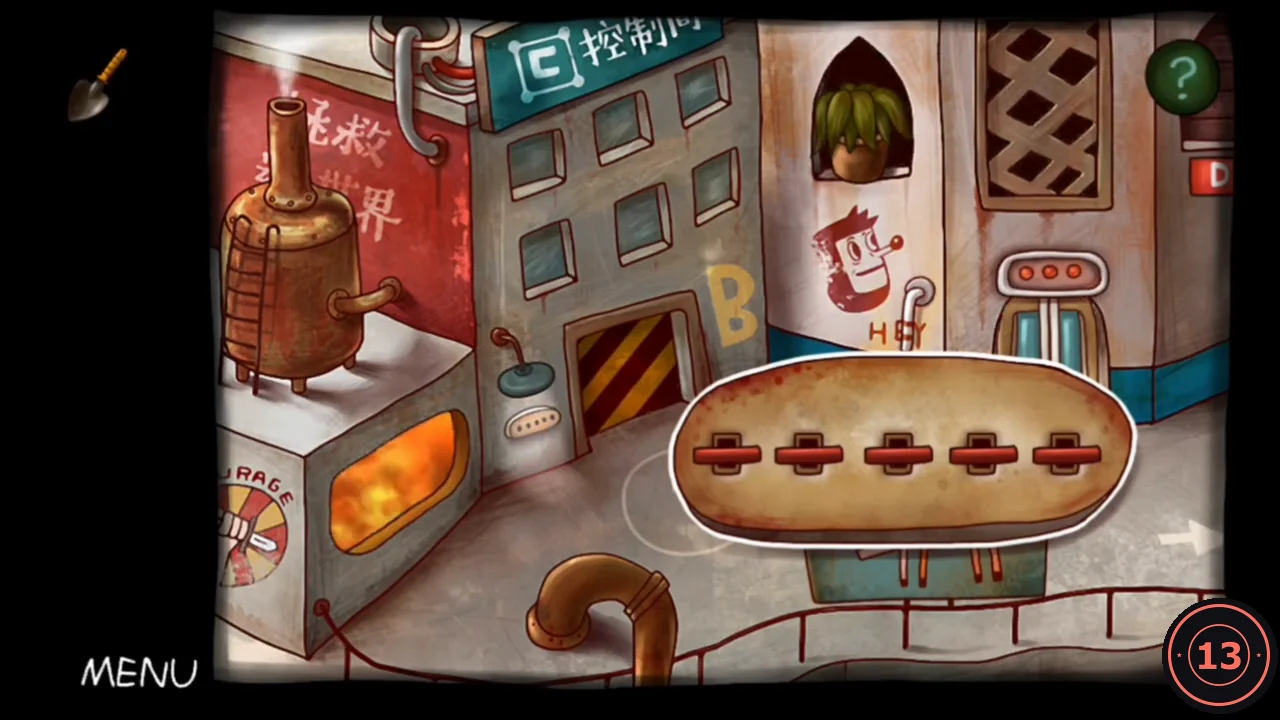
Lever 1 (leftmost) to lever 5 copy the arms of stick figures 1 to 5. Arms held out sideways means middle, arms down means down and arms up means up. Figure 1 holds its arms out, figure 2 has them down, figures 3 and 4 raise them, and figure 5 holds them out. Figure 4 lifts only one arm, but its lever still goes up.
- Open the five-lever panel under the HEY sign in the courtyard. Set the levers from left to right to middle, down, up, up, middle.
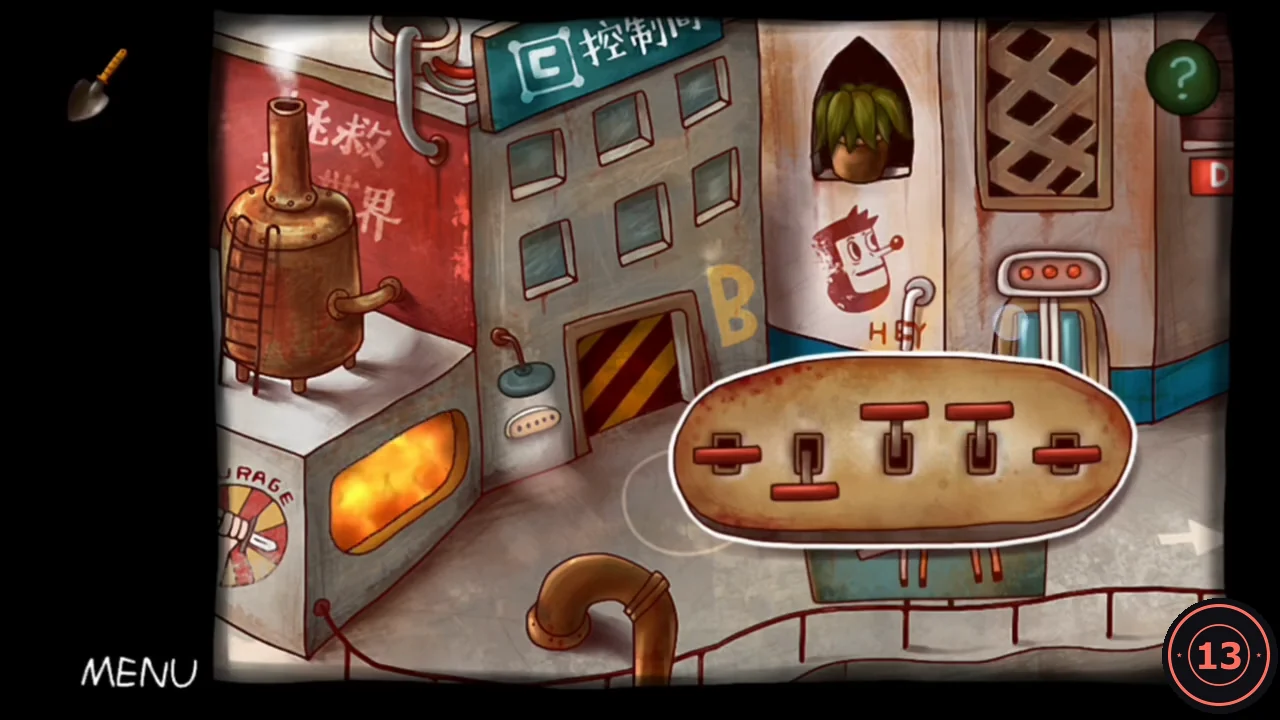
The correct lever setting: middle, down, up, up, middle.
Escaping: the control room
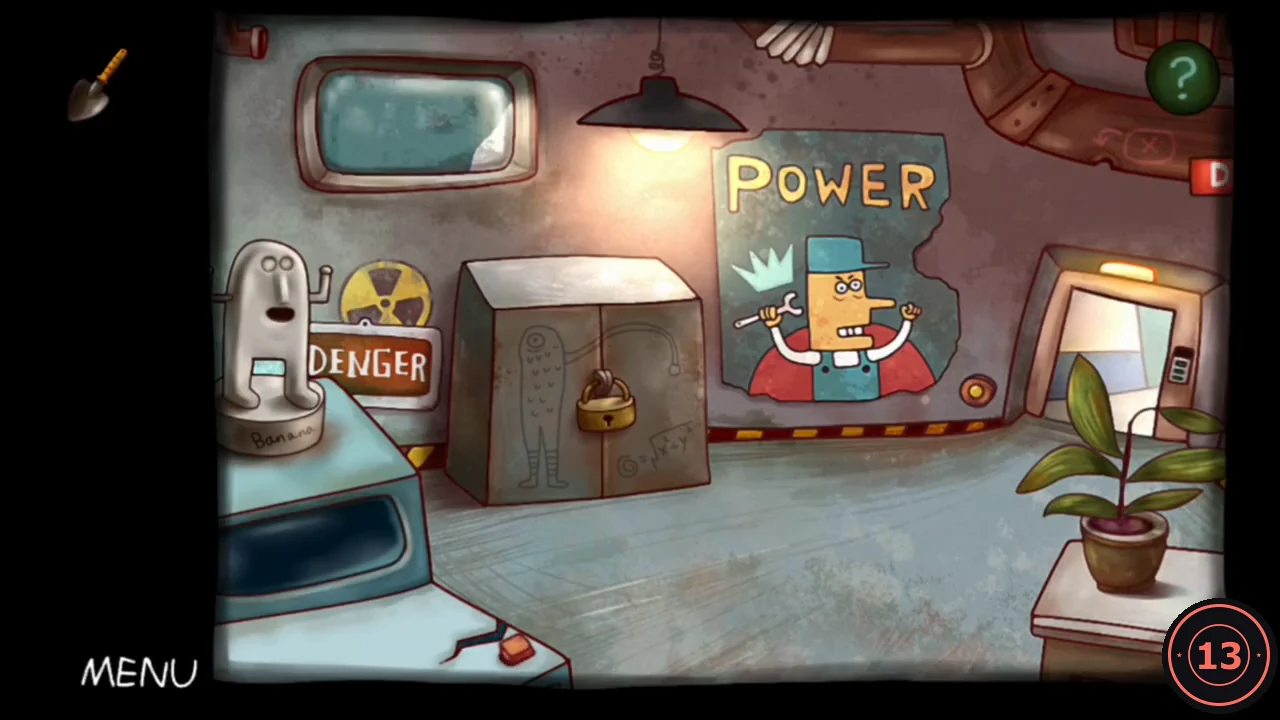
Behind door B, the shovel and the saw get you a red lever handle. Fitting it in the sewer uncovers the skull grille.
- Enter the control room through door B. Diary piece 4 of 4 is the note on the floor.
- Dig in the plant pot with the shovel to find a saw.
- Saw through the cabinet padlock and take the red lever handle inside.
- In the sewer, put the handle into the socket beside the skull at the upper left of the wall. The striped round hatch opens and uncovers a grille of skulls.
Escaping: the AVIATOR arcade
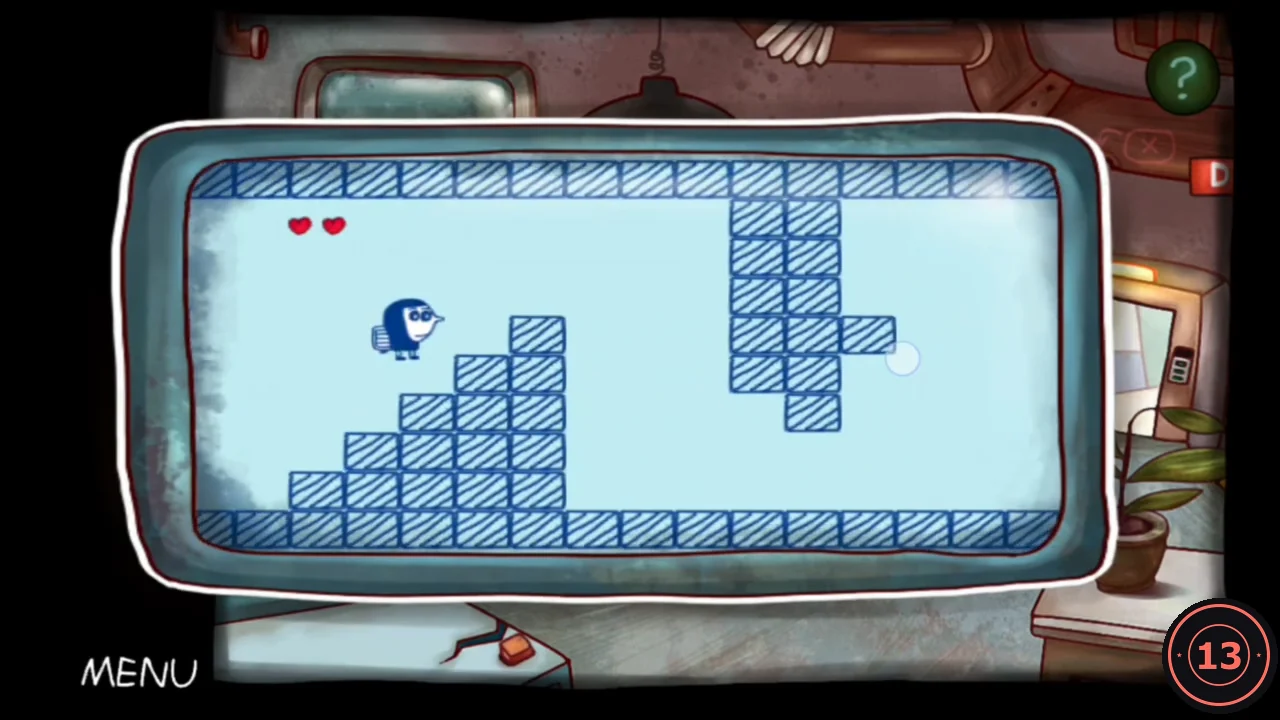
The AVIATOR arcade stands at the bottom left of the control room. Its reward picture is the answer to the sewer skull grille. Tap to make the bird flap upwards. Fly it through the corridor of blocks, avoiding the red spikes and flying enemies. You have two hearts.
- Press START and fly all the way to the lattice tower at the far right.
- Remember the reward picture. It has 19 circles in rows of 3, 4, 5, 4 and 3. Red smileys sit in the middle of row 1, in positions 1, 3 and 5 of row 3, and in the middle of row 5, making a plus shape. Every other circle is an X.
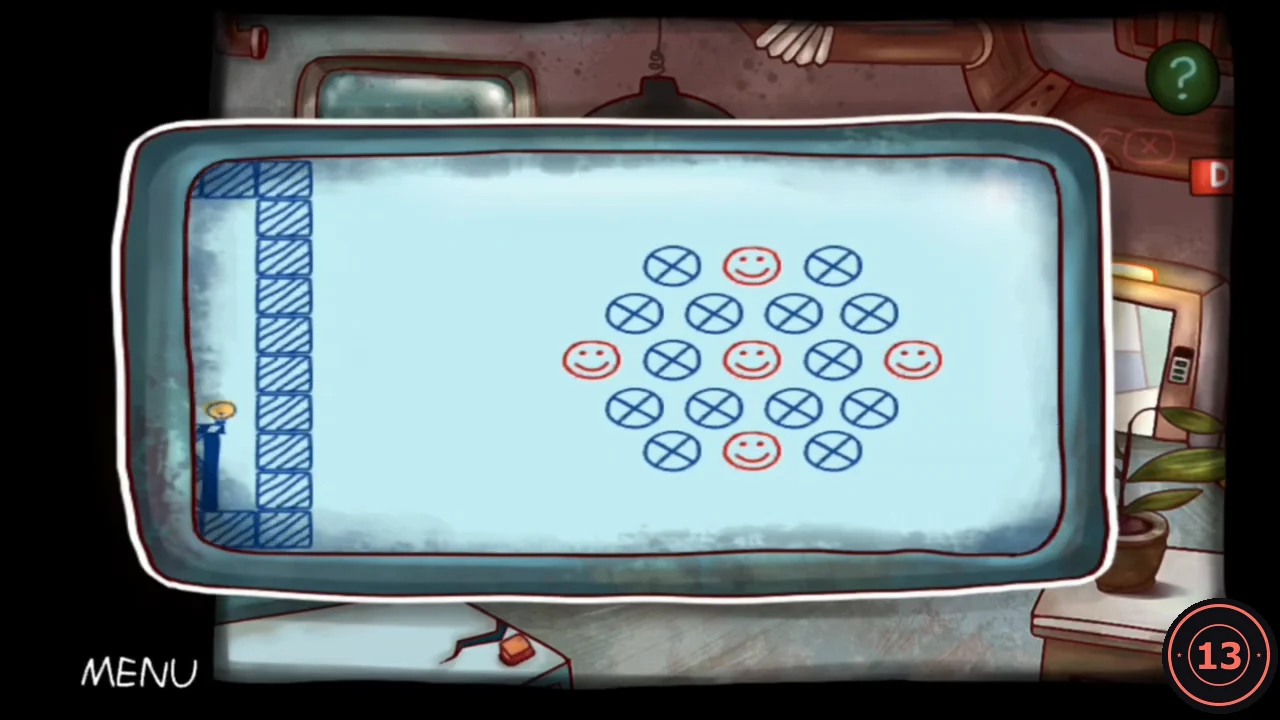
The AVIATOR reward picture: the red smileys mark where the blue-eyed skulls must go.
Escaping: the sewer skull grille
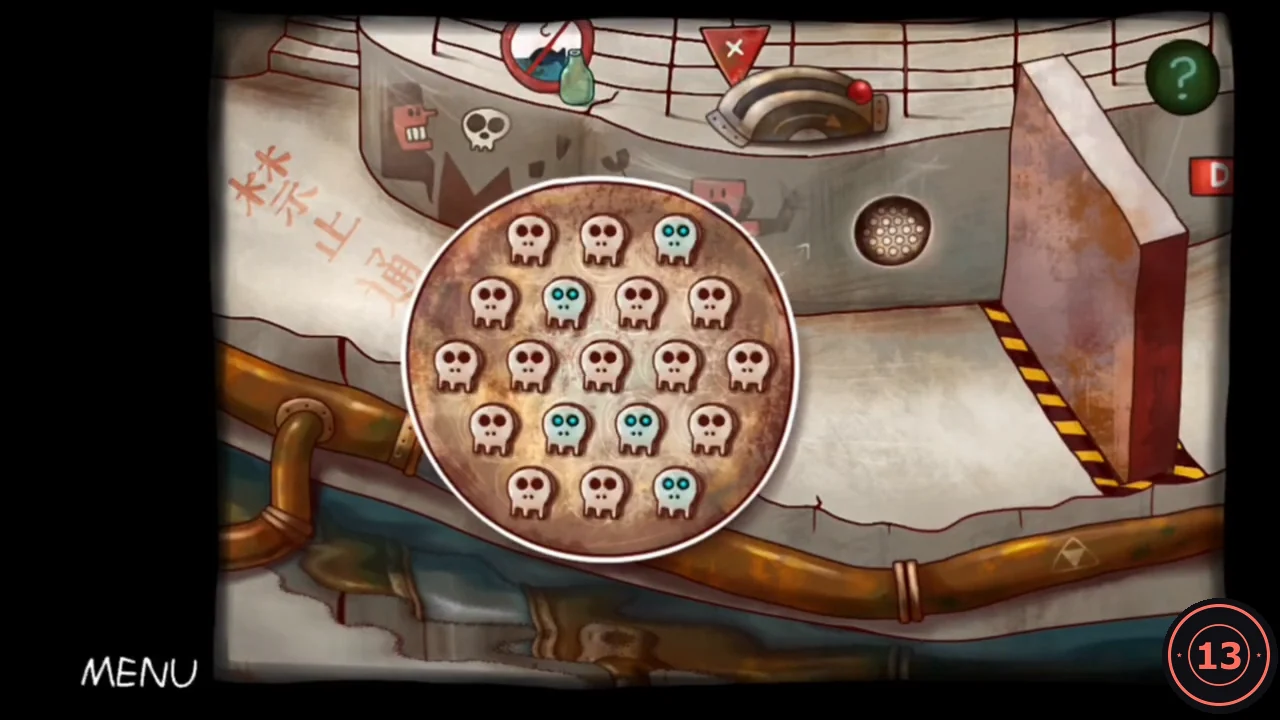
The grille uses the same 19-slot layout as the AVIATOR picture. Tapping a skull rotates the six skulls around it one step clockwise; the skull you tap stays where it is. The goal is the AVIATOR plus shape: blue-eyed skulls in the middle of rows 1 and 5 and in positions 1, 3 and 5 of row 3. The guide does not establish whether the starting layout is always the same. If yours differs from the one below, rotate one blue skull at a time into an empty target slot. Tap a skull next to that slot, and avoid moving blue skulls that are already in place.
- Open the sewer grille. Count positions from the left in each row. In the reference game the blue skulls started at row 1 #3, row 2 #2, row 4 #2, row 4 #3 and row 5 #3. From that start, tap row 2 #3, row 3 #2, row 3 #2 again, row 4 #3, then row 3 #4.
- Go through the opened gate at the right to clear the chapter (achievement Escaper).