CHAPTER 4
The Waterfall and the Trident Relief
With the sarcophagus key in hand, Egil's friend, a beaver, carries Lucia across the river.
- After the conversation, use the KNIFE to get TRIDENT 1/3. Move the foliage and take TRIDENT 2/3 and the BOARD.
- Lay the BOARD across the stream, take the NET and use it to catch TRIDENT 3/3. Put the three TRIDENTS on the relief.
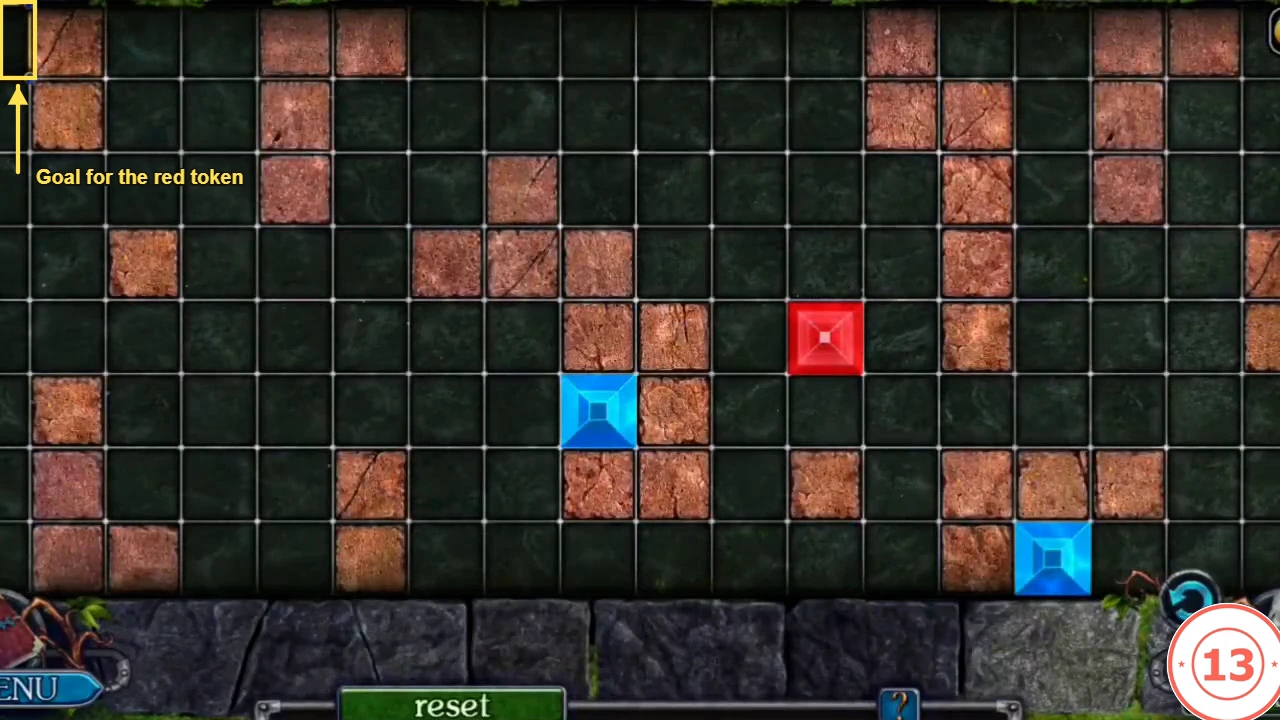
- The relief opens a brick maze with one red and two blue tokens. Goal: bring the red token into the outlined square in the top-left corner. Swipe left, right, up or down: all three tokens move at the same time and slide until a brick, the board edge or another token blocks them. The in-game help warns that the red token must never bump into a blue one, so do not plan moves where the red token runs into a blue token. From the starting layout (red in the middle on the right, the blue tokens in the middle and at the bottom) swipe in this order, which is a recorded successful solve: left, up, left, down; left, down, left, up (a blue token now sits in the outlined corner; keep going); down, right, up, left; up, left, down, left; up. On the last swipe the red token slides up the left edge into the outlined square and the blue token below it follows up behind it. If a swipe gives a different layout, tap reset and start the order again.
CHAPTER 4
The Camp and the Rock Wall
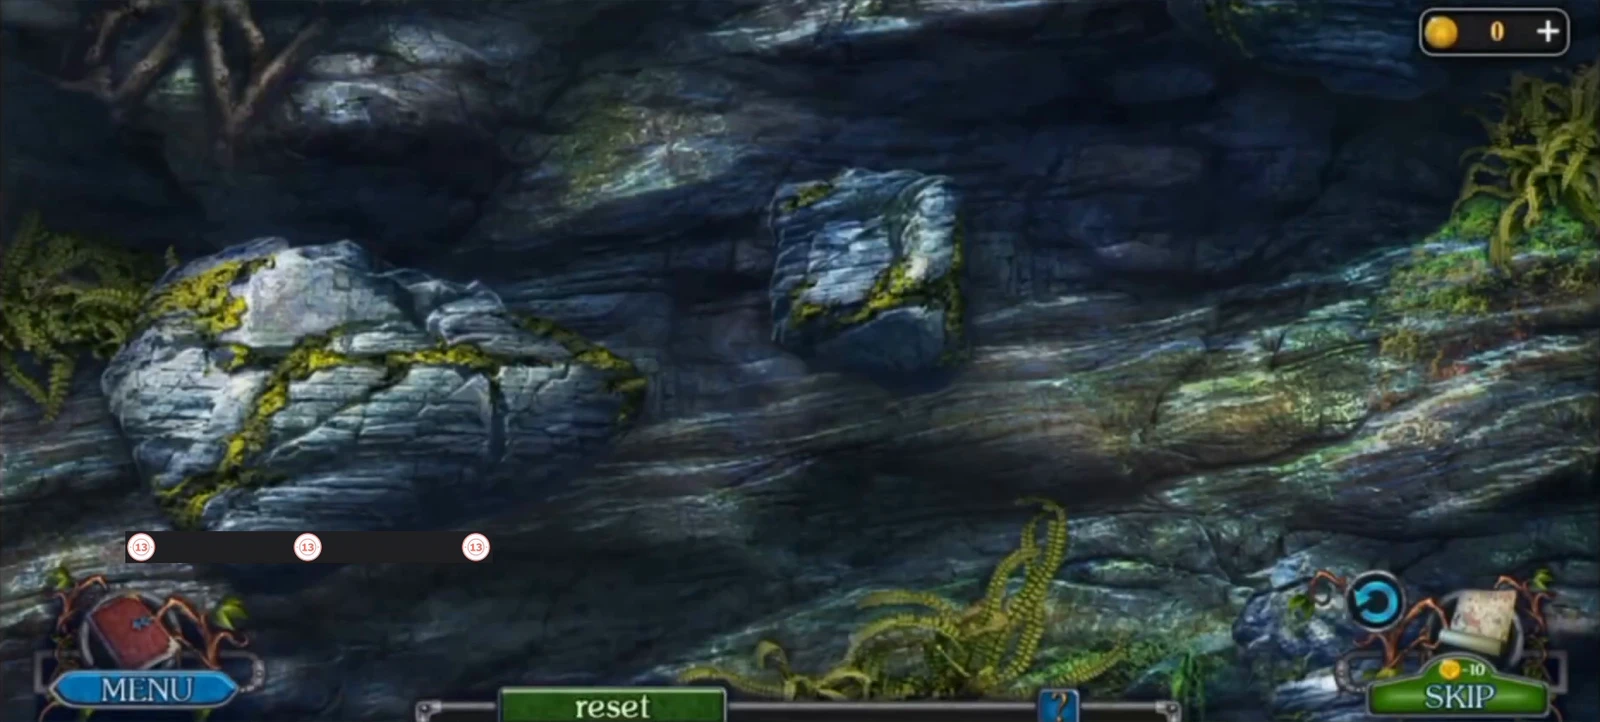
Put together the pickaxe and the medallion, then climb the rock wall.
- Go left. Take the SPLINTER and use it to open the bag; take the KEY and the HANDLE. Read the manuscript in the bag (a collectible; see Collectibles in Chapter 4).
- Fit the HANDLE to get PICKAXE 1/2. Open the chest with the KEY and take PICKAXE 2/2 and the STRAINER. Sift the sand with the STRAINER, move the three rubies and take the MEDALLION.
- Walk down and use the PICKAXE on the rock wall. Tap a protruding stone above the last pickaxe to hook the next pickaxe into it; the view scrolls up after each good hold. Some stones are flimsy and break, so use reset if Lucia slips. Other routes may work too. This route reaches the top (positions as they appear on screen at each moment): the stone just right of centre; the stone on the right; the stone in the top-right corner; the stone at the far left; the big lichen-covered stone on the upper right; the stone on the upper left; the stone at the top, right of centre; the stone at the right end of the long green mossy ledge; the stone in the upper-left corner; and the ivy-covered stone at the top right, which takes her over the top.
CHAPTER 4
The Miller and the Flower Field
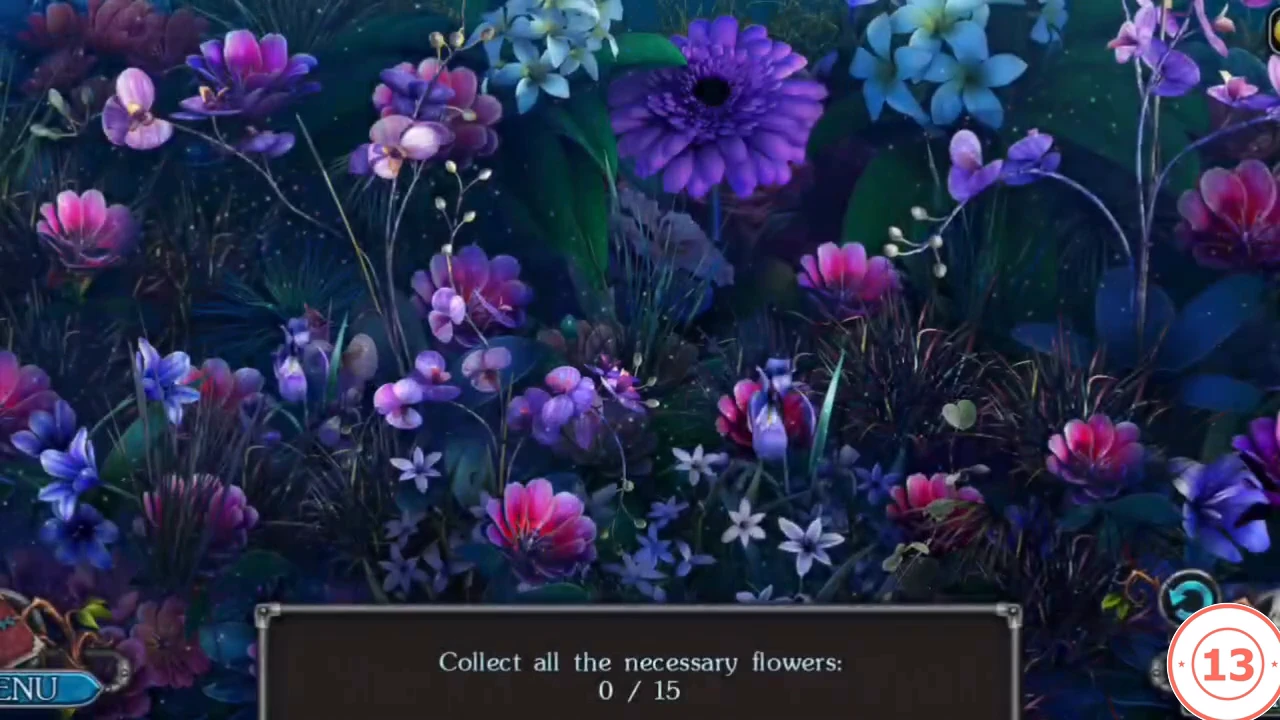
The miller's bird has been bitten. He will help only once it is cured.
- Take the SPIKE. Go right and talk to the miller; he gives you the BAG KEY and asks you to find his bag. Take the BAILER and the STICK, and combine the STICK with the SPIKE to make the SPEAR.
- Use the SPEAR on the nest and take the SICKLE and the HAY. Walk down and use the SPEAR to get the MILLER'S BAG. Open it with the BAG KEY and take the OINTMENT RECIPE (flower of purity, snail, frosty rowan, resin base) and the ROPE.
- Cut the flowers with the SICKLE and play the scene Collect all the necessary flowers (15). You earn the FLOWER.
CHAPTER 4
Making the Ointment
Collect the frosty rowan, the snail and the resin, then cook the ointment.
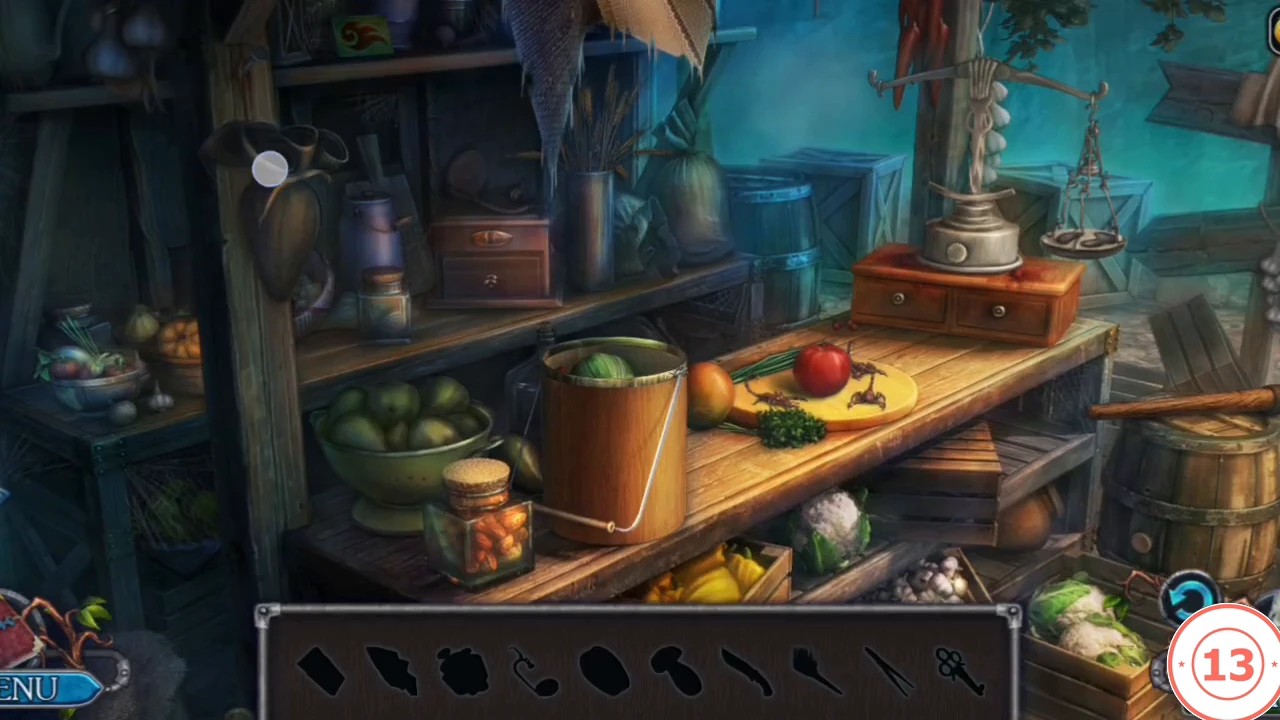
- Walk down and go left to the camp. Zoom in on the tree and use the SICKLE to collect RESIN. Then use the ROPE where the game asks "How do I get up there?" to reach a storeroom. This is an interactive hidden-object scene: the bar at the bottom shows silhouettes of the items to find. Among them are the MATCHES, the KNIFE, the CLOTH and the TWEEZERS, which you need in the same scene.
- Wrap the CLOTH around the long stick lying across the barrel on the right and light it with the MATCHES to make a TORCH. Use the TORCH on the cutting board to drive off the scorpions, then cut the apple with the KNIFE and take the APPLE HALF. Zoom in on the pumpkin basket and pull out the KEY with the TWEEZERS. Unlock the small box on the floor with the KEY and take the WEIGHTS from its drawer. At the scale, put the APPLE HALF on the right-hand pan first, then put the WEIGHTS in the hollows on the left. The drawer under the scale opens: take the FROSTY ROWAN.
- Back at the camp, zoom in on the brass dish on the ground and take the SNAIL.
- Add the FLOWER, the FROSTY ROWAN and the SNAIL to the OINTMENT RECIPE. Walk down to the fire, put the BAILER on it and add the RESIN (take SIGN 1/3 here), then add the INGREDIENTS FOR OINTMENT to get the MEDICINAL OINTMENT.
- Go forward and right, put the MEDICINAL OINTMENT on the bird and receive the KEY.
CHAPTER 4
Inside the Mill
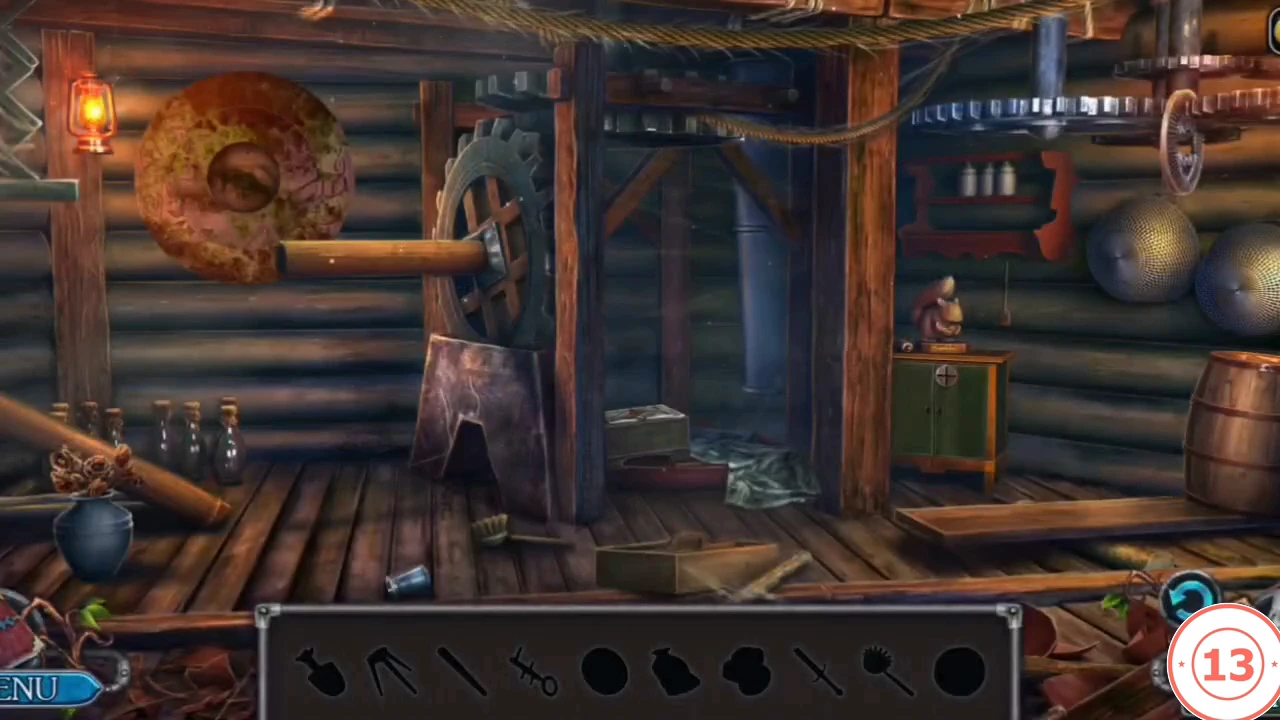
An interactive hidden-object scene with a carved tree disc.
- Open the mill with the KEY. This is an interactive hidden-object scene: the bar at the bottom shows silhouettes of the items to find, and several of them are used inside the scene. The carved tree disc on the left wall is too dirty to use at first. Break the vase on the floor to find the SIGNET and use it to open the green box under the cloth; take the TABLET. Clean the disc with the BRUSH and put the TABLET in its centre.
- Turn the rings of the disc until the carved tree is complete (see the picture below).
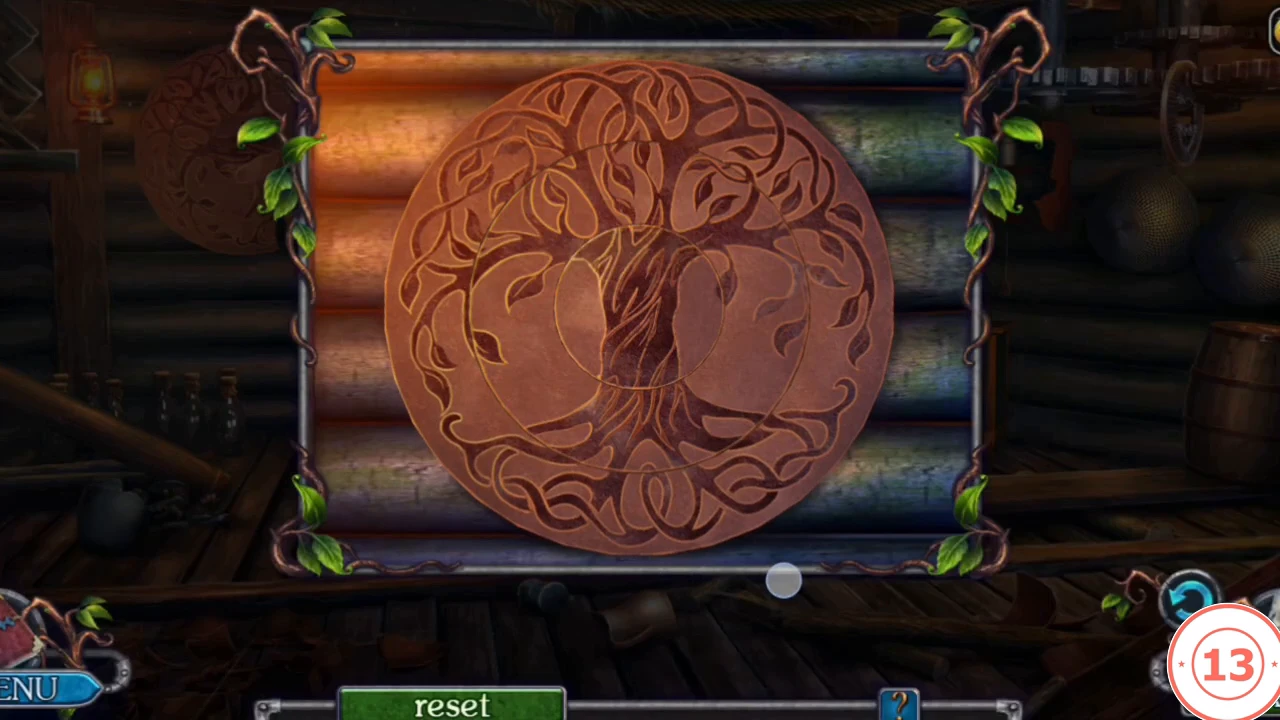
The finished tree disc: every ring lines up into one whole tree. - A recess opens behind the disc. Cut the branches with the shears and take the BAG. Put the BAG on the board under the barrel: the barrel tips and you can take the STOOL LEG. Put the COIN in the squirrel statue on the cabinet; it lets go of a nut.
- Crack the nut with the ROLLING PIN that lies on the cabinet. Inside is half of a key; add the PART OF THE KEY you found in the scene and use the joined KEY on the cabinet door. The cabinet holds a stool with a missing leg: fit the STOOL LEG and take the STOOL.
- Put the STOOL under the end of the beam beside the tree disc ("I need something to support the beam") and put the TREE TRUNK on top; the beam goes back into its place. Then tap the red handwheel at the top right: it falls to the floor. Take the DETAIL.
- Walk down, fit the DETAIL to the waterwheel and go forward to the temple square.
CHAPTER 4
The Temple Square and the Pentagram
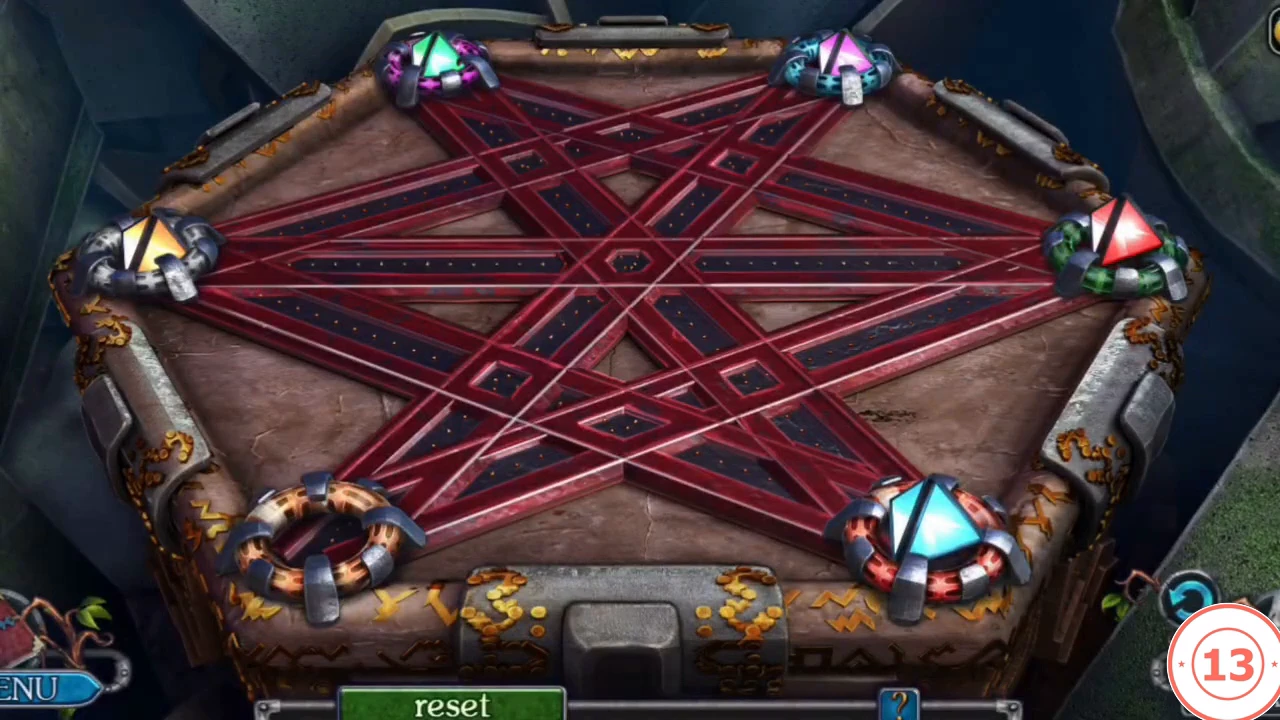
Take the archwitch's key and solve the gem pentagram.
- Take the KEY OF THE ARCHWITCH. Use the SPEAR, move the clutter and take the ROD. Put the MEDALLION in its place and select it.
- Six sockets are joined by red lines; five hold coloured gems and one is empty. Tap a gem that is joined by a line to the empty socket to move it there. Put every gem in the socket whose rim has its colour: purple upper left, cyan upper right, green right, red lower right, yellow lower left; the left socket ends empty. Take the MAGNETIC ORE and SIGN 2/3.
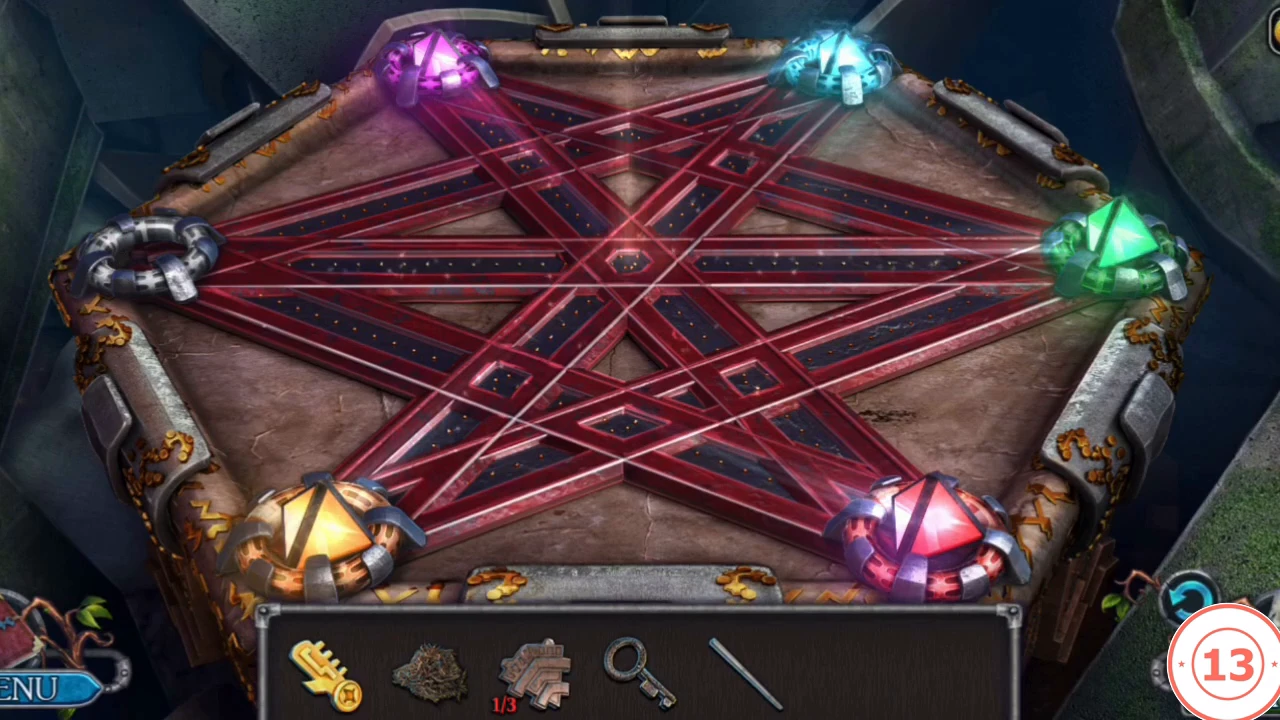
The solved pentagram: every gem sits in the socket of its own colour and the left socket is empty.
CHAPTER 4
The Witch Carriage
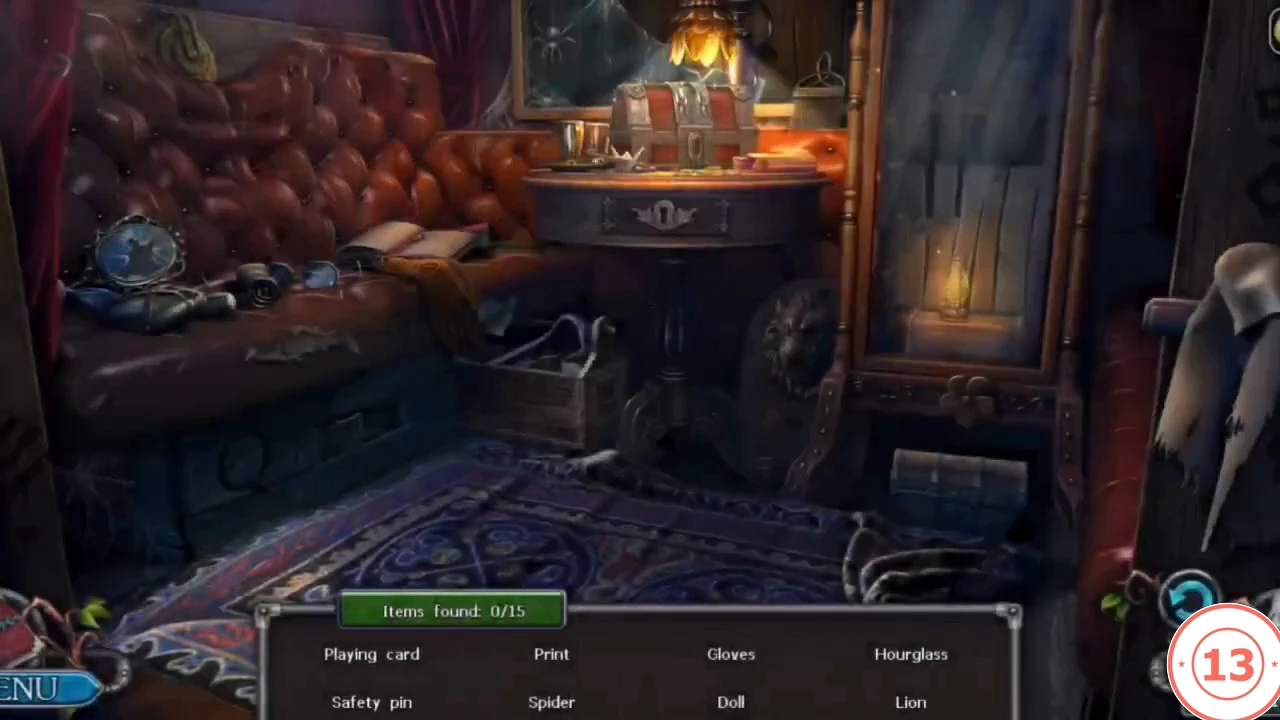
Lucia needs a witch's robe to slip into the temple.
- Go right. Take the BROOM, turn the handle and open the door. Use the KEY OF THE ARCHWITCH and take the SCISSORS; cut off the PIECE OF CLOTH.
- Take the ROPE. Open the MAGNETIC ORE and tie on the ROPE to make the MAGNET ON A ROPE; use it to fish out the CARRIAGE KEY. Use the PIECE OF CLOTH to get the OILED FABRIC. Give the HAY to the donkey.
- Open the carriage with the CARRIAGE KEY and play its hidden-object scene (15 listed items). The round dial in the scene has three rings of symbols under a slider. Turn the rings until the slider shows, from the outer ring inwards: the eye inside a diamond, the curled heart-like swirl, and the Z-shaped symbol. You earn the WITCH ROBE; Lucia puts it on.
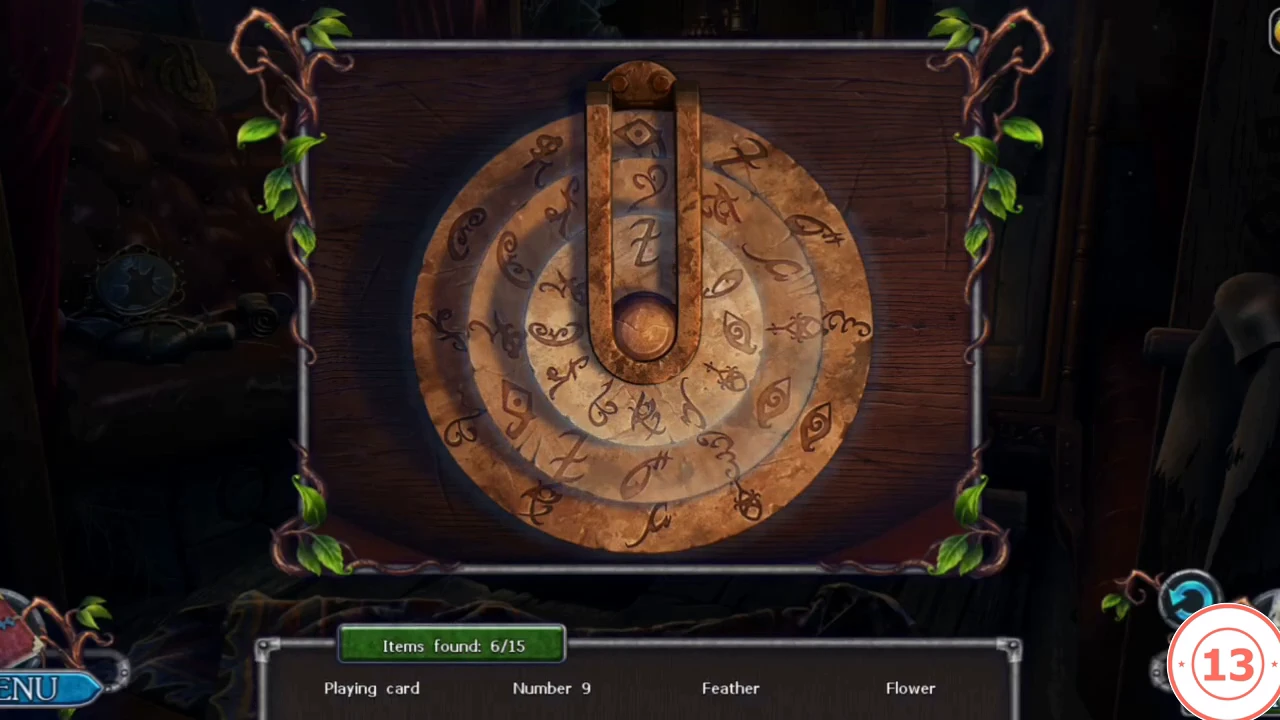
The solved dial: from the outer ring inwards the slider shows the eye in a diamond, the curled swirl and the Z.
CHAPTER 4
The Golem Sword and the Temple Gate
Free the golem's sword, power it with two crystals and open the temple door.
- Walk down. Use the OILED FABRIC and take the SWORD OF THE GOLEM. Use the SCISSORS to get CRYSTAL 1/2.
- Go left. Take the FLASK WITH ALCOHOL and use it to get SIGN 3/3. Place the three SIGNS and use the ROD; take CRYSTAL 2/2 and fit both crystals to make the ACTIVATED SWORD OF THE GOLEM.
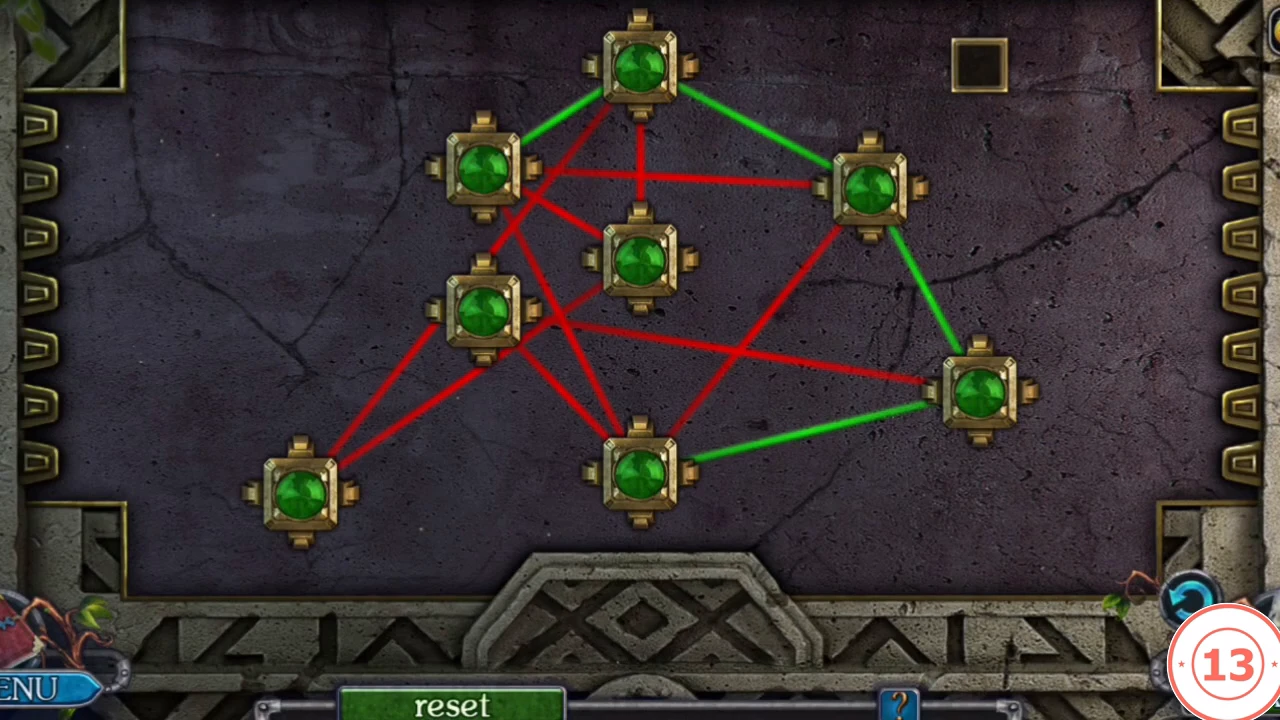
- Walk down and use the ACTIVATED SWORD OF THE GOLEM on the door. Drag the green nodes until no two lines cross; a crossing line shows red and turns green once it is free. Start with the nodes that have the most crossings.
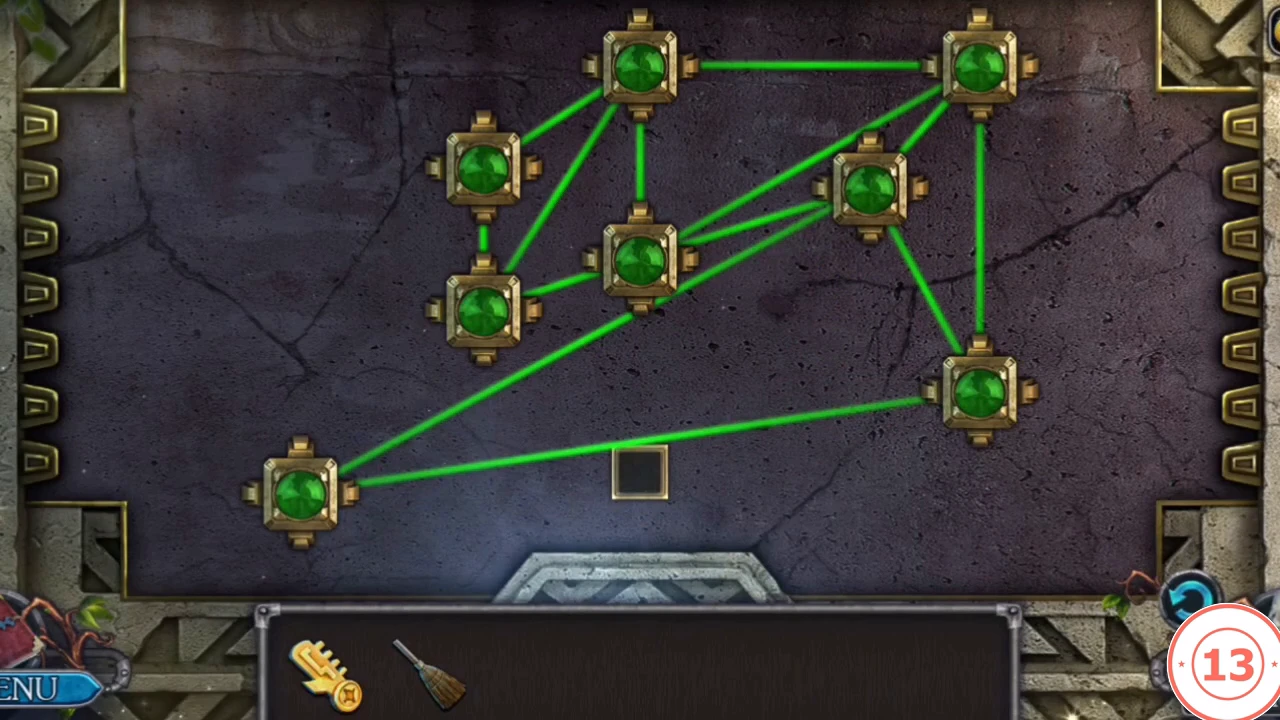
A finished layout from the recorded game: every line is green and none cross.
CHAPTER 4
The Sarcophagus and the Ending
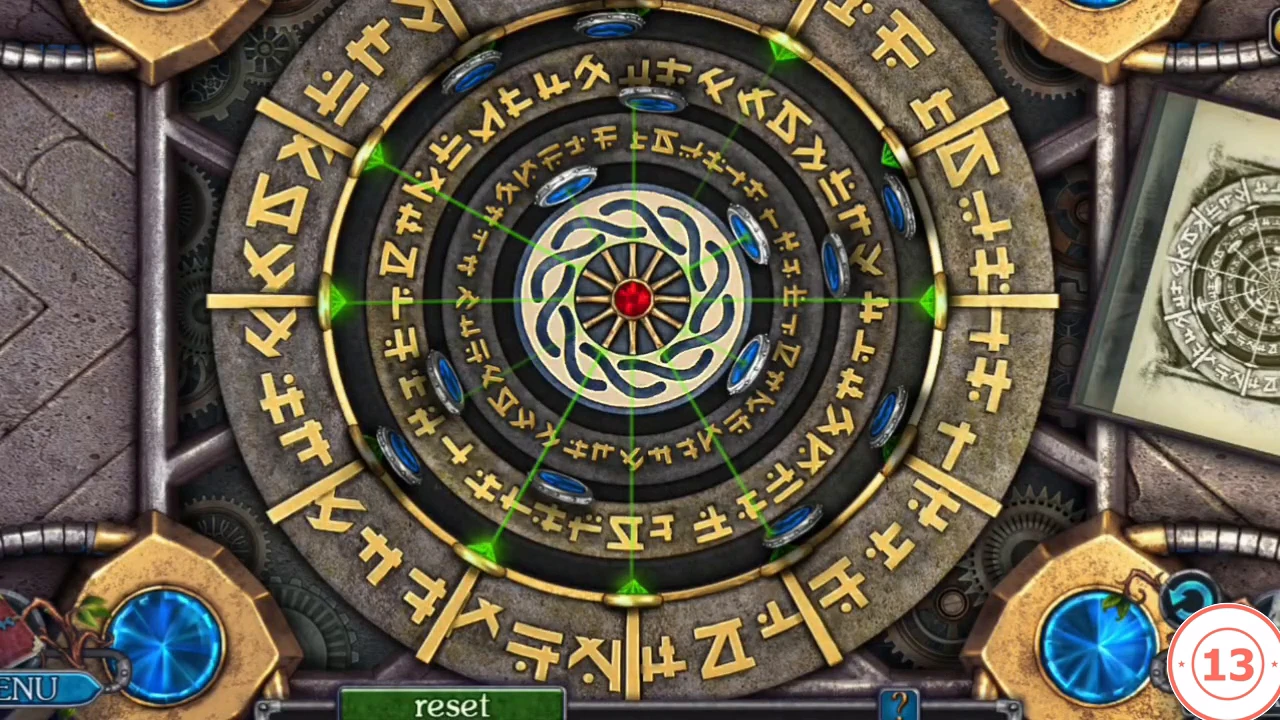
Inside the temple, open the sarcophagus and solve the final rune lock.
- Go left and select the sarcophagus. Sweep with the BROOM to take the STAMP. Walk down twice, go right and use the STAMP to take the BOOK.
- Walk down, go left and forward, and place the BOOK. Its page shows the target pattern. Turn the rune rings until the blue stones and green lines match the page; the circle lights up green when it is right.
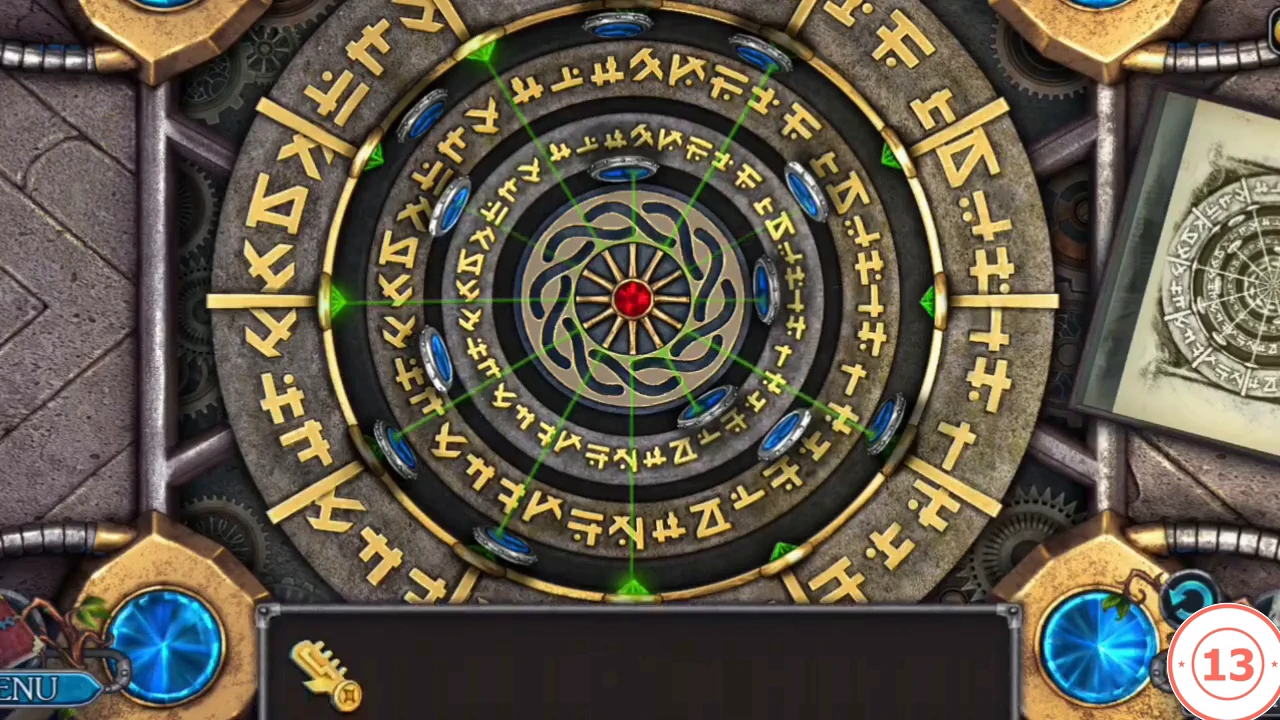
The solved lock from the recorded game, just before the circle lights up green. - Watch the ending of the main story. Afterwards the game announces that the Bonus Chapter is available (see the Bonus Chapter part).