Amusement Park: Alphabet Machine and Car Door
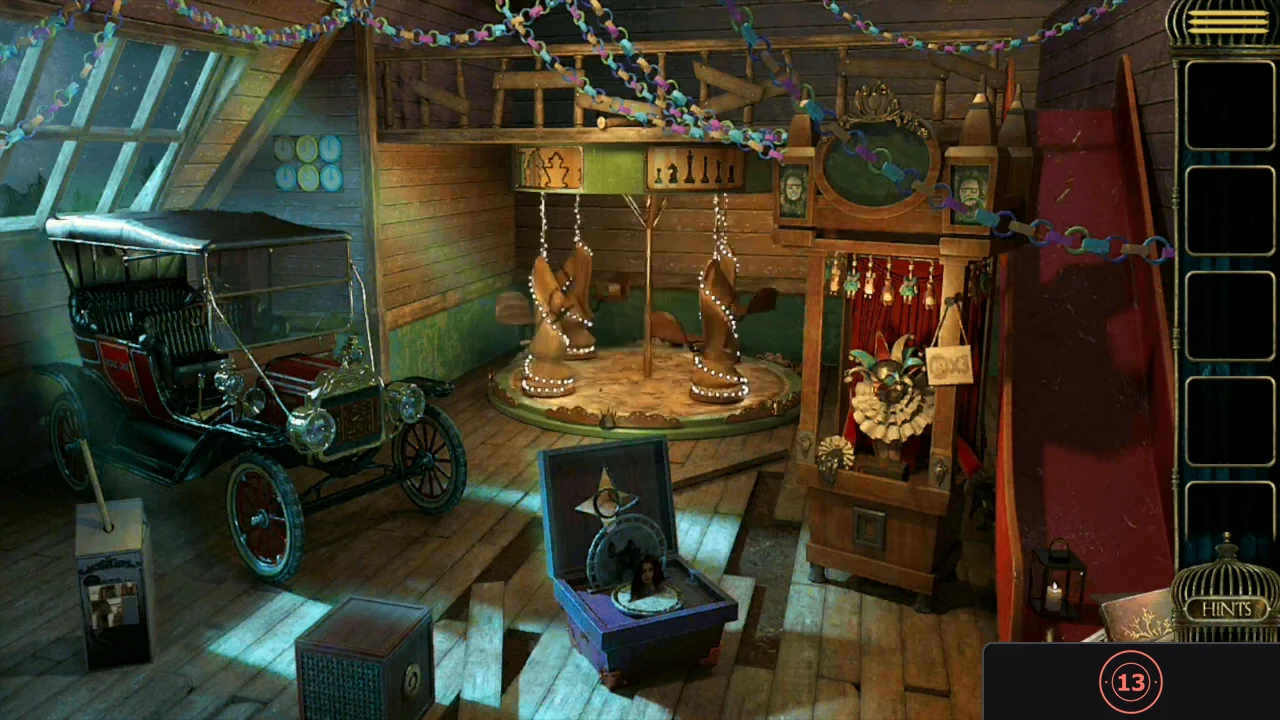
The memory amusement park has a car, a carousel, a purple music box, a jack-in-the-box, wall clocks and a clown booth with a coin slot.
- Zoom in between the car's headlights. Some letters are fixed in the network of nodes; drag the loose letters into the empty nodes, six at a time (use the arrow to get the next set), so that following the connections spells the alphabet from A to Z. Take the Swivel handle.
- Take the third Alice badge piece beside the wooden box next to the loose plank.
- Put the Swivel handle in that box and turn it. A fox pops out; take the Gold coin behind it.
- Note the small numbers: the back of the girl's photo in the purple box has 3 at the top and 2 at the bottom; the box by the plank has 1 on the left and 4 on the right. The Paper with tips by the lantern shows 08 at the top, 43 at the bottom, 35 on the left and 29 on the right.
- Press the car door numbers in the order 1 to 4: 35, 43, 08, 29. Take the Heart-shaped key.CODE35, 43, 08, 29
Fraction Clocks, Chess Box and the Clown
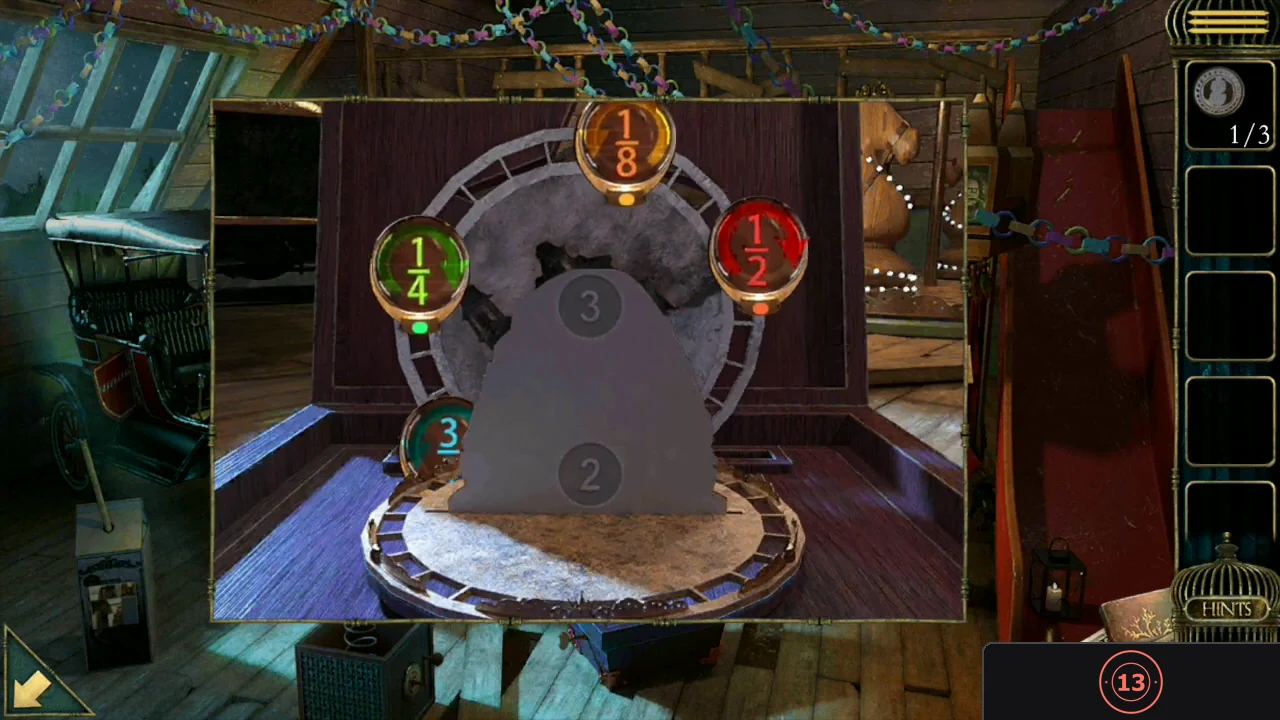
The six clocks above the car have only eight marks each, so one mark is one eighth of a turn.
- Use the Heart-shaped key in the purple music box. The disc behind the photo shows red 1/2 clockwise, yellow 1/8 counter-clockwise and blue 3/4 counter-clockwise (green 1/4 has no clock).
- Turn the hands from 12: red half a turn to 6, both yellow clocks one mark back, and all three blue clocks six marks back (pointing to 3). Take the Screwdriver and the Gold coin from the compartment.
- Remove the left panel above the carousel with the Screwdriver and take the Puzzle piece and the Paper with tips. The carousel poster shows chess pieces in arrangement 1 and the paper shows arrangements 2 to 5.
- Each new arrangement swaps the piece in the position of the previous arrangement's number with the last piece. Continue the pattern to arrangement 6: rook, pawn, knight, king, queen, bishop. Tap the carousel to zoom in on the wooden box marked 6, then tap the box to open its dials. Set the six emblems in that order and take the Puzzle piece.CODERook, Pawn, Knight, King, Queen, Bishop
- Put both Puzzle pieces in the grey box in the left corner and swap tiles until the picture is complete. Take the Gold coin.
- Insert the three Gold coins below the clown and take the Skull from the box that opens. You wake in the attic.
- In the loft, place the Skull above the gate of the small castle on the table and go through the gate.
Castle: Number Door, Coffin and Tombstone
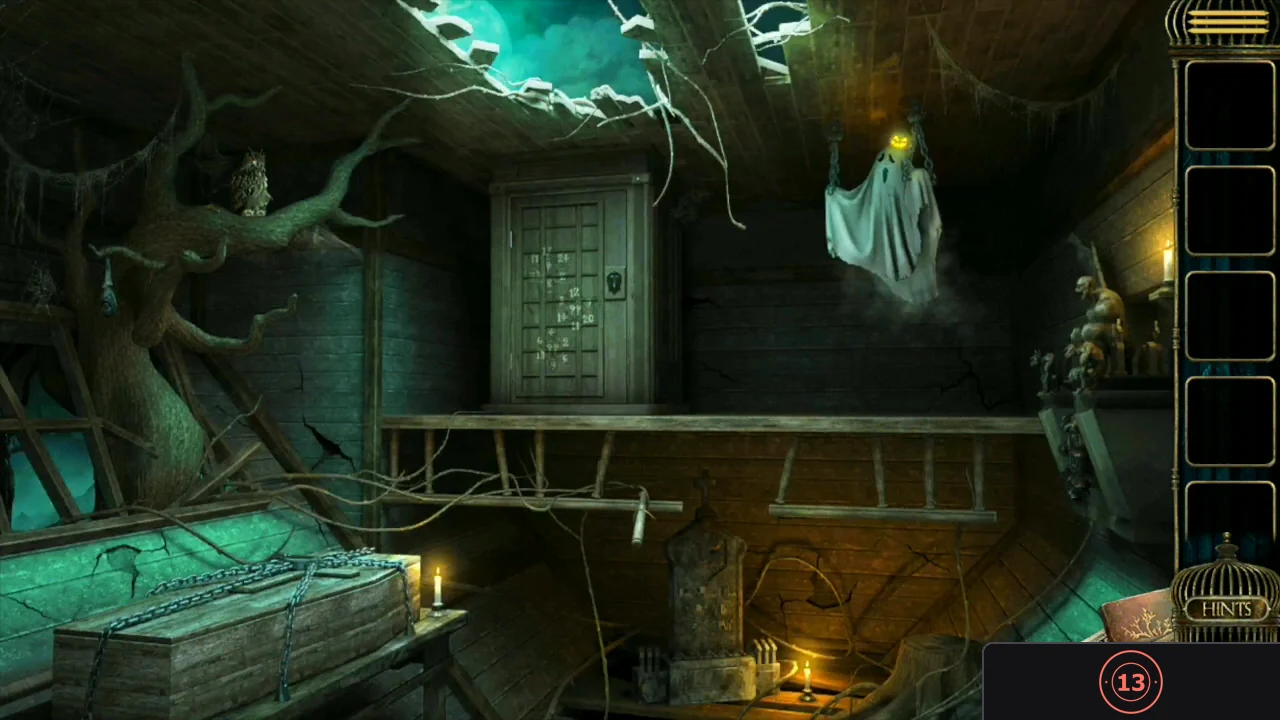
The castle has an owl in a tree, a door with number pairs, a chained coffin, a ghost with a pumpkin, a devil statue and a small tombstone. Three letters found here complete the tombstone.
- Take the letter T beside the owl and the letter F beside the door.
- Work out the hidden operations on the door: the top pairs all give 9 by subtraction (11−2, 17−8, 33−24), the middle pairs all add up to 23 (for example 12+11 and 14+9) and the bottom pairs all give 36 by multiplication. Enter 92336 on the coffin lock and take the Devil's wings.CODE92336
- Zoom in on the ghost and tap the pumpkin above it. A mirror appears below the ghost; tap it. Tap the pumpkin again; a stethoscope appears; tap it as well. Tap the pumpkin a third time and take the Mechanical ladybird that appears.
- Attach the Devil's wings to the devil statue and take the letter R from its mouth. Take the fourth Alice badge piece to the left of the statue.
- Put the three letters into the top of the tombstone. Each red letter below has arrows with numbers telling how many stones must be to its left and right among the eleven at the bottom: R 3 and 7, I 4 and 6, J 5 and 5, A 6 and 4. Swap the letters into those places (R, I, J, A from left among the lettered stones) and take the Devil's head.CODER I J A
Devil Heads, Owl and the Item Grid
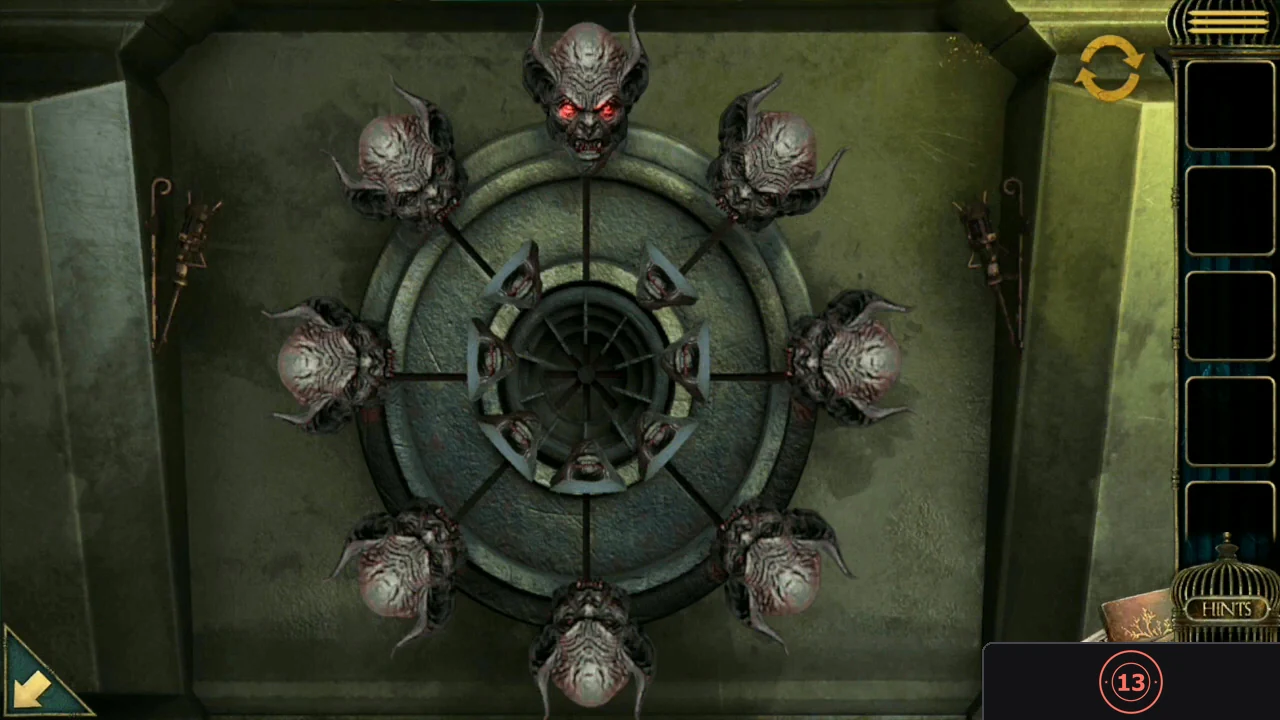
The wheel under the devil statue needs a triangle in every head's mouth; each insertion turns the inner ring one step.
- Put the Devil's head in the empty place of the wheel. Tap a head to slide the triangle below it into its mouth (tapping a filled head spits it back out); the inner ring turns one step each time. Fill all eight mouths, for example by tapping the heads at 3, 7, 11, 1, 5 and 9 o'clock, then 7 again to release, then 6 and 7. Take the Winder.
- Wind the Mechanical ladybird with the Winder and set it beside the owl. The owl chases it; take the Relief sculpture (eagle emblem) from the branch.
- Fit the Relief sculpture into the matching slot by the door. Take the Book from the floor and flip through its pages until a wooden box appears.
- Each row must hold only the item shown at its left: glasses, mirrors, stethoscopes, teddy bears and ghosts. The arrow at a row's left slides that row one step right (the last item wraps to the start); the arrows above and below a column move it up or down. Work one row at a time from the top. To swap a wrong item in your row for a needed item lower down: shift your row until the wrong item sits in the column just left of the column holding the needed item; move that column until the needed item reaches your row, counting the presses; shift your row once to the right; then press the opposite arrow on that column the same number of times. The needed item stays in your row, the wrong item takes its old place lower down, and the rows above return to how they were. Check the row after each swap. When the top four rows are complete, the bottom row is complete too. Take the Key; you return to the attic.
Shadow Theatre
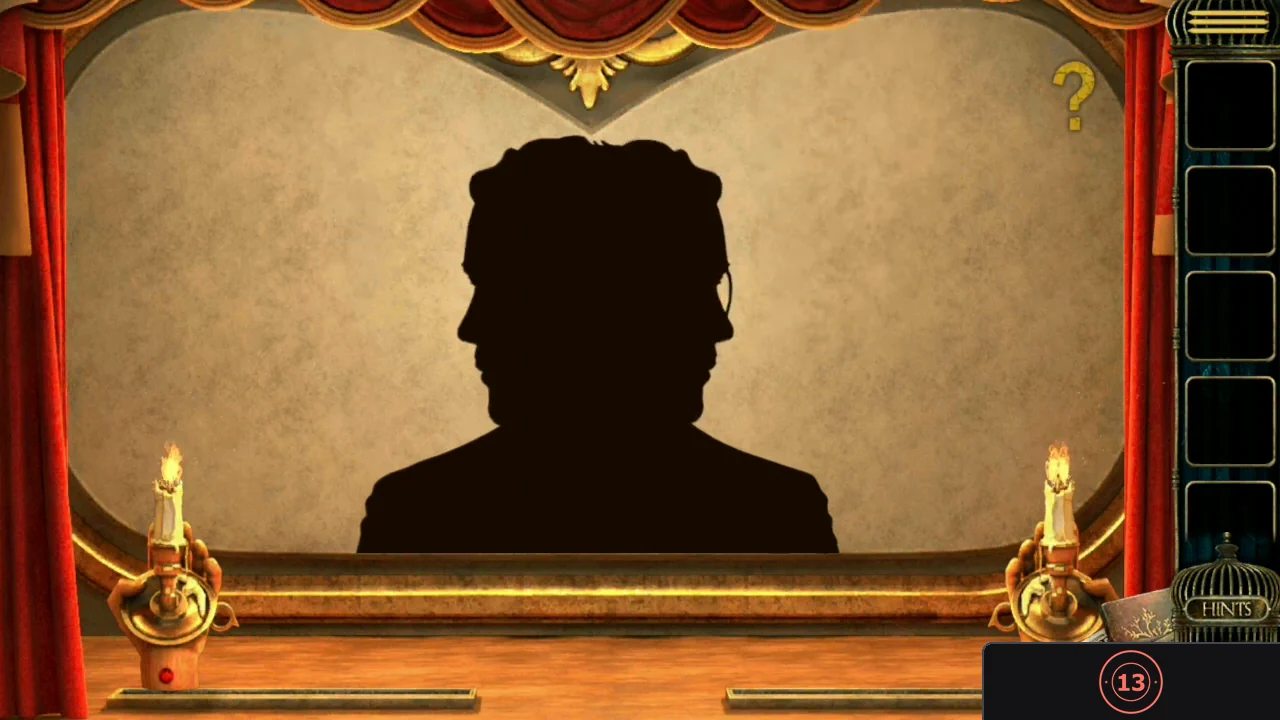
The theatre behind the loft cabinet has five shadow scenes. In each, slide the two candles left or right and move the cut-out pieces with the arrows above them until the shadows exactly cover the light grey outline on the backdrop. The pieces lock in place when they are right. These are long fiddly puzzles: set one shadow at a time and use the candle position to change its size and angle.
- Open the top of the cabinet in the loft with the Key and tap the red curtains.
- Scene 1: align the head cut-outs so the two halves form the face outline; it splits open to the next scene.
- Scene 2: fit the gears and the clock into their outlines, then the standing woman's dress and body pieces.
- Scene 3: align the woman on the left and the reaching man on the right.
- Scene 4: line up the girl figures until the last one locks in place.
- Scene 5: build the two long shadows on the left and right. When both lock, they become an ornate key (left) and a curved dagger (right) above a paper house with a keyhole.
The Two Endings
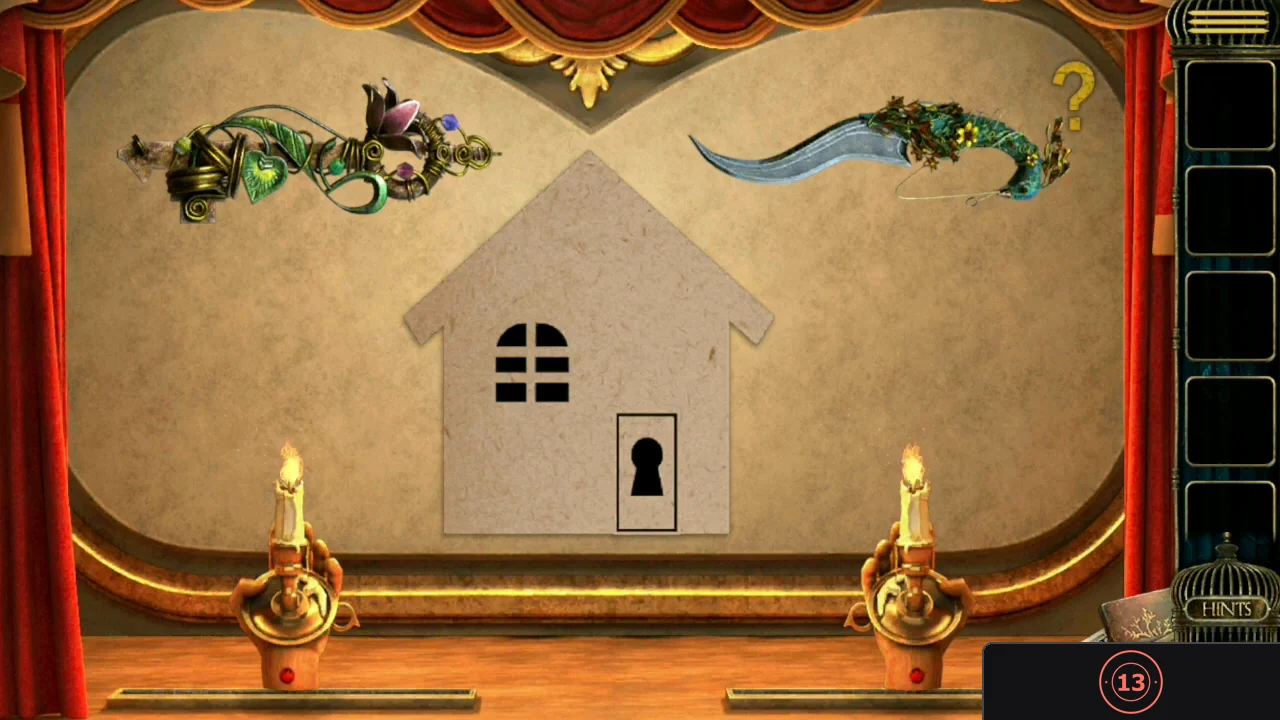
The last choice decides which ending you see. A completed game asks whether to reset when you start again.
- Key ending: tap the ornate key on the left. It turns in the paper house's keyhole, a hand with a knife strikes from the dark, and the old woman tells you this is the fate of the family and ends with 'Let's start here and end here.'
- Dagger ending: tap the curved dagger on the right instead. It cuts the paper house in two, and the old woman, now holding an animal, says she knew you could not escape the family curse and ends with 'It's time for it all to end, child.'