Dark Bedroom: Vase Key, Clock Statue and the First Mirror
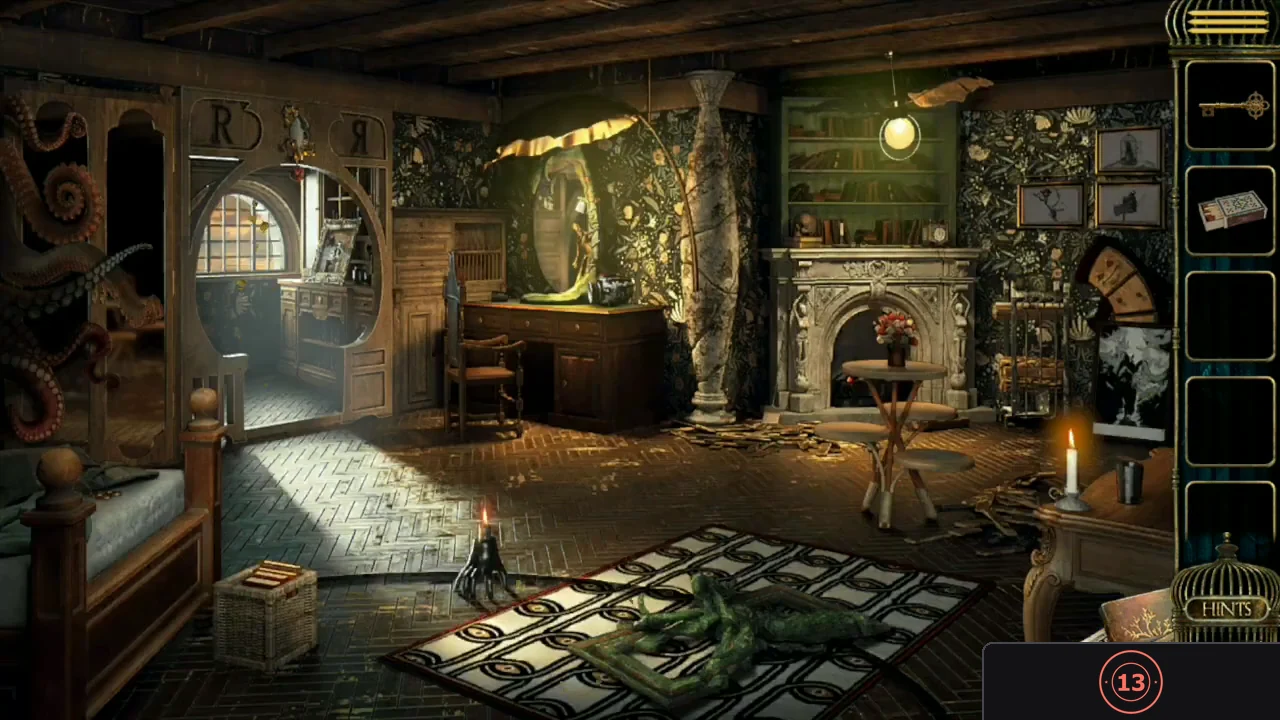
Ivy's chapter links several rooms through the mirror on the dressing table. Each new flowered light placed on the mirror opens a portal to another room, and the map lets you return to rooms you have already visited.
- Zoom in on the dressing table with the mirror and tap the blue vase until it tips over. Take the Key that falls out.
- Zoom in on the clock on the shelf and take the Matches beside it.
- Zoom in on Ivy's portrait in the alcove. Take the first Ivy family badge piece beside the frame, then use the Key on the middle drawer below and take the Statue.
- Place the Statue in the empty slot on top of the clock. The clock runs and the tentacles move away from the wardrobe behind the bed.
- Open the wardrobe and take the flowered light (Blooming flowers). Note the box with four symbol doors on the right.
- Put the flowered light into the empty slot on the mirror frame and step through the mirror into the sunlit bedroom.
Sunlit Bedroom: Fireplace Symbols and Two Boxes
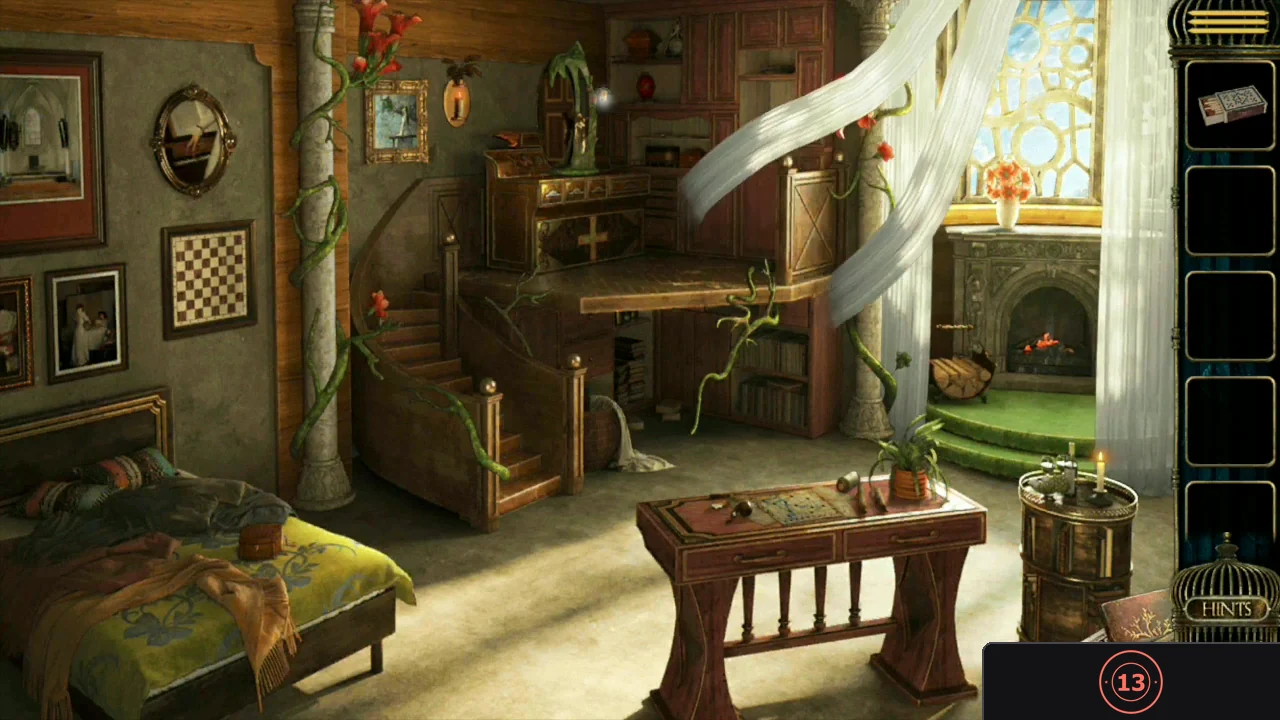
The sunlit bedroom holds the music box, a map table, the fireplace and a box on the shelf beside the window.
- Inspect the bed and take the second Ivy badge piece beside the music box.
- Zoom in on the table with the map and take the tube on its right side (Goggles).
- Use the Matches on the fireplace. Four symbols appear on the arch above the fire.
- Return through the mirror to the dark bedroom and open the symbol box in the wardrobe. Tap each of the four doors until it shows the matching fireplace symbol, in the same left-to-right order. Take the Key to the Octavo and the Engraved badge.
- In the sunlit bedroom, unlock the music box on the bed with the Key to the Octavo and take the Part of the diary from its lid. The music box still needs a record.
- Zoom in on the box on the shelf left of the open window, place the Engraved badge in its centre and take the flowered light (The budding flower) and a Wooden block.
- Put the budding flower light in the mirror and go through to the library.
Library: Suitcase, Butterfly Panels and the Baby-Head Box
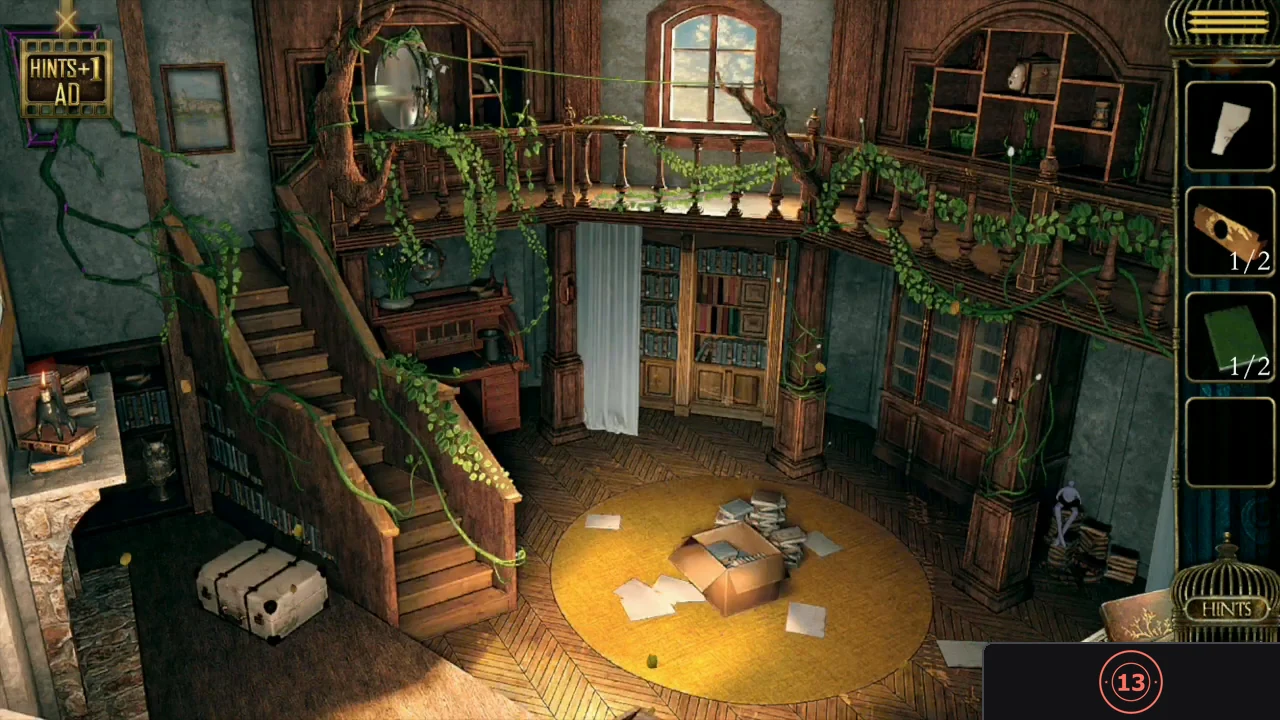
The library has a strapped suitcase, a butterfly cabinet at the foot of the stairs, a box of books, a book shelf with a letter lock and a box with a baby's head.
- Upstairs on the right, zoom in on the box with the baby's head and take the third Ivy badge piece.
- Take the green Book from the box of books on the rug.
- Go back through the mirror to the dark bedroom, check the bed and take the Scissors.
- Back in the library, cut the straps of the white suitcase with the Scissors. Take the Vinyl disc and the second Wooden block.
- Zoom in on the butterfly cabinet just to the right of the foot of the staircase and add the two Wooden blocks. Move the four blocks into the picture so the butterfly is complete: the first block from the left goes to the bottom, the second to the upper middle, the third to the lower middle and the fourth to the top. Take the Notebook from the compartment.
- Open the Notebook from the inventory and attach the Part of the diary to the torn page. Two symbols appear on the right-hand page; turn the page for two more on the left-hand page.
- Tap the baby-head box. Each gear's triangle has one pale edge; that edge, not the tip, is the pointer. The first pair of symbols is on the right-hand page of the first spread: turn the top gear so its pale edge faces the first symbol (to its left) and the bottom gear so its pale edge faces the second symbol (to its upper right). A Quill pops up from the box; take it. Then set the second pair from the left-hand page of the next spread the same way: top gear to the upper-left symbol and bottom gear to the lower-right symbol. The baby's eyes open.
Music Box, Map Drawing and the Blue Safe
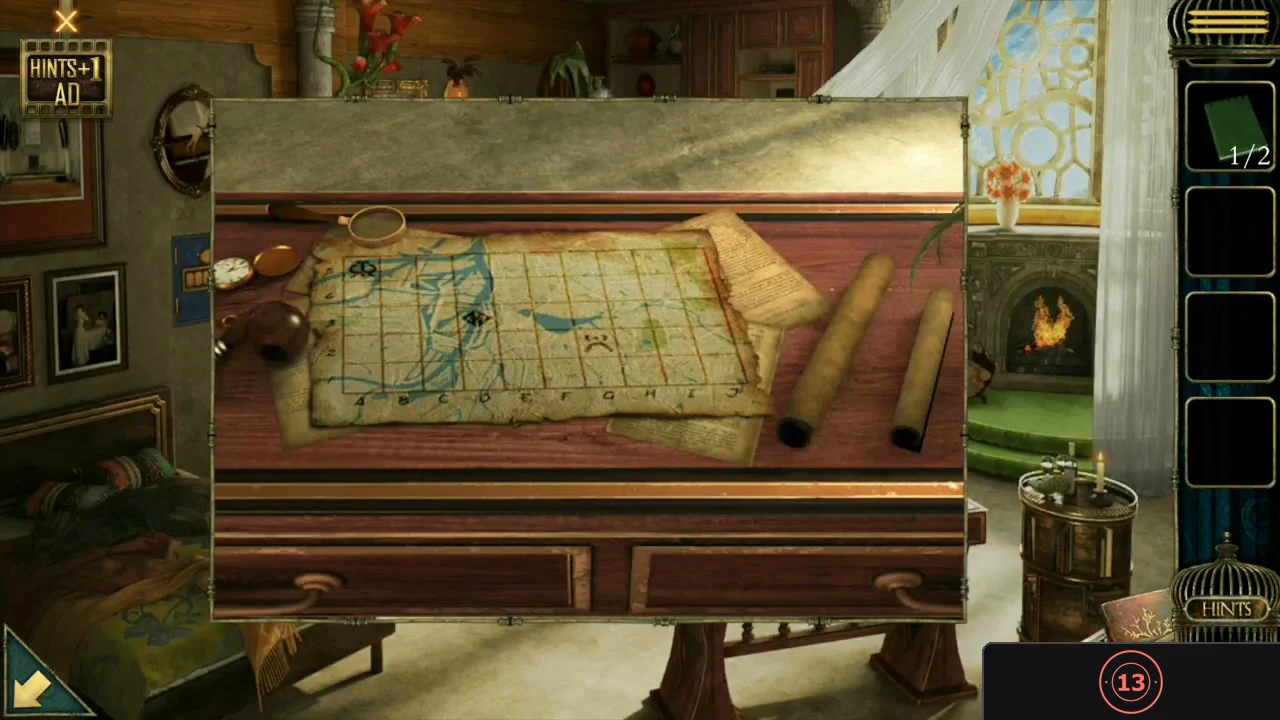
The map on the sunlit bedroom table is a one-stroke drawing puzzle. Columns are lettered A to J along the bottom and rows numbered 1 to 5 up the left side. Lines run between the black dots; where two lines only cross, there is no dot and you cannot turn.
- In the sunlit bedroom, put the Vinyl disc in the music box. After the music the chessboard on the wall falls and reveals a blue safe with six letter-and-number dials.
- Zoom in on the map and use the Quill on the quill outline. Trace every line of the drawing in one go without repeating any. Only two dots have an odd number of lines: A5 (top left) and F1 (bottom row). Start at one of them and you must finish at the other, so begin at A5, keep following lines you have not drawn yet, and save the last line into F1 for the end. If you get stuck before every line is drawn, restart and take a different branch at the last junction. When all lines are drawn, three symbols appear at A5, D3 and G2.
- Compare the three symbols on the gold plate of the blue safe with the map: their order gives A5, G2, D3. Enter A5G2D3 and take the Painting and the Slides.CODEA5G2D3
- In the dark bedroom, place the Painting in the empty frame of the picture group on the wall. Drag the flowers into the vase, the knife into the gloved hand and the parrot into the birdcage; the cat moves onto the tree. The word KILL appears below the hand.
- In the library, tap the four K letters on the book shelf and enter KILL. Take the flowered light (The growing flowers).CODEKILL
- Put the growing flowers light in the mirror on the upper floor of the library and go through to the piano room.
Piano Room Projector and the Book Shelf
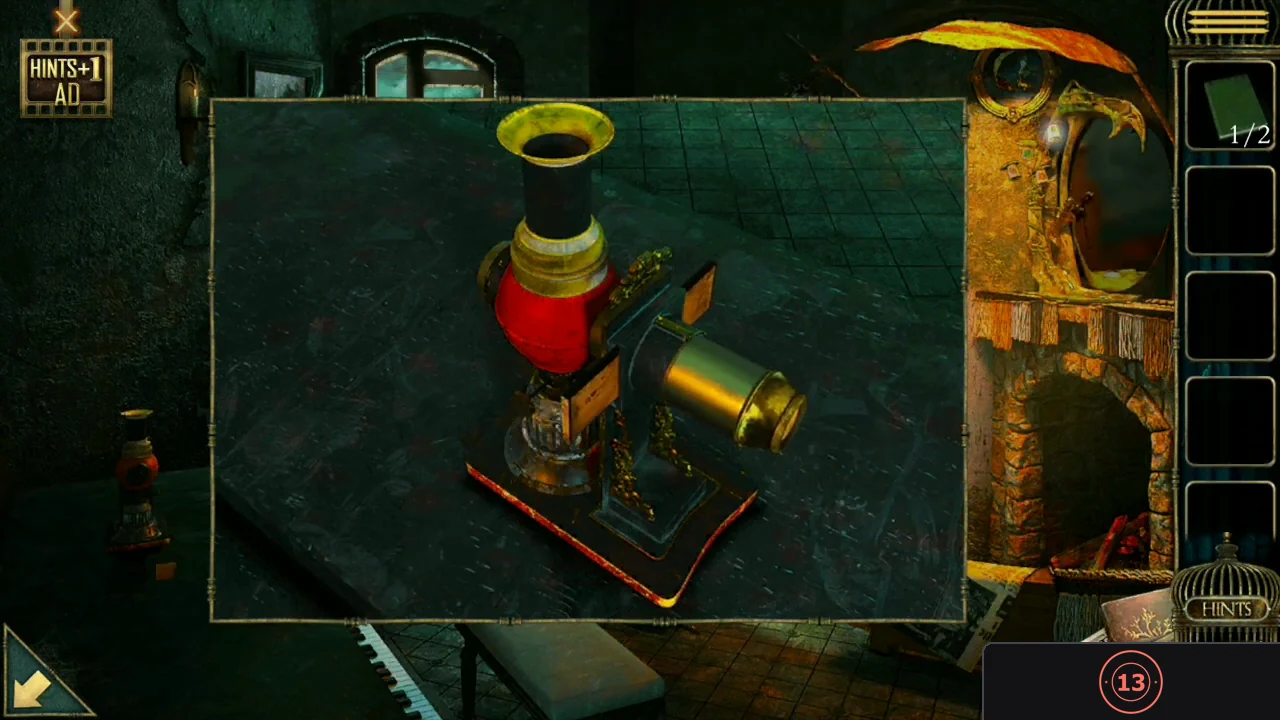
The projector on the piano is missing two parts, both of which are already in the inventory.
- Zoom in on the projector on the piano and take the fourth Ivy badge piece.
- Fit the Goggles and the Slides to the projector, then tap the projected image. Swap the eight picture pieces (tap one, then another) until they form a view of this room with the piano.
- After the girl fades, take the Book from the piano stool.
- In the library, place both Books on the top shelf of the book case. Swap books on the top shelf until their colours match the fixed bottom shelf book for book. Take the flowered light (The withered flowers).
- Put the withered flowers light in the library mirror and go through to the night parlour.
Night Parlour: Devil Clock and the Final Apple
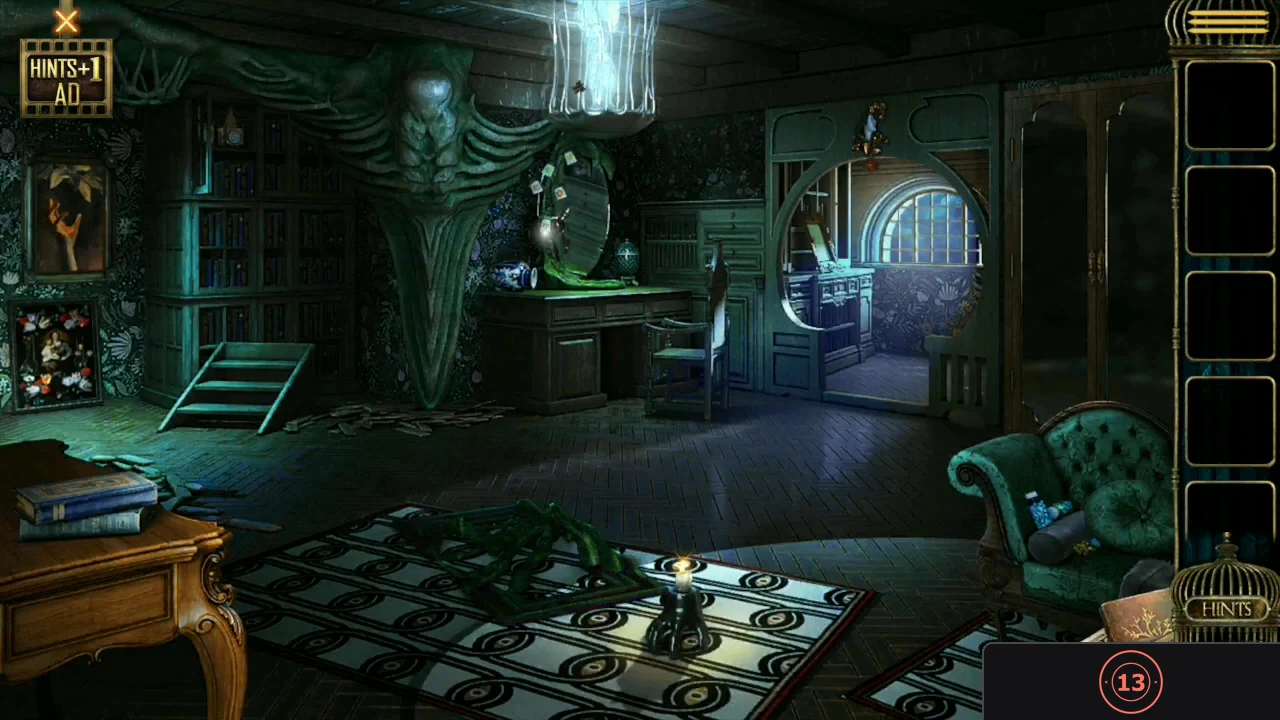
The night parlour has two clocks on the high shelf, a broken mirror with an ornate egg and a desk with a locked drawer.
- Optional collectible: zoom in on the broken mirror and open the decorated egg beside it to collect Ivy's hidden item.
- Zoom in on the desk under the snowy painting and take the Weight. The drawer below is locked.
- Return to the piano room and hang the Weight on the empty left hook of the balance box on the shelf. The box shows devil 1950, meaning 19:50 (7:50).
- In the night parlour, tap the clock marked Devil and set it to 7:50: minute hand on X and hour hand just before VIII. Take the Key.CODE7:50
- Unlock the desk drawer with the Key and take the Lantern. Open the Lantern from the inventory and tap it to get the Apple.
- Place the Apple on the hand painting on the wall and tap through the story and the wooden arm until the chapter ends. Back in the carriage, tap the red curtain behind the old woman when she finishes talking to start Chapter 3.