CHAPTER 3 · JASON
Observatory: Iron Hand, Weights and Globe Pieces
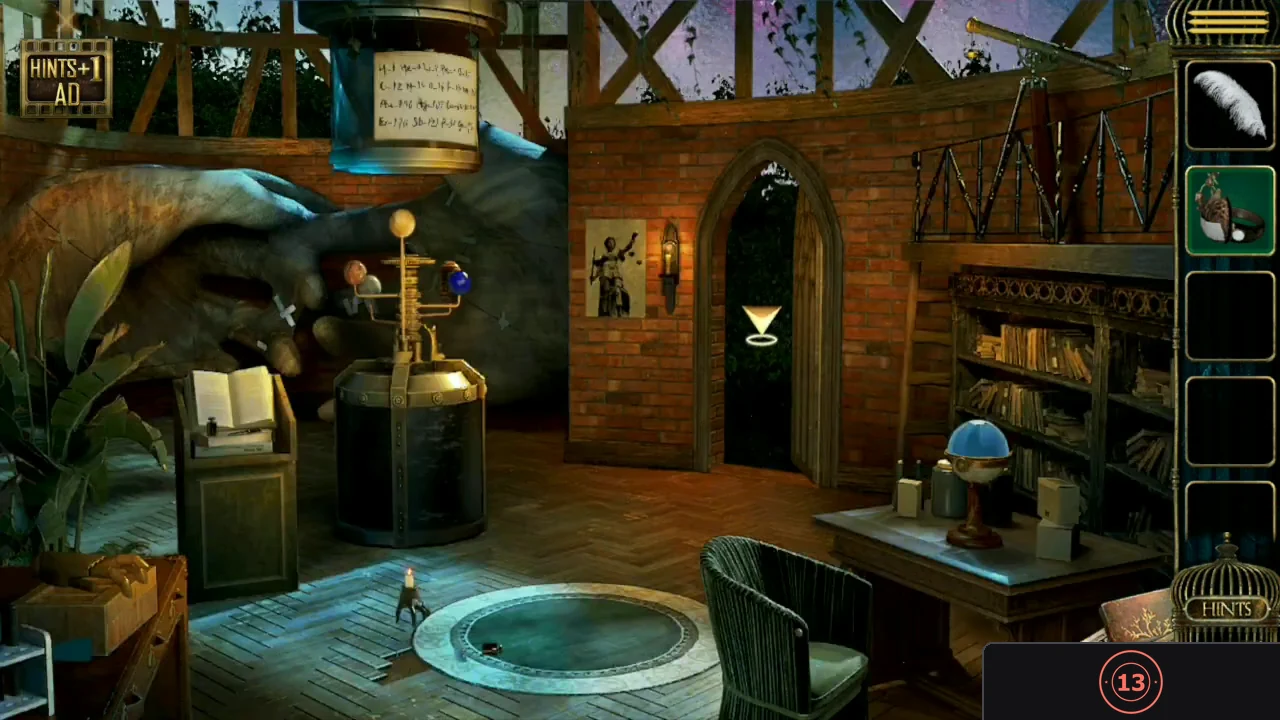
The observatory has a floor circle, an iron hand on a box, an open book, a desk globe, a planet machine, a poster and a telescope.
- Zoom in on the large circle on the floor and take the weight and the Globe jigsaw piece there; tap the circle again to open the compartment in the floor.
- At the iron hand on the box in the left corner, take the second Globe jigsaw piece and put the Ring on the hand's finger. Take the two weights from the box; its four slots are marked 5g, 7g, 2g and 9g.
- At the open book on the left take the last weight, the Knife and the fourth Jason badge piece. The book's pages show planet positions for later.
CHAPTER 3 · JASON
Weighing the Bottles and the Planet Globe
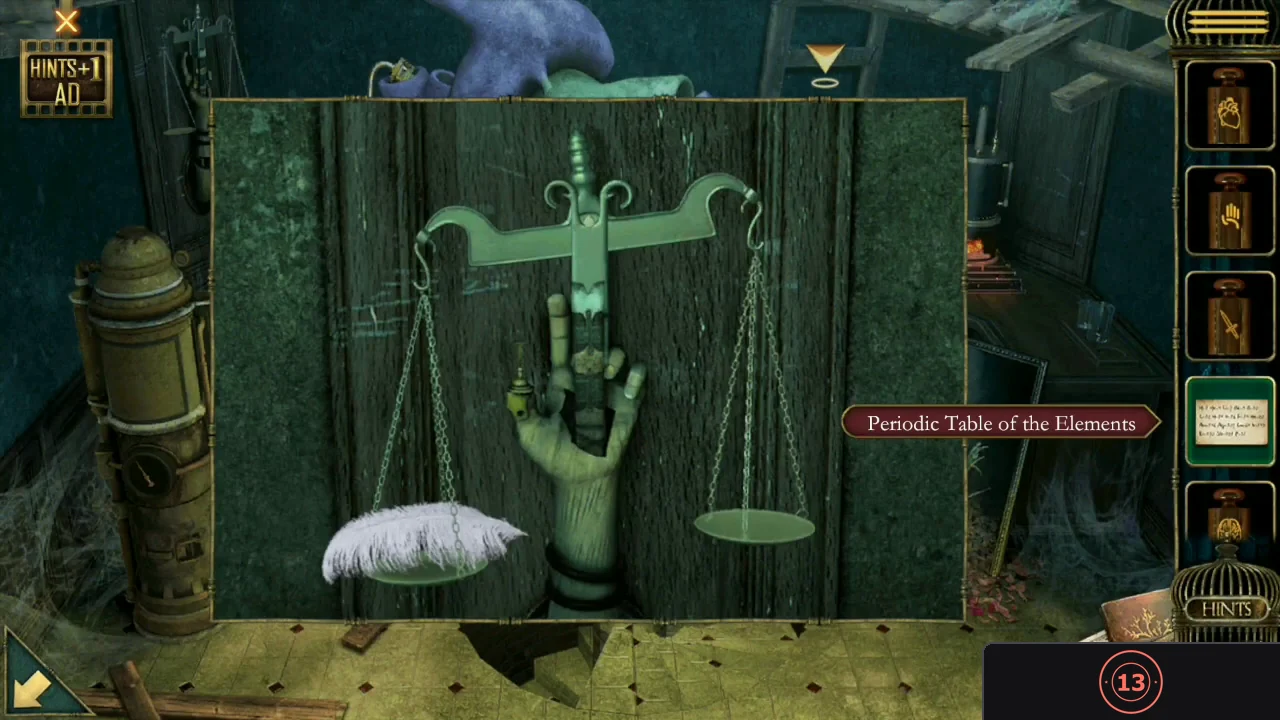
The four weights are bottles marked with pictures: a heart, a brain, a sword and a hand. Go by the pictures; the item names can be mixed up.
- Go back to the giant heart room and put the Feather on the left pan of the scales held by the wall hand. Try each weight on the right pan: the heart is lightest, then the brain, then the sword, and the hand is heaviest.
- In the observatory, place the weights in the box: brain in 5g, sword in 7g, heart in 2g and hand in 9g. Take the Paper with tips (10871xxxxxxx) from the drawer below.
- Fit both Globe pieces into the desk globe and swap the segments (tap two to exchange them) until they form the map of Antarctica. The globe opens; take the Planet models.
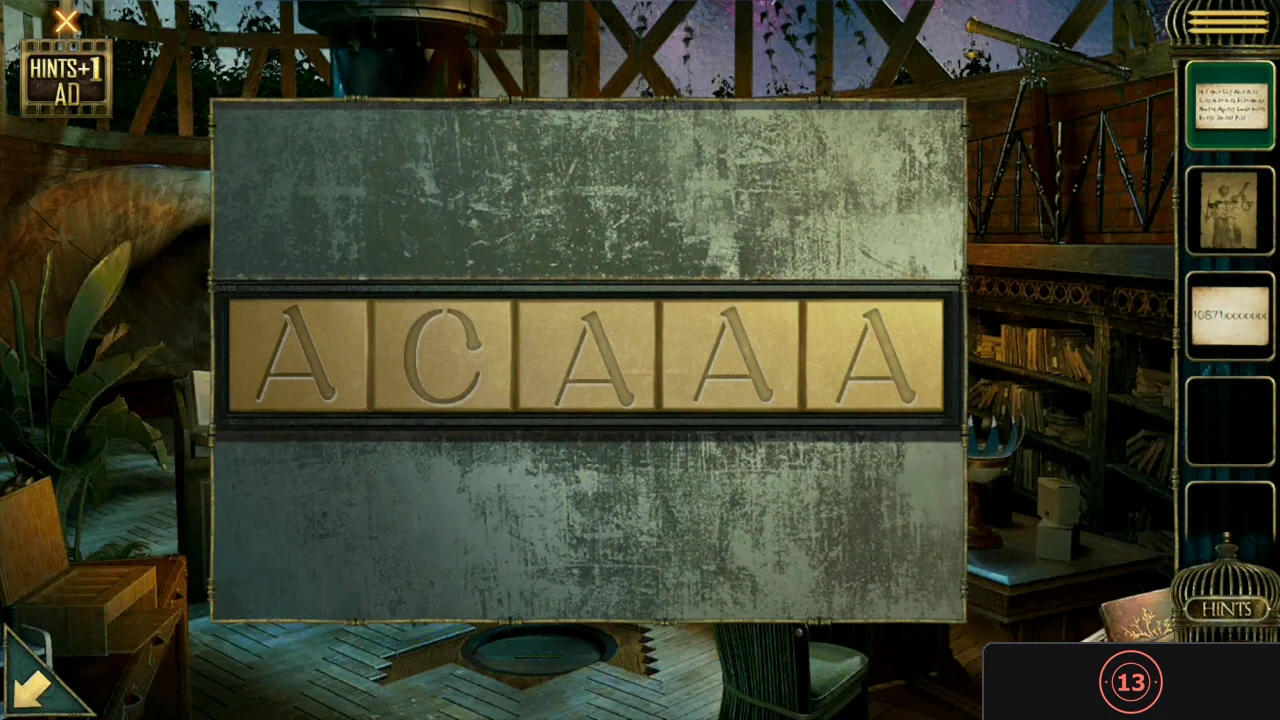
- Cut down the poster beside the candle with the Knife to reveal a five-letter wall safe; the poster's back shows 93121. Also cut the Periodic table of elements off the column.
CHAPTER 3 · JASON
Planet Machine: AVENGE
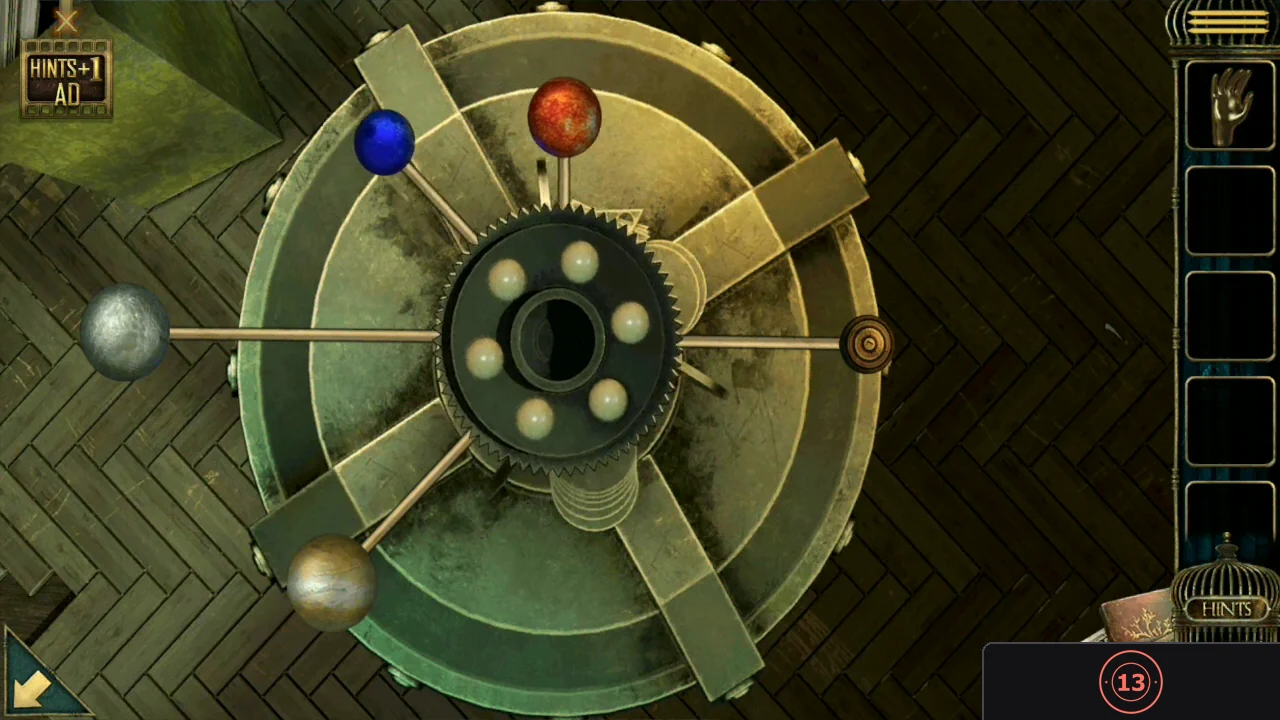
The open book shows six pages of planet positions. Each correct arrangement lights a lamp on the machine and shows one letter.
- Attach the Planet models to the empty pipe of the planet machine on the left column.
- For each page of the open book, drag the white, yellow, blue, red and brown planets to the clock positions shown (some arms move together, so set the linked planets first and correct the others after). Each page reveals a letter in the centre: A, V, E, N, G, E.
- Enter AVENGE on the letter lock in the floor compartment. The trapdoor opens back into the hallway; take the Stethoscope from the chair, then return up to the observatory.CODEAVENGE
CHAPTER 3 · JASON
Number Chain and the ALICE Safe
Four number fragments overlap to form one twelve-digit number, which is then split into element numbers on the periodic table.
- Combine the fragments: the paper shows 10871, the telescope shows 87193 and the poster shows 93121, and the last page of the open book shows 12170. Overlapping the shared digits gives 108719312170.CODE108719312170
- Split it into numbers from the periodic table: 108 Ag, 7 Li, 193 Ir, 12 C, 170 Er. The first letters spell ALICE.
- Enter ALICE on the wall safe beside the door and take the Arm.CODEALICE
CHAPTER 3 · JASON
Dark Treatment Room: Golden Figure and Colour Code
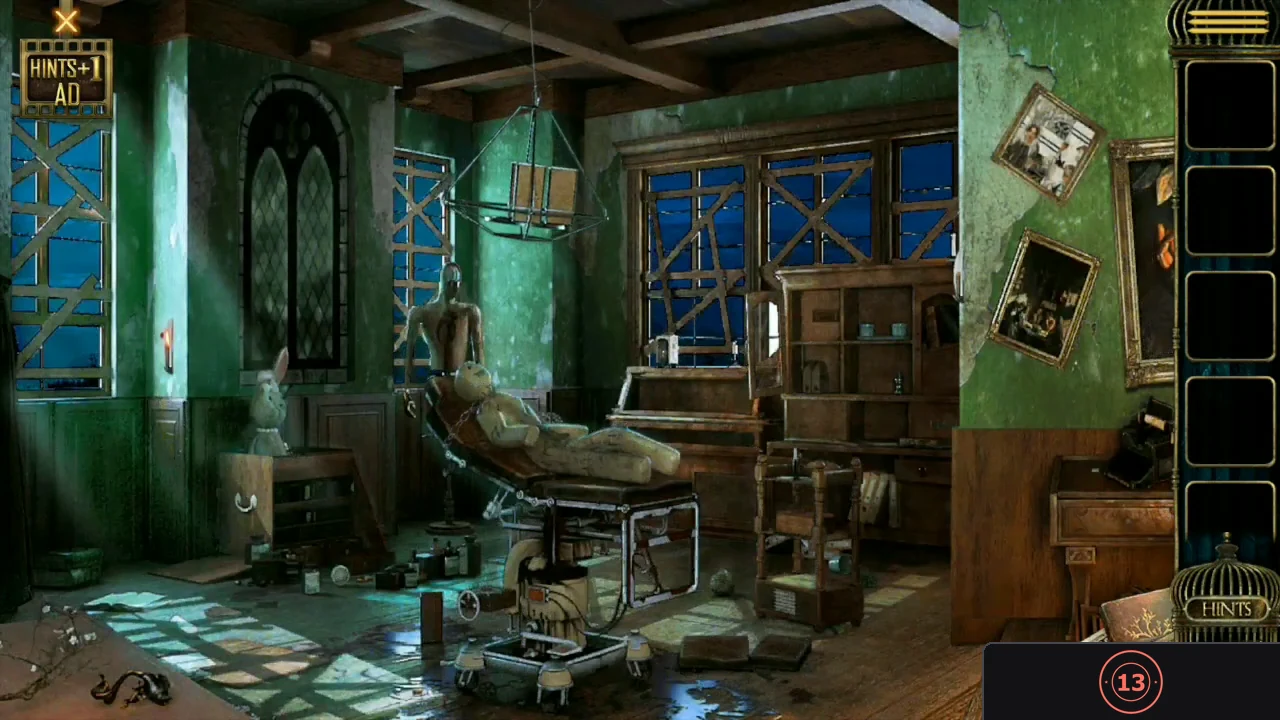
Completing the mannequin turns the treatment room dark, with a doll chained to the chair.
- In the treatment room, attach the Arm to the mannequin and use the Stethoscope on its heart. The room changes.
- Take the small golden figure from beside the rabbit on the left, and the Knife beside the small box by the right window. Put the golden figure into the box and take the Button from its top.
- Zoom in on the small shelf to the right of the chair and take the fifth Jason badge piece from the bottom shelf.
- Tap the white panel on that shelf, fit the Button into the empty colour slot and solve the colour code. Each guess shows how many colours are right and in the right place (top number) and how many colours are right at all (bottom number). The answer, top to bottom, is green, orange, light blue-green, blue. If a colour looks different on your screen, use the two numbers to narrow it down. Take the Box from the drawer.
CHAPTER 3 · JASON
Petal Box, MURDER Typewriter and the XATF Cupboard
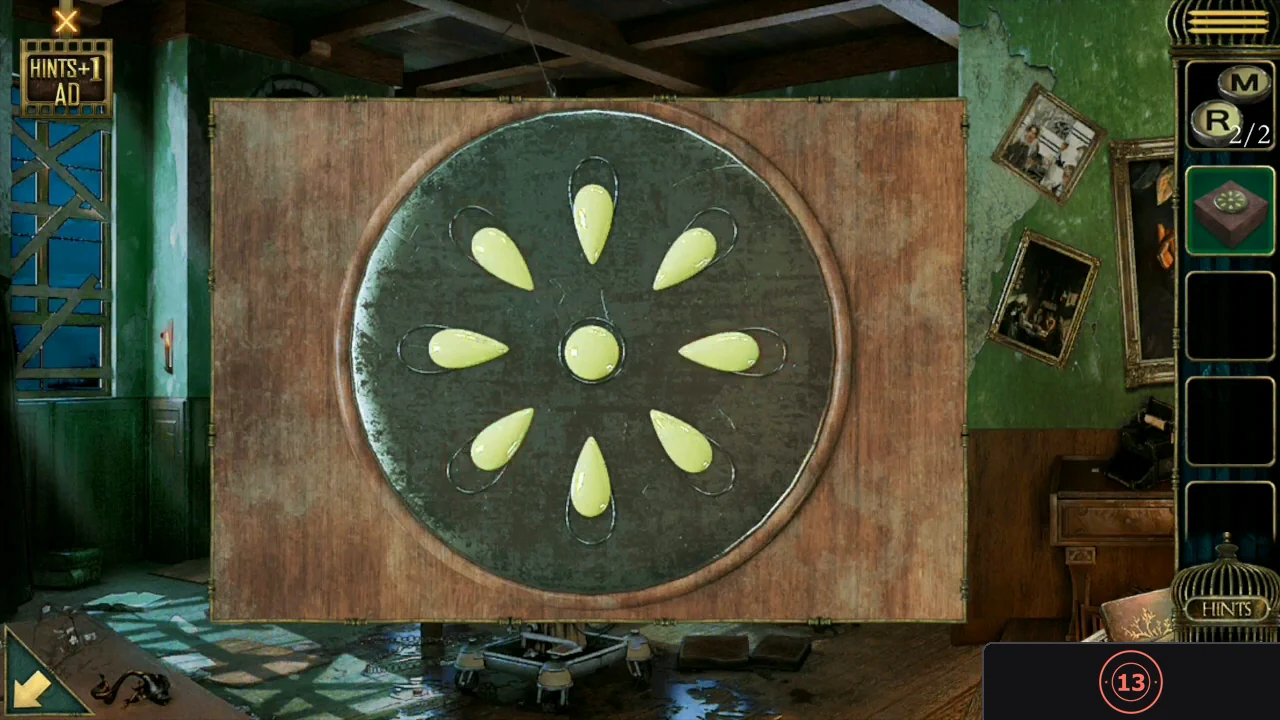
The last puzzles of Jason's chapter use the petal box, the typewriter and a card stencil.
- Open the Box from the inventory. Press the petals in the correct order; a correct press glows red and a wrong press resets them. The order can differ between games, so find it by trial and remember each petal that stays lit. Take the Potion bottle and the Card.
- Cut open the patched rabbit with the Knife and take the Key. At the chained doll, take the M Button from its eyes, unlock the padlock with the Key and take the R Button underneath.
- At the typewriter, take the Puzzle piece beside it and pour the Potion bottle on the paper: the upside-down word reads MURDER. Fit the two Buttons into the missing keys and type MURDER. Take the Paper with tips (a letter-and-number grid).CODEMURDER
- The top-left cupboard under the windows shows 1, 8, 9, 3 with the arrows up, left, right, down. Lay the Card on the grid paper, turn it so its arrow points the given way and slide it so one hole shows the number; the other hole shows the letter: X, A, T, F. Enter XATF and take the Puzzle piece.CODEXATF
- Tap the box on the middle of the small shelf, add both Puzzle pieces and press Play: the pieces travel along the track and stop as a picture. Swap pieces and press Play again until the family portrait is correct. Take the Lantern.
- Turn on the Lantern from the inventory to get the Apple, place it on the hand painting at the right edge of the room and tap the wooden arm until the chapter ends. Back in the carriage, tap the red curtain behind the old woman when she finishes talking to start Chapter 4.