Study: Typewriter and Hidden Figurine
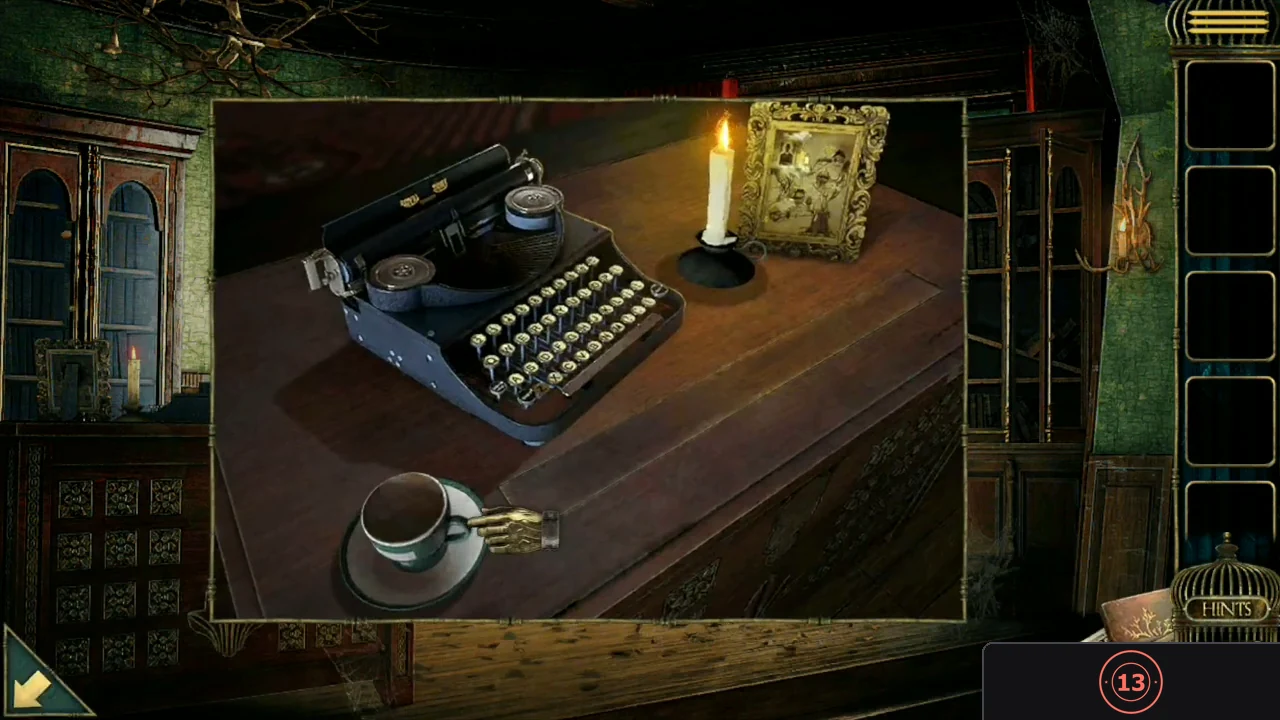
When the old woman in the carriage finishes talking, tap the red curtain behind her to step out. Chapter 1 starts in Raen's study. Tapping a lit candle, like the one on the typewriter desk, triggers a story scene. Each chapter also hides one optional hidden item and several family badge pieces; both are marked in the steps where they appear.
- Zoom in on the typewriter desk and tap the coffee cup. It turns and flips the panel beside it to reveal the word IMAGE.
- Tap the typewriter keys and type IMAGE. Take the printed sheet; it is the first Paper with tips.CODEIMAGE
- Optional collectible: zoom in on the metal sphere on the stand in the corner among the leaves, open it and take Raen's hidden figurine.
Fireplace Room: Ring Box and Silhouette Lock
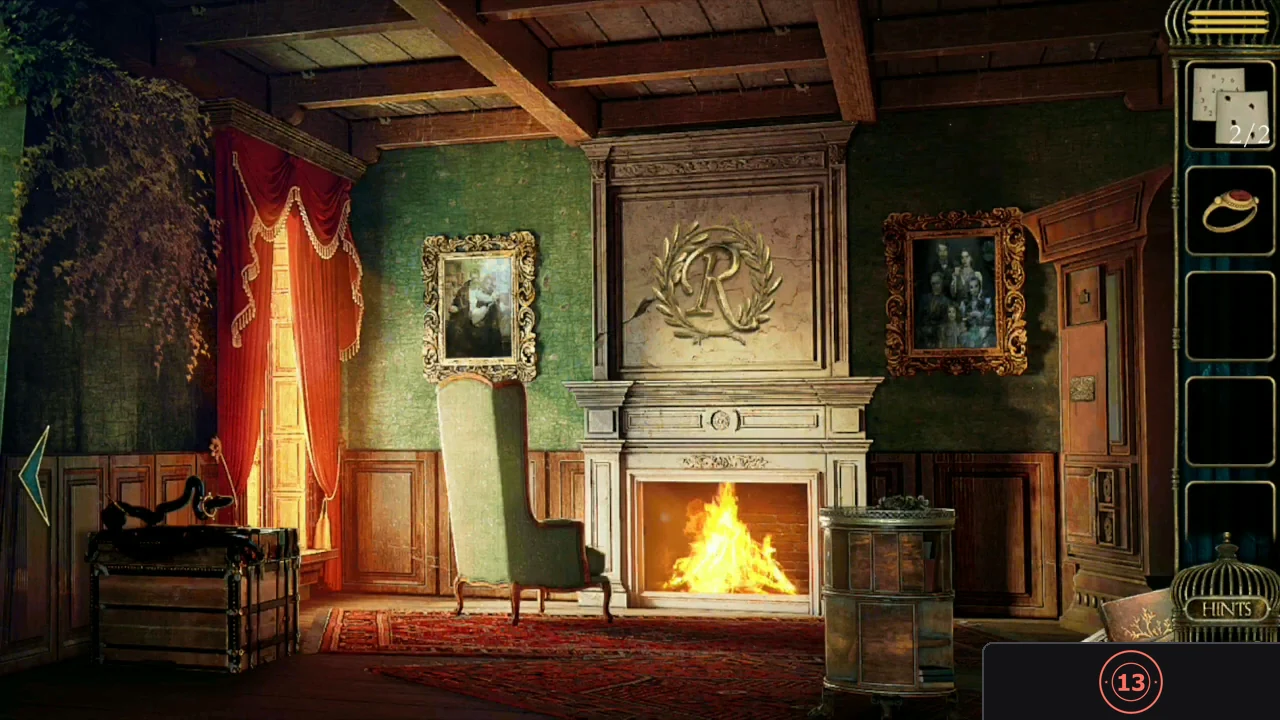
Go right into the fireplace room. The large cabinet on the right holds a family badge piece, a ring box and a four-digit silhouette lock.
- Inspect the armchair in front of the fireplace, lift the cushion and take the scroll. Open the scroll in the inventory to get the second Paper with tips and a Ring.
- Zoom in on the top compartment of the tall cabinet on the right. Slide the door to one side and take the first Raen family badge piece.
- Slide the door back to show the empty ring box and place the Ring in it. The middle compartment opens and shows four dials with four head silhouettes: a short-haired man, a curly-haired woman, a longer-haired man and a woman with a ponytail.
- Return to the study and zoom in on the grid board on the cabinets under the window. Place both Paper with tips sheets on it. Each head now sits in the grid looking toward one number: short-haired man 6, curly-haired woman 1, longer-haired man 9, ponytail woman 3.
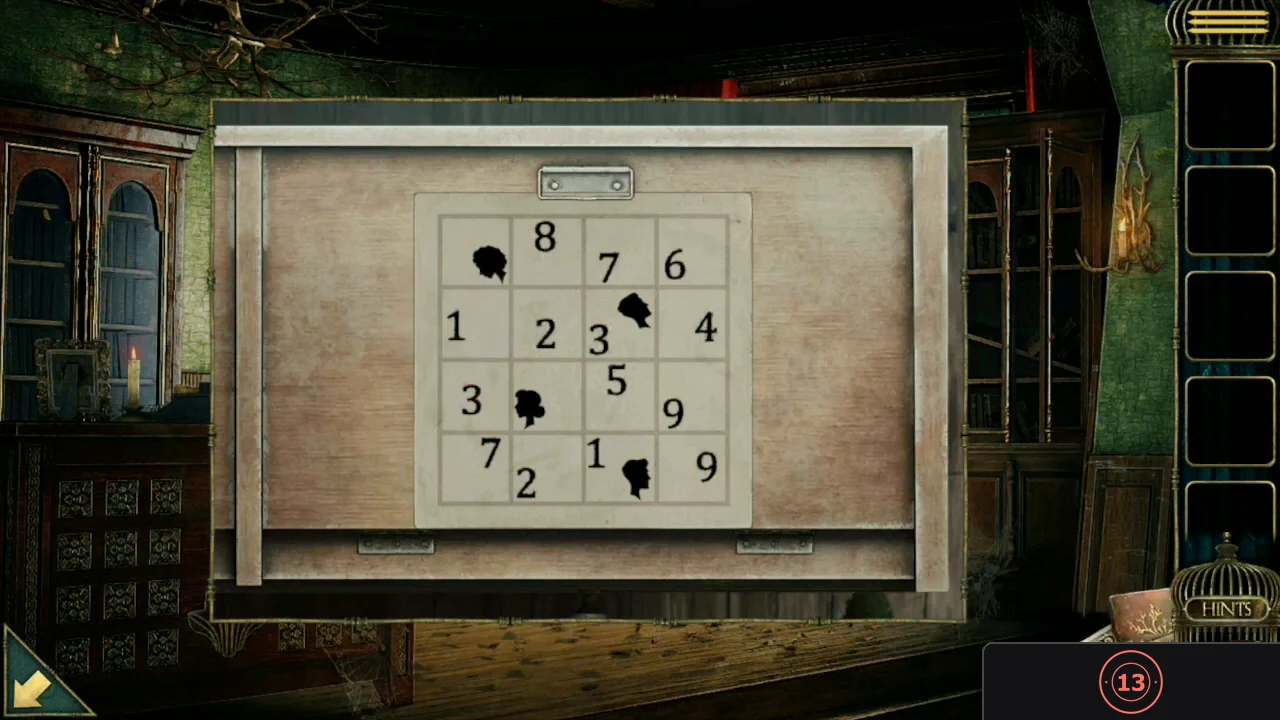
The grid board with both tip sheets in place: follow each head's gaze to its number. - Back at the silhouette lock in the fireplace room, enter 6193.CODE6193
Picture Tiles, Handles and the Apple
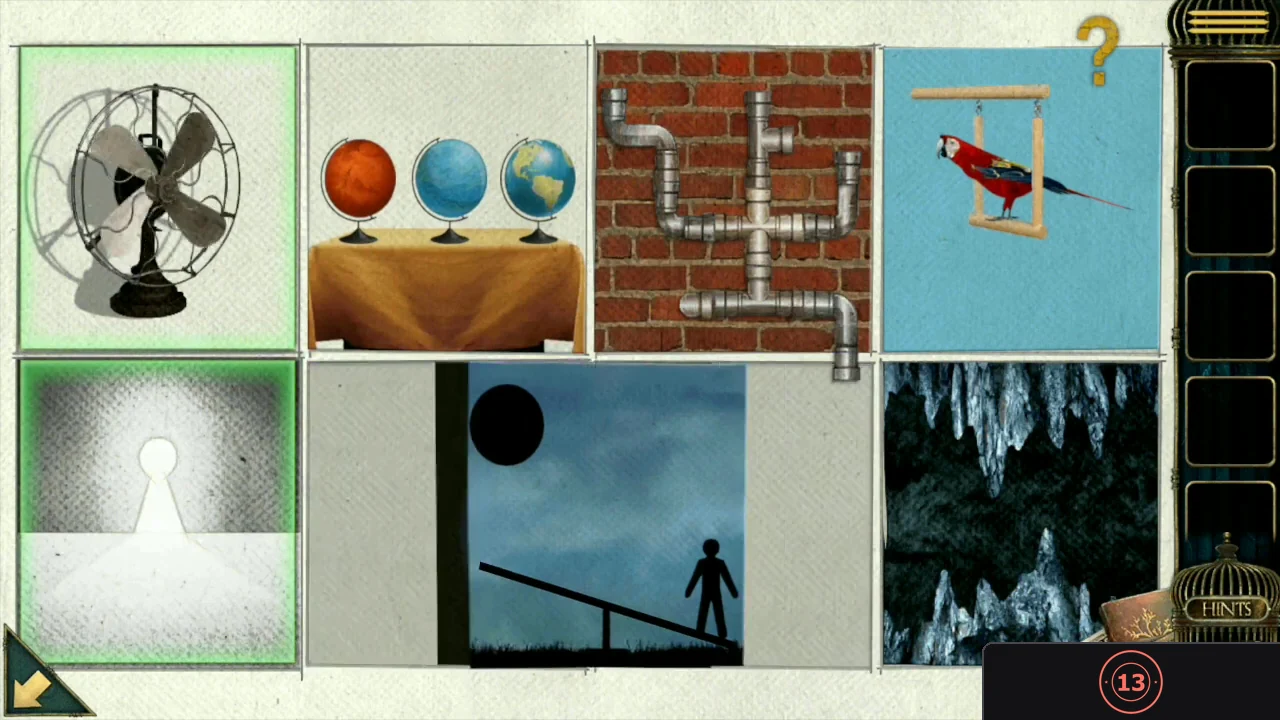
The eight picture tiles must form a chain reaction. Swap two tiles by tapping one and then the other; a tile in its correct place gets a green outline.
- Arrange the tiles so the chain works: the fan blows the hanging globe, which knocks the black ball onto the seesaw; the launched figure drops through the pipes onto the parrot's tail; the parrot flies through the cave and knocks the globes onto the keyhole picture. Keep swapping until every tile has a green outline, then watch the sequence and take the Key.
- Use the Key on the keyhole tile. The compartment behind it opens; take the first Handle.
- Zoom in on the small cabinet beside the fireplace. Slide the wooden panels at the top to reveal 36 and 21, then enter 3621 in the lock below and take the second Handle.CODE3621
- Return to the tall cabinet and place both Handles in the two cogwheel slots at the lower right. The cogs turn and the compartment opens; take the Lantern.
- Open the Lantern from the inventory and tap it. Its top turns red and floats up; take the Apple.
- Go back to the study, zoom in on the painting of a hand reaching for leaves and place the Apple on the branch. Tap through the story text, then take the Gear from behind the painting.
Gear Chest and the Secret Ladder
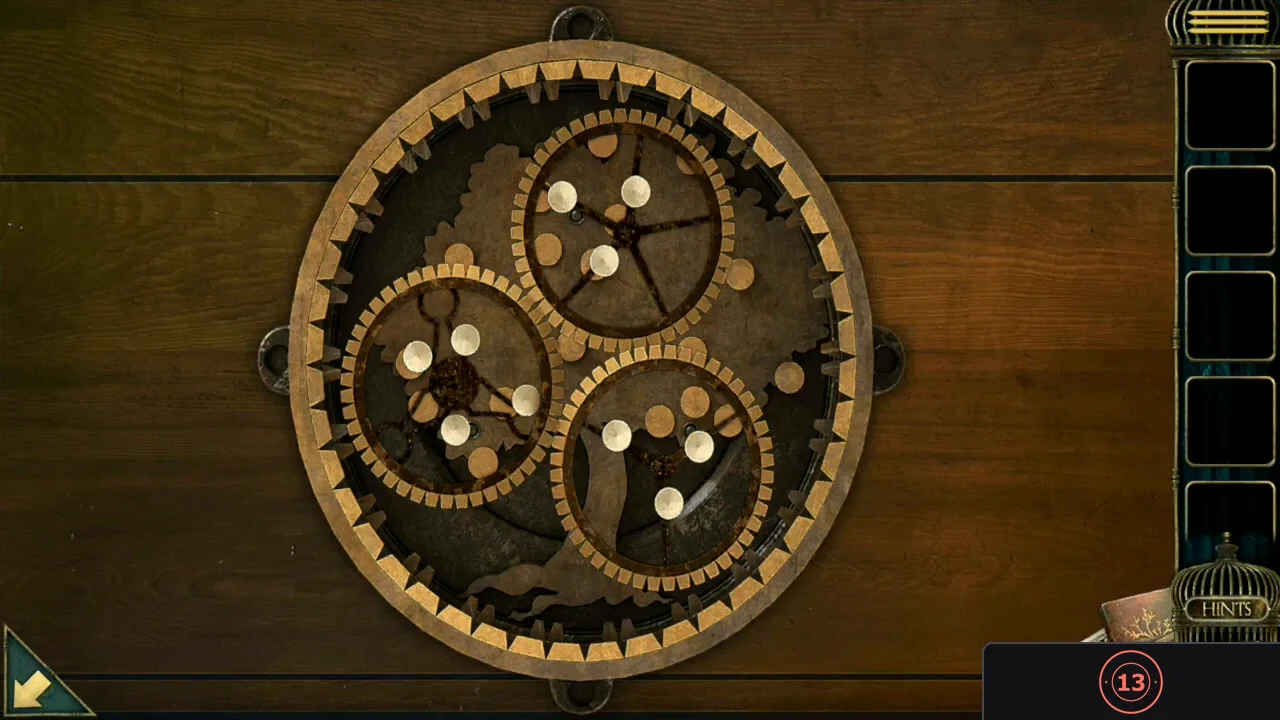
The large chest on the left of the fireplace room holds a three-gear lock.
- Open the large chest on the left of the fireplace room and place the Gear in the empty slot.
- Turning the outer wheel moves all three gears; tapping a gear turns it on its own. Turn the outer wheel until the gear with four white dots is in the top position, then turn each gear until its white dots sit on the brown dots behind it.
- Tap the ladder to climb down into the secret basement playroom.
Basement: Chalk House, Gear Drawer and Wrench
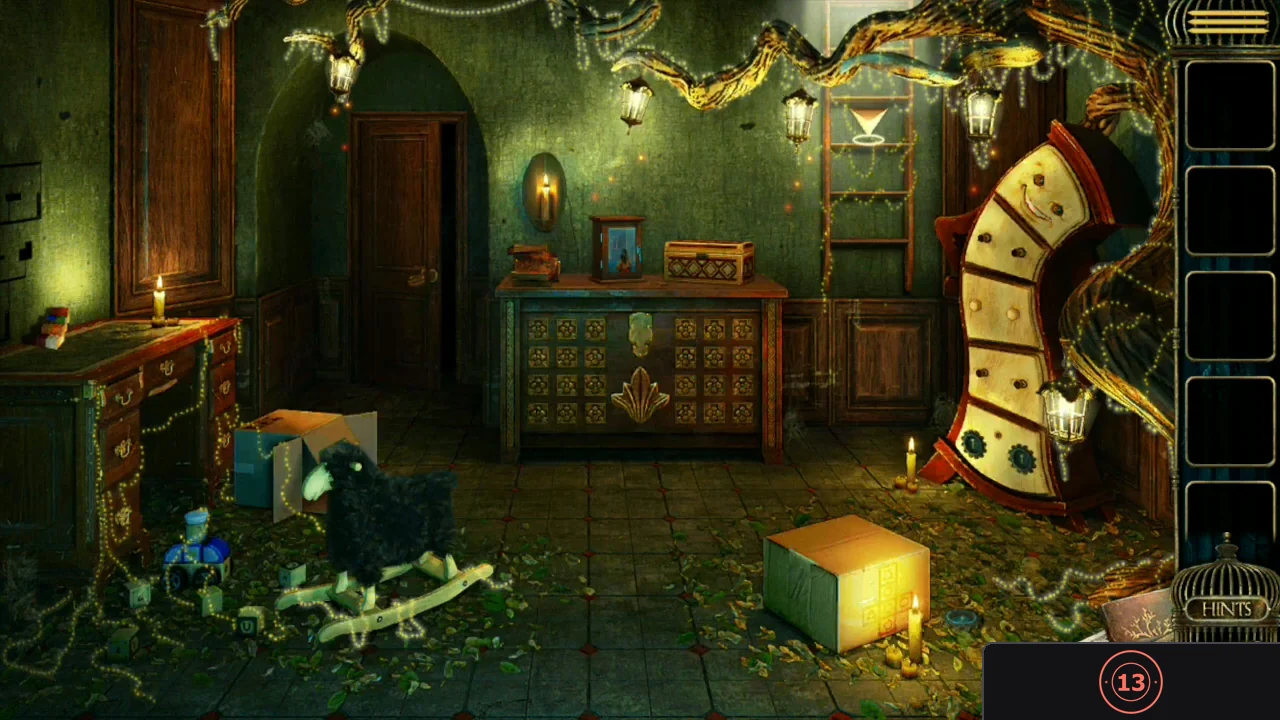
The basement holds the chalk-drawing house, a dresser with two boxes and a curved red-and-white cabinet.
- Inspect the cardboard box on the floor beside the candles (note the shape diagram on its side for later) and take the Gear lying to its right.
- Zoom in on the chalk drawing of the house. Drag the block staircase onto the grid on the right to create matching stairs in the drawing, following the direction the boy points each time: second cell of row 2 (to the bear), fourth cell of row 2 (down to the fridge), sixth cell of row 3, fourth cell of row 4, then second cell of row 4 (up to the door).
- On the dresser, open the box with the blue picture. Inside is a keyhole with the numbers 6 2 6 below it.
- Zoom in at the bottom of the curved cabinet, put the Gear in the empty middle slot and turn the three gears to 6, 2 and 6. Take both the Key and the Book from the drawer that opens; this is the first of two Books.CODE626
- Use the Key in the keyhole of the blue-picture box. Its back slides open; take the wooden wrench.
- Use the wrench on the two wooden plugs in the middle of the curved cabinet. The drawer opens to show the chicken-and-egg board; it needs the chickens you find later.
- Go through the doorway on the left into the workshop.
Workshop: Arrow Chest, Finger and Trophy Code
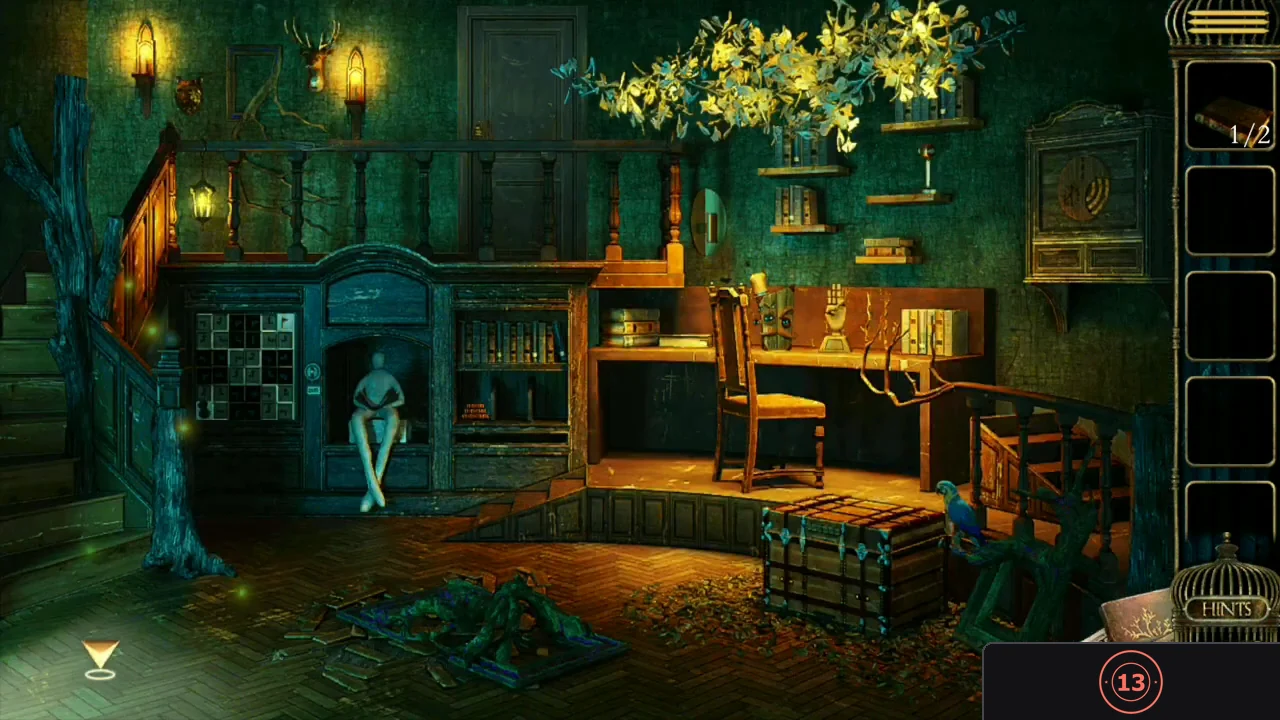
The chest beside the parrot has six arrow buttons under the number 7499879.
- Inspect the broken frame in the rubble in the middle of the room and take the wooden Finger.
- Read the number note held by the parrot. Find 7499879 in it as a chain of neighbouring digits and record the direction of each move: down, left, up, left, down, right.
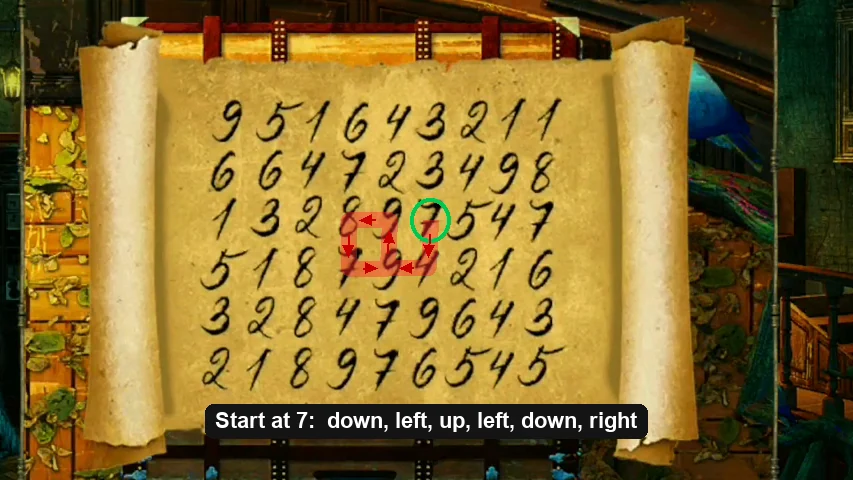
The 7499879 chain and its move directions. - Set the six arrow buttons on the chest to Down, Left, Up, Left, Down, Right. Take the wooden Hand and the second Raen family badge piece.CODEDown, Left, Up, Left, Down, Right
- At the desk with the moustached face and the wooden hand, attach the Finger to the hand. Turn the finger segments until every segment shows a letter: tapping a top segment turns only it, a middle segment turns itself and the top, and a bottom segment turns the whole finger. The completed hand shows Z A S / D E N / G K R and a compartment below gives a Chicken.
- Look at the trophy wall upstairs, between the two mounted trophies. The outlines on the wall form the number 1967.
- Return to the basement dresser and enter 1967 on the yellow box. Open the two small eggs and take the third badge piece from the left one.CODE1967
Hexagon Lid and Ring Clock
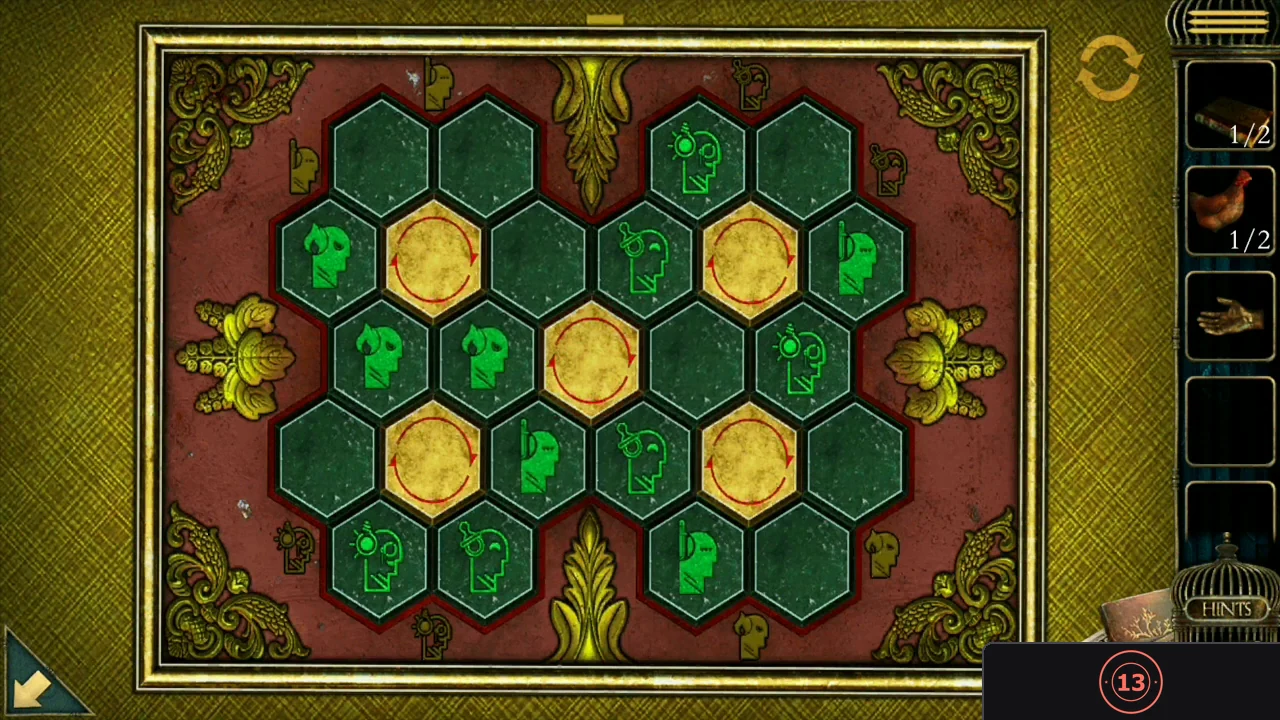
The yellow box's lid holds a rotating figure puzzle, and the workshop wall hides a clock with three number rings.
- Tap the puzzle inside the lid. Twelve figures of four types must be moved to the corners whose drawings match them; each of the five round buttons rotates the six slots around it. This is a long rotation puzzle: complete one corner at a time, using the centre button to bring missing figures across, and the drawings light up as a corner is filled. Take the Sculpture from the large egg when it opens.
- In the workshop, tap the lamp area on the right wall to open the wall cabinet with the clock. Read the clock: second hand at V, minute hand at I and hour hand at VII (evening). Turn the outer ring to 25 (seconds), the middle ring to 5 (minutes) and the inner ring to 19 (hours). Take the second Book from the cabinet that opens; its shelf shows four animal outlines with one sculpture in place.CODE19:05:25
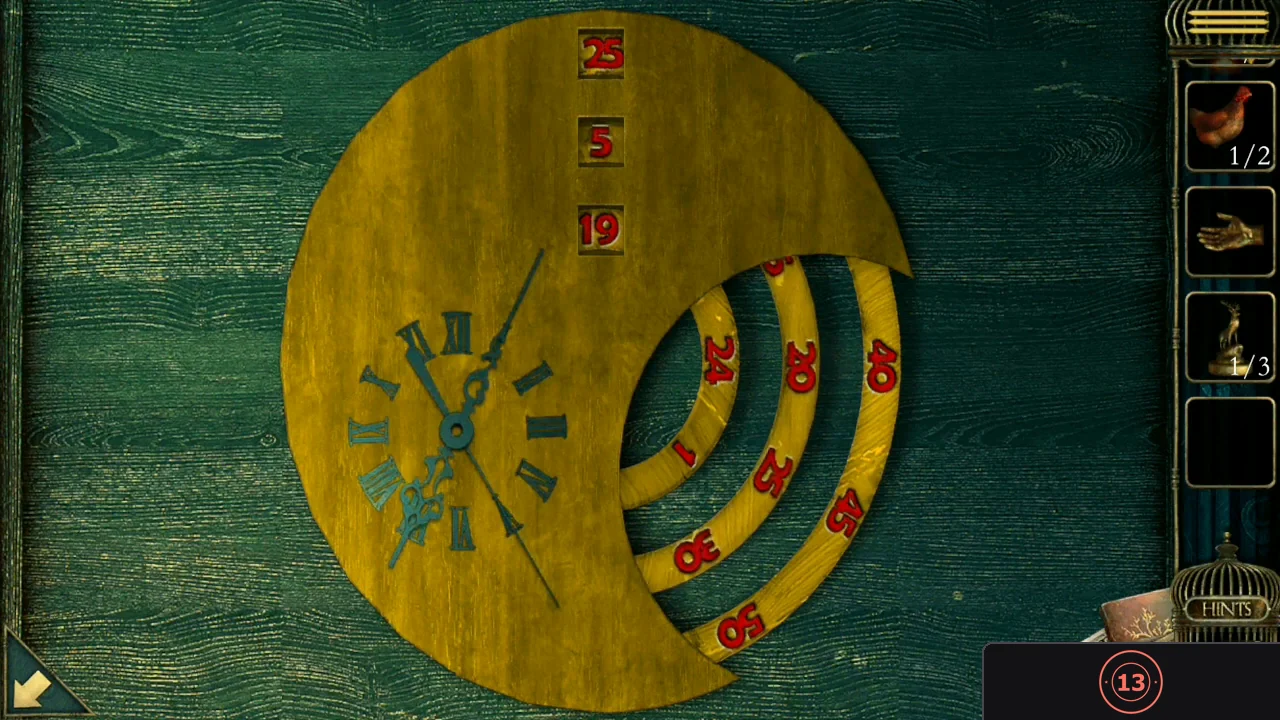
The finished clock setting: 25, 5 and 19 in the readouts from top to bottom.
Book Tower, Mask and the Hand Door
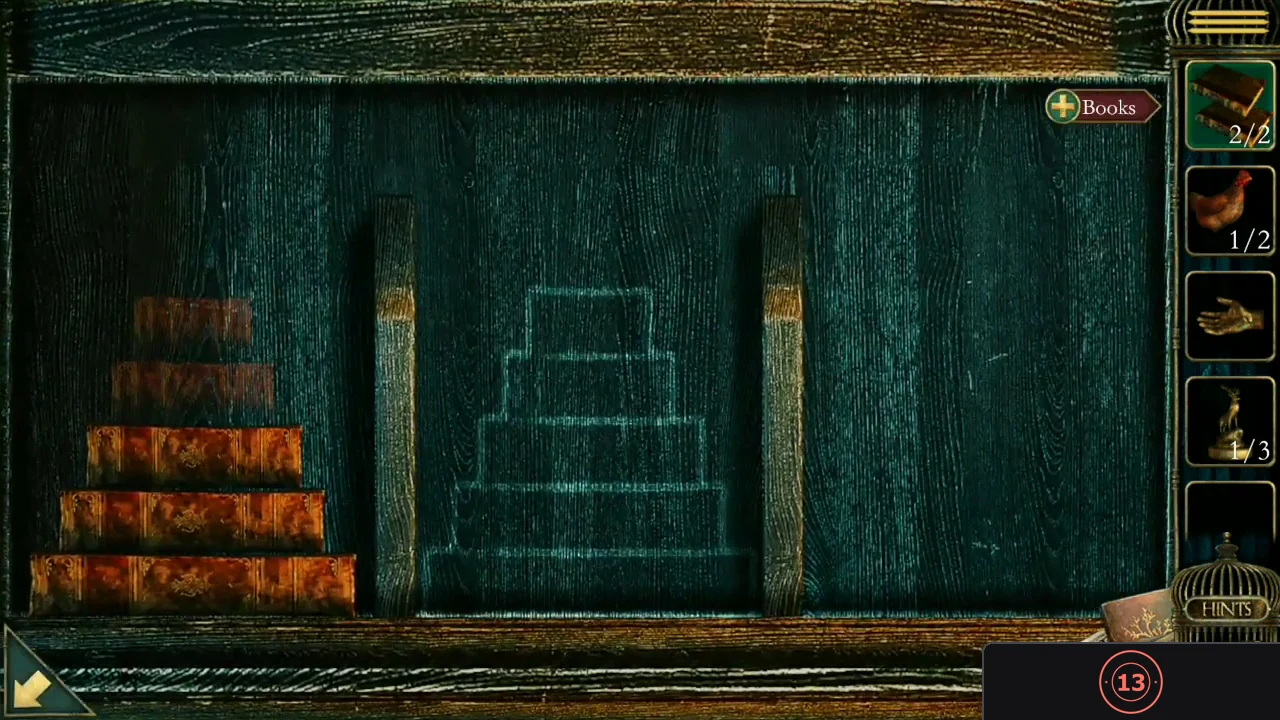
The book shelf under the stairs is a tower puzzle with three positions.
- With both Books (2/2), place them on the pile on the shelf. Move all five books onto the chalk outline in the middle, largest at the bottom. Move one book at a time and never put a larger book on a smaller one (the classic tower method: move the smaller stack aside, move the large book, then rebuild on top). Take the Winder from the compartment that opens.
- At the desk, use the Winder on the empty eye of the moustached face. The face opens; take the second Sculpture.
- Climb the stairs and use the Hand on the hand-shaped door handle. They shake hands and the door opens into the laboratory.
Laboratory: Bottles, Portraits and the Puzzle Box
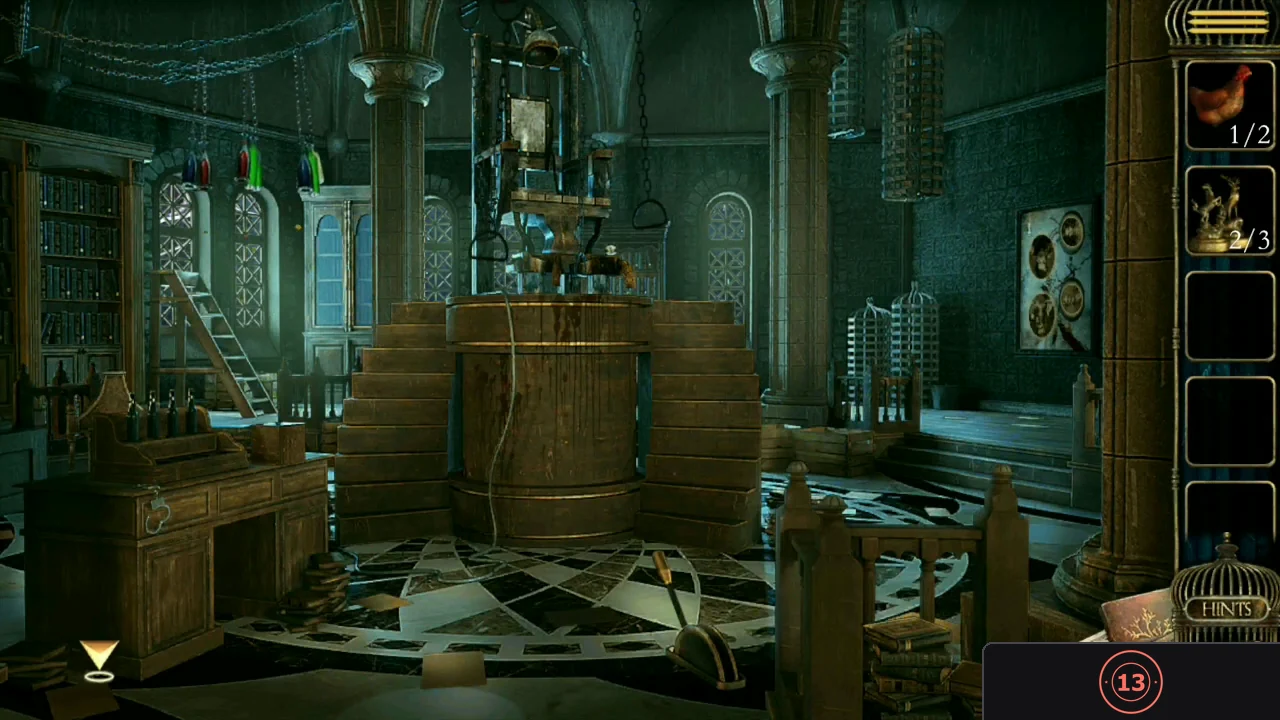
In the laboratory, pull the floor lever to lower the hanging chest; its cross-shaped lock is solved later from the basement shape net.
- Pull the lever on the floor to lower the large hanging chest.
- Zoom in on the bottle desk on the left and take the fourth Raen family badge piece and the Box from it.
- Study the hanging bottles near the ceiling: one red balances two greens, one blue balances two reds, and one blue balances one green plus one yellow. So green = 1, red = 2, yellow = 3 and blue = 4.
- At the bottle desk, place the bottles from heaviest to lightest along the > signs: Blue, Yellow, Red, Green. Take the Password disk that appears.CODEBlue, Yellow, Red, Green
- Zoom in on the four round portraits on the right wall and tap each one until all four are upright. A story note follows.
- Return to the basement and read the shape net on the cardboard box. Count the sides of each shape: top 4, then 6, then the centre 7 (marked R), bottom 5; left of the centre 3 and right of the centre 8.
- Open the Box from the inventory. Tap the face marked R until it shows the seven-sided shape, press the up arrow twice to reach the top face and tap it until it shows a square, then press up once more and tap the box to assemble it. Take the third Sculpture.
Animal Shelf, Arrow Board and Cross Lock
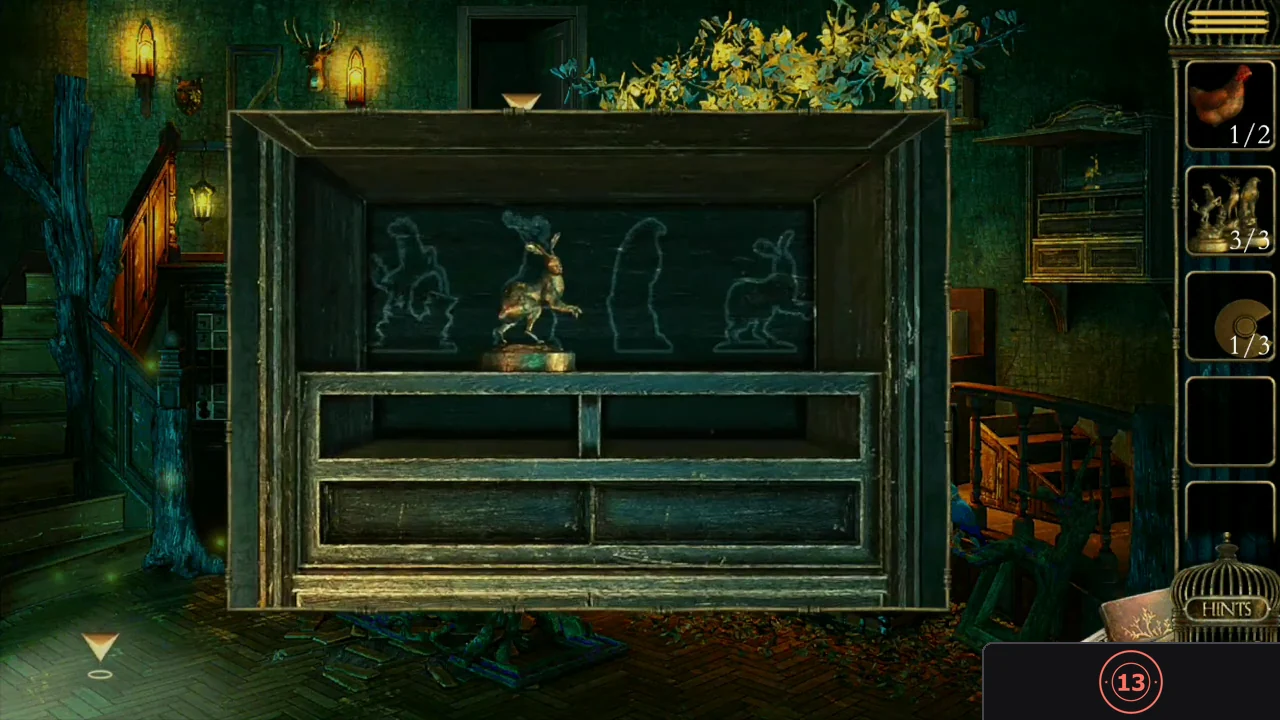
With all sculptures, return to the workshop wall cabinet with the animal outlines.
- Place the Sculptures on the empty pedestals, then swap them until each stands in front of its matching outline (horse, deer, eagle and rabbit). Take the Tie Rods from the drawer that opens.
- Put the Tie Rods in the empty slot beside the arrow board left of the large sculpture. The pull lever flips the board between the arrow side and a shape side; a tile can only be turned on the arrow side after its matching tile (same position, rows mirrored top to bottom) is selected on the shape side. Turn the arrows to make a continuous path from the horse at the bottom left to the red flag at the top right, mark the same path on the shape side, then flip back so the horse runs. Take the Password disk.
- In the laboratory, enter the shape-net numbers in the cross-shaped lock of the hanging chest: top 4, below it 6, middle row 3, 7, 8, bottom 5. Take the second Chicken and the Rotary switches.CODE4 / 6 / 3-7-8 / 5
Egg Board, Projector and the DANGER Dials
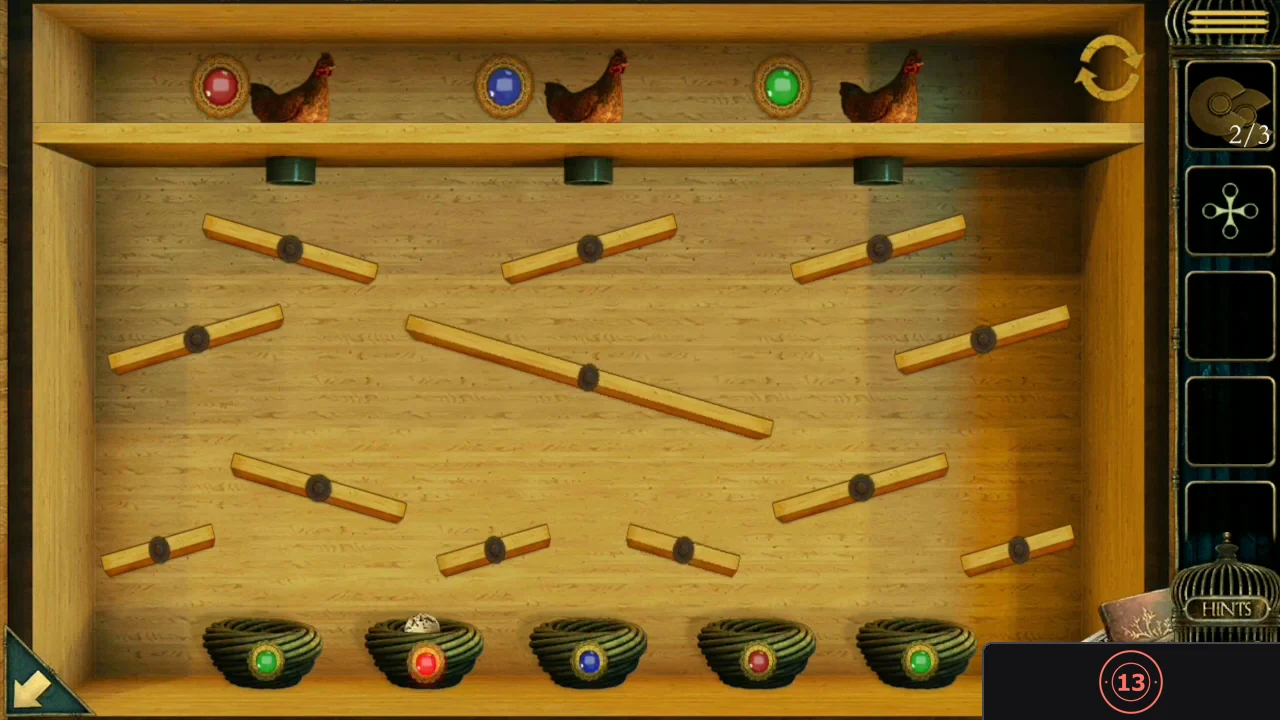
The egg board in the basement needs both Chickens.
- Place the Chickens on the top shelf of the egg board. Tap a slat to tilt it, then tap a chicken to drop an egg. Fill all five nests with eggs of the matching colour (two red, one blue and two green), adjusting the slats before each egg. Take the third Password disk.
- Insert the three Password disks into the hanging chest in the laboratory to reveal six letter dials in red, blue and yellow pairs.
- In the workshop, fit the Rotary switches to the projector on the shelf above the desk and tap them to cycle the projected images. Together they give the colour order red, blue, yellow and, for each colour, which two of three segments are filled: red middle and bottom, blue top and middle, yellow middle and bottom.
- Apply them to the letter hand on the desk (columns Z D G, A E K, S N R): red uses the first column's middle and bottom (D, G), blue the second column's top and middle (A, E), yellow the third column's middle and bottom (N, R). Set the dials to D A N on top and G E R below, spelling DANGER, and take the Insulation tape.CODEDANGER
- Use the Insulation tape on the broken cable on the laboratory floor. The power returns, a story scene plays and the way up to the tower room opens.
Tower Room: Fractions, Roses and the Final Apple
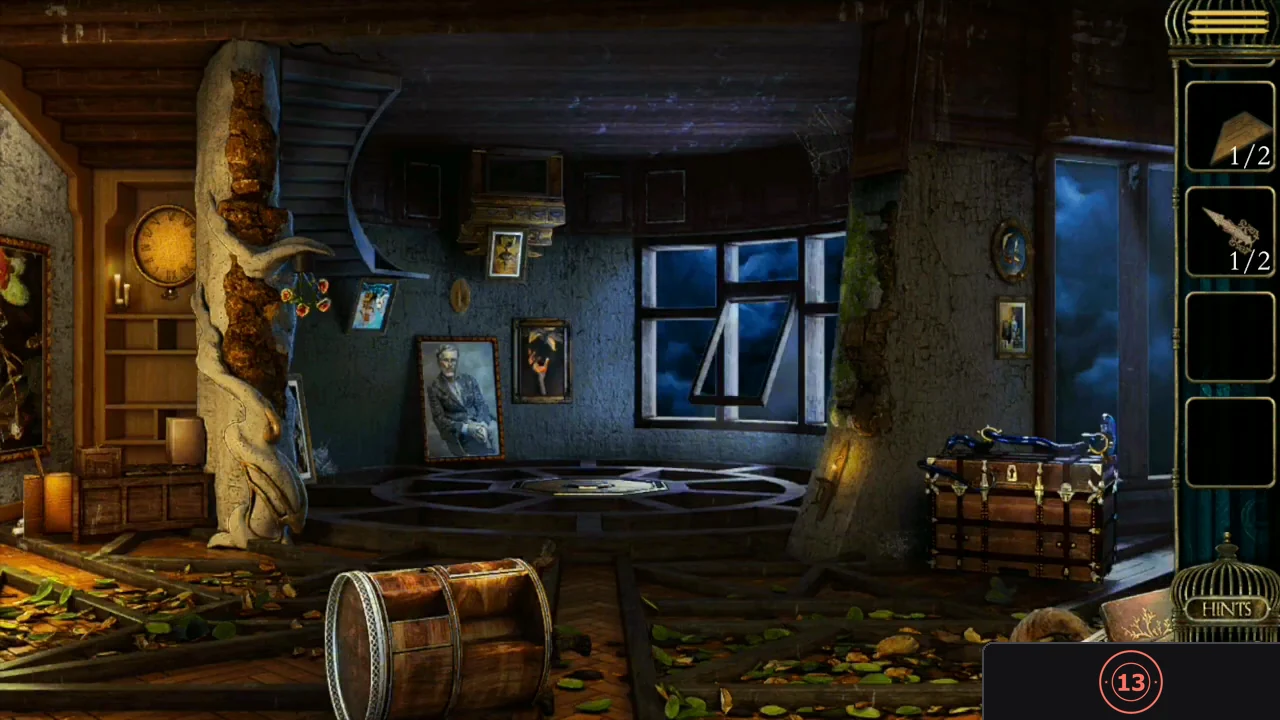
The last room has a fallen barrel with two locks, a fraction shelf, a rose vase, a floor octagon, a wall clock and a locked chest.
- Inspect the fallen barrel and take the Ring on its right side.
- Put the Ring in the middle of the high wall shelf. Set each fraction to the white share of the circle above it: 3/6, 1/4 and 2/6. Take the Knife.CODE3/6, 1/4, 2/6
- Use the Knife on the largest rose in the vase to get the Flower. Tap the remaining roses from left to right to reveal the letters M, I, S, T.
- Enter MIST on the barrel's four letter wheels and take the Indicator. Also take the last Raen family badge piece on the lower right of the barrel.CODEMIST
- Open the Flower from the inventory and remove its petals in matching pairs (same size, opposite sides) until the centre opens. Take the Pointer.
- Scrape the moss off the wall picture with the Knife. On the barrel's rose frame, move the roses to match it: left side third slot from the top, top side second from the left, right side second from the top, bottom side third from the left. Take the second Indicator.
- Fit both Indicators into the floor octagon. Tap the arrow segments in this order: two arrows at the bottom, four arrows on the left, three arrows on the right, two arrows at the top left, four arrows at the bottom left, two arrows at the top right, three arrows at the bottom right, then the empty segment at the top. Take the second Pointer and note the upside-down time 22:05.
- Fit the Pointers to the wall clock and set it to 10:05 (hour hand on X, minute hand on I). Take the Key and open the chest bound by the blue serpent to get the Lantern.CODE10:05
- Open the Lantern from the inventory and tap its top to turn it into an Apple. Place the Apple on the hand painting on the wall and tap the wooden arm behind it until the chapter ends. Back in the carriage, tap the red curtain behind the old woman when she finishes talking to start Chapter 2.