Entrance hall: boards, box cutter, taped box and the Lucifer maze
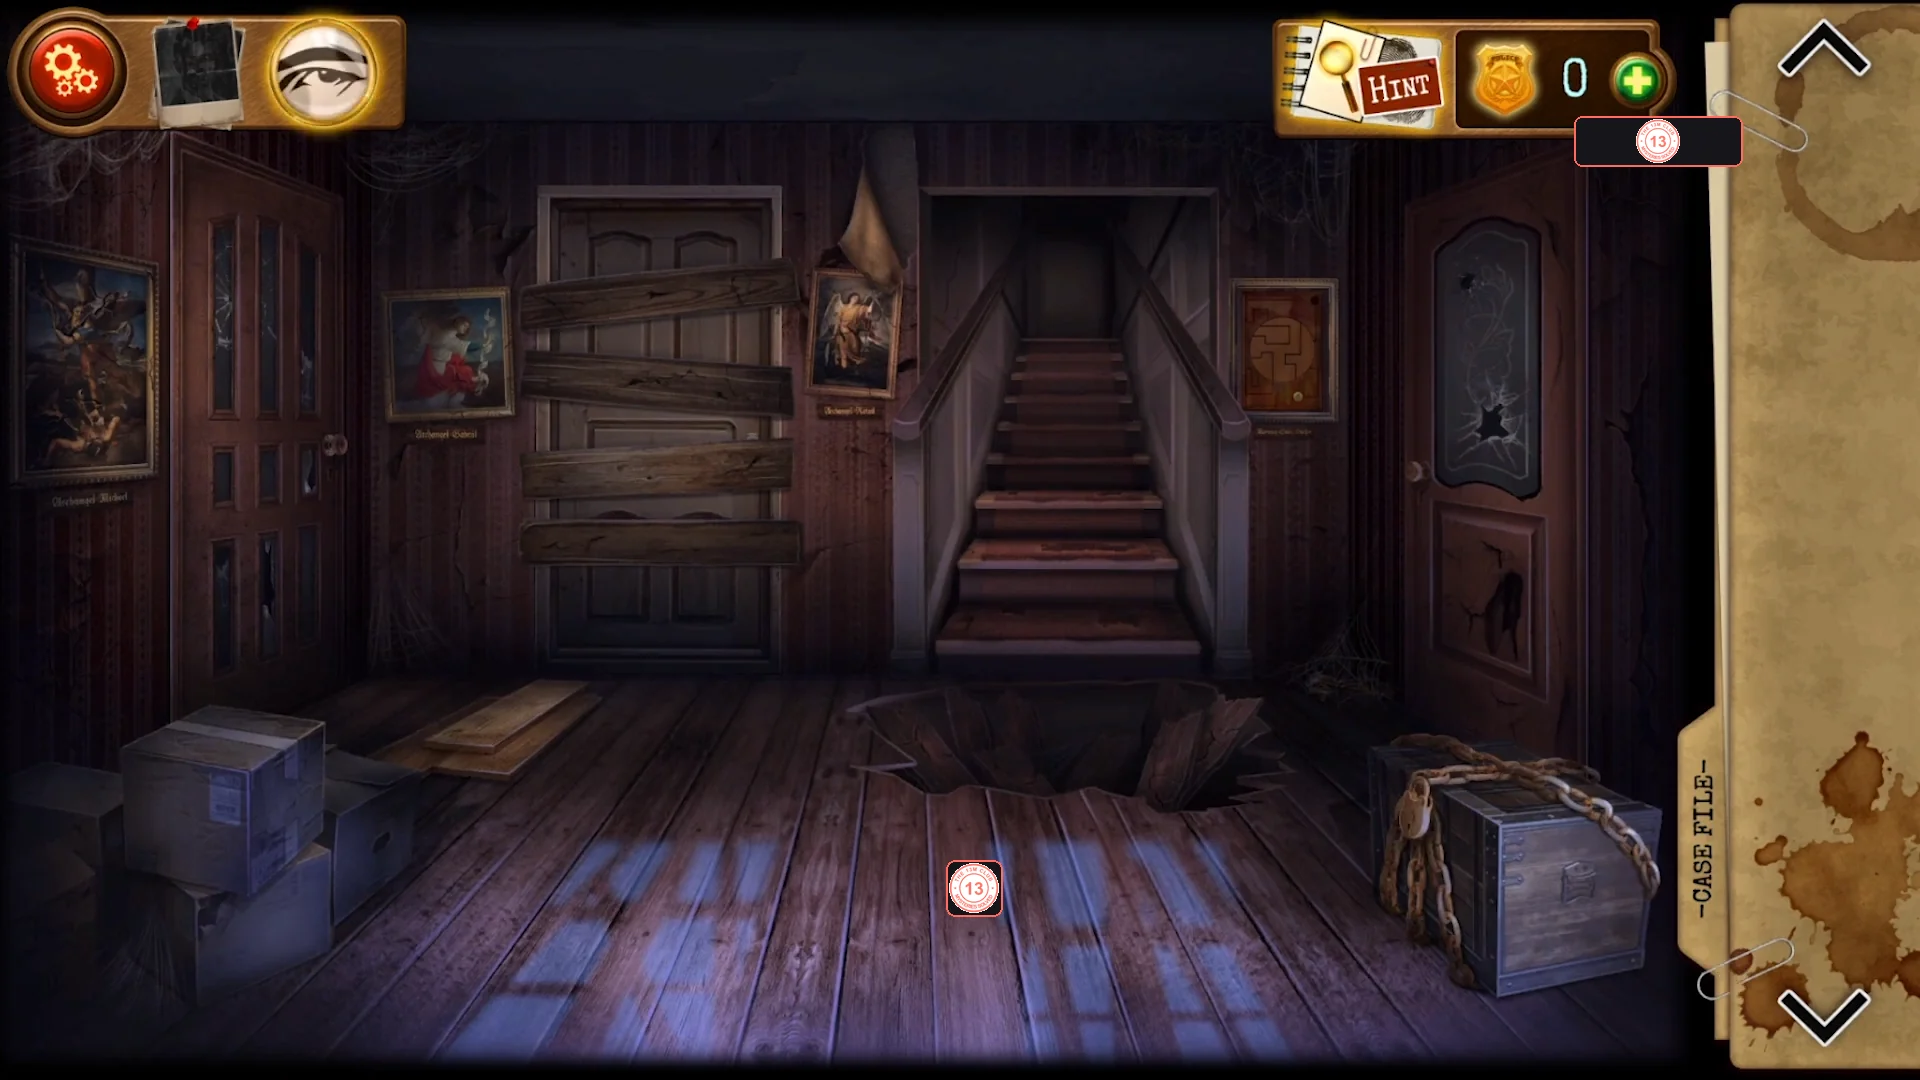
You start in the hall of the abandoned house at 2469 Kensington Avenue. Collect the starting tools, empty the taped box and solve the rotating maze in the 'Morning Star, Lucifer' frame.
- In the hall, take the wooden Boards lying on the floor next to the cardboard boxes on the lower left.
- Tap the small picture hanging on the wall just left of the boarded centre door. A yellow Box cutter drops to the floor below it; pick it up.
- Tap the taped cardboard box on the lower left and use the Box cutter on the tape. Move the junk aside (doll, hat, kettle, bottle, lantern) and take the blue Tape and the Straw. Then tap the parchment at the bottom of the box - a prayer to Satan - for Case File entry 1. The parchment is not needed later, so do not leave without tapping it.
- Tap the frame 'Morning Star, Lucifer' on the right wall of the hall. Drag the gold angel badge from the top ('heaven') down to the dark hole among the flames at the bottom ('hell'). Whenever the channels of the round centre disc block the way, rotate the disc until a channel connects the badge's current position to the next opening, then keep dragging.
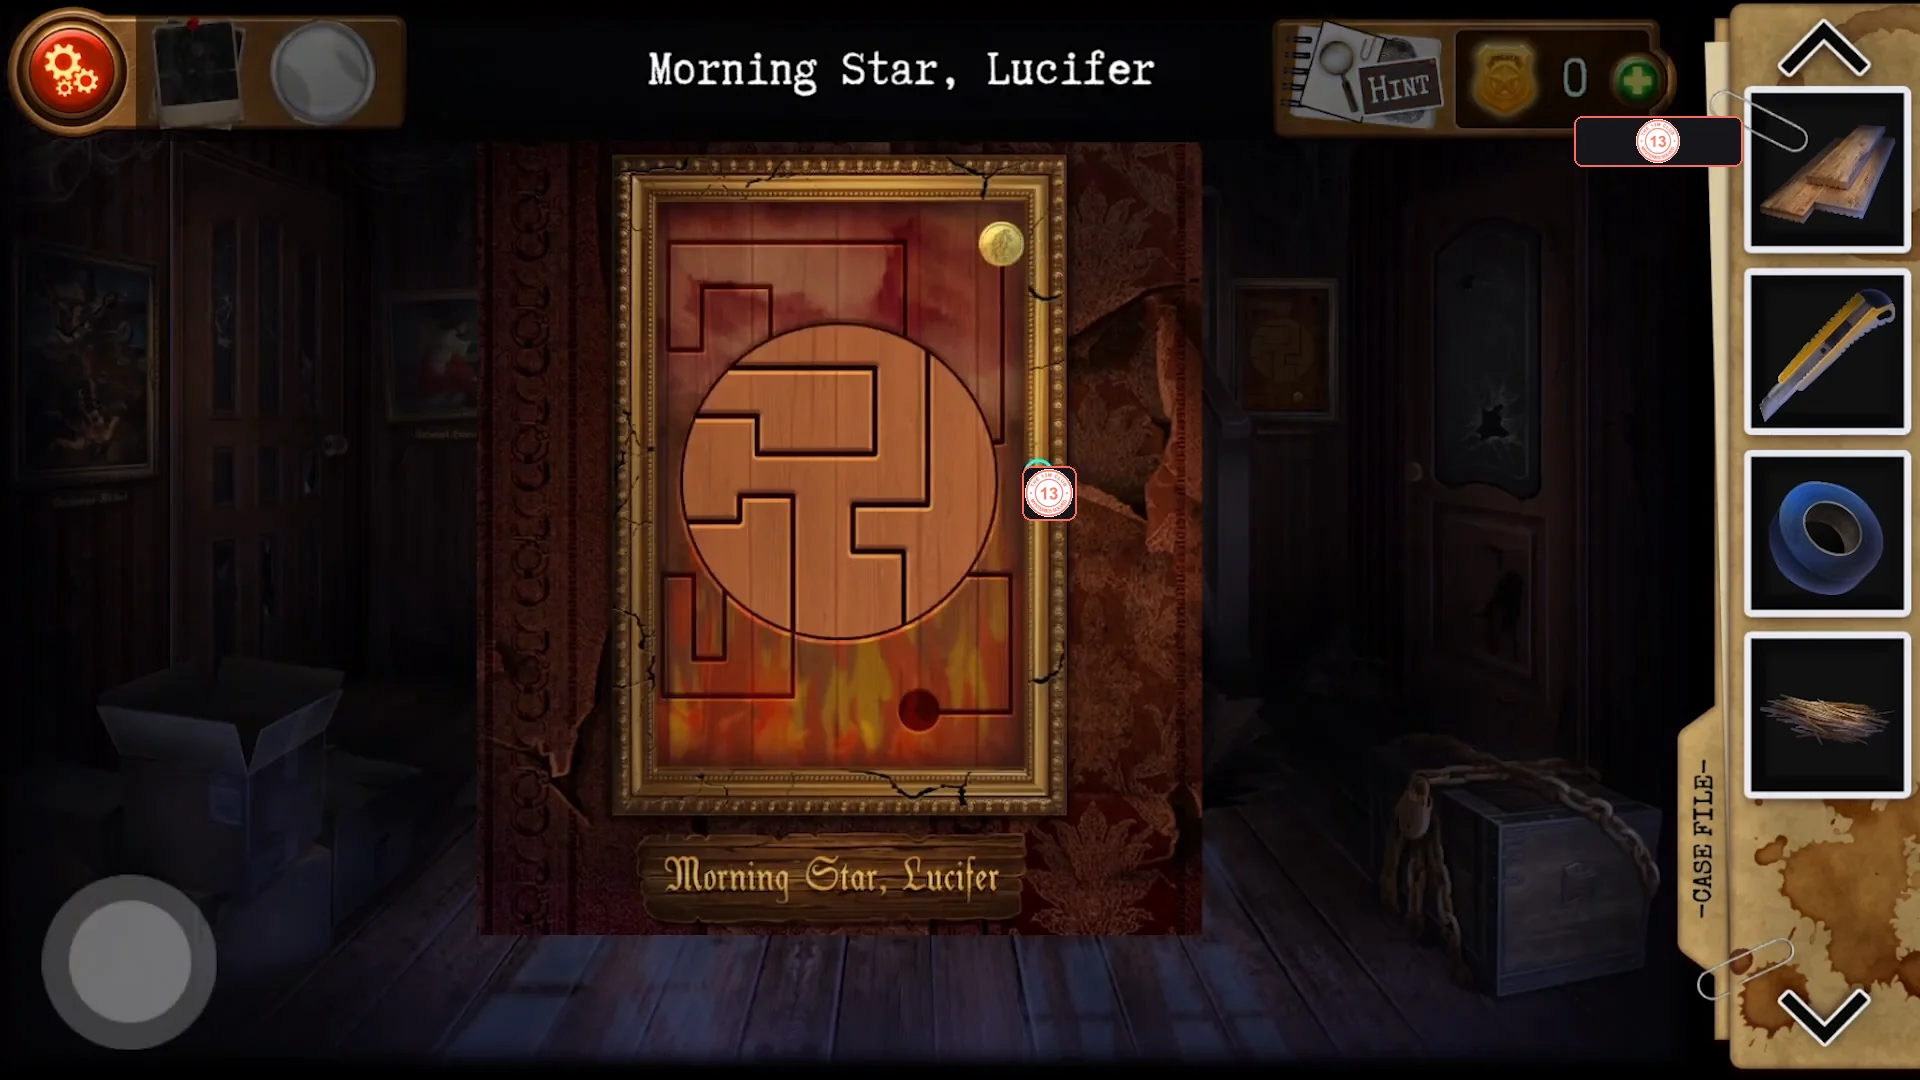
The Lucifer frame maze at the start: guide the gold badge from the top down to the hole in the flames, rotating the centre disc as needed. - In the inventory, combine the Straw with the blue Tape to make a Broom.
- Use the Broom on the dusty corner at the right foot of the stairs ('God, what a mess.'). A Hammer and a Nail are revealed; take both.
- Use the Boards on the hole in the floor in front of the stairs, then use the Nail and the Hammer on the boards to fix them so you can climb the stairs.
Upstairs room: rug patch, wardrobe chest (999) and the bedroom keyhole
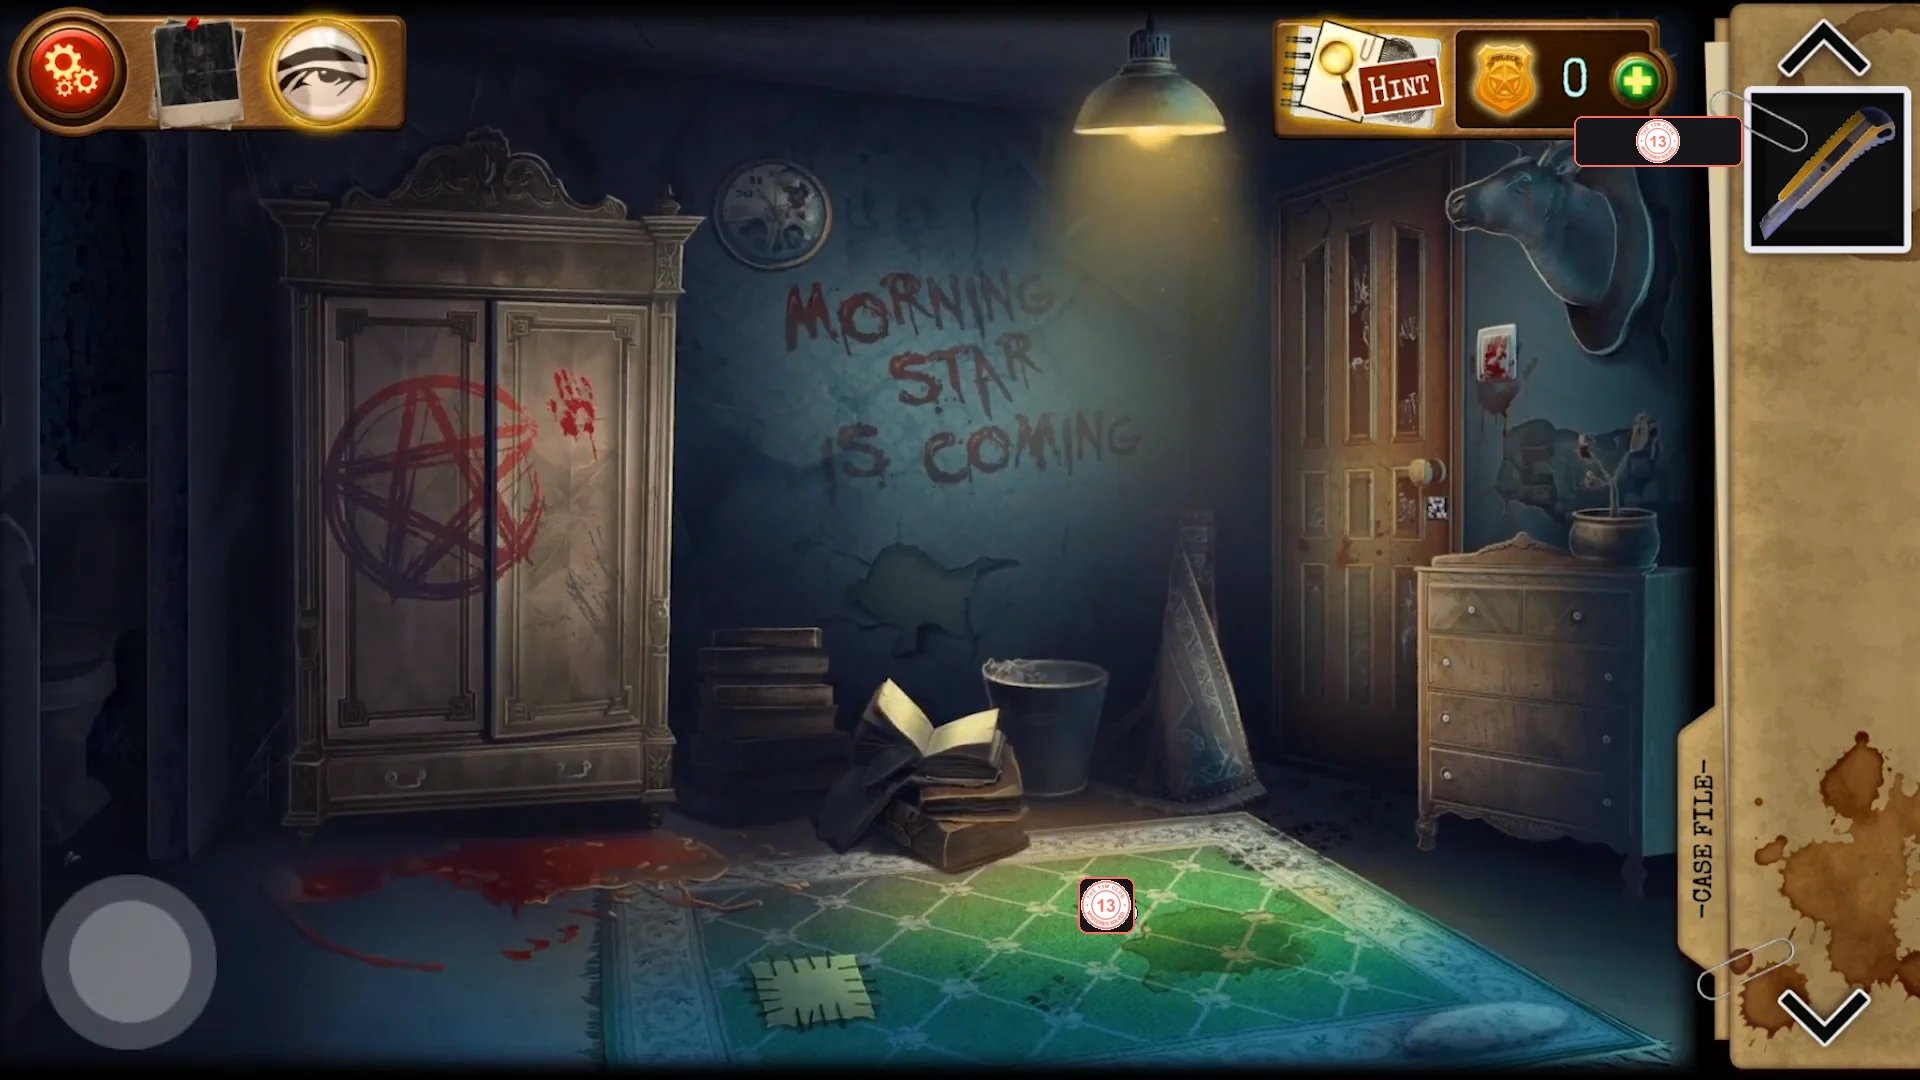
Upstairs is a room with 'MORNING STAR IS COMING' on the wall, a wardrobe with a pentagram, a toilet on the far left and a locked bedroom door on the right. Read the clue under the rug patch and open the small chest in the wardrobe.
- Climb the stairs. Tap the stitched square patch on the green rug and cut the stitches with the Box cutter. Underneath is a clue: 6+6+6 on top, 6^3+6^3+6^3 below, and a cross with an arrow showing a half turn (180 degrees).
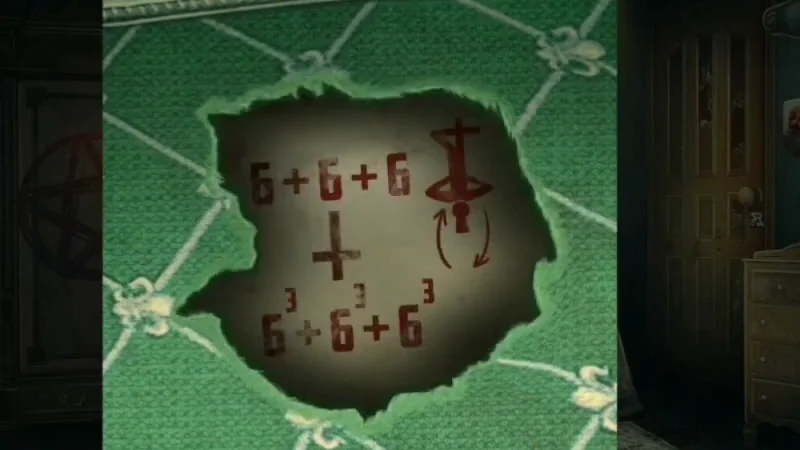
The clue under the rug patch: 6+6+6 plus 6 cubed + 6 cubed + 6 cubed = 666, and the arrow says to turn it upside down (999). - Tap the wardrobe with the pentagram to open its doors. Zoom into the shelf with the small padlocked chest and take the key lying beside it (Pantry key).
- Open the 3-digit padlock on the small chest in the wardrobe. 6+6+6 = 18 and 6^3+6^3+6^3 = 648, which add up to 666; turned upside down (180 degrees) 666 reads 999. Set the dials to 9-9-9 and take the Chest lock key from the chest.CODE999
- Tap the locked door on the right side of the upstairs room. Slide the metal blocks around until the keyhole in the middle is completely uncovered ('Remove all the details from the keyhole to use the key.'). The door still needs the Bedroom key, which you find later.
Hall chest and the working flashlight
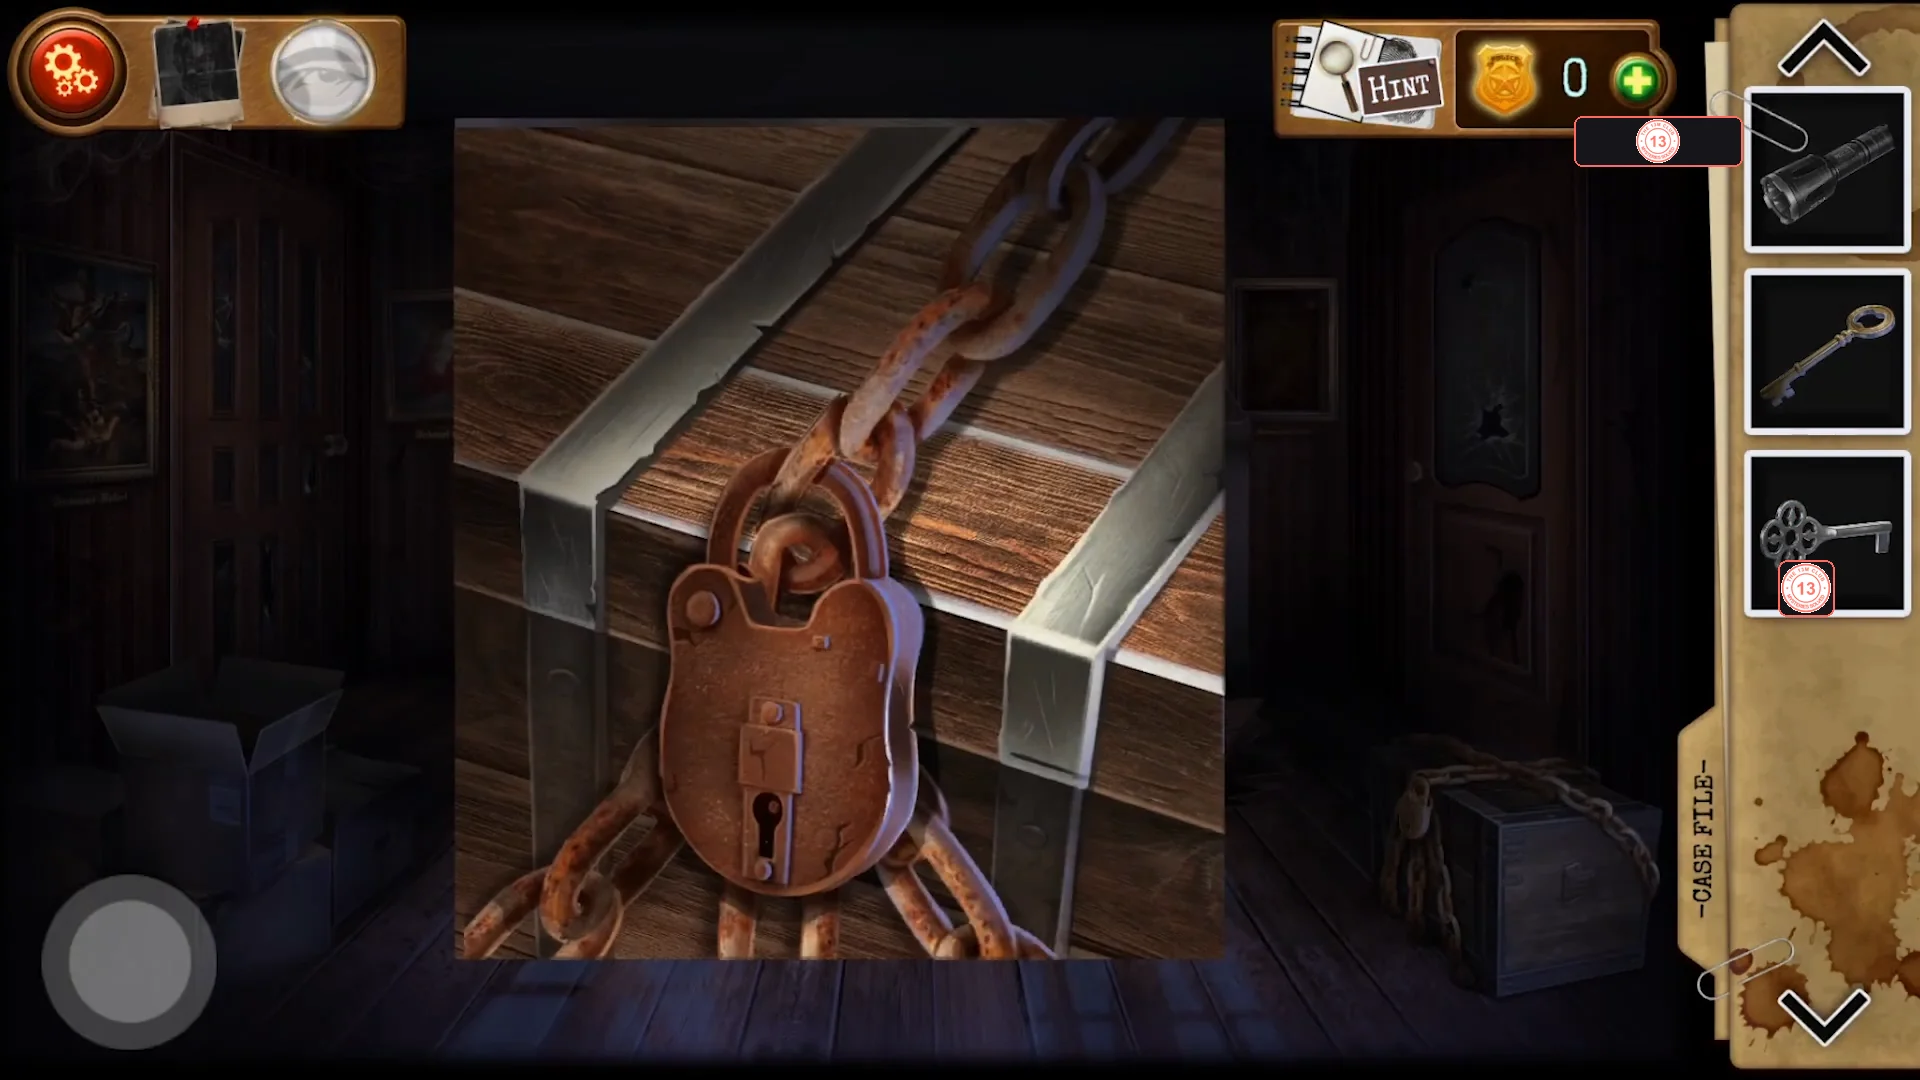
Back downstairs, open the chained chest in the hall with the Chest lock key, then build a working flashlight.
- Go back down to the hall. Use the Chest lock key on the padlock of the chained chest on the lower right. Take the Gear, the parchment with symbols and the Battery from inside.
- Take the Flashlight lying on the floor of the upstairs room (near the rug), then combine it with the Battery in the inventory to get a Working flashlight.
Upstairs toilet: first part of the picture
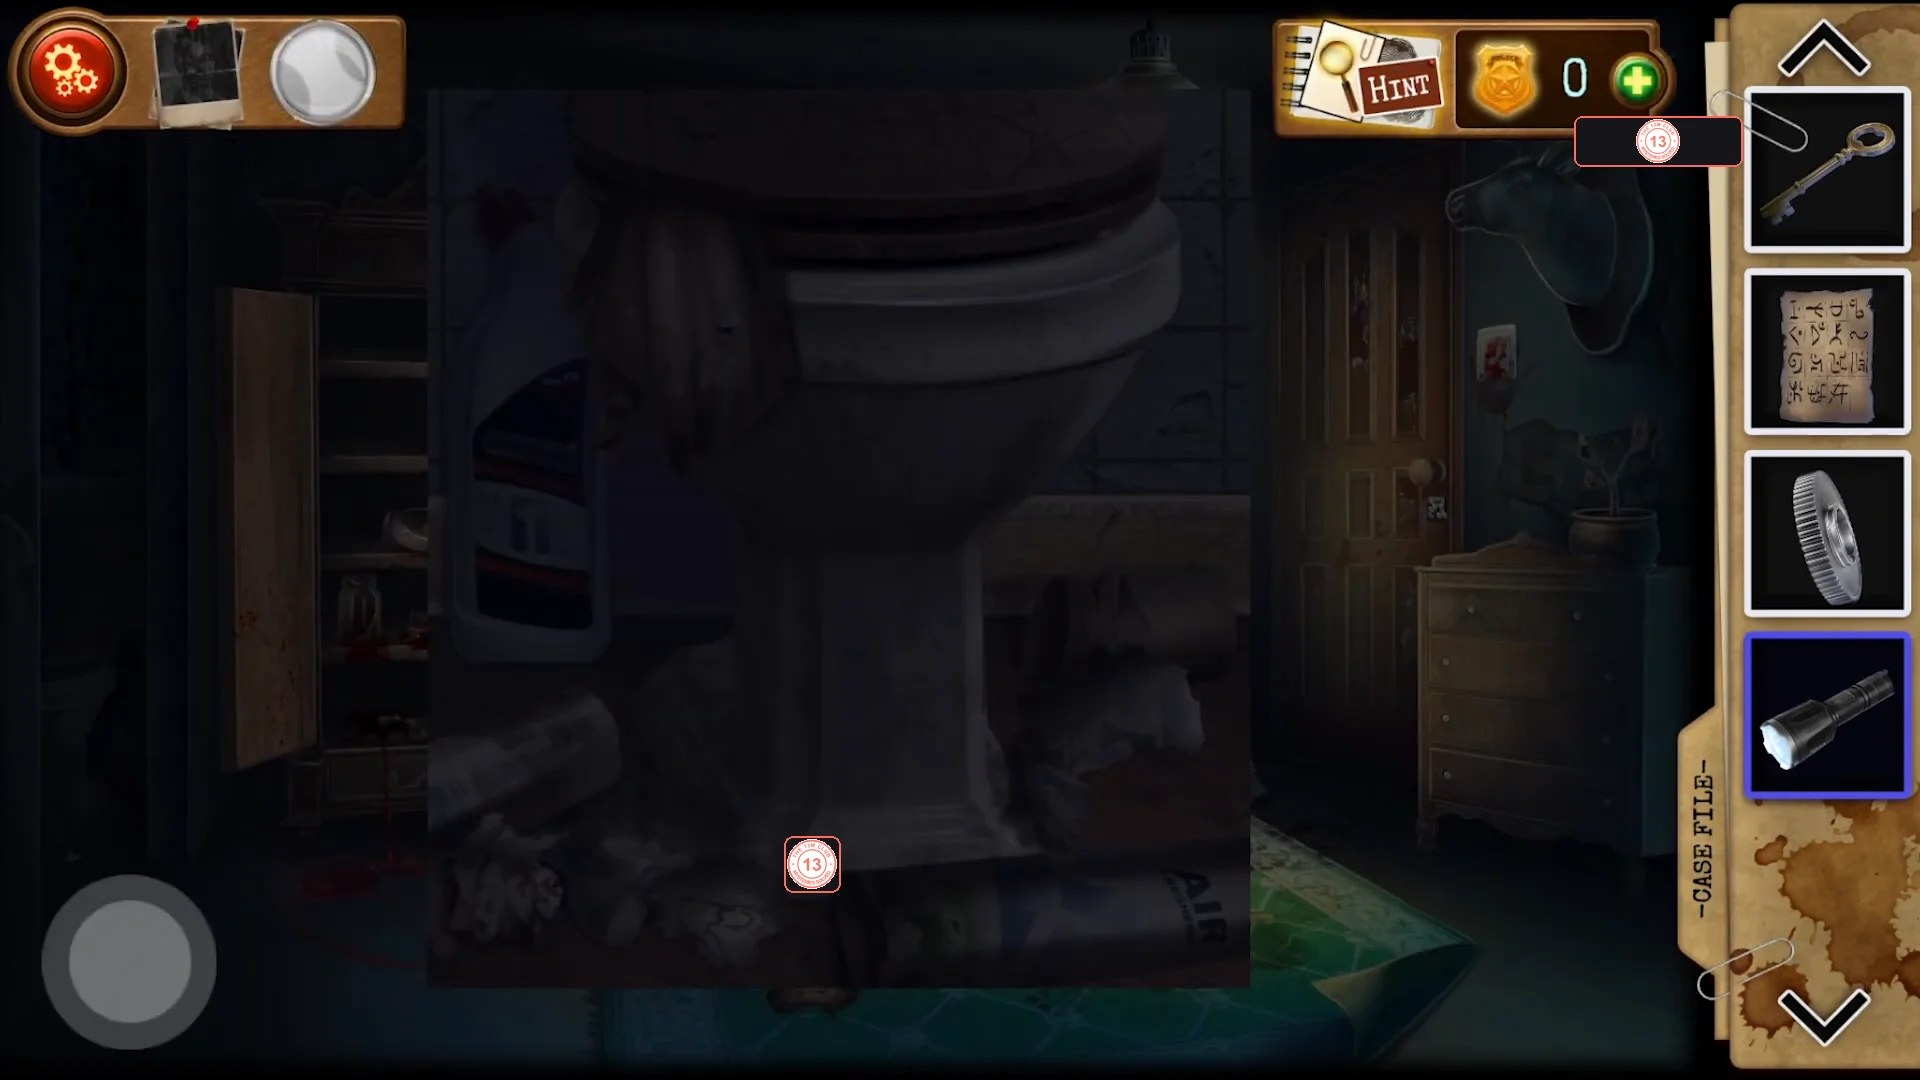
The toilet at the far left of the upstairs room is surrounded by rubbish; light it up to find a torn piece of the Lucifer picture.
- In the upstairs room, tap the toilet on the far left. Use the Working flashlight on the dark rubbish around its base, clear the rubbish and take the torn picture piece (First part of the picture).
Pantry: stepladder, crowbar and screwdriver
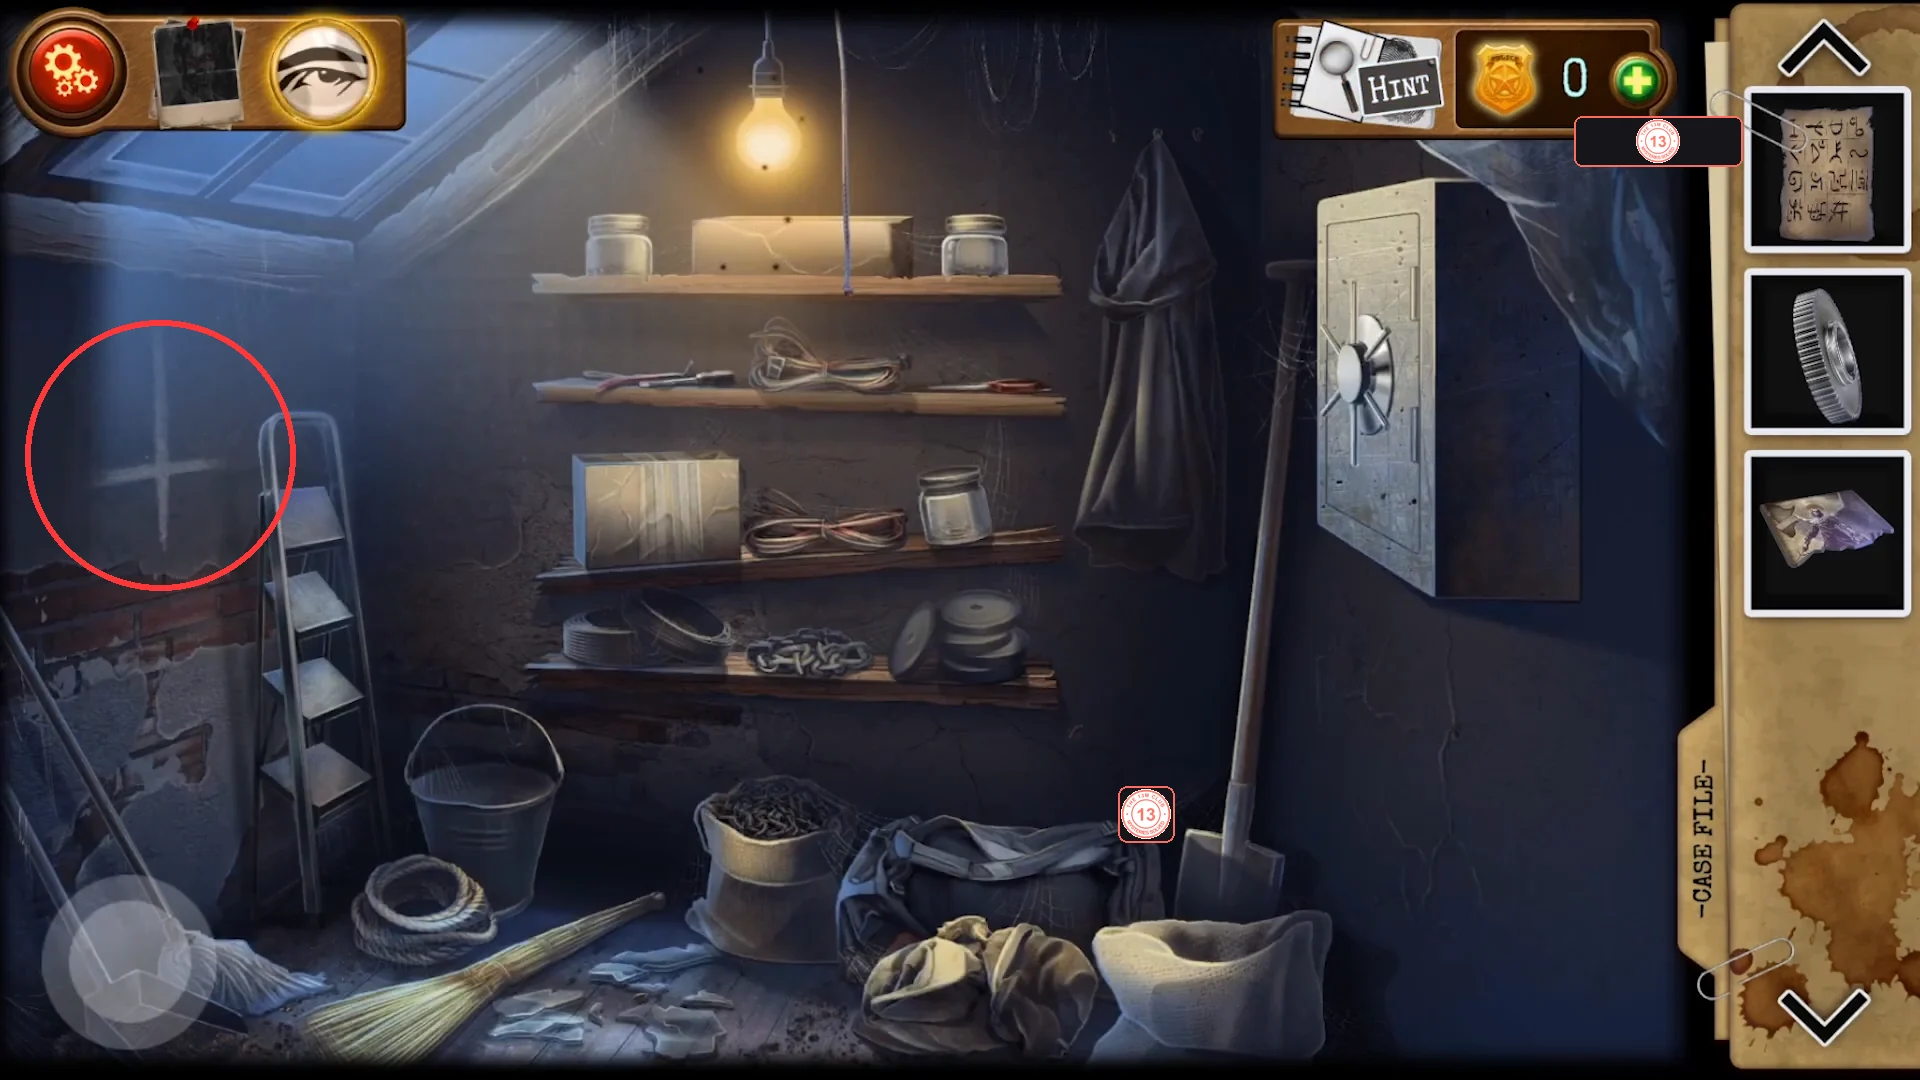
The Pantry key opens the right-hand door of the hall: a storeroom with shelves, a wall safe and a stepladder.
- In the hall, use the Pantry key on the door on the right.
- In the pantry, take the Stepladder on the left, then zoom into the middle shelf and take the red Crowbar and the Screwdriver (leave the scraper).
- Easy to miss (Case File entry 2): tap the pale inverted cross on the left wall of the pantry to photograph it. It is a purely optional tap and the easiest entry in this chapter to overlook.
Upstairs again: blood photo and the top of the wardrobe
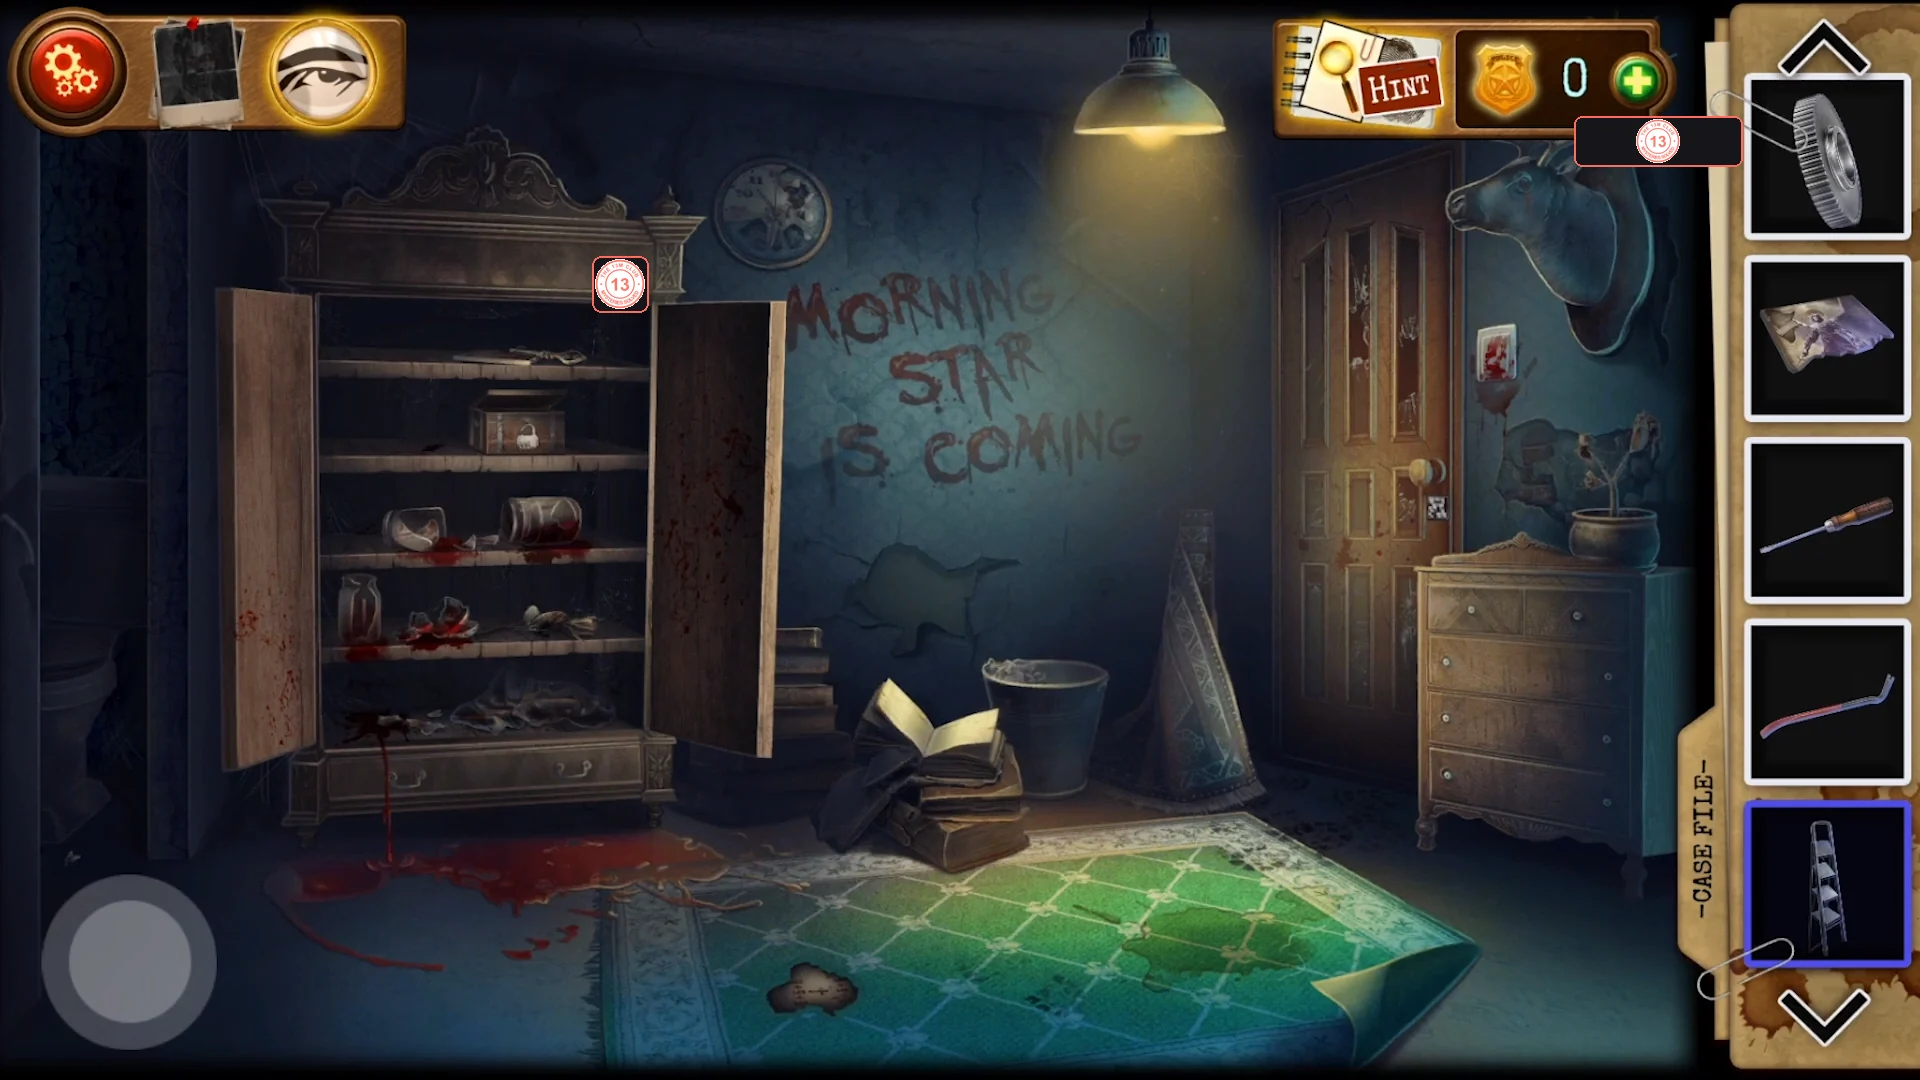
With the stepladder you can reach the top of the wardrobe upstairs.
- Easy to miss (Case File entry 3): upstairs, tap the blood on the floor in front of the open wardrobe ('Damn... that's blood.') to photograph it.
- Use the Stepladder in front of the wardrobe, then tap the top of the wardrobe. Take the Living room key and the torn picture piece under it.
Living room: floor maze, colour tiles and the fireplace
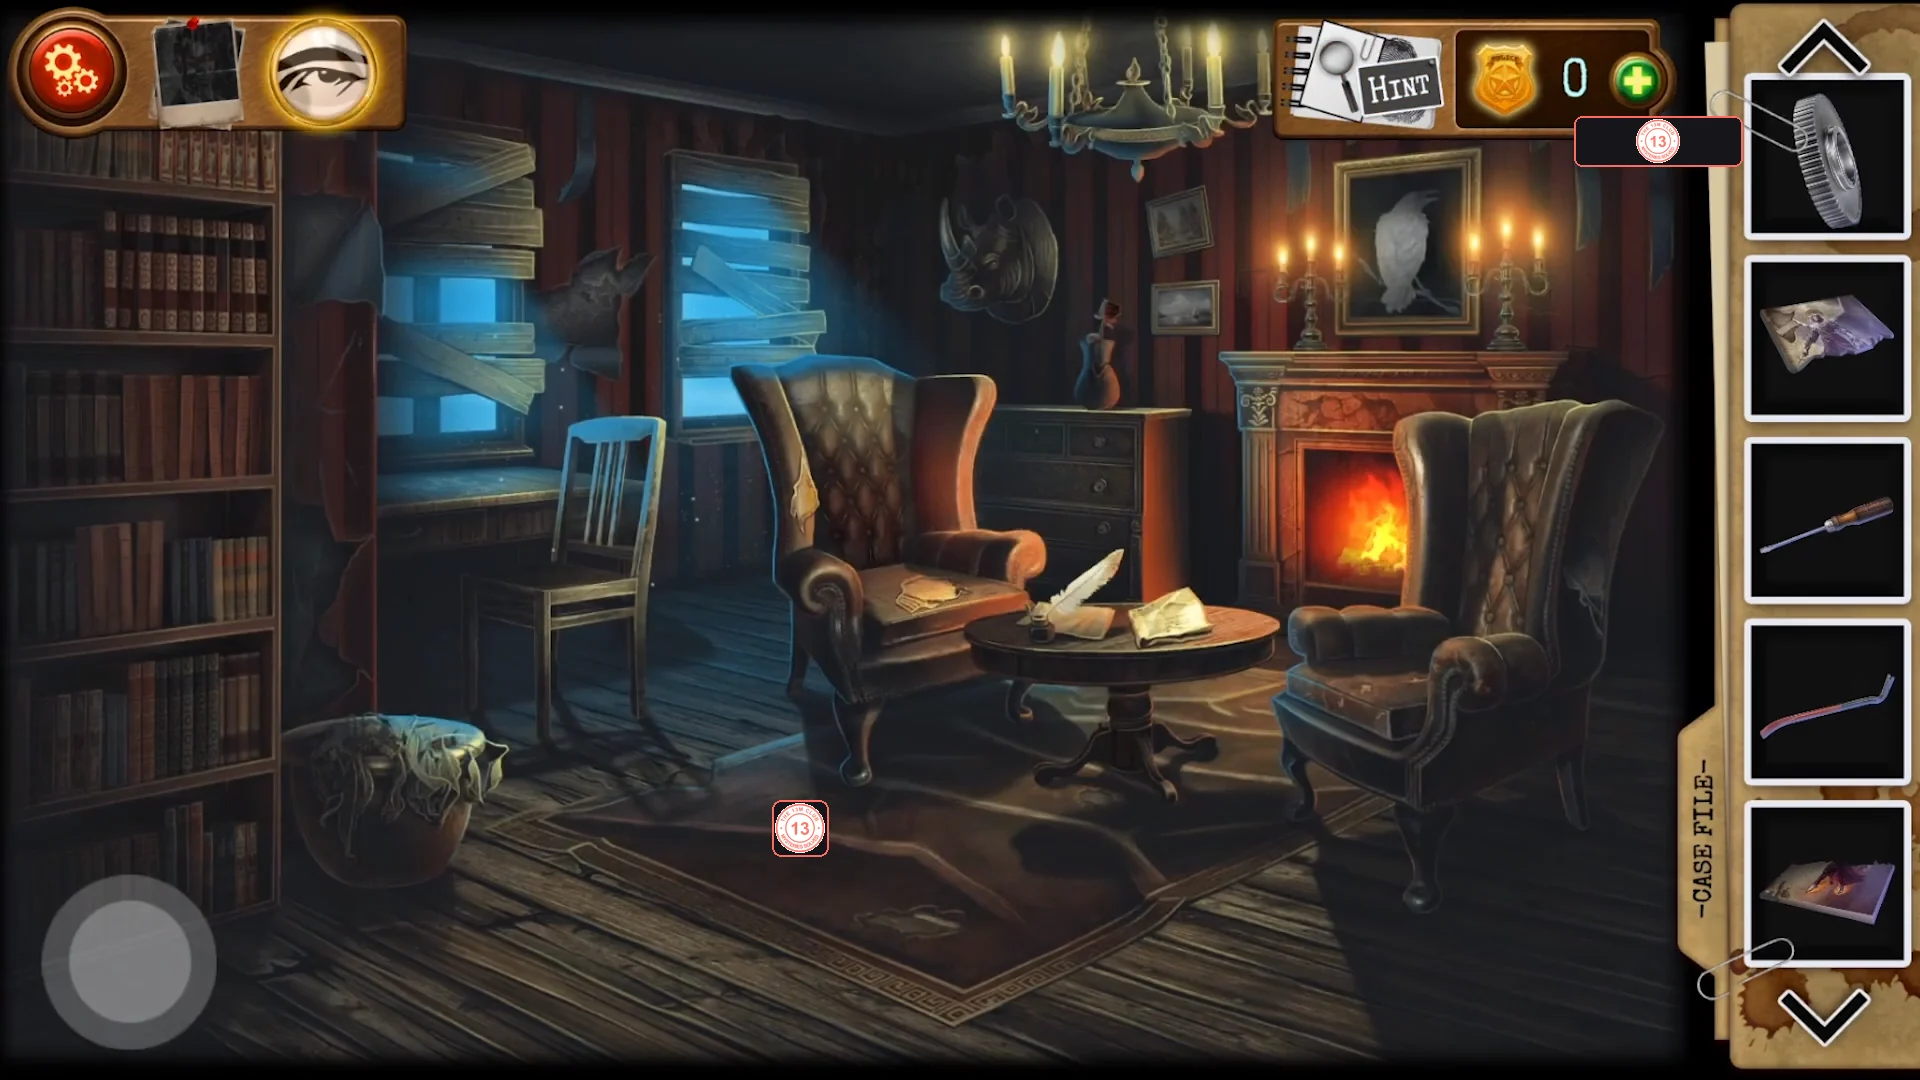
The Living room key opens the left-hand door of the hall. Under the rug is a hidden compartment with a tilt maze; inside are a diary and a box with a colour-tile lock. The fireplace hides the Dresser key.
- In the hall, use the Living room key on the door on the left.
- Tap the floor in front of the armchairs, fold back the corner of the rug and use the Crowbar on the cracked floorboards. Solve the tilt maze ('Tilt the device to guide the ball into the hole.'): the ball starts in the top-left corner and the goal is the opening in the middle of the bottom edge. The dark holes scattered over the board, including the one in the centre, are not the goal - keep the ball out of them. Tilt so the ball rolls through the gaps in the curved walls; in the run shown it went into the rings, across the middle, out to the right-hand side, down the right and along the bottom to the exit. The compartment opens.
- Easy to miss (Case File entry 4): open the blue diary in the compartment. The entry dated 19.05.2005 describes nightmares and young men in hoodies outside the house. The diary is not needed for any puzzle.
- Tap the wooden box in the compartment: 'Click on the squares to change their color. Change the color from orange to green to open the box.' Each click flips the clicked square and the squares directly above, below, left and right of it. From the all-orange start, click the four corner squares and the centre square once each, in any order, to turn all nine green. Take the Pocket watch.CODEcorners + centre
- Tap the fireplace, take the Poker from the stand beside it and use it on the burning logs to pull out a key (Dresser key).
- Tap the bookcase on the left and pull out the note between the books: 'Brother will kill his brother, morning star will fall and the archangel will take his place near the God. The key is not obvious: three evangelists - Michael, Raphael, Gabriel and the fallen one.'
Hall paintings and the safe behind the raven (9428)
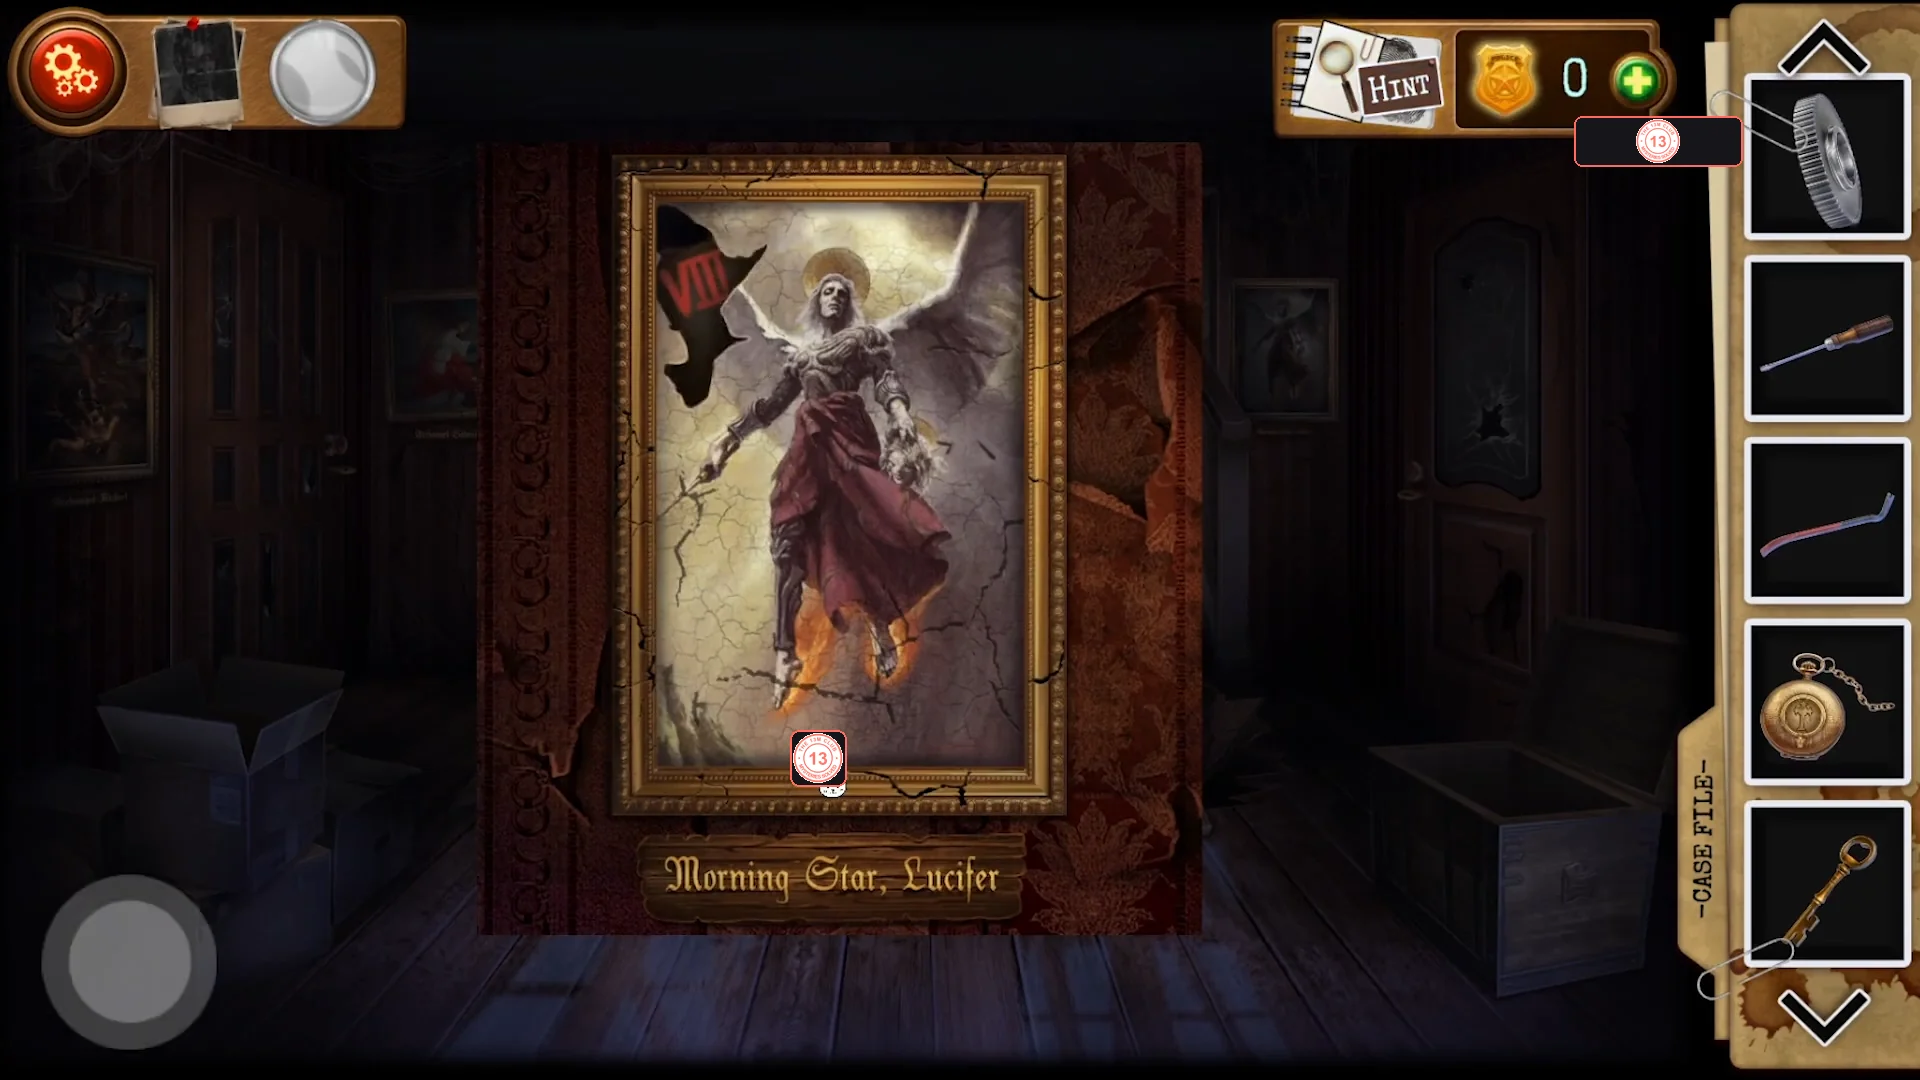
Complete the Lucifer picture, read the Roman numerals on the four paintings in the order of the riddle and open the keypad safe behind the white-raven painting above the fireplace.
- In the hall, put both torn picture pieces into the empty 'Morning Star, Lucifer' frame. The finished picture shows the Roman numeral VIII in the upper left.
- Read the Roman numerals on the hall paintings: Archangel Michael IX (9), Archangel Rafail IV (4), Archangel Gabriil II (2) and Morning Star, Lucifer VIII (8). The bookcase note lists them as Michael, Raphael, Gabriel and the fallen one, which gives 9428.CODE9428
- In the living room, tap the white-raven painting above the fireplace; it swings aside to reveal a keypad safe. Enter 9428. Take the Gears and the Bedroom key; the photo inside shows a smiling bishop ('Hey, I know him... he taught me when I was little.').CODE9428
Bedroom: mop, floor hatch, dresser and the symbol puzzle
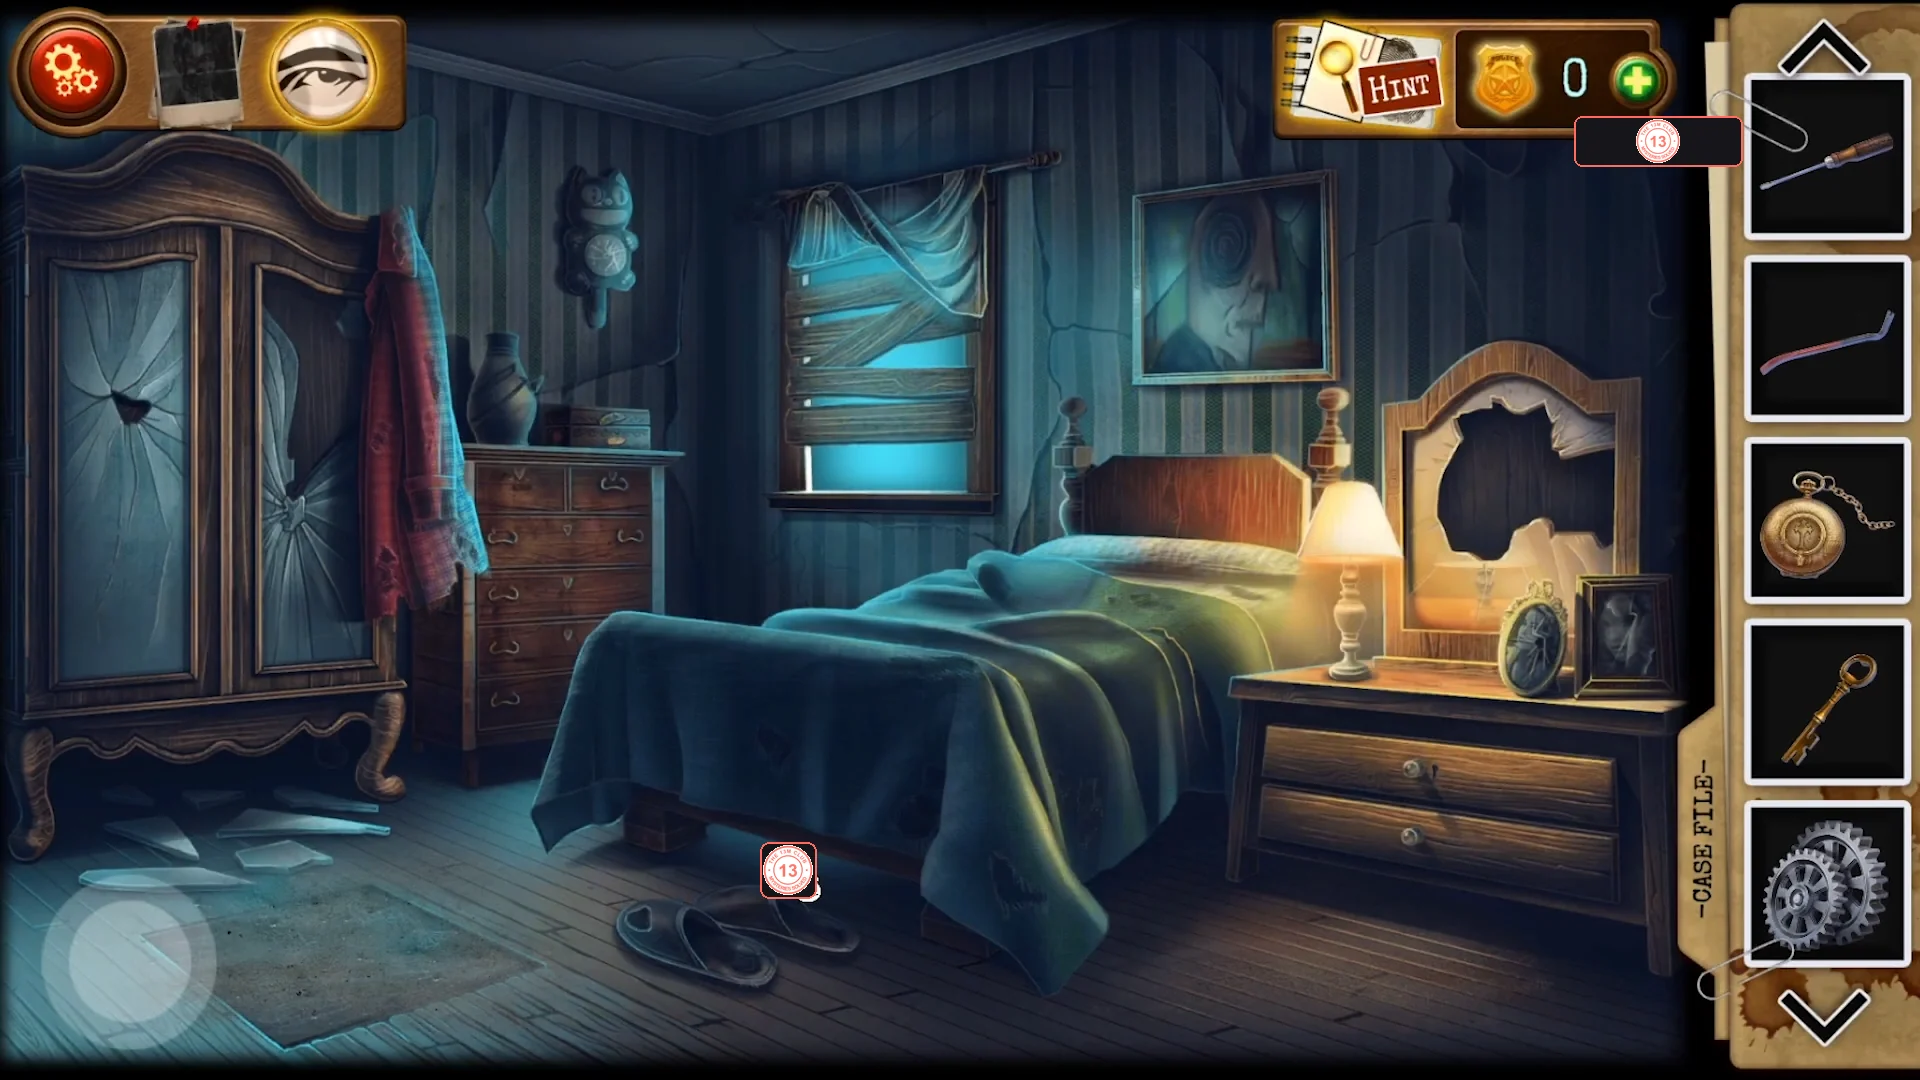
The Bedroom key opens the door on the right of the upstairs room. Uncover the floor hatch, open the dresser and the nightstand, and solve the sliding symbol puzzle to get a raven figurine.
- Upstairs, use the Bedroom key on the door on the right. The keyhole must already be cleared of the sliding blocks (previous upstairs section).
- Look under the bed (dead rat, bottles) and take the Mop. Use the Mop on the floor in front of the bed to slide the rug away and reveal a floor hatch. Open the hatch: inside are a camera and a key ('It looks like the priest managed to film something'). This is Case File entry 5. Take the key (Key to the drawer).
- Tap the chest of drawers on the left, use the Dresser key on the drawer, move the clothes aside and take the Gear.
- Use the Key to the drawer on the nightstand drawer beside the bed. Take the clover Lighter, then use the Screwdriver on the four corner screws of the red metal plate inside.
- A 4x4 sliding puzzle of carved symbols appears, and the symbol parchment from the hall chest is placed in the corner as the target. Click tiles next to the empty space to slide them. The finished grid must match the parchment exactly, so compare symbol by symbol: complete the top row first, then the second row, and solve the last two rows together by cycling tiles around the empty space. When it matches, the box opens; take the Raven figurine ('It seems that Mr. Simmons mentioned white ravens when he talked about Collector...').
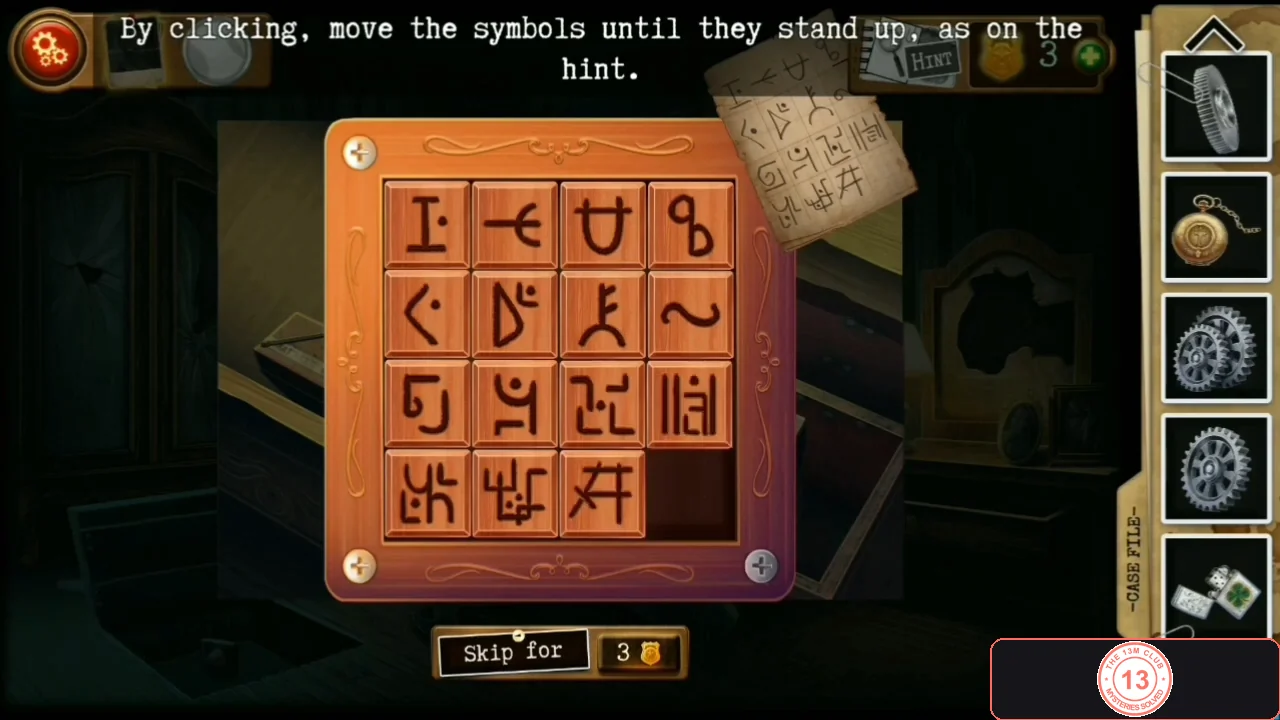
The solved symbol slider. It matches the parchment in the top-right corner, with the empty space in the bottom-right.
Pantry gear safe, the secret room and the final safe
Fix the gear lock of the pantry safe and place the raven to open the hall's centre door. In the hidden ritual room, open the duffel bag, clear the flies, rebuild the stained-glass window and beat the button memory lock.
- In the hall, use the Crowbar on the planks nailed across the centre door (the Crowbar is used up). The door is still locked ('Locked... but I don't see a keyhole here.').
- In the pantry, tap the wall safe on the right ('Can't move the handle'). Open the panel to reveal the gear mechanism ('Put the gears in the correct order to make the mechanism work.'). Two gears are already fixed in place and four pegs are empty. Put all four gears you collected on the empty pegs: the pair of gears from the 9428 safe (it goes on as two gears) plus the single gears from the hall chest and the dresser. Gears of different sizes fit different gaps: swap them between pegs until every gear touches its neighbours and the whole train of six turns. The handle then turns and the safe opens, showing an empty recess.
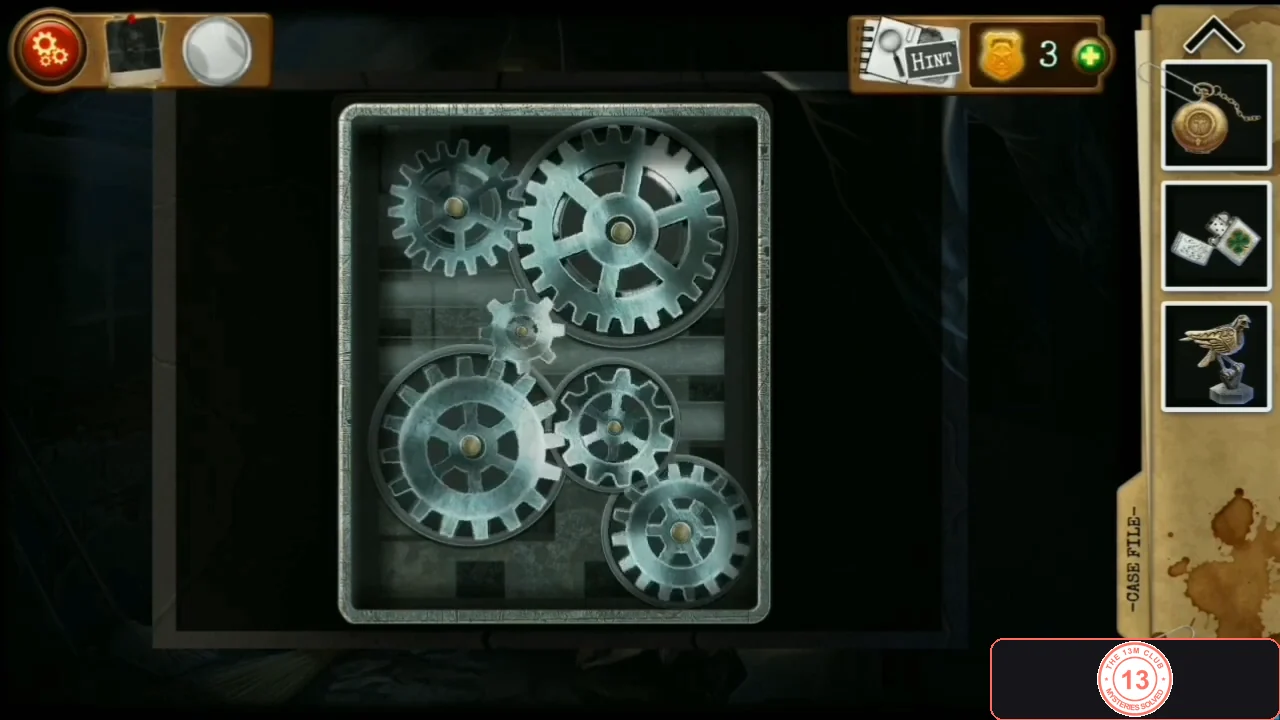
A working gear train in the pantry safe: every gear touches its neighbours. - Put the Raven figurine into the recess inside the open safe ('Something opened up in the hall...'). The centre door of the hall unlocks.
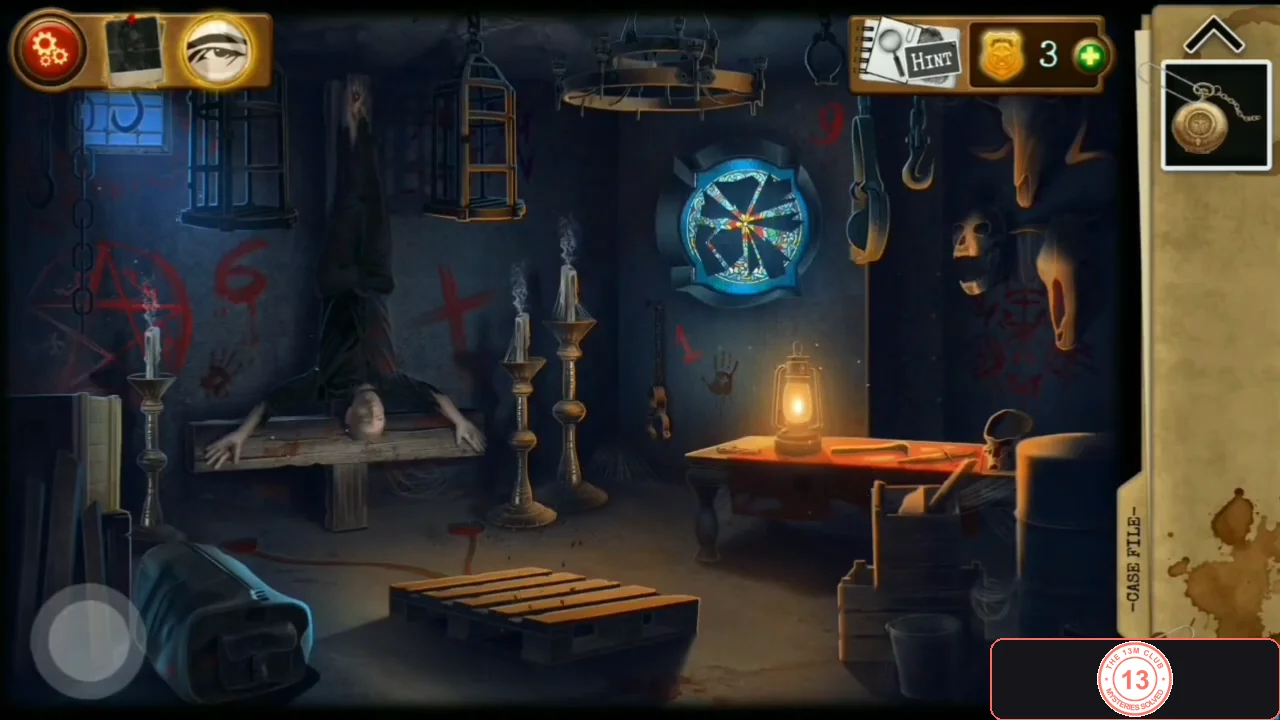
- In the hall, go through the centre door (planks already removed) into the dark room. Use the Lighter on the lantern on the table to light the room.
- Tap the duffel bag on the lower left: a 3-dial lock. The digits are painted in red around the room: 6 on the left wall (by the pentagram), 1 in the middle near the lantern table, 9 at the upper right near the round window. Set the dials to 6-1-9, unzip the bag, move the mask and clothes aside and take the Spray and the Stash key.CODE619
- Tap the pallet swarming with flies ('Flies and pallets are a disgusting combination.'), use the Spray on the flies, then tap the pallet to lift it and take the Stained glass shards from the pit under it.
- Use the Stained glass shards on the broken round window at the back and drag the loose pieces into the gaps until the circle is complete ('Assemble the stained glass window by dragging the pieces.').
- Use the Stash key on the keyhole and the Pocket watch on the round slot ('Look and repeat the combination by pressing the buttons.'). The lock has five green buttons: one at the top, two in the middle row and two at the bottom. Watch which buttons light up and press them in the same order, and keep copying each sequence it shows until the safe opens. The sequence is generated by the game, so copy what you see rather than using a fixed answer. The safe opens: read the letter ('Detective Simmons, if you're reading this, then I'm dead...'). The chapter ends with a cutscene and the Chapter 4 title card.