Bank office: pencil, trowel, first puzzle piece and two keys
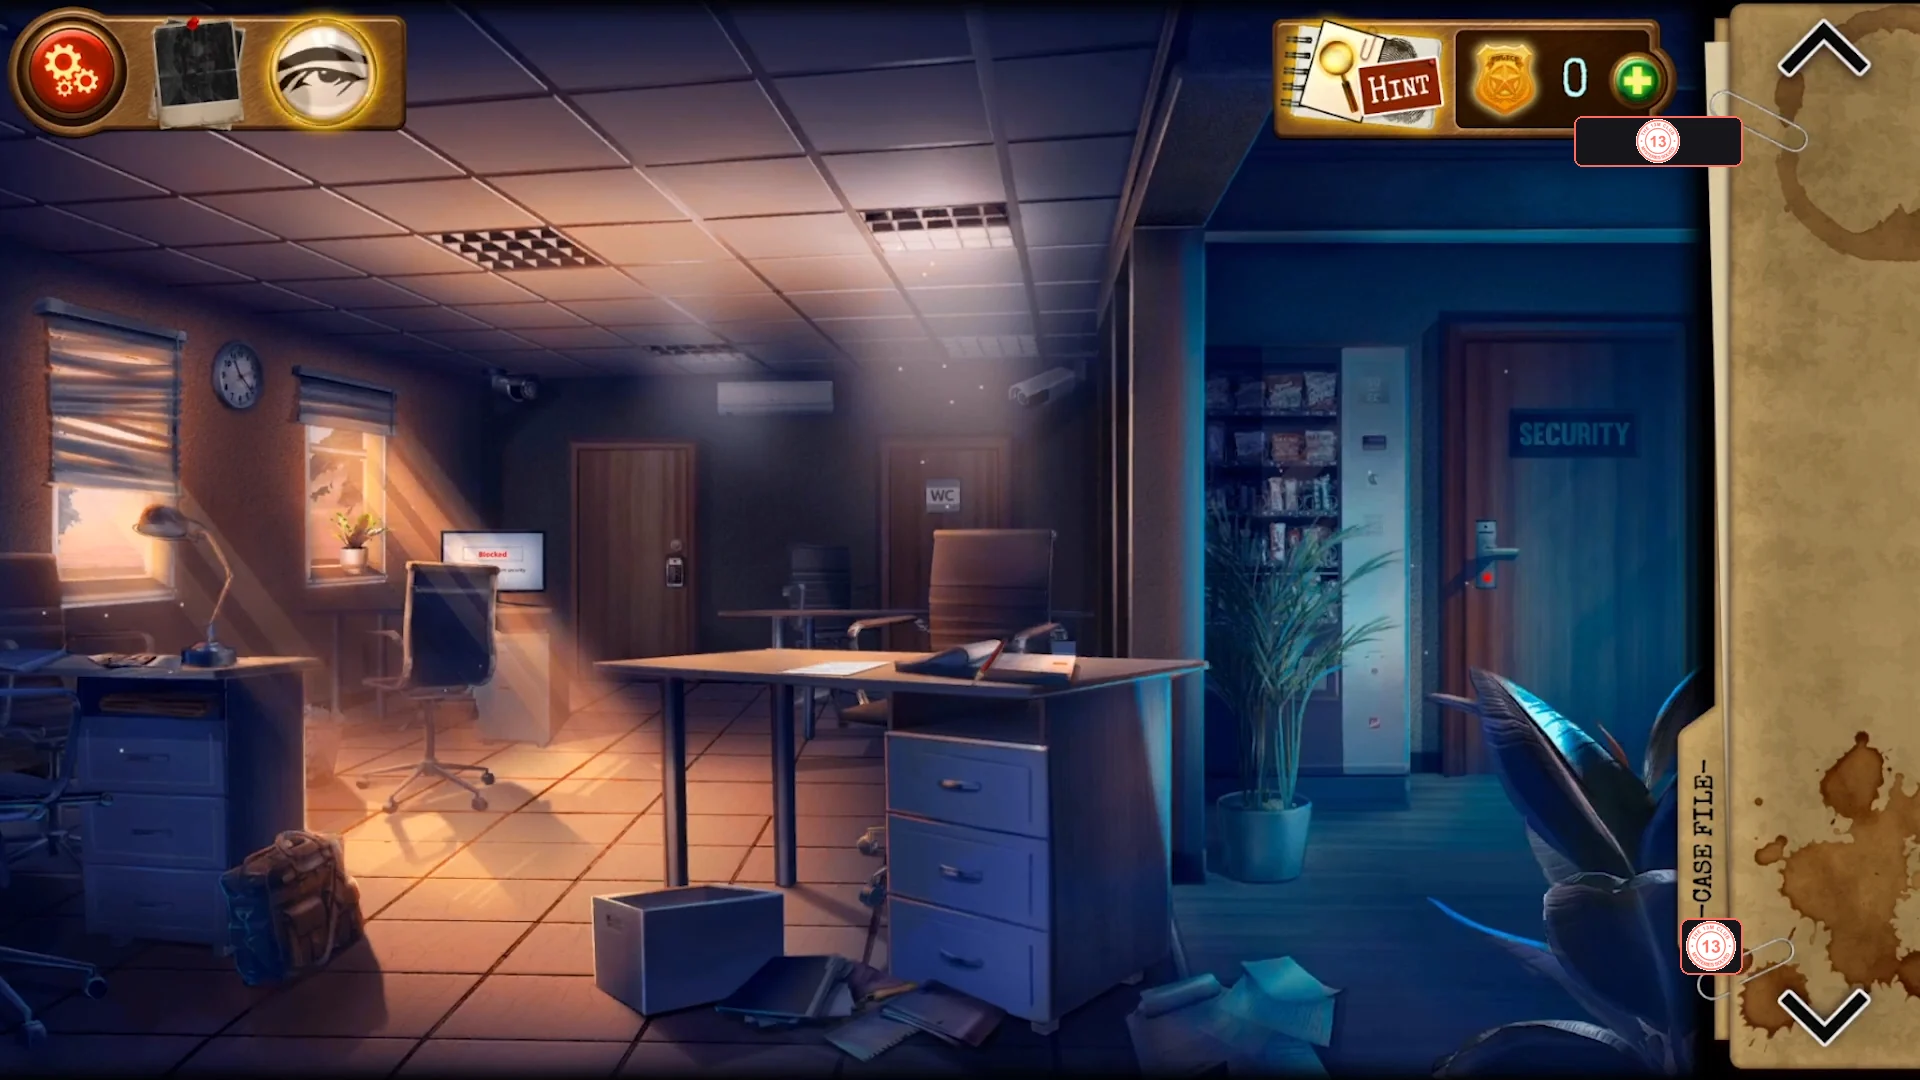
Lefelman's bank office after the robbery. Collect the starting tools, dig two hidden items out of the plants and find two keys.
- After the comic, take the Pencil lying on the desk in the middle of the office ('It can be useful.').
- Click the papers beside the desk drawers and take the Garden trowel hidden under them.
- Zoom into the square planter next to the desk and dig in it with the Garden trowel. You find a carved wooden tile, named 'Puzzle piece' in the inventory (one of three you need for a box in the vault).
- The computer on the desk shows 'Blocked - Request access from security'. Click the brochures and photos beside the desk lamp and take the silver key underneath; it is Matthew's locker key for the vault.
- Zoom into the blue flower pot on the cabinet left of the SECURITY door and dig with the Garden trowel to uncover a large old key (Locker Key No.2).
Restroom: bucket key, cipher graffiti, UV footprints and the middle stall
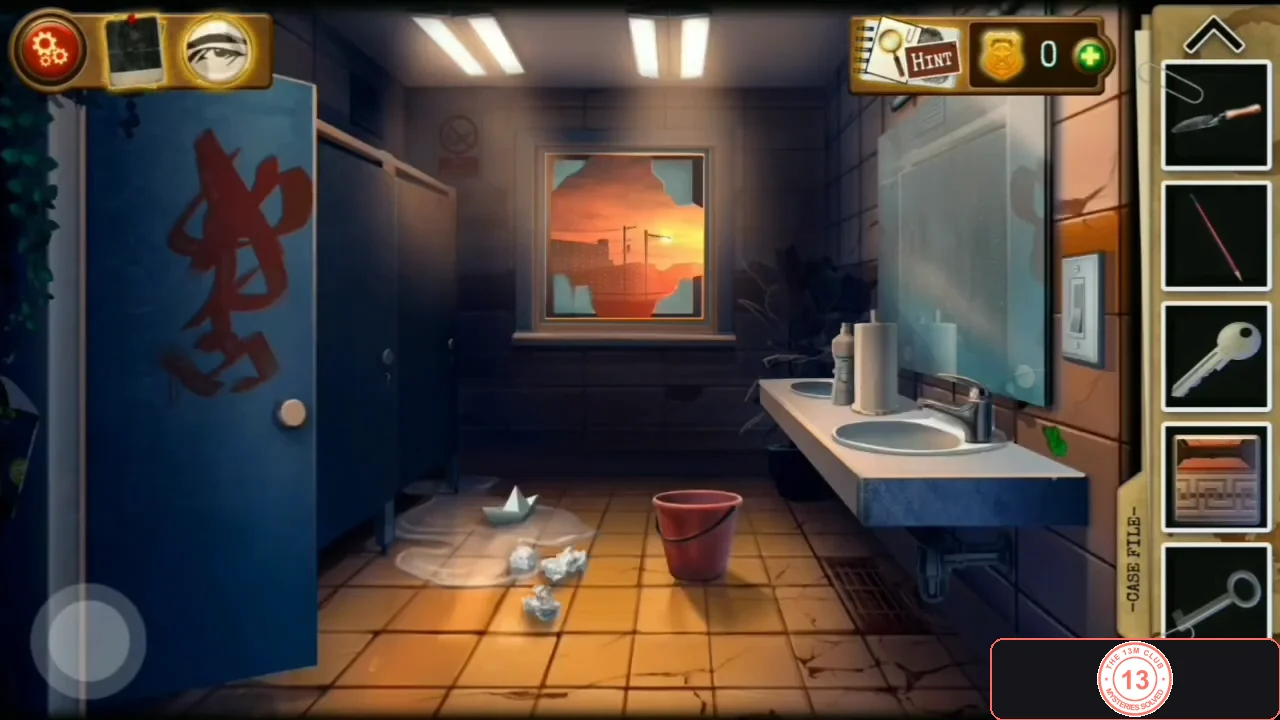
The restroom is through the door left of the office keypad. Find a key in the bucket, note the graffiti, switch the light off for an easy-to-miss evidence photo and open the locked middle stall.
- Go into the restroom. Zoom into the red bucket on the floor, remove the masks, rags and crumpled paper, and take the brass key at the bottom (Sallivan's locker key).
- Open the first (left) stall. Take the Plunger beside the toilet and note the red graffiti 'FDHVDU' on the stall wall - it is a coded password.
- Easy to miss (Case File entry 1): click the light switch on the right wall (red '1 -> 4' is written beside it) to turn the light off. Glowing footprints appear on the floor, leading from the window ('footprints only lead from the window... where are the shards'). The light is not needed for progress at this point, so make sure you try it.
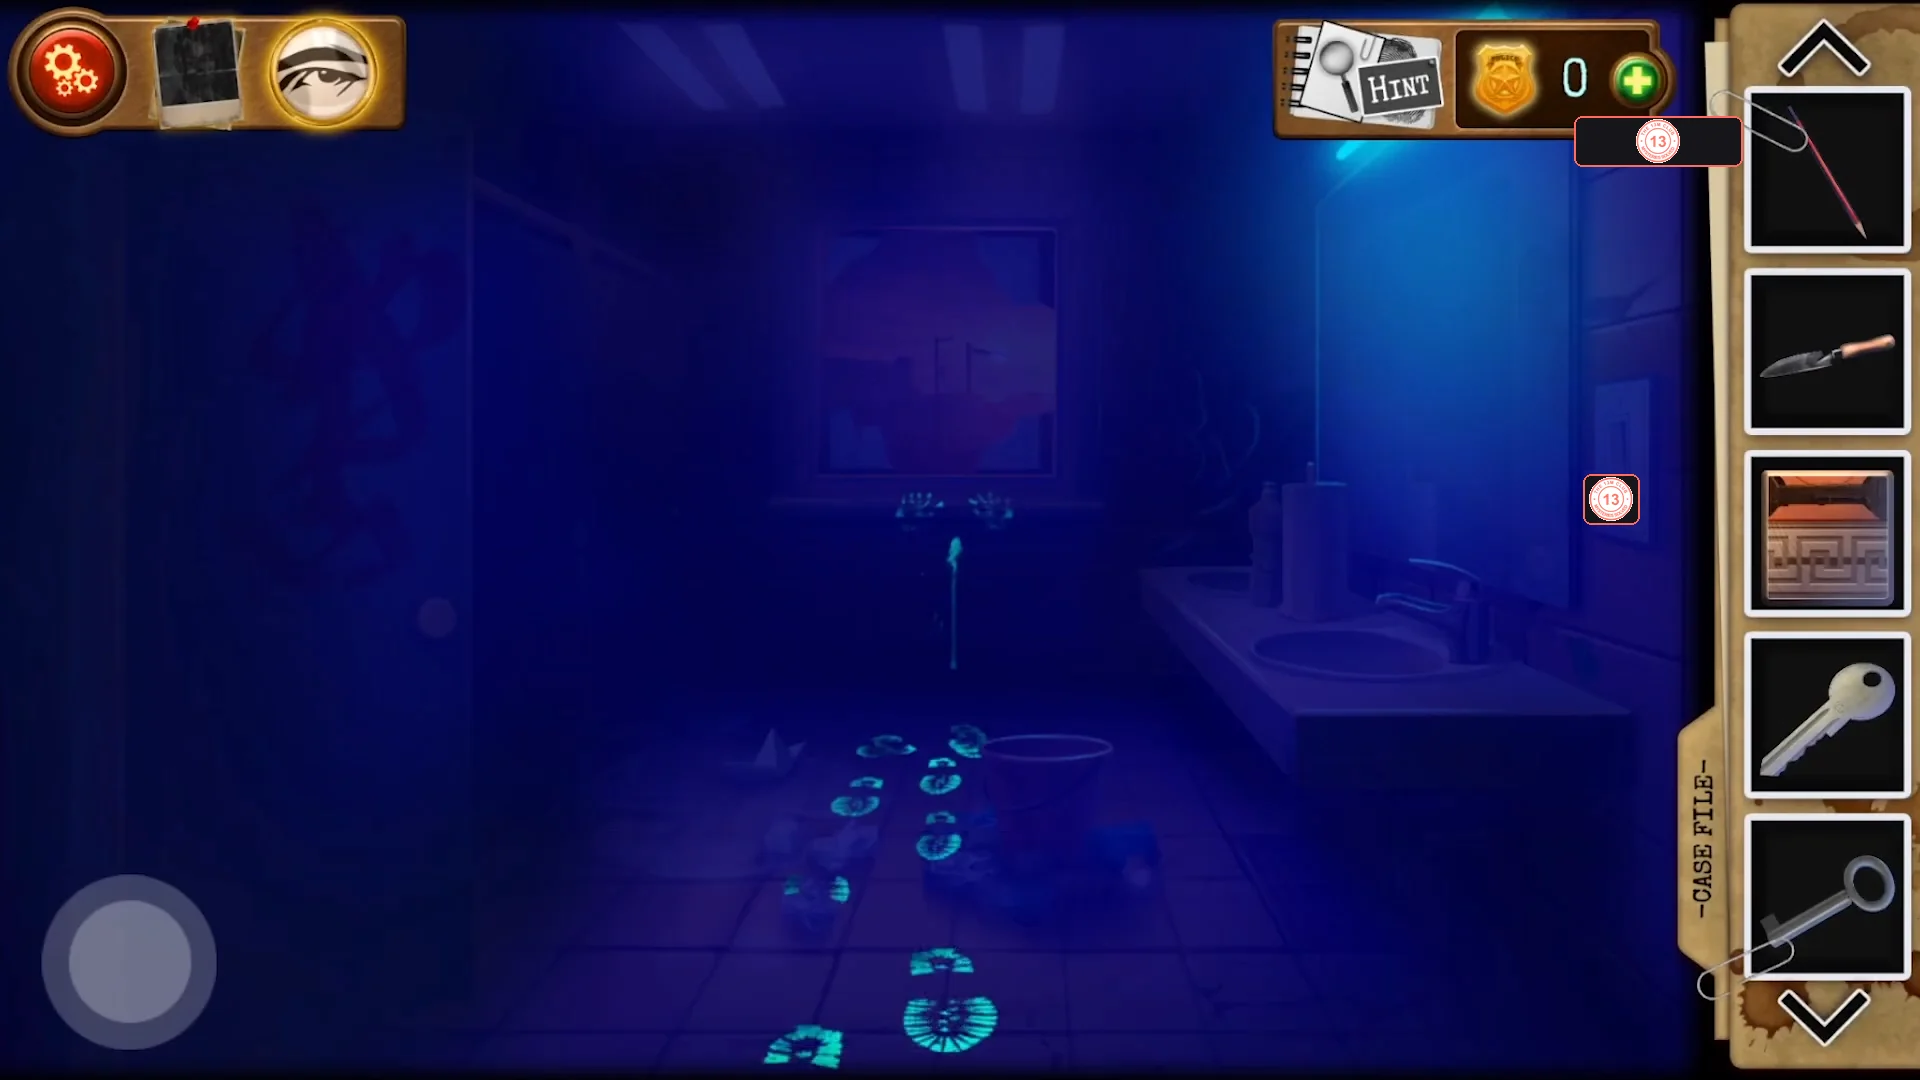
With the light switched off, glowing footprints lead from the window. Clicking them adds Case File entry 1. - Use Locker Key No.2 on the keyhole of the locked middle stall door. Inside, pick up the key card lying on the floor to the left of the toilet.
Security room: glass shards, the melody book and the Caesar password
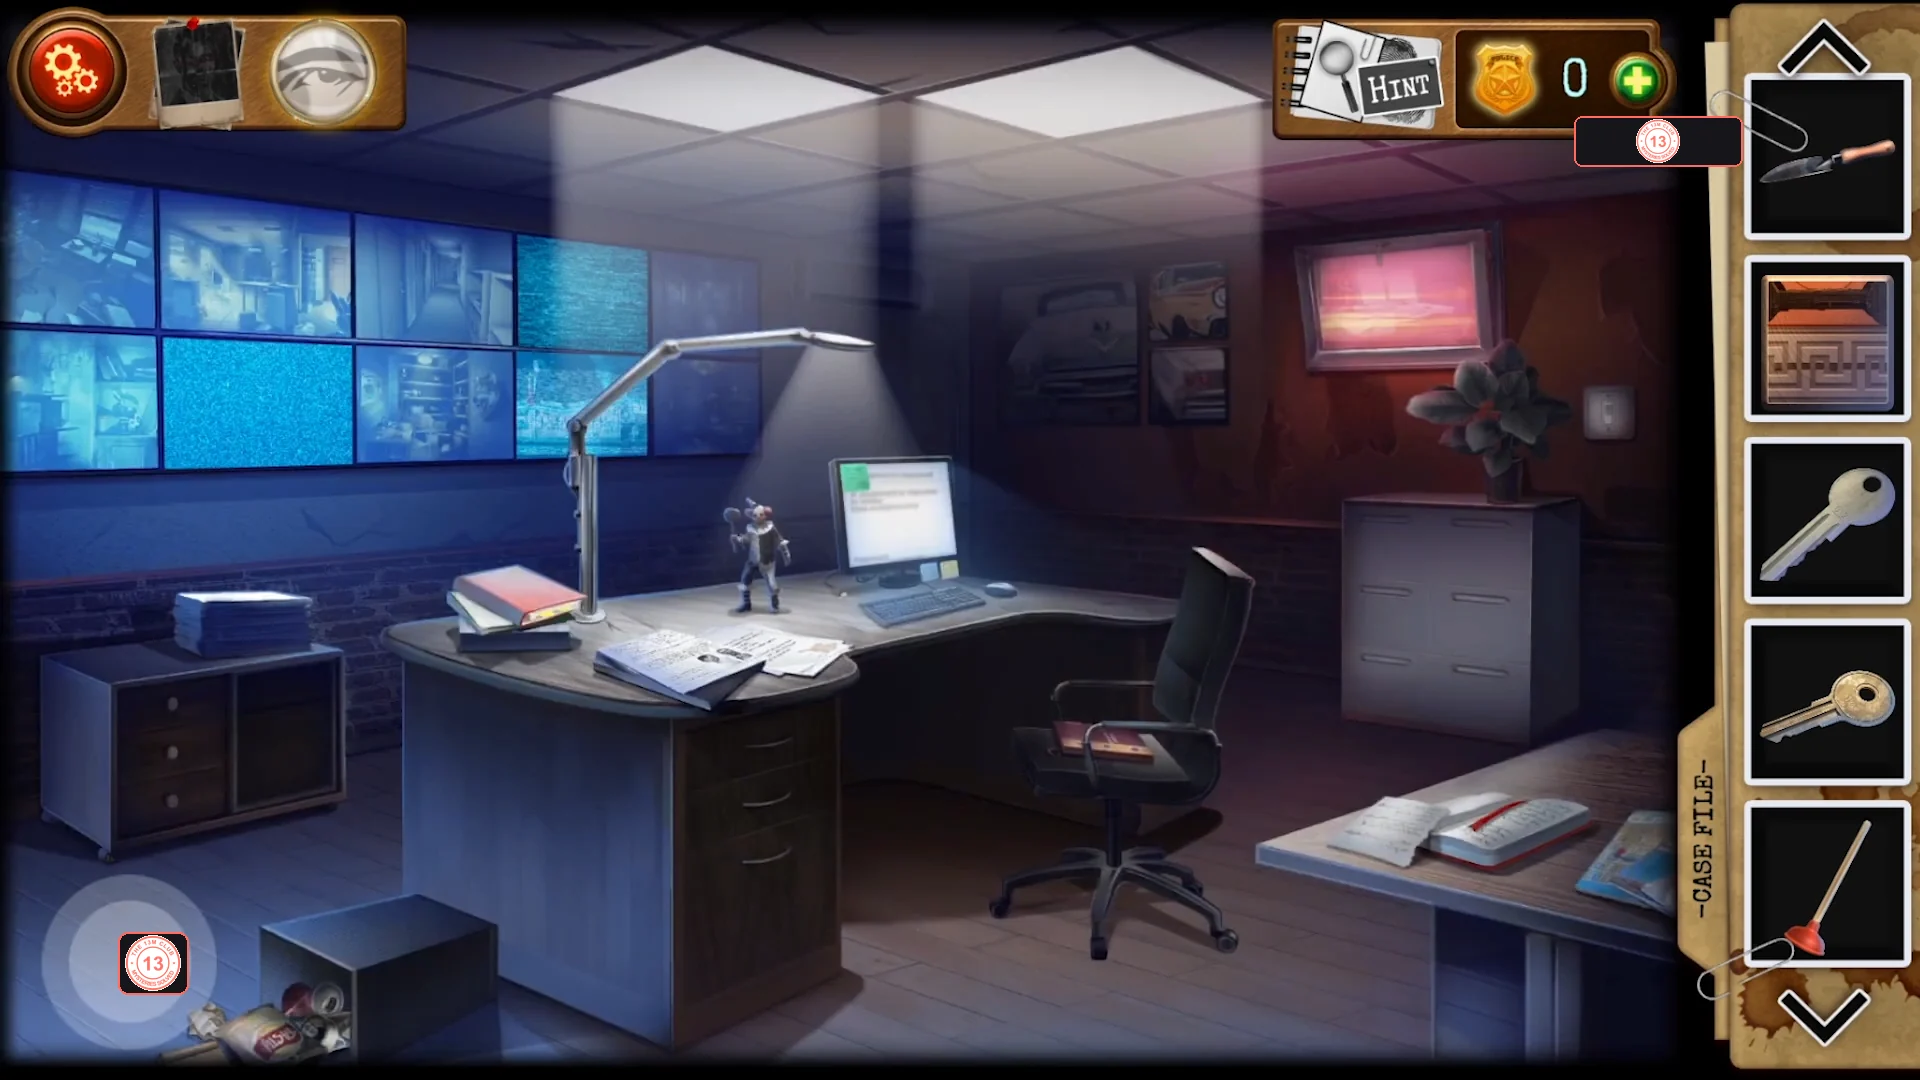
Open the SECURITY door with the key card, find the glass shards, play the book's melody to open the cipher manual and decode the graffiti into the computer password.
- Use the key card on the card reader of the SECURITY door on the right side of the office.
- Easy to miss (Case File entry 2): zoom into the cardboard box on the floor under the desk, clear out the junk and click the broken glass shards at the bottom ('Here is the missing glass...').
- Read the note on the desk: Chuck has changed the computer password and left the ciphered password in the toilet, Caesar style. The clown statuette on the desk can be examined but is not used.
- Zoom into the red book 'Science of cryptography' on the desk ('Press the buttons on the book to play a melody'). Press its three red buttons in this order: middle, top, bottom. All lights turn green and the book opens. Its Caesar cipher page tells you to move each letter 3 places back in the alphabet.CODEmiddle, top, bottom
- Decode the restroom graffiti FDHVDU by moving each letter 3 back (F->C, D->A, H->E, V->S, D->A, U->R): CAESAR. Enter CAESAR as the password on the security-room computer and press UNLOCK ('Unlock computers in the hall').CODECAESAR
Office computer: fold the pattern and read the hex code
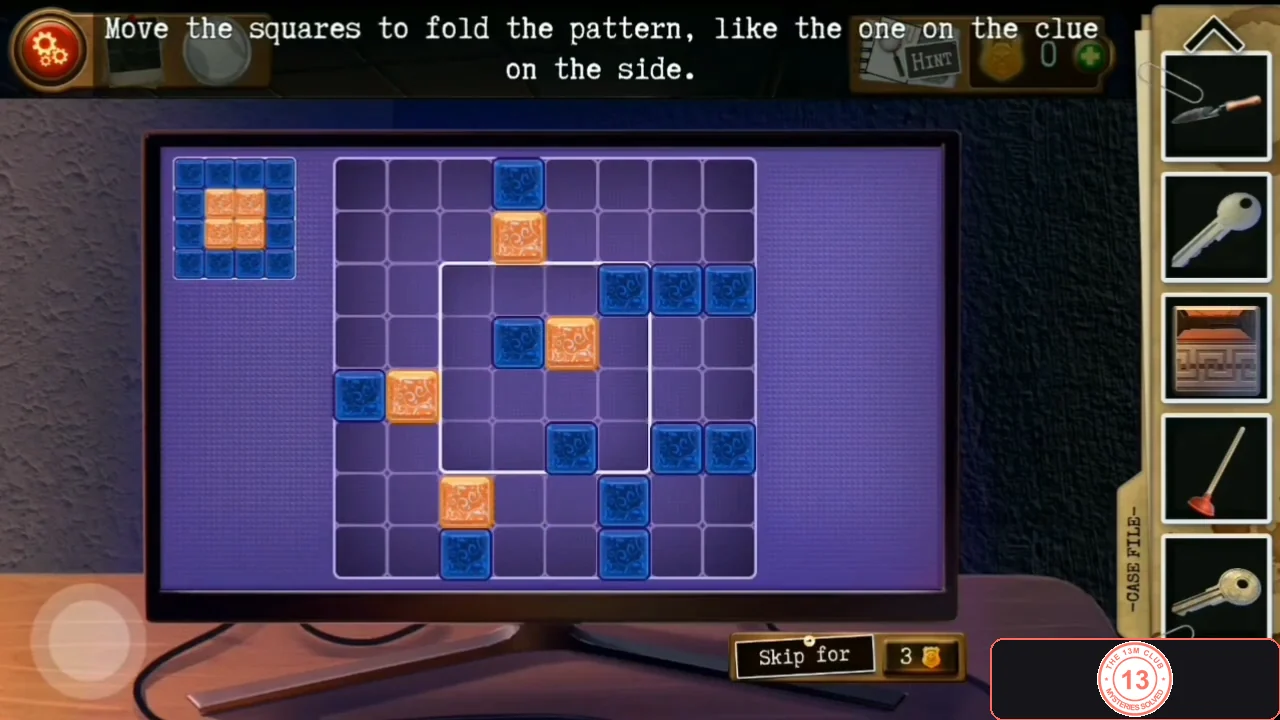
The unlocked office computer runs a square-sliding pattern puzzle. Solving it shows an email with the cabinet code D/B, which the hexadecimal page of the cryptography book turns into 1311 for the door keypad.
- Return to the office and click the desk computer ('Move the squares to fold the pattern, like the one on the clue on the side'). The target, shown in the clue at the side, is a 2x2 block of the four orange squares in the centre, surrounded by a ring of the twelve blue squares. This is a long free-sliding puzzle, so the guide gives the approach rather than every move: bring the four orange squares together into the centre first, then slide blue squares around them until the outer ring is complete.
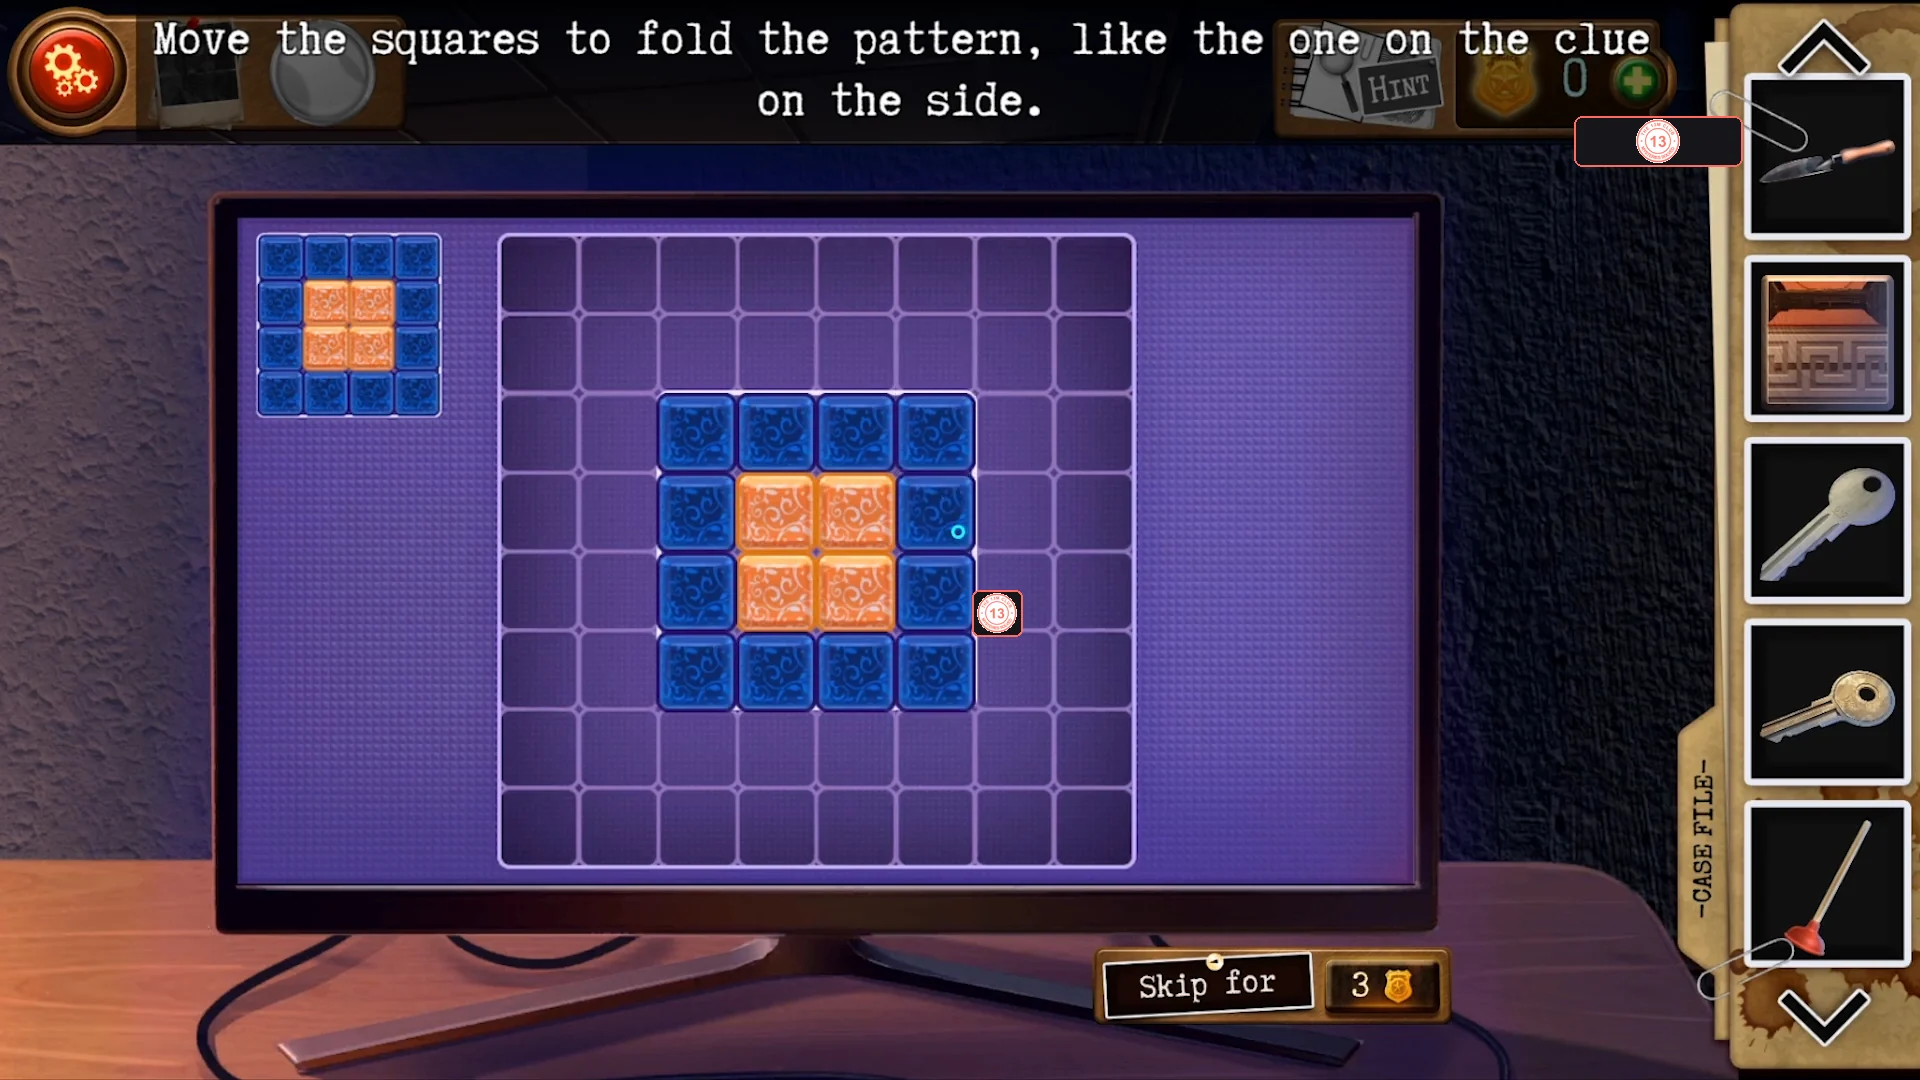
Solved: the 2x2 orange block in the middle of a ring of twelve blue squares. - Read the email from Mr Lefelman: 'Cabinet in front of the vault: D/B'. Open the cryptography book at its hexadecimal page (A=10, B=11, C=12, D=13, E=14, F=15): D is 13 and B is 11, so the code is 1311.CODE1311
- Enter 1311 on the keypad of the wooden door at the back of the office to open the waiting room.CODE1311
Waiting room: teacup key, box cutter, USB and the hidden server
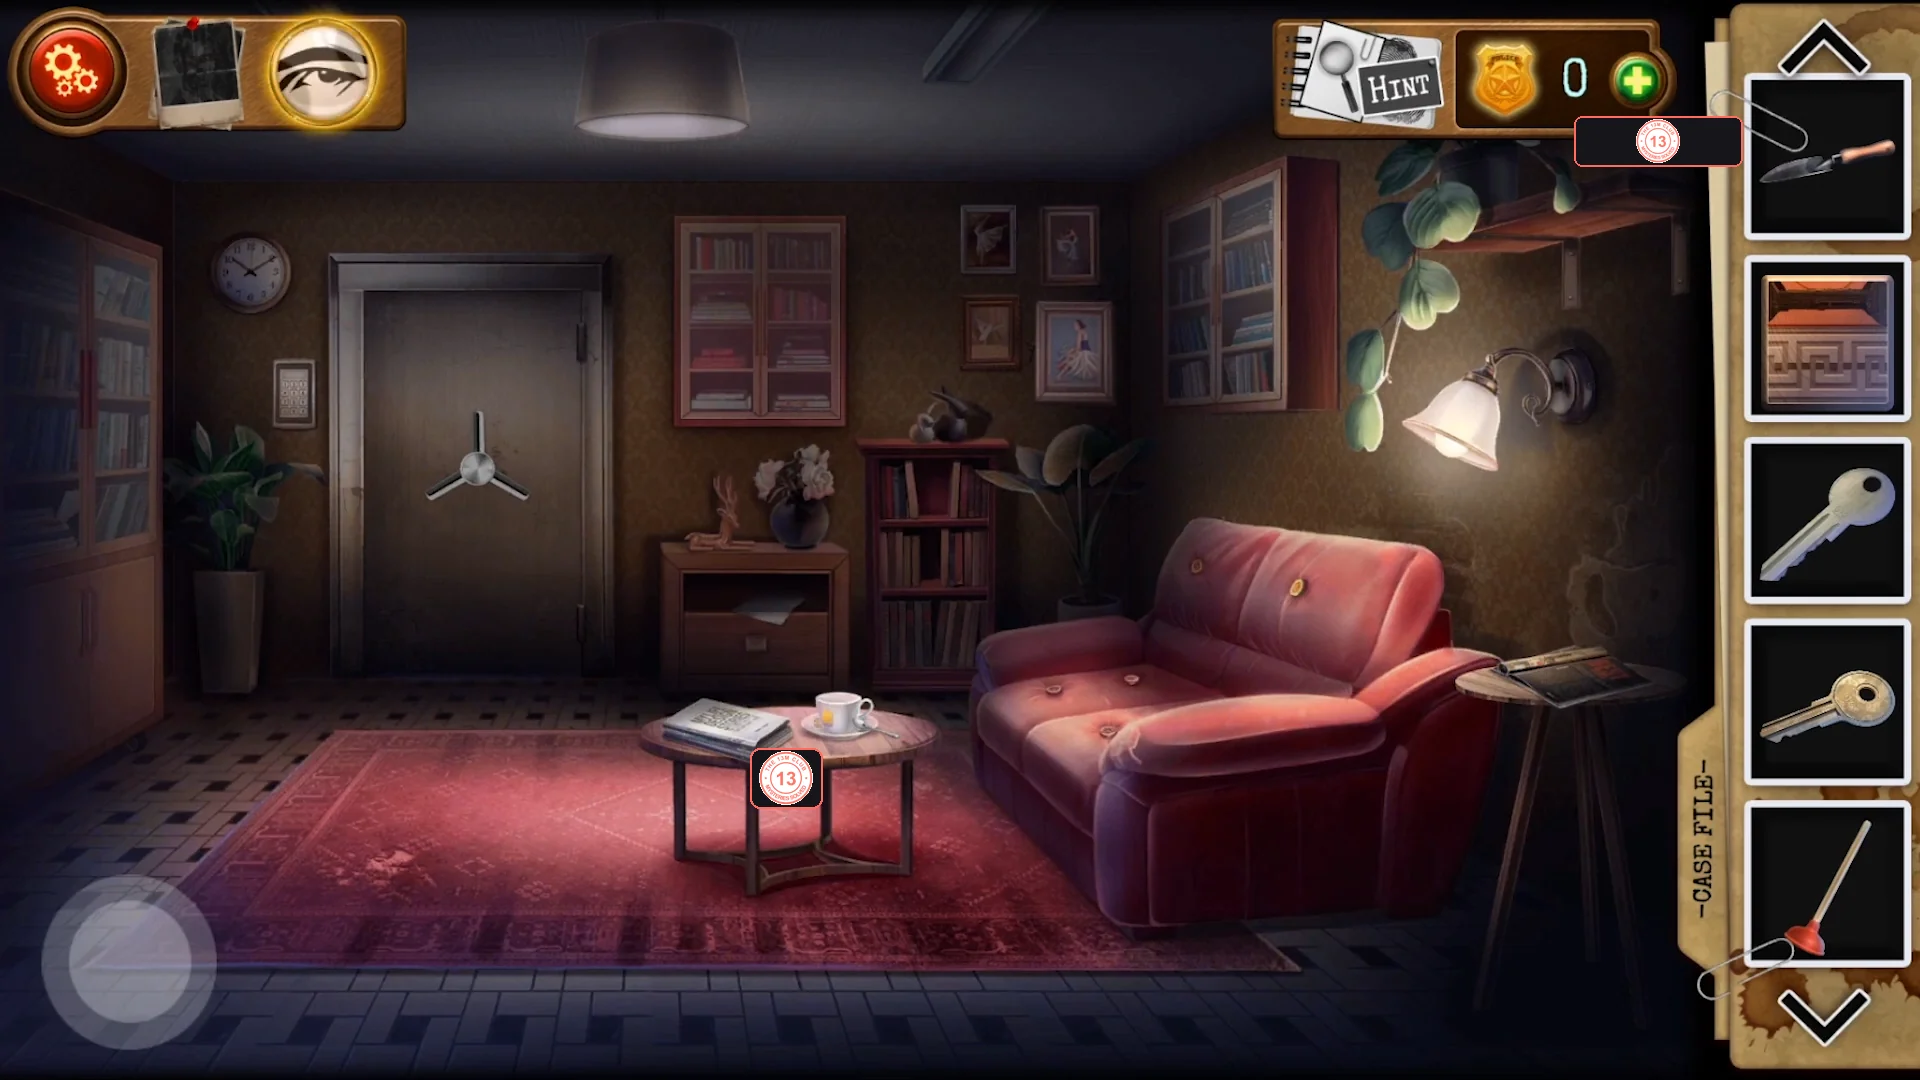
A room with the vault door, a red sofa, a coffee table and planters. Collect three items and find an easy-to-miss evidence photo behind a picture.
- Zoom into the tea set on the coffee table and click the cup; take the gold key it was hiding (Locker Key #3).
- Dig in the tall planter on the left with the Garden trowel. Take the Box cutter and a second 'Puzzle piece' tile.
- Use the Box cutter on the stitched button of the red sofa to cut it open, and take the 64GB USB flash drive.
- Easy to miss (Case File entry 3): use the Box cutter on the small framed picture on the wall right of the bookcase (above the lamp). It hides a second server ('...two servers...'). Nothing else needs this, so do it now.
Vault: the 12:30 code and the two-circuit wire panel
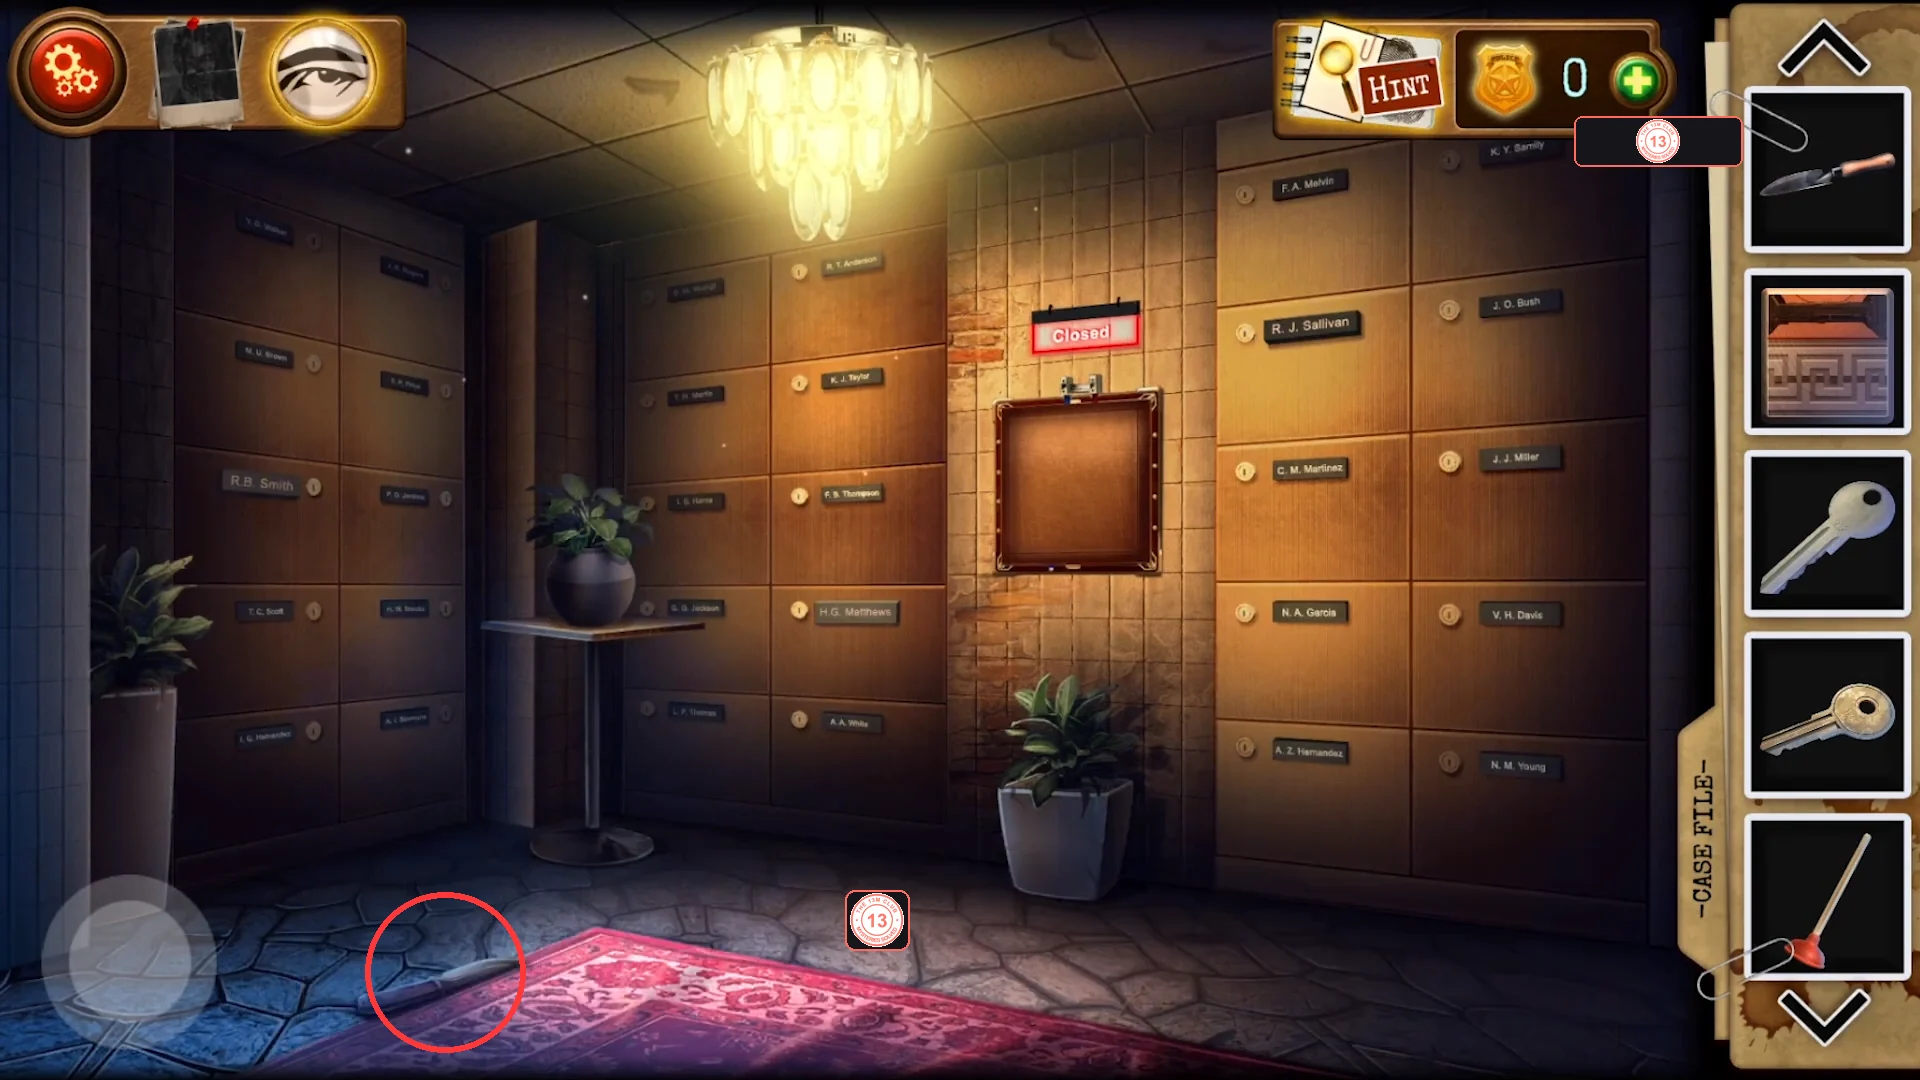
Restore the Bible verse number to open the vault, then repair the two-circuit wiring panel inside to unlock the deposit boxes.
- Read the pink note on the coffee table: a verse ending ':30 Matthew NIV' with the chapter number missing.
- In the security room, zoom into the open notebook on the desk ('It seems that I can restore what is written here...') and rub the Pencil over the blank page. The pressed-in verse appears with the number '12:'. Together with the note this is Matthew 12:30.
- Enter 1230 on the keypad to the left of the vault door, then turn the wheel and step inside. The door shuts behind you ('Well, great, now I'm locked up.').CODE1230
- Pick up the Knife from the floor at the lower-left edge of the rug, then use it on the brown cover under the red 'Closed' sign to open the wire panel.
- Puzzle 'Make two single circuits from wires by moving their parts': rearrange the wire tiles so the blue wire runs unbroken from its socket at the top down to the twisted cable at the bottom, and the red wire does the same on its own path. Tiles can be moved freely, so there is no single move list. Build one colour at a time: complete the blue circuit first (it lights up when it is complete), then use the remaining tiles for the red circuit. When both circuits are lit the sign turns green ('Open') and the deposit boxes can be opened.
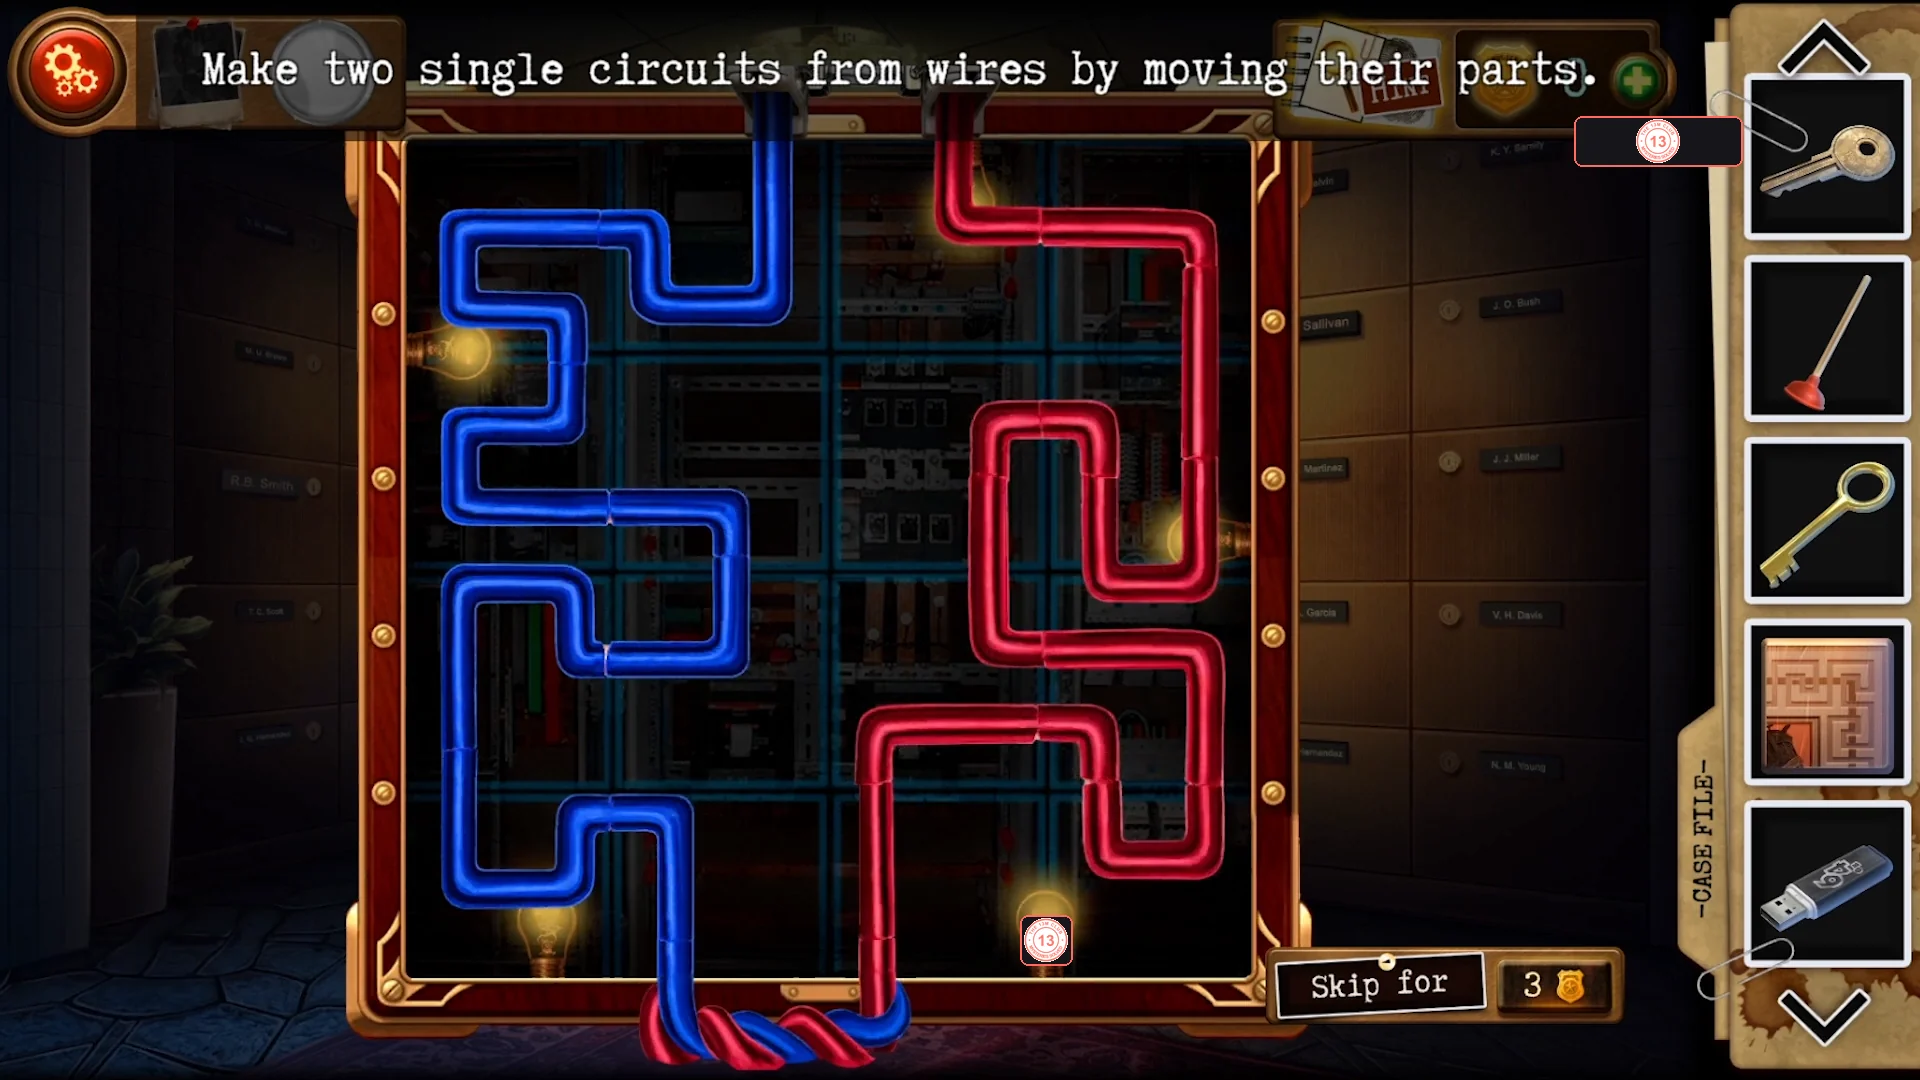
One solved layout: the blue and red wires each run unbroken from the top socket to the twisted cable at the bottom.
Deposit boxes: Matthew's card, Sallivan's note and Smith's box
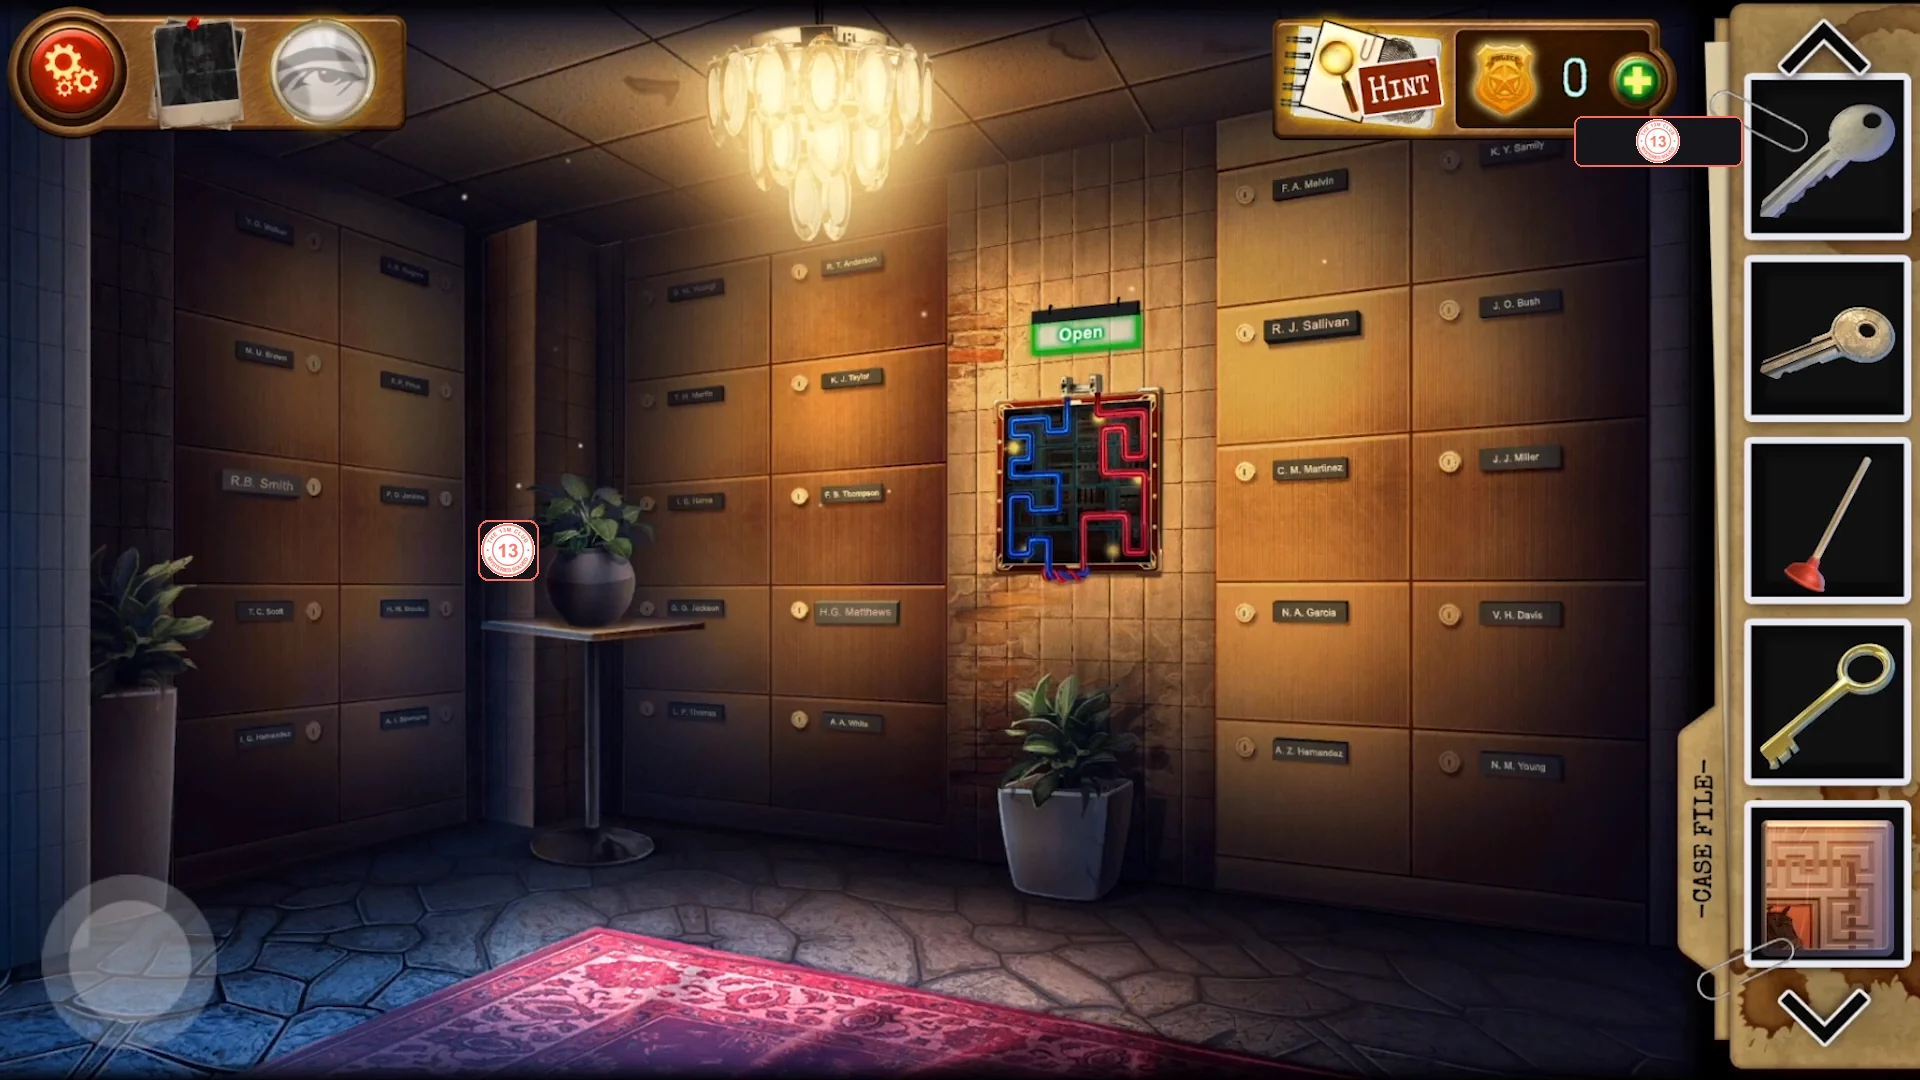
Read the USB email, then open three named deposit boxes in the vault for a code, an evidence note and a picture box.
- Insert the USB flash drive into the security-room computer. The email to R.B. Smith says the statuette is in the toilet safe, the numbers are in Mr. Matthews' deposit box (the key is under the brochures) and the rainbow gives the order.
- In the vault, use Matthew's locker key on the box labelled C. Matthews. Inside is a red pawn shop card, '4851 Elm st.', with each digit in a different colour: 4 green, 8 red, 5 blue, 1 orange. Note the colours for the safe later.

The pawn shop card from C. Matthews' box. Remember the colours: 4 green, 8 red, 5 blue, 1 orange. - Use Sallivan's locker key on the box labelled R.J. Sallivan (right wall, top row). Click the note 'YoU DisAPpoiNteD HiM' for Case File entry 4, then take the gold key at the bottom of the box (Smith's locker key).
- Use Smith's locker key on the box labelled R.B. Smith (left wall). Inside is a wooden box holding a 3x3 tile picture with empty slots. Place both Puzzle pieces you carry; one slot stays empty until you find the third piece.
Third stall and third puzzle piece
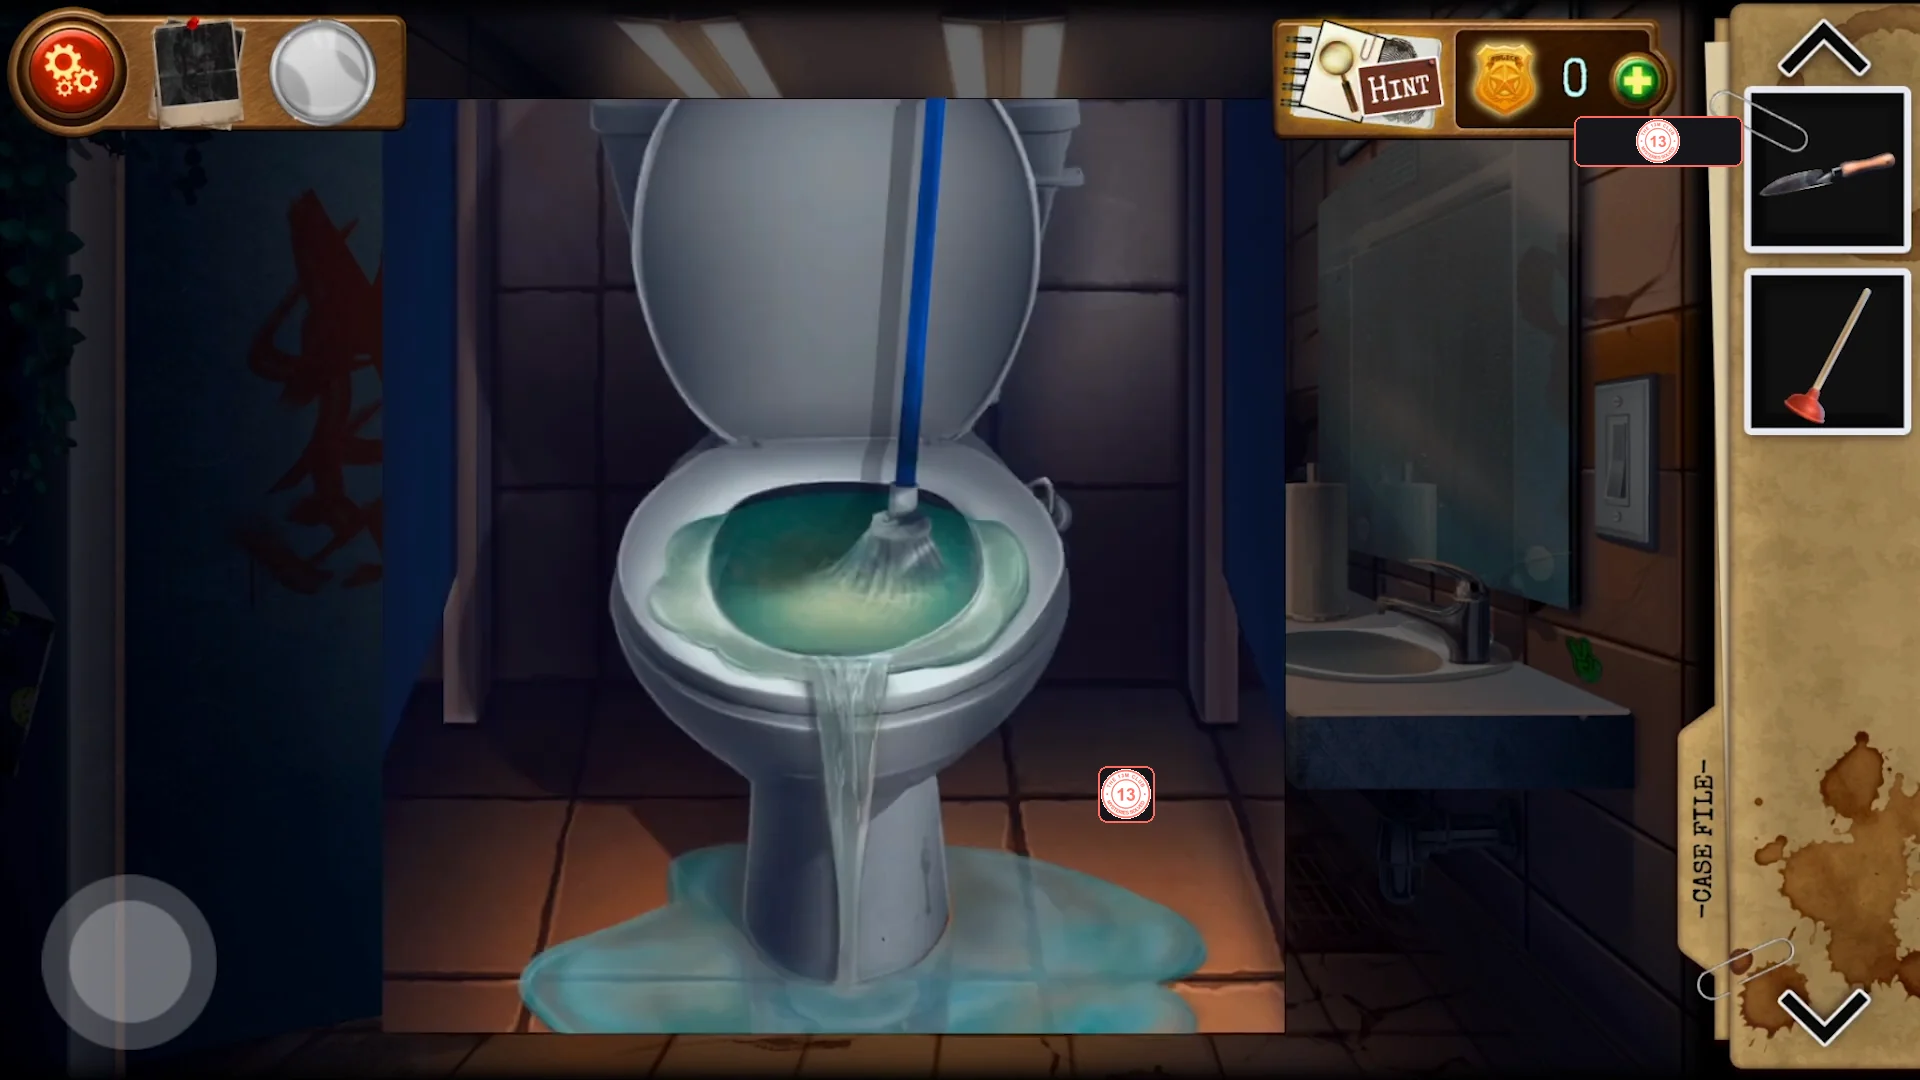
Open the last stall and unblock the toilet for a wiring hint, then dig the final tile out of the security-room plant.
- In the restroom, use Locker Key #3 (the gold teacup key) on the keyhole of the remaining locked stall door. The toilet is overflowing with a mop in it ('Looks like our scoundrel was covering his tracks.'). Remove the mop, use the Plunger on the toilet, then click the paper revealed in the bowl: '4 -> 2'.
- In the security room zoom into the potted plant on the filing cabinet and dig with the Garden trowel to get the third Puzzle piece.
Smith's box: sliding picture of the horse statue
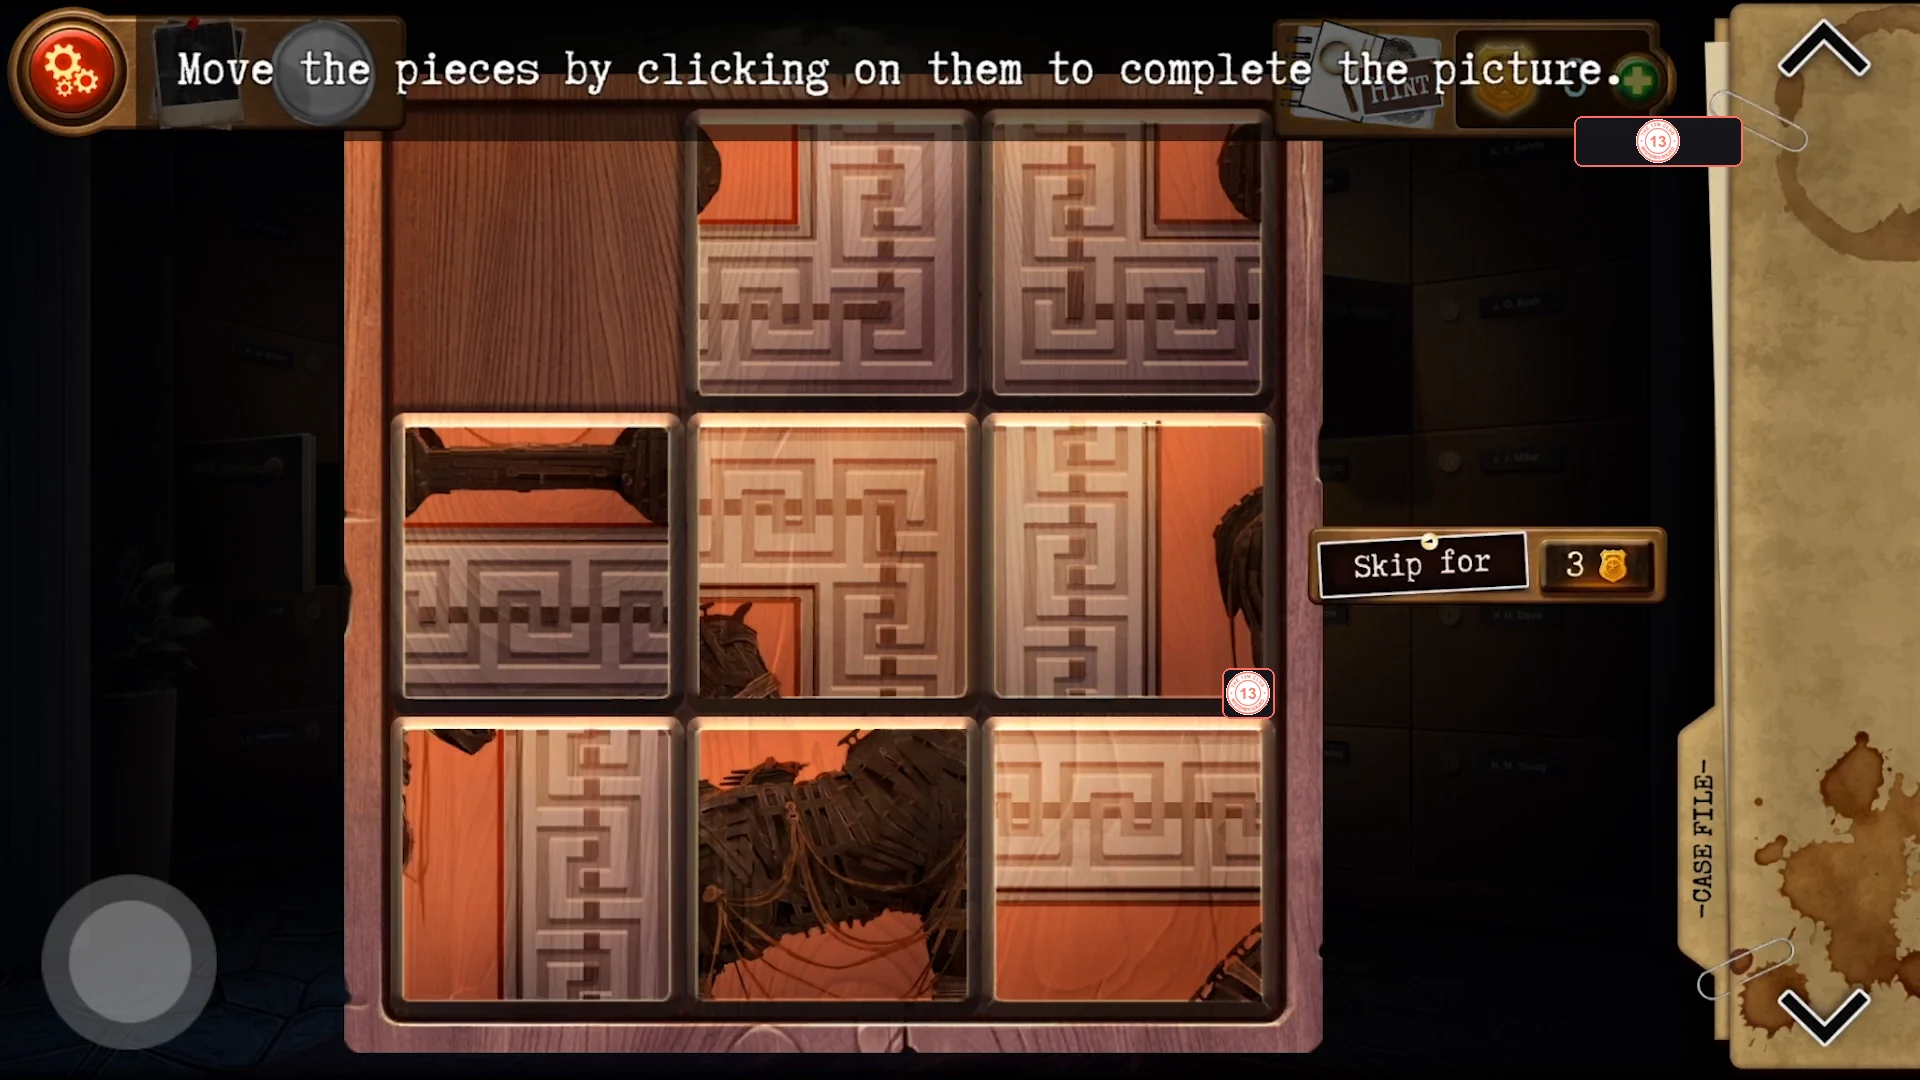
Complete the 3x3 sliding picture in Smith's deposit box to get a screwdriver.
- Return to Smith's box and place the third Puzzle piece in the last empty slot. Puzzle 'Move the pieces by clicking on them to complete the picture': clicking a tile next to the empty space slides it in. The finished picture shows a horse statue in the middle row with its plinth in the bottom-middle, maze borders around it and the empty space in the top-left corner. Place the statue and plinth tiles first, then cycle the border tiles around them.
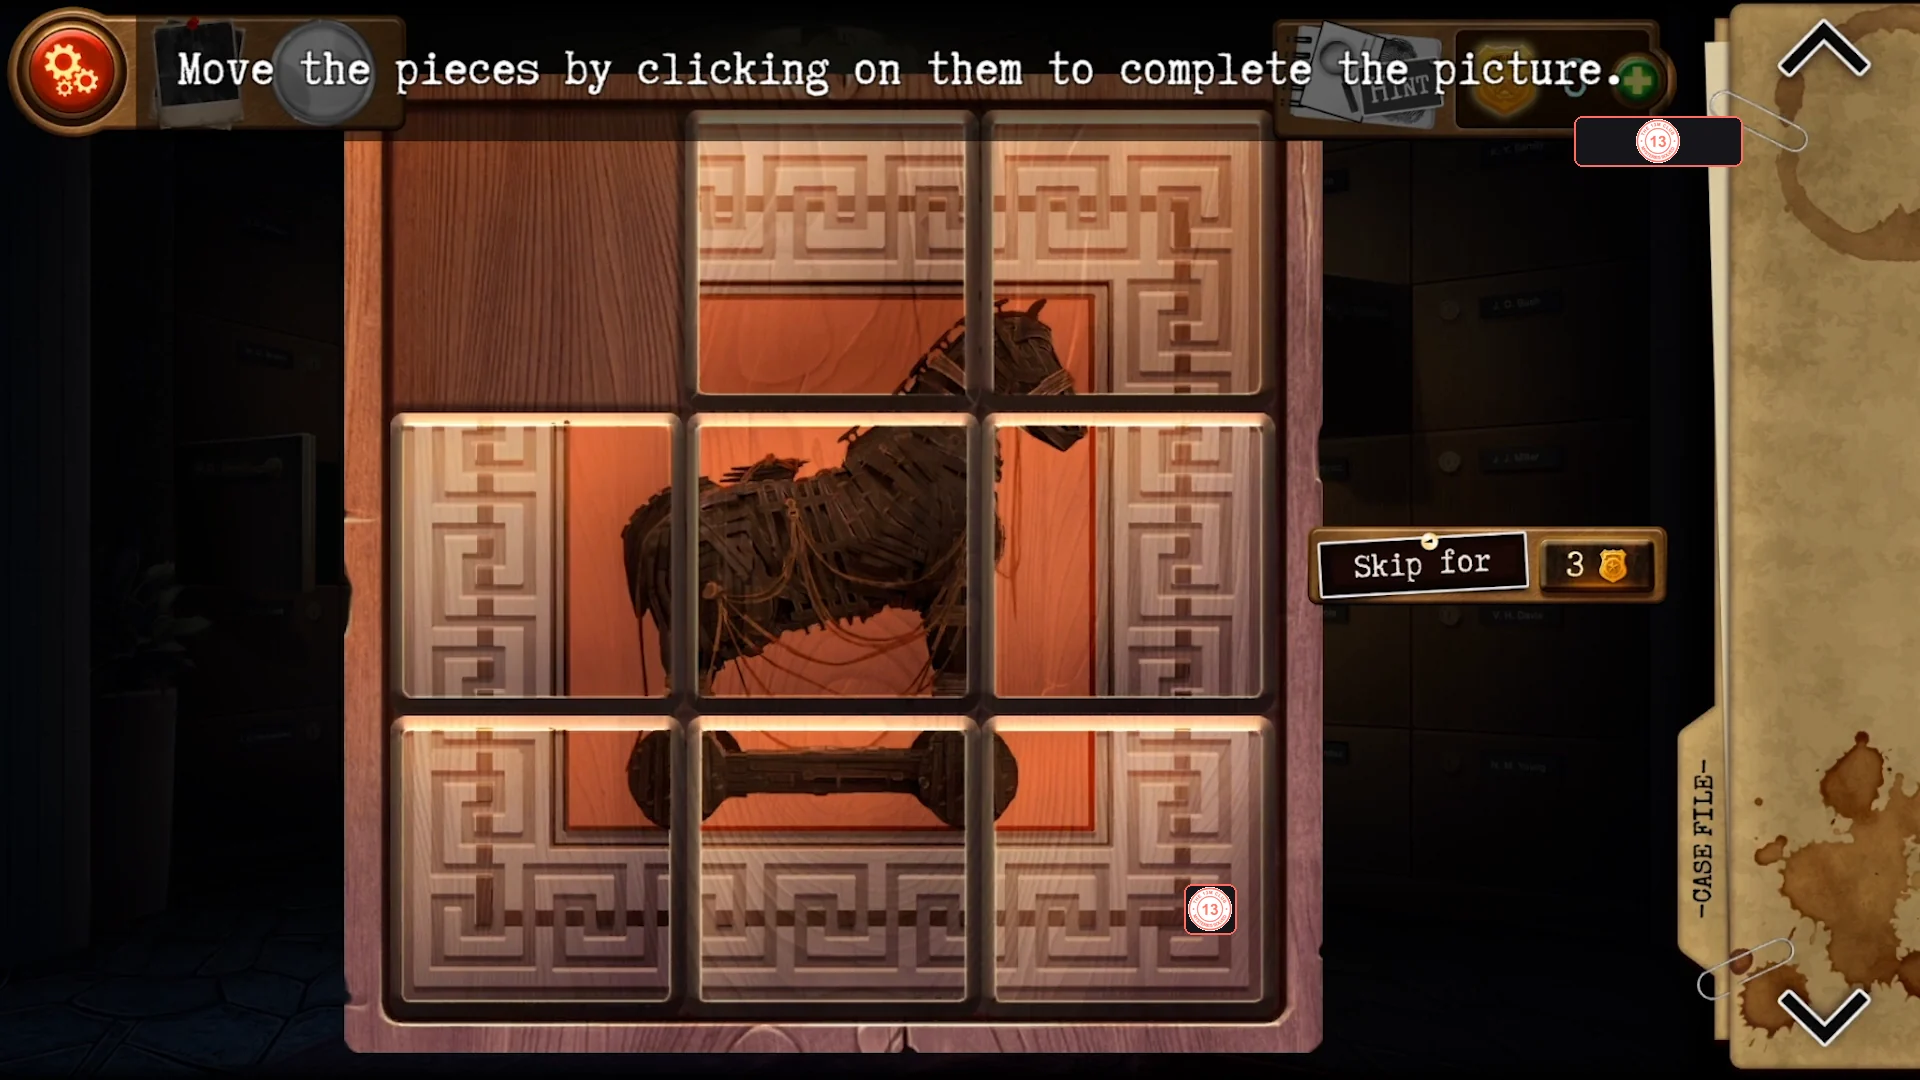
The completed picture. The empty space ends in the top-left corner. - Take the Screwdriver from the drawer that opened in the box.
Restroom wiring, the rainbow safe and the culprit
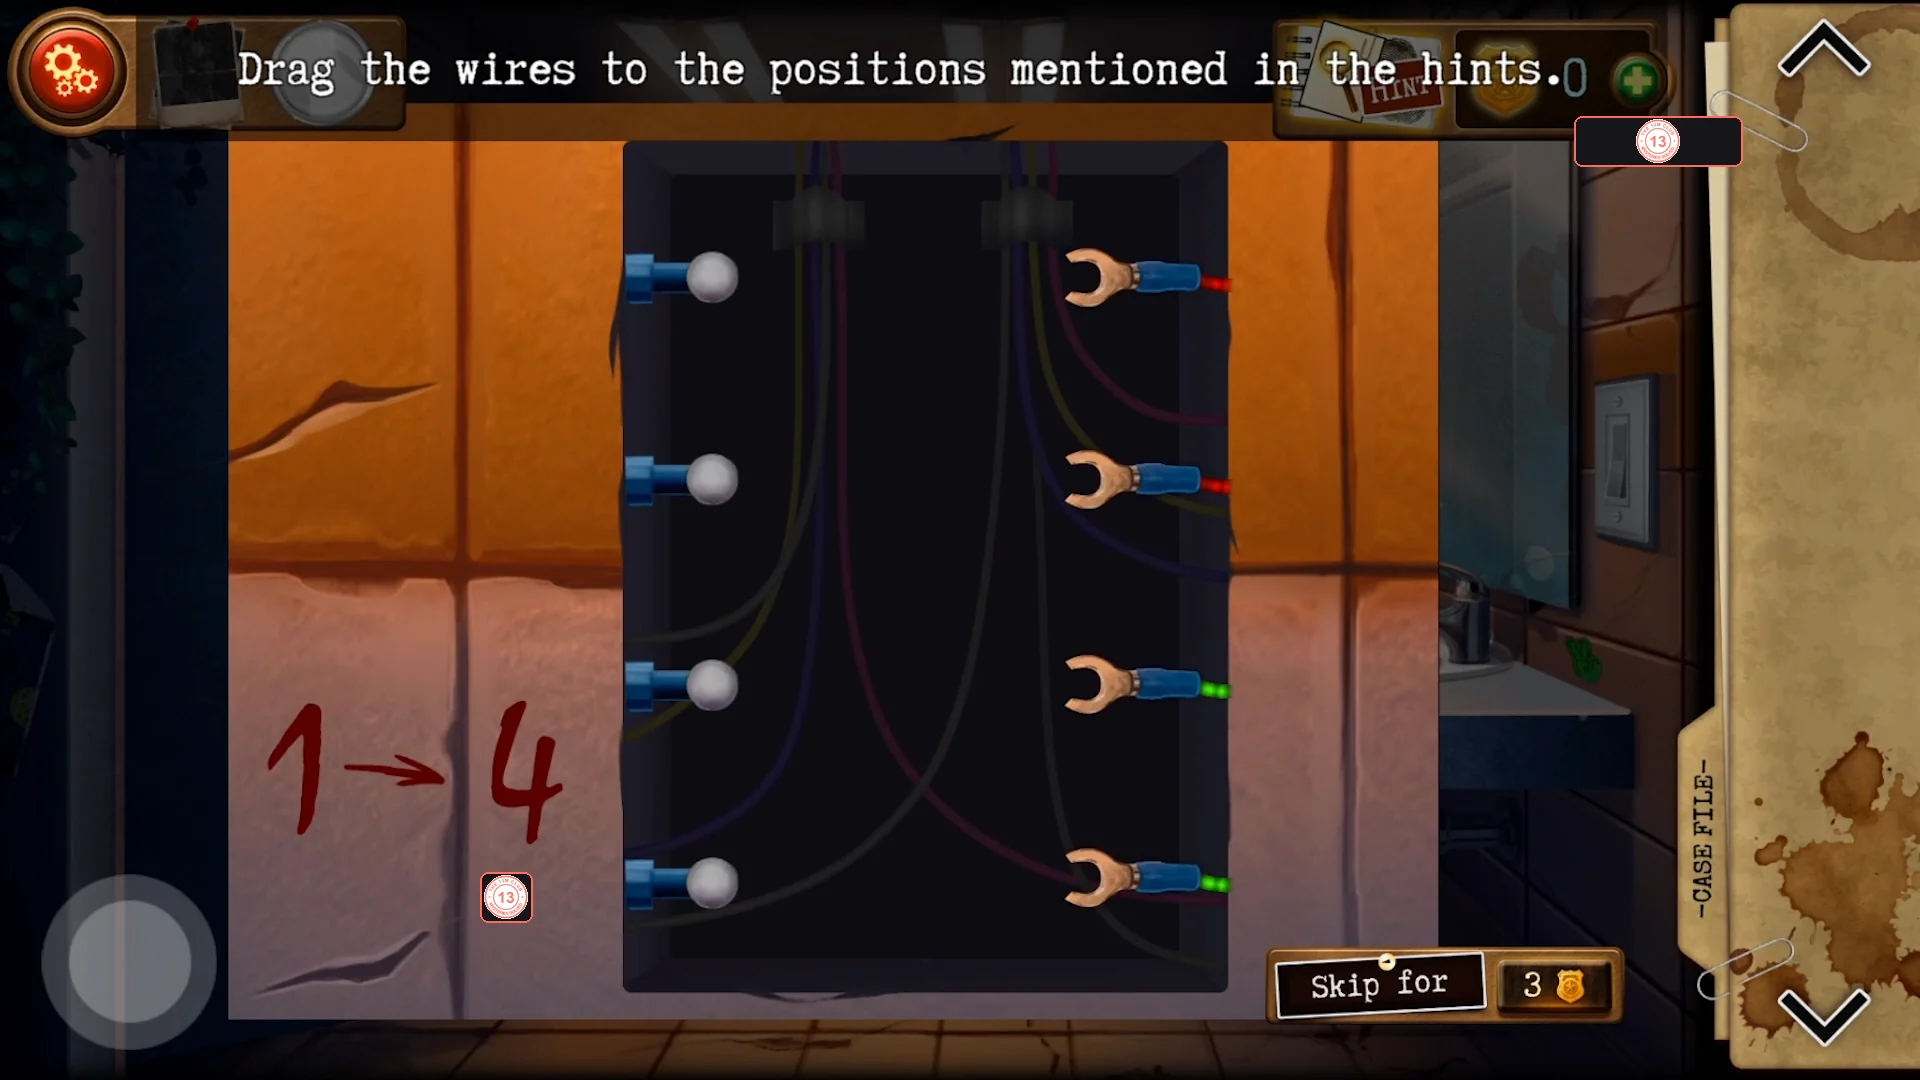
Rewire the panel behind the restroom light switch with the two hints, open the safe behind the mirror with the rainbow-ordered code and take the final, missable evidence before the security pass.
- Use the Screwdriver on the screws of the restroom light switch plate (the one with '1 -> 4' beside it) to expose the wiring ('Drag the wires to the positions mentioned in the hints.').
- Number the wire ends on the right 1-4 from top to bottom (two red, then two green) and the terminals on the left 1-4 from top to bottom. The hints give '1 -> 4' (beside the switch) and '4 -> 2' (paper in the toilet); the two remaining wires go to the two free terminals. Connect right 1 to left 4, right 4 to left 2, right 2 to left 3 and right 3 to left 1. The mirror over the sinks splits open and reveals a wall safe with a rainbow sticker.CODE1->4, 2->3, 3->1, 4->2
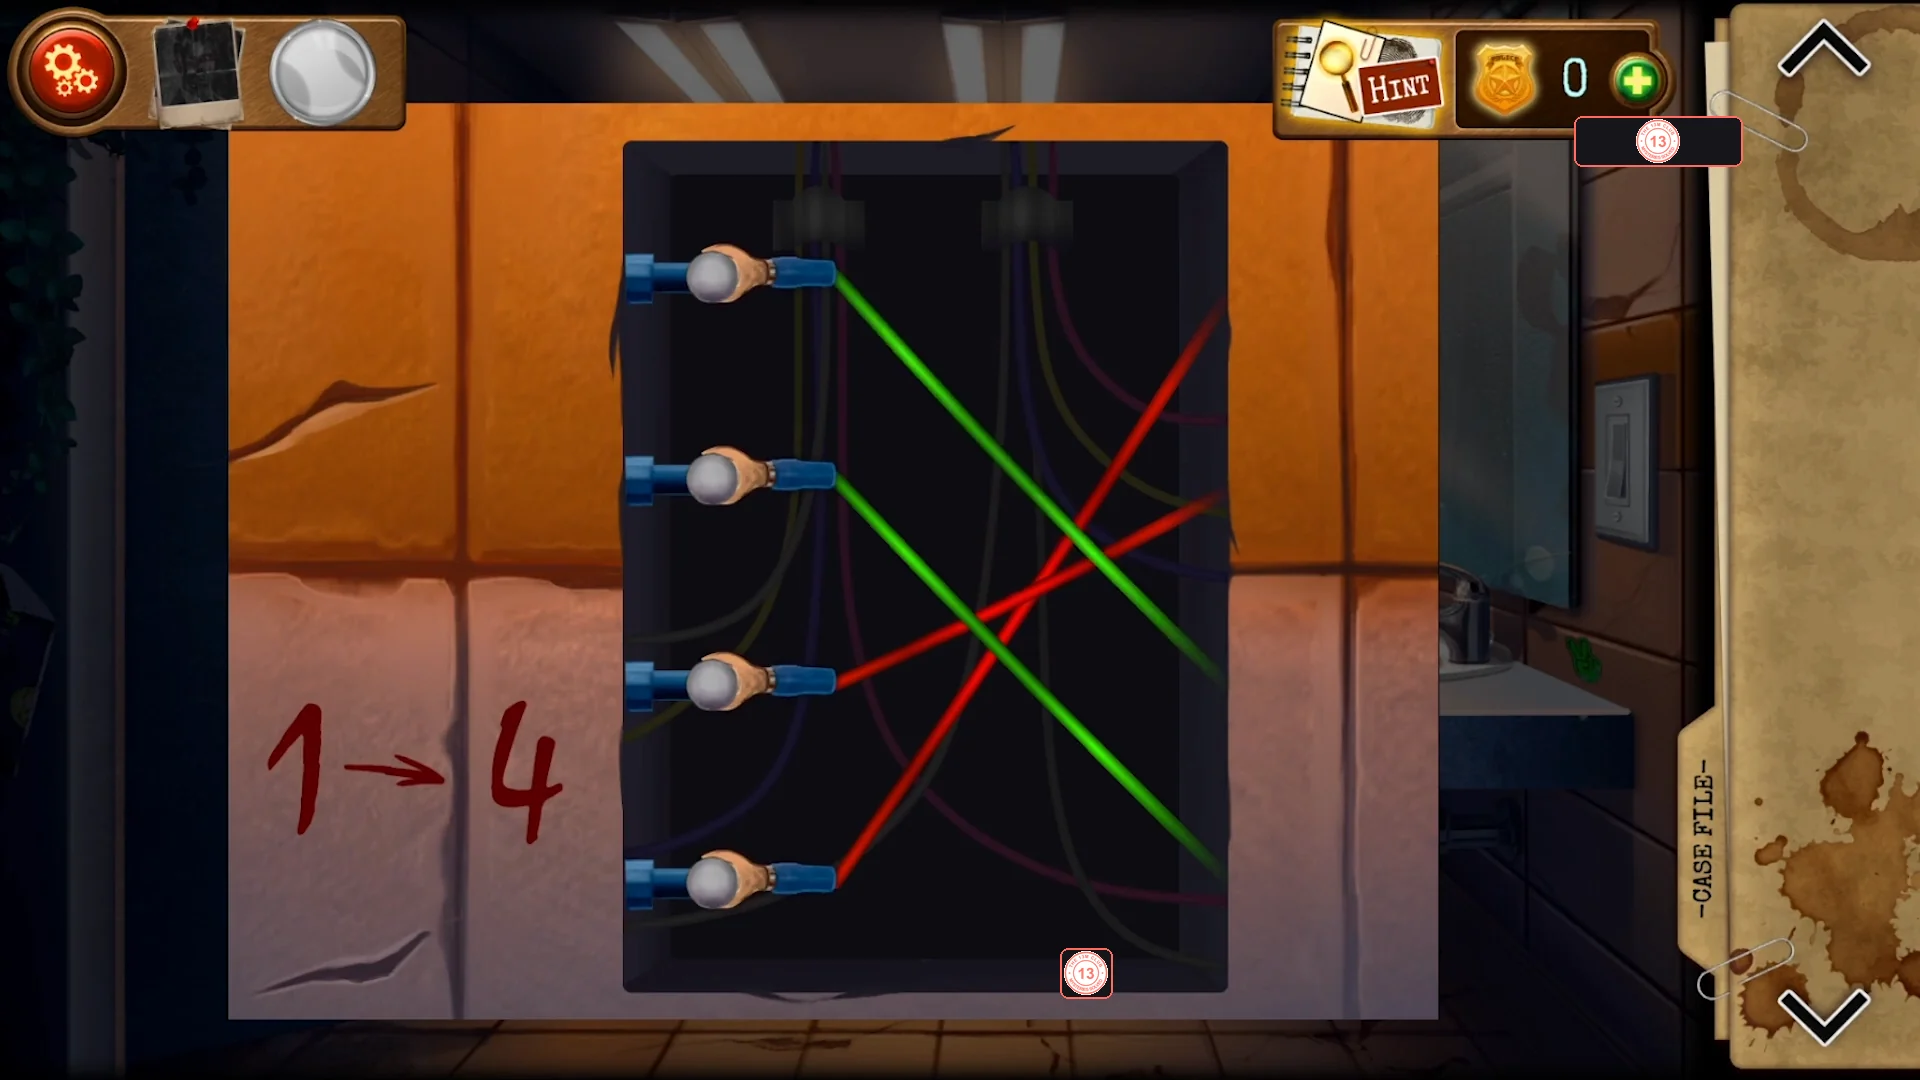
Solved wiring: right 1 to left 4, right 2 to left 3, right 3 to left 1 and right 4 to left 2. - Order the pawn shop card's digits by the colours of the rainbow - red 8, orange 1, green 4, blue 5 - and enter 8145 on the safe behind the mirror. It opens to show a statuette, a glass jar with a hand and a security pass.CODE8145
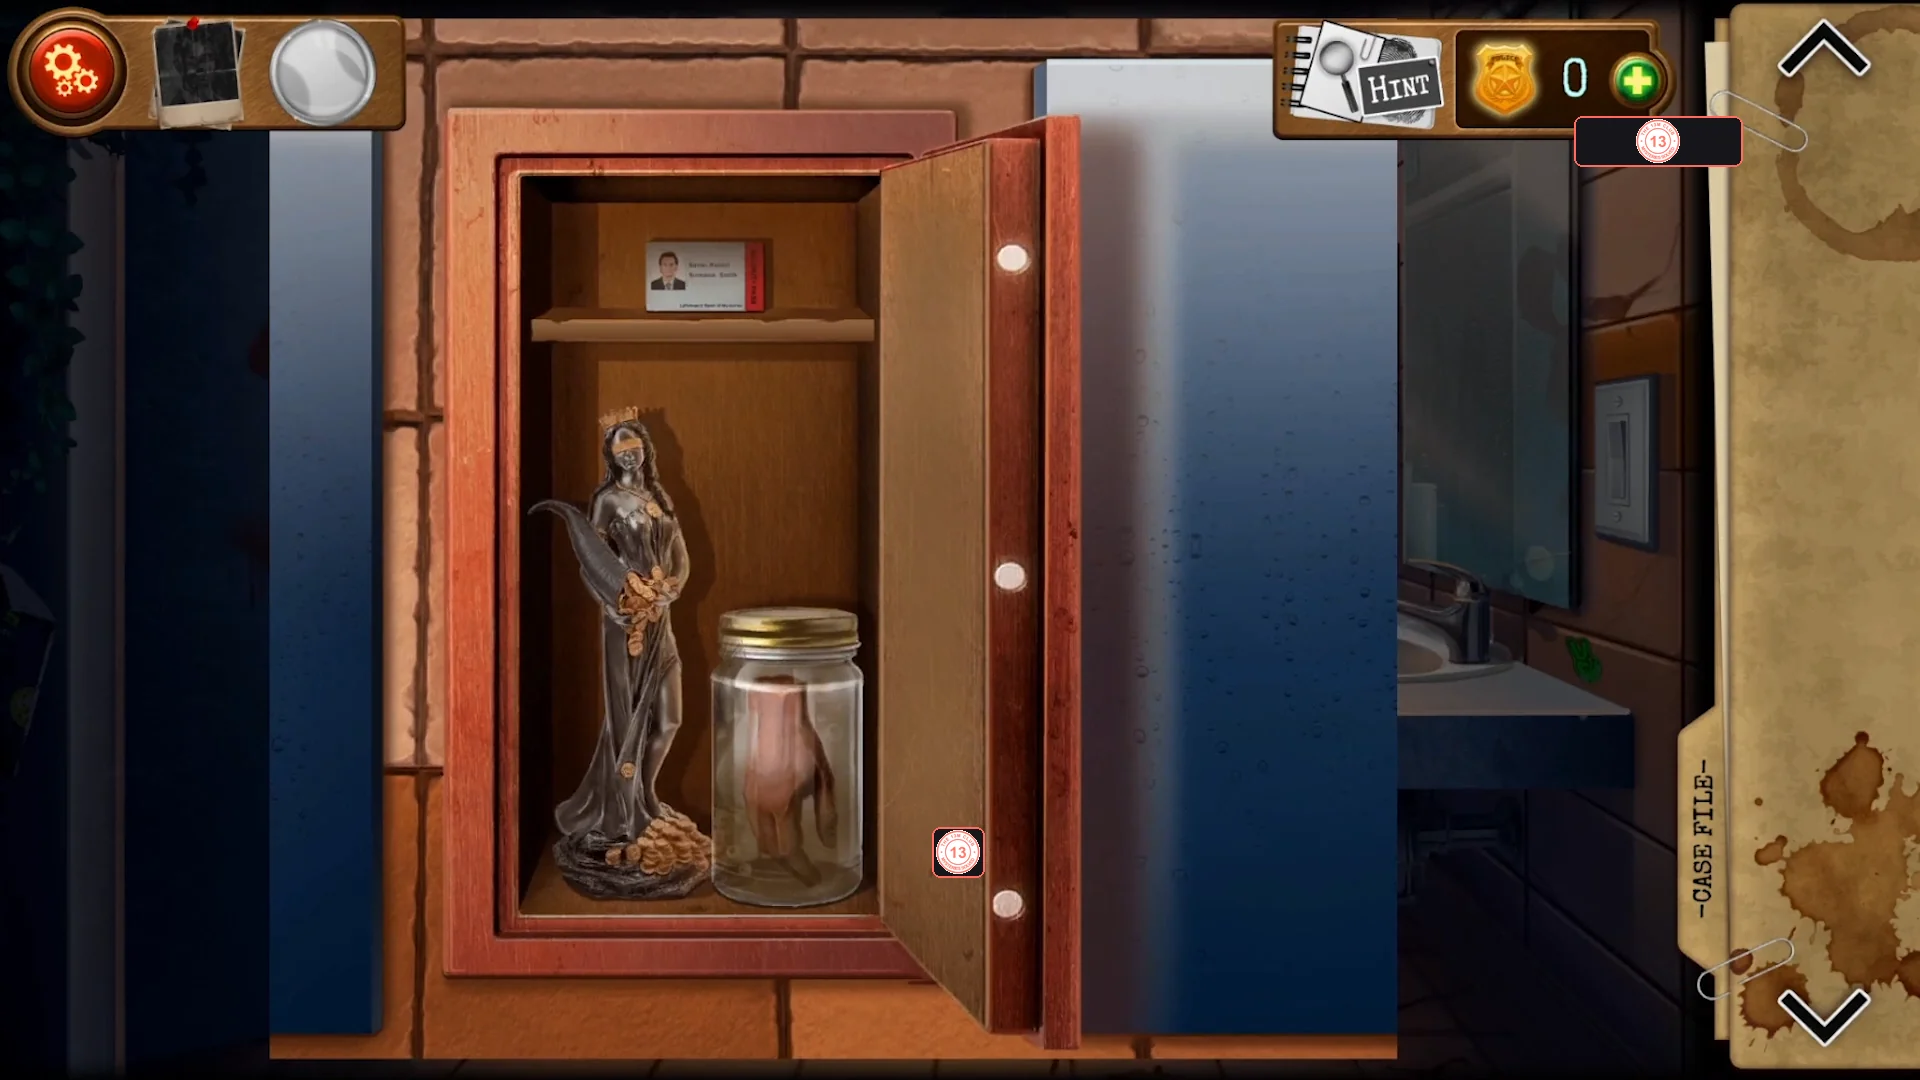
The open safe. Click the jar with the hand before you take the security pass from the top shelf. - Missable (Case File entry 5): BEFORE touching the security pass, click the glass jar with the hand ('It's definitely not a museum piece. He is back and he has made this.'). Taking the pass ends the chapter at once, so the jar must come first.
- Click the security pass on the top shelf (Robert Smith, Lefelman's Bank of Mysteries). This ends the chapter.