The Shakespeare Stage
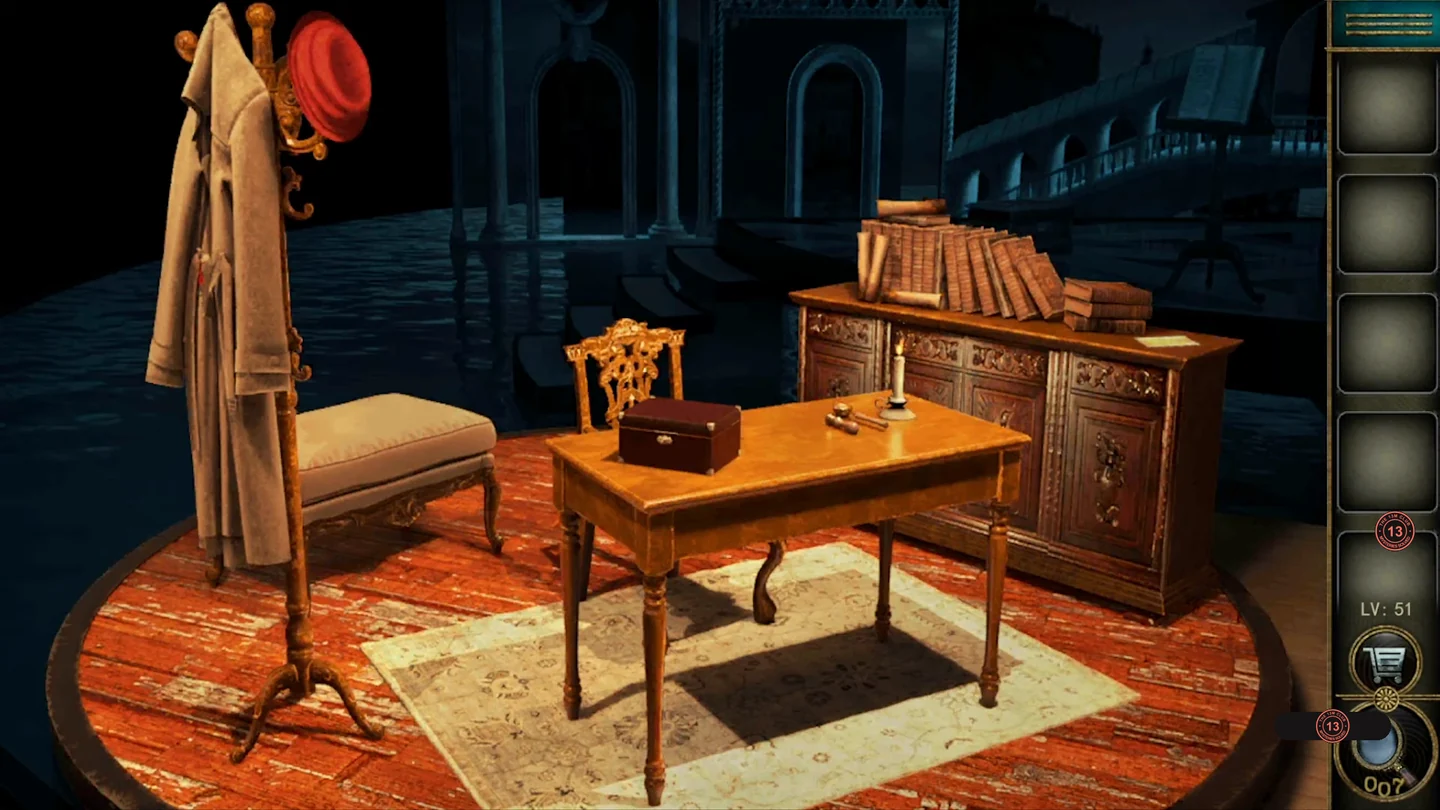
After Room 50 the adventure continues on a revolving theatre stage. Seal a letter, choose the right casket, steer the gondola, reveal the word on the slashed chair and open the treasure chest to earn a ticket.
- Take the key from the trench coat on the coat rack. Unlock the box on the desk and take the wax stick and the knife. Take the blank paper beside the books on the cabinet.
- At the desk with the candle, lay down the paper and cut a piece off the wax stick with the knife. Put the wax in the brass spoon, melt it over the candle, pour it on the paper and press the seal stamp into it. The dark second platform lights up.
- Tap the second platform to turn the stage. Open Shakespeare's portrait to reveal a sliding puzzle. Of the three caskets on the desk, the dull lead one ("Who chooseth me must give and hazard all he hath") holds Portia's portrait; take it.
- Place the portrait in the right-hand slot of the canal puzzle. Slide the wooden walkways out of the gondola's way and move it across to Portia.
- Turn the stage to the courtroom scene. Zoom into the balance scales and take the knife from the right-hand pan. Slash the upholstered chair with the knife; the stain reads FAIR. Enter FAIR on the red book on the lectern and take the shield piece.CODEFAIR
- Insert the shield in the lock of the banded chest. Scroll the three fleur-de-lis columns up and down to join the track lines, and guide each shield token into a slot on the right. Take the ticket from the treasure chest.
- Return to the full stage view and tap the ticket in your inventory. The ticket disappears, the curtains close and the room is complete.
The Renaissance Bedchamber
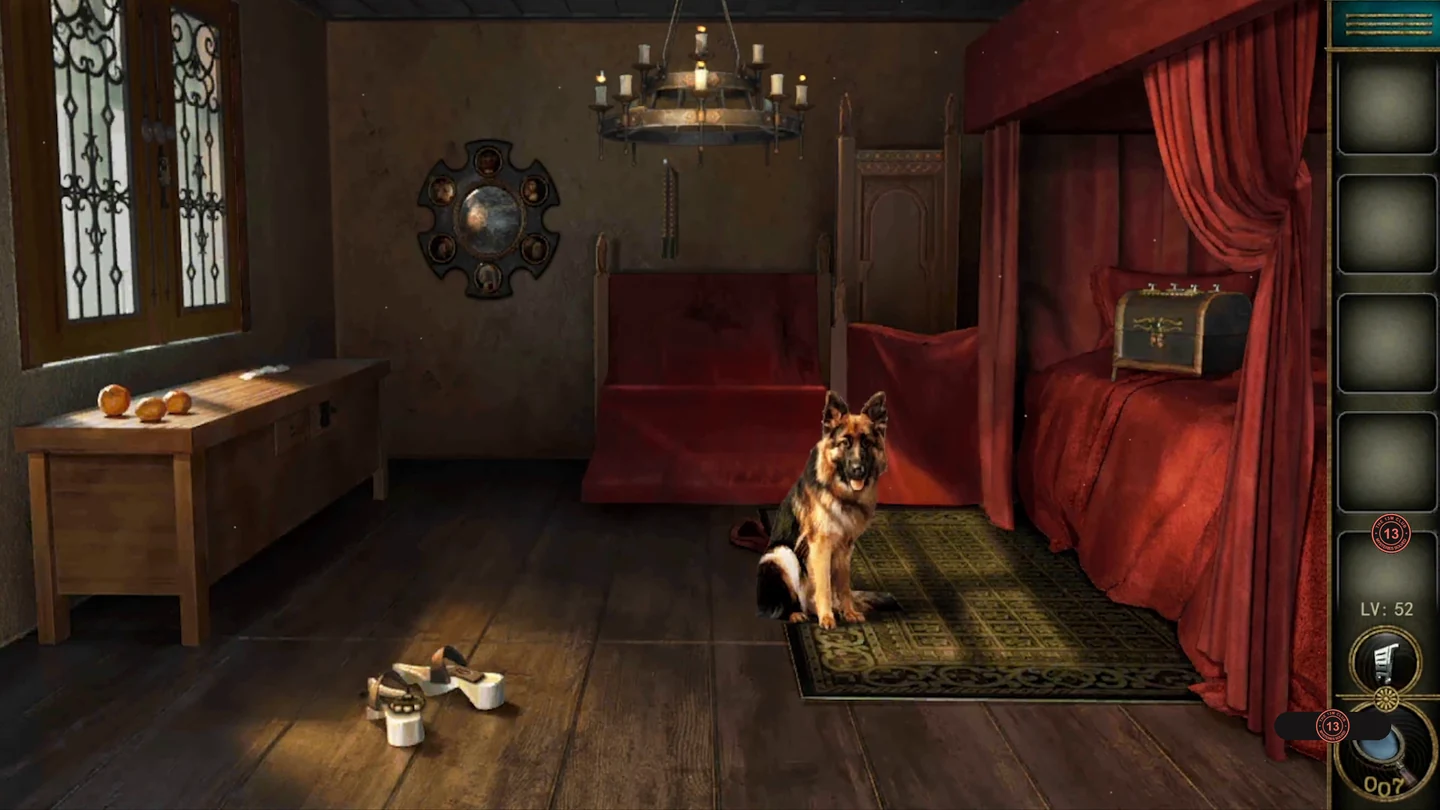
Feed the dog to find a key, complete the feather number pyramid for the cloth-covered chest, free the scarab lock on the bed chest, press the famous portraits in order and pick the padlock on the barred left window.
- Take the flower key and the oval button from the wooden clogs on the floor. Open the left drawer of the dresser and take the bone.
- Give the bone to the dog on the green rug. When it moves away, pick up the gold key from the rug.
- The dresser's right drawer has two keyholes: use the flower key and the gold key in them, then take the first scarab ornament (1/2). Note the example numbers inside. There are two separate containers to keep apart: lift the red cloth on the chair on the far side of the room to uncover a chest with a four-digit lock, and fit the oval button from the clogs into the empty slot on its front. Then take the feather pyramid sheet from beside the other chest, the one with the scarab lid on the bed.
- The example numbers in the drawer show the rule: every small triangle of three touching numbers adds up to 10. Use it to fill in the pyramid sheet; for example, the feather above 1 and 3 is 6. The feathers work out as 2 at the top, 4 at the right of the third row, 6 at the left of the fourth row and 5 in the centre of the bottom row. Each feather on the sheet is tilted like one of the four feathers on top of the dresser, and reading them in the dresser's left-to-right order gives 2, 4, 6, 5. At the cloth-covered chest, enter 2465 on its number lock and take the second scarab.CODE2465
- Place both scarabs on the lid of the chest on the bed. Slide the four corner levers until all six scarabs sit in their round slots, then open the chest and take the rod.
- Use the rod to knock the scroll off the ceiling chandelier. It shows four portrait silhouettes in a row; each matches one of the small portraits on the round wall ornament.
- On the round wall ornament on the left, match the small portraits to the silhouettes and press them in this order: top-right (the Mona Lisa), bottom (the Girl with a Pearl Earring), bottom-left (the bearded man in a dark cap), then bottom-right. Take the lock pick.
- Use the lock pick on the padlock of the barred window on the left. Lift the four pins in the order 2, 4, 3, 1 from the left, tapping each one at the moment it lines up so it stays up. When all pins are set, the padlock opens; leave through the window.
The Art Gallery
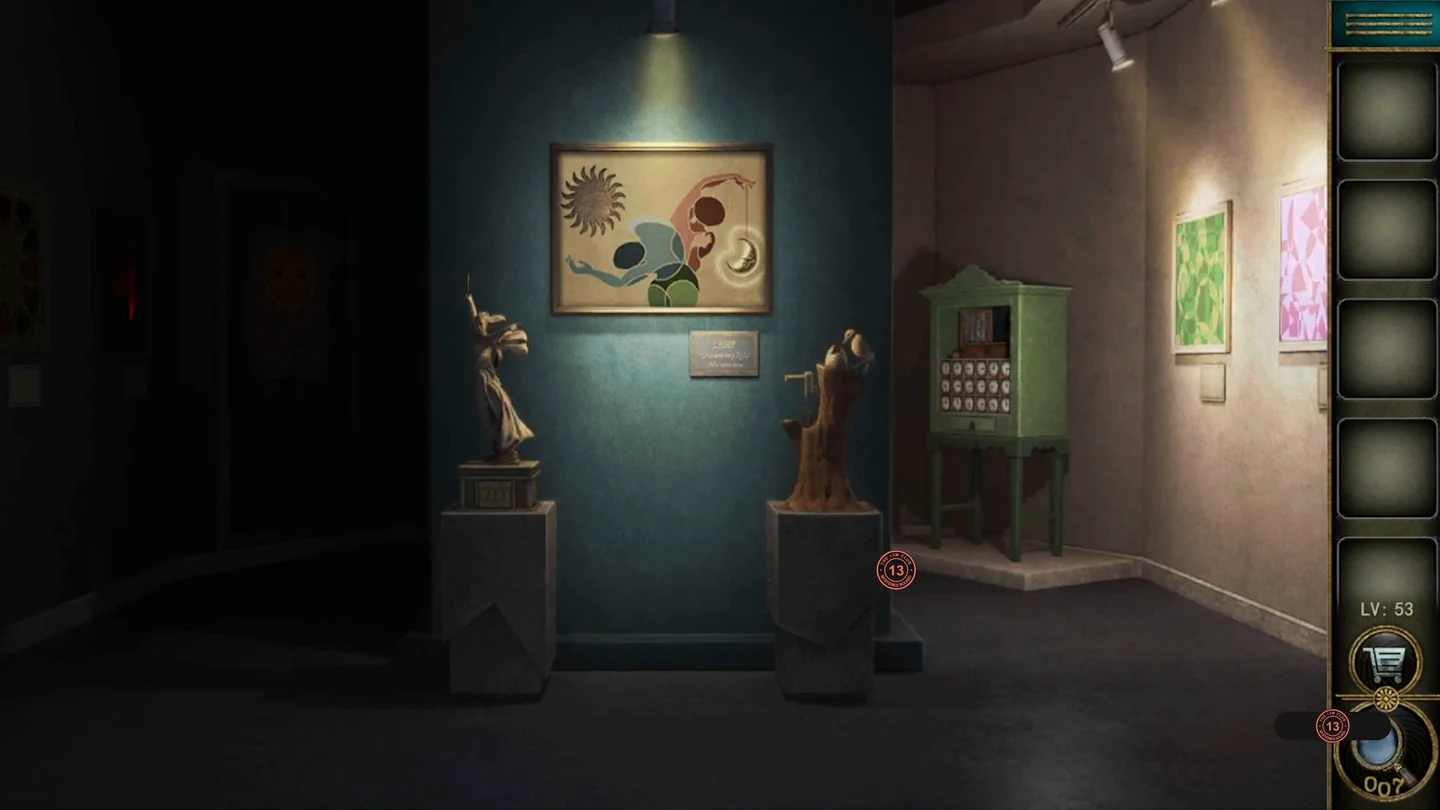
Restore the moon and sun to the LAND painting, read the hidden word through a lens, set the pens on the TIME painting, arrange the cabinet clocks and travel through the layers of the easel painting to the two door keys.
- Turn the crank on the wooden bird sculpture on the right so the bird cracks the egg, and take the crescent moon. Fit it into the moon outline of the central LAND painting; a green cabinet with eighteen clocks appears.
- Open the paint-spattered box on top of the green cabinet and take the red pen. Then open the hidden compartment in the box's lid and take the lens.
- Fit the lens into the outlined slot on the green TRUTH painting and rotate it until the word FIND shows through it. Take the blue pen from the raised hand of the winged statue. Enter FIND on the letter lock of the statue's pedestal and take the sun from the compartment that opens.CODEFIND
- Fit the sun into the LAND painting. The left wall opens onto an alcove with an easel; take the green pen beside it.
- Place the three pens in the centre of the TIME painting of coloured hands; they become its clock hands. Each pen points to the hand of its own colour, giving red 9, blue 2 and green 5.
- On the green cabinet, tap two clocks to swap them. The eighteen clocks form three pairs of side-by-side columns, and the hands of each pair must join into one large digit: 9 in the first pair of columns, 2 in the second and 5 in the third. The picture below shows the finished cabinet. Take the round wooden disc from the drawer that opens.
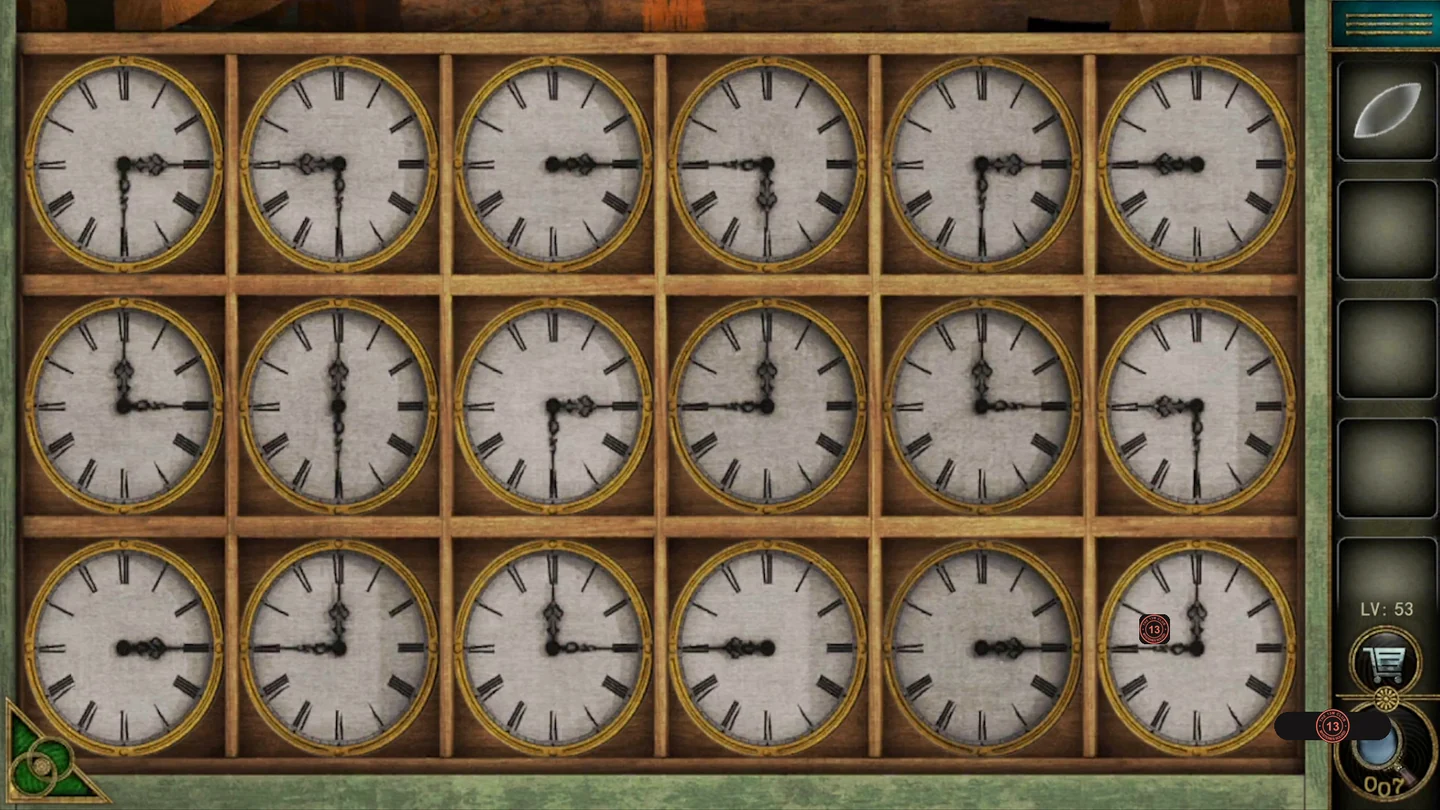
Finished cabinet: each pair of columns forms one digit, reading 9, 2, 5. - Place the disc in the centre of the sunflower on the easel; it works as a dial that changes the painting's scene. Turn it to the club scene (the window) and take the zip pull there. Then turn it to the diamond scene, attach the pull to the cushion, unzip it and take the first key (1/2).
- Turn the dial to the spade scene: the letters drawn around the green door's arch read SUSA. Turn back to the sunflower scene, enter SUSA on the wooden letter lock beneath the sunflower and take the second key.CODESUSA
- Turn the dial to the green double doors and use the two keys in their two separate keyholes to leave.
The Day and Night Bedroom
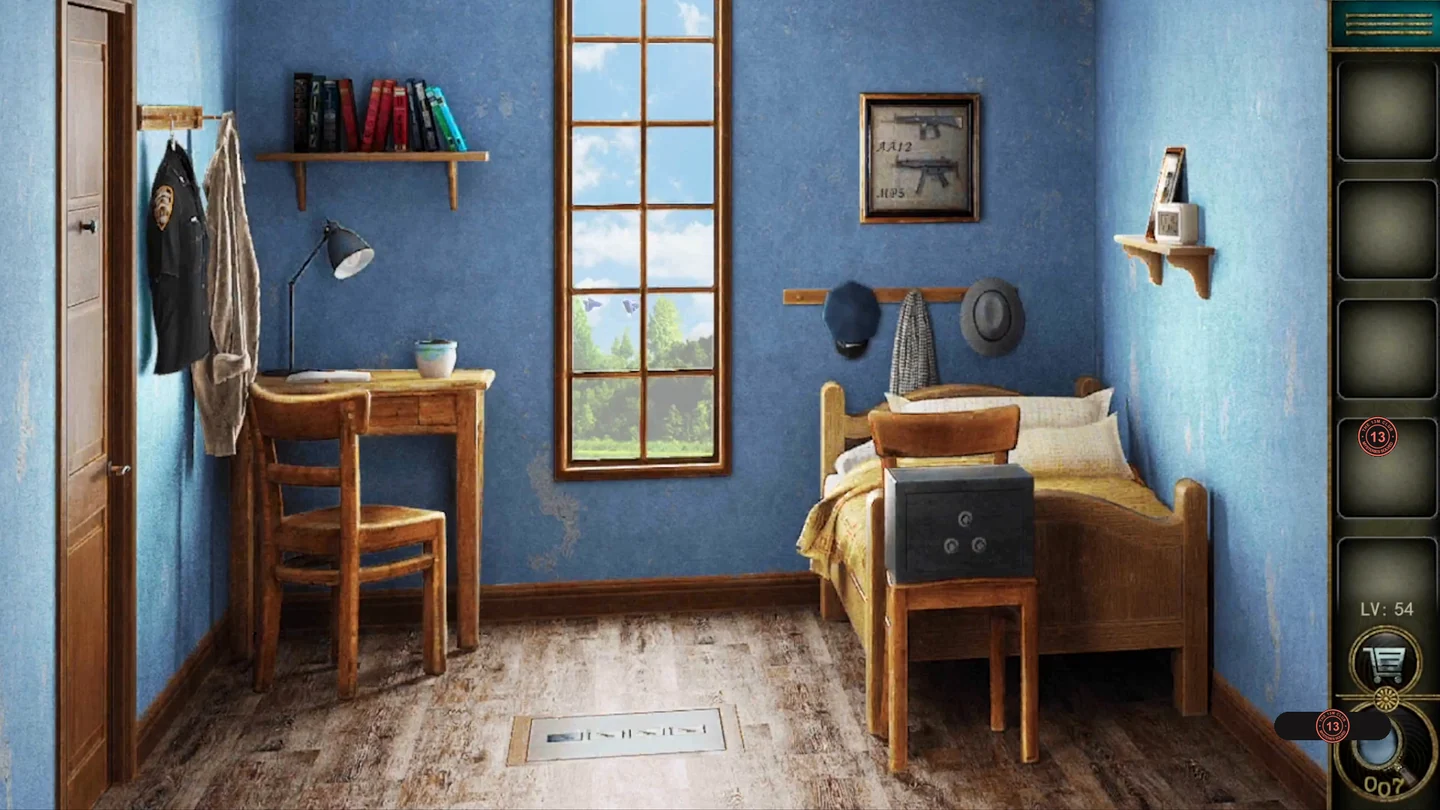
In the final room, opening the door switches the bedroom between day and night, and each version holds different clues. Grow an orange tree across both times, match the note's gun list to the pictures and complete the colour-and-gear grid on the exit door.
- Open the small hatch in the door; a hand passes you a torn note and a box tied with blue ribbon. Use the door to switch to night.
- At night, take the knife from the small shelf on the left wall, just above the digital clock. Cut the ribbons on the box with it and take the key inside.
- Switch back to day. Unlock the desk drawer and take the plant food bottle, the first round part (1/3) and the safe note.
- The safe note marks the three dials of the black safe on the stool by the bed: top 10, bottom left 25, bottom right 5, each with an arrow for the turning direction. Set the dials that way and take the seeds.
- Plant the seeds in the pot on the desk and water them with the plant food. Switch to night: the seedling has grown. Feed it again and pick the orange.
- At night, give the orange to the white rat sitting on the floor hatch. Take the paper scrap it leaves and combine it with the torn note from the door hatch. The joined note reads: help me time police, 3.31, AA12, C96, M16, M4A1.
- The gun names appear on the framed pictures, which differ between day and night. In day mode, open the floor hatch: it holds four gun-picture selectors. Set them to AA12, C96, M16, M4A1 and take the second round part from the hatch.CODEAA12, C96, M16, M4A1
- Compare the digital clock on the shelf in day mode and in night mode: each version shows only some of the digit segments. Put the two displays together and they read 08:59. At night, enter 0859 on the four-digit lock of the floor hatch and take the hexagonal tile.CODE0859
- Stay in night mode. Go to the blue box on the chair by the bed; this is not the daytime three-dial safe. Place the tile in the empty centre of its hexagon board. Tap one large hexagonal group and then another to swap their positions. Keep swapping until every pair of touching symbols matches and glows; the box opens. Take the third round part.
- Fit the three round parts, which are blue police-gear tokens, into the empty spots at the top of the 5 × 5 grid on the exit door. Tap one token and then another to swap them. The goal is a grid in which every row and every column holds each colour (blue, green, purple, red, yellow) and each item (handcuffs, baton, grenade, radio, pistol) exactly once; the board starts sorted by colour, so most tokens must move. The light beside a row or above a column turns green when that line is correct. One working solution, top row to bottom row, left to right: row 1 yellow baton, red grenade, purple radio, green pistol, blue handcuffs; row 2 red radio, purple pistol, green handcuffs, blue baton, yellow grenade; row 3 purple handcuffs, green baton, blue grenade, yellow radio, red pistol; row 4 green grenade, blue radio, yellow pistol, red handcuffs, purple baton; row 5 blue pistol, yellow handcuffs, red baton, purple grenade, green radio. When every light is green the door opens; step through to finish the game and reach the Congratulations screen.
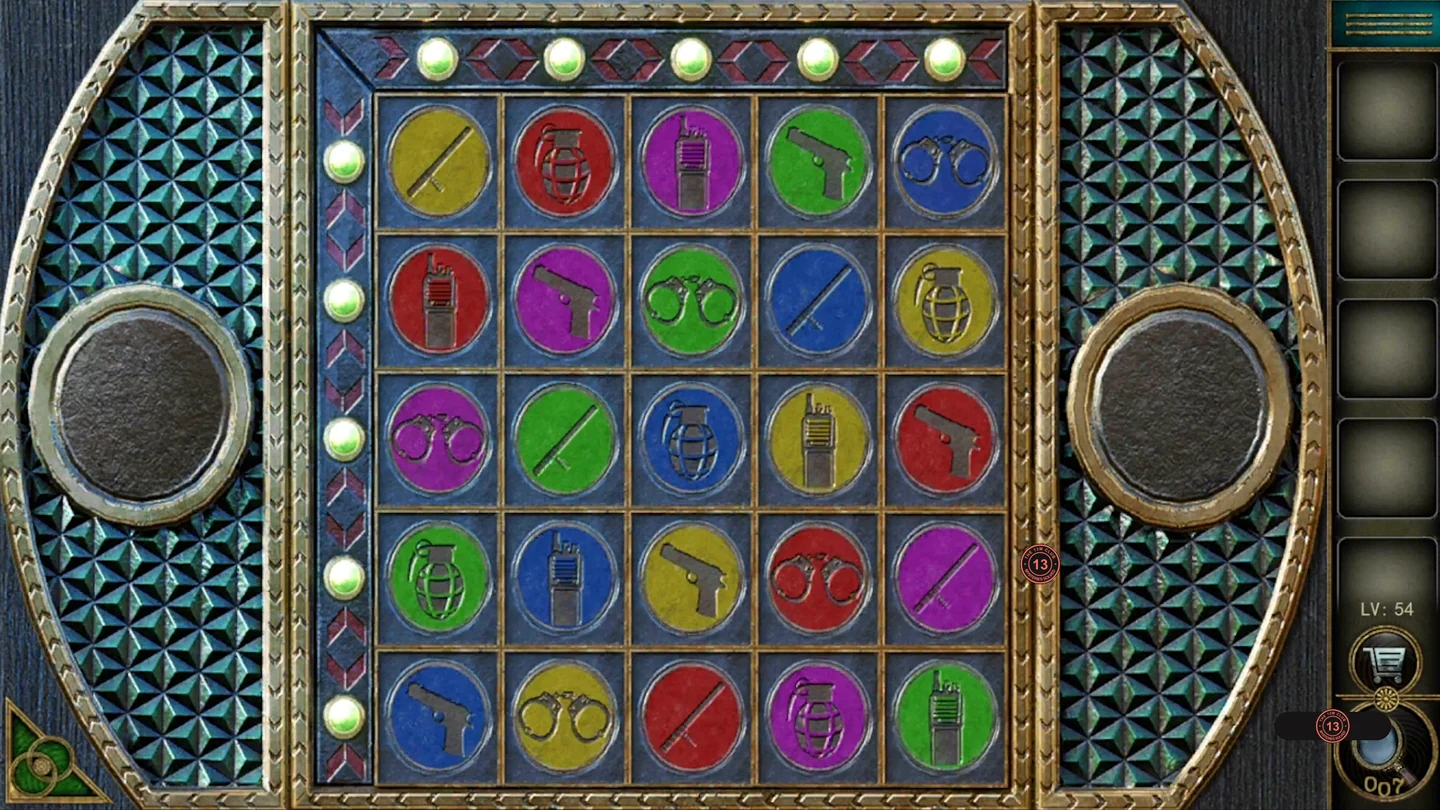
One solved door grid: every row and column holds each colour and each item once.