The Demon's Hall
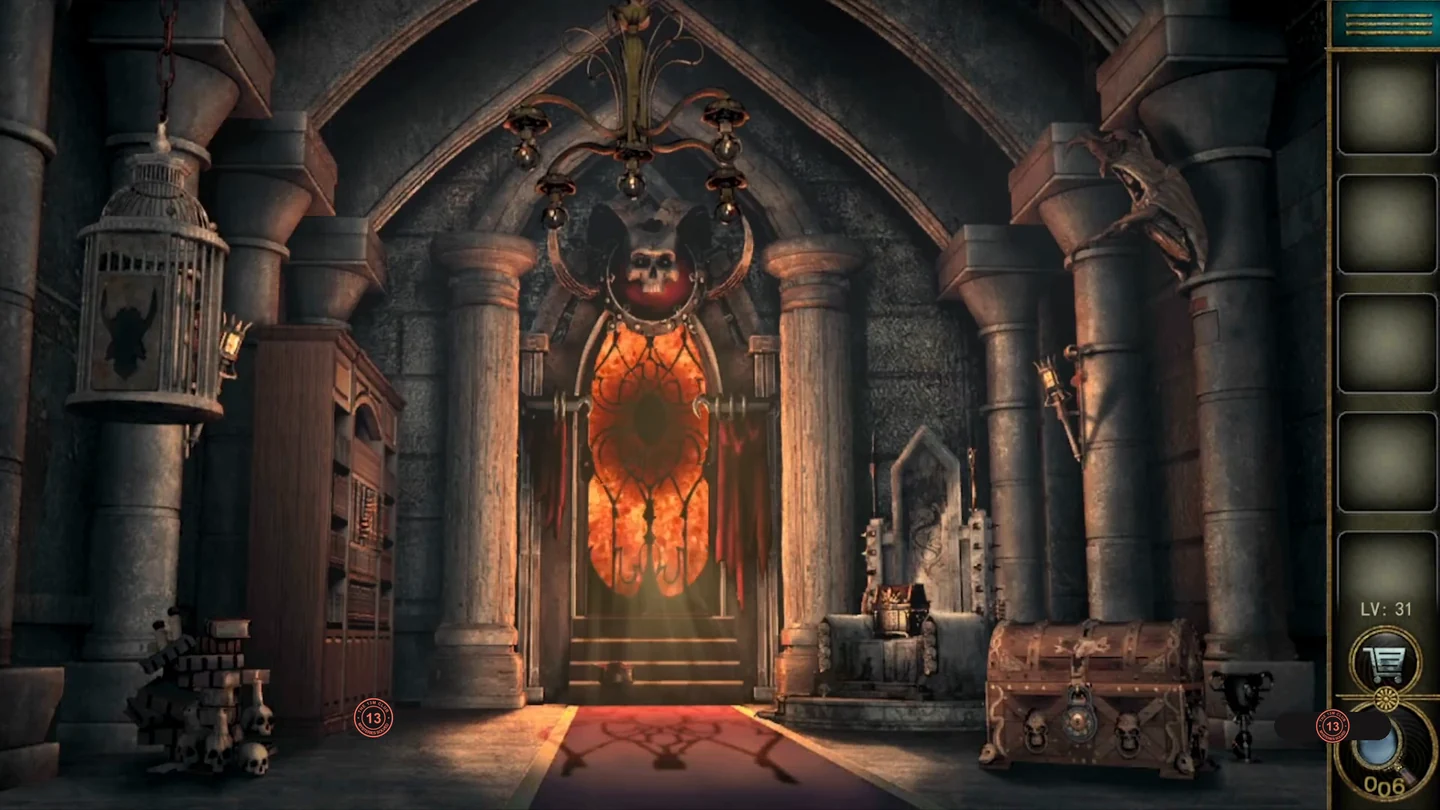
Follow the chandelier's colours, match the symbols on the golden chest, free the watching eye from the skeletal hands and repair the Judge statue to obtain the gem for the fiery portal.
- Zoom into the gap in the bookshelf where skeletal hands hold a plaque and take the gold tile below it (1/2).
- Watch the skull chandelier: its globes light orange, red, blue, green, purple. On the cylinder panel beside the hooded Judge statue, press the coloured runes in that order and take the second tile.
- Pick up the first ring lying on the floor beside the golden chest. Then put both tiles in the 3 × 3 grid on the chest. Each tile has large symbols in its centre and small green marks on its edges; arrange the tiles so every green edge mark points at a matching large centre symbol on the neighbouring tile (the question mark explains the rule). Take the second ring from the opened chest.
- Put both rings on the two bare fingers of the skeletal hands in the bookshelf. The hands release a stitched book with an eye. Tap the eye four times; each tap makes it look a new way. Note the directions in order: right, down-left, up and up-left.
- On the iron floor chest, press the round buttons around the eye in the same directions: right, bottom-left, top, top-left. Take the stone wing.
- Attach the wing to the Judge statue. Its wings spread and a panel opens; take the horned mask.
- Fit the mask into the front of the hanging cage on the left. The gate opens and a red gem drops; take it. Optional star 31: tap the small star lying at the bottom right inside the open cage, just right of where the gem was.
- Set the red gem into the oval socket of the fiery portal and step through.
The Yacht Deck
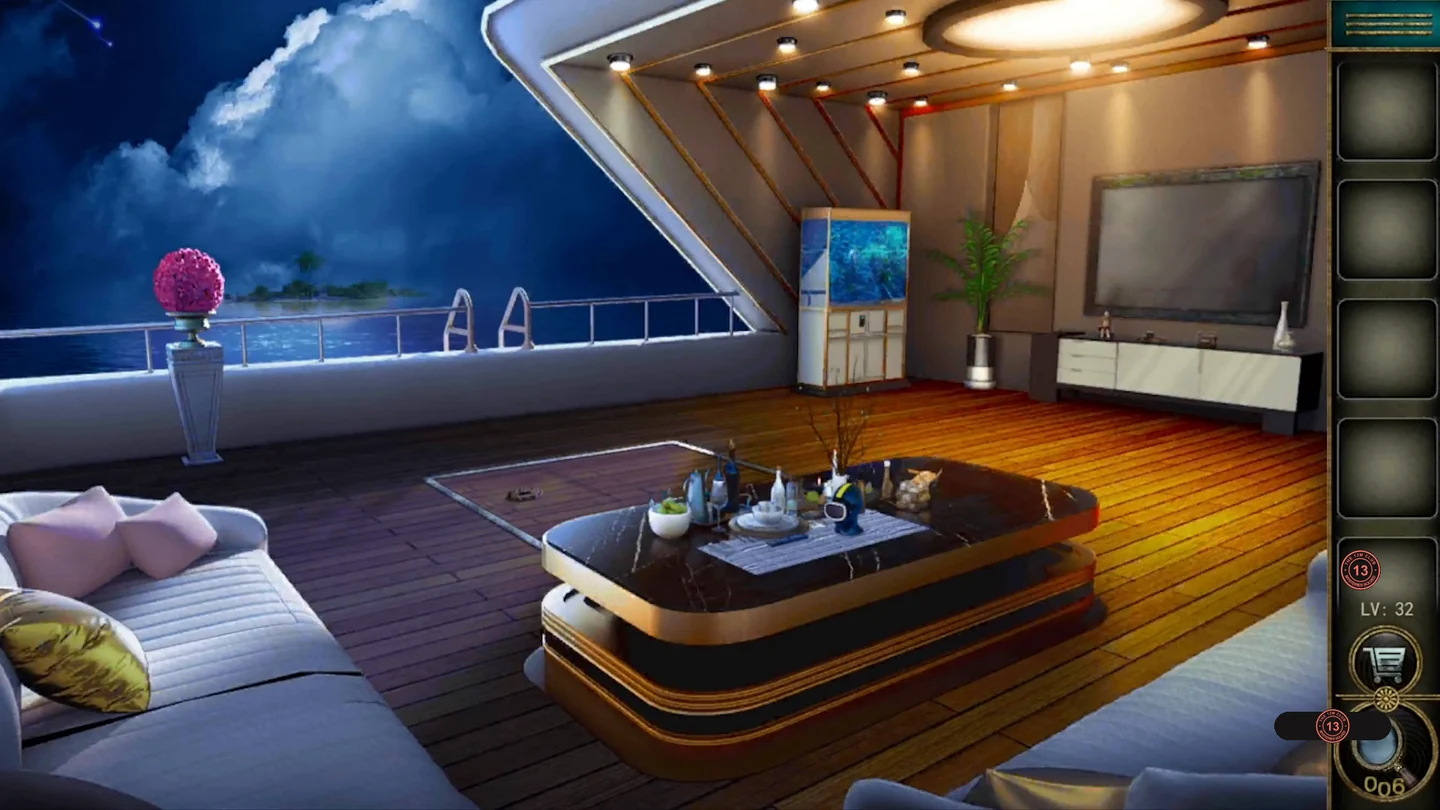
Collect four pieces of diving gear around the night-time yacht: fish a key out of the aquarium, solve the fish factor tree and decode the symbols seen through the telescope.
- At the dining table, take the TV remote and the first piece of diving equipment (1/4). Lift the corner of the striped tablecloth nearest you and take the magnet hidden under it.
- Move the seat cushion on the white sofa to find a four-letter box. Optional star 32: tap the gold pillow on the sofa.
- Lift the rose vase off the stand at the railing to uncover an empty telescope tripod.
- Open the sliding door of the TV cabinet and take the rope and the batteries. Tie the rope to the magnet and put the batteries in the remote.
- Lower the magnet into the aquarium to pull up the key from the gravel. Unlock the deck hatch with it and take the flippers (2/4) and the blue telescope.
- Turn on the TV with the remote. Guide the little man from the bottom-left corner to the girl at the top-right. Nine flowers are hidden on the grid and appear as you step on them; collect all nine within the ten-move allowance shown on the right and finish on the girl. A route that collects all nine, starting from the bottom-left corner: Right, Up, Right, Right, Up, Right, Up, Up, Right, Right. If you go wrong, use the round arrow to restart. The TV then shows a letter-symbol table.
- Use the remote on the TV again to change the channel to the factor tree. It starts at 576: 18 × red fish, with 18 = blue × 3 and red = green × 8, so blue = 6, red = 32, green = 4 and yellow = 2. Now count the fish in the aquarium: one red, two yellow, three blue and four green. That fixes the order red, yellow, blue, green. Enter 32264 on the keypad under the aquarium and take the third piece of diving equipment (3/4) from the drawer.CODE32264
- Mount the telescope on the tripod and pan around the coast to find four numbered symbols. The TV is still on the factor tree, so use the remote on it again to switch back to the letter-symbol table. Compare the symbols with the table: 1 = L, 2 = I, 3 = A, 4 = M.
- Enter LIAM in the box under the sofa cushion and take the last piece of diving equipment (4/4). Use the complete set at the boarding ladder to dive off the yacht.CODELIAM
The Ruined Theatre
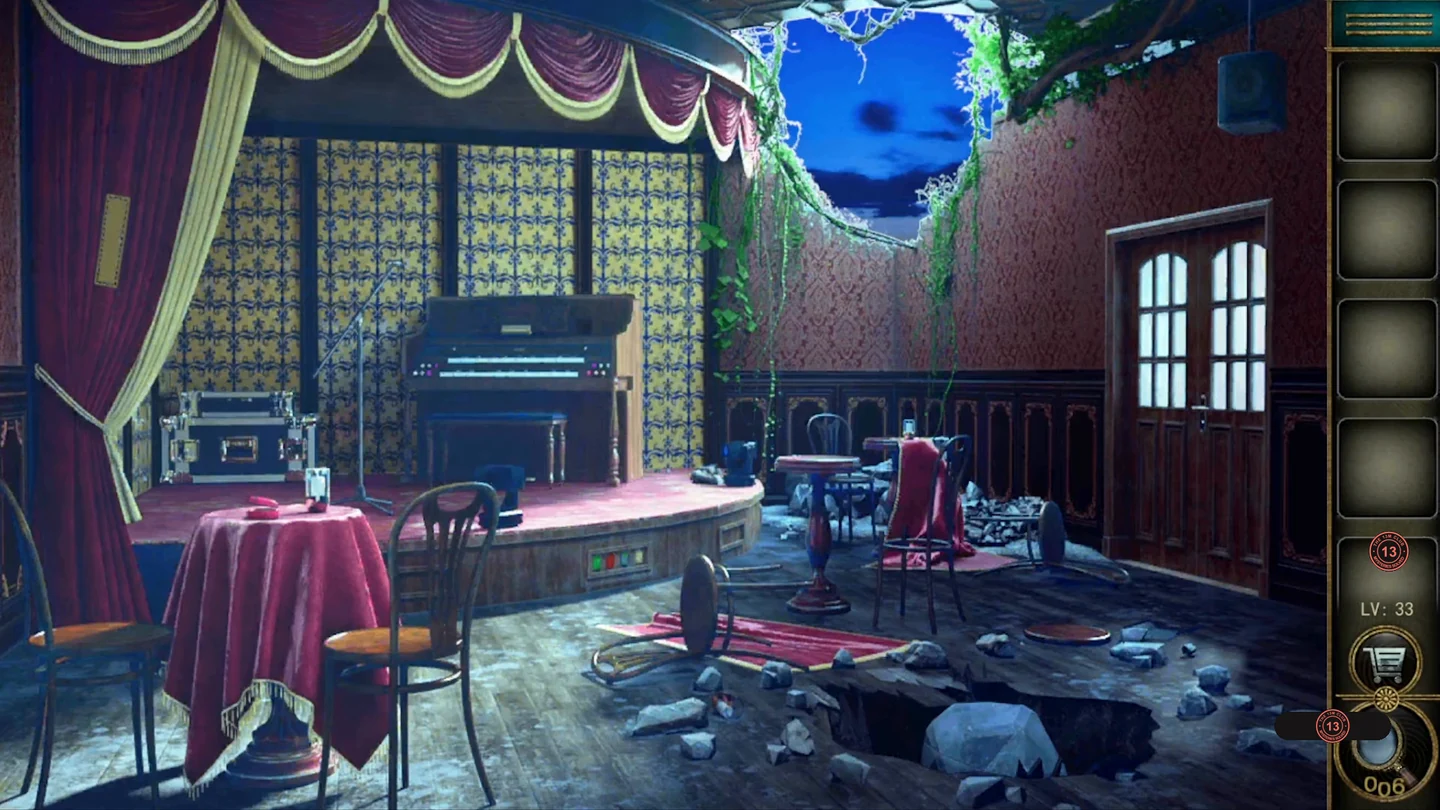
Focus the spotlight to free the music sheet, combine key shapes on the two-tier organ, read the coloured numbers around the hall and tune a signal transmitter to call for an unusual ride out.
- Open the red heart-shaped box on the front-left table and take the gold medal; note the yellow 8 inside the lid.
- Zoom into the floor spotlight marked NO. 1 in blue. Use the medal on the rim around its front glass to unscrew it, and take the convex lens.
- Hold the lens in the light beam at the stage curtain to burn through the tape holding the yellow sheet, and take the sheet.
- Place the sheet on the organ's stand. Each of the six glyphs on the sheet combines the shapes on three engraved keys. Count only the keys that carry an engraving: for the first glyph, press the third and fourth engraved keys in the top row and the third engraved key in the bottom row. Selected keys turn pink, and the glyph lights pink once all three are right. Match the remaining glyphs the same way. Take the first red sign from the compartment that opens.
- At the broken speaker by the right door, take the second red sign from the floor and note the red 7. The curtain shows a green 5.
- Open the box with four coloured dials on the front of the stage below the organ. Set them to green 5, red 7, blue 1, yellow 8, and take the laser cutter.CODE5718
- Cut open the boulder in the floor crater with the laser and take the signal transmitter. Optional star 33: use the laser on the lower grille of the broken speaker and tap the star behind it.
- Examine the transmitter in the inventory and insert both red signs into the empty tracks. Slide each sign until the black line across it lines up with the horizontal guide line. When all seven are aligned, a UFO arrives and beams you out.
The Storybook Bedroom
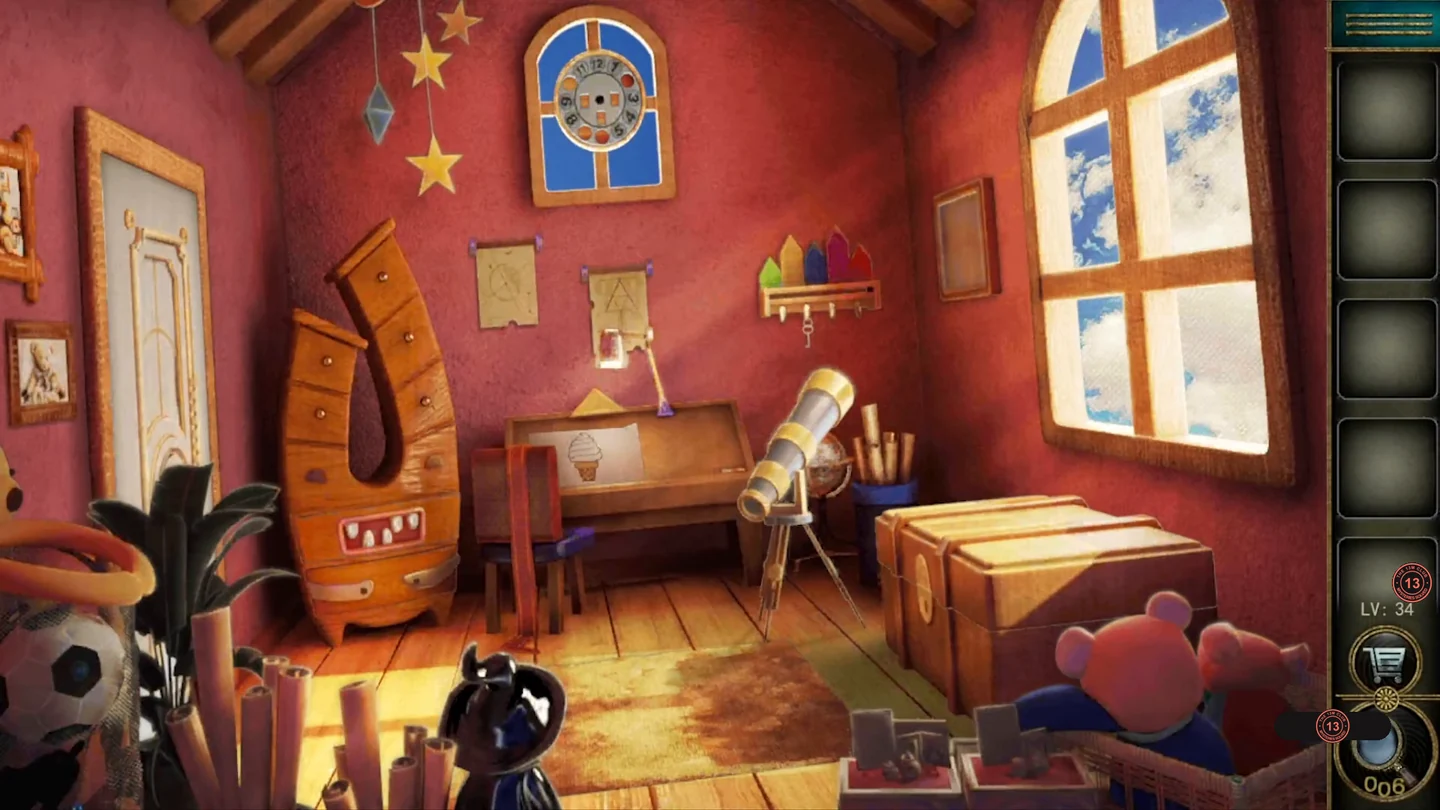
Colour in the ice-cream drawing, use the clock face to pick the right line of the desk carving, feed the monster dresser's teeth a password and roll the marble through the ring maze.
- Optional star 34: tap the hanging star mobile beside the blue wall clock.
- Take the brass key from the colourful key rack and unlock the toy chest under the window. Take the spanner.
- Undo the nut in the centre of the blue wall clock with the spanner and take the clock face.
- Take the curved handle from the board on the toy chest lid. Fit it to the drawer below the monster dresser's mouth and take the paint palette.
- Place the palette beside the ice-cream sketch on the desk and paint the swirls from top to bottom pink, yellow, blue, red and green; the coloured key rack hints at this order. Take the finished drawing. Seven coded lines are carved into the desk underneath.
- Put the drawing in the empty frame on the right wall. Mount the clock face on the panel behind it; its windows show the symbols ^ @ #. The carved line starting ^@# reads FACKI.
- Set the monster dresser's five teeth to F, A, C, K, I and take the round block from the drawer that opens.CODEFACKI
- Insert the block in the top-left socket of the ring maze on the toy chest. The buttons along the left and top rotate whole rows and columns of rings; use them to build a continuous track and roll the blue marble into the blue cup at the top right. The layout changes as you rotate, so work step by step and use the reset button if you get stuck. Take the door handle that appears.
- Fit the handle on the exit door on the left, open it and leave.
The Council Chamber
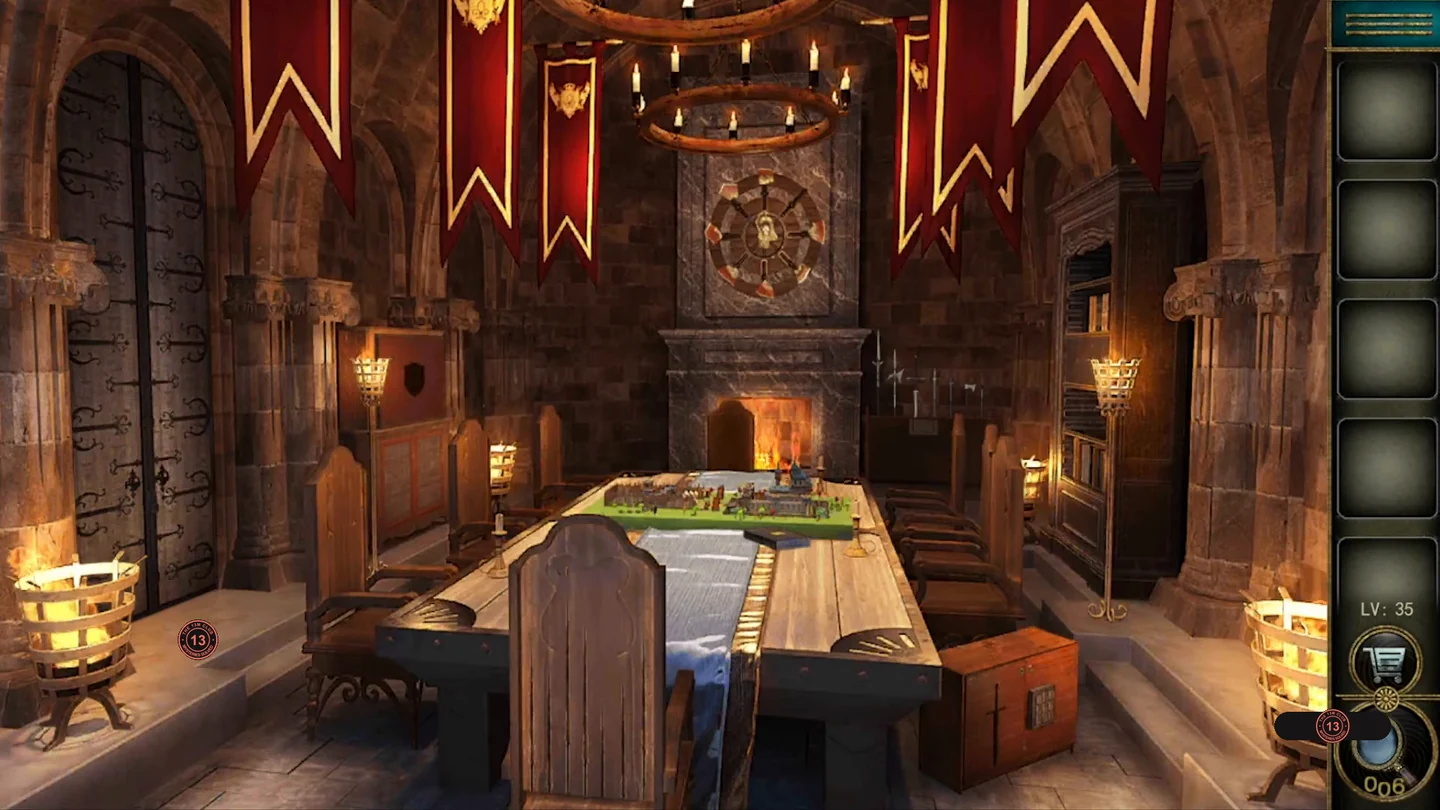
Sort the weapons by height, rebuild the lion crest, read the plant runes and order the rune books to gather three soldiers for the castle siege on the table.
- Take the note and the book lying beside the castle model on the table.
- Look closely at the back of the head chair: seven cracks of different heights are cut into it. Ranking them from shortest (1) to tallest (7), left to right they read 4, 3, 7, 6, 1, 2, 5. Swap the weapons on the wall rack so their heights follow the same ranking; from left to right the finished rack reads sword, mace, long spear, halberd, dagger, axe, long sword. Take the soldier (1/3) and the crest piece from the compartment below.
- Zoom into the wheel above the fireplace and install the crest piece first. Then rotate the centre so the lion's head lines up with the red-and-gold pieces on the spokes, and slide each piece inward until they form a complete shield around it. Take the lion crest.
- Insert the lion crest into the recess of the cabinet on the left side of the room. It opens to reveal eight potted plants with runes on their pots. The note shows four plants in order; find each one on the shelves and note its rune.
- Press those four runes, in the note's order, on the 3 × 3 lock of the floor chest. Take the second book and the second soldier from the right door.
- Add both books to the gaps on the bookshelf on the far right. Arrange the six books over the numbers 1–6 so they obey the rune rules on the back wall. The green book sits directly left of the grey book, the pink book is in position 2, and the black book sits directly right of the grey book. The cream book must not touch the black or green book. This order from left to right works: cream, pink, green, grey, black, gold-patterned. Take the sword from the drawer that opens below, and tap optional star 35 there.
- Fit the sword into the sword-shaped slot on the chest's left door and take the third soldier.
- Place the soldiers on the castle model, filling the five queue slots in this order: 1 a shield-bearing armoured knight, 2 a helmeted spearman, 3 the other knight, 4 the other spearman, 5 the red-haired archer. Your squad marches through the arrow fire and the archer breaches the gate. Take the key from the castle courtyard.
- Unlock the padlock on the double doors and leave.
The Intelligence Office
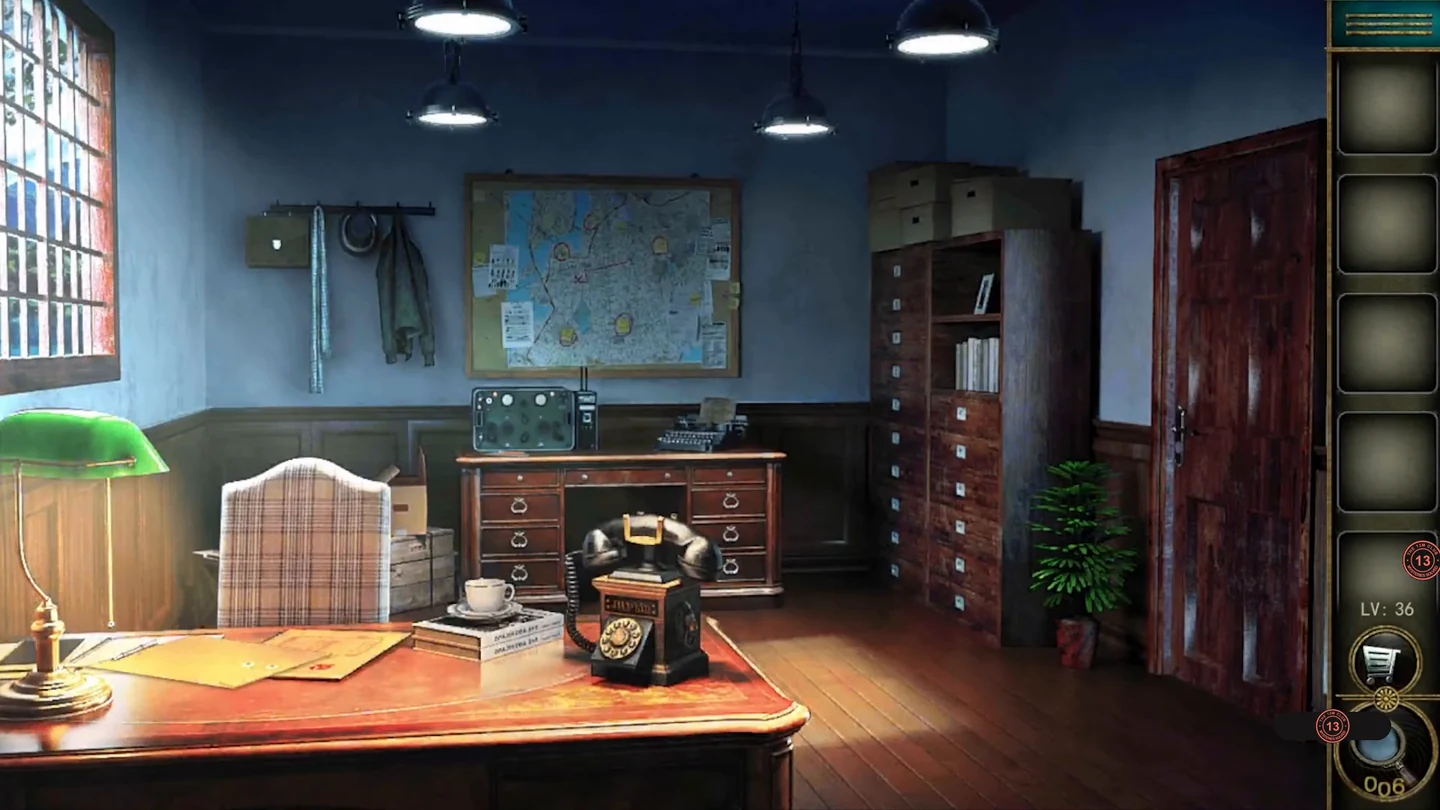
Match the insignia on the book spines, rewire and tune the field radio, decode its Morse message and turn a map note into a phone number on the typewriter.
- On the desk, untie the yellow envelope and take the note reading 15 350, then move the red-stamped folder and take the small key beneath it.
- Unlock the briefcase hanging on the coat rack and take the insignia sheet and the Morse code chart.
- Optional star 36: tap the star at the top of the case map on the back wall.
- Place the insignia sheet in the empty frame on the bookcase. Each book spine shows parts of insignias; tap the insignias on the spines in the order the sheet lists them. A single book can carry more than one insignia, and the symbols stay fixed in place. When all are found, take the radio part and the screwdriver from the drawer below.
- First use the screwdriver on the radio to unscrew its top cover. Zoom into the exposed wiring and fit the radio part, a blue-topped plug, into the empty top socket of the right-hand column. Then swap plugs within the right-hand column until every wire ends at a plug of the same colour as its connector on the left. The radio powers up.
- Turn the tuning knobs so the left gauge reads 15 and the right gauge 350. Then tap the pencil beside the radio so it writes down the Morse message, and collect the paper slip. Decode it with the chart: MG5.
- Find the yellow note marked MG5 on the case map: it says Northern base. Type northernbase on the typewriter; it prints 062319.
- Dial 062319 on the rotary phone. After the message to evacuate, take the red emblem from the drawer under the dial. Place it below the handle of the right-hand door and leave.CODE062319
The Gargoyle Loft
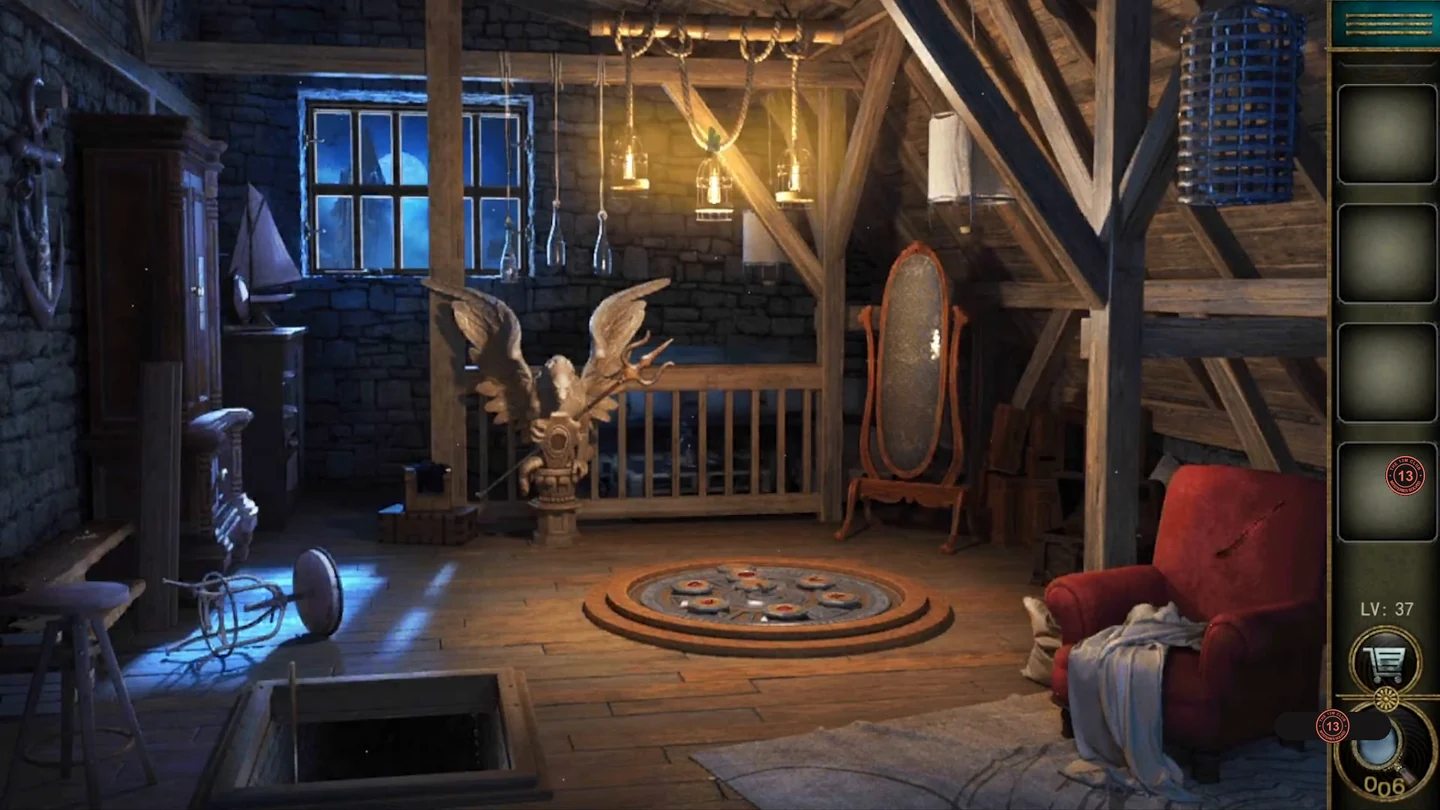
Board over the open floor hatch, unlock the gargoyle's chest for a rune code, set the floor dial by the six-beast diagram and use a mirror to open a portal.
- At the bench on the left, take the nails and the planks. Take the hammer from the window sill. Lay the planks over the open floor hatch and fasten them with the hammer and nails.
- Cross to the red armchair and take the wolf badge lying on it. Take the trident from the gargoyle by the railing.
- Place the wolf badge in the shield-shaped box on the window sill and take the vampire badge inside.
- Put the vampire badge on the gargoyle's chest. Take the six-beast diagram from the opened compartment and note the four runes carved inside.
- Set the four symbol dials on the tall cabinet on the left to those runes, top to bottom. Tap optional star 37 on the lower shelf and take the hand mirror.
- Slash the stitched seam of the red armchair with the trident and take the stone disc.
- Place the disc in the centre of the round floor dial. The six-beast diagram is the target: the beast at the top of the diagram, where its clock hand points, is the one the dial's arrow must point at, and the other beasts follow it in the diagram's clockwise order. Tap the tiles and stone discs to move and swap them around the dial until it matches the solved dial in the picture below. A pedestal with a red crystal rises when it is correct.
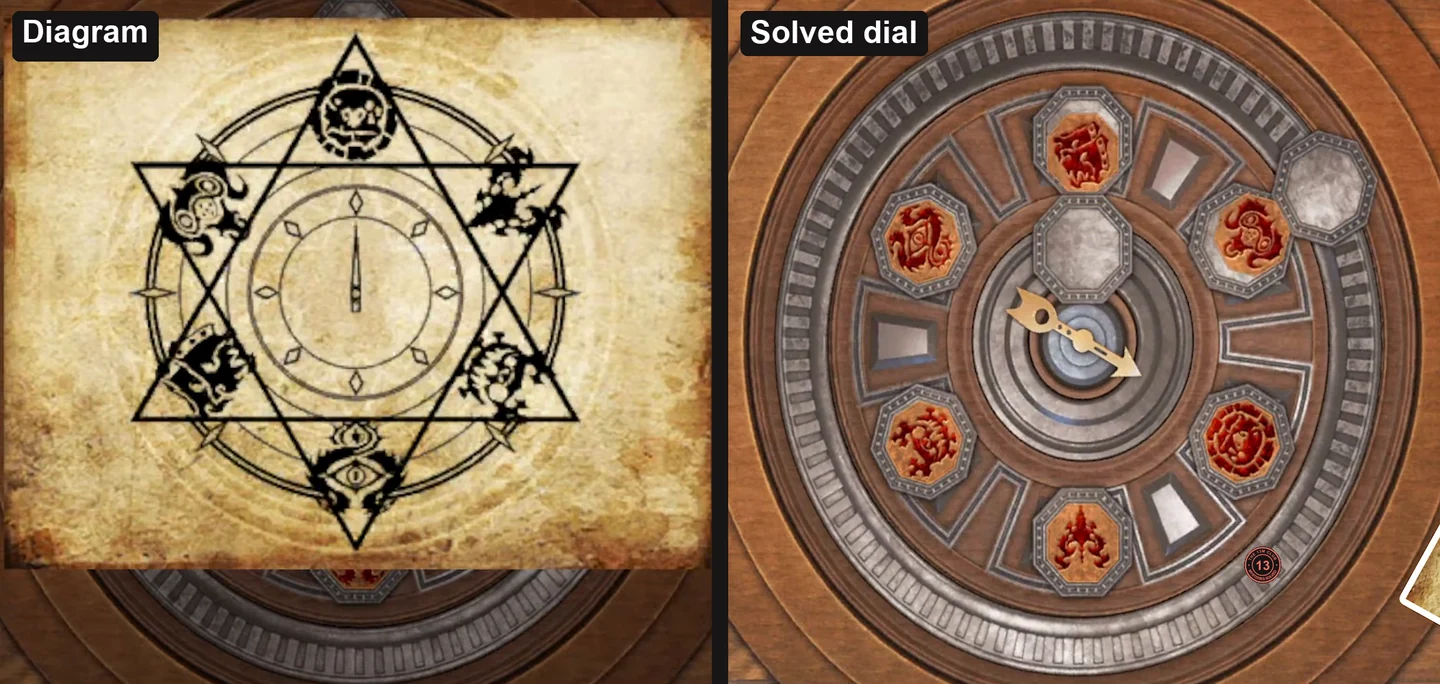
The diagram (left) and the finished floor dial (right). - Hang the hand mirror on the bracket beside the window. Moonlight reflects through the crystal into the standing mirror, which becomes a portal.
- Tap the portal to play a board game over three stages. Each stage starts with three entrance squares along the bottom; step onto the one that lights a footprint trail up to the exit square. Stone guardians patrol the board, so watch their routes. Advance one square at a time along the trail, and wait whenever a guardian is about to cross your next square. The timing depends on the guardians' positions, so there is no fixed move list. After the third stage, step through the portal.
The Toy Bedroom
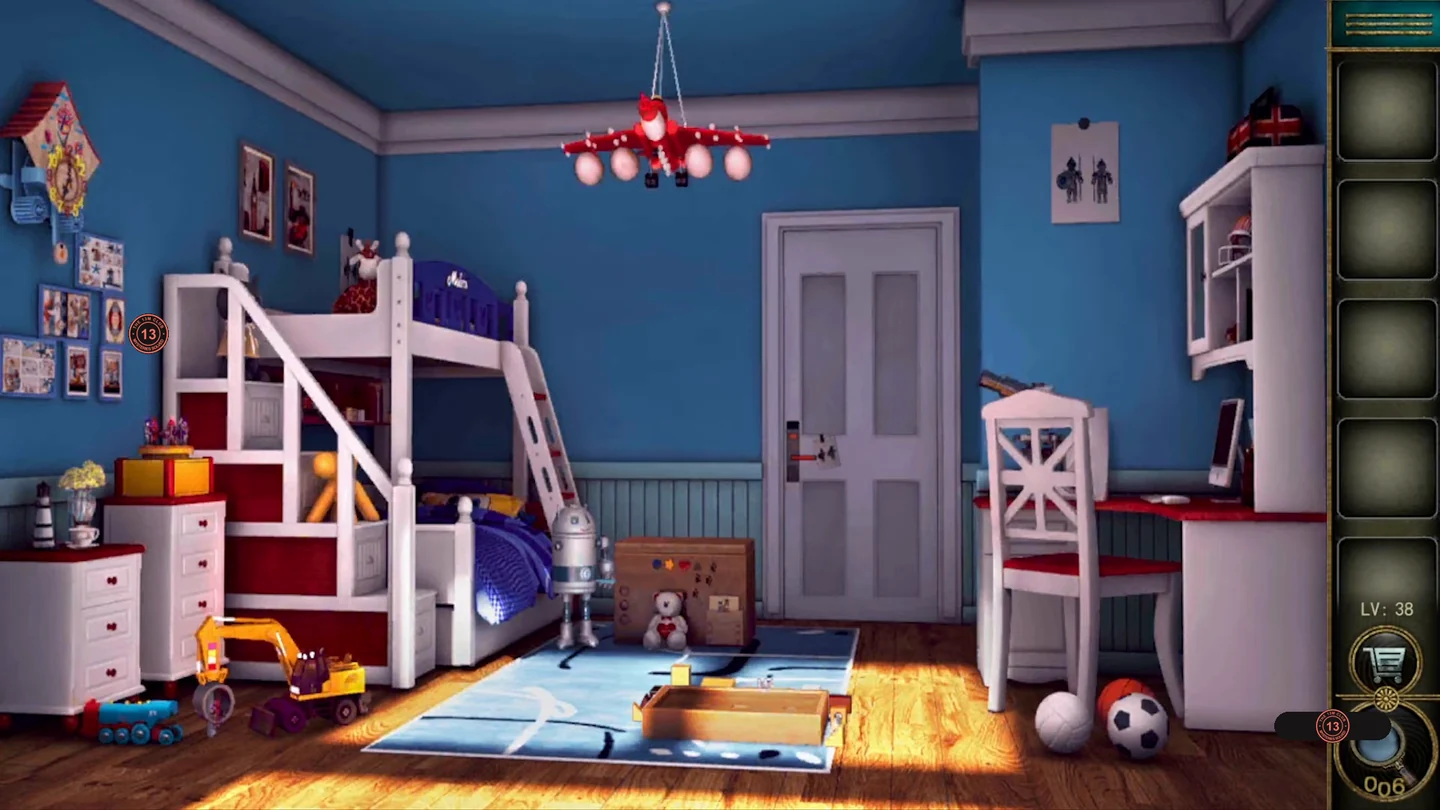
Spin the toy airplane for a letter code, follow the animal drawings on the toy excavator, arrange the toy knights and build the block towers to assemble a microscope that reveals the door code.
- Zoom into the upper bunk by tapping its mattress (the lower bunk has nothing to open). Lift the yellow pillow and take the propeller from under it, then take the knight sketch pinned on the wall above the pillows; removing it reveals four animal drawings: dog, crab, cat, rabbit. Take the second knight sketch from the blue wall to the right of the door, near the desk, and the third one taped to the exit door beside the keypad. Together the three sketches show how the red and blue knights must stand.
- Attach the propeller to the red airplane lamp on the ceiling. As it spins, the blades show S, Z, N and H. Set the toy chest's shapes to S, Z, N, H (circle, star, heart, triangle); the lid opens on H. Take the objective lens and the first knight figure from the chest.CODESZNH
- The plush toys in the chest match the wall animals: yellow dog, red crab, pink cat and white rabbit. Press the colour panels on the toy excavator in the wall order: yellow, red, pink, white. Take the block plan and the second knight from its scoop.
- Place both knights on the turntable on the nightstand. Compare the three sketches as you swap the figures until the red knights and the blue knights stand as the sketches show. The cabinet below the turntable opens; take the white toy robot arm from it.
- Fit the arm into the empty arm socket of the toy robot beside the chest. The robot drops a pale-blue rectangular glass slide; take it.
- At the wooden tray on the rug, build the three structures shown on the block plan from the wooden blocks. Take the eyepiece from the drawer that opens.
- At the desk microscope, fit the eyepiece into the right eyepiece socket, then the objective lens above the stage, and only then place the glass slide on the stage (the slide is refused while the objective lens is missing). Look through it and turn the three gold dials beside the view: set the top (magnifier) dial's hand to about 5 o'clock, the middle (left-right arrows) dial's hand to about 9 o'clock and the bottom (drop) dial's hand to about 11 o'clock. The number 93?17 then appears; the third digit cannot be read. Optional star 38: tap the faint star near the eleven o'clock edge of the circular view.
- Enter the door code on the keypad using the pattern 93?17. The third digit is hidden and can differ between games; 93817 is one accepted example. If your entry is refused, keep 9, 3, 1 and 7 in place and try each digit from 0 to 9 in the third position until the door opens. Step through.
The Opera Dressing Room
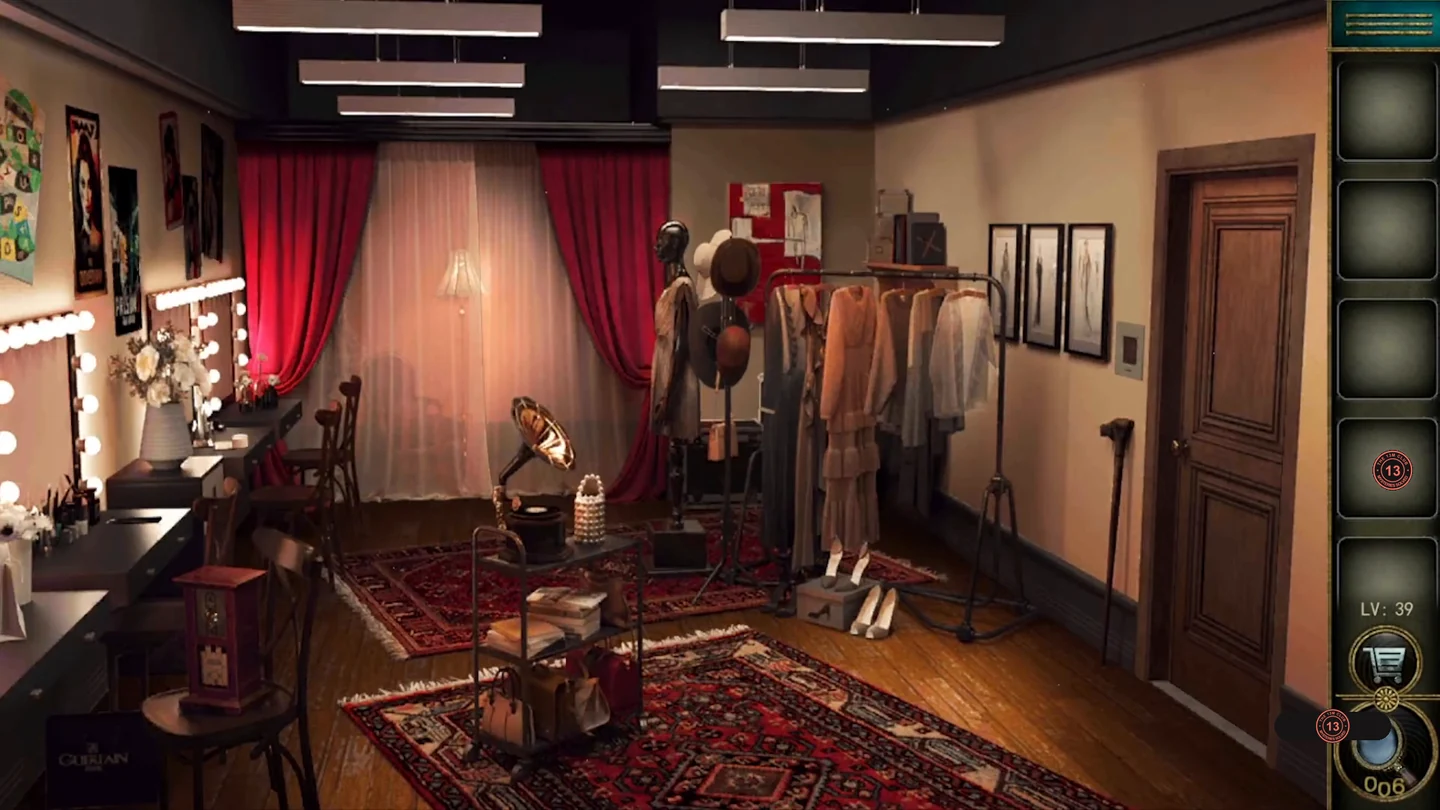
Sort the flower buttons, dress the mannequin like the film poster, reveal the clock and read the cryptex notes to name the right opera and its heroine on the overhead screen.
- Take the flower button from the magazines on the rolling cart. Open the sheer curtain to reveal the purple armchair and the lockbox on it. Insert the button in the lockbox and slide the buttons along the lines until each one sits in a ring of its own colour. Take the striped cryptex and the gold bird from the box.
- Place the bird on the lid of the white container on the vanity to open it. Take both the pink bear and the bee brooch from inside.
- Dress the mannequin like the man on the PRISON 3 poster: pin the bee brooch to the dress and put the wide-brimmed black hat from the coat rack on its head. The stand below opens; take the opera timetable from it.
- Insert the pink bear in the small clock cabinet on the end table. Select a figure and move it with the highlighted arrows. Send the dark figure wearing a hat to the left slot marked with a hat, and the pink bear to the right slot. The clock face appears.
- On the vanity, the palette mirror reflects the torn note so it reads 31773. Enter 31773 on the cryptex from the armchair box and take the dice sheet from inside.CODE31773
- The clock shows 4:25, and the timetable lists Rigoletto at 16:25. On the hanging screen, choose "opera" and spell RIGOLETTO from the letter grid.CODERIGOLETTO
- Optional star 39: zoom into the role board-game poster and tap the star at its lower left. The dice sheet shows six throws: 1, 6, 6, 3, 5, 6. Move along the poster's track from START by those amounts; some squares carry printed plus or minus moves that shift you further along or back. The heroine's name you are after is GILDA.
- On the screen, choose "role" and spell GILDA. The exit door opens; go through.CODEGILDA
The Observation Lab
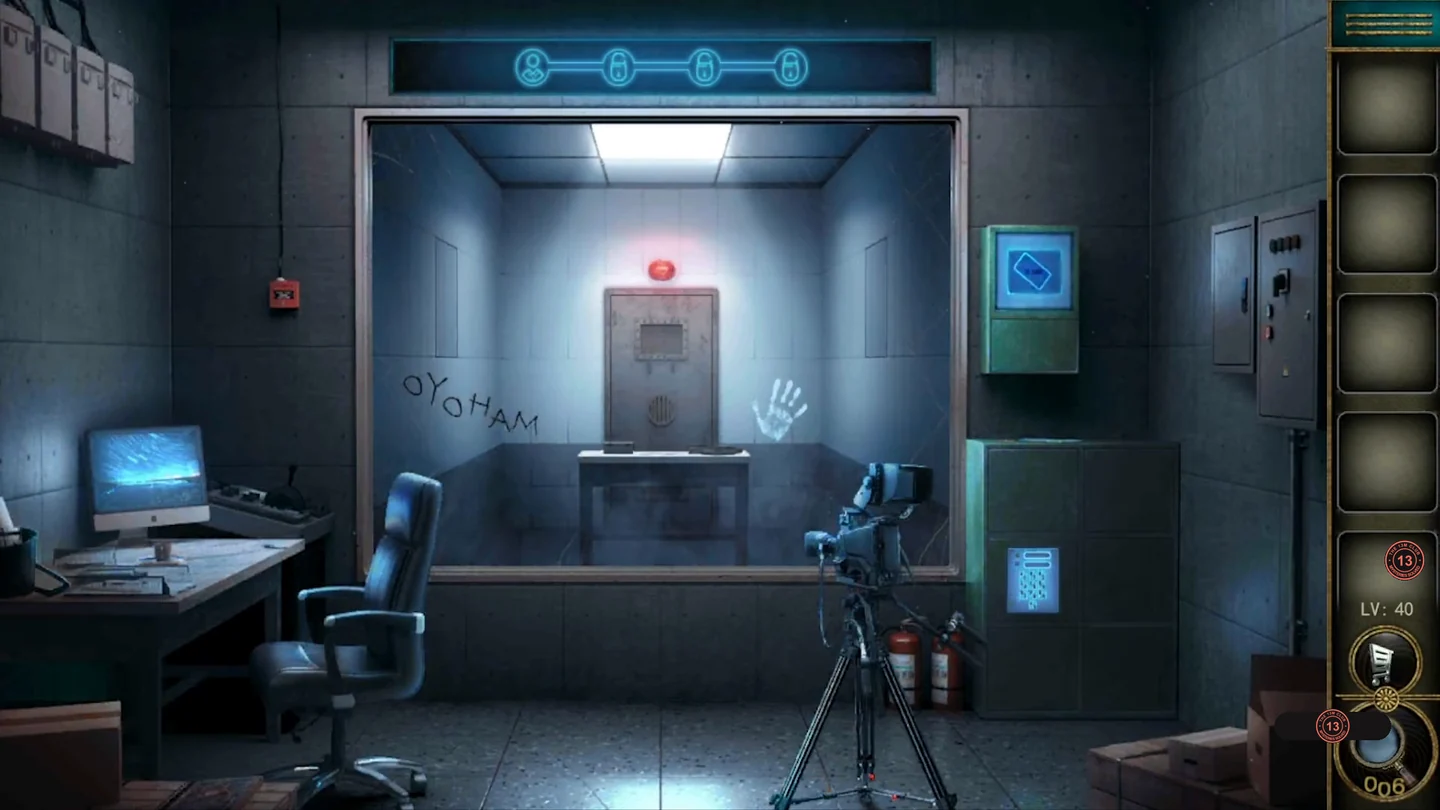
Use the subject files on the computer to open the lockers, decode the word on the observation glass and turn anchors into ship's wheels to reach the containment cell door.
- On the computer, open subject file 1: ID Van, NO 8520. Take the ship's wheel from the top of the green locker.
- Enter ID van and NO 8520 on the locker keypad. The bottom-left compartment opens; tap optional star 40 inside.CODEvan / 8520
- Through the glass, take the letter grid from the table in the cell. The glass reads OYOHAM, which is MAHOYO from inside. On the grid, each letter of MAHOYO traces a digit: M 1, A 7, H 2, O 6, Y 5, O 6.
- Open the locked subject file 5 with 172656. It shows ID Bob, NO 6257. Enter bob and 6257 on the locker keypad and take the ID card and the first gear.CODE172656; bob / 6257
- Insert the ID card in the wall scanner and take the second gear from the hatch below.
- On the wall scanner's screen, tap the ship's-wheel icon on the left. An anchor board appears on the left side inside the glass; zoom into it. Fit the ship's wheel into the empty slot immediately left of the gold wheel at the top right. Tap an anchor to move it along its track, and bring each anchor onto the wheel of its colour: red, green and blue, plus the two plain anchors onto the two gold wheels. Each anchor turns into a wheel when it arrives. Once all five wheels are filled, a compartment on the board opens; take the key.
- Unlock the metal box on the cell table and take the first half of a maze map.
- On the scanner's screen, tap the gear icon on the right to bring up the pipe panel on the right-hand wall, and fit the two gears into the empty spaces on its right side. The red token starts in the round socket at the upper right and must reach the green gate at the lower left. Drag the token along the pipes. Whenever it passes one of the small yellow gears in the loops, the linked pipe sections rotate and open new stretches of track. Keep following the newly connected loops, then take the long outer pipe round to the green gate. The gate opens; take the second half of the maze map.
- Combine the two map halves. Trace the maze from the entrance at the lower left to the exit at the upper right; the path passes 0, 0, 8, 5, 4, 2, 7. Enter 0085427 on the blue wall console and go through the cell door.CODE0085427