The Rotunda
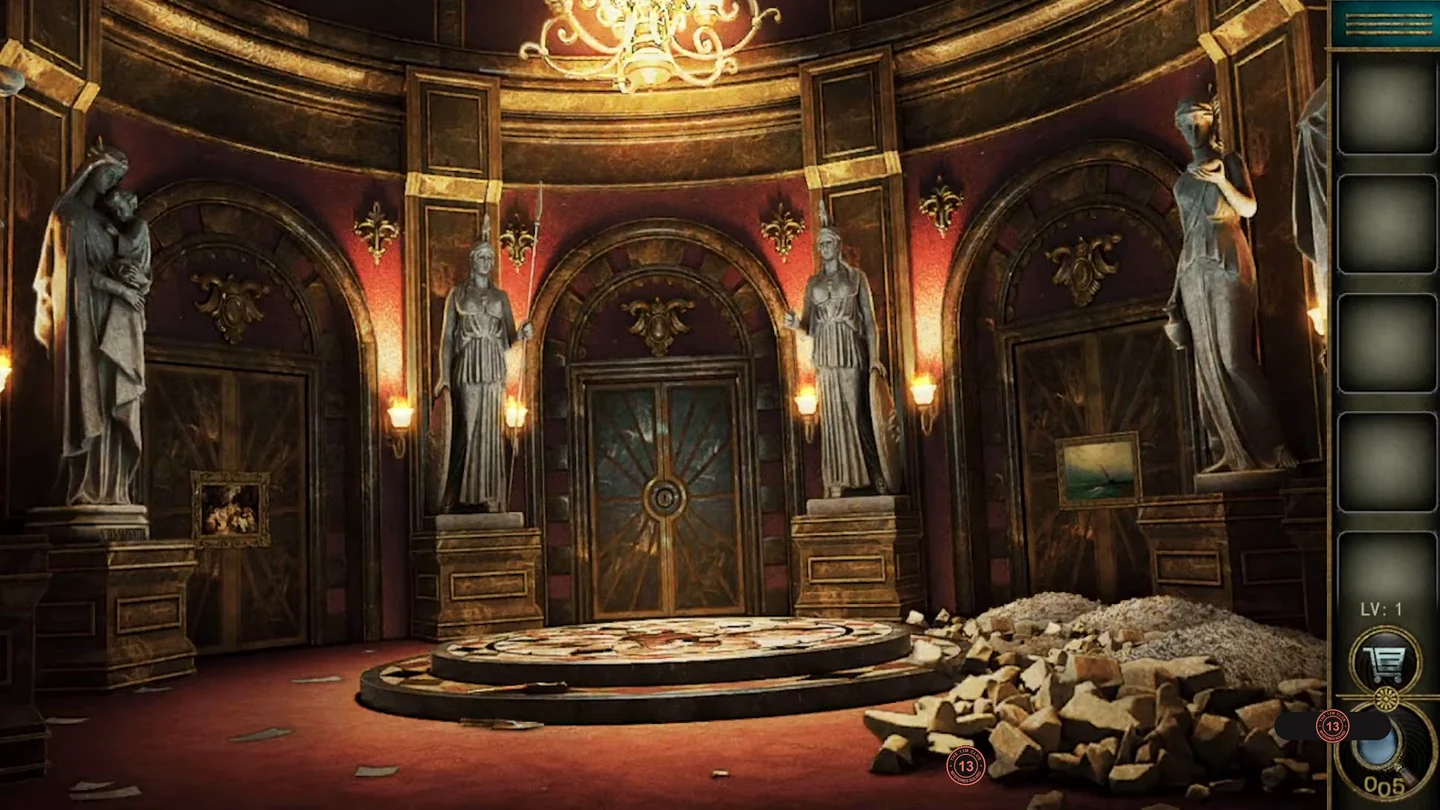
Assemble a shovel, collect a round symbol button and two X-board tokens, and open the double doors at the back of the round hall. The opening helper offer can be declined.
- Pick up the shovel blade on the red carpet at the edge of the central platform and the wooden handle on the marble step beside it. Combine them in the inventory to make a shovel.
- Zoom into the sand and rubble pile on the right and dig with the shovel until a round gold symbol button appears; take it. This button belongs to the painting safe, not to the X-board. Note the branch symbol carved on the upright stone in the rubble.
- Examine the far-left statue of the woman holding a child. Take the green panel tucked behind the child, and note the flower rosette carved on her shoulder.
- Examine the statue standing immediately to the right of the central double doors. Optional star 1: tap the gold star at her neck. Three stars can be traded for a hint in the Shop. Whether or not you take the star, take the X-board token from her raised hand (tokens 1/2) and note the winged emblem carved on her chest; it is needed for the painting safe.
- Tap the framed painting on the left wall to reveal a safe with three symbol dials; the left dial slot is empty. Insert the round symbol button from the rubble into that empty slot. Then set the dials, left to right, to the shoulder rosette, the chest emblem and the branch symbol. Take the second X-board token from the opened compartment.
- Zoom into the ship painting on the right wall and place the green panel into its missing lower-right corner. The completed painting slides up to reveal an X-shaped tile board behind it.
- Insert both X-board tokens into the X-shaped board; they become two of its tiles. Each empty slot carries a faint fixed symbol: move the matching tile onto it and it glows gold. Drag a tile along its arm, through the open centre junction and into any reachable empty slot on another arm, for example from the bottom-right arm up to the top-right arm. Use the spare slots on the arms as working space while you bring each tile to its symbol, until every tile glows.
- Take the key from the compartment behind the ship painting (the green you see inside is just its lining). Use the key on the keyhole of the central double doors and go through.
The Tea House
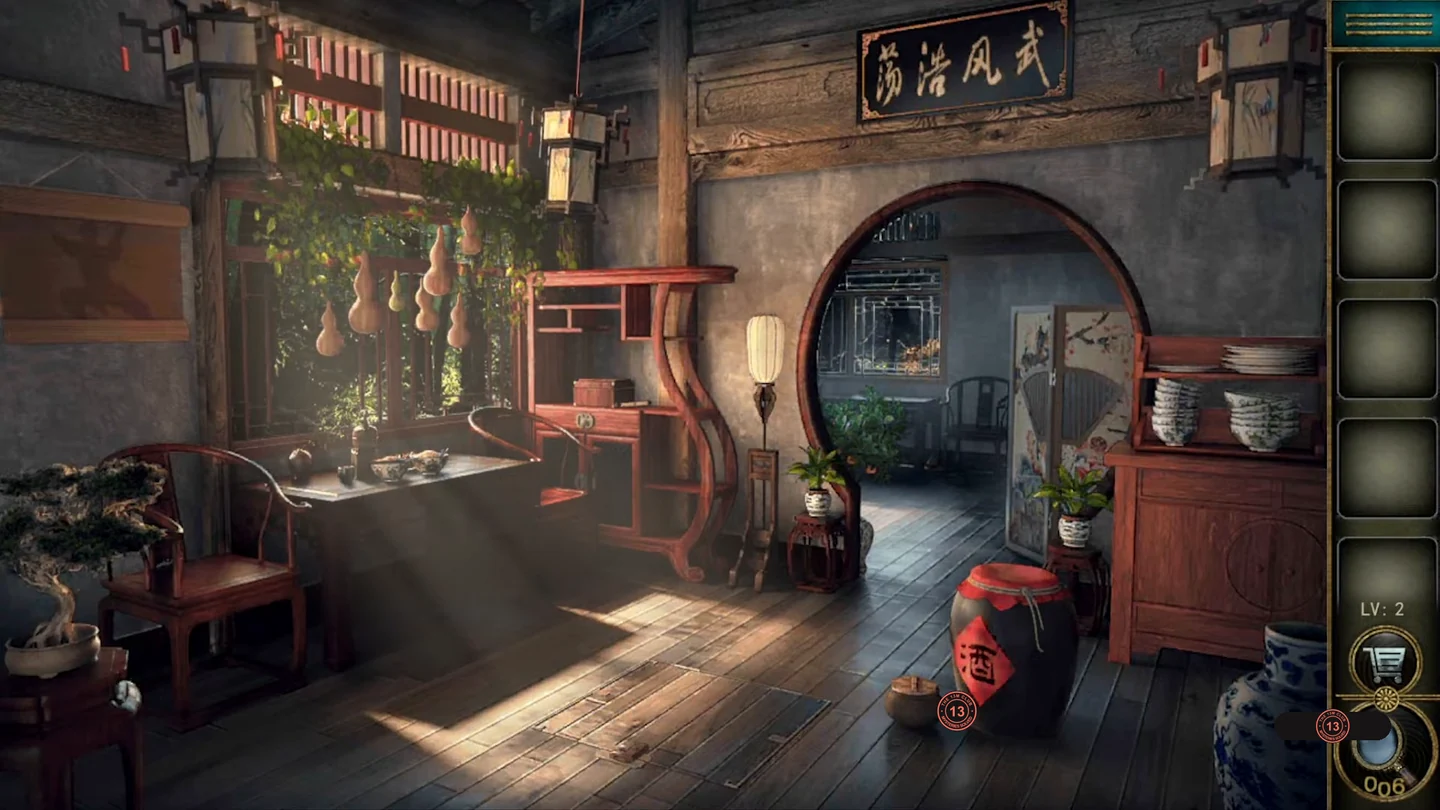
Open the wall cabinet with a colour-count code, grow and pick a gourd holding a red ball, guide the ball through a maze box and use the dagger and key to reach the floor hatch.
- Optional star 2: on the dining table, tap the kettle so it pours tea into the small teal cup, then tap the cup to drink it. Tap the kettle again to pour a second time; a star appears beside the kettle. Tap it.
- On the small side table, take the scroll lying beside the locked box. It shows four coloured medallions: purple and yellow on top, blue and green below.
- Roll up the bamboo blind on the left wall to reveal a cabinet with four number tiles. The scroll colours correspond to the dishes on the rack and table; enter 2 and 6 on the top row and 8 and 7 on the bottom row.CODE26 / 87
- Take the green glass bottle of fertilizer from the cabinet.
- Zoom into the gourds hanging by the window and use the fertilizer on the small pale green gourd. It grows to full size; pick it. Open its stopper in the inventory to get a red ball.
- Place the red ball in the left slot of the box on the side table. Drag the round dragon discs out of the way, including the one sitting in the round goal on the right, and tap the bars to rotate them until a clear passage leads the ball to the goal. Take the dagger from the opened box.
- Cut the rope seal on the large wine jar with the dagger and take the bronze key inside.
- Use the bronze key on the latch of the wooden floor hatch, then open the hatch to leave.
The Submarine Deck
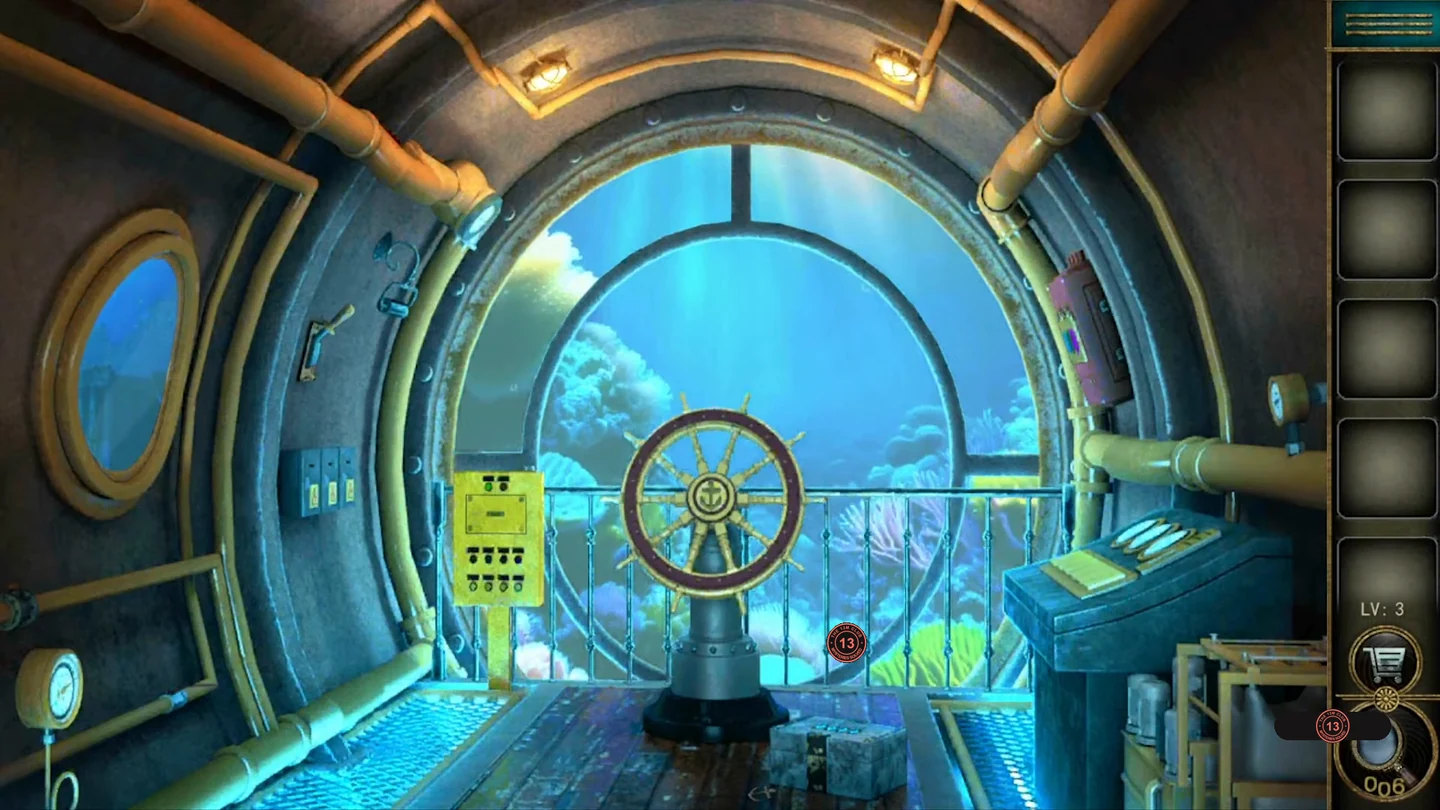
Restore power on the submarine's observation deck: order the lightning tokens, balance the bulbs with numeral plugs, read a hidden code under the lamp and set the pressure-gauge code.
- Zoom into the metal chest on the floor and pick up the red anchor emblem lying on its lid. The chest lock uses four sea symbols: anchor, palm tree, dolphin and seahorse.
- Place the anchor emblem in the hub of the ship's wheel. The hub opens: take the green lightning token and note the colour bars blue, green, pink.
- On the right-hand electrical panel, put the green token in the empty third slot, then tap the tokens to arrange them blue, green, pink. The panel drops to reveal three bulbs and five plug sockets.
- Take the glass bulb resting on top of the yellow console on the left and fit it into the bulb panel.
- Each bulb shows a target sum (23, 37 and 26) and is wired to certain sockets. Insert the numeral plugs left to right as XI, IX, III, VII, X so that every bulb lights.CODEXI IX III VII X
- Flip the lever switch on the far-left wall panel to turn on the blue lamp. The lit panel reveals digits drawn with sea symbols: anchor 8, palm 3, dolphin 9, seahorse 4. Optional star 3 sits on the illuminated clue panel itself; tap it.
- Enter 8394 on the floor chest and take the screwdriver.CODE8394
- Unscrew the faceplate of the yellow console on the left and take the switch lever behind it.
- Fit the lever into the slot beside the three pressure gauges and flip it up. The needles read 55, 25 and 75; enter 552575. Then tap the round window on the left to leave.CODE552575
The Log Cabin
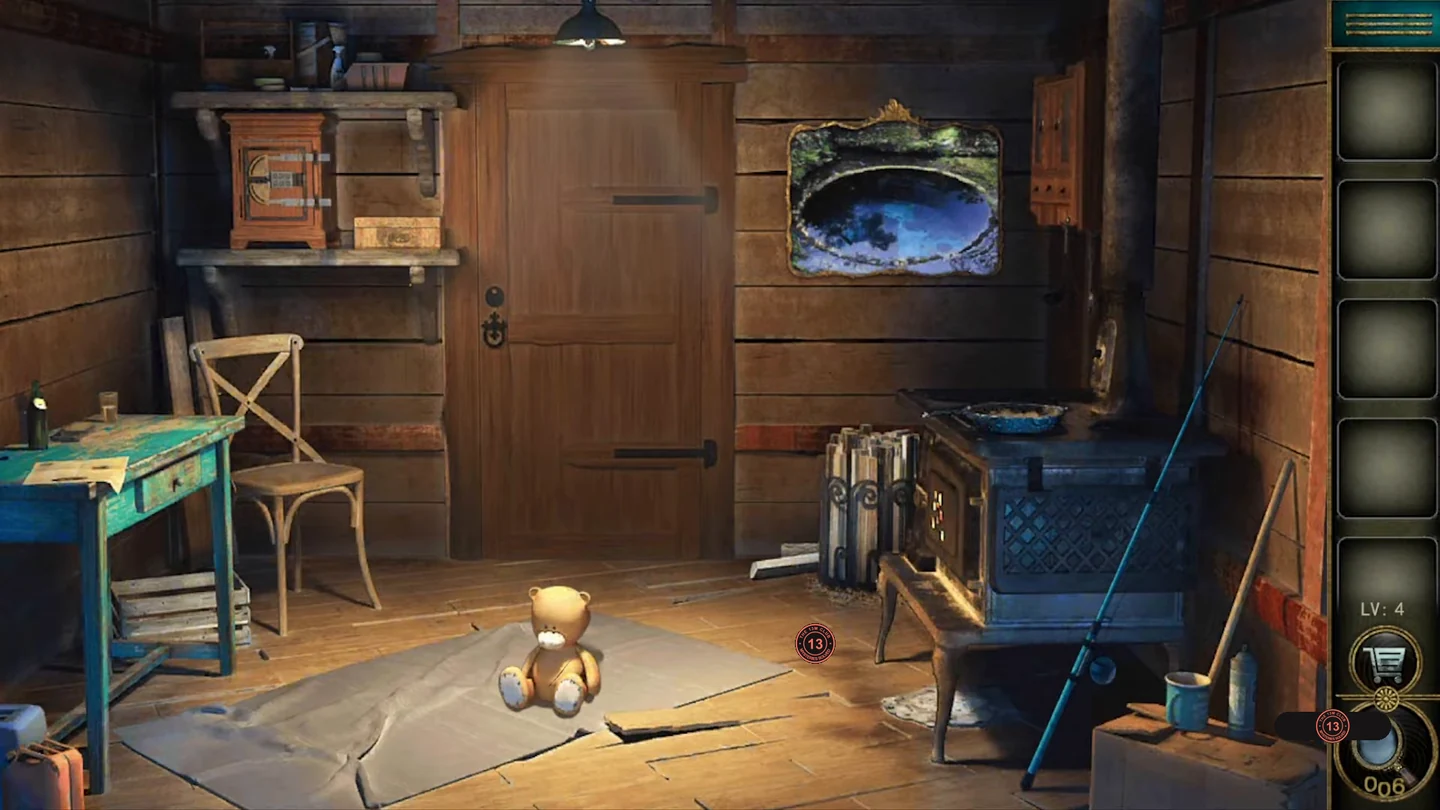
Fish a golden fish out of the painting, decode the letter grid to open the wall safe, then solve the fruit puzzle on the stove to get a hammer and the door key.
- Optional star 4: zoom into the teddy bear on the floor and tap the star by its shoulder on your left.
- Take the blue fishing rod leaning against the stove. Open the drawer of the teal desk and take the hook; note the six letter groups painted along the desk edge (sbpym, ygmtn, nvzpx, bdhar, ygbkx, nvxkh). Attach the hook to the rod.
- Use the rod on the water in the sinkhole painting to catch a golden fish. The painting changes to an apple branch.
- On the shelf above the desk, place the fish in the fish-shaped slot of the small chest and take the scissors.
- Cut open the teddy bear's seam with the scissors and take the paper inside. It holds a 4 × 5 letter grid.
- Trace each desk word on the letter grid, letter by letter; each trace draws a line shape. Open the wooden wall safe on the shelf: its six symbol tiles are fixed and do not turn. Press them in the order the words appear on the desk (sbpym, ygmtn, nvzpx, bdhar, ygbkx, nvxkh), which is top-left, top-right, bottom-right, top-middle, bottom-left, bottom-middle. Take the syringe.
- Use the syringe on the red apple in the painting and take the apple. The painting turns into a glass window.
- Zoom into the stove door to see the fruit board. Select the apple and tap the dark apple-shaped recess at the lower left; the game moves the apple into the centre spot by itself and leaves the lower-left recess empty. Tap a fruit joined by a line to the empty spot to slide it there, and keep going until every fruit sits on its own dark silhouette. The stove door then opens.
- Take the hammer from inside the stove and smash the glass of the window painting. Take the key from the hole.
- Use the key on the round keyhole built into the wooden door, just above the ring pull, and go through.
The Treehouse Workshop
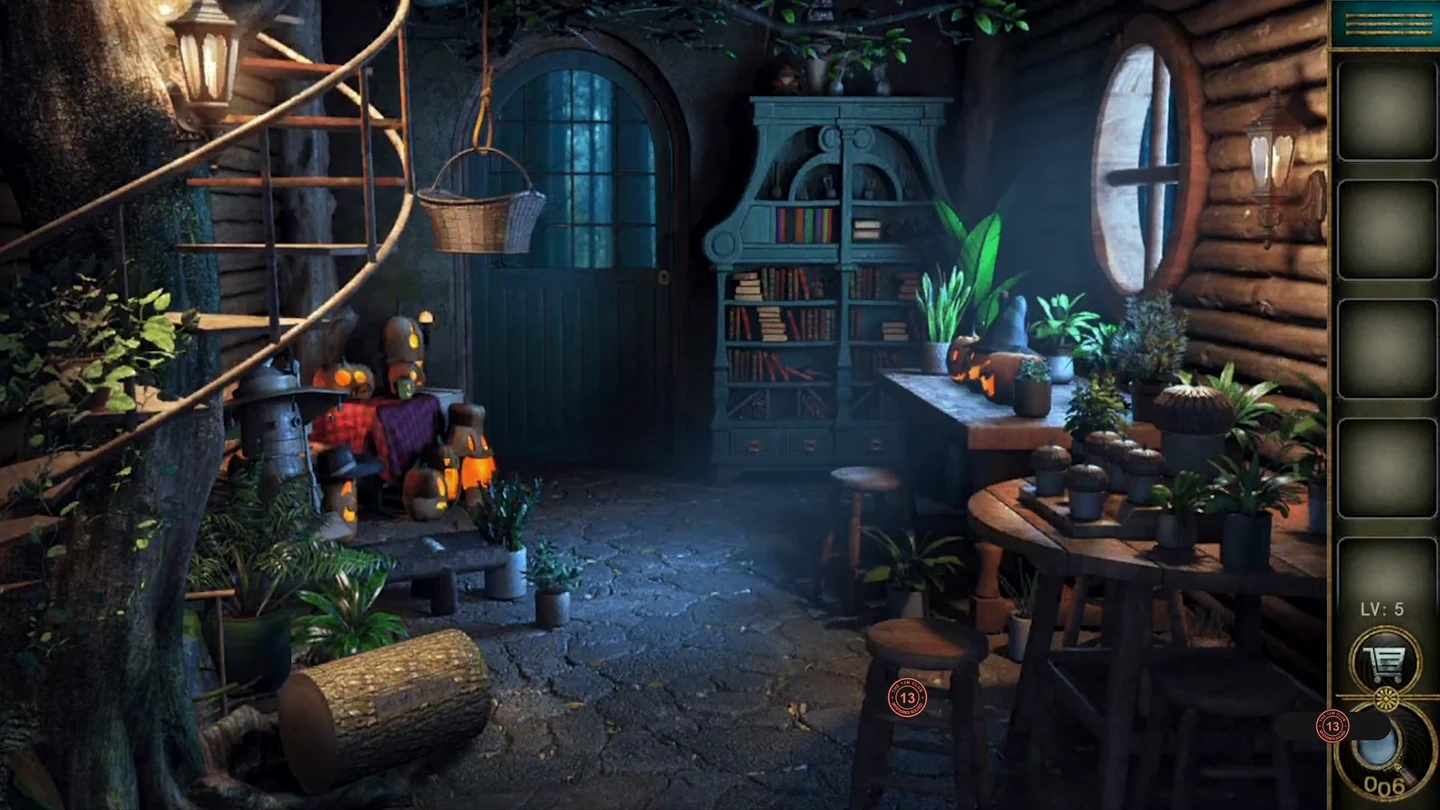
Read the sleeping mushrooms' dreams to open the log, reveal every squirrel, then make the two required pumpkin trades (a bow for the left pumpkin, glasses for the right) to win the door key. The middle pumpkin hides an optional star.
- Tap each sleeping mushroom in the hanging basket to see what it dreams of: yellow – apple, purple – grapes, red – strawberry, green – peach, blue – banana.
- Zoom into the fallen log in the foreground. Cycle each coloured square to its mushroom's fruit: red strawberry, yellow apple, blue banana, green peach, purple grapes. Take the acorn from the opened log.
- On the table on the right, put the acorn into the empty front slot of the acorn stand, which holds six acorns in two rows of three. Tapping an acorn lifts its cap to show a squirrel, but a wrong tap closes the caps again. Tap them in this order: front middle, back right, front right, back left, front left, then back middle. With all six squirrels showing, the large acorn at the back opens; take the green book and the red bow from it.
- Optional star 5: zoom into the three pumpkins on the table and tap the witch hat on the middle one. It vanishes and leaves a star; tap it.
- The left pumpkin dreams of a bow; give it the red bow. Take the book it leaves behind. The right pumpkin dreams of round glasses.
- Place both books in the gap of the teal bookcase. Each spine has two colours; swap the books until touching edges share the same colour. Take the wooden eyes from the panel that opens.
- Place the eyes in the empty sockets of the wooden figure with the straw hat near the stairs, and take the round glasses from its mouth.
- Give the glasses to the right pumpkin and take the key it leaves, then unlock the green door at the back.
The Herbalist's Study
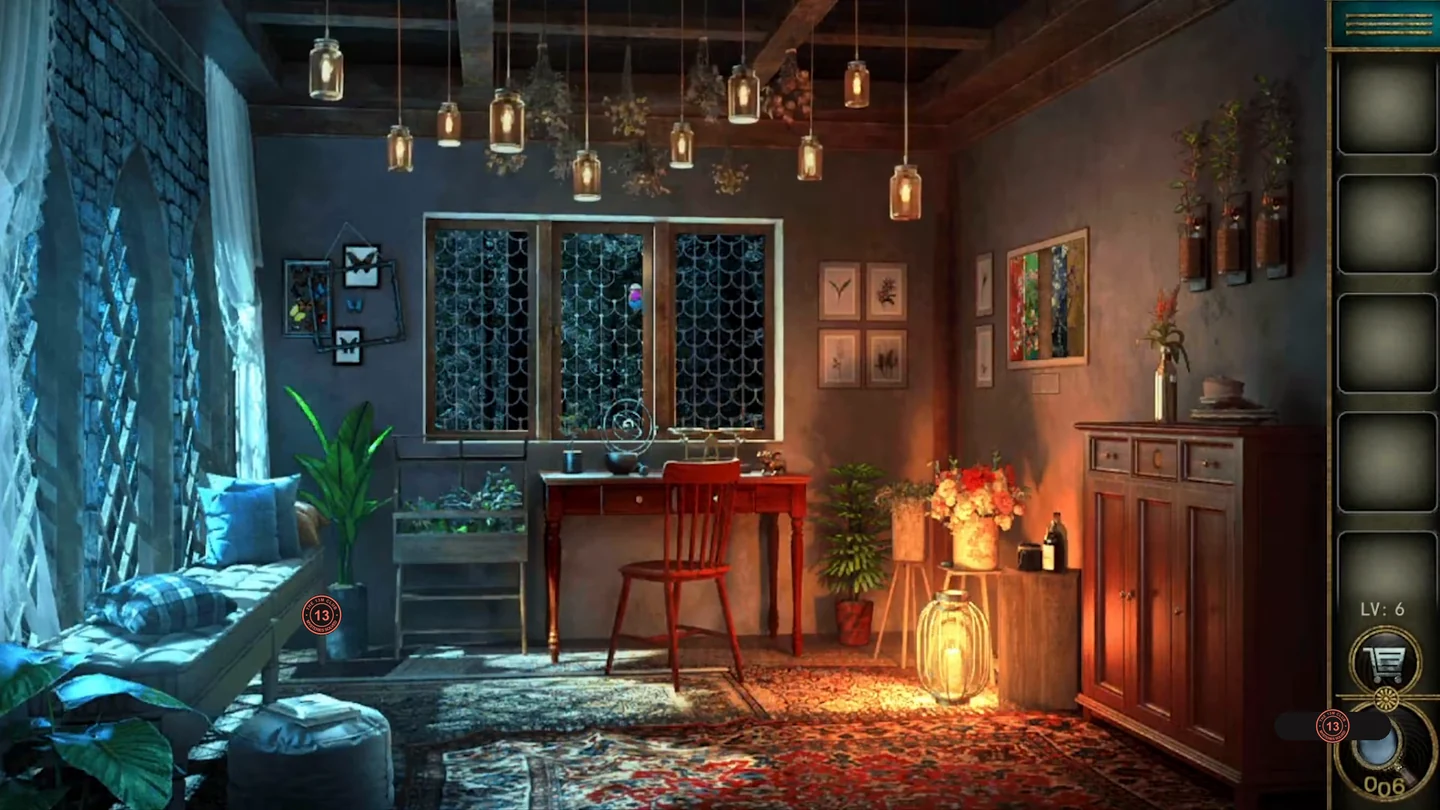
Complete the sun emblem, follow the herb recipe at the scale, restore the blossom painting and finish the potion that grows tomatoes for the bird at the window.
- Lift the plaid cushion on the window bench and take the half sun emblem and the scissors.
- Zoom into the herbs hanging from the ceiling and cut the string of the dried bundle with the scissors. Collect the herbs and the second half of the sun emblem. Optional star 6 is revealed here; tap it.
- Place the completed sun in the carving on the wooden cabinet on the right. Take the iron wire and the first wooden game tile from the opened drawer.
- Pick the lock of the left desk drawer with the iron wire. Take the second bunch of herbs and the rolled painting strip from the drawer that opens.
- At the small flower table, take the second game tile and the recipe scroll.
- The recipe asks for 6 g of the herbs with flowers and 4 g of the herbs without flowers, ground in the mortar, then a liquid added. On the desk scale, load 6 g of weights and add the flowering herbs until it balances, then move them into the mortar. Repeat with 4 g of the herbs without flowers and move those into the mortar too. Tap the pestle to grind them.
- Insert the strip into the empty slot of the five-panel blossom painting on the right wall, above the flower table. Tap each panel to change its colour until all five are teal; the panels stay in place.
- Place both game tiles on the board. Each rod holds groups of linked cubes; the blank cubes stay attached to the symbol cubes they are linked to. Slide a single cube or a linked group left or right along its rod. Only the group you move travels; other groups on the same rod stay where they are. Arrange the symbol cubes so they sit above the matching symbols in the bottom bar; each matched symbol lights up. When all are lit, take the medicine bottle from the drawer below.
- Pour the medicine into the mortar on the desk to make fertilizer, then pour it over the planter box on the left and pick the tomatoes that grow.
- Feed the tomatoes to the bird at the lattice window, take the key it drops, unlock the window latch and climb out.
The Blacksmith's Forge
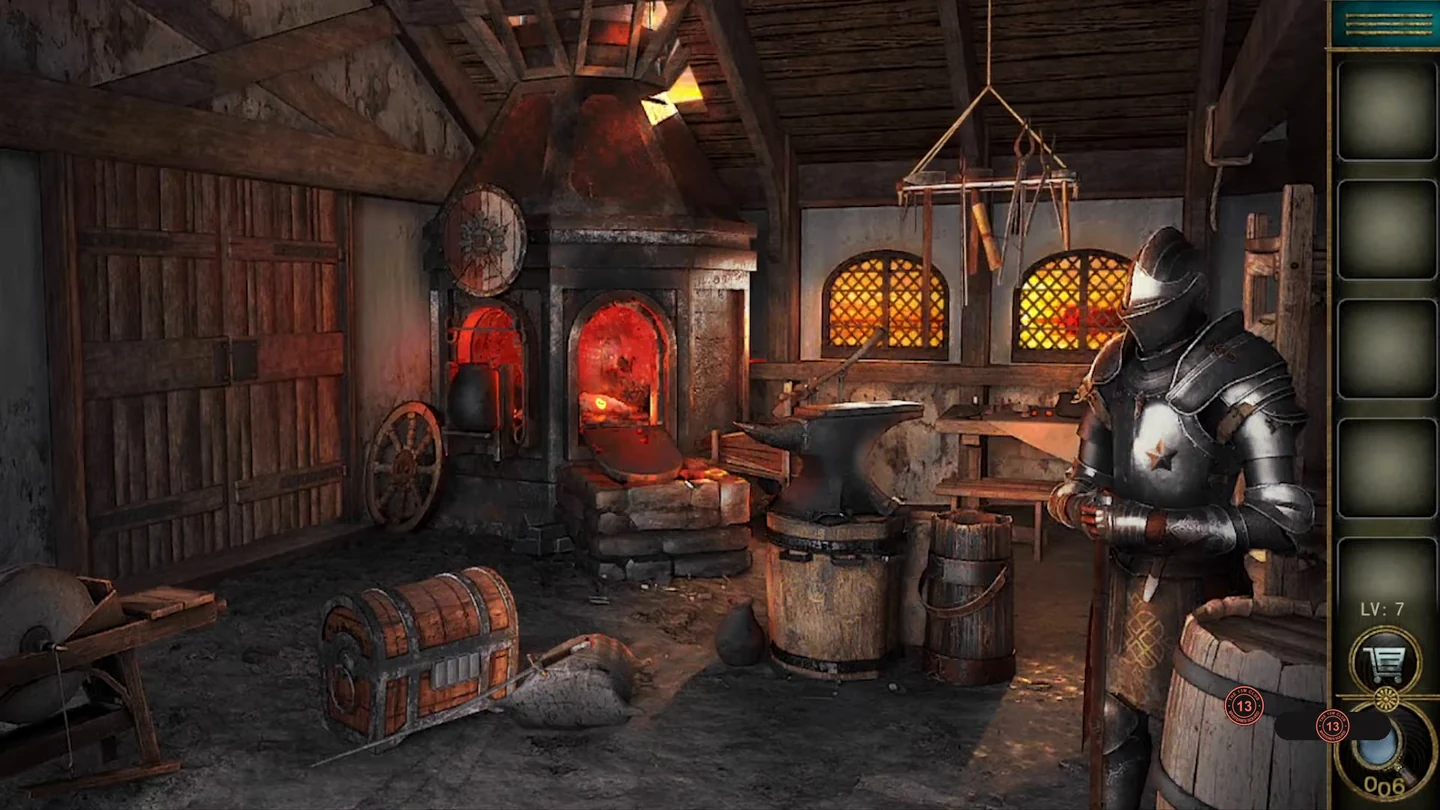
Forge a metal button for the shield maze, decode the arrow parchment for the chest, then reforge the bent sword and hand it to the suit of armour.
- Optional star 7: zoom into the suit of armour and tap the star on its breastplate.
- Pick up the bent sword lying behind the banded chest on the left. From the tool rack hanging from the ceiling, take the drawing of the knight, the tongs and the hammer.
- Use the tongs to pull the glowing metal from the forge, place it on the anvil and strike it with the hammer. Quench it in the water barrel and take the metal button.
- Zoom into the round shield on the wall beside the forge to open its maze board. To the right of the grid, the left-arrow button is missing from the direction controls: fit the forged metal button into that empty socket to complete the arrows. Move the helmet from the top-left cell to the sword emblem in the bottom-right corner. Each move swings the bars of the cell you pass through, and a bar flashes red if it blocks the move. From a fresh board (tap the round reset button on the left first if you have already moved), press: Down, Down, Right, Up, Left, Up, Right, Down, Down, Left, Up, Right, Right, Down. Take the arrow parchment from the opened shield.CODE↓ ↓ → ↑ ← ↑ → ↓ ↓ ← ↑ → → ↓
- Follow each row of arrows on the parchment as one continuous line: row 1 draws a star, row 2 a trapezoid, row 3 a diamond and row 4 a quarter circle. Set the chest's four tumblers to those shapes in order and take the scissors.
- Cut open the sack beside the chest and take the coal.
- Add the coal to the forge and pump the bellows, then heat the bent sword in the fire. Take it out with the tongs, straighten it on the anvil with the hammer and quench it in the water.
- As the drawing shows, place the sword in the hands of the suit of armour. Take the key revealed inside the helmet, unlock the wooden door and leave.
The Royal Bedchamber
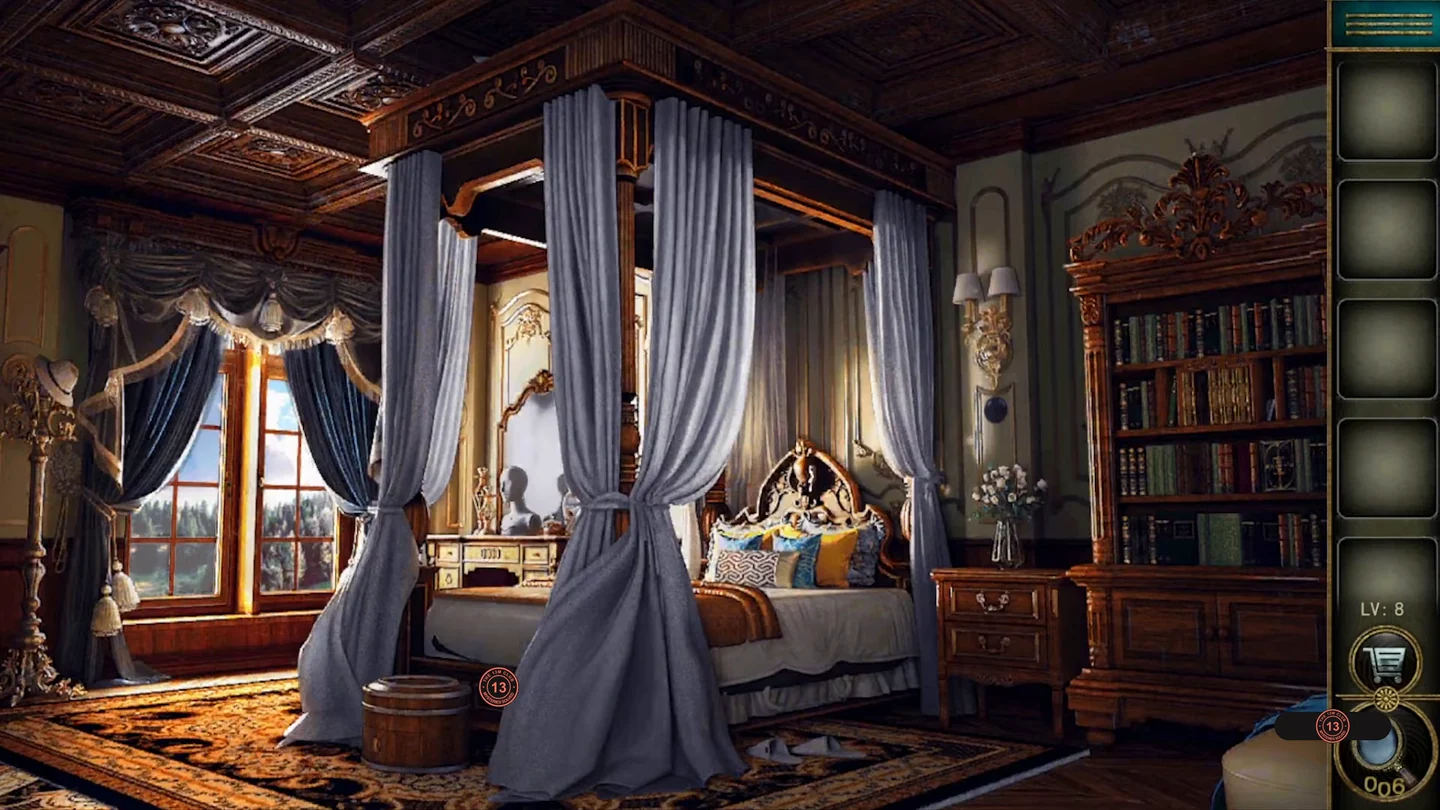
Gather four curved glass pieces around the bedroom, find the four-letter code hidden in the room's decorations and rig a rope from the window.
- Optional star 8: on the vanity table, take the earrings from the candle holder and attach them to the ears of the white bust. Tap the star on the earring.
- Look between the two slippers beside the bed and take the iron wire. Pick the drawer lock of the round box at the foot of the bed and take the carved wooden plate and the black lamp knob.
- Zoom into the five-column panel in the bookcase on the right and insert the plate into its empty slot. Swap the carvings so each matches the icon above it: paper – quill, bee – flower, rabbit – carrot, the leaning silhouette – the matching leaning silhouette, ship's wheel – lighthouse. Take the extendable rod and the first glass piece.
- At the wall lamp to the right of the bed, fit the black knob from the round box onto the switch and turn it ON. Take the second glass piece from the left lampshade. The lamp's shadow on the wall shows 4 and F.
- Use the rod to knock down the third glass piece from the top of the bed canopy.
- Find the other numbered letters: 1 B in the mirror by the perfume bottle, 2 C under the bed canopy frame and 3 H carved on the left window frame. Set the vanity drawer dials to B C H F and take the rope and the fourth glass piece.CODEBCHF
- Insert the four glass pieces into the lid of the round box. Use the left and right rotate buttons to shift the coloured sectors until all six are the same colour. Take the necklace inside.
- Put the necklace on the white bust and take the blue diamond from its chest.
- Set the diamond in the empty top socket on the left window frame, tie the rope to the ring and climb down.
The Tailor's Workshop
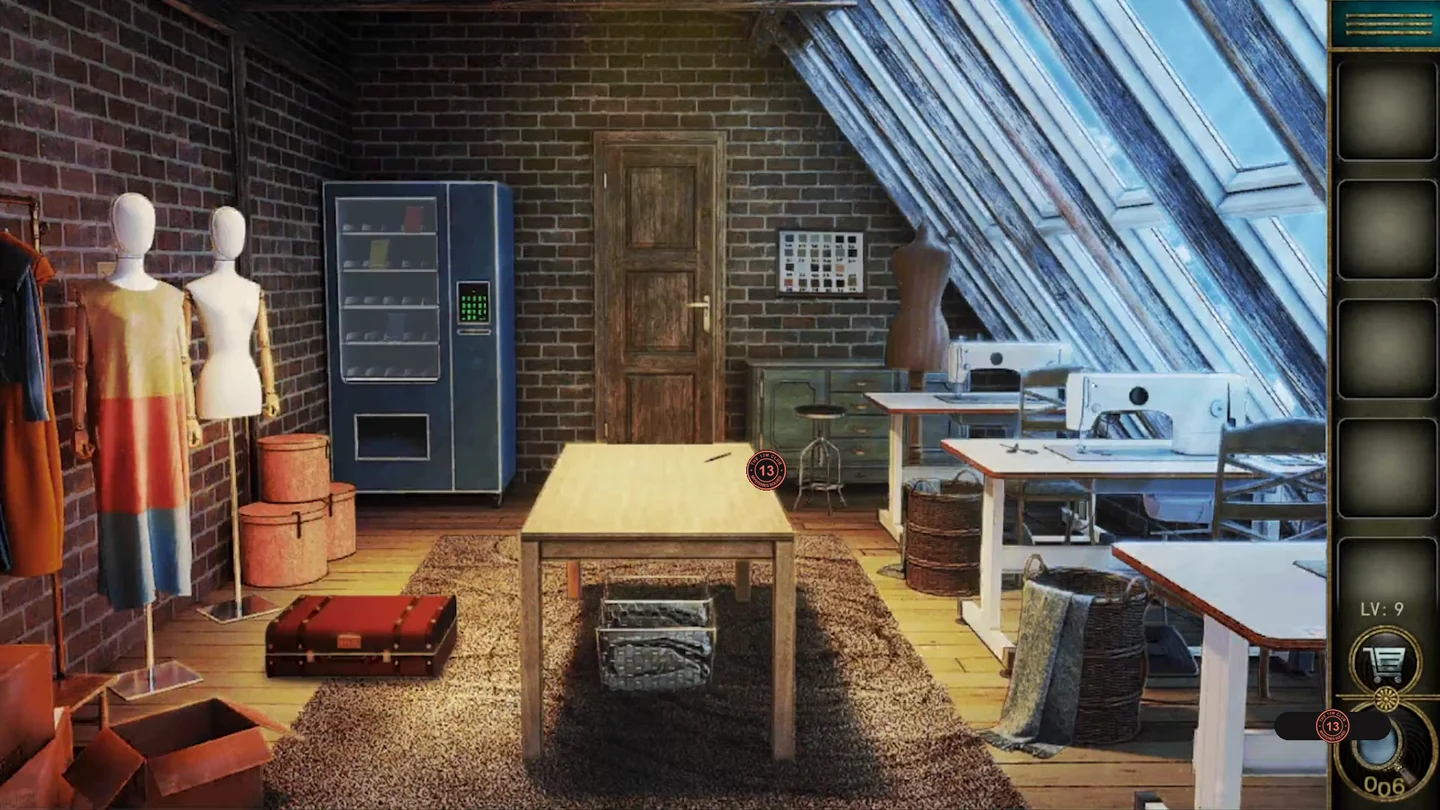
Recreate the striped yellow, red and blue dress: assemble the paper pattern, buy the right fabrics from the dispenser, then cut and sew the panels for the bare mannequin.
- Take the craft knife from the cutting table. The three sketches pinned on the brick wall show scissors, an iron and a ball of thread; set the floor suitcase lock to those symbols in that order and take the pattern pieces.
- Optional star 9: move the books inside the open suitcase aside and tap the star in the hidden compartment.
- Take the brass scissors from beside the sewing machine. Then zoom into the dressed mannequin on the left and tap its head to open it; take the spool of thread from inside the hollow head. The dress itself cannot be cut.
- Place the pattern pieces on the cutting table and fit them into the dress outline. Each colour zone (yellow, orange-red, blue) turns solid once it is completely filled; keep rearranging until all three zones are done.
- Match the dress colours to the swatch chart on the wall: yellow Y-16, red R-05, blue B-27. Enter each code on the blue fabric dispenser and press Enter, collecting the yellow, red and blue fabric.CODEY-16, R-05, B-27
- Apply each fabric to the finished pattern on the cutting table. The knife traces the outline automatically and a coloured template (yellow, red or blue) goes into your inventory. Then open each template from the inventory, select the scissors and tap the template to cut out the piece for sewing.
- Mount the thread on the sewing machine and put a fabric panel under the needle. A small X marks the next target on the panel's edge: use the four arrows to move the fabric until that X sits under the needle. The machine then stitches along the edge automatically and a new X appears; bring each successive X to the needle the same way until the panel is done. Repeat for all three panels. The machine joins them into a small dress; tap it on the machine to collect it.
- Put the dress on the bare mannequin on the right, take the key it reveals and unlock the exit door.
The Clockwork Laboratory
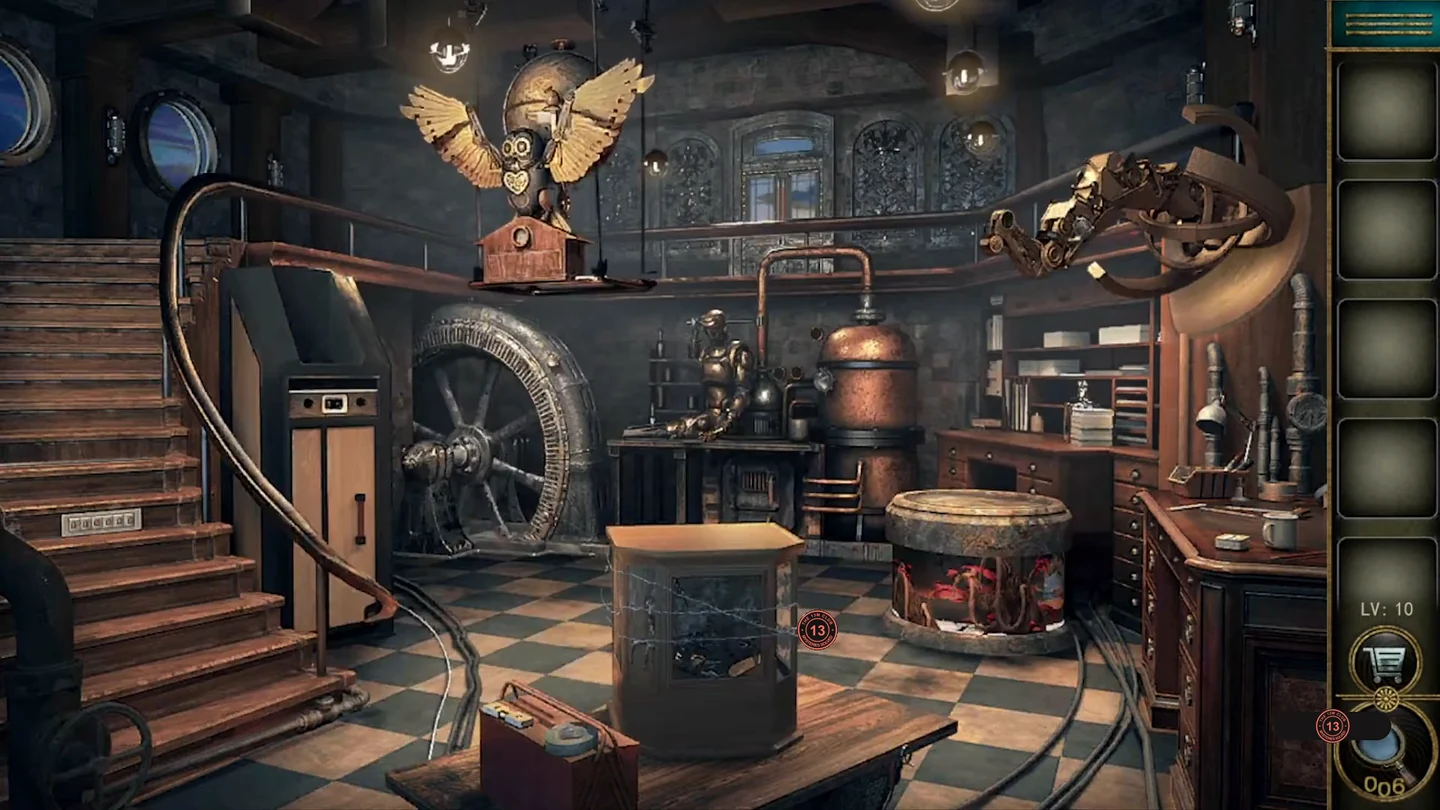
Read the letter values on the scorpion's blackboard to open the staircase, restore the mechanical owl's feathers and use the robotic hand to open the steel door.
- Take the wire cutters from the workbench on the right and cut the barbed wire around the glass case in the middle of the room. Inside, take the first golden feather from one of the mechanical scorpion's pincers. Optional star 10 is in its other pincer; tap it.
- Read the blackboard held by the mechanical scorpion: a=3, b=9, y=5, z=0, n=7, i=1. Enter the values on the bottom stair lock, which is labelled a b y z n i, and take the mechanical claw from the compartment under the steps.CODE395071
- Attach the claw to the folded arm on the ceiling rail at the top right; this opens the round terrarium well. Zoom into the well: the claw swings back and forth above the beetles. Tap to drop it when it is directly above the golden feather and no insects are in the way.
- Attach both feathers to the clockwork owl's wings. Take the screwdriver from the drawer that opens below it.
- Use the screwdriver on the automaton's arm at the right workbench to detach its hand.
- Place the hand on the round socket inside the small cabinet in the middle of the floor. It turns and grips a key; take it and use it on the steel door on the left to leave.