The Dorm Room
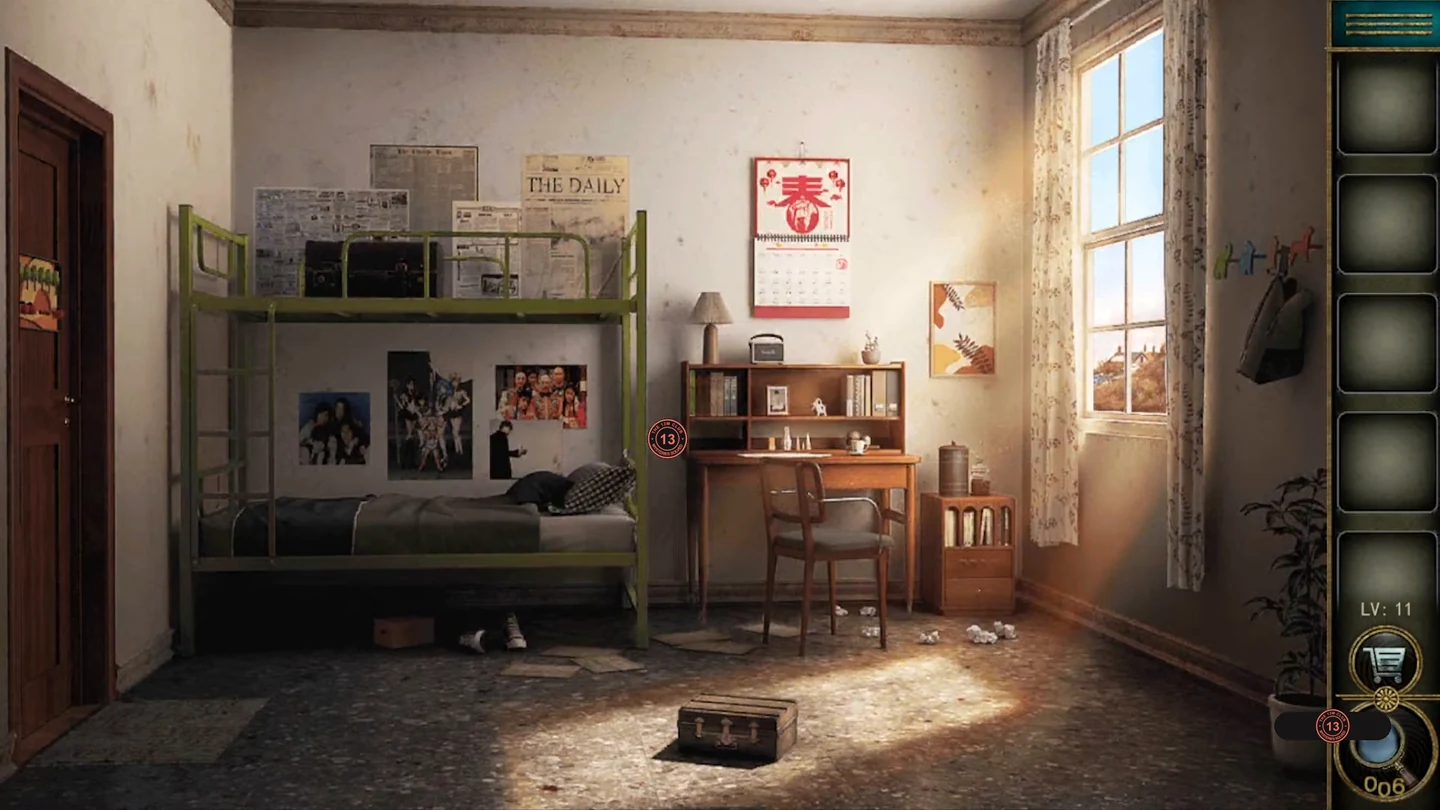
Match test scores to calendar dates for the desk drawer, open the suitcase and trunk to collect three apples, then sort the rune apples on the door.
- The desk drawer lock is labelled Jan, Feb, Apr and Jun. Check the test papers on the desk for each month's score (Jan 58, Feb 70, Apr 89, Jun 97), then find where that score is circled on the wall calendar: 3 January, 9 February, 6 April and 8 June. Enter 3968 and take the scissors.CODE3968
- Cut the tape on the cardboard box under the bunk bed and take the pliers. Use them on the suitcase in the middle of the floor and take the first apple.
- Zoom into the four animal hooks on the right wall. Reach into the blue bag on the cat hook for optional star 11, then reach in again for the second apple.
- The wall hooks link each animal to a colour: green elephant, blue rabbit, orange cat and red dog. The books on the desk shelf come in the same colours, and their heights give the slider positions. On the trunk on the top bunk, set the elephant slider to the top, the cat to the second position, the dog to the third and the rabbit to the bottom. Take the third apple.
- Place the three apples in the empty spots on the exit door board. Move the apples along the looping tracks until each apple's rune sits under the tree with the same rune. The door then opens.
The Halloween Attic
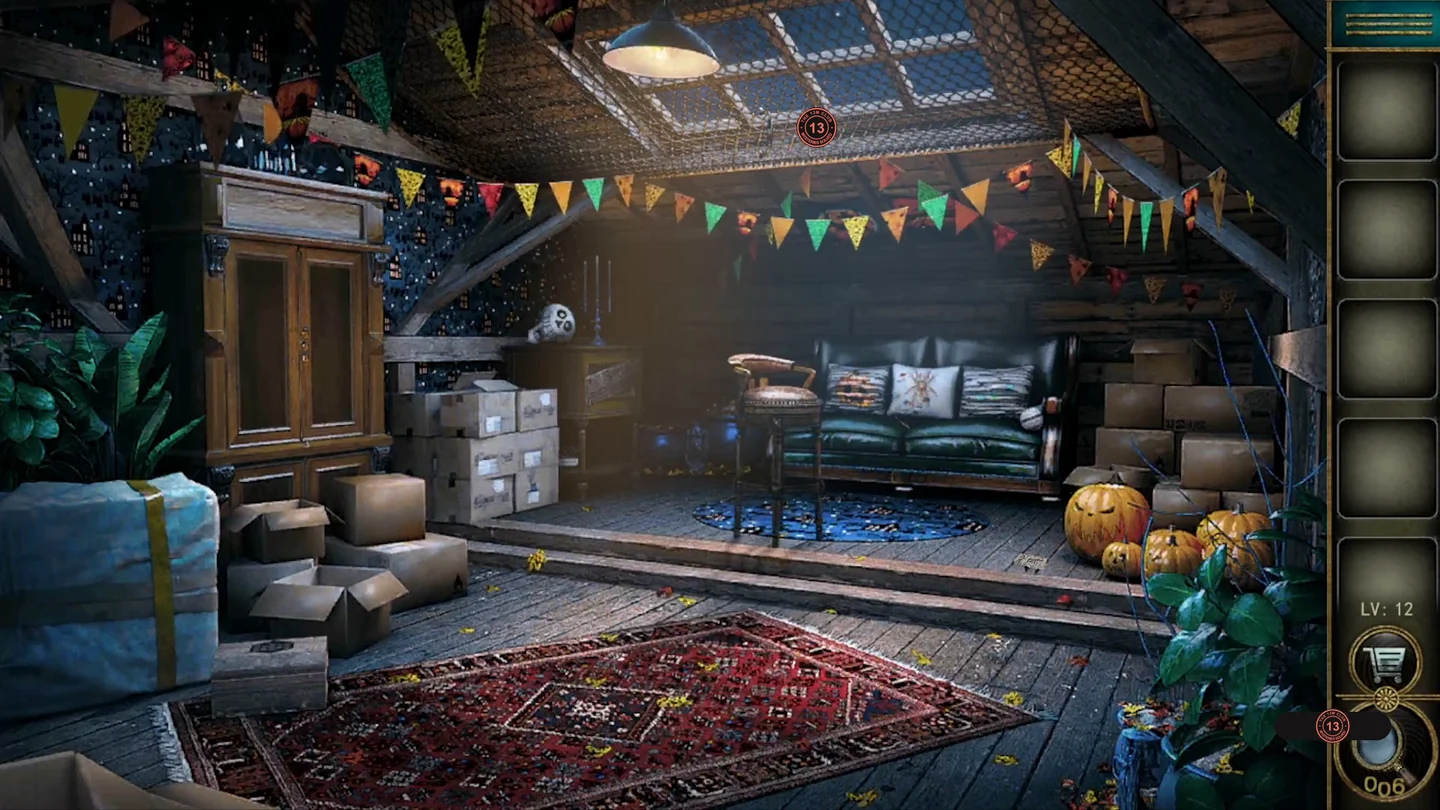
Count the Halloween decorations for the witch-hat lock, swap the skulls and bats on the ghost's board and rebuild the circuit on the honeycomb board of the wooden box on the rug.
- Take the black handle hanging on the netted window, fit it to the left door of the tall cabinet and open it. Take the round block (1/2) and note the wrapped green candies on the plate.
- Zoom into the pumpkin cluster on the right. Take the circuit diagram from the floor, and tap optional star 12 on the small pumpkin.
- The sofa cushions show a pumpkin, a spider and a candy, in that order. Count them in the room: 6 pumpkins, 3 spiders and 7 candies on the plate. Set the three witch-hat dials on the right cabinet door to 6, 3, 7 and take the screwdriver and the second round block.CODE637
- Unscrew the plank across the low chest. Place both round blocks in the empty spots on the ghost's board. Move the pieces along the lines into empty spots until the bats fill the top-left positions and the skulls fill the bottom-right. Take the pumpkin stem.
- Put the stem on top of the large pumpkin in the cluster. Its eyes glow red and it drops a hexagonal tile; take it.
- Zoom into the wooden box on the rug, which carries the honeycomb puzzle. Place the hexagonal tile in the empty spot, and put the circuit diagram in its slot at the upper right of the board for reference. Tap a hexagon to rotate it, and use the arrows above and below columns 1, 3 and 5 to cycle the pieces in that column. Arrange them until their traces form the circuit shown on the diagram. The box opens; take the hunting knife from inside it.
- Slice open the right sofa cushion with the knife and take the blue key. Cut away the rope netting over the window, unlock it with the key and climb out.
The Day of the Dead Street
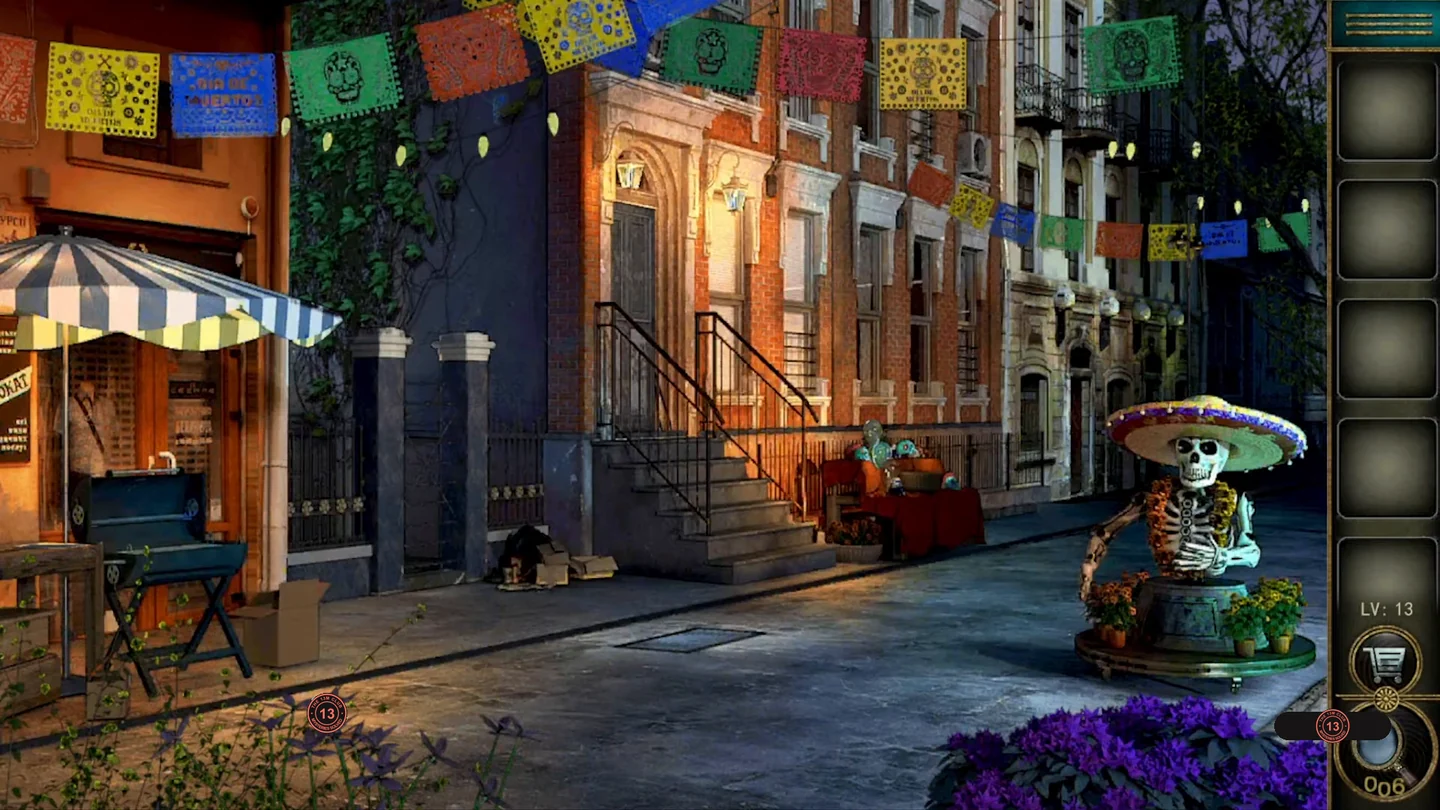
Complete the bunting with a missing blue flag, fish a screwdriver out of the drain, match the bunting colours to the balloon numbers for the skeleton's pedestal and cast a cross key from a plasticine mould to open the townhouse wall.
- Zoom into the barbecue grill on the left and take the blue Day of the Dead bunting flag lying beside it.
- Take the wire cutters tucked in the cross-patterned stone wall of the townhouse. Cut the barbed wire blocking the alley and collect the pan of sand and the horseshoe magnet.
- On the altar table, pick up the small skull-shaped lump of plasticine; you will need it later. Optional star 13: tap the bread basket repeatedly until the star becomes visible among the loaves, then tap the star. Some loaves stay in the basket. Note the balloon numbers: red 5, yellow 3, blue 6, green 4.
- Zoom into the bunting strung across the street and hang the blue flag in the empty gap. The completed row reads red, yellow, blue, green, and adding the flag dislodges a purple ribbon that was caught in the bunting.
- Pick up the purple ribbon by the street drain and tie it to the magnet in the inventory. Lower it through the drain grate to pull up a screwdriver.
- Unscrew the panel on the skeleton statue's pedestal. Use the balloon numbers in the bunting's colour order (red, yellow, blue, green) and enter 5364. Take the metal bar.CODE5364
- Press the plasticine into the cross-shaped recess on the right of the townhouse wall, then take out the shaped cross mould.
- Place the metal on the barbecue grill and close the lid. Collect the molten metal when the lid opens.
- Press the cross mould into the sand pan and pour the molten metal into the impression to cast a cross-shaped key.
- Fit the cast cross key into the same right-hand cross recess on the townhouse wall to open the way out.
The Victorian Library
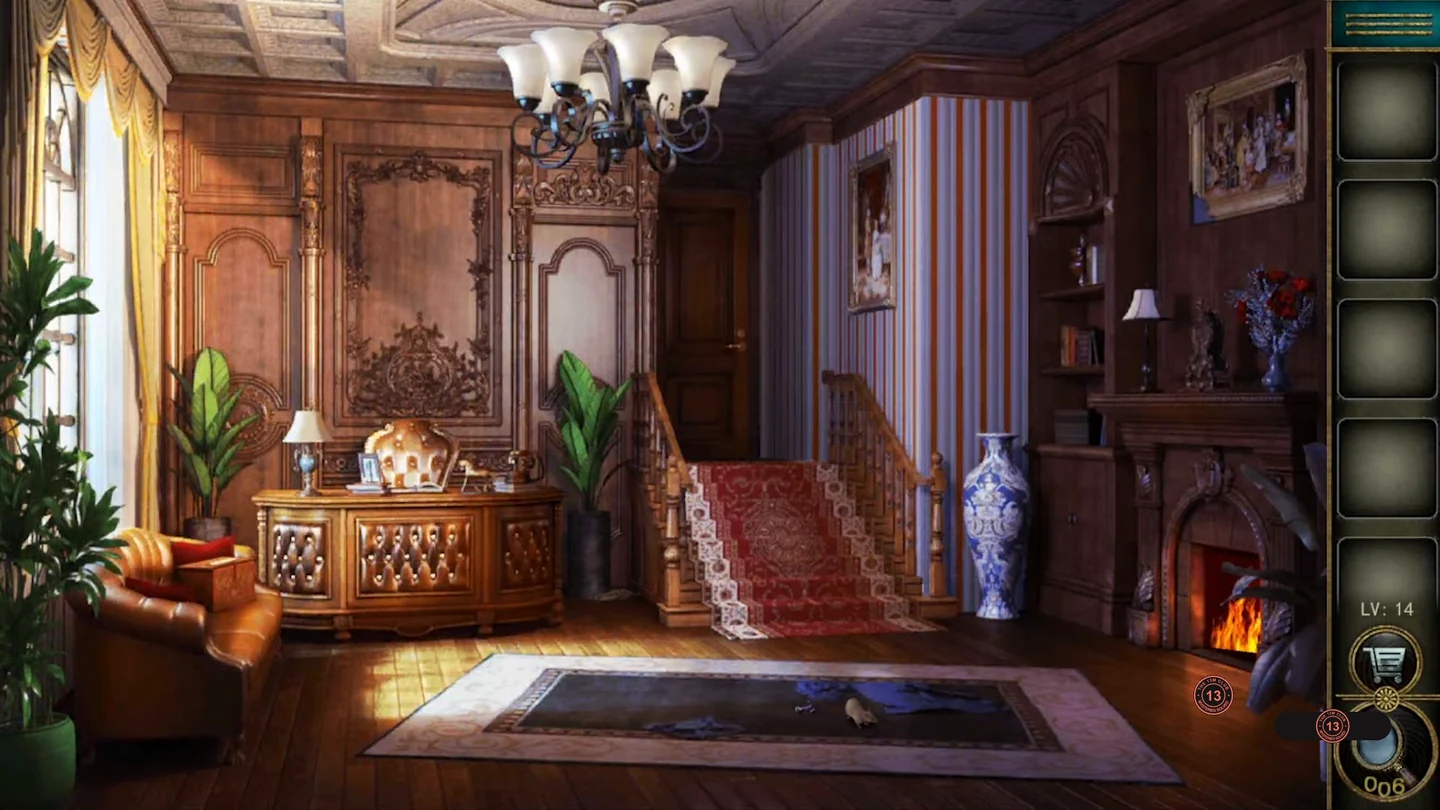
Decode a reversed alphabet for the armchair box, fish a medallion and cheese out of the tall vase for the rat, then restore the flower disc behind the painting.
- Pick up the hook lying on the rug next to the rat. The rat refuses to move for now.
- Take the iron ruler and the note from the desk. The note reads A=26, Z=1, so letters count backwards from Z.
- The box on the leather armchair is engraved L Y M. Convert with the reversed alphabet (L=15, Y=2, M=14) and set the five dials to 1 5 2 1 4. Take the flower medallion and the red-handled flashlight.CODE15214
- At the potted plant by the stairs, take the coiled rope from the floor, then dig in the soil with the iron ruler to find a carved frame corner.
- Shine the flashlight into the tall blue-and-white vase to light up the second flower medallion at the bottom. Tie the rope to the hook in the inventory, lower it into the vase and pull up the medallion, then lower it again to fish out a piece of cheese.
- Give the cheese to the rat on the rug. Once it moves, tap optional star 14.
- Fit the frame corner into the bottom-left of the large painting so it swings up. Insert both flower medallions into the round puzzle behind it. Rotate the rings until the flowers, leaves and red bird form one complete picture, then take the golden key from the centre.
- Unlock the door at the top of the stairs with the golden key and leave.
The Home Cinema
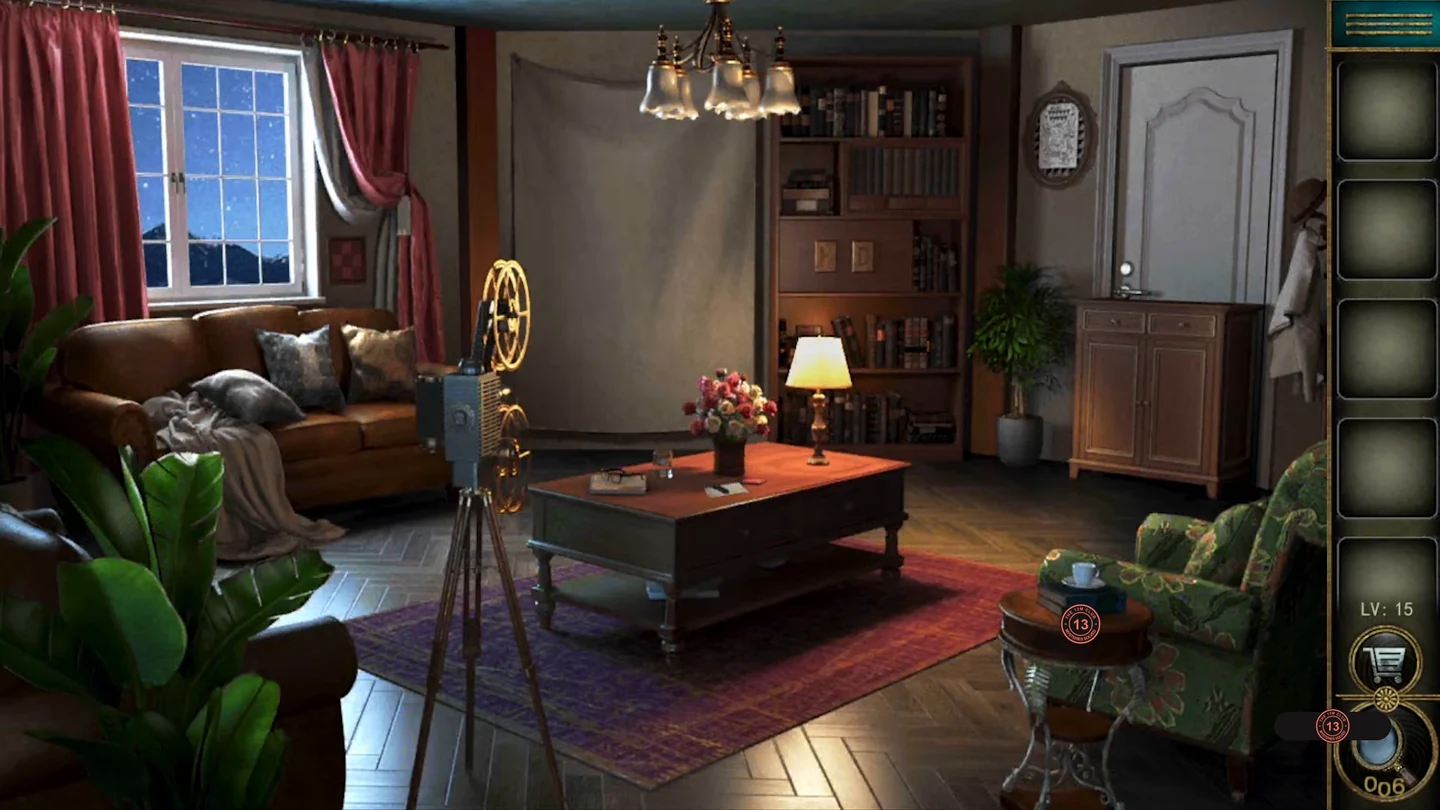
Reveal a number–letter key with a pencil, win a four-in-a-row game on the projector screen and blast the locked door open with dynamite.
- Take the copper letter H from the green floral armchair. From the coffee table take the pocket knife, the blank note and the square red tile. Take the letter D from the top of the side cabinet by the door.
- Insert H and D into the slots on the lower bookcase doors and take the red pencil. Rub the pencil over the blank note to reveal number–letter pairs: 1-D, 2-R, 3-Y, 4-I, 5-E, 6-P, 7-F, 8-V, 9-M.
- Place the red tile in the gap of the carved wall panel left of the screen. Slide the tiles to complete the sun design, then take the dynamite and the knob from the compartment behind it.
- Fit the knob on the projector and turn it on. The screen shows a four-in-a-row game: you place suns and the game answers with moons. Line up four suns vertically, horizontally or diagonally to win. The screen then shows 7-4-2-5=?
- Translate 7-4-2-5 with the pencil key: F, I, R, E. Arrange the four large books on the bookcase as Fade, Lron, Rat, Ear. The second spine is printed "Lron" with an L-shaped first letter, but it is the book for the I in FIRE. Take the matches from the drawer that opens.
- Optional star 15: turn the projector's side dial again until a star is projected on the screen; tap it.
- Slit the green armchair cushion with the knife and take the fuse. Combine the fuse with the dynamite.
- Attach the dynamite to the lock of the white door, light it with the matches and go through the blasted hole.
The Mountain Temple
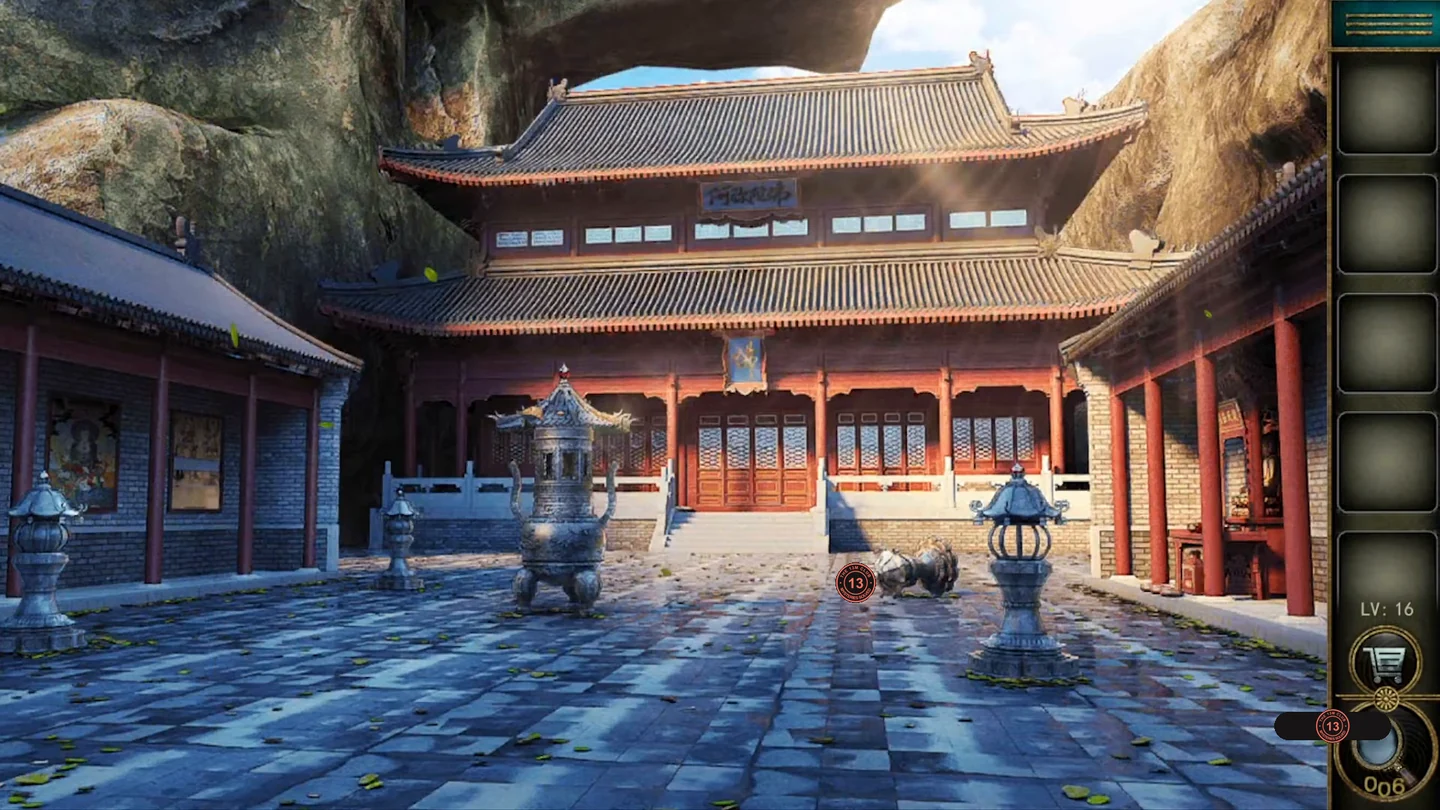
Align the temple mural, light the stone lantern, trace the two glowing figures with a calligraphy brush and complete the bronze pagoda to open the temple doors.
- Zoom into the roof of the large bronze pagoda burner in the middle of the courtyard and take the matches and the painted mural strip.
- Insert the strip into the empty row of the mural on the left wall. Shift the five painted rows left and right with the side arrows until the gaps line up into the three figure silhouettes shown at the bottom. Take the small gold tile and the writing brush from the niche behind it.
- At the golden Buddha altar on the right, take the candle from the candlestick and the round gold disc from the table. Optional star 16: keep tapping the stick held by the small red frog in front of the Buddha; the star is awarded automatically after several taps.
- Zoom into the large stone lantern in the right foreground. Put the candle inside it and light it with the matches. The lotus on top glows pink and lights a triangle figure above the far-left lantern.
- Zoom into the glowing triangle above the far-left lantern and trace it with the writing brush in one continuous stroke, covering every line without lifting, until it all turns black. A beam then crosses to the next lantern.
- Zoom into the square figure that now glows above the lantern just left of the central pagoda (a different lantern from the one holding the candle). Trace it with the brush in the same way: one continuous stroke over every line. The beam then reaches the central pagoda.
- On the central pagoda, fit the gold square tile from the mural into the square recess and the round gold disc from the altar into the round recess. The combined beam then opens the temple doors; go through.
The Army Bunker
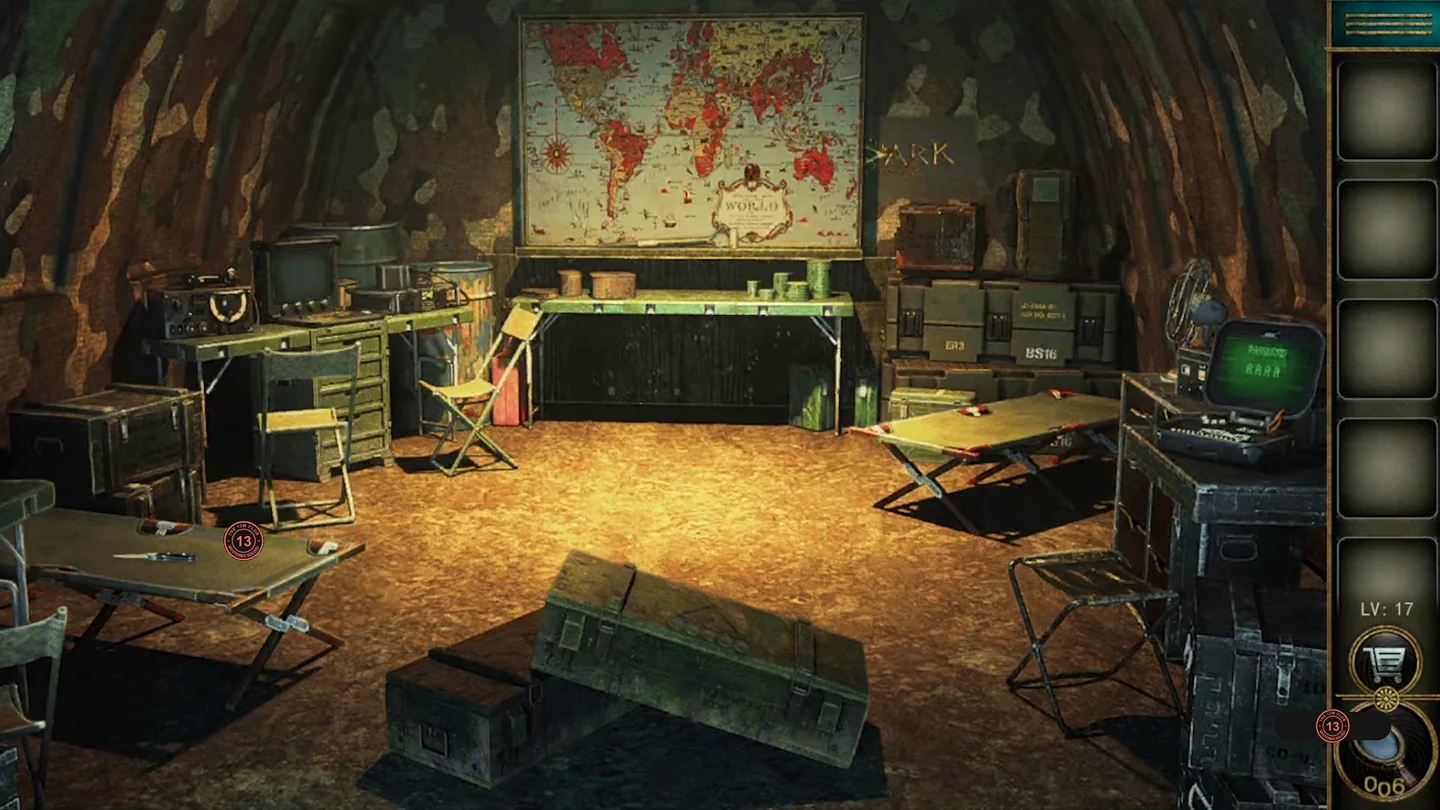
Tune the laptop's waveform for a map coordinate, find the matching code on the world map, steer the radar birds home and decode the Morse message for the supply crate.
- Take the folding knife from the cot on the left and the wooden shovel handle lying on the lower ledge of the world map; keep the handle for later. Cut open the patch on the backpack by the crates and take the Morse code chart.
- At the laptop on the left desk, tap the USB stick to power it on. Turn the four knobs until the four wave sections join into one smooth wave. The screen shows (115E, 22N).
- On the world map, mark 115 E on the bottom scale and 22 N on the side scale. The lines cross at the pin in East Asia labelled ZLHD.
- Enter ZLHD on the PASSWORD terminal on the right desk. A radar grid appears with three birds, three coloured corner icons and several spider webs. Each of the eight command buttons shows an L-shaped path of small squares, and one end square carries a play arrow. Read the arrow square as the bird's current position: pressing the button moves the bird along the L to the square at the other end, so every move is two squares in one direction and one square sideways. For example, the first button has its arrow at the top right, with the path running one square left and then two squares down; it moves the bird one square left and two down. Fly each bird to the matching coloured corner icon without landing on a spider web. Repeat until all three icons are lit.CODEZLHD
- Decode the Morse lines with the chart: P, E, A, C, E. Enter PEACE on the five letter dials of the large wooden crate.CODEPEACE
- Optional star 17: move the handgun inside the crate and tap the star beneath it. Take the shovel head from the crate and attach it to the handle from the map ledge.
- Dig the dirt patch in front of the back counter with the shovel and crawl into the tunnel.
The Abandoned Police Office
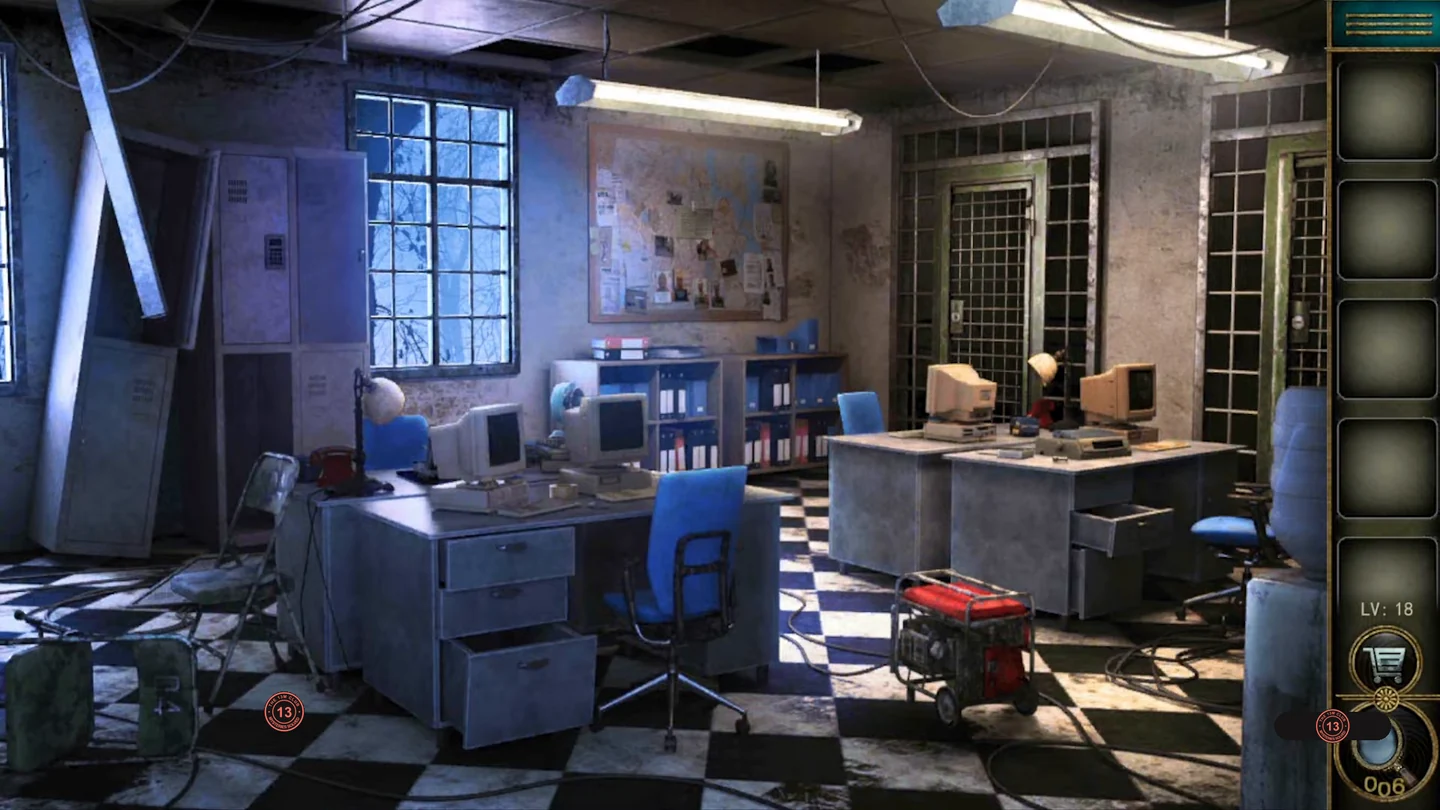
Lift fingerprints from the locker keypad, restart the generator, crack the office computer and open the hidden armoury to blast through the window.
- Take the brush and the roll of tape from the front-left desk. At the printer on the back counter, take the ink powder tin and the generator's starter handle.
- Dust the locker keypad on the left with the powder and brush, then lift the prints with the tape. The tape shows the keypad mirrored (its top row reads 3, 2, 1 instead of 1, 2, 3), so flip it left to right in your head before reading the dark marks. They sit on the keys 3, 4, 6 and 8. Enter 4863; 3468 is another order known to open the locker. Take the fuel can from the locker.CODE4863
- Take the key pinned at the left edge of the corkboard on the back wall. Then tap the sheet of paper pinned in the middle of the corkboard to remove it; a lock with four brass claws is underneath (it is needed later). Unlock the barred cell with the key. Take the torn note from the skeleton officer's pocket: it shows 254, and the final digit is torn away. Optional star 18 sits on the officer's shoulder; tap it.
- At the red generator, attach the starter handle, pour in the fuel and pull the cord to restore power.
- On the front-left computer, enter 254 followed by a final digit for the torn part. 2548 opens it, but 2549 is also known to be the answer in some games, so if one is refused, try the other values for the last digit. Two dot-grid rounds follow. Each shows a red shape plus a green shape: draw both shapes joined together through the 4 × 4 grid of dots in one continuous stroke. The shapes can vary from game to game; trace whatever your screen shows. Complete the second round the same way.CODE254?
- On the computer screen, click the printer icon in the left window, then collect the printout from the printer. The right window shows a 3 × 3 grid of symbols divided by lines. The printout's four outlines are pieces of those grid lines, each marking the edges of one cell: U = top-middle, ⊐ = middle-left, ⊏ = middle-right, ⅂ = bottom-left. Turn the four brass claws of the corkboard lock you uncovered in step 3 to the symbols in those four cells, in that order. The board swings open to reveal an armoury; take the explosive charge.
- Attach the charge to the bars of the frosted window. When it blows the window open, climb out.
The Christmas Cabin
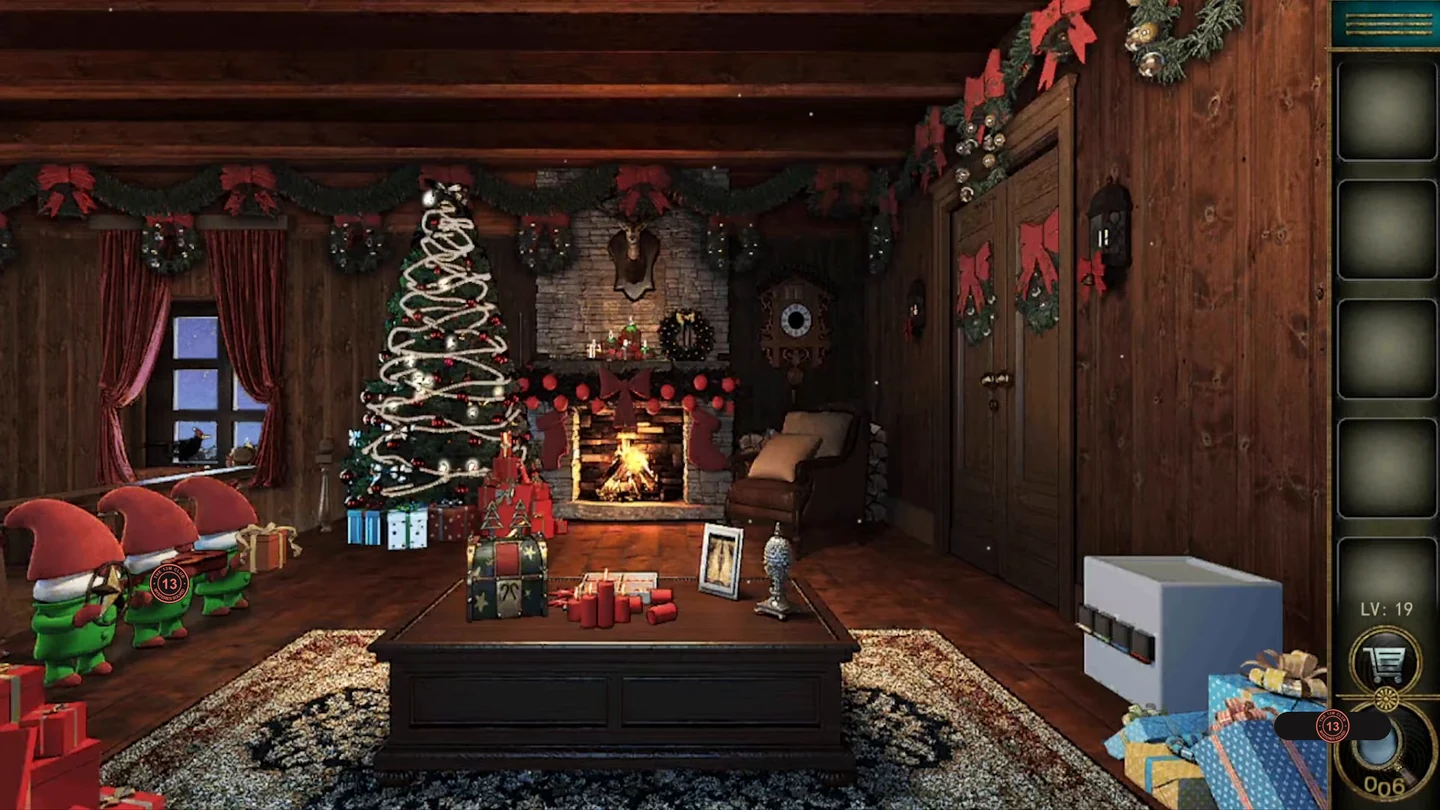
Count the coloured candles for the snowman safe, trade with the gnomes and the raven, then set the cuckoo clock and slide the gingerbread men into place.
- Optional star 19: zoom into the three gnomes on the left and tap the star held by the left gnome.
- At the candles by the stone wall, take the golden scissors and the first candy cane. On the coffee table, count the red candles: there are seven.
- Count the candle colours in the three candle groups (coffee table, windowsill and wall table): yellow 3, green 4, blue 2, red 7. Enter 3427 on the white snowman safe on the right; inside is a gingerbread board with one empty spot.CODE3427
- Cut the ribbon on the gift held by the right-hand gnome and take the peas. Feed them to the raven at the window and take the second candy cane it drops.
- Put both candy canes into the slots on the chest on the coffee table. Take the music note and the book.
- Place the music note on the middle gnome's guitar and take the clock hands that appear. Fit the hands on the cuckoo clock above the fireplace.
- The book shows hand positions as angles: 0° at 12, 90° at 3, 210° at 7, 270° at 9, and asks for 420°. Each numeral is 30°, so 420° is one full turn plus 60°: turn the minute hand clockwise through one complete turn and then two more numerals, so it stops at II. The hour hand moves along with it and ends at I. Santa pops out; take the triangular tile he holds.
- Place the tile in the empty spot on the gingerbread board in the safe. Tapping a gingerbread man turns the triangles around him. Keep turning until all six teal triangles fill the central hexagon ringed by the gingerbread men and every outer triangle is yellow. Take the key from the box that opens.
- Unlock the double wooden door with the key and leave.
The Wizard's Tower
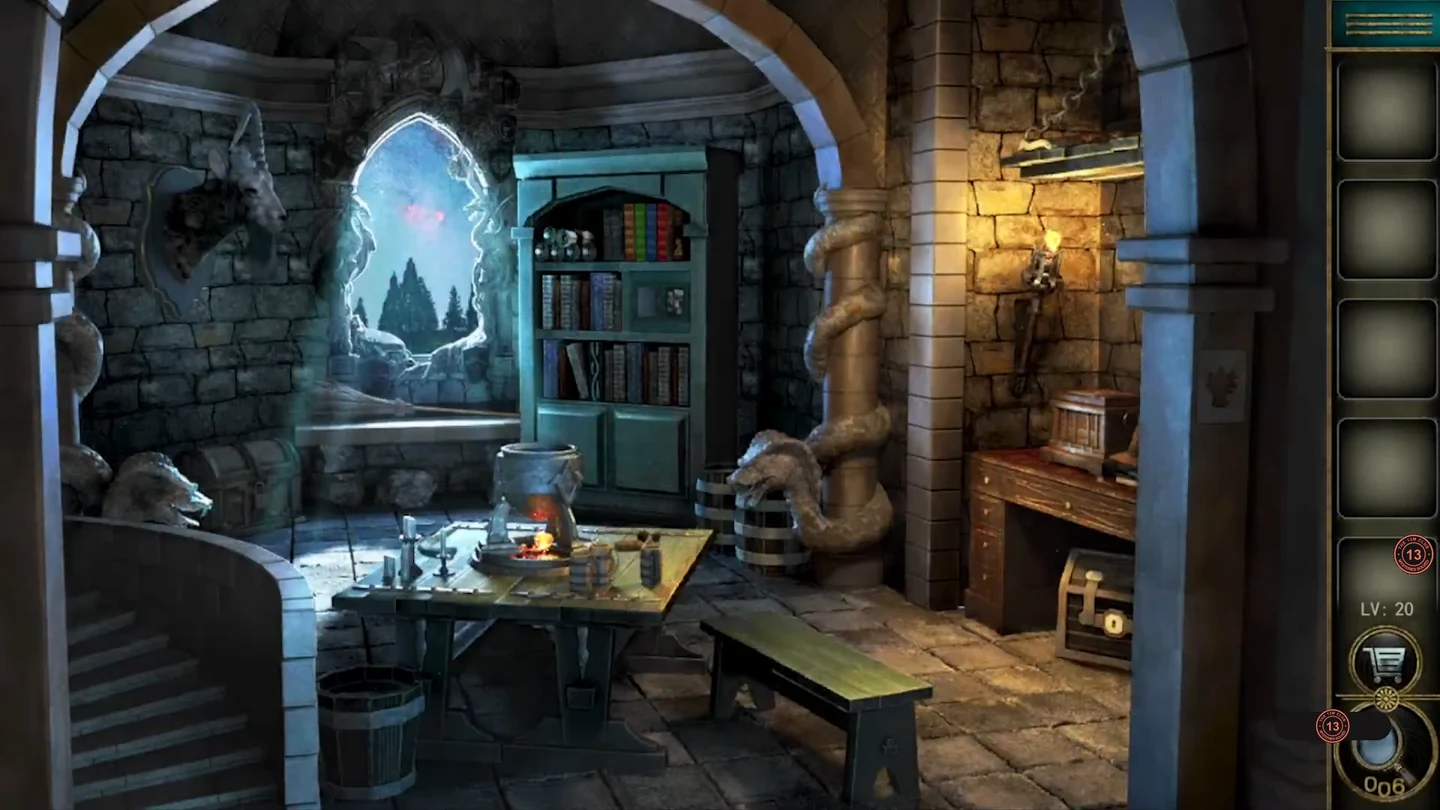
Repair the ram's head, rebuild the lighthouse picture, read four coloured runes for the treasure chest and brew a potion that turns the broom into your way out.
- Take the ram's horn lying on the cauldron table. On the desk on the right, lift the wizard hat to find the blue bandage. Optional star 20 is under the hat as well; tap it.
- Attach the horn to the mounted ram's head on the left wall and wrap it with the bandage. The head slides aside: take the gold crest from the niche and note the green X rune.
- Place the crest in the shaped recess of the stone safe by the archway (a red rune is painted beside it) and take the picture pieces inside.
- At the glass doors of the bookcase cabinet, place the pieces and assemble them into the lighthouse picture. Inside the opened cabinet, note the blue zigzag rune and take the potion recipe.
- Four book spines on the shelf above give the colour order: orange-brown, green, blue, red. The orange-brown rune is scratched into the desk behind the book stack. Set the floor chest's four plates to the orange-brown, green, blue and red runes in that order, and take the red gem.
- Insert the red gem in the centre of the hexagon box on the desk. Each of the six outer spots is engraved with an image, and each gold tile belongs on the spot with its matching image; one spot is always empty and shows its engraving. The gem's lines connect some outer spots through the centre. Rotate the gem with the green arrows, then tap a tile that the lines connect to the empty spot: it travels along the line into that spot. Repeat until every tile sits on its matching engraving. Take the empty bottle and the green leaf.
- At the cauldron, first place the green leaf from the inventory on its outline on the table, then follow the recipe by tapping the ingredients in the order it shows from left to right: the green leaf, the bark stick, the two nuts, the pale seeds and then the twigs from the table. Once the brew turns blue, fill the bottle.
- Pour the potion on the broom at the broken window and fly out.