The Dollmaker's Workshop
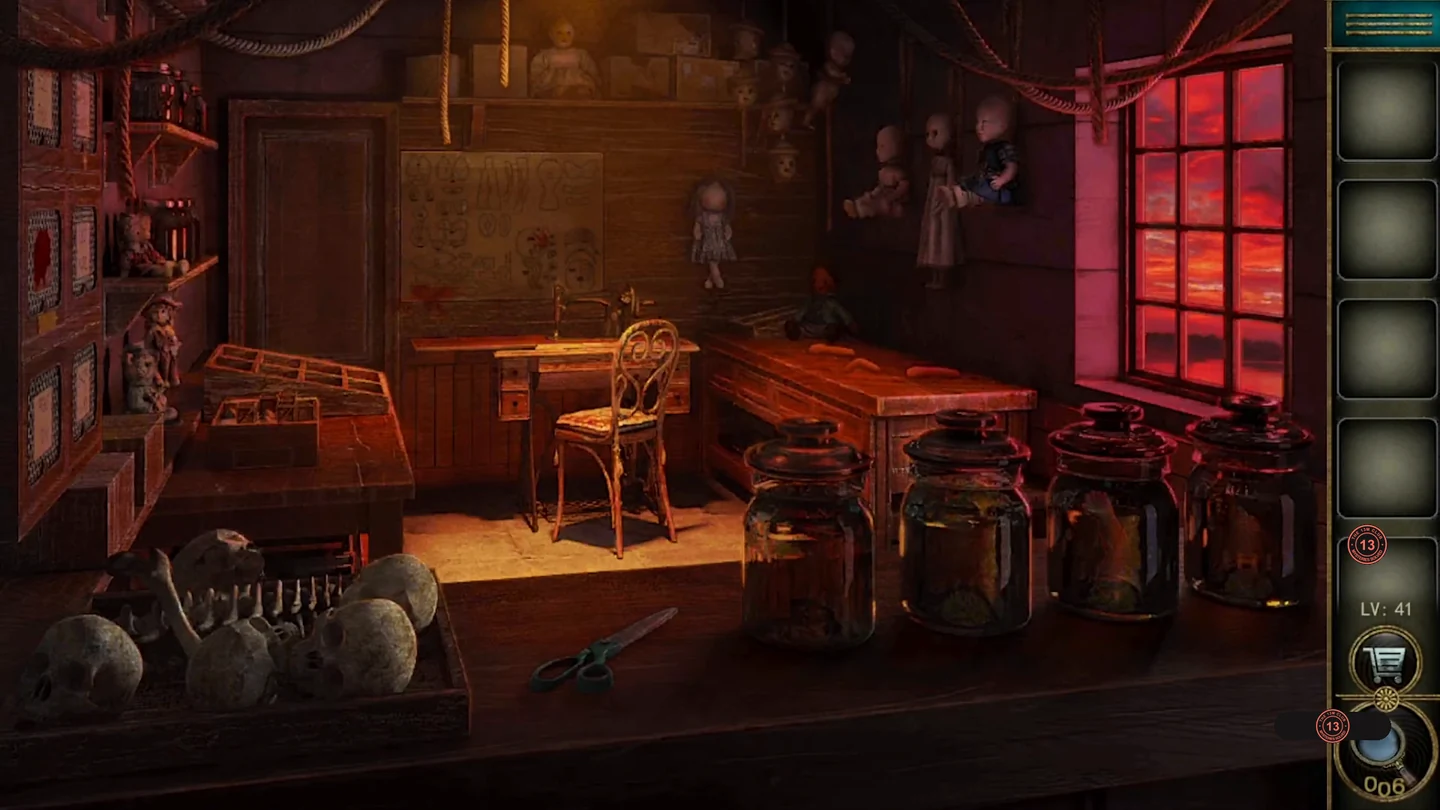
Mend the three hanging dolls: give Bella a heart, fish a missing arm out of a specimen jar and win a pair of eyes from the key-and-crate puzzle box.
- Take the scissors from the foreground counter, just left of the specimen jars. Note the five labelled drawers: 520 Ben, 2430 Evan, 832 Kae, 730 Jan, 1429 Lvet. Take the red cloth from the sewing machine.
- Zoom into the three dolls hanging on the back wall and take the pincushion with its needle from the middle doll. Optional star 41: tap the chest of the left doll in the pink dress, and the star appears and is collected.
- Cut a heart from the red cloth with the scissors. Place it on the dress of the doll named Bella on the shelf and sew it on with the needle. Take the key the doll reveals.
- Unlock the 2430 Evan drawer and take the tweezers. Use them in the green specimen jar on the counter to pull out a doll's arm, and attach it to the middle hanging doll.
- Work out each letter's number from the drawer labels: B 5, E 2, L 1, A 3. BELLA is therefore 52113. Enter it on the five-digit drawer lock and take the wooden piece.CODE52113
- Place the piece in the puzzle box on the left workbench. The keys sit on wooden crates, and the little dolls are what you move: select a doll and use the yellow arrows to walk it, pushing any crate in its way. Push each key crate onto the lock of the same colour (red, blue and gold); the pyramid blocks cannot be moved, and the round arrow resets the board. When all three locks are open, the box opens; take the doll eyes.
- Put the eyes into the right-hand hanging doll in the blue dress. The exit door opens; go through.
The Haunted Bedroom
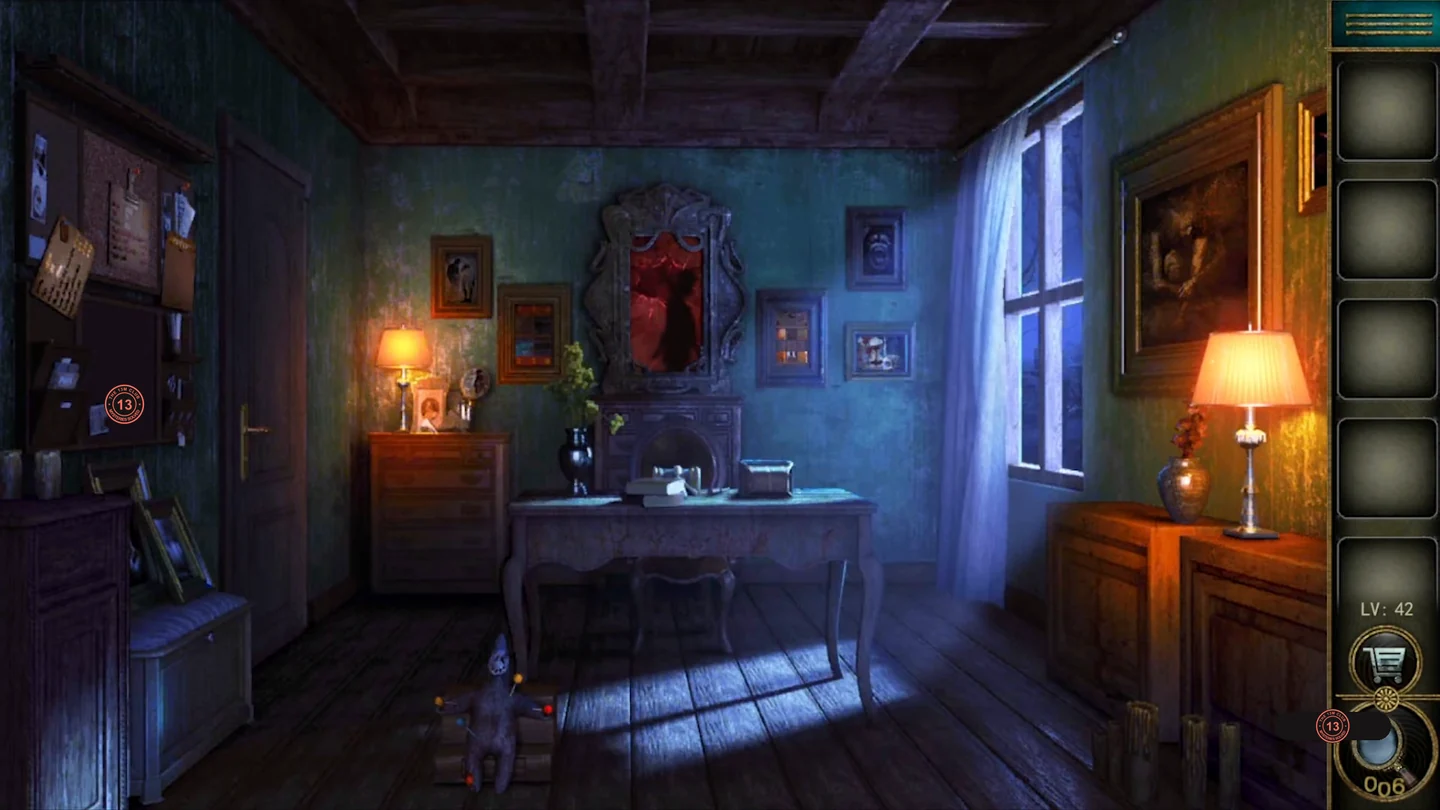
Piece together the window photo, solve two case files from the corkboard, pin the voodoo doll like the diagram and complete the sliding picture to find the door key.
- Take the knife from the centre desk. Cut open the cloth doll on the floor chest and take the photo piece.
- Insert the photo piece in the frame left of the mirror and slide the four pieces until the window picture is complete.
- Optional star 42: zoom into the ceiling beams and tap the wooden star on the right beam. Red writing on the ceiling reads FRON 3×.
- On the corkboard, the FRON file marks each line with crosses and ticks. The line with three crosses, *MYLoVe DavE, matches the ceiling's 3×; its lowercase letters are o, e, a and v. Set the four letter dials of the box on the desk to o, e, a, v and take the voodoo diagram and the first picture tile.CODEoeav
- Move the coloured pins on the voodoo doll on the floor chest to the positions marked on the diagram. When the doll's eyes glow, take the second picture tile from the stool below.
- Insert the tiles into the 3 × 3 sliding picture on the back wall and slide them until the room scene with the hanging figure is complete. A figure drops into the room and knocks over the small cabinet by the right window.
- The small cabinet by the right window has now fallen over. Zoom into its back, which carries the clue LEON = 2 × 1 ✓ and a five-letter lock. On the LEON file on the corkboard, the line marked with two crosses and one tick is *LiviNg wiTH dAd; its capital letters are L, N, T, H and A. Set the five letter dials on the cabinet back to L, N, T, H, A and take the key.CODELNTHA
- Unlock the door on the left with the key and leave.
The Wizard's Staircase
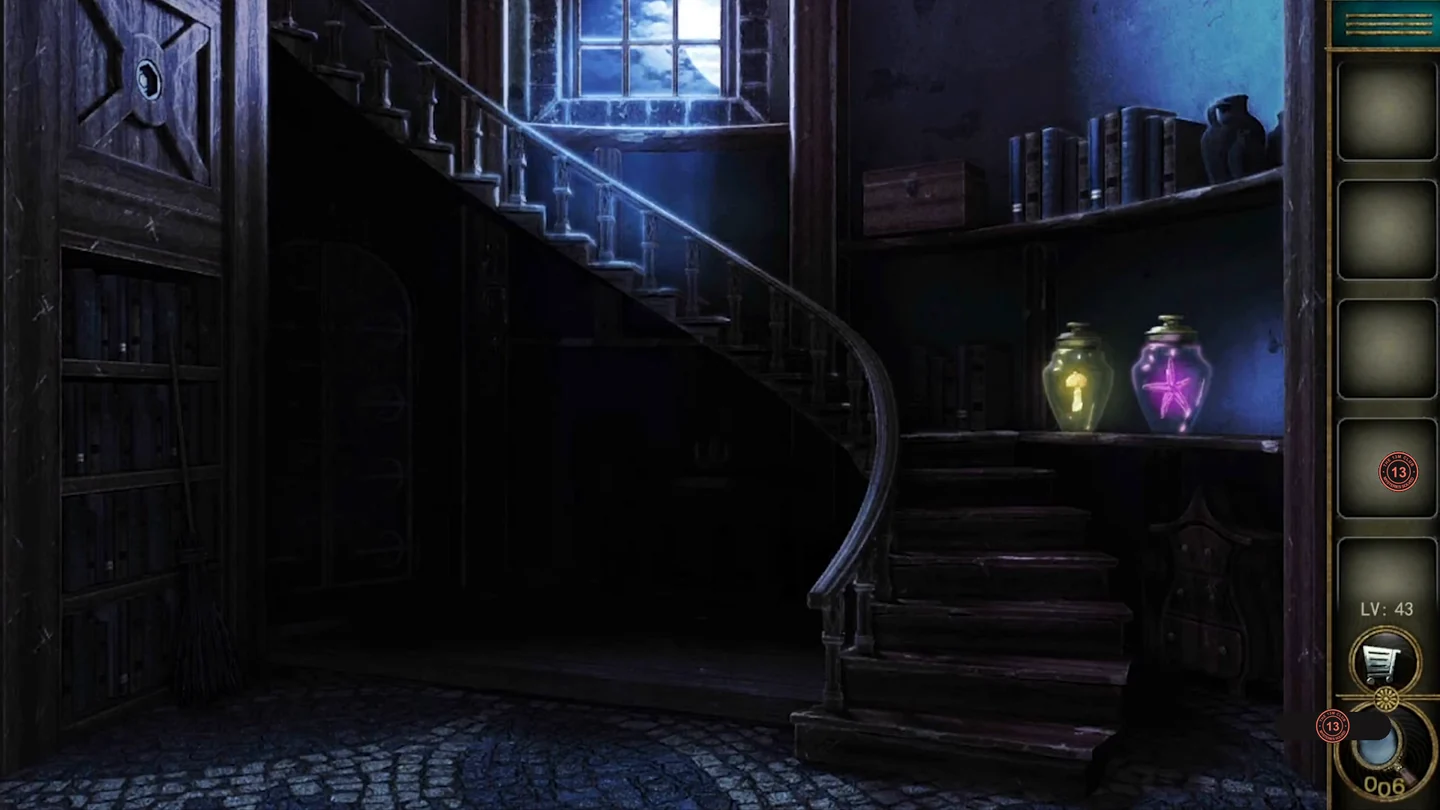
Release the light from the jars on the stairs, unlock the magic book, cast the broom spell, guide four creature medallions through the wall maze and break the seal on the double doors.
- Zoom into the two glowing jars on the stair landing and open both lids. Optional star 43: a purple ghost escapes from the purple jar and floats up by the bookshelf; tap it to earn the star. A yellow light rises from the other jar. Keep tapping the yellow light each time it stops: it moves down the stairs and across the room until it settles in the dark alcove under the stairs, lighting it up and opening the study there.
- Take the silver key from the round table with the six rune plates. Unlock the chest on the upper bookshelf and take the magic wand and the magic book.
- Examine the book and tap its four corner gems with the wand in this order: top-left, top-right, bottom-left, bottom-right. Inside, a broom is drawn among star points; watch the order in which they connect.
- With the wand selected, tap the broom leaning beside the left bookcase to bring up a pattern of glowing circles. Tap six circles in this order: top row left, second row left, top row middle, second row middle, second row right, then the bottom-right circle. The game draws the connecting lines, and the broom flies up to a high panel on the left. Turn to the next page of the book, take the hexagonal badge and fit it into the recess in that panel to reveal a maze board.
- Open the drawer of the carved desk under the stairs and take the mushroom medallion. Place it on the maze board. Tap the maze tiles to rotate them and open new channels, then move each creature medallion along the open channels to the ring of its own colour at the top. Take the blue crystal ball.
- Place the crystal ball in the claw at the centre of the round table. Tap the book's blank page with the wand to reveal a six-rune star. Swap the table's rune plates to match it.
- Tap the crystal ball: it shows a glowing blue book on the left bookshelf. Pull that book out and take the rune card hidden inside.
- The rune card is a 7 × 7 grid of runes in which every row and every column uses each rune once; four cells are replaced by the numbers 1 to 4. For each numbered cell, work out the missing rune from the runes already in its row and column. Tap the double doors with the wand to call up the magic seal, then tap the four runes around it that you deduced, in the order 1 to 4. The seal breaks and the doors open.
The Pub
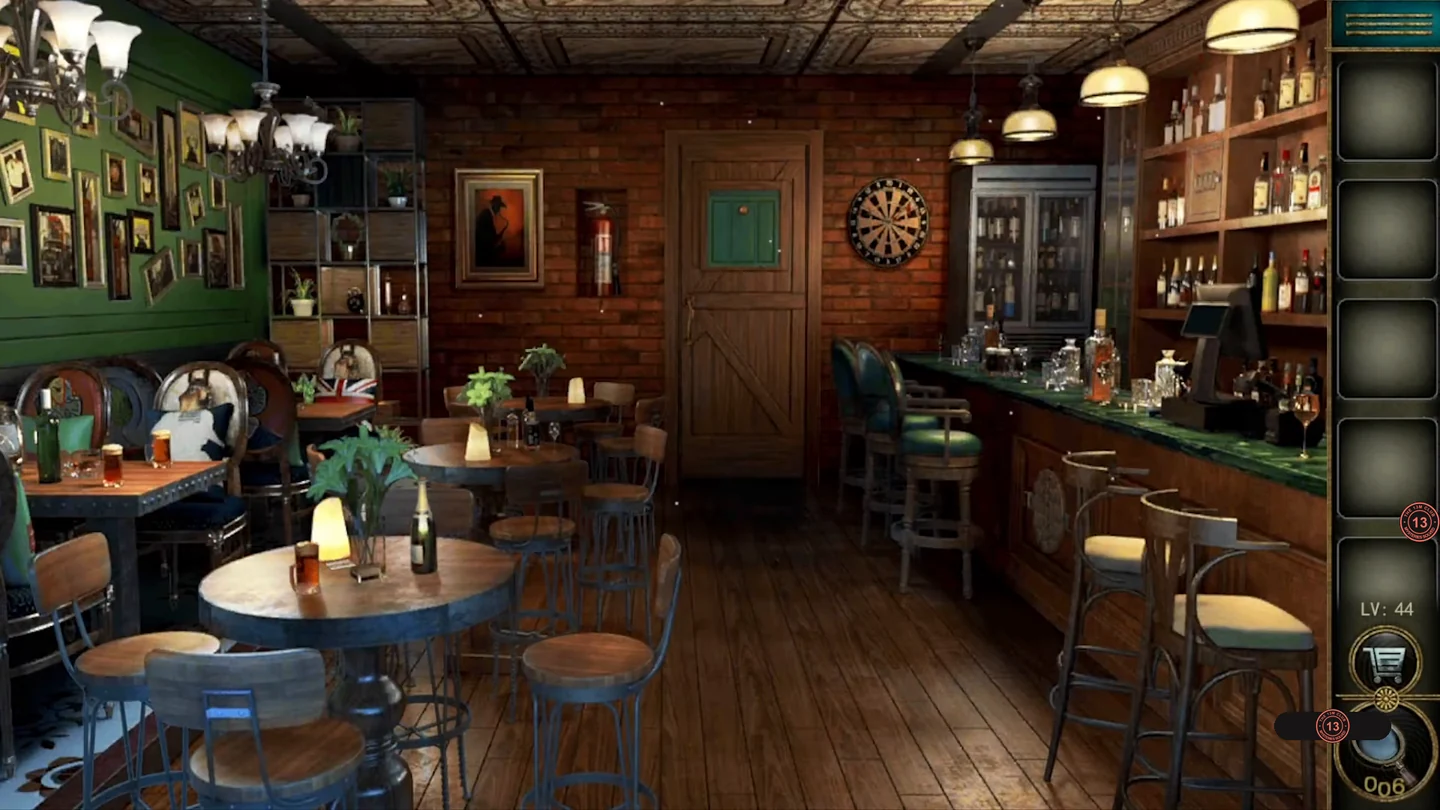
Collect two bottle caps, arrange the bottle board, pay at the till with a gold card, then read the receipt total on the picture wall to open the cabinet and slide the bolts of the back door.
- Take the wine label sheet from the round table in the foreground and the bottle diagram from under a beer mug on the high table on the left.
- On the green picture wall, take the first bottle cap sticking out of frame 5. Optional star 44 is separate: it sits in the picture just above frame 5; tap it if you want it. Collect the cap either way.
- Open the green hatch in the brick recess by the back door and take the fire extinguisher. Smash the left glass door of the drinks fridge with it and take the corkscrew.
- Uncork the bottle on the round table with the corkscrew and take the second bottle cap.
- Place both caps and the bottle diagram on the round board on the bar counter. Use the arrows to rotate the rings and shift the caps until the bottle caps sit where the diagram shows. Take the gold credit card.
- Swipe the card at the till. The screen shows grapes, a crown, a windmill and a barrel. The label sheet numbers those labels 2, 3, 1 and 5; enter 2315 and take the receipt, which totals $2496.CODE2315
- On the picture wall, frames 2, 4, 9 and 6 contain letter shapes: a, a slanted N, h and y. Set the four dials on the cabinet beside the dartboard to those shapes in that order and take the key.
- Unlock the green panel on the brick wall. Move the red pins up and down and push the gold bars sideways with the arrows until every bar slides clear. The back door opens; go through.
The Egyptian Dig Site
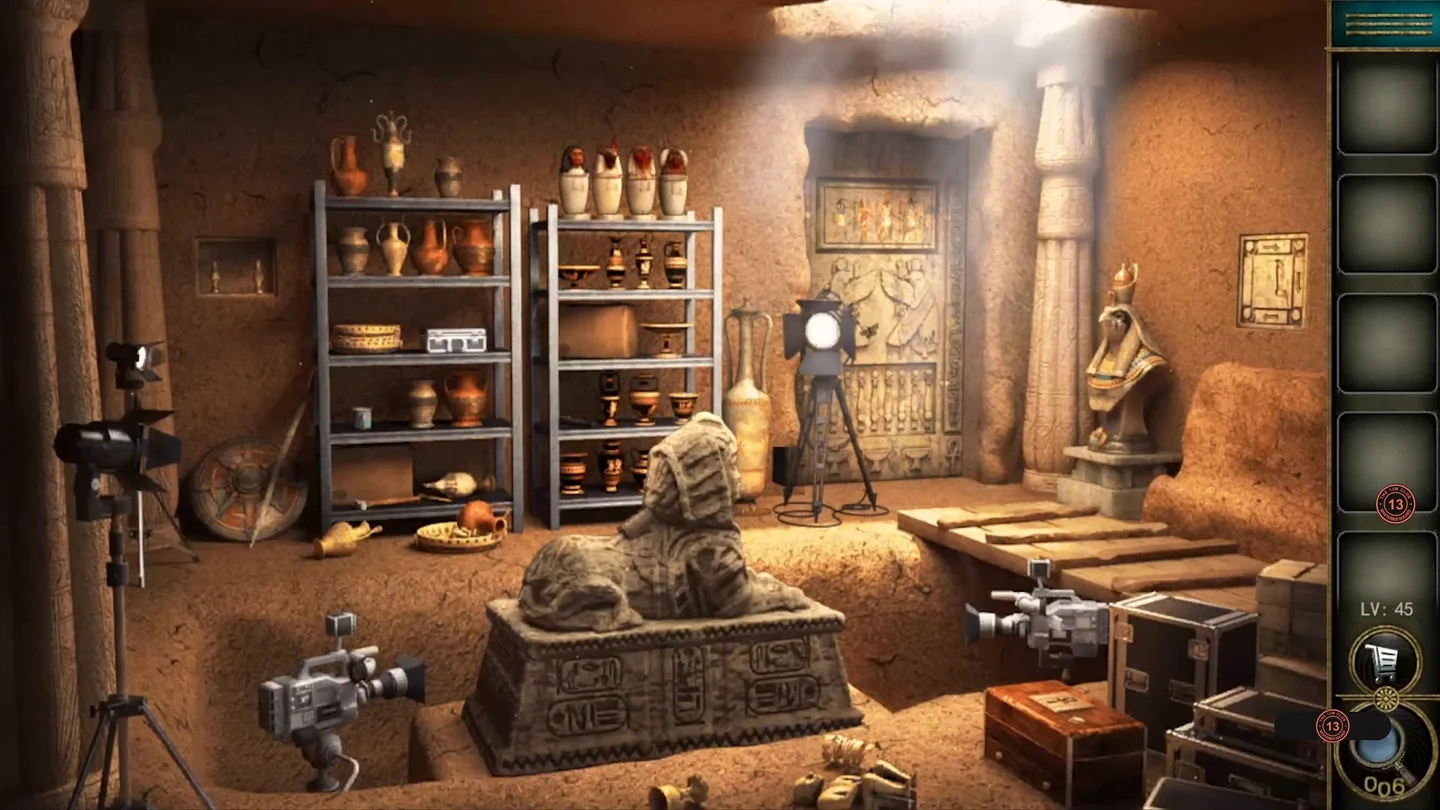
Sort the marbles in the Ankh chest, order the canopic jars by the wall frieze and the golden busts by the camera, set the stone cylinder and herd the coloured scarabs home on the board under the sphinx to open the tomb door.
- Take the blue scarab beside the wooden chest (1/2). Open the silver case on the metal shelf on the left and take the Ankh, then fit it into the lid of the chest.
- Slide the channel tubes and flip the round housing with the side arrows until all three blue marbles sit in the blue channel. Take the camera screen and the first glass eye from the drawer.
- Attach the screen to the camera on the left tripod. It shows the outlines of four golden busts in a row; keep this clue for the wall alcove later.
- Optional star 45: zoom into the wall frieze of four gods and tap the five-point star outline in its upper-left corner.
- The carved frieze of four gods on the wall gives the jar order. Arrange the four canopic jars on the shelf to match it from left to right: falcon, human, baboon, jackal. Collect the golden bust, the second eye, the stone snake and the second scarab from them.
- Place both eyes on the falcon statue's headdress in the pit and take the golden bust from the crown that opens. Then fit the stone snake into the cobra panel on the right wall. The panel opens: take the first key and note the four symbols marked with arrows inside.
- Put both busts in the wall alcove and arrange the four so that they match the bust outlines on the camera screen from step 3. From left to right: the bearded bust, the pharaoh with the striped headdress, the queen with the tall crown, then Anubis. Take the second key from the drawer below.
- Use both keys on the two locks of the lower silver case on the metal shelf and take the stone button inside. Place it in the mechanism on the sphinx to raise a stone cylinder, then turn its four tiers to the symbols from the cobra-panel clue in the order the arrows run, starting top left: wavy lines, bars with a circle, a slash with a dot, the zigzag.
- Once the cylinder is solved, the sphinx slides aside and uncovers a scarab board beneath it. Place both scarabs on that board. Slide the scarabs along the tracks until every colour group fills its own coloured zone; parking some groups temporarily helps clear the way. When the board is complete, the tomb door opens; go through.
The Executive Study
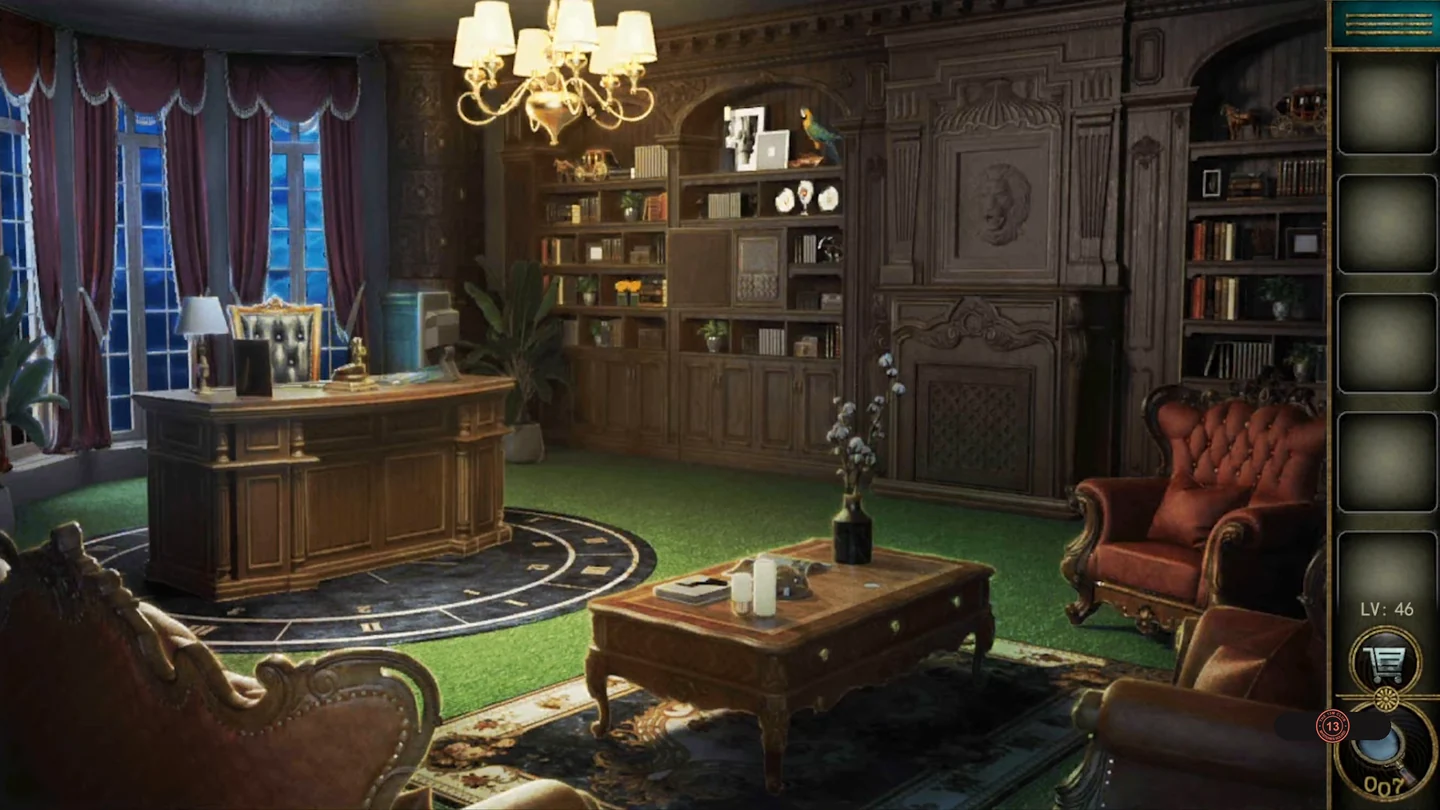
Free a gold sphere from the armchair, give the lion its ruby eye, fill in the picture-logic grid, spell the owner's name on the bookcase and add up the shapes to log into his computer.
- Take the round grey button from the coffee table. From the desk, take the ruler and the pen; the computer belongs to Shelton.
- Poke inside the ceiling chandelier with the ruler and take the letter R tile (1/2).
- Use the pen on the single yellow button of the red armchair to pry out a gold sphere. Examine it in the inventory to open it: take the ruby, and tap optional star 46 inside.
- Set the ruby into the empty eye of the lion carving above the fireplace. A panel slides open to reveal a button grid of 8 rows by 11 columns.
- Insert the button in the grid and solve the picture logic: the numbers beside each row and above each column give the lengths of the pressed runs in order. The row clues from top to bottom are 1, 3, 5, 0, 4 3, 4 4, 4 5, 4 6, and the column clues from left to right are 4, 4, 4, 1 4, 2, 3 1, 2 2, 1 3, 4, 4, 4. The solution: a small triangle at the top centred on column 6 (1, 3 and 5 buttons in rows 1–3), an empty row 4, a 4 × 4 square in the lower-left corner (columns 1–4 of rows 5–8), and a stepped block on the right of rows 5–8 of 3, 4, 5 and 6 buttons ending at column 11. Take the letter W tile from the compartment that opens.
- Put the R and W tiles into the gaps of the letter panel on the right bookcase. Press the letters S, H, E, L, T, O, N in order. Take the shape-sum scroll from the cabinet that opens.
- The finished grid forms a square, a triangle and a trapezoid. The scroll's sums give triangle 1, trapezoid 3, square 5 and circle 9. Sign in on the desk computer with 1539.CODE1539
- Open folder C, then C-1, and click the green icon. A secret door opens beside the fireplace; go through.
The Sports Locker Room
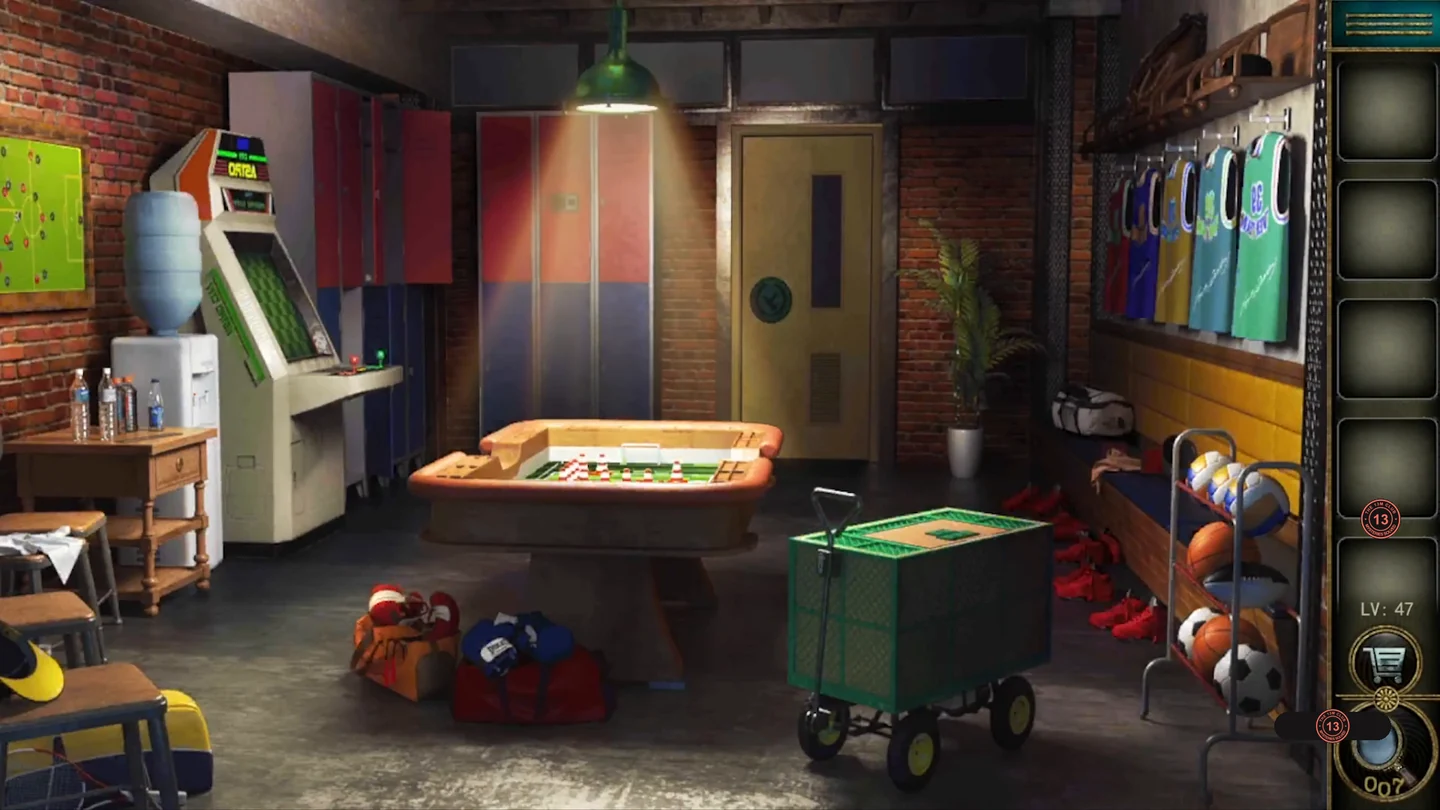
Win the arcade football game, match the jersey names and numbers for the red locker, push three balls into the targets on the foosball table and colour the equipment cart's tiles by the players' initials.
- Take the Chamberlain name plate from the wooden side table on the left. Open the red-and-blue lockers at the back and take the paper clip.
- Open the zip of the pink sports bag with the paper clip and take the Tom name piece and the arcade coin. Place the name piece in front of the plate to read Tom Chamberlain.
- Insert the coin in the arcade machine and press play. Score three balls in each goal. Tap the red buttons to shift the track lines, and tap the footballer himself to move him along the lines onto other tracks and pick up balls. For example, after filling the left goal, tap him to fetch the ball near the bottom and return to the horizontal line, then use the buttons to guide that ball to the right goal. Take the first mini football from the prize slot.
- Optional star 47: tap the star on the shelf above the jerseys. On the jerseys, Wilt Chamberlain wears 13 and Tom Dempsey 19.
- Tom = 19 and Chamberlain = 13, so enter 1913 on the tall red locker's keypad. Take the drawer knob and the second ball.CODE1913
- Fit the knob to the side table drawer, open it and take the third ball.
- Place the three balls on the foosball table. Move the player with the arrows to push each ball around the cones onto a target circle; a ball can only be pushed, not pulled, so line up behind it first. When all three targets are filled, take the golden eagle.
- The ball rack is marked W and T on top, D, K and E below. Those are the jersey players' initials: Wilt (red), Tom (green), Diego (blue), Kobe (orange), Edson (teal). Colour the equipment cart's tiles to match: red, green on top; blue, orange, teal below. Take the laurel wreath.
- Place the eagle and the wreath in the round emblem on the exit door and go through.
The Spy's Basement
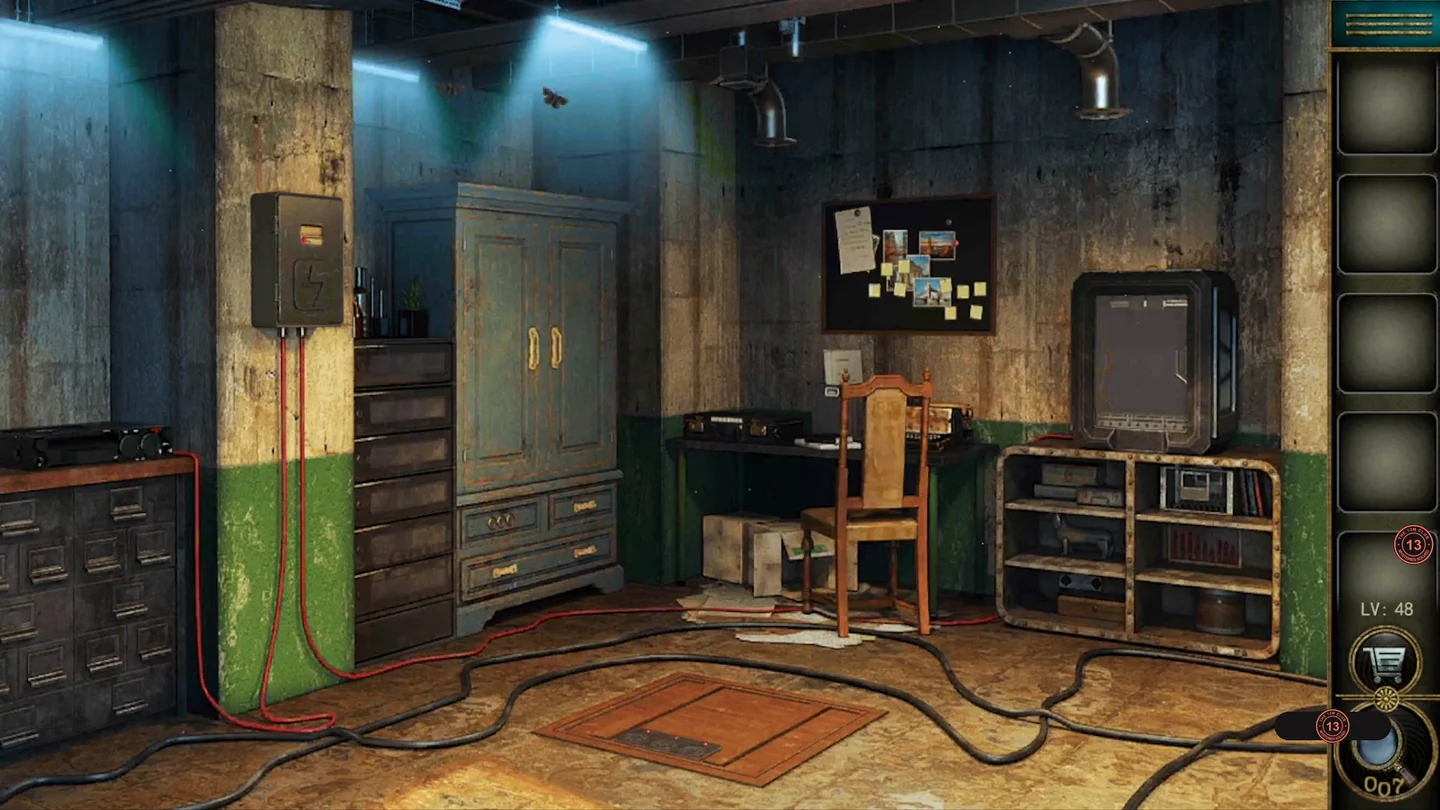
Sort the passports by birth year for the flag safe, power the fuse box, call the number in one passport, play the tape and set the three dials on the floor hatch.
- Zoom into the TC-55 tape deck on the left shelf, open its lid and take the rotary phone dial. Then open the bottom-right drawer of the cabinet and take the five passports. Slide the photo board on the wall upward to find a safe with five flag dials.
- Order the passports by year of birth: France 1991, Canada 1992, England 1993, Germany 1994, America 1995. Set the safe's flags to France, Canada, United Kingdom, Germany, United States and take the lightning emblem.
- Fit the emblem into the green fuse box on the left pillar. Optional star 48 is inside; tap it, and take the first hatch dial piece (1/3).
- Open the black briefcase at the desk with 06131992, Ernest Bates's date of birth from the Canadian passport. Take the plug and the spare round symbol button from the case. Fit the dial on the telephone inside and dial his number, 6802541, then take the second hatch piece from the compartment that opens.CODE06131992; 6802541
- Insert the plug in the fuse box. Each plug's coloured ring has a value on the chart beside the box, and every red number must equal the sum of the two plugs it is wired between. Swap the plugs between sockets (the ring colours themselves do not change) until the top row holds 35, 60 and 15 from left to right, the right-hand socket holds 25 and the bottom row holds 75, 10 and 90 from left to right. All eight red totals are then satisfied and the power comes back on.
- Fit the spare symbol button from the briefcase into the empty fourth slot of the symbol dials on the cabinet drawer. The TV now shows glasses, an umbrella, a camera and a pipe; set the four dials in that order and take the cassette tape.
- Play the tape in the TC-55 deck on the left shelf, the same deck that held the phone dial, and take the third hatch piece from the drawer that pops out.
- Place the three pieces in the lock plate of the floor hatch. Tap the pieces to rotate them until every triangle pointer points straight up; one tap can also turn another piece, so keep adjusting. When all three lights turn orange, the hatch opens. Climb down.
The Subway Entrance
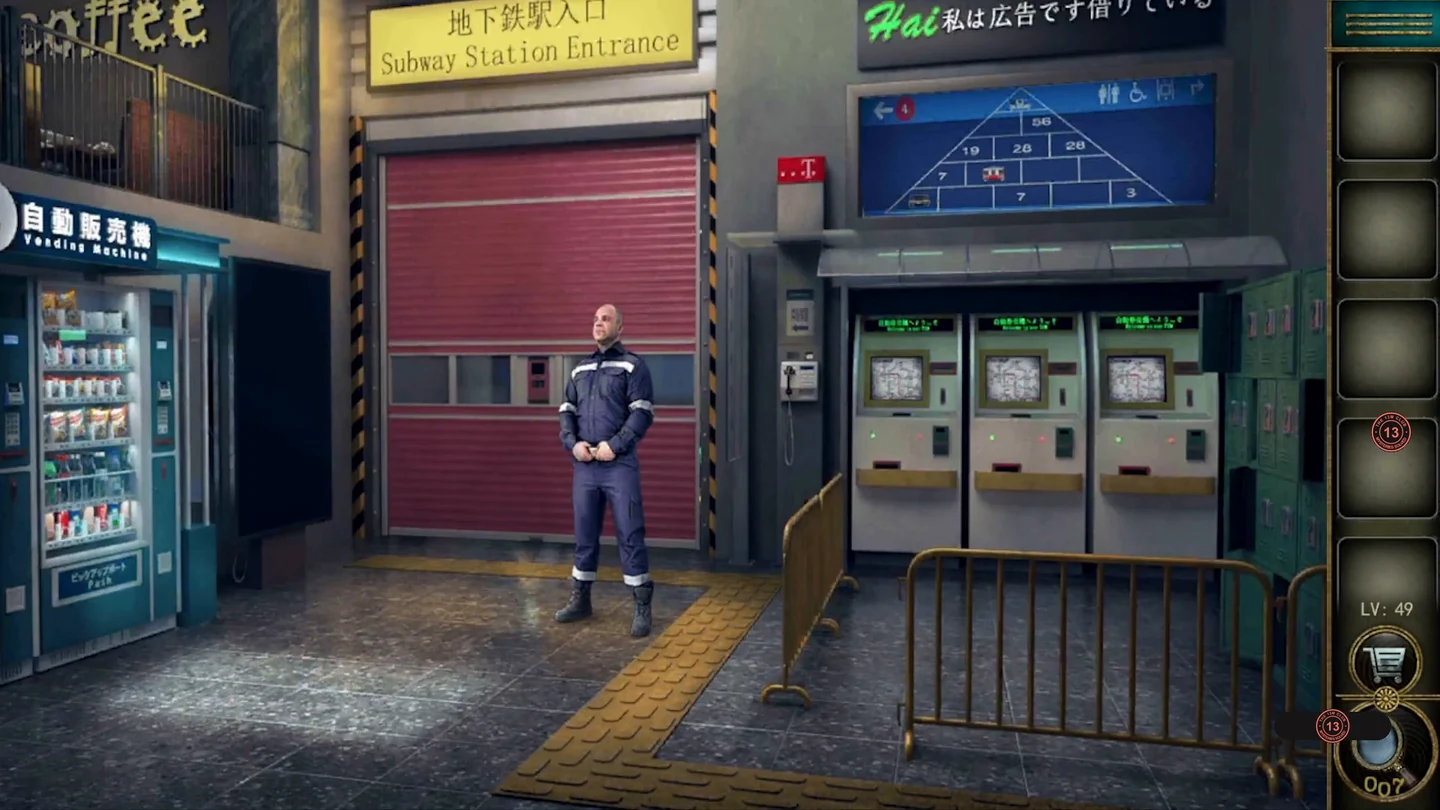
The guard by the shutter wants a drink. Solve the number pyramid for the ticket machine, buy water, record the payphone message to open a locker and put the guard to sleep.
- Tap the guard in front of the red shutter: he would like a bottle of water. There is a damaged cable on the floor near the subway map display.
- Flip the advert board above the ticket machines to show a number pyramid in which each block is the sum of the two below it. Fill it in: the yellow train is 2, the red train 12 and the blue train at the top 103.
- On the first ticket machine's keypad, enter the values in the order of its icons (yellow train, red train, blue train): 212103. A map board appears with eight map pieces along the bottom. Tap the pieces one at a time in the order that follows the coloured track from its start; the game numbers your taps and places each piece into the next slot. When the track joins up, take the banknote.CODE212103
- Pay with the banknote at the drinks vending machine, enter product number 33 for water and confirm. Take the water and the roll of tape from the tray, then tape up the damaged cable beside the subway map display. The display lights up and shows TEL: 91742.
- Open the left green locker and take the recording pen and the coin.
- Put the coin in the payphone, dial 91742 and press CALL. Use the recording pen to record the message the caller gives.CODE91742
- Play the recording into the microphone of the right green locker to open it. Take the white and blue USB device and the sleeping pills. Optional star 49: then tap the red bottle lying on its side in the locker.
- Mix the pills into the water and give it to the guard. Once he is asleep, use the USB device on the slot of the terminal beside the shutter. The 5 × 5 board starts with only the centre square green; tapping a square switches it and the squares directly above, below, left and right of it. Tap each of these once: all five squares in rows 2 and 4, plus the first and last squares in row 3. Every square turns green and the shutter rises. Go through.
The Basement Flat
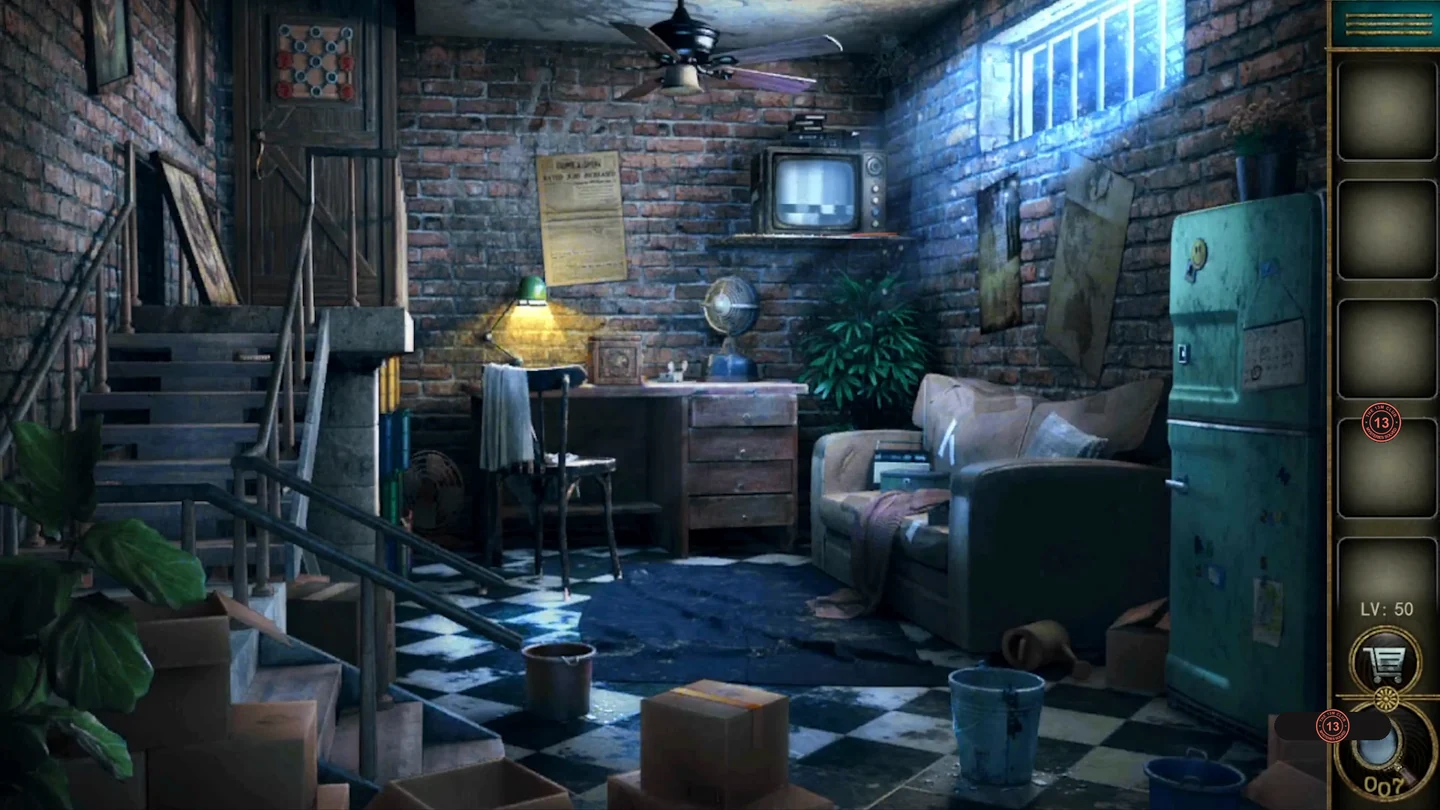
Feed the rat on the stairs, count the coloured crates for the old TV, copy its suit pattern onto the wooden box and swap the two seahorse groups on the panel above the stairs.
- Optional star 50: zoom into the blue cash box on the sofa and tap the star beside it.
- Take the fridge handle from the wooden stairs and the can opener beside the carved suit box on the floor.
- Fit the handle to the green fridge and open it. Take the colander from the top shelf and the tin of fish from the lower shelf. Open the tin with the can opener.
- Place the fish on the stairs. The rat comes out to eat and leaves a silver key; take it.
- Unlock the cash box on the sofa and take the utility knife. Cut the tape on the cardboard box on the floor and take the TV knob.
- Scoop the bottom of the water bucket with the colander from the fridge and take the first red seahorse seal (1/2).
- Fit the knob on the TV and turn it on: it shows red, yellow, blue and green bands. Count the crates of each colour stacked under the stairs (red 2, yellow 6, blue 5, green 3) and set each band with its coloured button. The TV then shows a grid of card suits; copy it with the pencil under the screen.CODE2653
- Place the copied sheet on the carved suit box on the floor. Slide the suit tiles around using the empty space until they match the pattern, then take the second seal.
- Insert both seals into the seahorse panel above the stairs. Six red seals sit on the edge spots: three plain seahorses down the left side and three ornate, dragon-like seahorses down the right. Move seals one at a time along the lines into empty spots until the two groups have swapped sides, with the ornate seahorses on the left and the plain ones on the right. Use the reset button if you get stuck. A portal opens at the top of the stairs; go through.
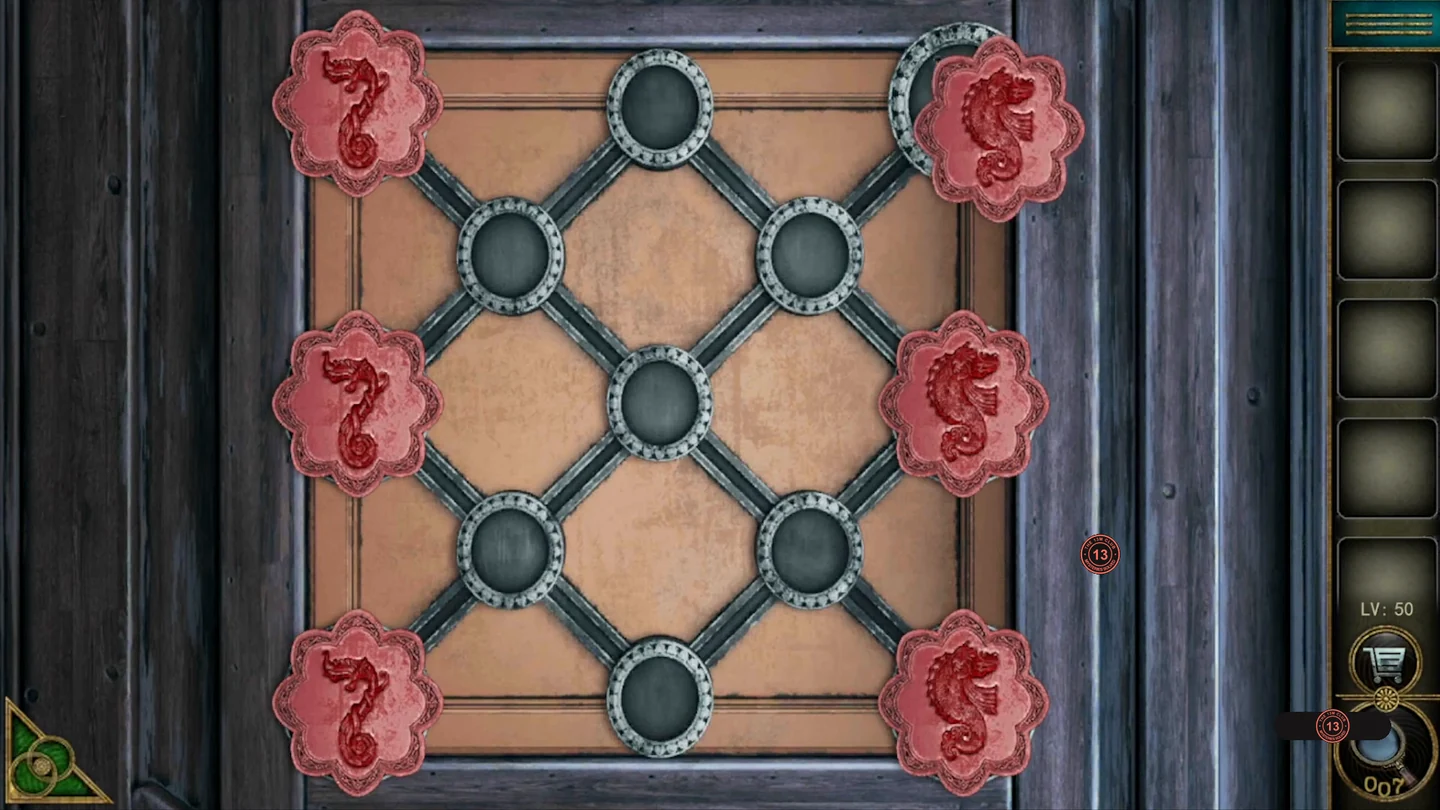
Starting layout: plain seahorses on the left, ornate ones on the right. 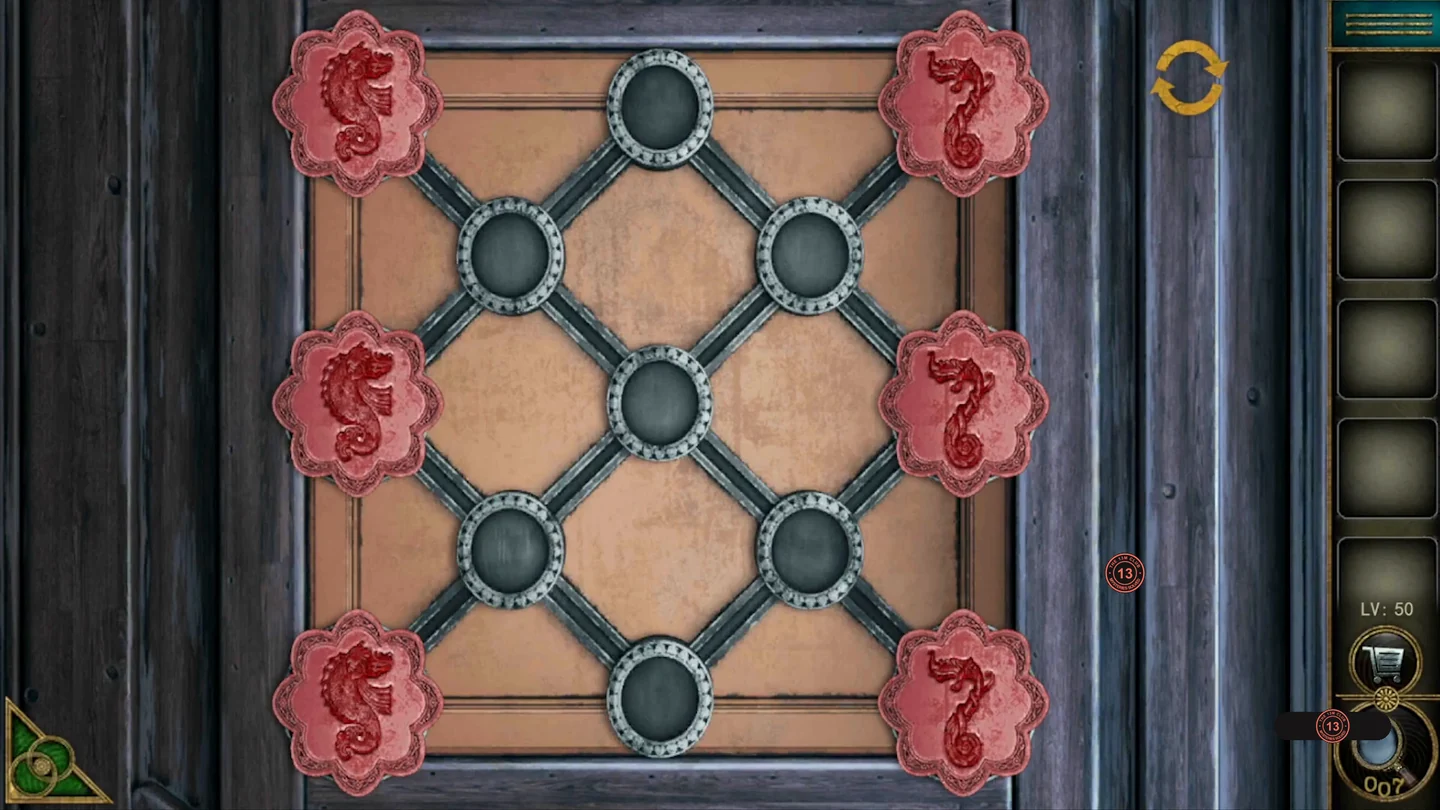
Solved: the two groups have swapped sides.