Bishop's key and his study
Back at the Order headquarters, Bishop sends Will to Hardstein's home and Laura to question witnesses. The underground tunnel from the new headquarters still has to be reactivated.
- In the entrance hall, show Bishop the ID CARD from the bunker office wallet (use it on him). After the conversation he gives you the KEY to his study and the task Question the witnesses starts.
- Unlock the centre-right arched door of the hall with the KEY and enter Bishop's study.
- The owl on the desk blocks the table, the letter-sealing device on the left is missing its lever and the bookcase hides a book puzzle; all three are for later. Take the JACK from the floor in front of the desk and click the morphing object beside the birdcage right of the desk.
- At the display of three soldiers and three medals right of the desk, take the HANDLE (a metal rod).
Remote control, shape key and the vent
Make a round of errands: the remote control from the guard booth, the shape key from the study and the saw from the high vent in the mansion boiler room.
- Travel to Martell's mansion. Open the drawer of the guard booth in the courtyard with the LOCKPICK and take the REMOTE CONTROL.
- In the mansion study, use the REMOTE CONTROL on the alarmed glass case with the gear emblem in the bookcase. Take the SHAPE KEY and the New York Stock Exchange card.
- Still at Martell's mansion, go down the study's secret passage to the boiler room. Put the SHAPE KEY into the star-shaped socket in the floor at the left foreground. The central pillar turns into steps up to the high vent.
- In the boiler room, spread the bars of the high vent grate with the JACK and take the SAW and the Brooklyn Bridge card.
Lion grapes, the secret cache and the bunker chest
Free the metal grapes from the lion statue, open the coffee-table cache and use both sets of coins on the bunker chest.
- At the mansion courtyard, cut the thorny stems in the lion statue's mouth with the SAW and take the METAL GRAPES.
- In the mansion living room put the METAL GRAPES into the secret cache of the coffee table. Take the STETHOSCOPE PART and the COINS. Combine the two STETHOSCOPE PARTS in inventory to make the STETHOSCOPE.
- In the first bunker (down the junkyard well) put both sets of COINS into the coin slots of the chest at the bottom right. Take the EAGLE FIGURINE with spread wings.
The study wall safe
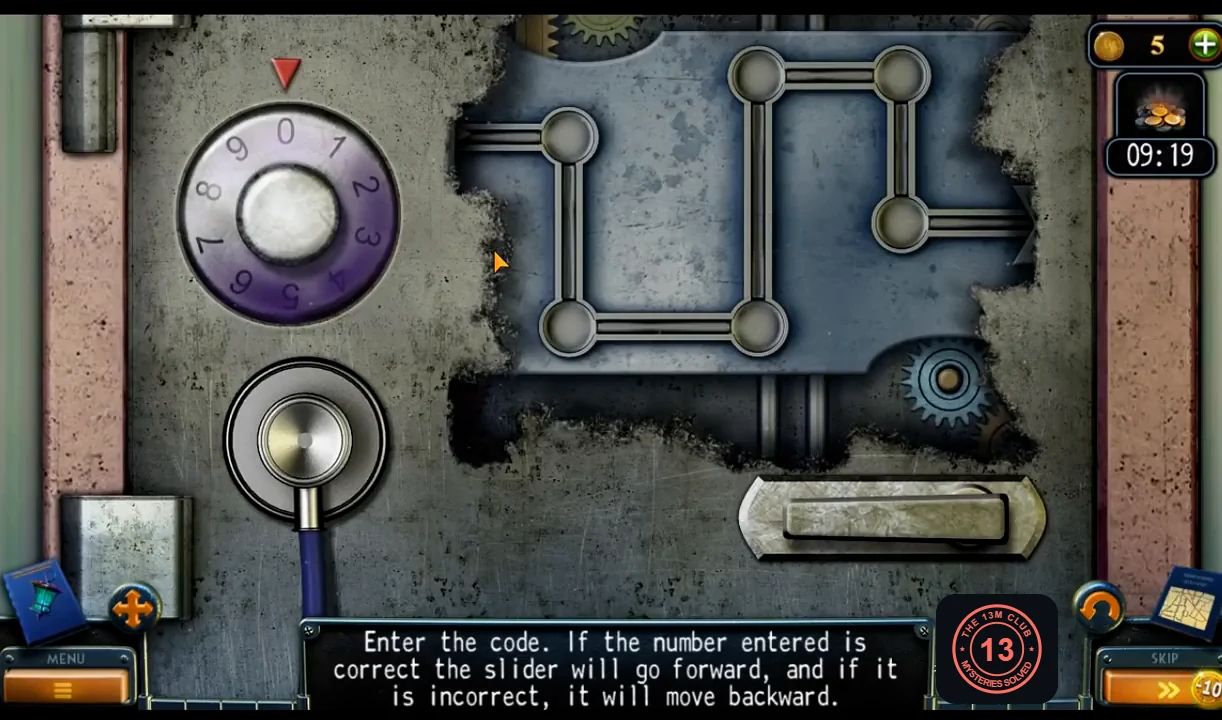
Back in the mansion study, the wall safe has a dial and an eagle slider on a pipe track. A correct digit moves the slider forward; a wrong one moves it back.
- Use the STETHOSCOPE on the dial of the wall safe in Martell's study.
- Turn the dial so the wanted digit is under the red pointer, then press to enter it. Enter 9, 3, 0, 6, 8, 2, 1. If the slider steps back, re-enter the digit it lost. Take the EAGLE FIGURINE (perched, head to the right).CODE9-3-0-6-8-2-1
The eagle pedestal and the Order tunnel
Complete the eagle pedestal to open the Order tunnel, collect the tunnel's collectibles and start on the green safe.
- At the Hall of Fame eagle pedestal (one eagle is already in place), put the EAGLE FIGURINE with spread wings on the middle plinth and the perched EAGLE FIGURINE on the left plinth. The pedestal sinks and you go down into the Order's tunnel.
- Pick up the miner figurine on the floor in the middle of the tunnel.
- Click the small round dome object on the ground left of the rusty barrel, behind the green crate and right of the metal stairs on the left of the tunnel (morphing object).
- The green safe on the pallet has a handle with only one spoke: "Not all the levers are here." Insert the HANDLE from Bishop's study as a second spoke. One spoke is still missing.
- Take the SLEDGEHAMMER from the rocks on the left. The tunnel control console on the right is missing a chain.
The portrait wall
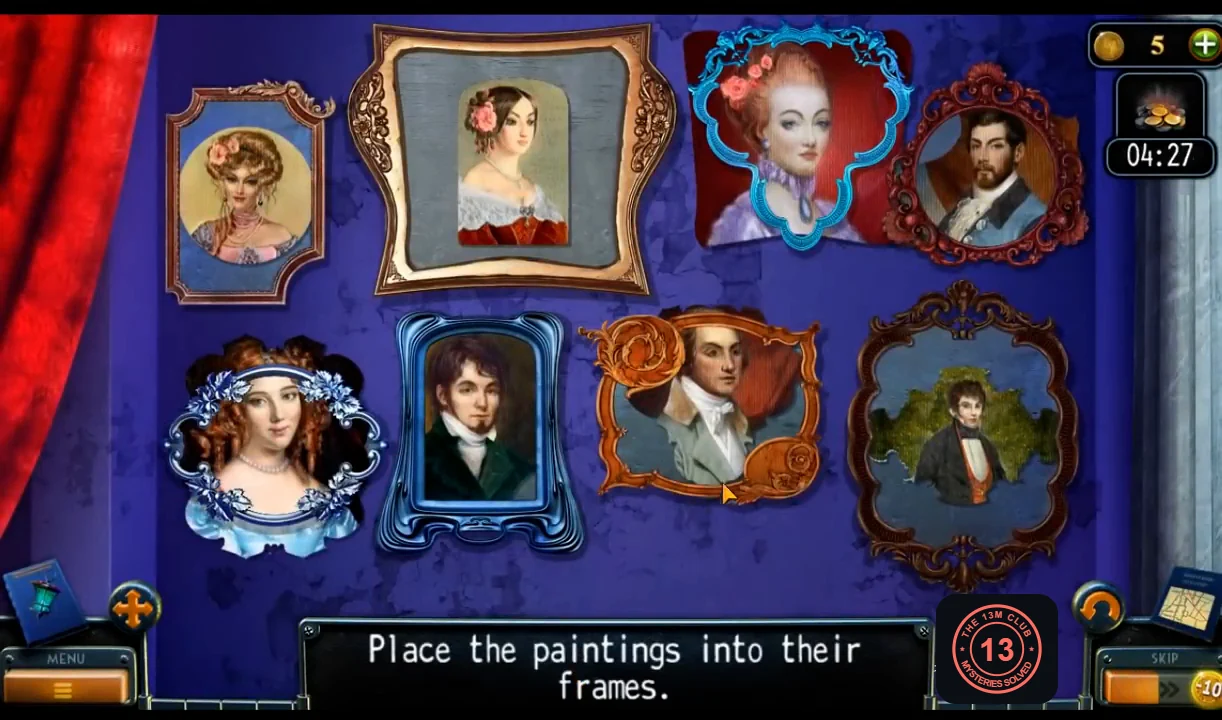
Behind the Hall of Fame curtain is a wall of eight portraits in the wrong frames.
- In the Hall of Fame unscrew the end of the curtain rod with the SCREWDRIVER. The curtain falls and shows the portrait wall.
- Click two portraits to swap them. Each canvas fits the shape of one frame. Solved layout, top row left to right: young man in a green coat (brown frame), woman with a powdered wig and pink roses (large gold frame), man in a grey coat (blue frame), blonde woman with a pink flower (round red frame). Bottom row: man with an orange waistcoat on green (silver oval frame), dark-haired woman in red (blue upright frame), bearded man in blue (orange frame), red-haired woman in blue (brown scalloped frame). The large gold frame opens: take the LEVER and the WINCH HANDLE.
Chandelier, punchcard and the tunnel car
Lower the chandelier for the last safe handle, get the punchcard and the chain, and call the tunnel car to the opera.
- In the HQ entrance hall fit the WINCH HANDLE on the mechanism left of the door and lower the chandelier. Take the HANDLE rod from its spokes. It still needs a light source, which comes much later.
- In Bishop's study put the LEVER on the letter-sealing device. The envelope comes out: read the Technical Department letter about the new tunnel line to the Metropolitan Opera and take the PUNCHCARD.
- In the tunnel, fit the second HANDLE as the last spoke of the green safe and turn it. Take the WELDING LAMP and the Manhattan card.
- At the cliff, heat the chains of the green chest with the WELDING LAMP until they glow, then smash them with the SLEDGEHAMMER. Open the chest and take the CHAIN.
- At the tunnel control console put the CHAIN into the open compartment and the PUNCHCARD into the slot. The display turns green and a car arrives; click its door to ride to the opera.