PUZZLE
Fire extinguisher cabinet
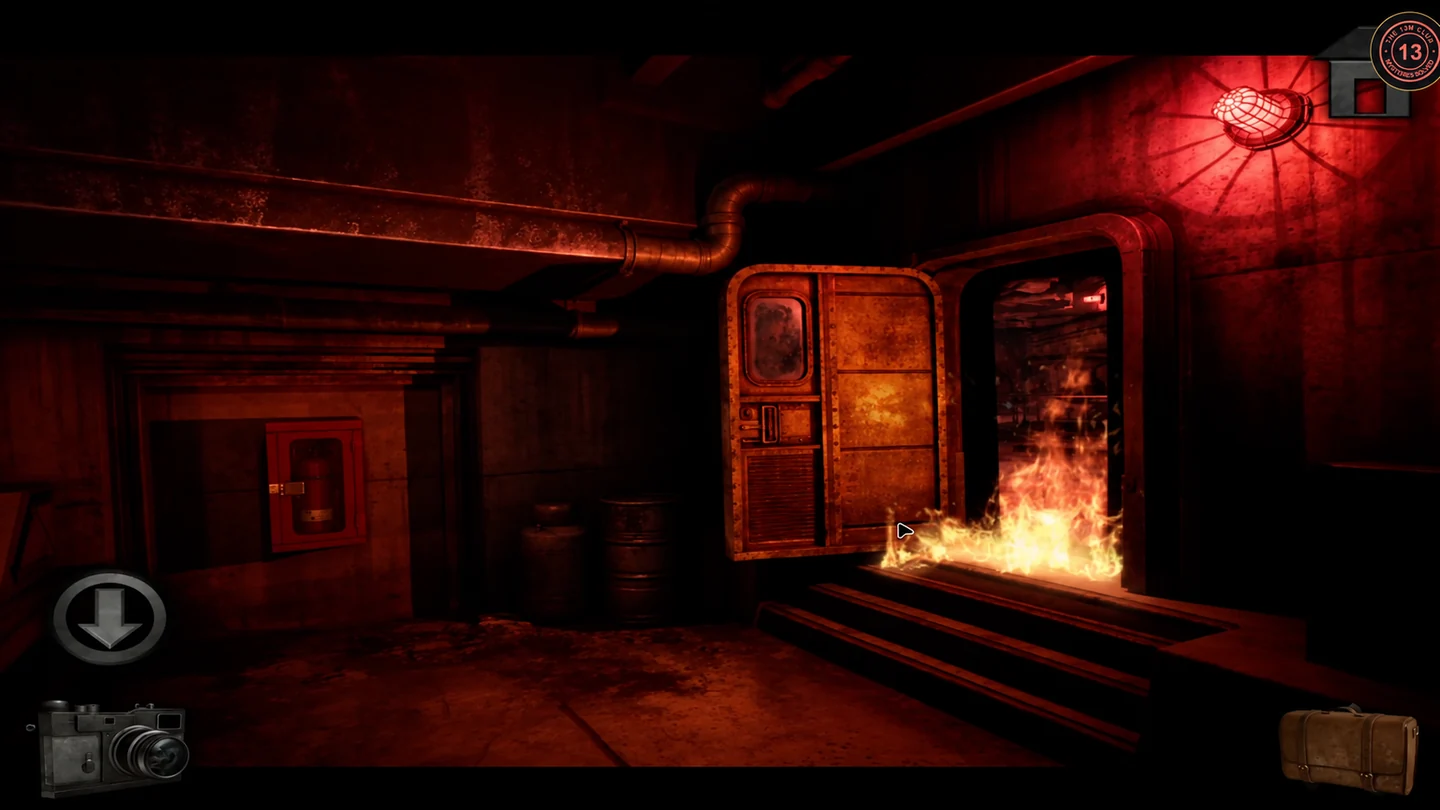
Fire blocks the Command Center exit. The extinguisher cabinet is a sliding-block puzzle. It takes many moves, so this guide gives the goal and a practical approach rather than every move.
- The long brown latch bar in the third row is stepped: its lower part reaches into the fourth row, and its left end sits in the lock at the cabinet's left edge. Slide the latch right until it pulls clear of that lock and its stepped end reaches the right-hand side of the board. Blocks only move into empty space, so clear the third and fourth rows ahead of the latch a little at a time: move upright blocks up into the top two rows or down into the bottom rows, and slide horizontal blocks to the ends of their rows, then advance the latch each time a cell opens. In the finished state, three upright blocks stand side by side at the top left, horizontal blocks are stacked down the right side, and the rest fill the bottom rows. The cabinet opens; take the fire extinguisher.
- Use the extinguisher on the burning doorway and leave the Command Center.
PUZZLE
Protective suit cabinet
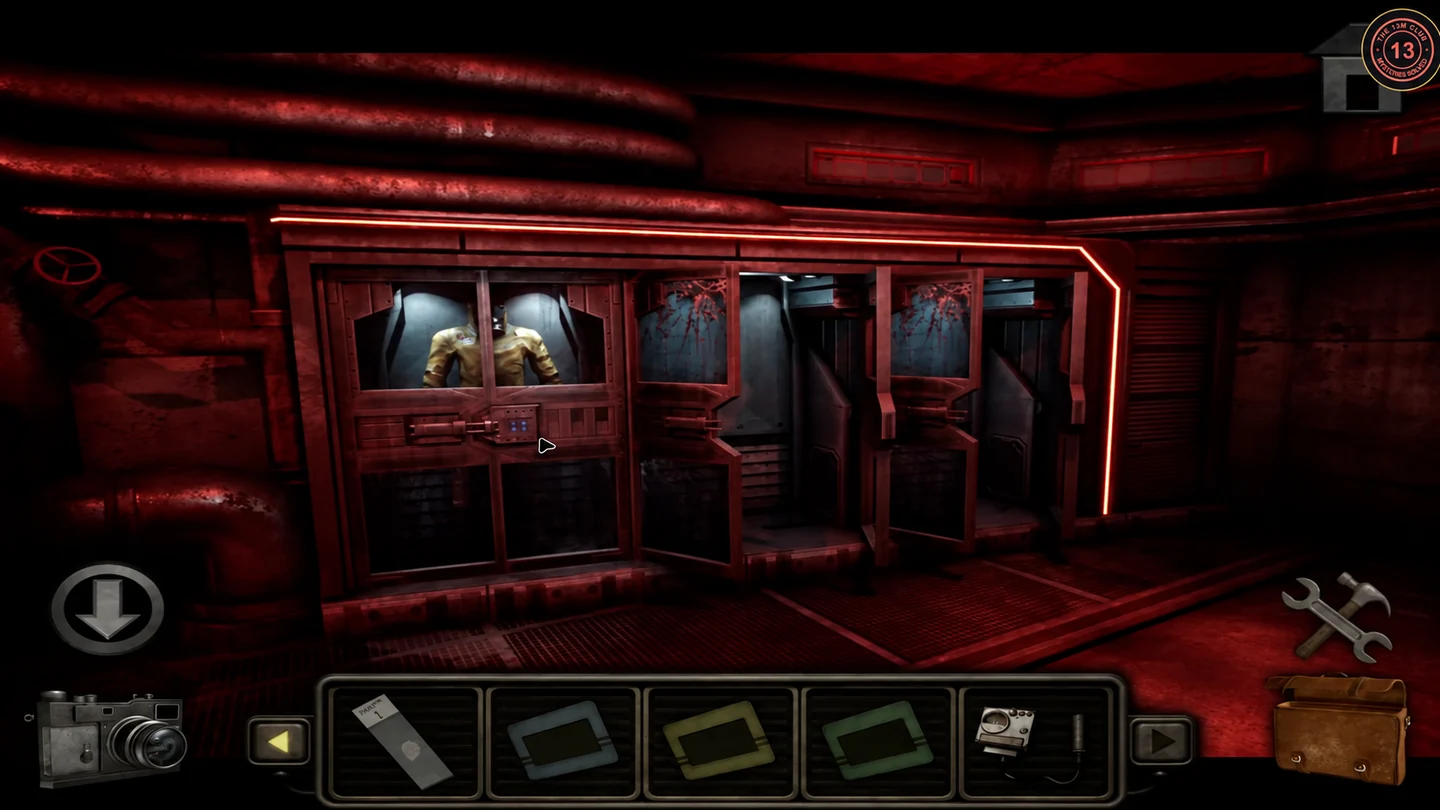
The suit cabinet in the staging room has four symbol windows. Ring-symbol plaques on the staging-room wall and the tunnel wall are the clues.
- Study the ring-symbol plate on the staging-room wall and the second plaque on the nearby tunnel wall. The in-game camera no longer works after the explosion, so memorise or sketch them, or take a picture with your own phone. Together with the octagon plaque you photographed beside the Command Center double doors, these are the symbol clues for the cabinet.
- Use the arrows beside each window to change its symbol. Final state: top-left octagon with a toothed ring and dots; top-right hexagon with a ring and top and bottom tabs; bottom-left diamond with four slotted tabs; bottom-right round symbol with a cross ring. Open the cabinet and put on the suit.
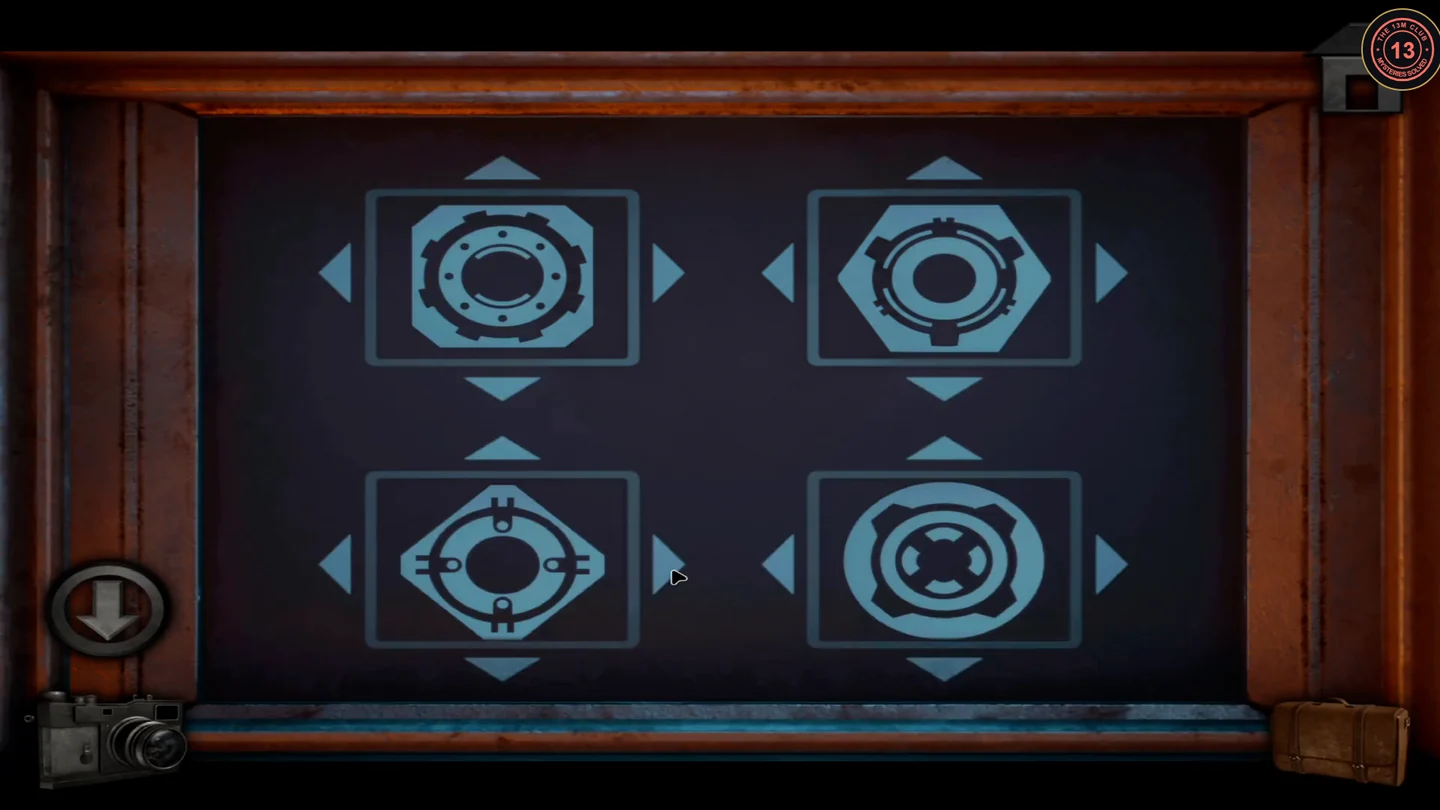
Solved suit lock. Top: octagon with toothed ring, hexagon with ring and tabs. Bottom: diamond with slotted tabs, round symbol with cross ring. - Open the blast doors at the back of the room. A cutscene shows the catwalk collapsing as you reach the anomaly platform.
ENDING
Explosive device and the ending
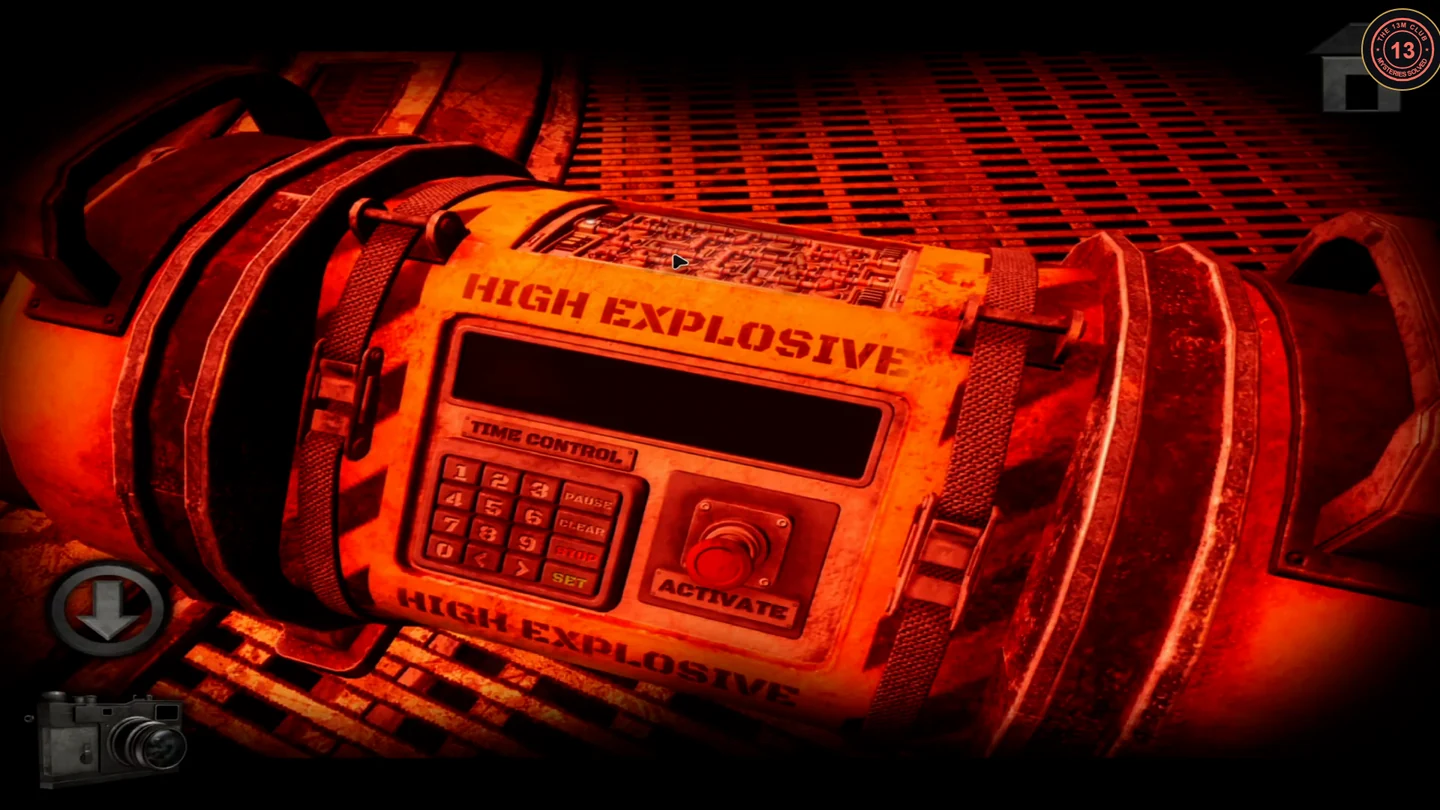
One pipe puzzle on the explosive device remains before the ending.
- Tap the HIGH EXPLOSIVE device on the platform and open its top panel. Connect the single inlet on the left to both outlets on the right; each outlet lights when joined. Most tiles rotate, but two pieces slide along slots instead: one in a short horizontal slot in the third row on the left half, and one in a vertical slot in the middle column. Move the left slot's piece to the right end of its slot so its upright pipe links the rows above and below, and keep the middle-column piece level with the third row so its straight pipe bridges the two halves. Rotate the remaining tiles until both right outlets are connected.
- Back out of the solved panel to the front of the device and press the red ACTIVATE button. The countdown starts and the rest plays automatically: the anomaly is destroyed, then the ending cinematic, "The End" and the credits.