PUZZLE
Laboratory 8 radiation chest
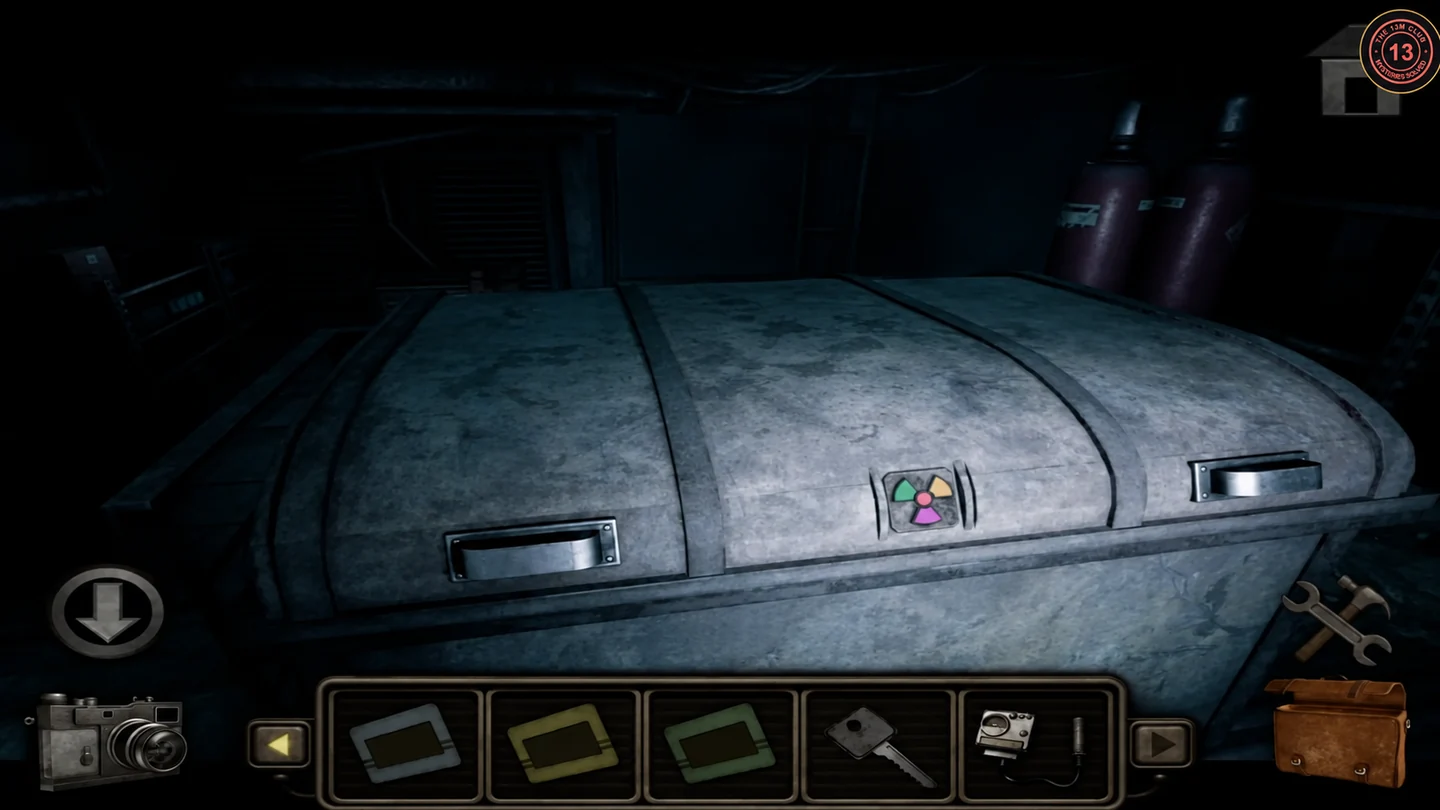
Measure four radiation sources with a Geiger counter to open the trefoil lock in Laboratory 8.
- Cross the tunnel to the SECTION 3 doors and use the working flashlight to light the dark corridor.
- In LABORATORY 8, photograph the whiteboard with four photos arranged in a radiation symbol. Note the trefoil lock on the central chest and the hazmat suit in the rear crate.
- Take the old Geiger counter from the end of the damaged catwalk.
- Measure the four sources shown in the photos: the hazmat suit crate, the yellow barrel outside EQUIPMENT STORAGE, the yellow container under the tarp inside it and the radioactive pipes in the hallway. Each reading lights a colour on the counter; the solved colours for the chest are given in the next step.
- Colour the chest trefoil: top-left yellow, top-right purple, centre orange, bottom red. Take the large jack.
PUZZLE
Hidden bunker chessboard and card drawer
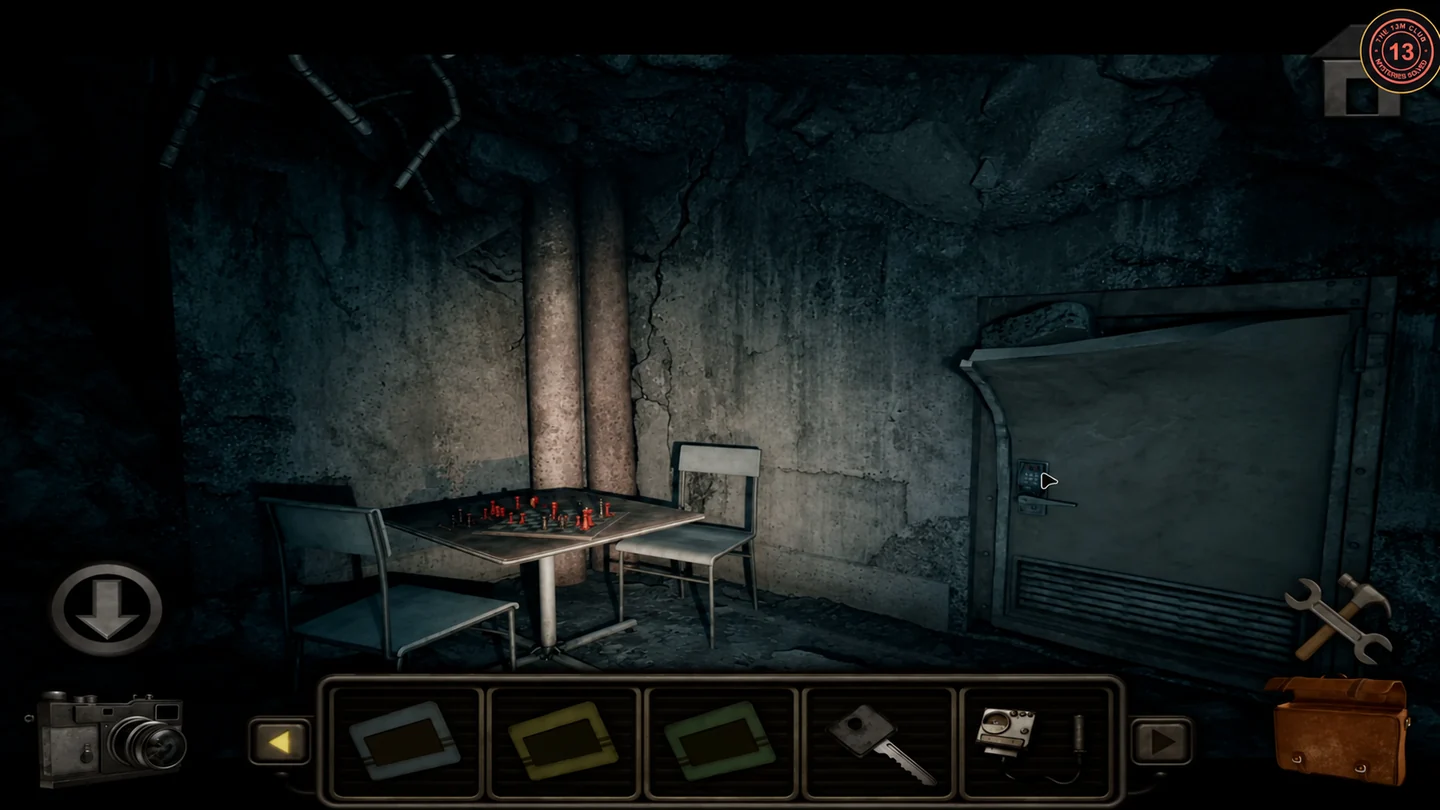
Playing cards show chess pieces; the chessboard in a hidden bunker gives their squares.
- Use the jack under the slab of the cave-in by the MILITARY WING sign and crawl into the hidden bunker.
- Take the playing card from the bunker door latch and photograph the chessboard on the table.
- On the poker table in EQUIPMENT STORAGE, add the Jack of Hearts to the three cards. The cards show: Ace of Spades a black rook, Jack of Hearts a red knight, King of Clubs a black king, Queen of Diamonds a red queen.
- Find each piece on the chessboard and set the caged drawer lock in suit order: spades E1, hearts G5, clubs H6, diamonds D5. Take the circuit board.CODEE1 G5 H6 D5
PUZZLE
Microchip board and the door controller
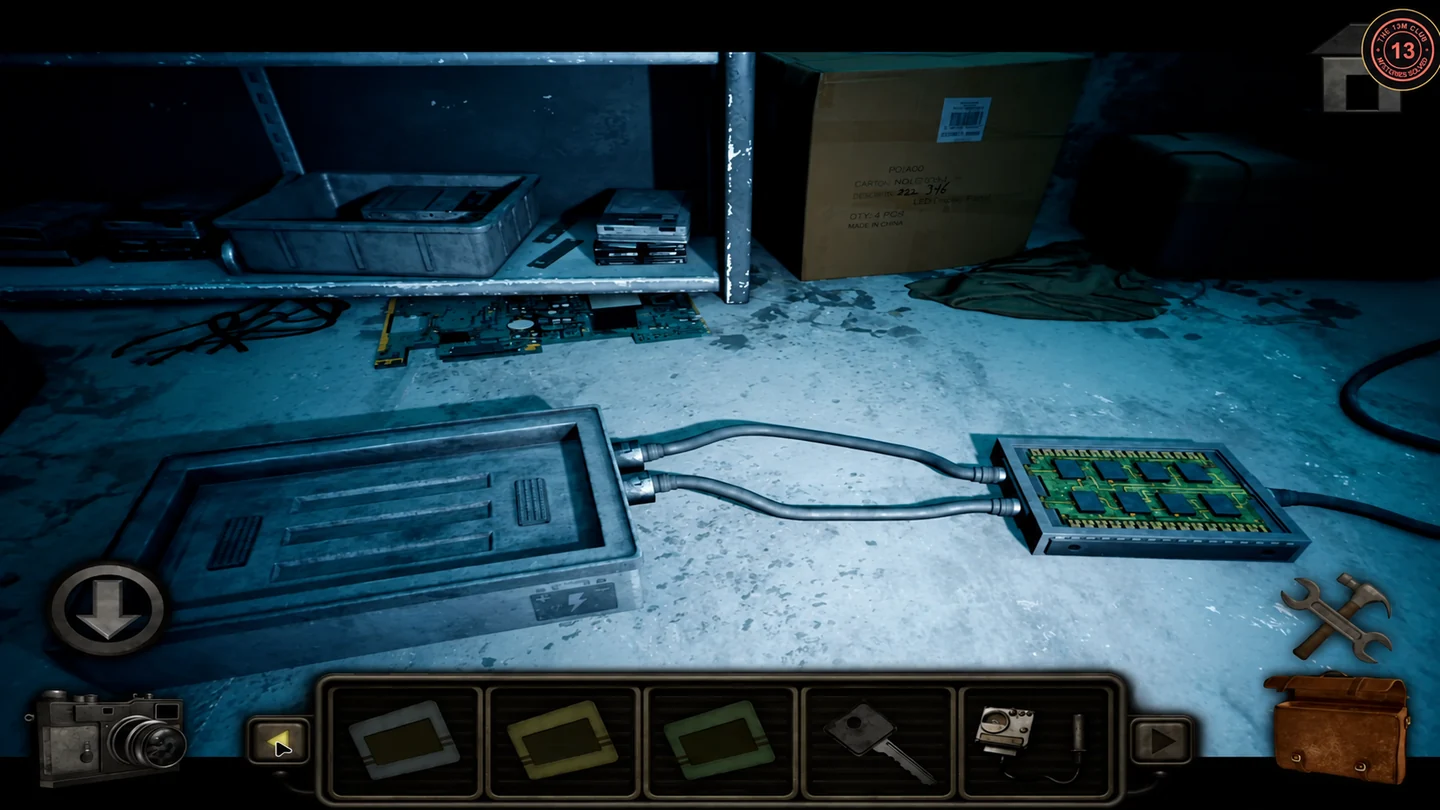
Power the floor units in Equipment Storage to open the safe with the second key.
- Put the circuit board in the right floor unit and the car battery in the left one.
- Swap the eight microchips around the board (several moves are needed; follow each trace back from an unpowered output to find the chip that breaks it) so every trace carries power from the left inputs to the right outputs. The safe beside the units opens; take the second small key.
- In the control booth of the central hub, insert both small keys in the DOOR CONTROLLER, turn them and press OPEN / CLOSE. The large blast doors open.
PUZZLE
Command Center chest and cellophane overlay
A track puzzle on a grey chest holds the red cellophane needed for a diagram on the desk. The chest is a lengthy track puzzle; the target state and approach are given rather than every move.
- At the end of the tunnel, photograph the plaque of octagon symbols beside the double doors, then continue into the Command Center.
- On the grey chest by the right-hand desk, drag the brass token along the track, starting from its position at the right end and heading for the far-left end. Each time the token crosses one of the small round buttons at the track junctions, all the split-disc gates rotate together, opening some paths and closing others. Keep moving, crossing junction buttons and backtracking as needed, until a path opens all the way to the left end. When the token reaches the left end the chest opens; take the red cellophane sheet.
- Place the red sheet on the circular diagram beside the green sheet and rotate both until their line fragments join into one ten-node figure. Photograph it.
- Photograph the DANGEROUS CHEMICALS DESIGNATION chart on the wall and take the ladle from the left end of the desk.
PUZZLE
Floor hatch, liquid nitrogen and the shut-off locker
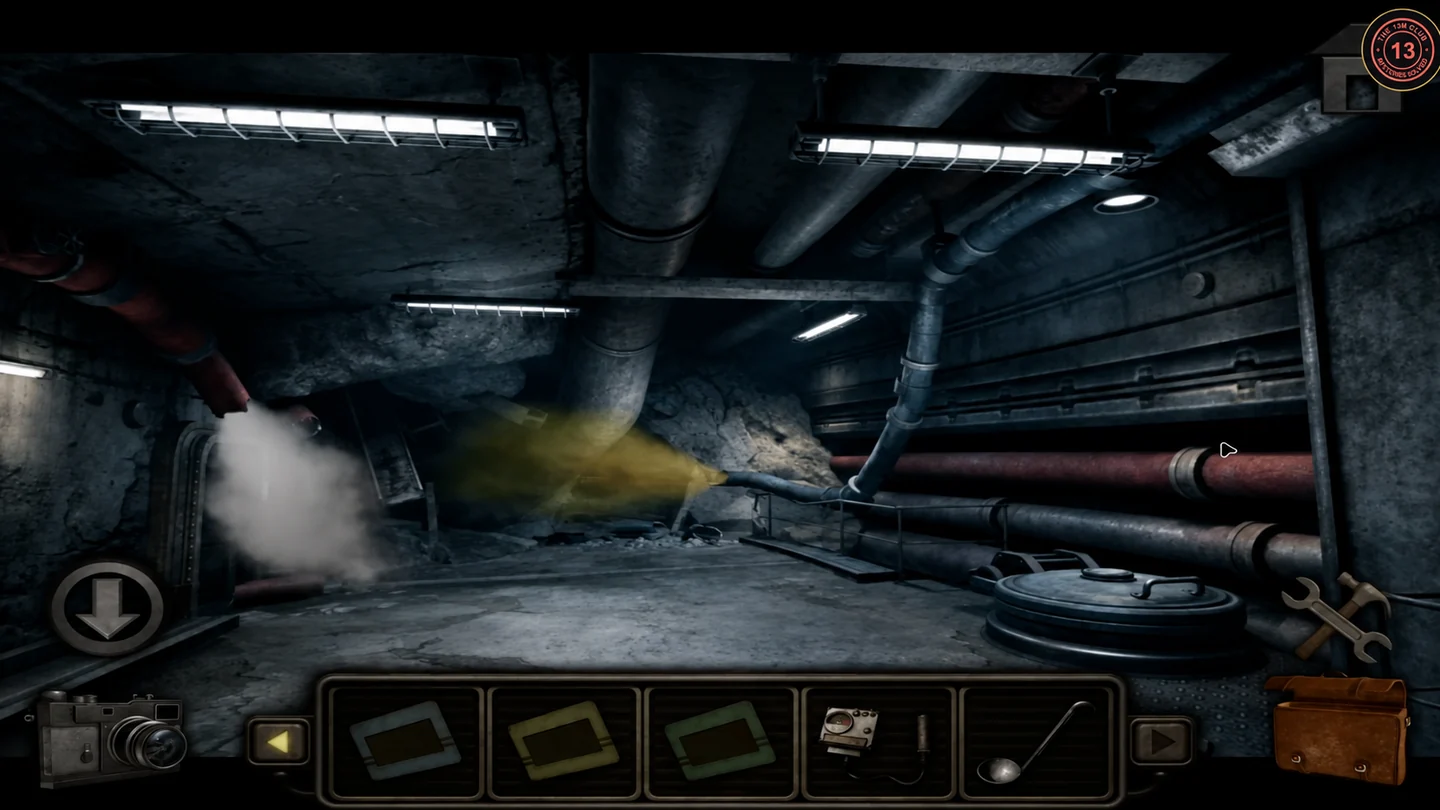
A node lock in the tunnel floor leads to the hammer and liquid nitrogen needed for the Piping Shut Off locker.
- On the round floor hatch in the blast tunnel, light the bars between nodes to copy the cellophane figure. Climb down the ladder.
- Take the hammer in the lower utility room.
- Smash the glass of the locked cabinet in the Command Center with the hammer and take the thermos.
- In the utility room, dip the ladle into the liquid nitrogen container, then combine the ladle with the thermos.
- Freeze the padlock of the slatted locker in the access corridor with the nitrogen, then shatter it with the hammer. The PIPING SHUT OFF panel is inside.
PUZZLE
Piping Shut Off
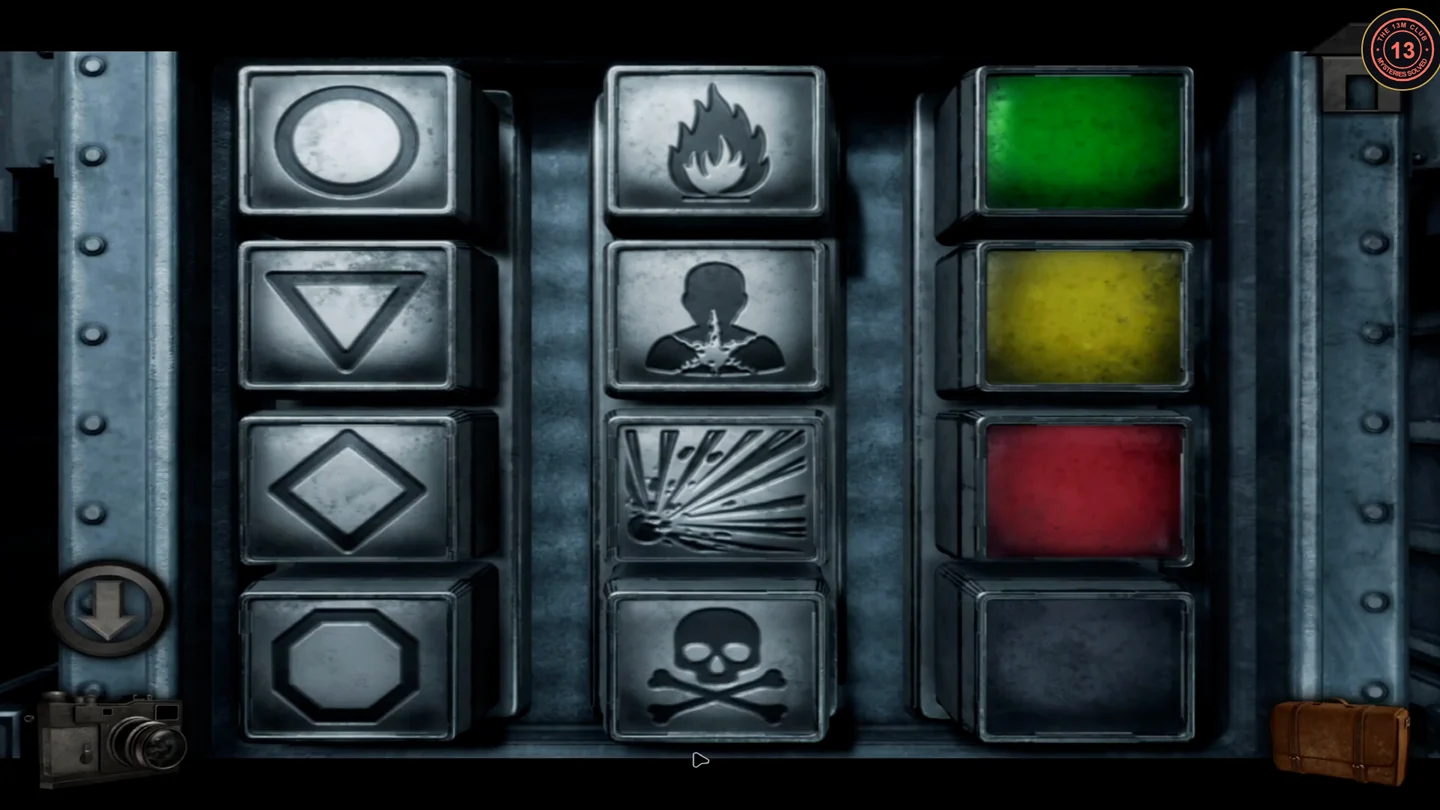
Each column of the panel matches the chemical chart: hazard sign, classification and colour. Two leaks block the way.
- Look at the yellow gas leaking from the blue CHLOROXYLENOL pipe at the end of the tunnel. Set the panel to circle, skull and crossbones, green. The yellow gas stops.
- Go past the broken pipe into the collapsed chamber and take the key from the table. Note the red PROPANE pipe in this room.
- Return to the panel and set it to diamond, flame, red (propane). The white gas jet beside the side doorway in the tunnel stops; the yellow leak returns, but you no longer need that chamber.
- Go through the side doorway into the observation office and take the remote control from the desk.
PUZZLE
Command Center shutdown
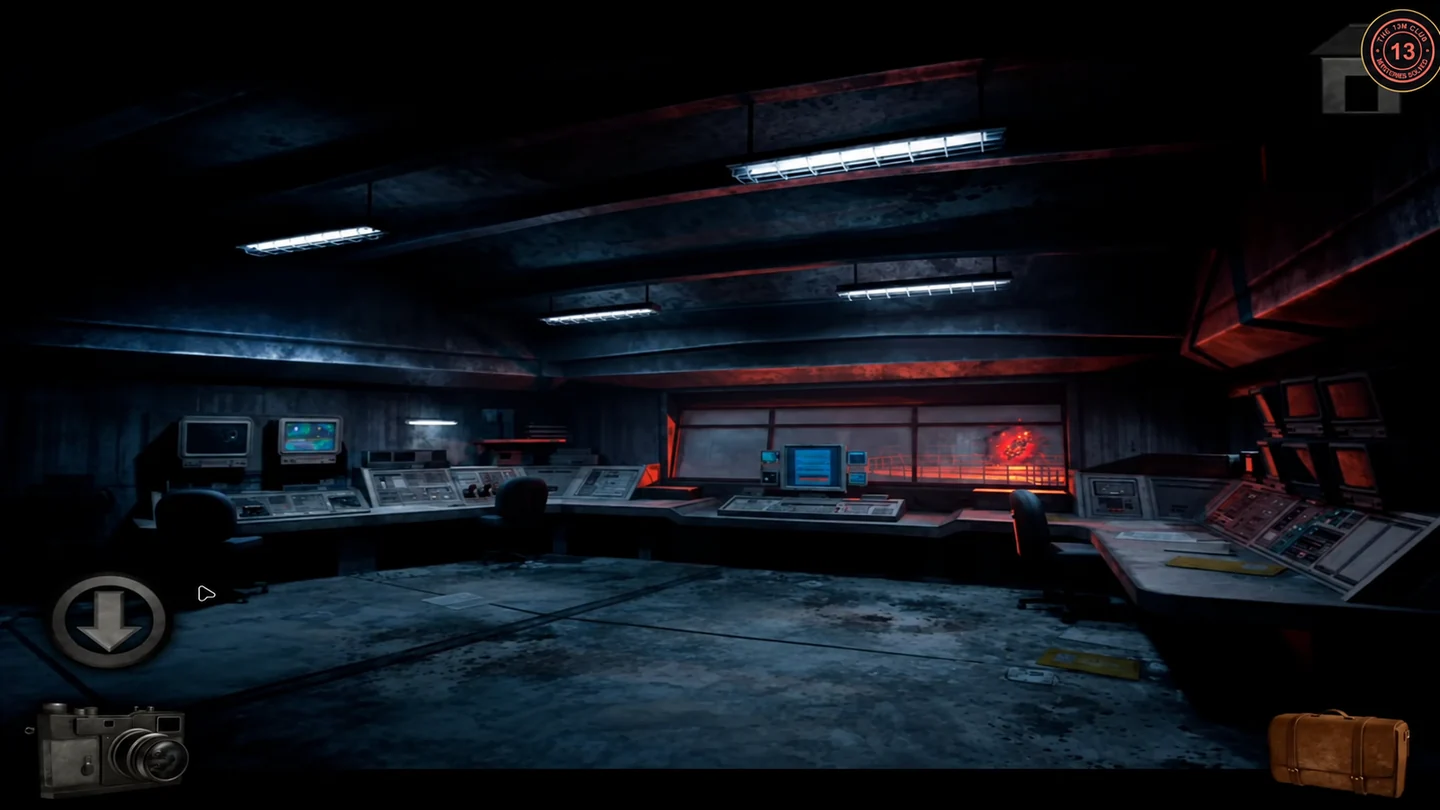
Unlock the control room and start the anomaly shutdown.
- Unlock the heavy door in the access corridor with the key.
- Use the remote control on the security monitor and pan the camera until 57218 painted on a wall appears.
- At the central terminal choose Initiate Shutdown and enter ID code 57218.CODE57218
- Calibrate by tapping the left and right arrows to keep the marker inside the green zone until the progress bar is full. Press Continue and confirm Yes. A cutscene follows.