Security checkpoint jigsaw
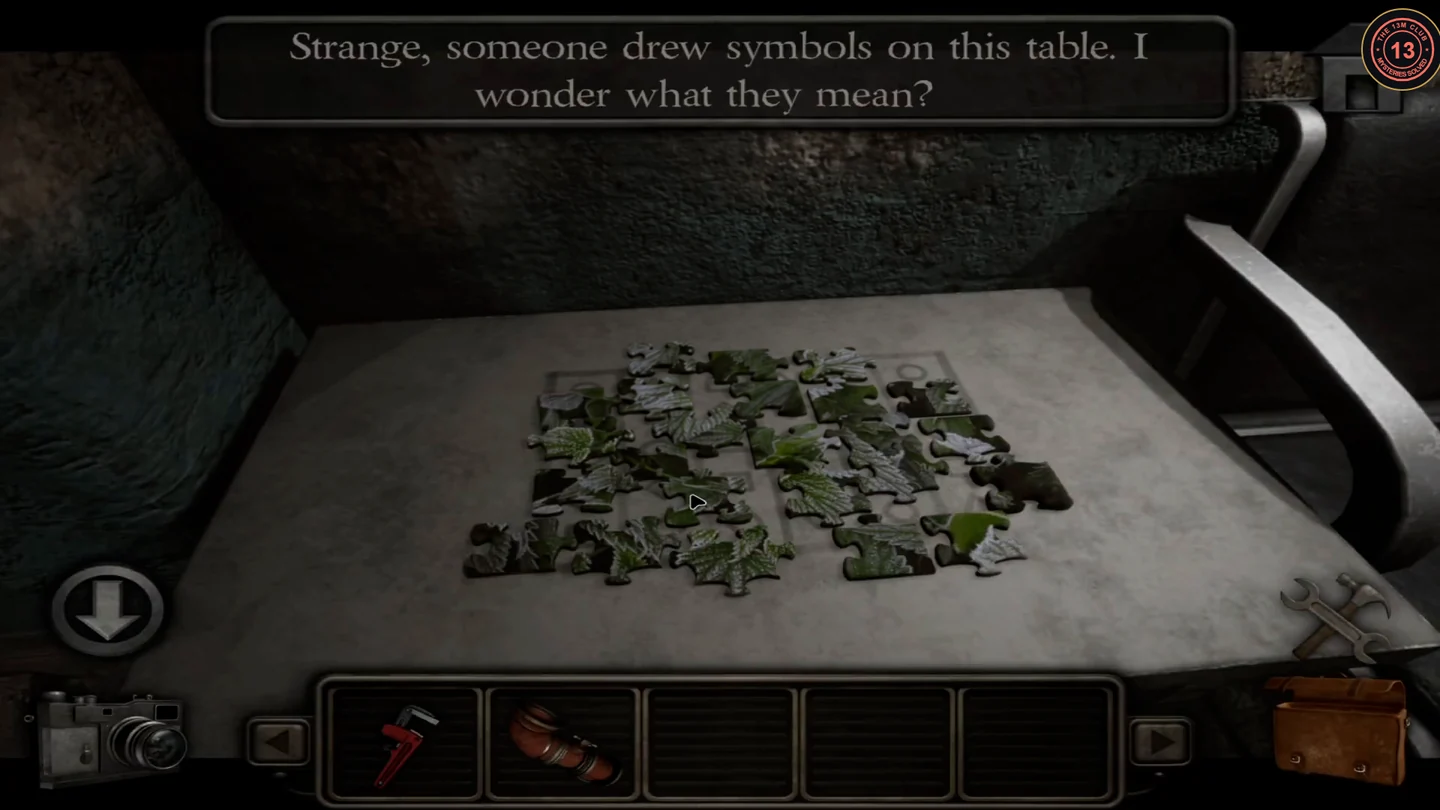
A table at the security checkpoint behind the Main Entrance has symbols etched into it. A 30-piece jigsaw laid on top reveals the safe combination. Assembling a jigsaw is lengthy: start with the edges and corners, then match leaf shapes.
- Walk down the corridor toward the ELEVATOR sign and take the jigsaw puzzle pieces from the open box on the shelf (the lid shows the picture divided into areas numbered 1 to 6). The corridor ends in a collapse.
- Return to the security checkpoint ("SCAN BAGS HERE") and use the pieces on the etched table. Assemble the plant picture. The finished puzzle leaves six shape openings over the etched symbols; note them with the numbered areas from the box lid.
Office corridor wall safe
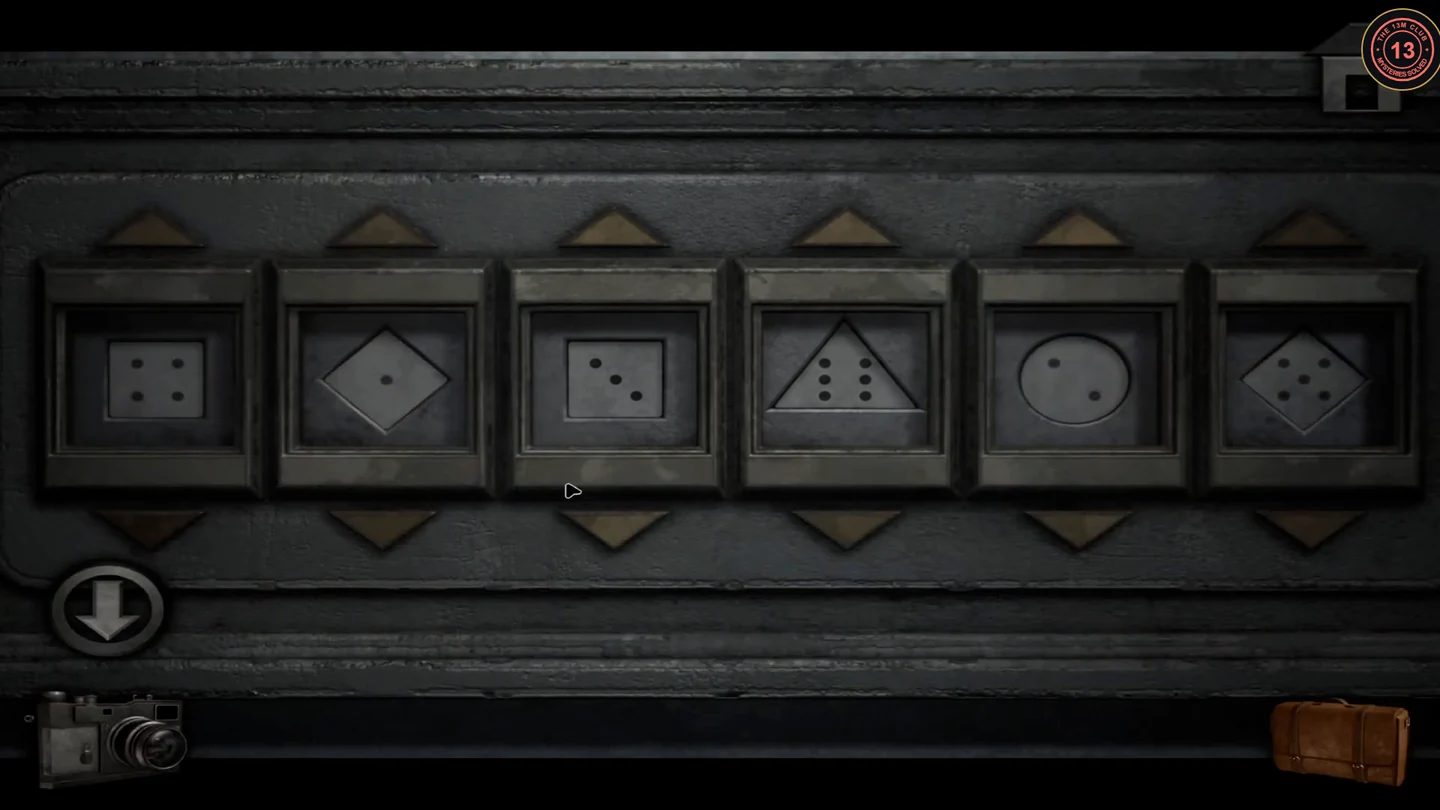
Follow the OFFICE ROOMS corridor past the coloured lockers to a wall safe beside the rubble. Each of its six dials shows a shape with dots.
- Set the six dials from left to right to: 1 diamond with 4 dots, 2 triangle with 1 dot, 3 triangle with 3 dots, 4 circle with 6 dots, 5 square with 2 dots, 6 circle with 5 dots. Take the access card from the open safe.
Security office
The access card opens the SECURITY door. Three useful items are inside.
- Swipe the access card at the reader beside the SECURITY door. Keep the card.
- Take the bag from the filing cabinet, the scraper from the desk shelf and the colourful dial-like item from the computer desk.
Kitchen colour-wheel box
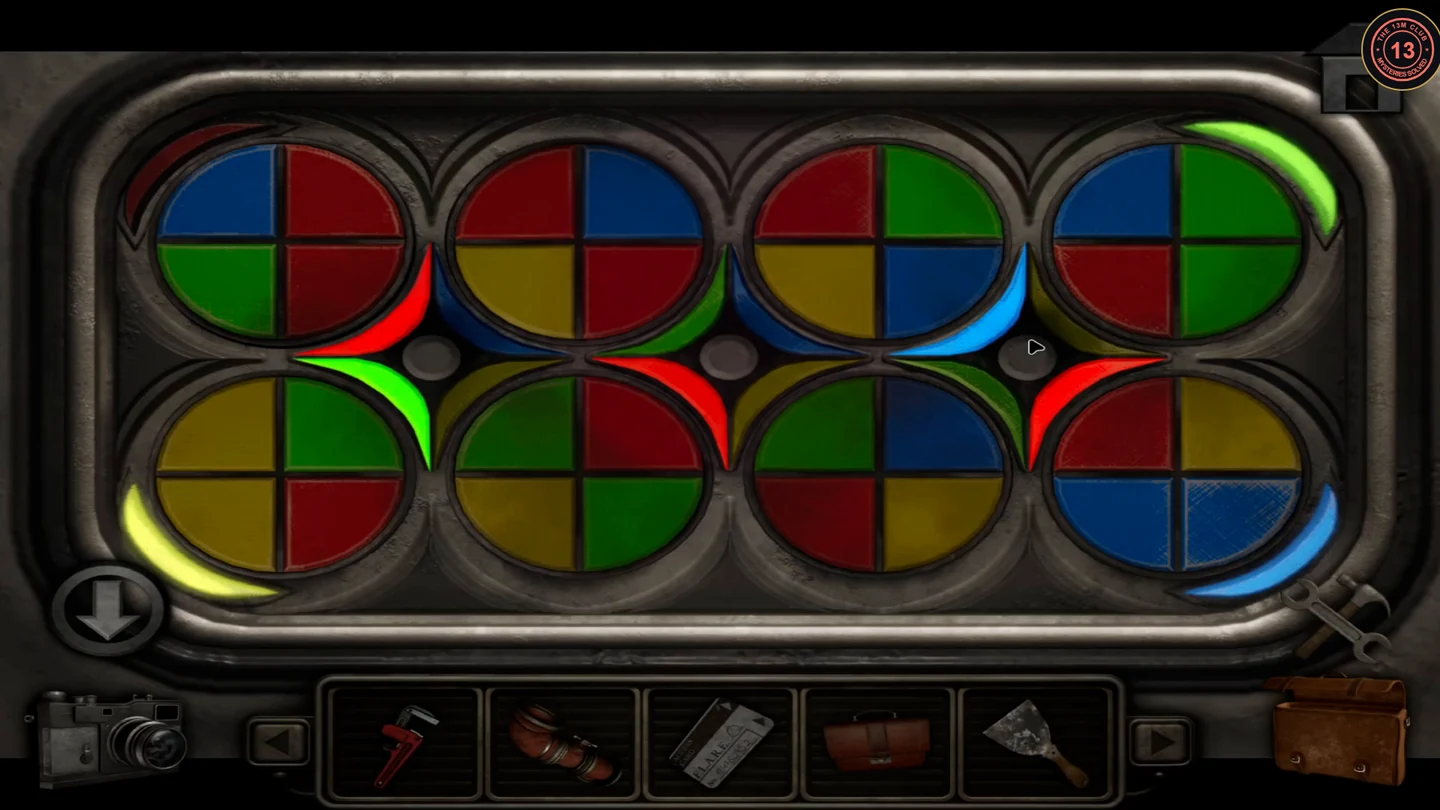
In the break-room kitchen, a white container on a low table has eight four-colour wheels in two rows, with one empty socket.
- Insert the colourful dial into the empty socket.
- Rotate the wheels so every quarter that touches a coloured border arc or star point matches that colour. Solved positions, quarters listed top-left, top-right, bottom-left, bottom-right. Top row: wheel 1 red, green, red, blue; wheel 2 red, blue, yellow, red; wheel 3 yellow, red, blue, green; wheel 4 green, green, blue, red. Bottom row: wheel 5 yellow, green, yellow, red; wheel 6 red, green, green, yellow; wheel 7 yellow, red, blue, green; wheel 8 yellow, blue, red, blue. Take the handle from the box.
Kitchen wall number and Maintenance door
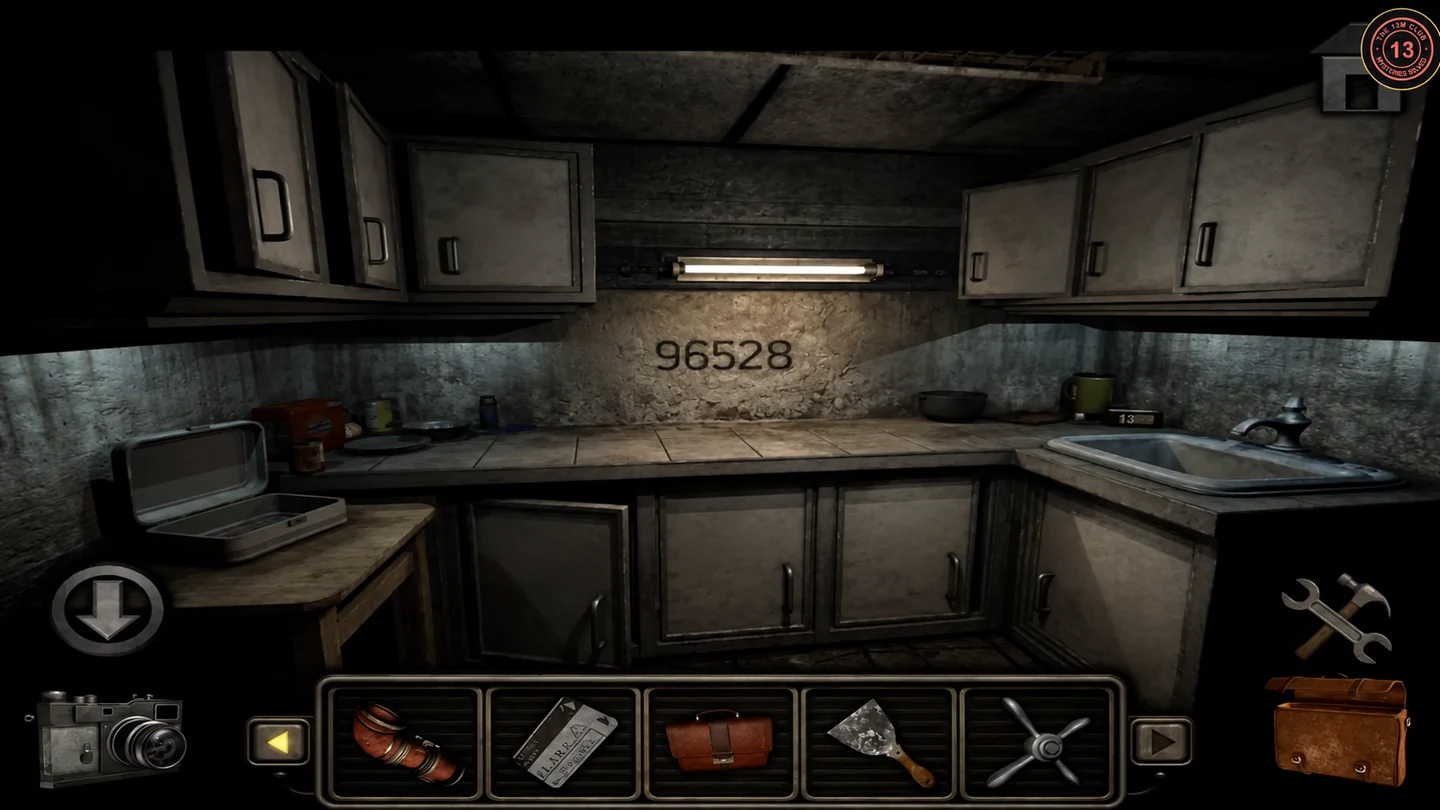
A number is hidden under the cracked plaster above the kitchen counter.
- Use the scraper on the cracked plaster above the counter. The revealed number is upside down: 96528 as painted, 82596 when read the right way up.
- Go to the MAINTENANCE door at the end of the corridor and enter 82596 followed by the arrow key.CODE82596
Maintenance pipe tiles
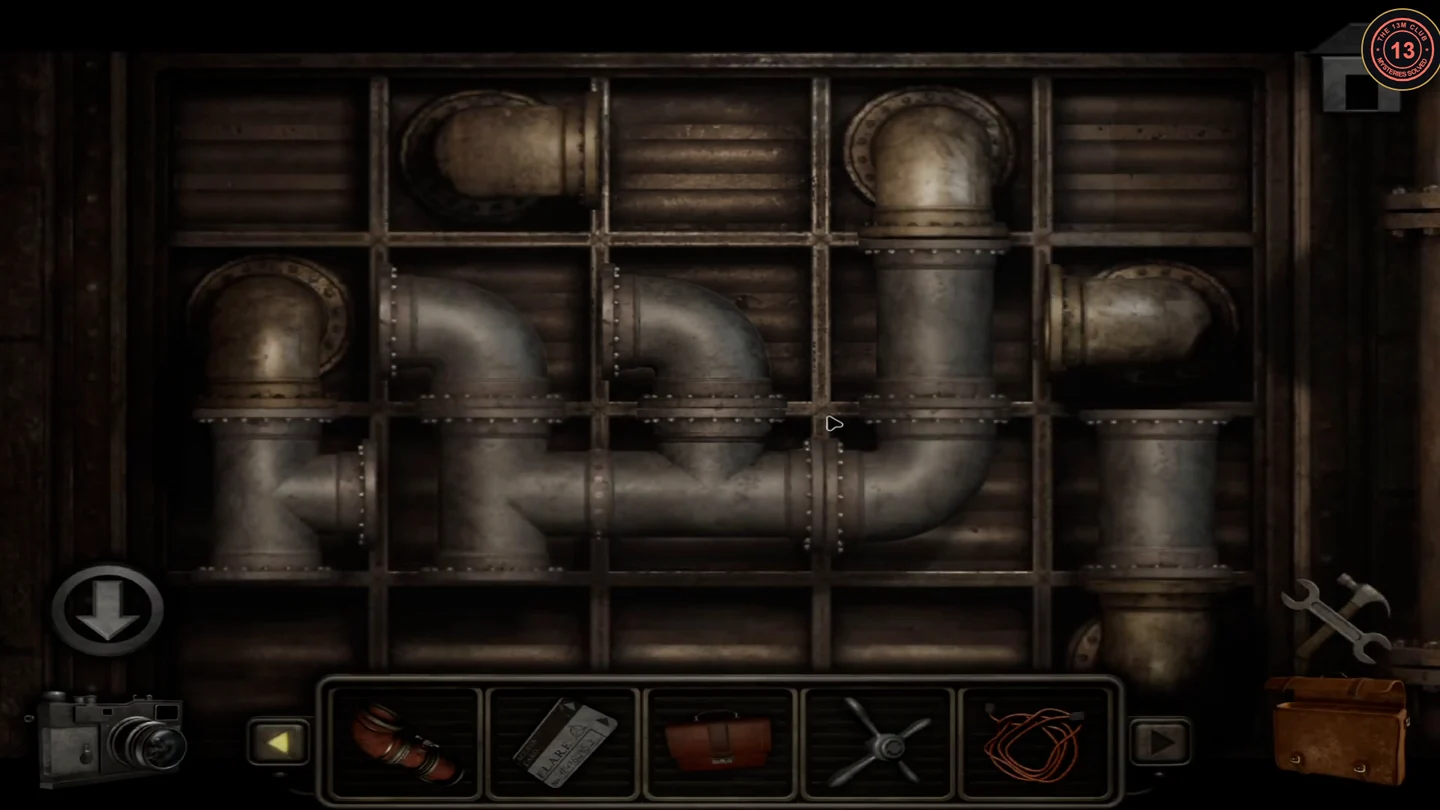
The back wall of the Maintenance room has a sliding pipe-tile puzzle: a frame five tiles wide and four high, with five pipe ends fixed to the wall and one empty space. The bent pipe from the scale fills its lower-left corner. It is a lengthy rearrangement puzzle, so the guide gives the target arrangement and an approach rather than a move list.
- Take the extension cable from the workbench on the left.
- Use the bent pipe from your inventory on the empty lower-left corner of the frame. It fills the first two slots of the bottom row, with its valve on top.
- Slide tiles into the empty space until the pipes match this target (rows counted from the top, columns from the left). Column 3, top to bottom: a corner from the left wall pipe of row 1 turning down, a straight vertical pipe, a T-junction with branches up, down and right, and a corner from up to left that meets the end of the bent pipe. Column 1, row 3: a straight vertical pipe under the wall pipe of row 2. Column 4: a T-junction in row 2 with branches up, down and right (joining the wall pipes at the top of column 4 and the right of row 2), and a T-junction in row 3 with branches up, left and right. Column 5, row 3: a corner from left to down that leads to the wall pipe at the bottom right. The cells left without pipes are the top-left and top-right corners, rows 2 and 3 of column 2, and row 4 of column 4. Build the centre column first, then park the plain tiles in those spare cells while you fit the junctions on the right. "The pipes are all connected" when every wall end is joined.
World clocks and flag valves
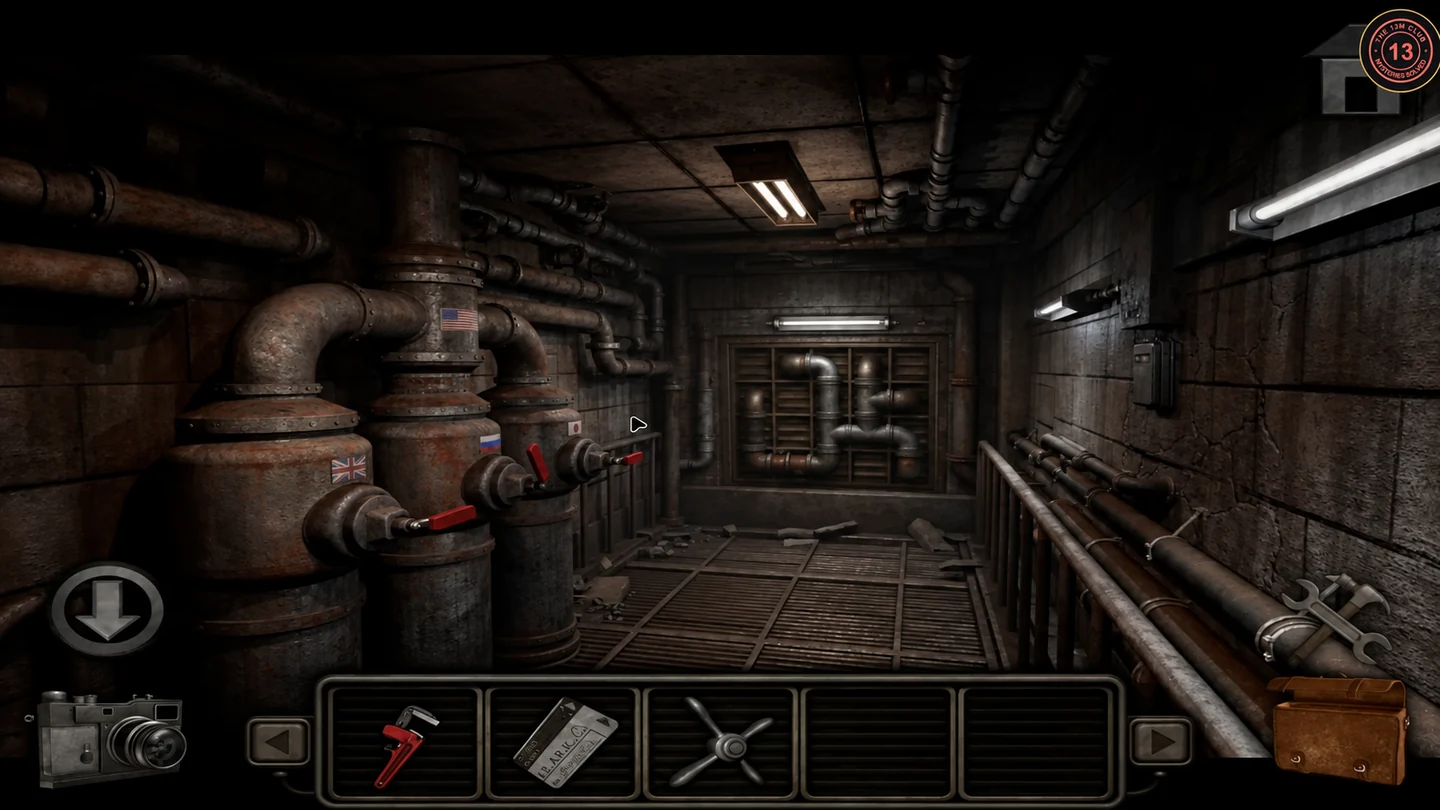
Three flag tanks in the Maintenance room control the water supply. A clock display in Security gives their settings.
- Put the bag on the conveyor of the X-ray scanner ("SCAN BAGS HERE").
- In Security, plug the extension cable between the power strip and the dark display above the desk. It shows world clocks: New York 8:26, Tokyo 9:26, London 1:26, Moscow 3:26.
- Back in Maintenance, the plaque above the tanks reads USA 6:00. The red levers act as hour hands. New York shows 8 while USA is 6, so subtract 2 hours from each city: set the UK lever to 11 o'clock, the Russia lever to 1 o'clock and the Japan lever to 7 o'clock.
Sink key, supply room and hidden office
With water running, the kitchen sink releases a key.
- In the kitchen, put the handle on the sink tap and turn it. Water runs and flushes the drain.
- Open the cabinet under the sink and use the pipe wrench on the U-shaped trap to take the key.
- Open the SUPPLY ROOM door with the key and take the sledgehammer from the crates.
- Use the sledgehammer on the cracked wall near the OFFICE ROOMS sign and climb through into a hidden office.
- In the hidden office, photograph the CHANGE YOUR PERSPECTIVE poster (four lockers seen from three sides), open the metal box on the left wall and photograph the 3x3 symbol plate inside its lid (its buttons need power), and look at the desk cabinet with eight zodiac reels.
Coloured lockers and zodiac desk
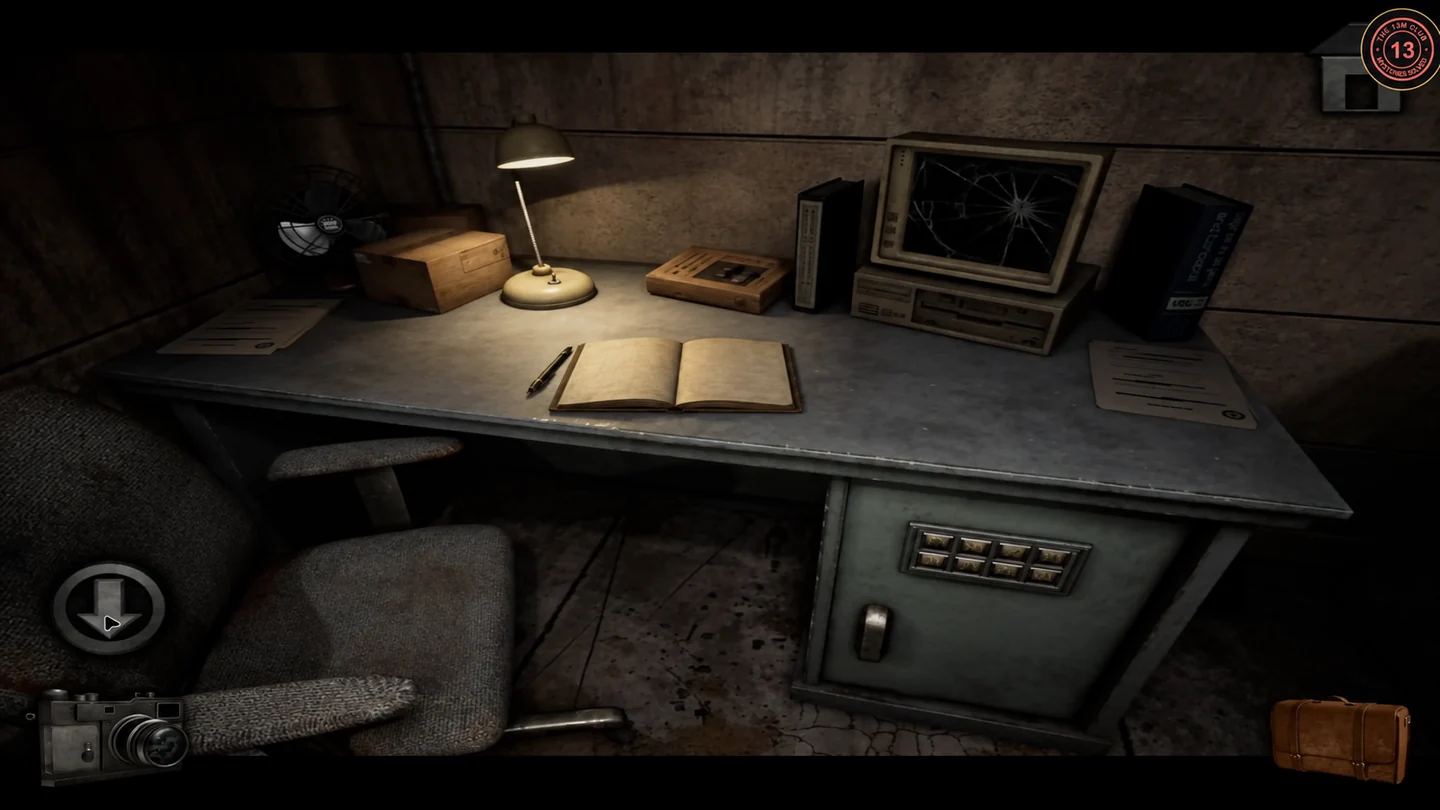
The four coloured lockers in the corridor show zodiac signs behind their doors; the poster tells you how to read them.
- Open the blue, white, red and green lockers in the corridor and photograph the zodiac signs. Take the bag from the bottom of the green locker.
- Set the desk cabinet reels in the hidden office. Top row: Scorpio, Pisces, Sagittarius, Taurus. Bottom row: Pisces, Scorpio, Sagittarius, Taurus. Take the bag inside.
X-ray scanner and emergency stairwell door
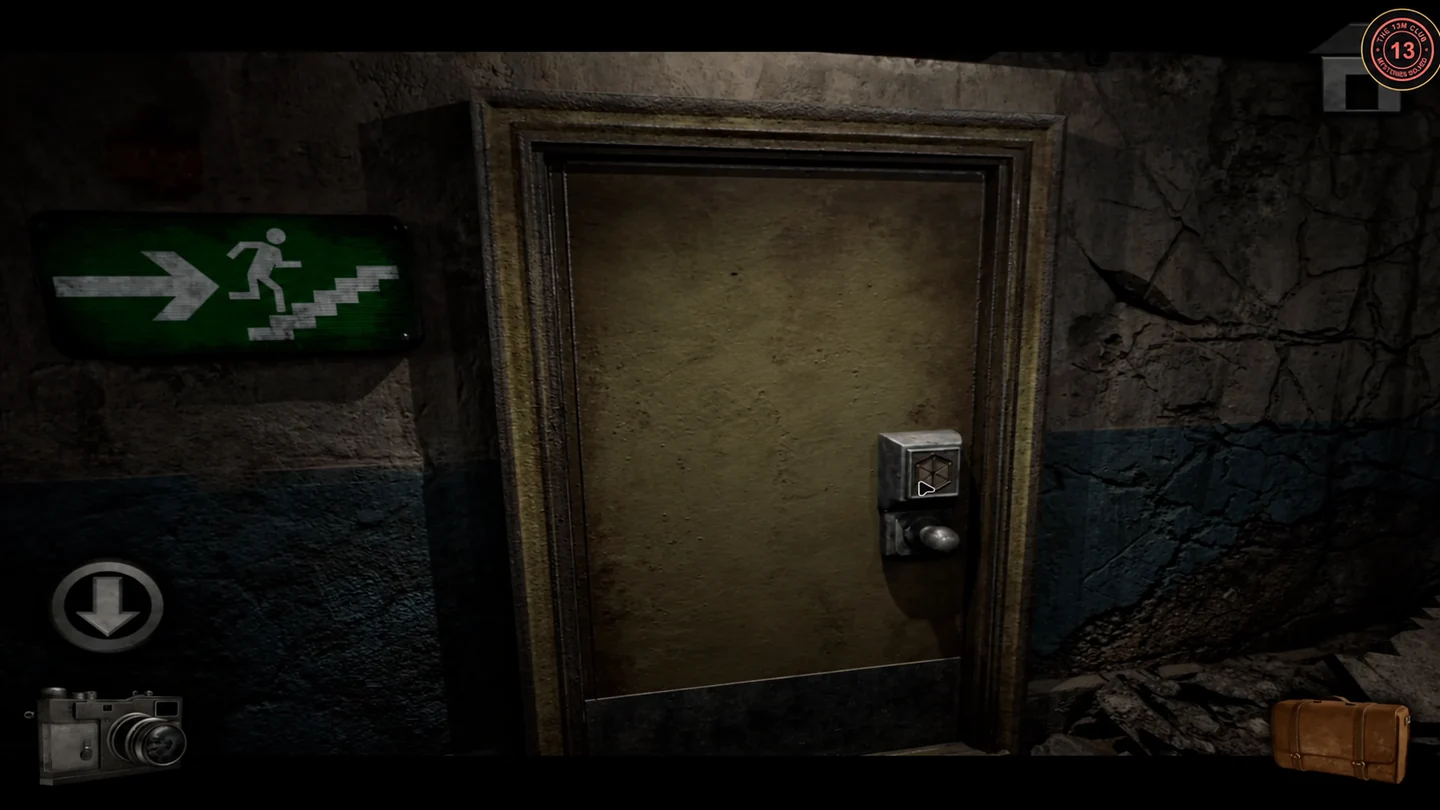
All three bags must go through the scanner. Their wire shapes give three patterns, and the stairwell door lock must be traced with all three in a row.
- Put the other two bags on the X-ray conveyor beside the first one.
- At the Security terminal, use the joystick to move through the three scans and photograph the blue, red and green wire shapes inside the bags. Each shape has a small symbol near its centre; the door lock shows the same symbol to tell you which shape to trace.
- Go past ELEVATOR 1 to the emergency-exit door at the end of the corridor. The lock is a hexagon: six outer points (top, upper-left, upper-right, lower-left, lower-right, bottom) joined to a centre point. Drag from point to point to light the bars; the routes below never repeat a bar. When a pattern is right, the centre symbol turns, the bars go dark and the next symbol appears. First pattern (hourglass symbol, red bag): upper-left, centre, lower-left, upper-left, top, upper-right, centre, lower-right, upper-right. This lights both top edges, both side edges and the four diagonal spokes.
- Second pattern (triangle under a bar, blue bag): lower-left, upper-left, top, centre, lower-left, bottom, lower-right, upper-right, centre, bottom. Every bar lights except the top-right edge and the upper-left and lower-right spokes.
- Third pattern (upside-down triangle, green bag): lower-left, upper-left, centre, top, upper-right, centre, lower-left, bottom, centre, lower-right, bottom. All six spokes light, plus the left edge, the top-right edge and both bottom edges; the top-left and right edges stay dark. The door opens to the stairwell.