PUZZLE
Mess hall dumbwaiter glyph panel
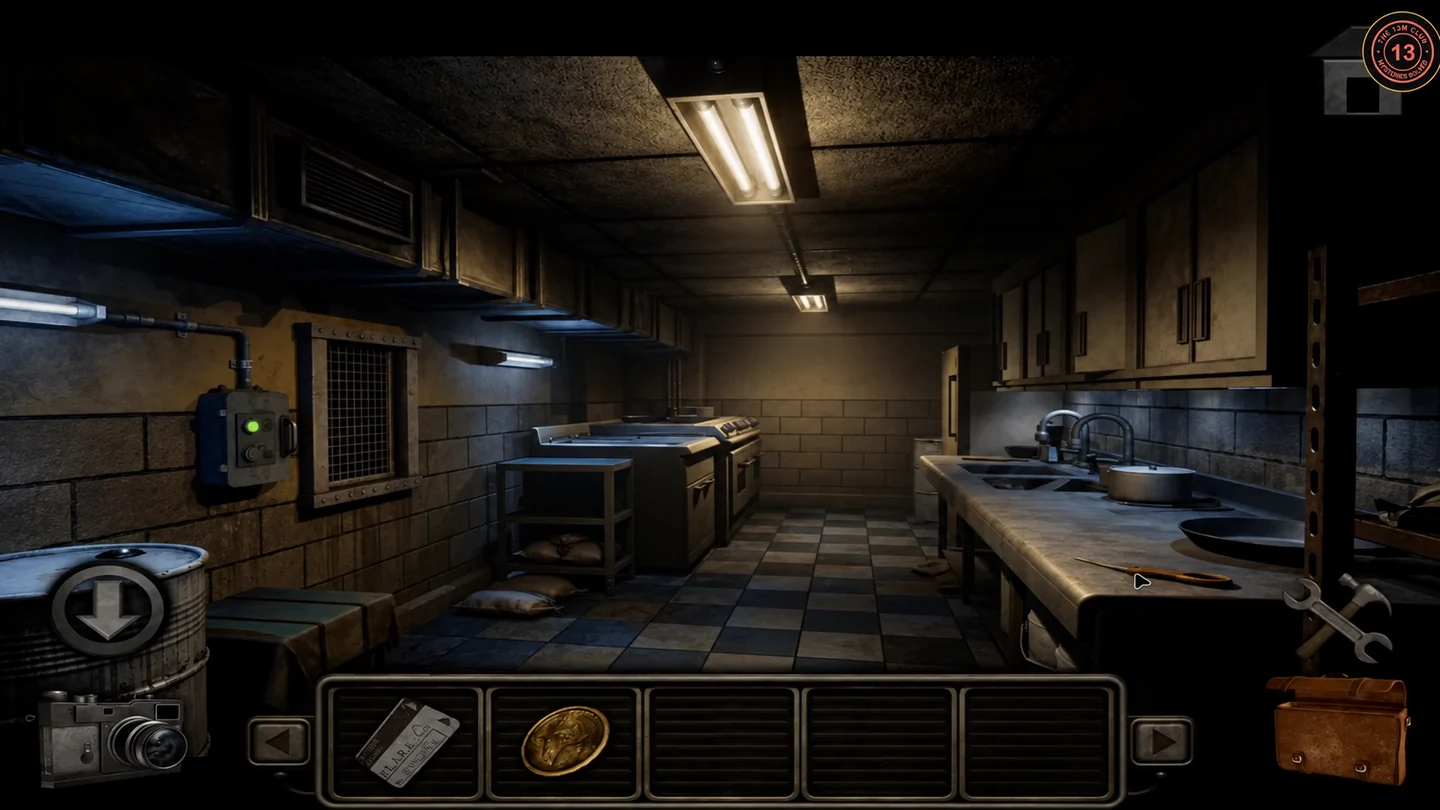
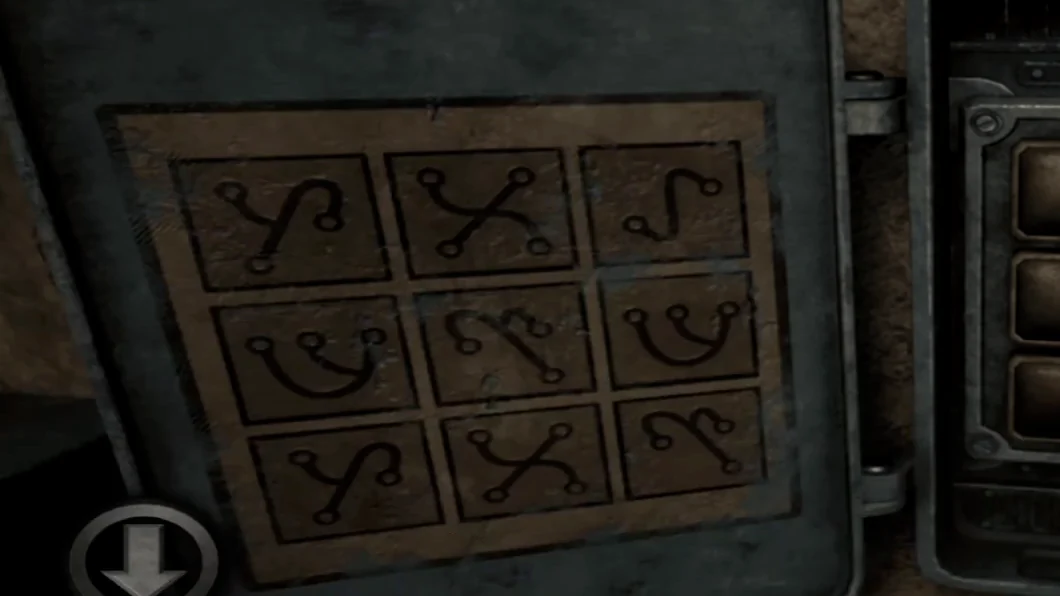
Climb the stairwell to Level 2. The dumbwaiter in the Mess Hall kitchen uses the symbol plate you photographed in the hidden office, mirrored left to right.
- Take the dollar coin from the bottom of the LEVEL 2 FLOOR MAP board in the hallway.
- Go through the MESS HALL into the kitchen and take the scissor half from the prep table.
- Open the dumbwaiter control box and click the nine buttons to cycle their symbols until the grid is a left-to-right mirror image of the hidden-office plate. Back out of the grid view and close the control-box lid, then press the lower of the two round buttons on the closed box (the one beside the open-padlock symbol). The dumbwaiter rises.
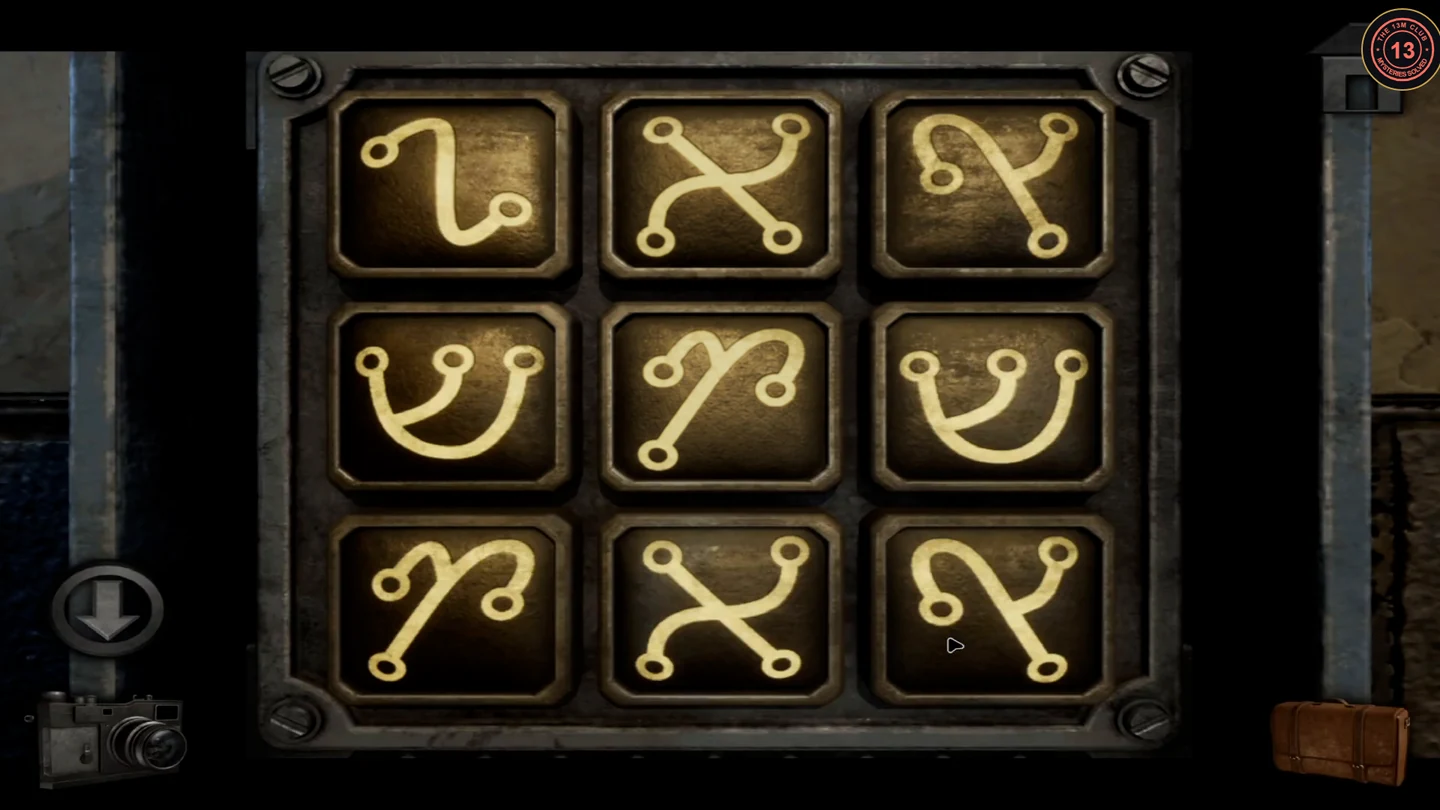
Solved dumbwaiter grid: the hidden-office plate flipped left to right. - Take the key from the tray that arrives in the dumbwaiter.
FLOOR 2
Coins, pliers and the plank bridge
Collect the remaining coins and cross the collapsed corridor.
- Take the dollar coin from the open wallet on a Mess Hall table.
- In STORAGE, open the padlocked tall locker with the key and take the locking pliers. The red toolbox here needs a coin for later.
- Use the pliers on the wire mesh in the pantry door window at the back of the Mess Hall, then take the two long wooden beams inside.
- Place the wooden beams across the collapsed pit in the Level 2 corridor to make a bridge.
- Cross into the OFFICE and take the dollar coin from the ledge under the corkboard.
PUZZLE
Vending machine and toolbox
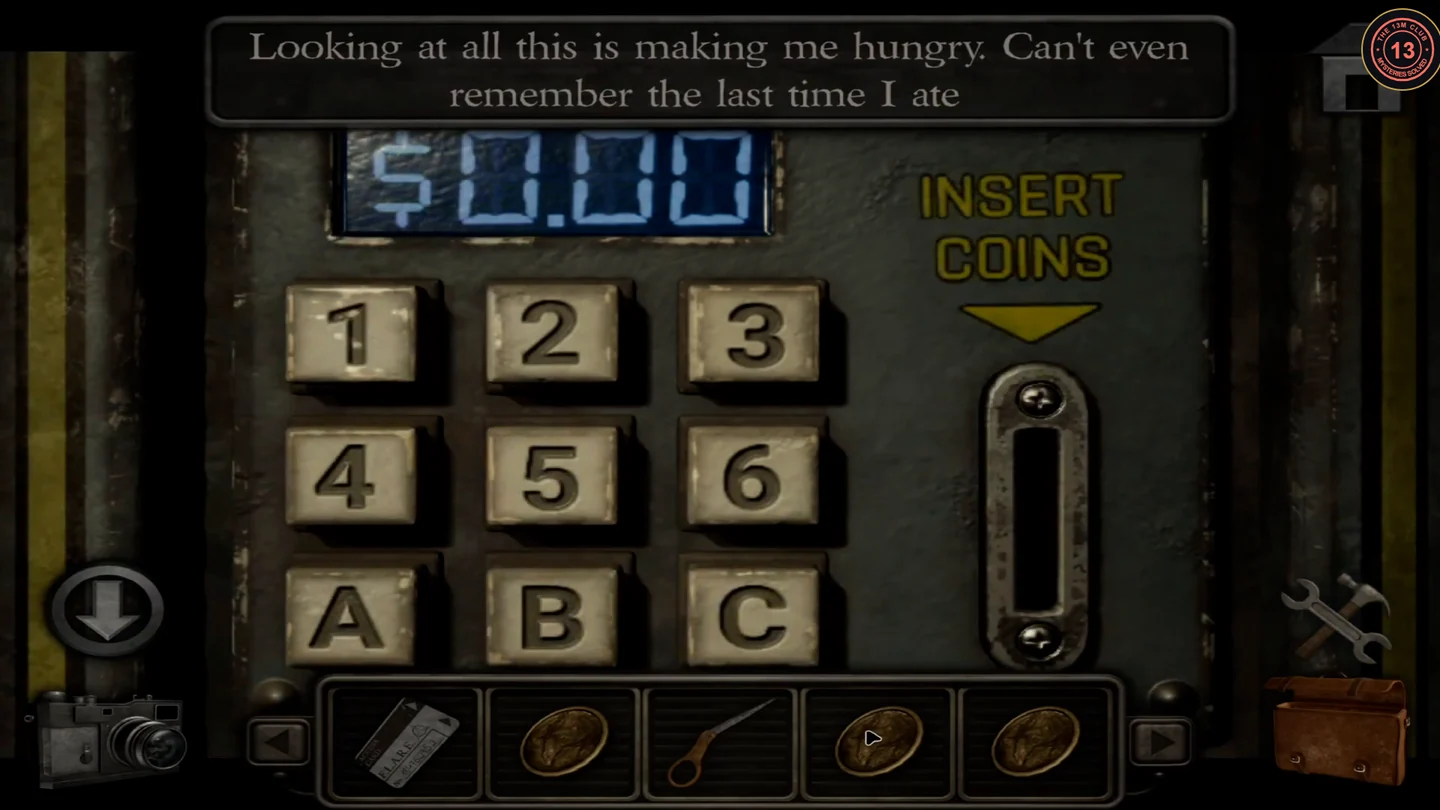
Three dollars buy a glowstick, and the change opens the toolbox.
- Insert the three dollar coins into the Mess Hall vending machine ($3.00) and enter B4, the slot holding the glowstick. Take the glowstick from the flap.CODEB4
- Check the COIN RETURN slot and take the quarter.
- In STORAGE, turn the coin-slot latch of the red toolbox with the quarter and take the second scissor half.
- Combine the two halves in the toolbox to make scissors.
PUZZLE
Dark corridor fuse and office computer password
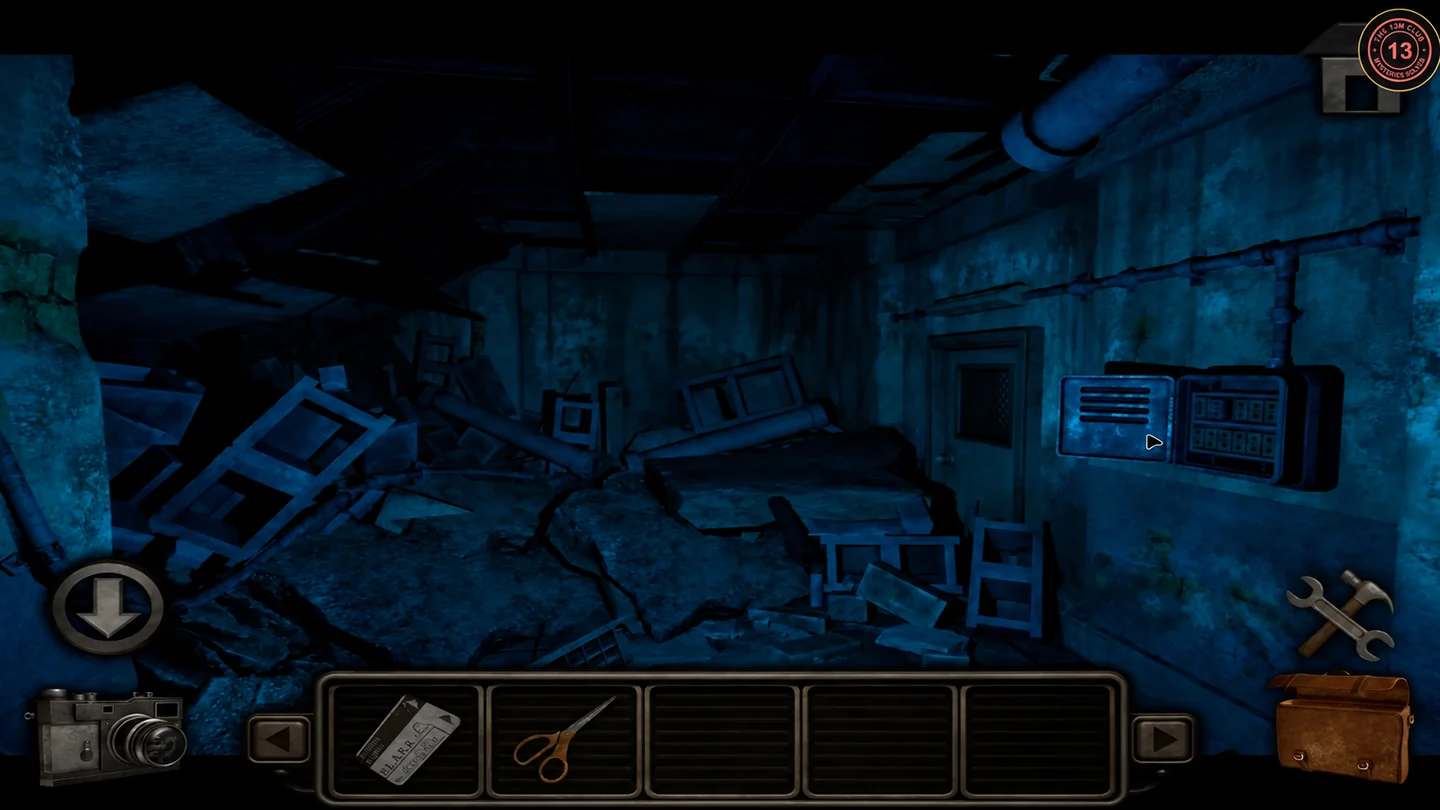
The office computer needs a keyboard and a password traced on the Level 2 floor map.
- Go down the dark, rubble-filled corridor and use the glowstick to light it. Open the blue fuse panel on the right and take the fuse.
- In the OFFICE, cut the red zip ties on the desk cabinet with the scissors and take the computer keyboard.
- Place the keyboard at the computer and click "Get password hint": A > B > C, G > F > E, J > I > H > J, I > H > G > F > D. Photograph it.
- Trace each path between the lettered points on the LEVEL 2 FLOOR MAP in the hallway. The four paths draw the digits 1, 7, 0 and 5.
- Enter 1705 at the computer. A "Board game" picture of two dice opens; photograph it for the fuse box.CODE1705
PUZZLE
Elevator fuse box and access level
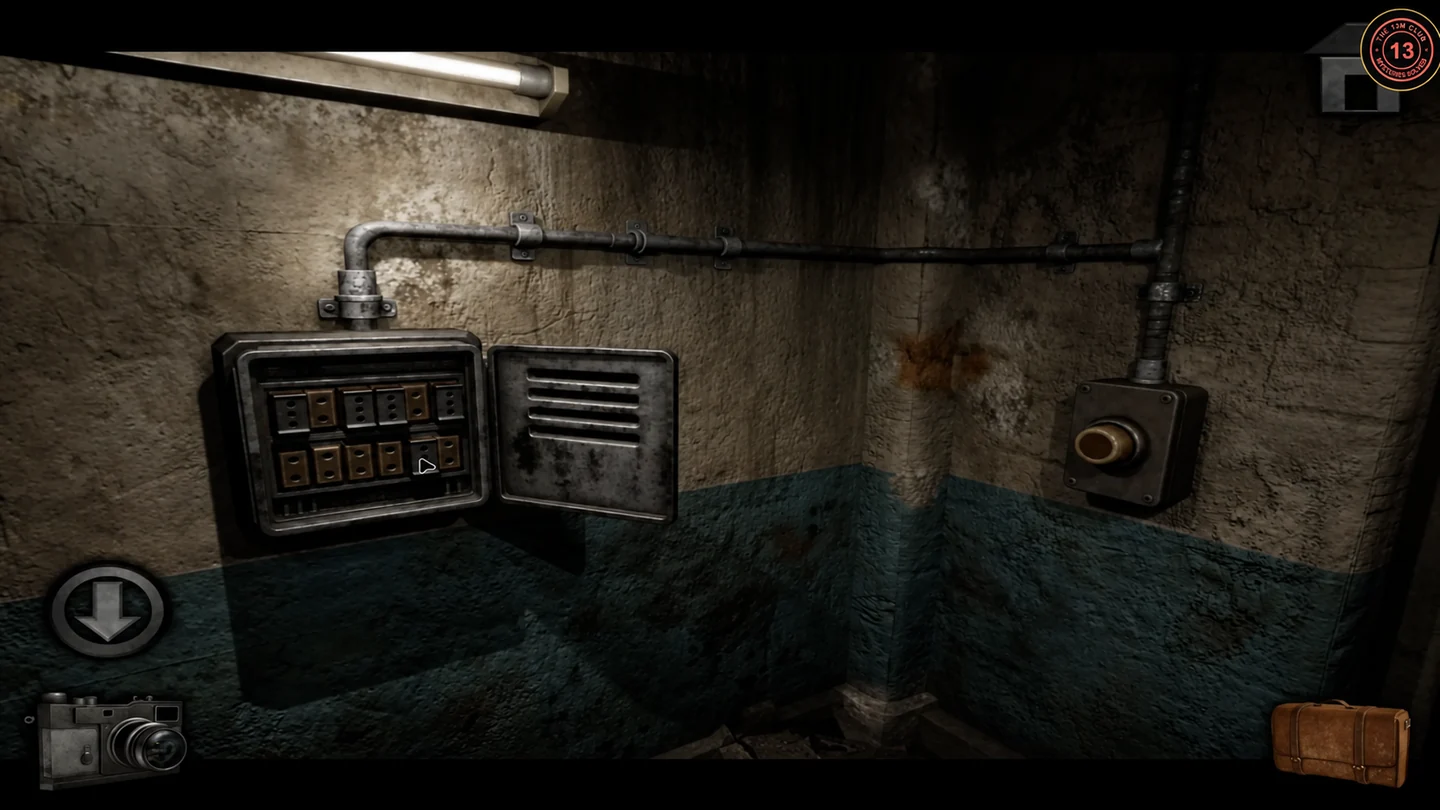
The elevator needs power and a Level 5 access card.
- Open the high-voltage fuse box beside the elevator, add your fuse and swap blocks so the red lights form the two dice from the picture. Top row: slots 1 to 3 blank blocks; slot 4 lights top, middle and bottom; slot 5 middle only; slot 6 top, middle and bottom. Bottom row: slot 1 blank; slot 2 middle and bottom; slot 3 top and middle; slot 4 top and bottom; slots 5 and 6 blank.
- Press the lit call button and take the old key card reader inside the elevator. Button 0 (LABORATORY) needs a higher access card.
- In the OFFICE, connect the reader at the computer, insert the access card from the office-corridor safe and open Keycard Reader.exe. Change the level from 4 to 5 and rewrite the card, then take it back.
- In the elevator, swipe the card and press 0 (LABORATORY).