Parking bays and the Section 1 door
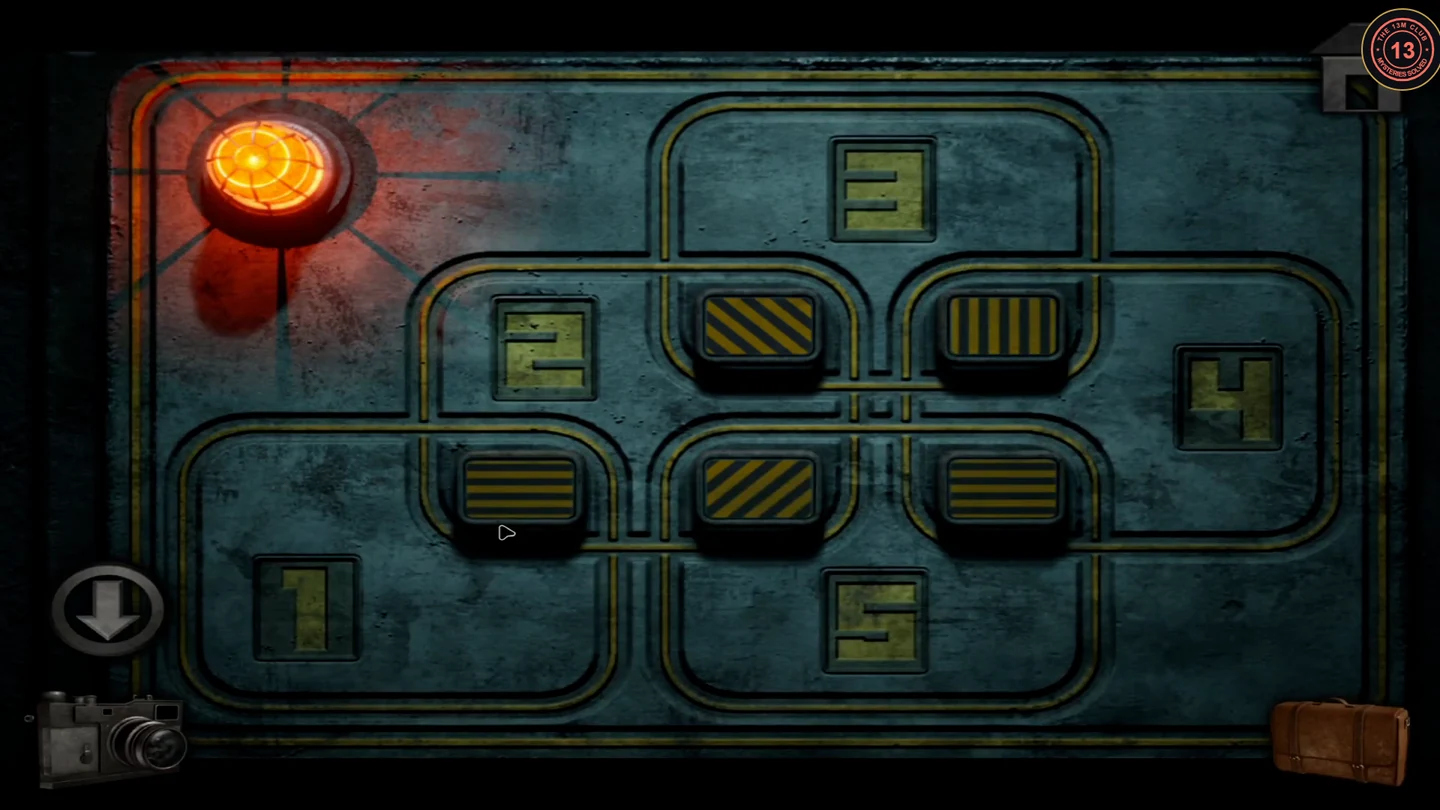
Painted parking bays in the cavern hub give the pattern for the SECTION 1 door console.
- Leave the elevator and follow the tunnel to the cavern hub. Take the broom from the back corner of the security booth.
- Sweep the five parking bays along the left cavern wall with the broom: bay 1 diagonal hazard stripes, bay 2 diamond mesh, bay 3 zigzag, bay 4 square grid, bay 5 dense crosshatch.
- At the console beside the SECTION 1 door, click the five pattern tiles to change their stripe direction so every numbered loop matches its bay. Final state: upper-middle tile with stripes rising from lower left to upper right (/), upper-right tile horizontal, lower-left and lower-middle tiles with stripes falling from upper left to lower right (\), lower-right tile vertical. The light turns green and the door opens.
Auditorium, Chemical Storage and Laboratory 1
Collect the first items and clues in Section 1. Several are needed much later.
- In the AUDITORIUM lobby, take the empty lighter from the debris by the barricaded doorway.
- In CHEMICAL STORAGE, take the "Specimen I" microscope slide from the desk, photograph the ball-and-stick molecule model, note the calculator with red-outlined keys, and take the jar of glucose from the right shelf.
- In LABORATORY 1, take the "Specimen II" slide from the bench, photograph the second molecule model and the four micrographs on the corkboard, and take the large flask from the shelf.
Server Room molecule lock
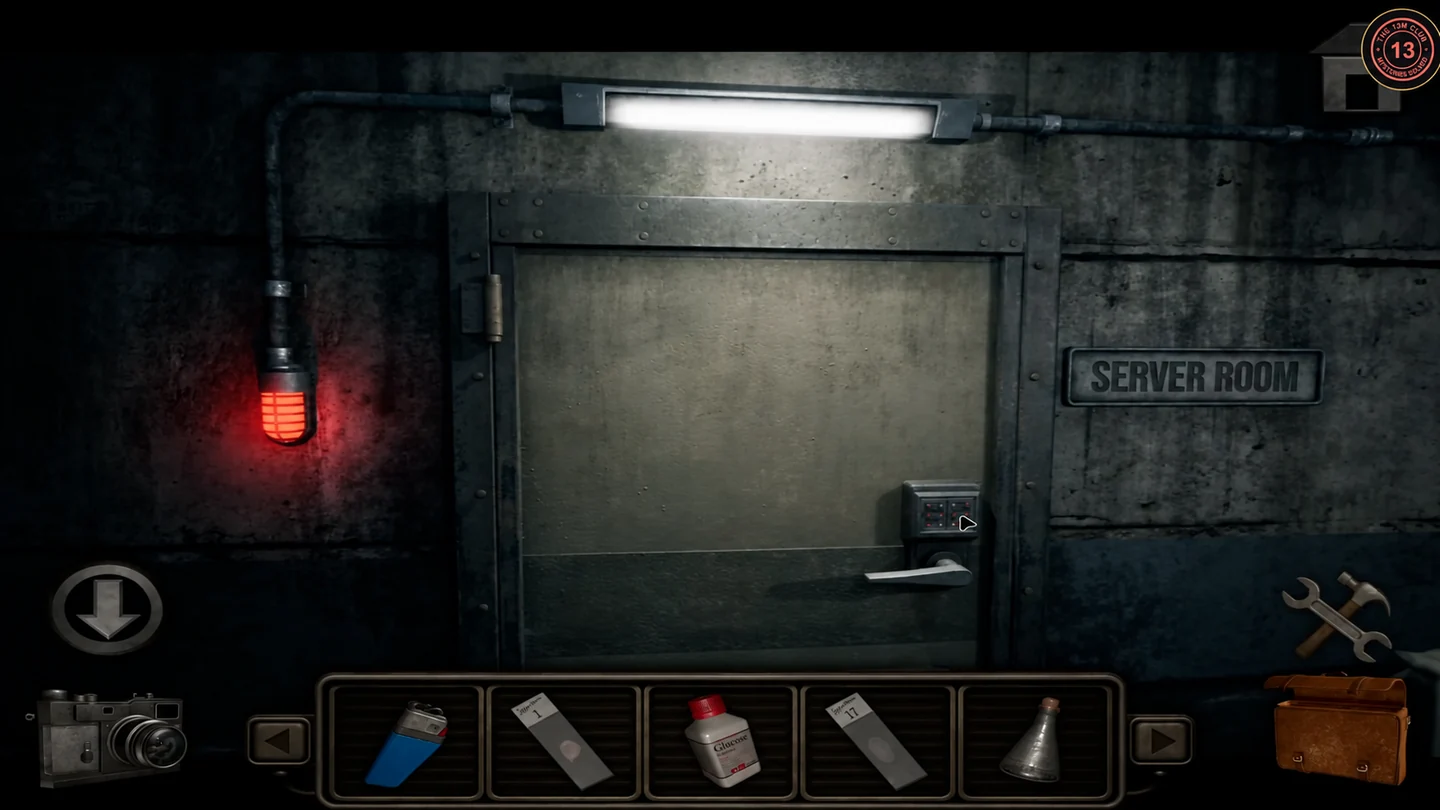
The SERVER ROOM door has two panels of six nodes. Click each node to cycle red, blue or grey so the panels match the two molecule models.
- Set the nodes (top, middle, bottom rows). Left panel: red, grey / red, red / blue, grey. Right panel: blue, grey / red, red / blue, grey. The light turns green and the door opens.
Lighter fluid, LED digits and the tool cage
The server rack lights and the Chemical Storage calculator give the tool cage code.
- On the blue cart in the Server Room, take the lighter fluid and combine it with the empty lighter to make a working lighter. Photograph the waveform blueprint on the same cart.
- Check the rack under the red NETWORK sign: the network card is defective and is discarded, leaving an empty slot.
- Photograph the rack panel with eight numbered 5x5 LED shapes. Each shape matches one red outline on the calculator keypad.
- On the Chemical Storage calculator, follow the LED shapes in order: 824 x 9 - 7 = 7409.
- Set 7409 on the four-wheel padlock of the tool cage in the corridor. Take the crowbar and the screwdriver.CODE7409
Projection office and remote door lock
Behind the boarded door in the Auditorium lobby are suction cups, a new network card and the Laboratory 2 door ID.
- Pry the boards off the door on the left of the Auditorium lobby with the crowbar and enter the office.
- Take the suction cups from the glass case beside the projector.
- Look at the three photos on the left workbench: one shows a door labelled 9413. Take the network card from the parts bin.
- Insert the network card into the empty NETWORK slot in the Server Room.
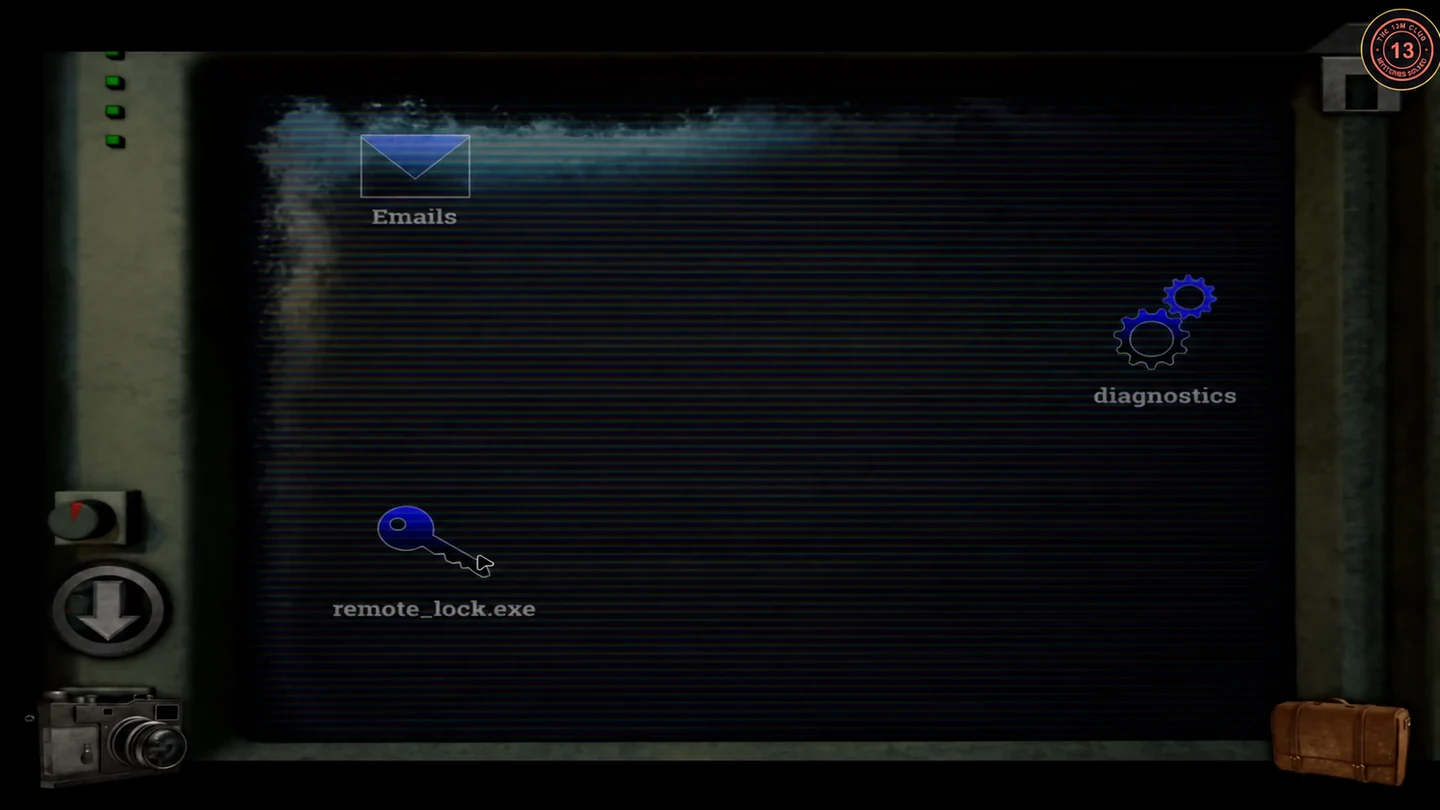
- At the Server Room computer, open remote_lock.exe, enter Door ID 9413 and choose Unlock. LABORATORY 2 opens.CODE9413
Laboratory 2: oscilloscope, lasers and microscope
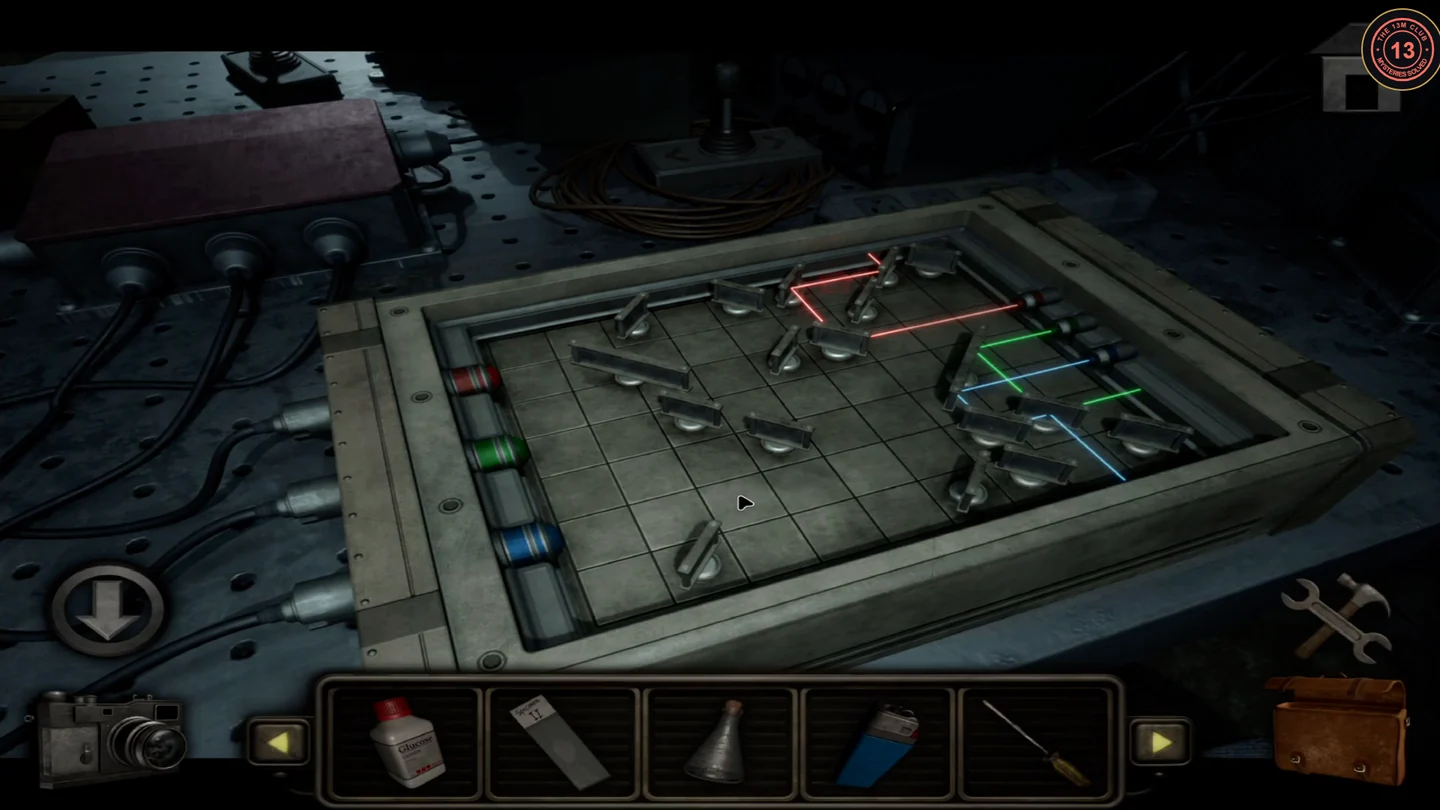
Laboratory 2 has the remaining slides, an oscilloscope clue and a laser-powered microscope.
- Take microscope slides III and IV from the red case and the rubber hose from the counter.
- At the green oscilloscope, move the Amplitude, Phase shift, Frequency 1 and Frequency 2 sliders until the trace matches the waveform blueprint from the Server Room. Photograph the result: it is the clue for the Flammable cabinet.
- Take the hex key from the optical bench and keep it for later. Remove the LASER RADIATION cover with the screwdriver.
- Rotate the mirrors so the red, green and blue beams each reach the sensor of the same colour on the right.
- Place each slide under the microscope: IV shows green plant cells, III purple cells with nuclei, II pink striated muscle and I cyan polygon cells.
Hazardous Chemicals vault and reagents
The micrographs on the Laboratory 1 corkboard give the Roman-numeral order for the vault in Chemical Storage.
- Compare the Laboratory 1 corkboard with your microscope views: top-left purple is III, top-right green is IV, bottom-left cyan is I and bottom-right pink is II, reading III IV over I II.
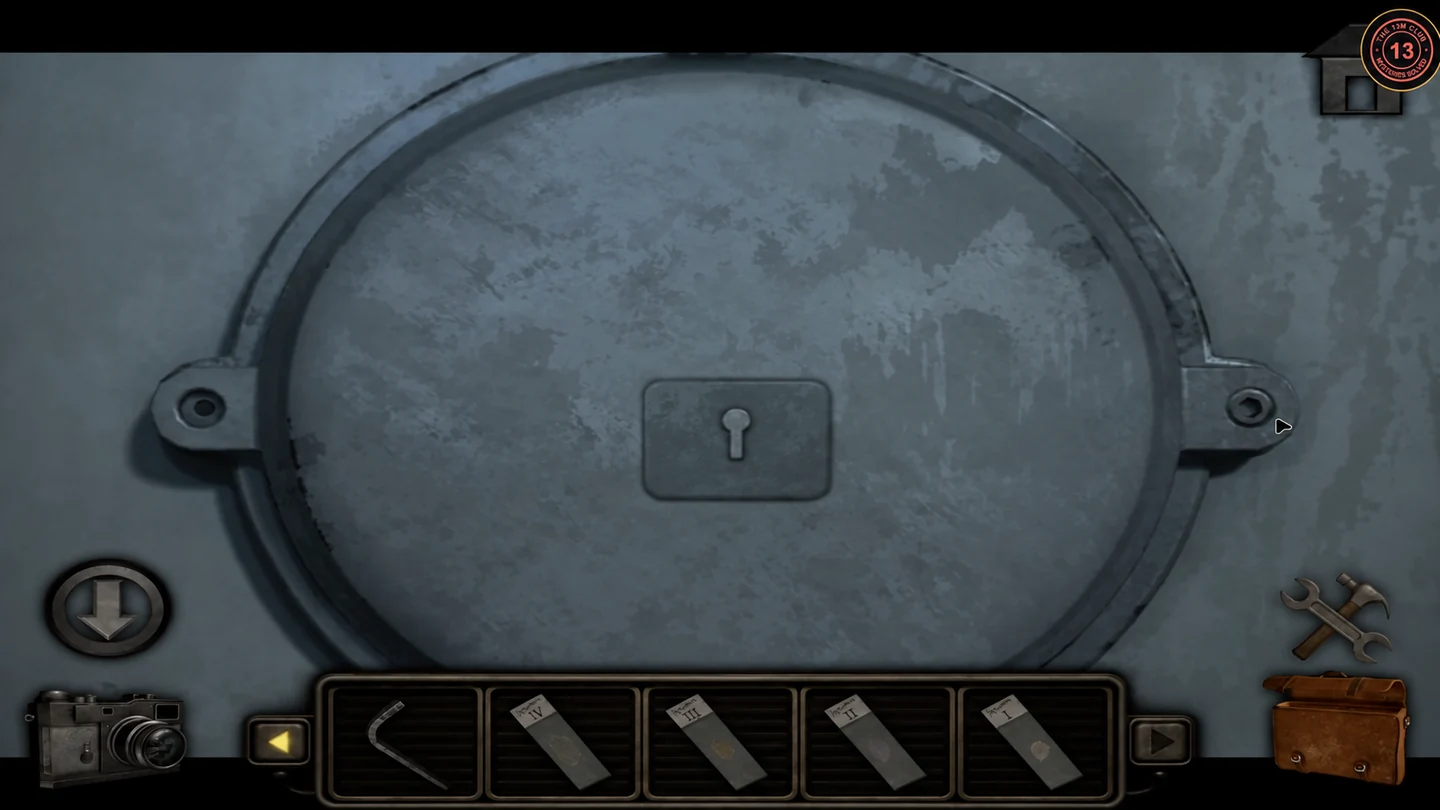
- At the HAZARDOUS CHEMICALS door at the back of Chemical Storage, remove the hatch cover with the hex key. Move the red slider around the rim to shift the four-hexagon frame onto the group reading III IV above I II (lower right of the honeycomb). The door opens.
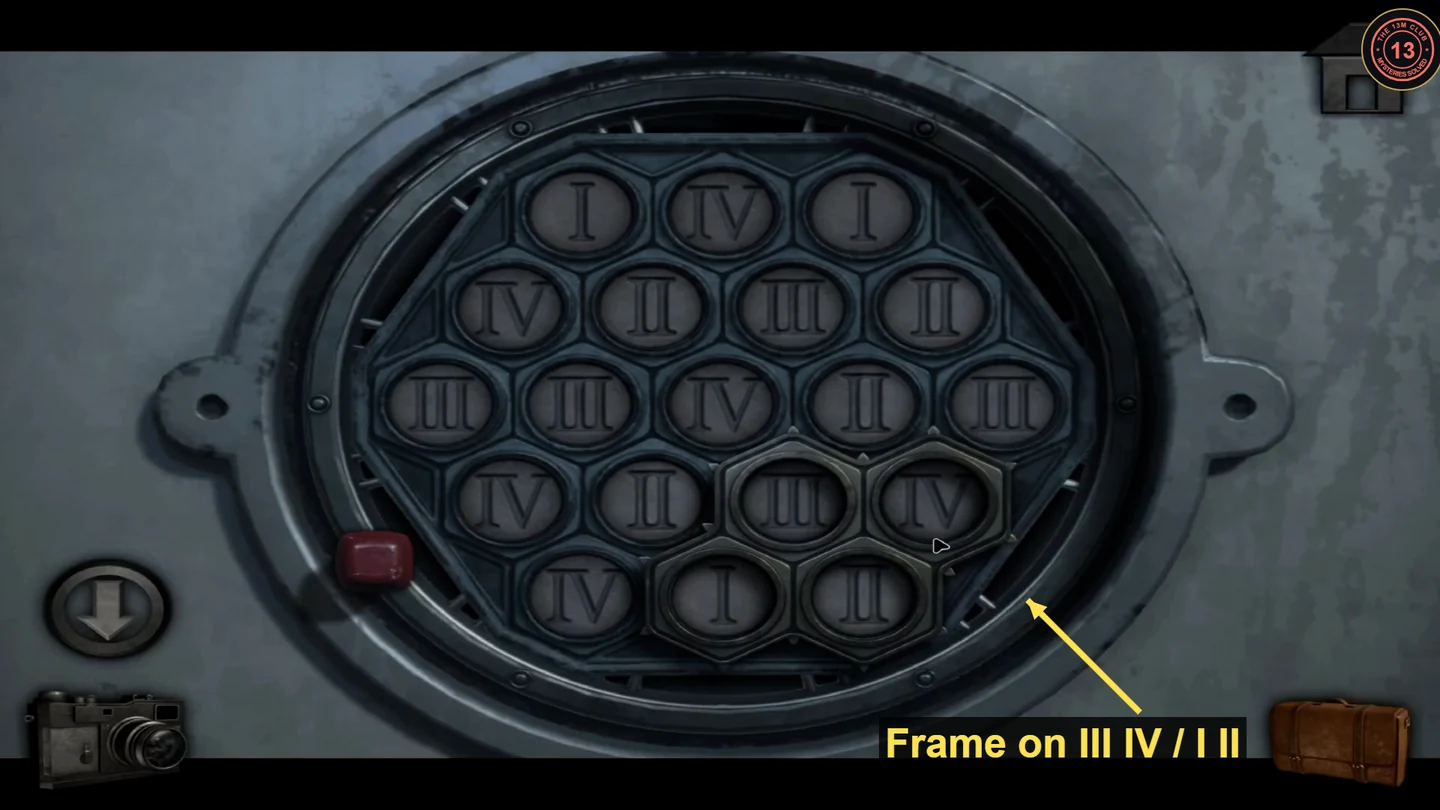
Correct frame position: lower right of the honeycomb, around III IV over I II. - Take the jar labelled "Vanadium (V) Oxide" from the vault shelf.
- Use the suction cups on the sealed lid of the right-hand blue drum and take the potassium dichromate granules.
Flammable cabinet and corrosive acid
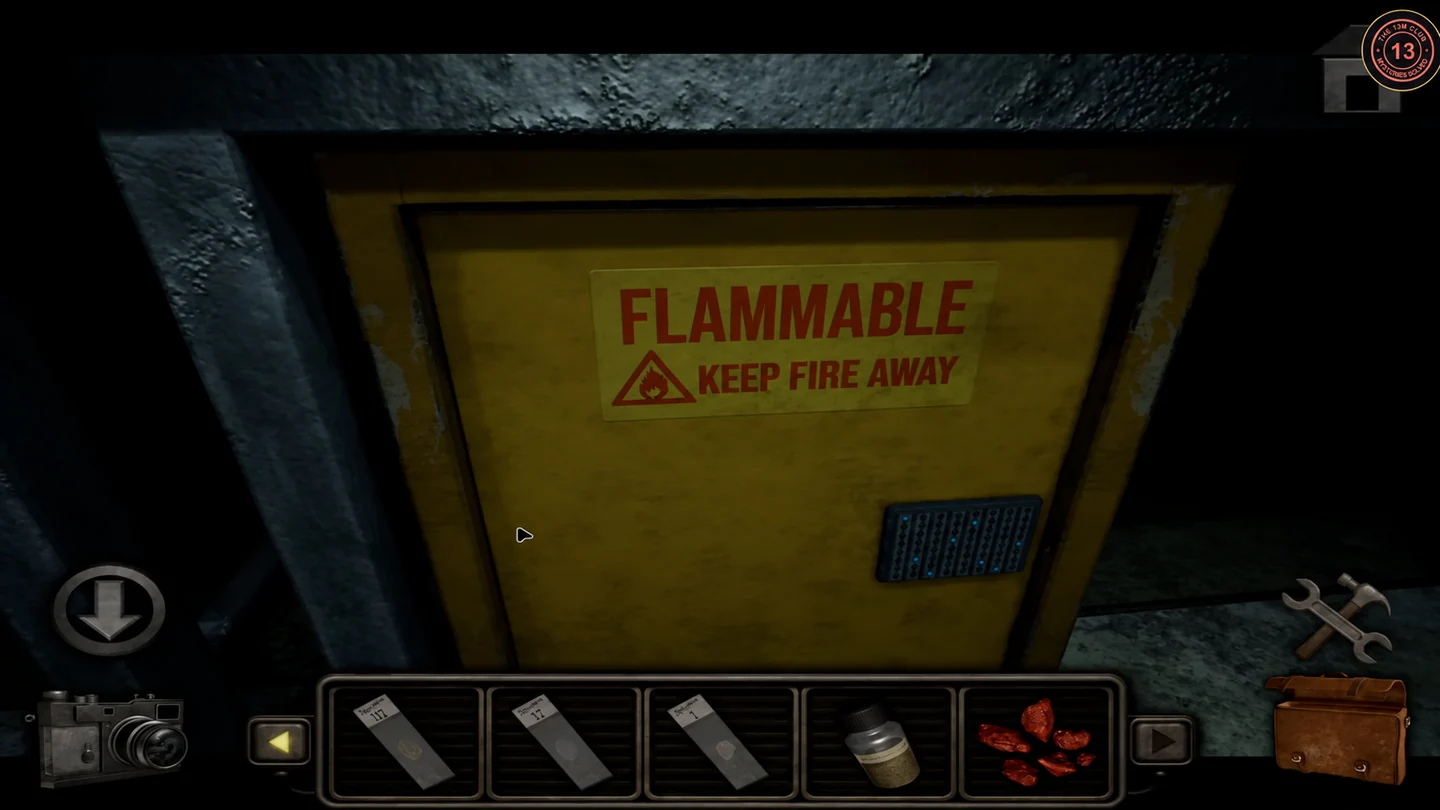
Laboratory 1 has the recipe, the ethanol and the equipment to brew an acid.
- Read the "DIY CORROSIVE AGENT" notebook on the Laboratory 1 desk: ethanol, glucose and 200 g of potassium dichromate, boiled, then a catalyst added in a ventilated area.
- The yellow FLAMMABLE cabinet has eight columns of eight lights. Light one per column to trace the oscilloscope waveform. Counting from the top, light row 4, 5, 7, 5, 1, 2, 7 and 8 in columns 1 to 8. Take the ethanol.
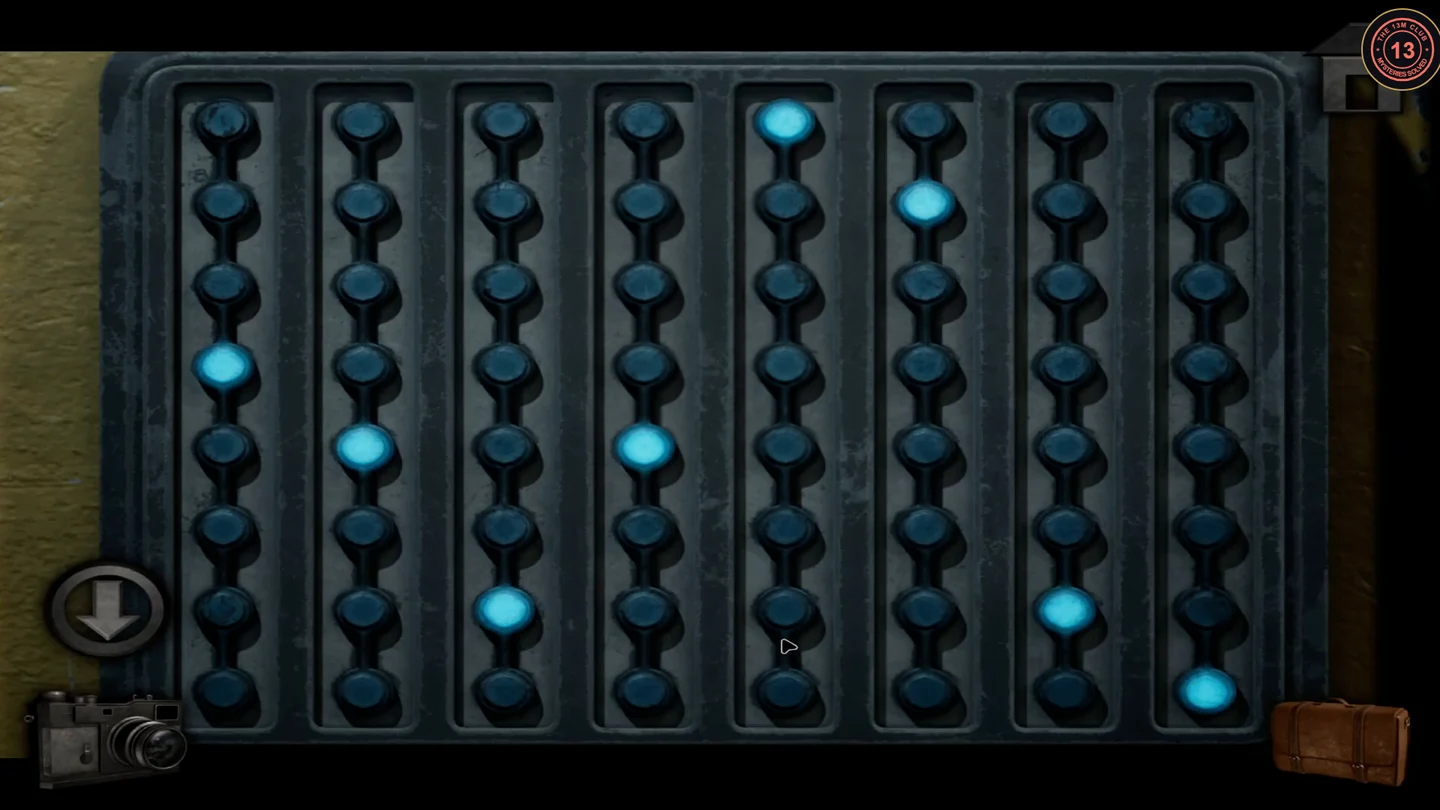
Solved light panel: from left to right, the lit lights are in rows 4, 5, 7, 5, 1, 2, 7 and 8. - Put the granules on the precision scale and move pieces to the side tray until it reads exactly 200.0 g. Take the weighed amount.
- At the burner bench, put the large flask on the tripod and add the glucose, the 200 g of potassium dichromate and the ethanol. Connect the rubber hose from the gas tap to the burner, light it with the lighter, then take the hot flask.
- Put the hot flask on the ring stand in the fume hood and add the vanadium (V) oxide. Take the green flask of acid.
Car battery and the Medical Wing
The acid opens the Medical Wing.
- Leave through the SECTION 1 doors. Unscrew the battery panel of the utility vehicle in the tunnel with the screwdriver and take the car battery.
- Pour the acid on the chained padlock of the MEDICAL WING gate.
- Take the flashlight (no batteries) from the medical office desk.
- In the infirmary, take the projector slide from the bedside clipboard. The SKELETAL SYSTEM chart on the wall names the bones used later.
Examination room ring maze
The mesh cabinet in the examination room has a lock of concentric rotating rings.
- Rotate the rings until one channel runs from the outer rim to the centre without a break. The cabinet opens: take the projector slide and the spray bottle of cleaning solution.
Operating room, filing cabinet and X-ray code
A dirty observation window hides the knob diagram for the filing cabinet; the X-rays give the Ventilation code.
- In the operating room, take the sponge from the scrub sink and the medical pincers from the instrument tray.
- Spray the grimy observation window with the cleaning solution, then wipe it with the sponge. Photograph the knob diagram on the whiteboard behind it.
- Set the eight knobs on the top drawer of the medical office filing cabinet. Top row: left, up, left, right. Bottom row: right, right, up, down. Take the X-ray images and read Nancy's note: Radius, Cranium, Fibula, Thorax.
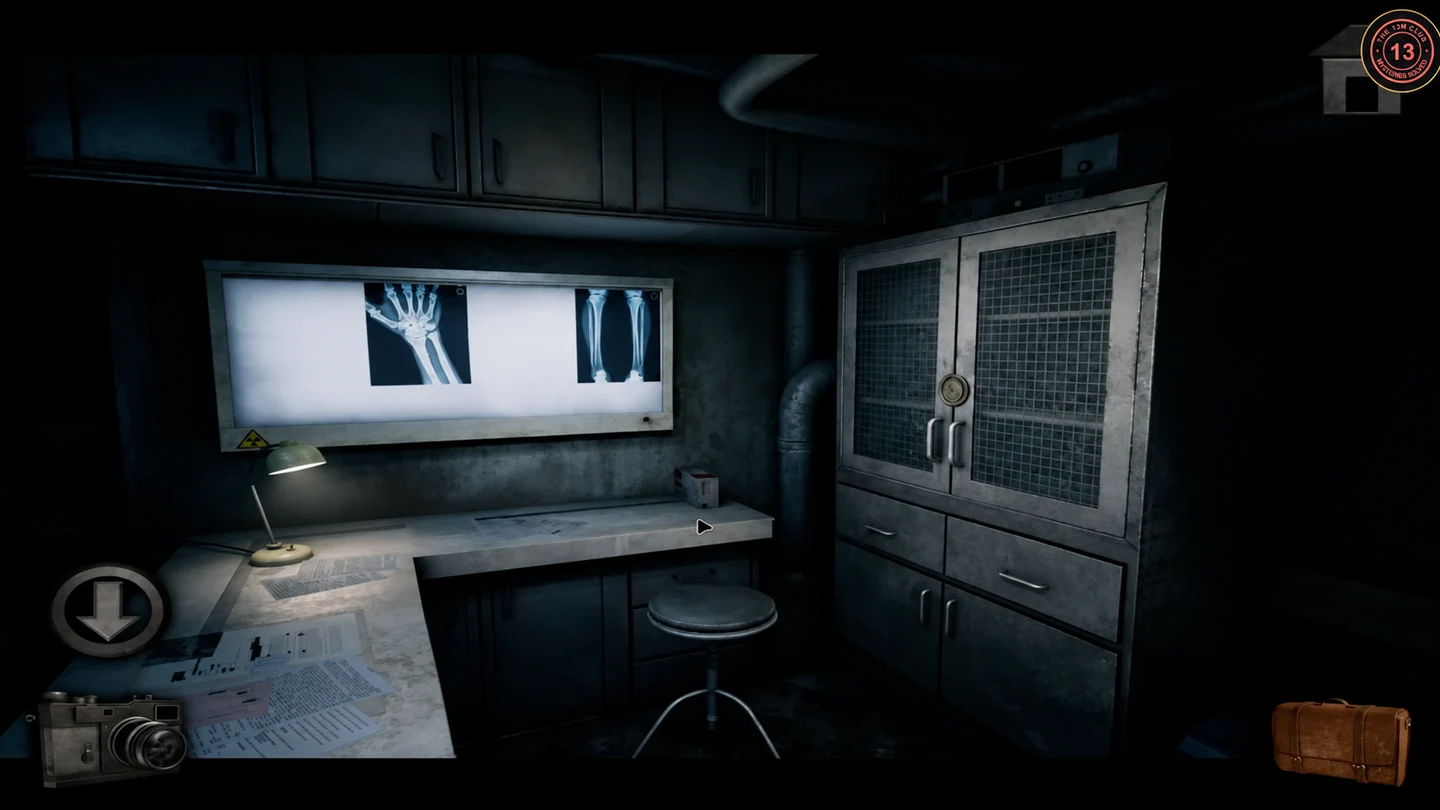
- Add the X-rays to the lightbox in the examination room and order the four films left to right: Radius (6), Cranium (9), Fibula (1), Thorax (4). The code is 6914.
Ventilation pipes and the projector
Two coloured pipe banks show how to wire the auditorium projector.
- Go down the VENTILATION stairwell and enter 6914 on the door keypad, then press #. The light turns green and the door opens.CODE6914#
- Photograph the coloured pipe bank in the ventilation corridor.
- In the machinery room, use the pincers between the bent vent slats to take the third projector slide.
- Photograph the second coloured pipe bank on the Medical Wing wall.
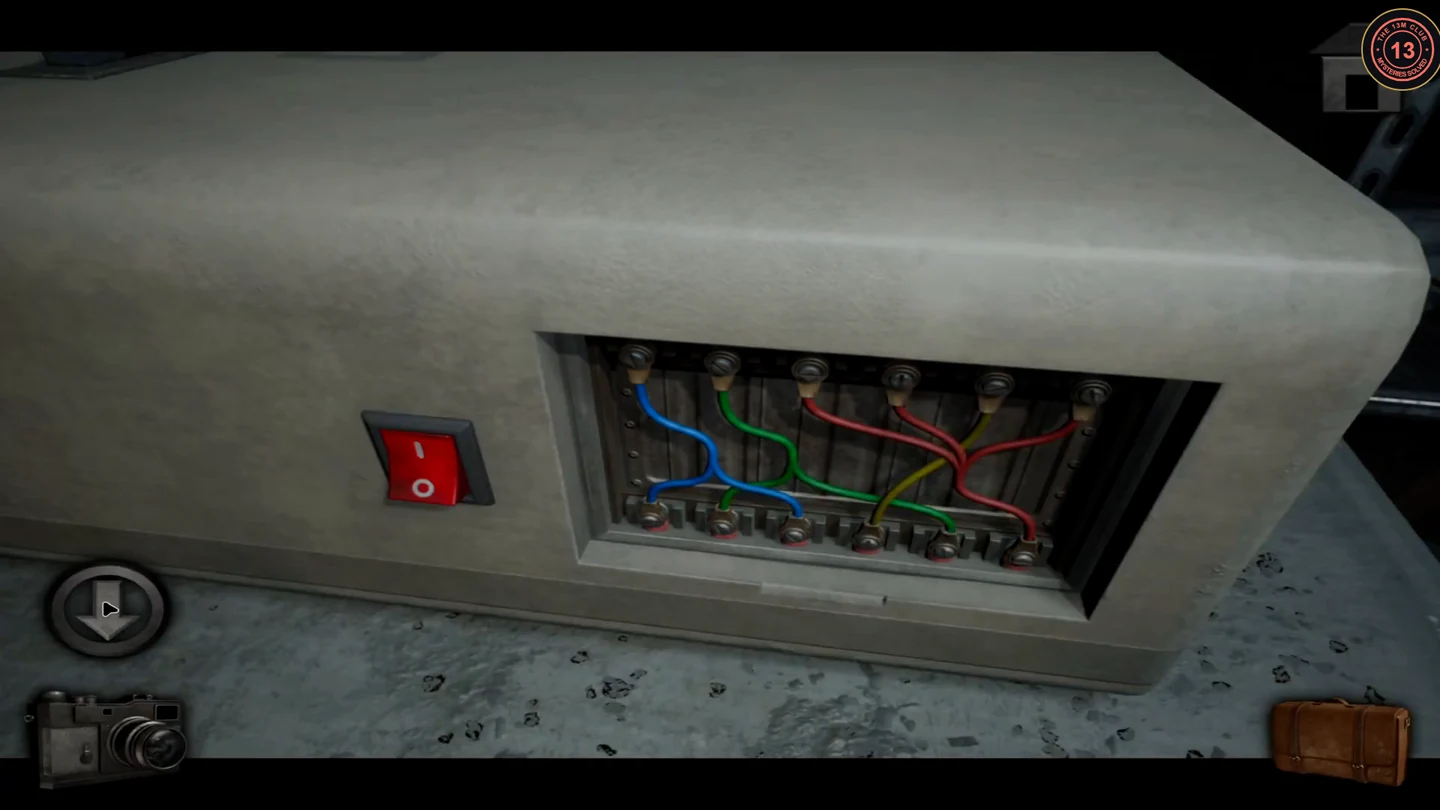
- In the Auditorium projection booth, open the projector side panel. Pick up and swap terminals until the wires follow the combined pipe routing. Final bottom row, left to right: blue, green, blue, yellow, green, red. Then switch on the red power switch.
- Insert the three projector slides one at a time and photograph each projection on the screen.
Medical Wing rear door and the first key
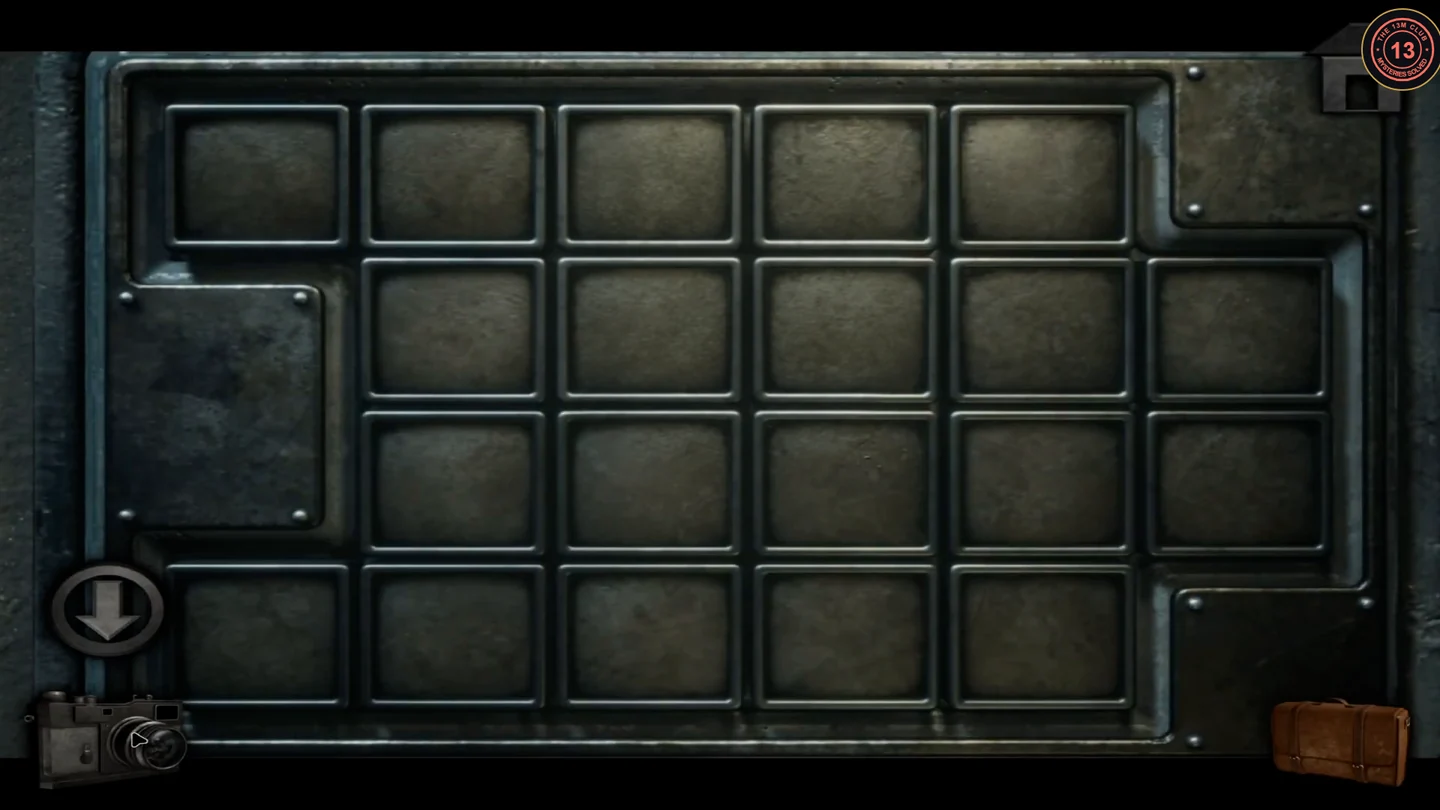
The locked door at the back of the Medical Wing has a grid of square buttons; the combined projections show which to press.
- Press the squares shown by the three projections combined. Count six fixed columns from the left across the whole door, including the blank metal plates in the corners (row 1 has a plate at column 6, rows 2 and 3 at column 1, row 4 at column 6). Light: row 1 columns 1, 2, 3, 4 and 5; row 2 columns 3, 4 and 5; row 3 columns 3 and 6; row 4 columns 1, 2, 4 and 5. The door opens.
- Take the batteries from the counter and combine them with the flashlight.
- Take the small key from the desk.