Machine Room Door: Keycard and Code
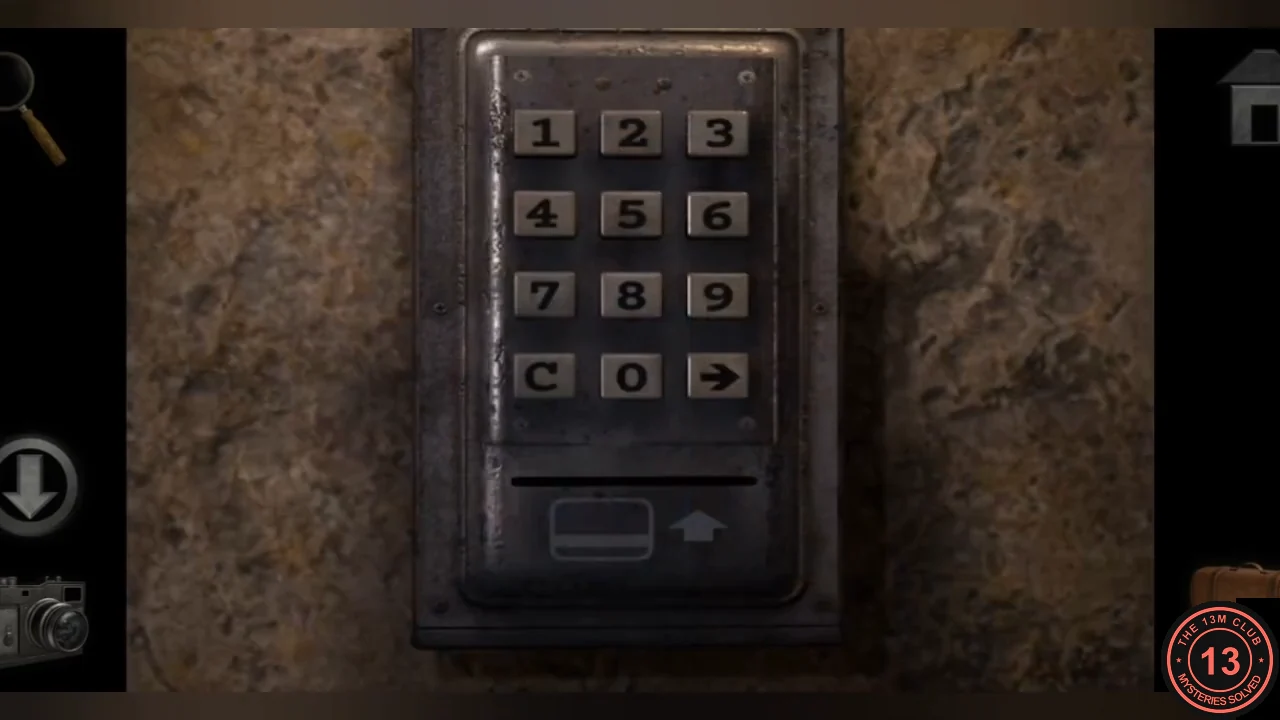
The Machine Room door keypad only accepts the code once the keycard is inserted.
- At the Machine Room door, insert the keycard into the slot below the keypad, then enter 51413. The door opens.CODE51413
Machine Room: Planet Disc Lock
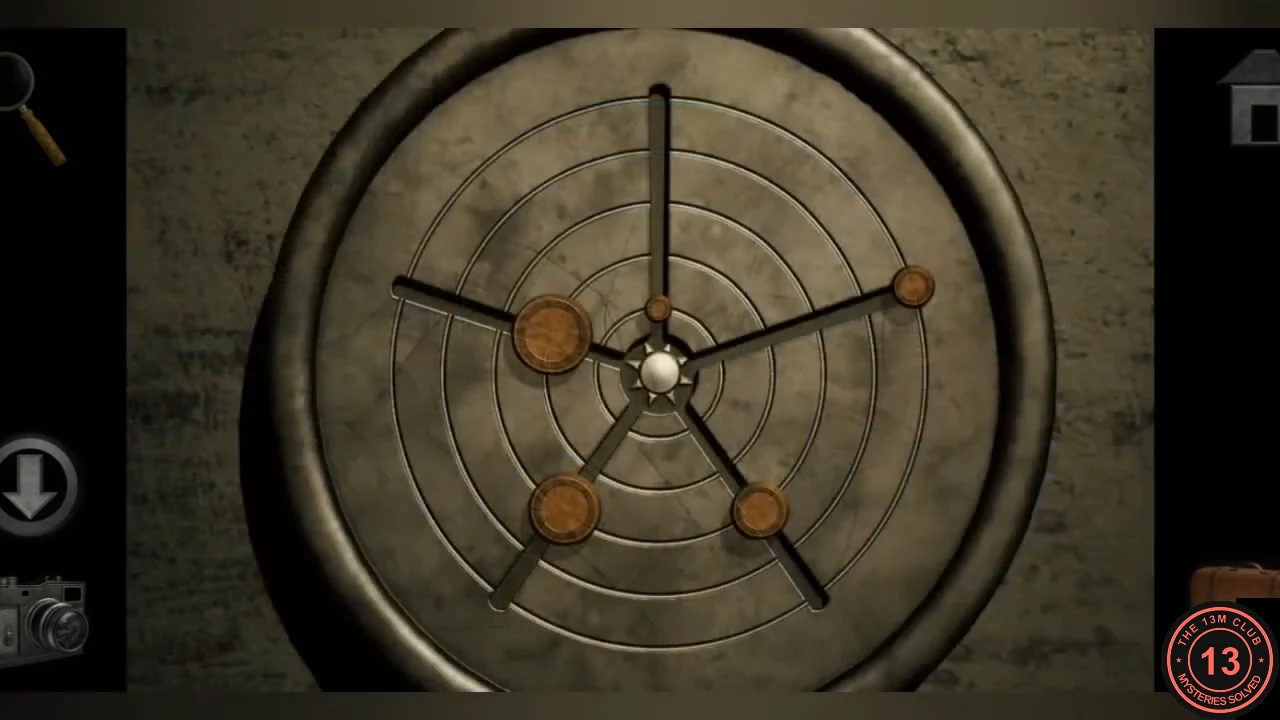
A locker to the left of the stairs has a round lock with five spokes, each carrying a disc of a different size, and five rings. The planets.jpg picture shows five planets of different sizes, each on its own orbit; each disc goes on the ring of the planet with the same size.
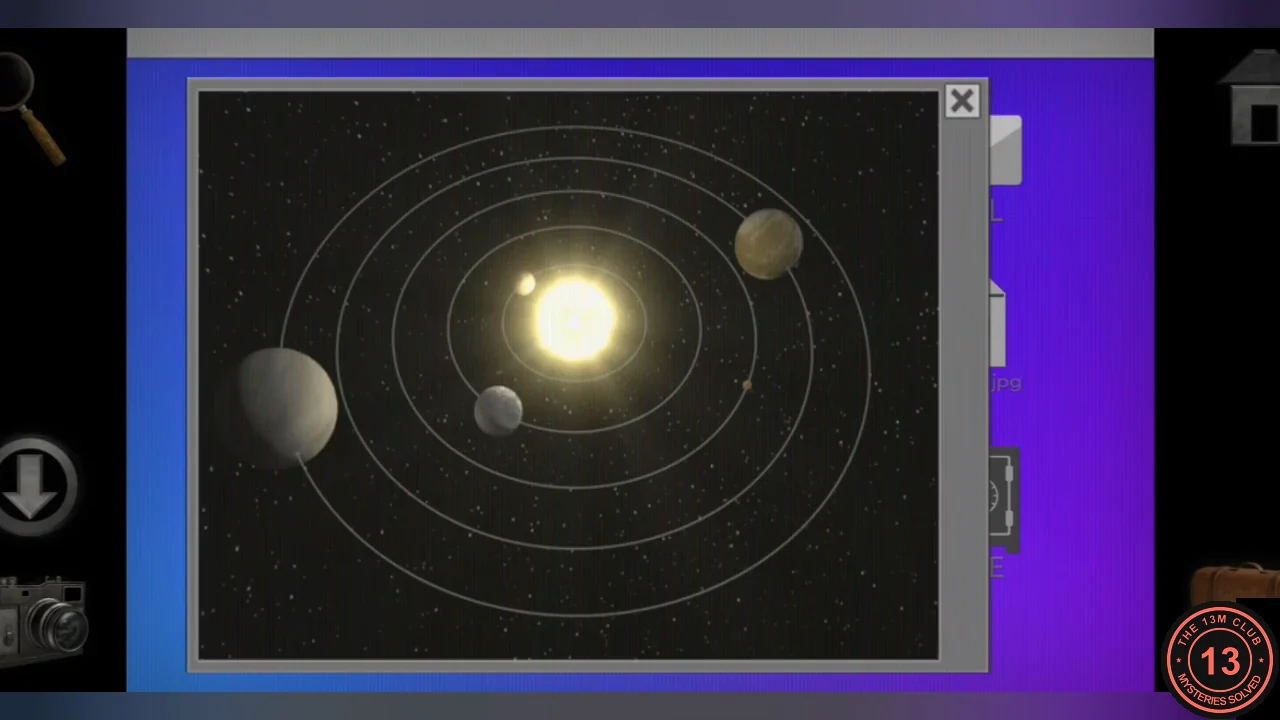
- Counting rings from the centre, slide the small disc to ring 1, the medium disc to ring 2, the tiny disc to ring 3, the large disc to ring 4 and the largest disc to ring 5. The locker opens.
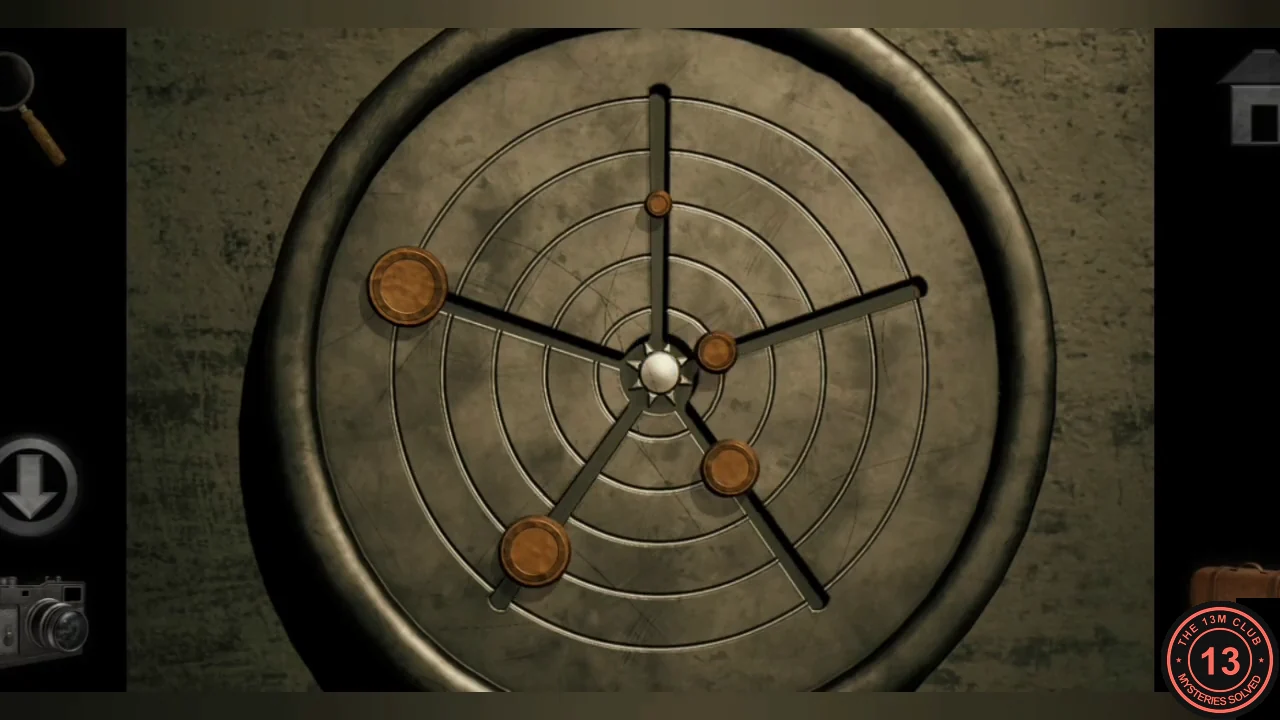
Each disc on the ring of the matching planet. - Take the spigot from the locker.
Barrel, Cage and Elevator Controller
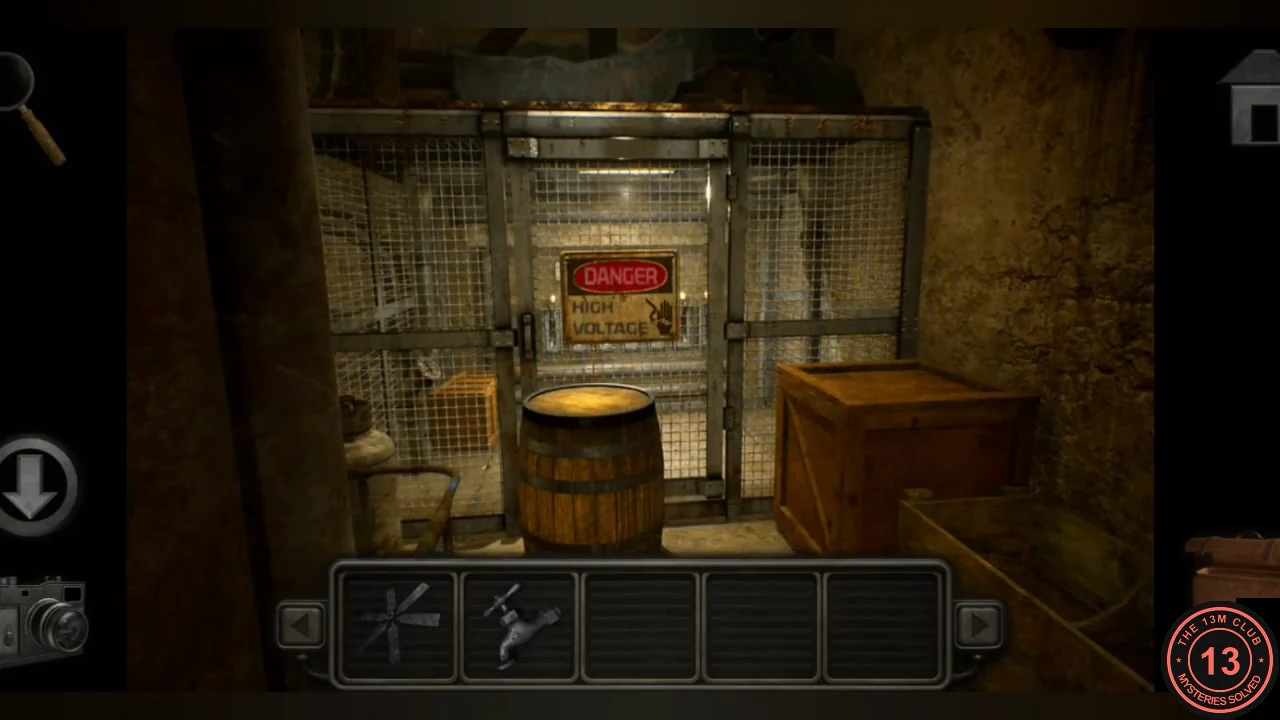
A DANGER cage in the Machine Room holds the elevator controller, but a wooden barrel stands in the way.
- Use the spigot on the base of the barrel in front of the cage and open it to drain the barrel. Push the empty barrel aside, back out of the close-up, then open the cage gate.
- The ELEVATOR CONTROLLER has eight switches, numbered 1 to 8 from left to right, and they only stay down when pulled in the right order: 7, 2, 3, 4, 1, 8, 5, 6. If switch 7 is already down with its light green, start with switch 2. If switches pop back up, you went out of order: start again with switch 7. When all eight lights are green, the elevator has power.
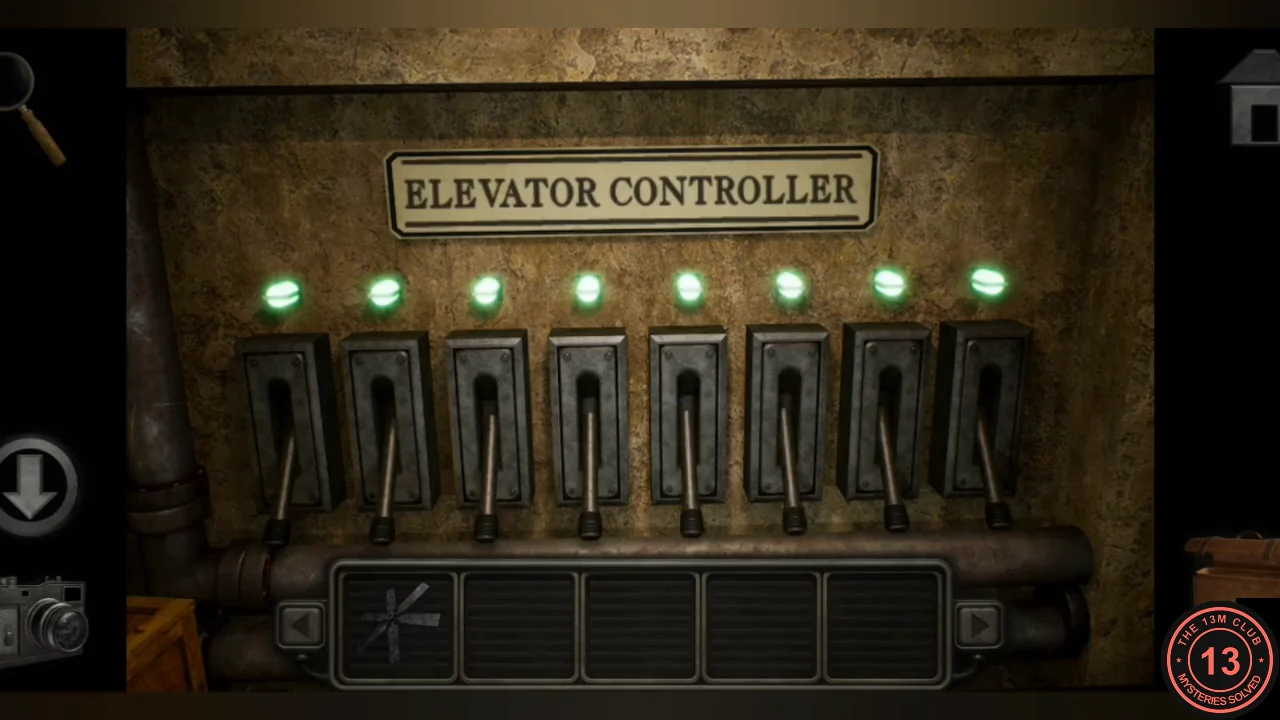
All eight switches down and green.
Down the Lift: Lower Corridor and Office
The elevator you started in now works. Ride it down to the lower level.
- Go back through the tunnels to the elevator and ride it down.
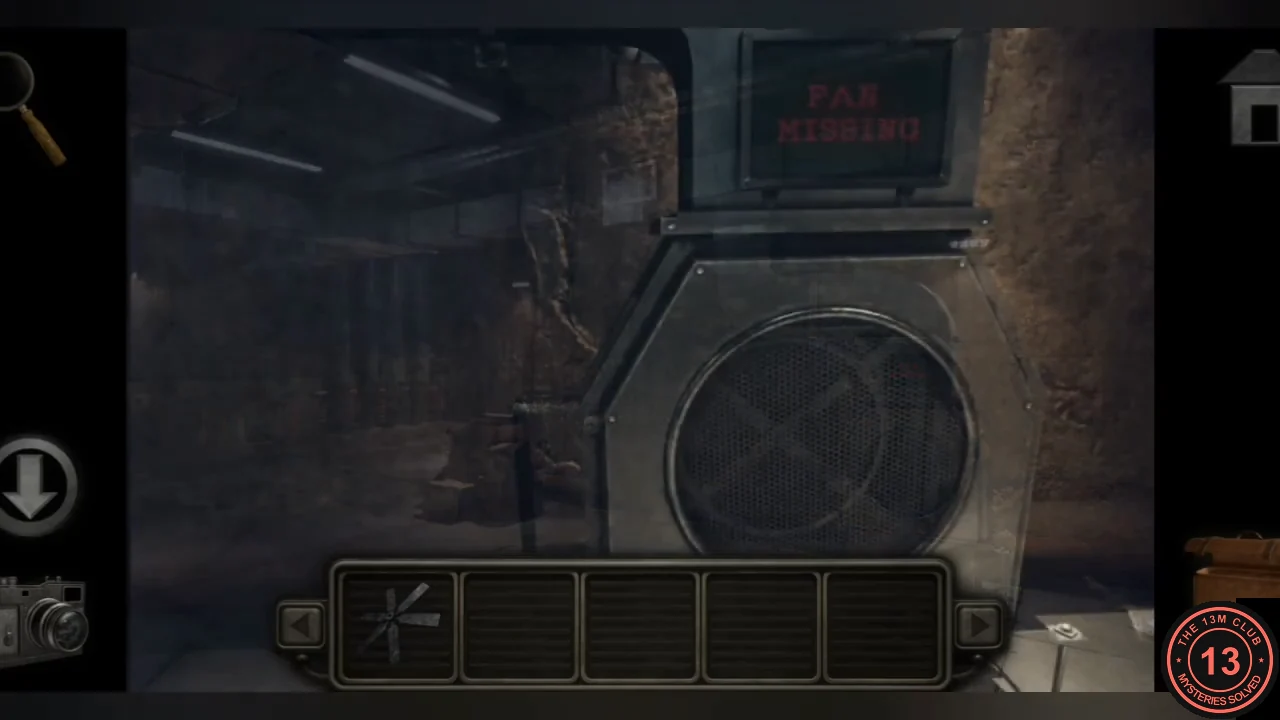
- Check the ventilation unit in the lower corridor. Its display reads FAN MISSING and the housing needs a screwdriver.
- Tap the pile of cardboard boxes in the corridor to move them aside and pick up the small metal knob.
- In the side office, look at the island map on the desk and the framed picture of mountains by the water. The office's second door is locked by four blank panels (opened later).
- Use the small metal knob on the nightstand drawer that has none. Take the screwdriver; the drawer also holds a red sliding-tile tray.
Sliding Tray and Wall Safe
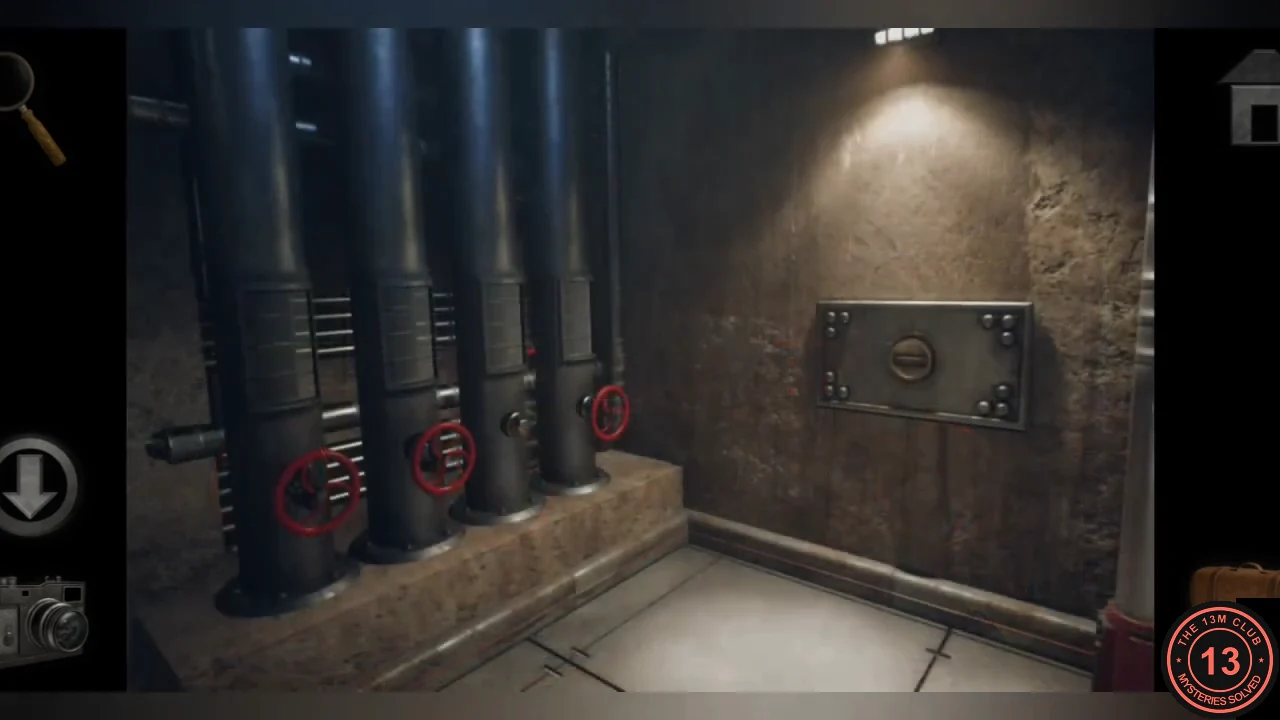
Each corner square of the sliding tray hides a pattern of dots. The wall safe beside the pipes has four L-shaped groups of three bolts, one group per corner. The dots in each corner square sit in the same positions as the bolts to press in that corner's group.
- Slide the tiles to uncover each corner square of the tray in turn and photograph its dots. Top-left corner: top-left and lower-left dots. Top-right corner: the top-right dot. Bottom-right corner: all three dots. Bottom-left corner: the two lower dots.
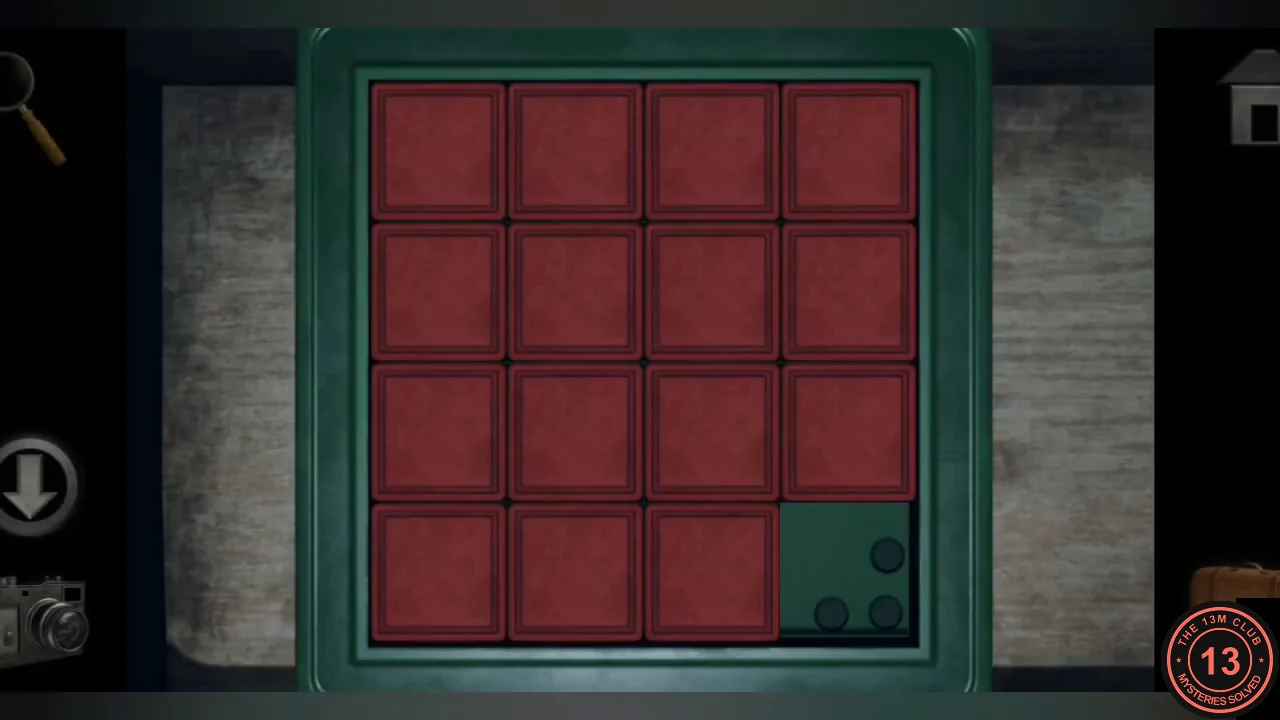
Example: the uncovered bottom-right corner shows three dots. - Go to the pipe alcove off the lower corridor. At the wall safe to the right of the four pipes, press these bolts: in the top-left group, the top-left and bottom-left bolts; in the top-right group, only the top-right bolt; in the bottom-right group, all three; in the bottom-left group, the two bottom bolts.
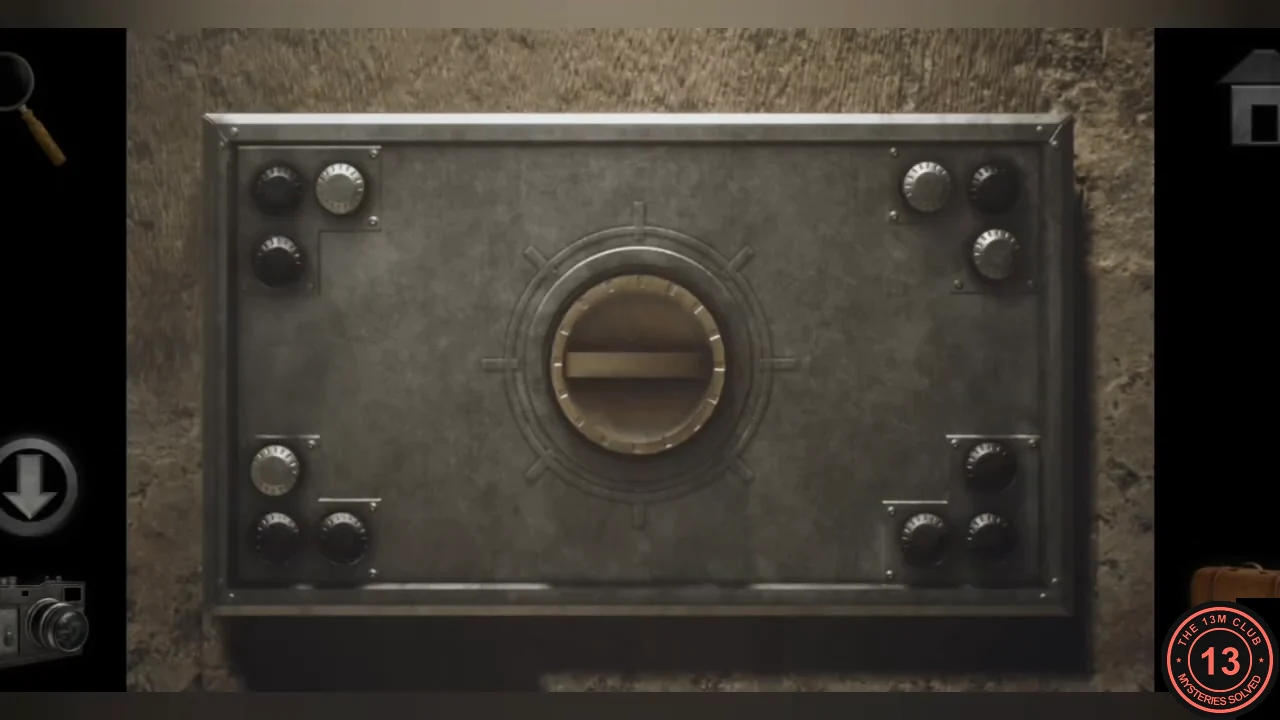
The pressed (darker) bolts in each corner group. - Turn the centre handle to open the safe and take the pipe wrench.
Ventilation Unit and Punctured Paper
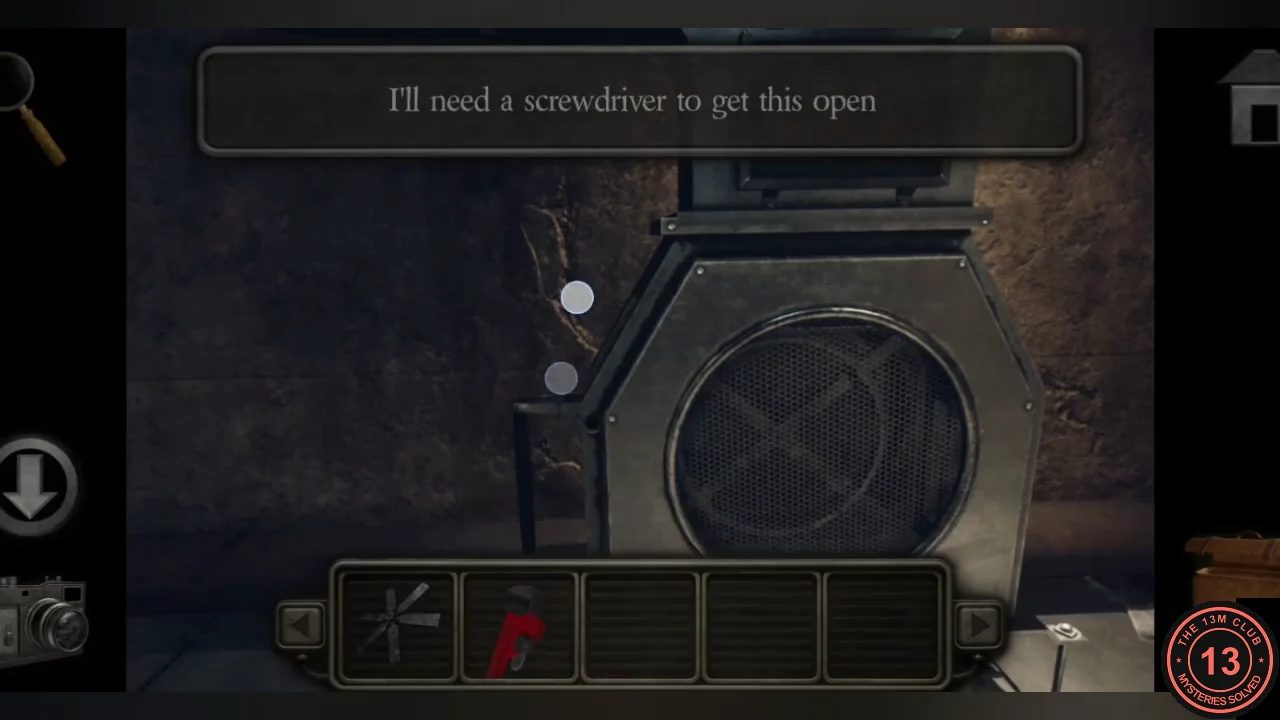
Repair the ventilation unit in the lower corridor; the airflow blows a clue loose.
- Use the screwdriver on the left housing of the ventilation unit to open it.
- Use the fan blade from the hallway vent on the unit. The display changes to FAN ONLINE.
- The airflow blows a paper onto the floor in front of the unit. Pick up the paper with holes punched into it.
Office: Punctured Paper on the Island Map
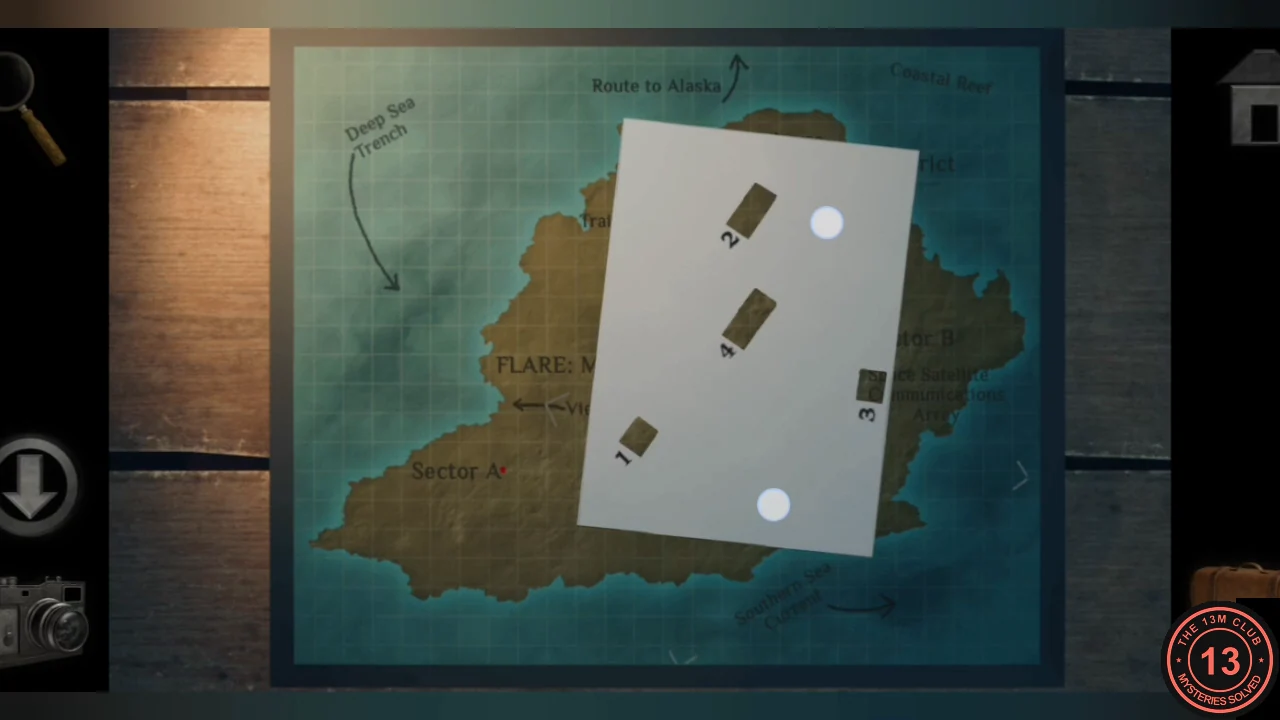
The punctured paper has four numbered windows. Laid over the island map in the side office, the windows pick out four words that name the four pipes.
- Use the punctured paper on the island map, then drag and rotate it until each window shows a whole word: 1 Sky, 2 Space, 3 Sea (out in the water, lower right) and 4 Mount. Photograph the result.
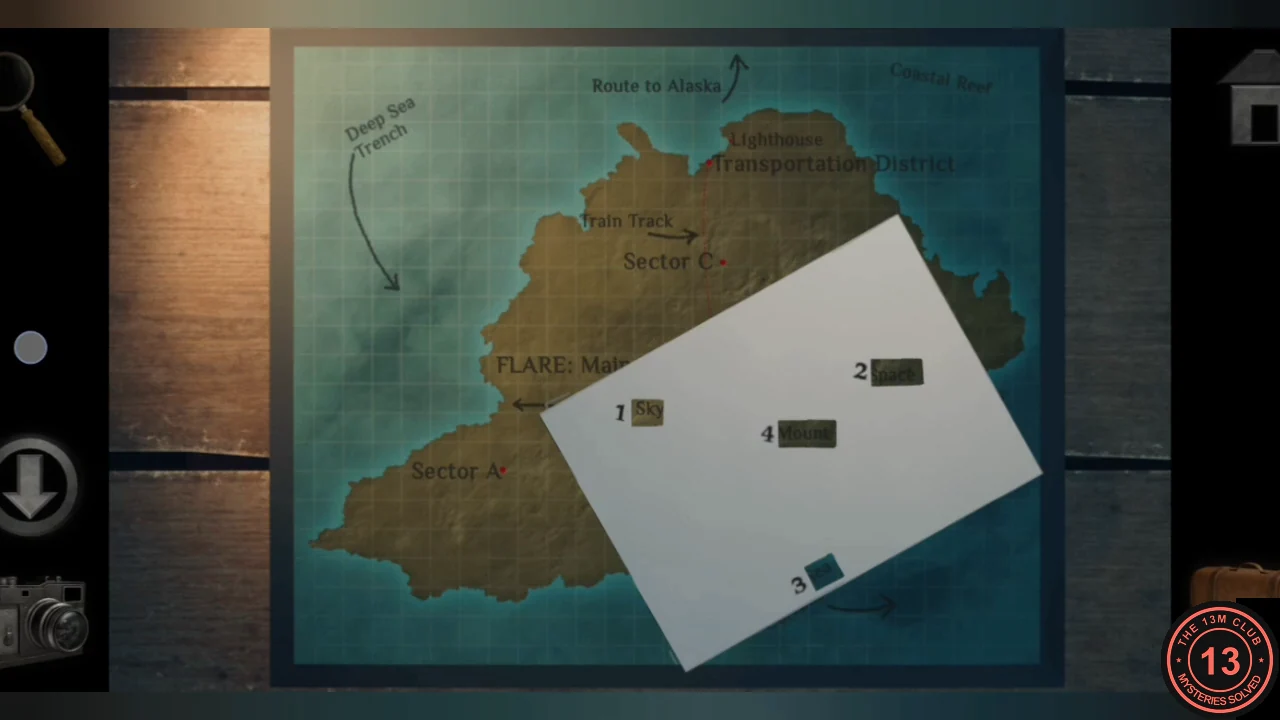
The aligned paper. 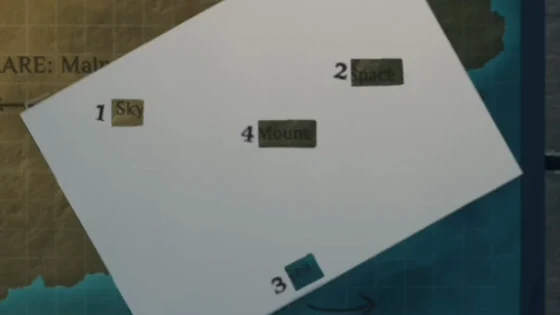
Detail of the four windows: 1 Sky, 2 Space, 3 Sea, 4 Mount. - Look at the framed picture again. From top to bottom it shows space (the stars), sky, mountains and the sea; this is the height order for the pipes.
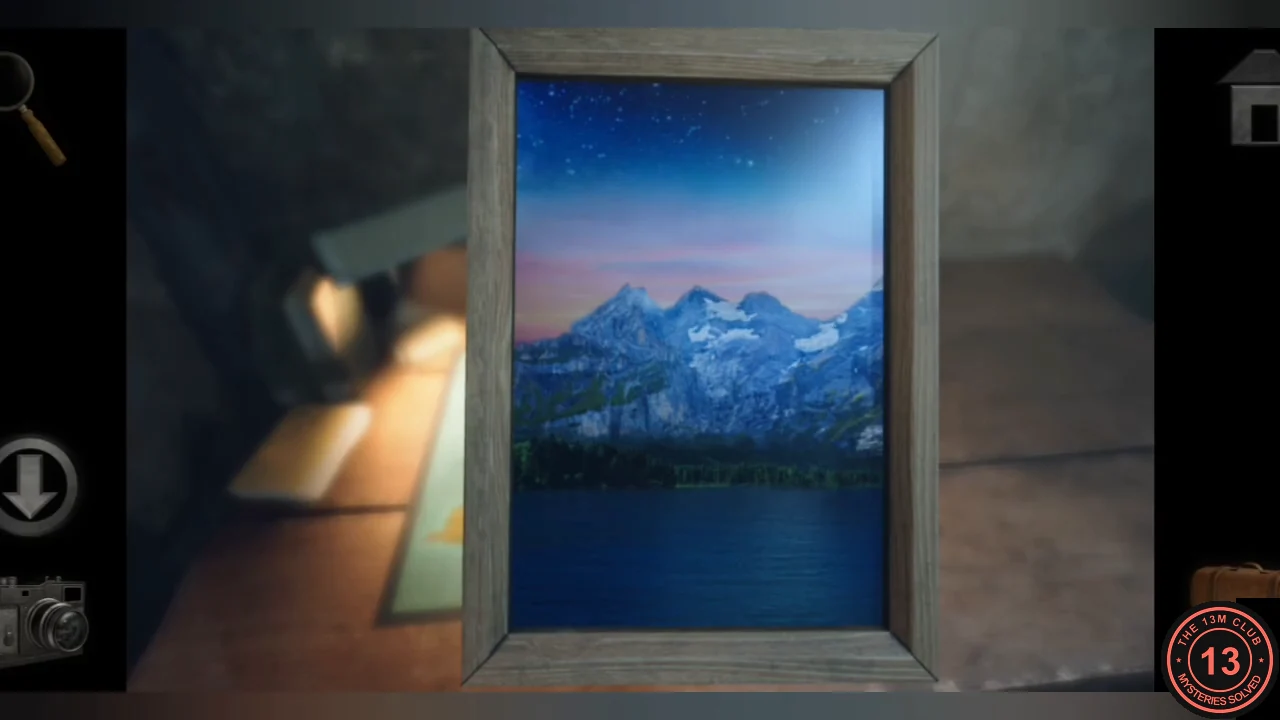
The framed picture: stars at the top, then sky, mountains and water.
Pipe Alcove: Four Fluid Levels
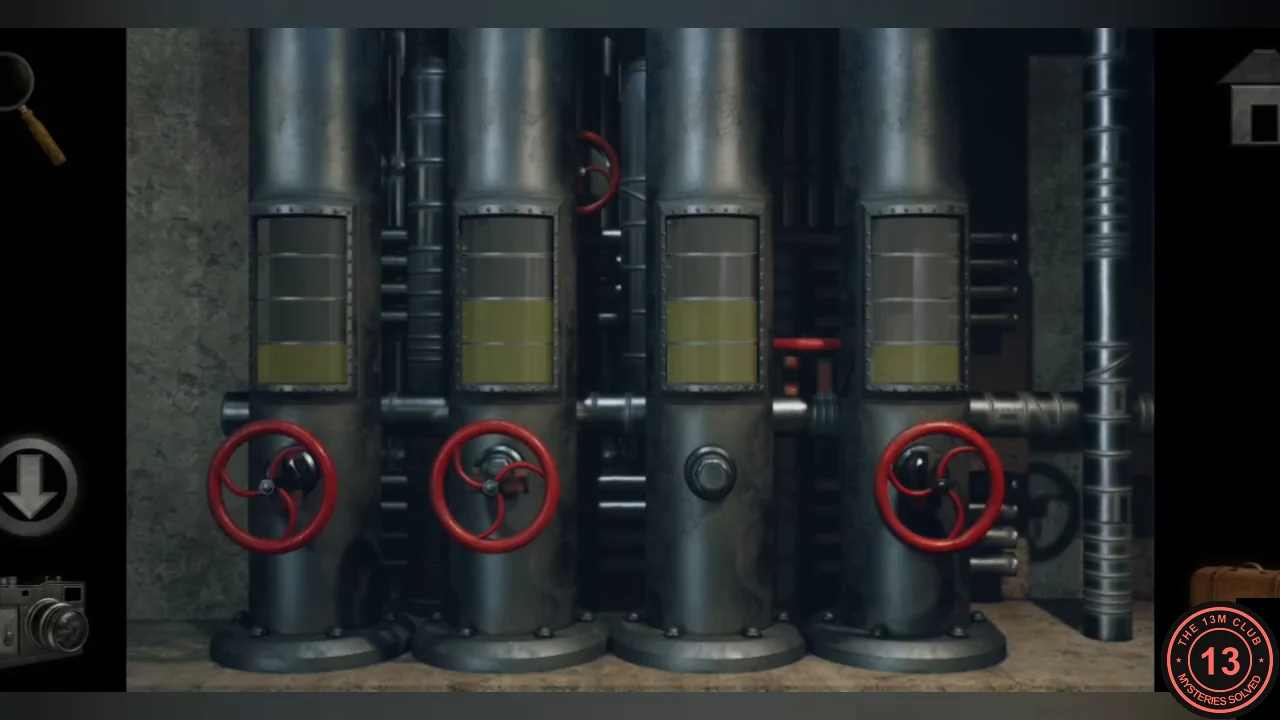
The four pipes in the alcove stand for Sky, Space, Sea and Mount, left to right. Set their fluid levels to match the picture: Space highest, then Sky, then Mount, with Sea lowest. Each pipe window shows one of four levels: low, half, high or full. At the start, Sky and Mount are low and Space and Sea are at half.
- Pipe 3 has no valve. Use the pipe wrench on its empty valve socket; the wrench stays there as a lever.
- Pull the pipe 3 lever down once; Sea drops from half to low.
- Each tap on a red wheel raises that pipe one level. Tap the pipe 4 wheel once (Mount: low to half), the pipe 1 wheel twice (Sky: low to high) and the pipe 2 wheel twice (Space: half to full). You hear a latch release.
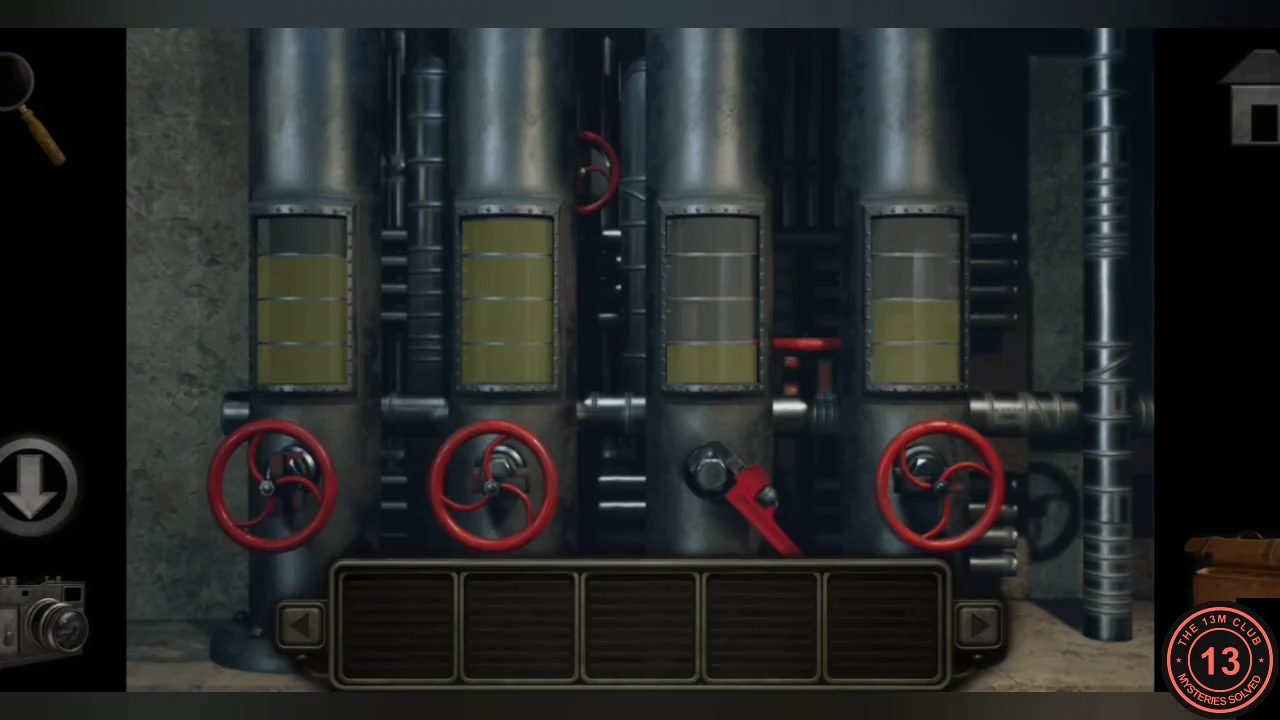
Final levels: Sky high, Space full, Sea low, Mount half. - The blast door at the end of the lower corridor is now open. Go through to the train platform and the corridor with the FURNACE ROOM and TRAIN ROOM doors.