Basement Workshop and Hallway Vent
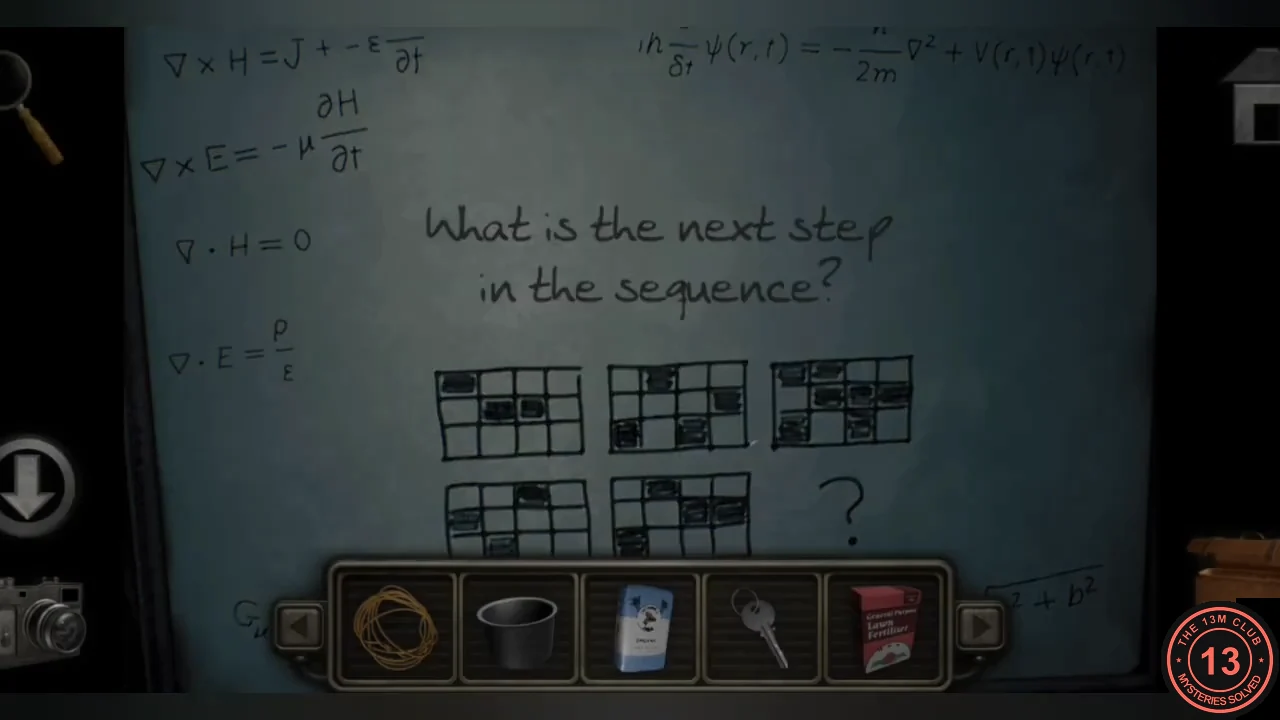
Gather the fertilizer and a wrench, open the hallway vent and fill the cooking pot with water.
- Take the box of plant fertilizer from the workshop shelf.
- Photograph the whiteboard puzzle "What is the next step in the sequence?": five small grids of three rows and four columns, followed by a question mark.
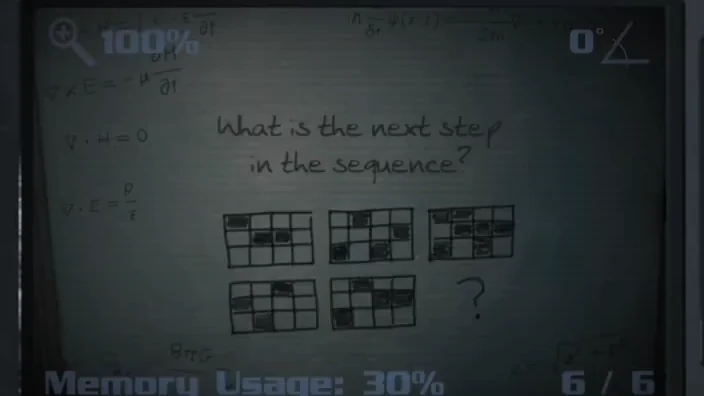
Camera photo of the whole whiteboard: five grids, then the question mark. - Pick up the wrench from the workbench. The vice on the bench is clamping a hacksaw, but its handle is missing.
- In the Residence Area hallway, use the wrench on the round vent grate. Take the fan blade and the timing belt from inside.
- Use the cooking pot on the flooded stairs to fill it with water.
Game Room Bar: Tile Grid
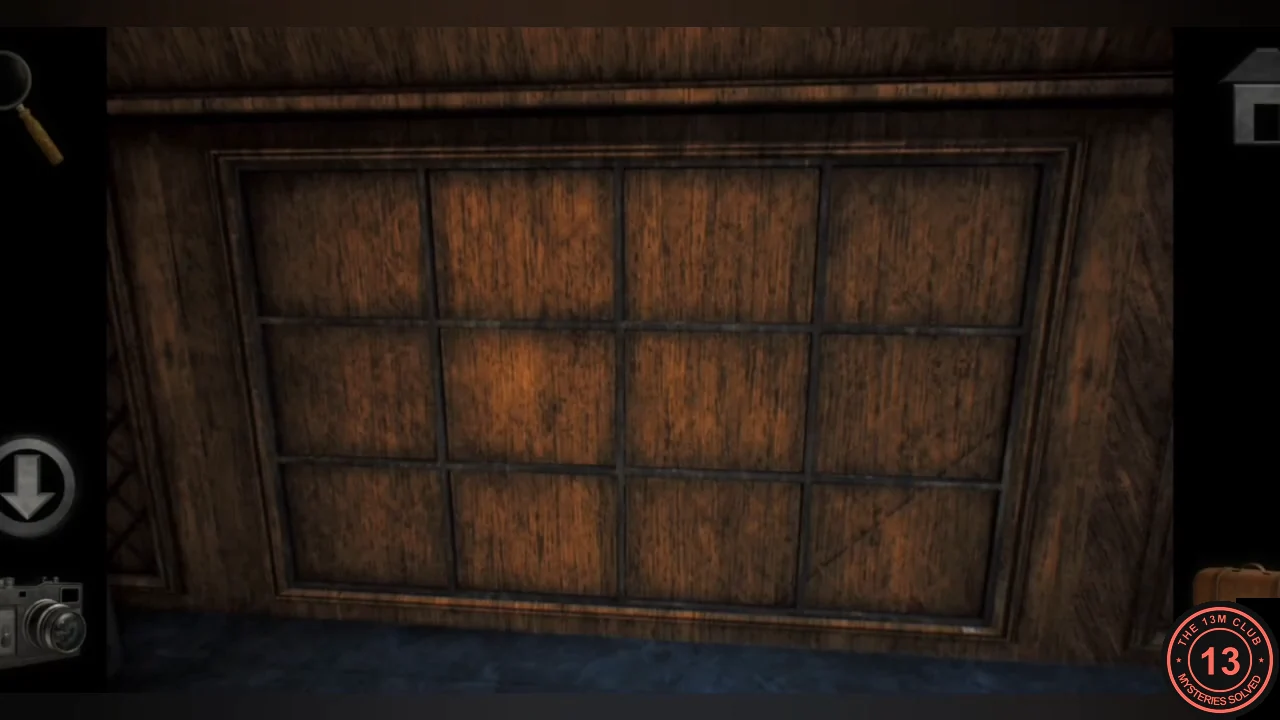
The front of the Game Room bar has a panel of wooden tiles in three rows of four. The workshop whiteboard gives the pattern: the grids are drawn in two rows of three, and in each row the third grid is the first two laid over each other. The top row shows the rule; in the bottom row the question mark stands for the fourth and fifth grids combined.
- Press these seven tiles (row 1 is the top, column 1 the left): row 1, columns 2 and 3; row 2, columns 1, 3 and 4; row 3, columns 1 and 2. A hidden compartment opens.
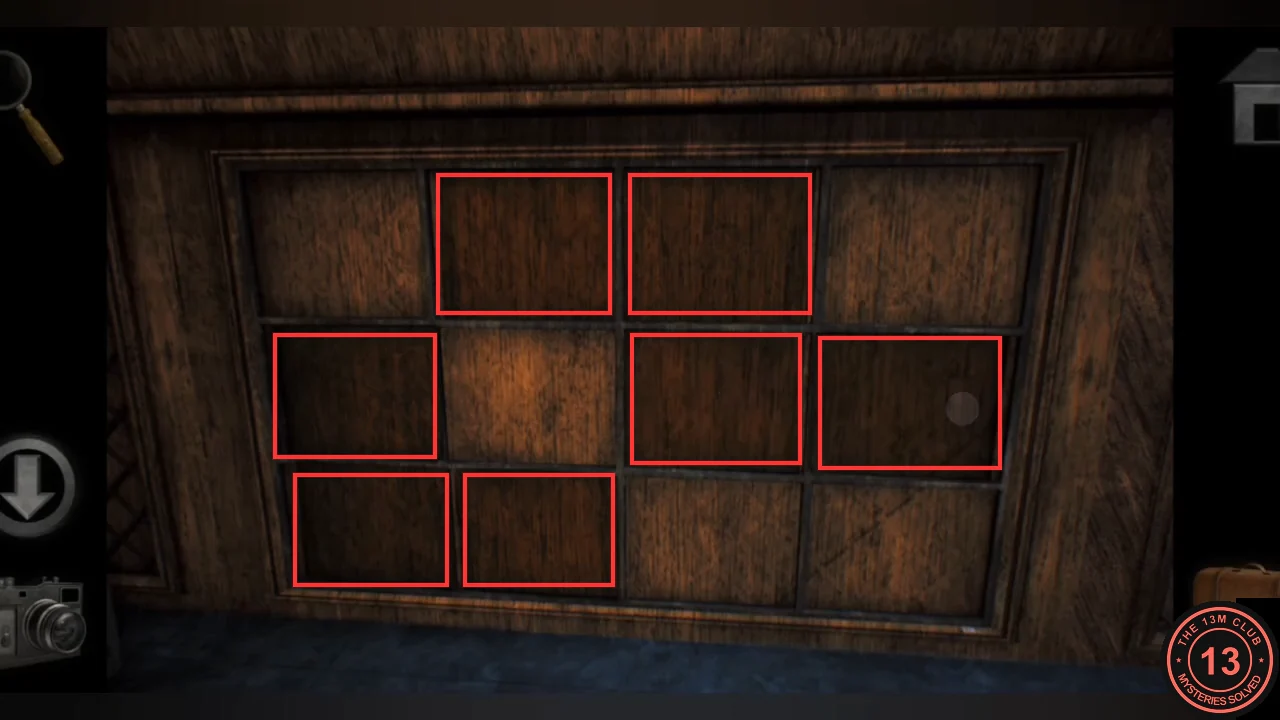
The seven pressed (darker) tiles, outlined in red. - Take the bottle of hard liquor from the hidden compartment.
Kitchen: DIY Fuel, Fridge and Cue Ball
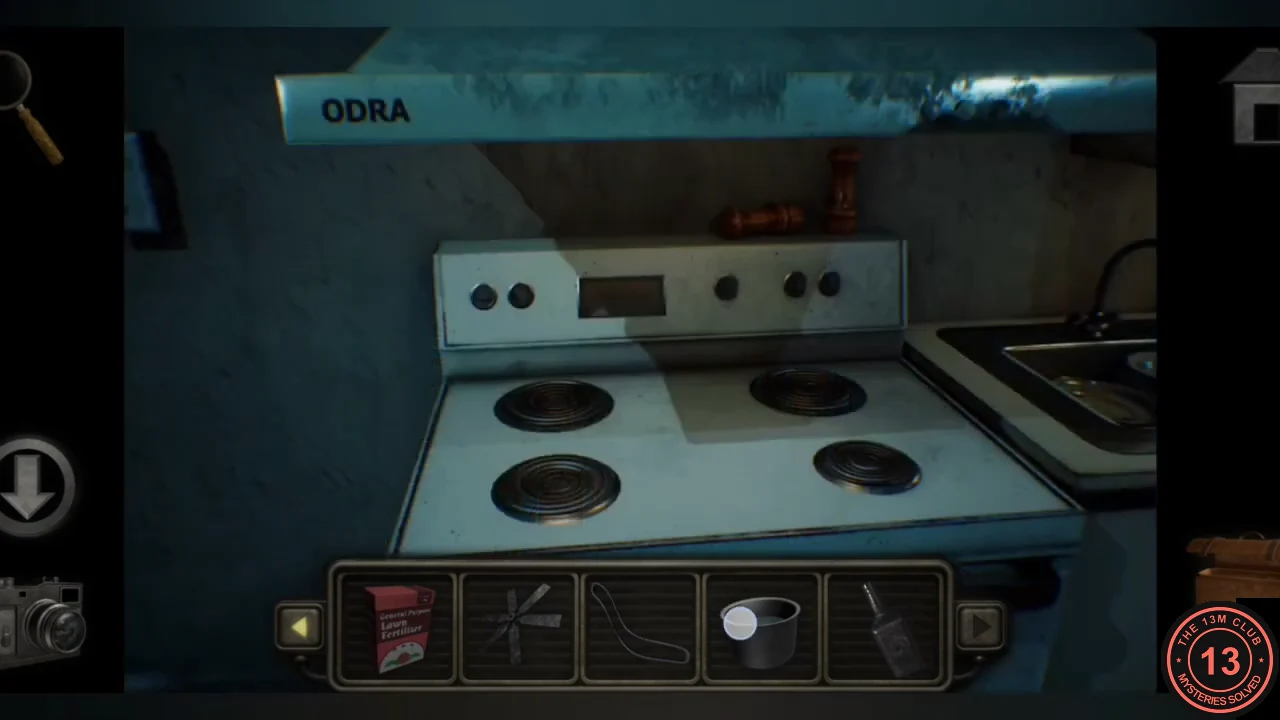
Brew the generator fuel from the note, then use the small key on the fridge and follow the chain of items it starts.
- Place the pot of water on the kitchen stove, then add the fertilizer, the sugar and the hard liquor. The burner heats the mixture by itself once everything is in.
- Tap the pot to pick up the pot of DIY fuel.
- Use the small key on the padlock of the chained fridge. Open the egg carton and take the far top-right "egg", which is really a cue ball.
- Place the cue ball on the head spot at the left-hand end of the pool table. With the rack and cue ball both set as on the poster, a drawer slides out at the front-right of the table; take the hex key.
- Use the hex key on the side panel of the old lounge TV and take the fuse from inside.
Pump Room: Generator and Drain
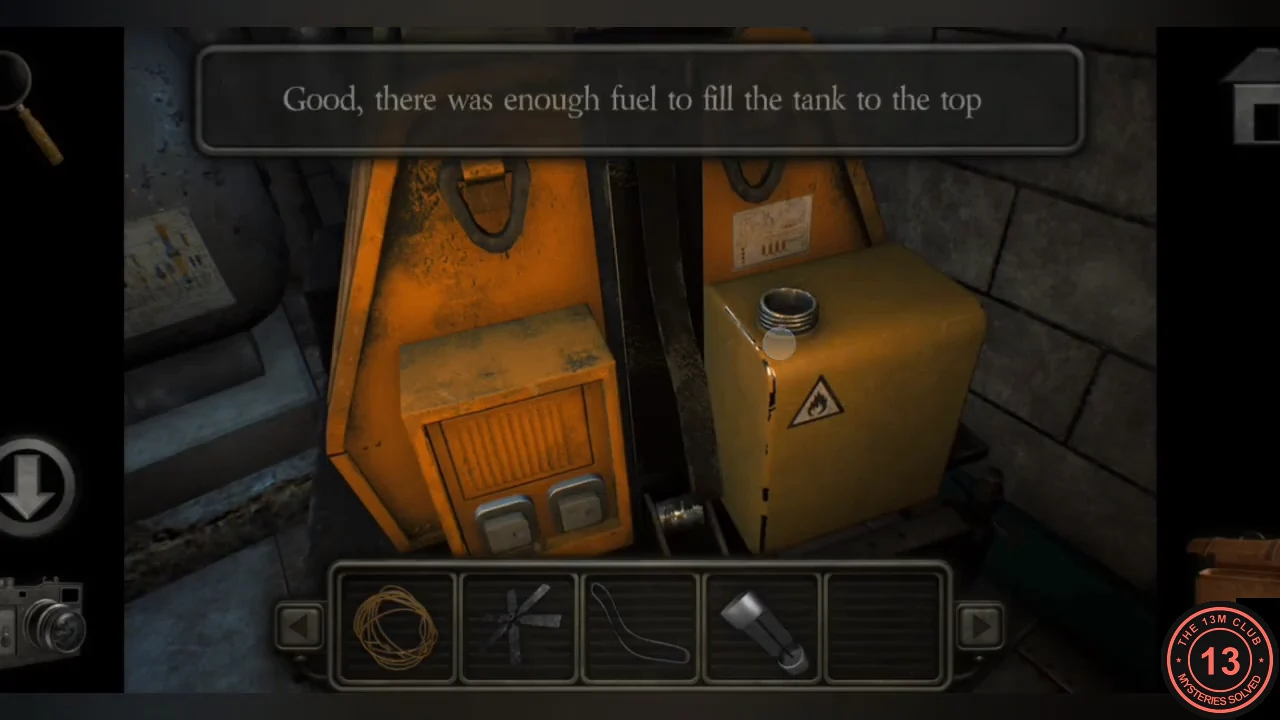
Fuel the generator, connect it to the pump control panel, repair the pump and drain the flooded stairs.
- In the pump room, use the pot of DIY fuel on the generator's fuel cap to fill the tank.
- Use the extension cable on the generator's power outlet. The cable now runs from the generator to the pump control panel.
- Fit the timing belt on the pump where the part was missing.
- Put the fuse in the empty slot of the PUMP CONTROL PANEL (the POWER light turns green), then pull the lever from OFF to ON. The pump starts running.
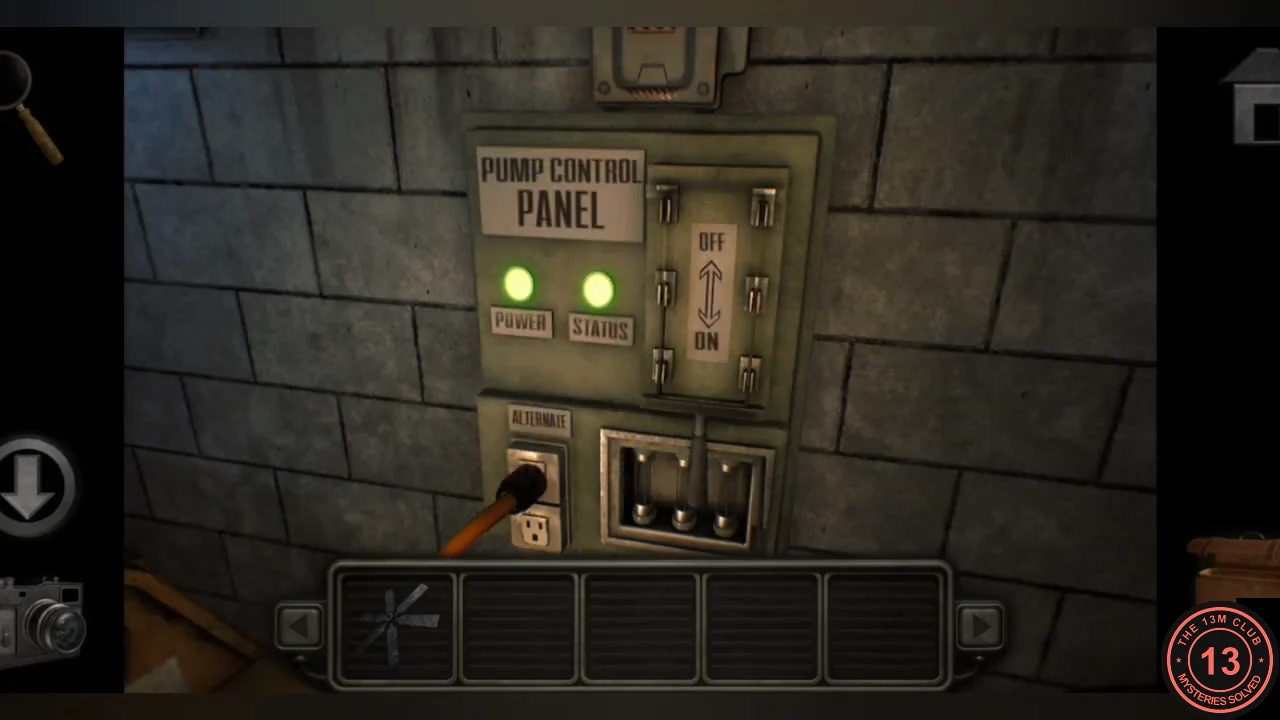
Fuse fitted and lever on: POWER and STATUS are green. - Return to the Residence Area hallway. The stairs have drained; go down them to the Living Quarters.
Living Quarters and Restroom
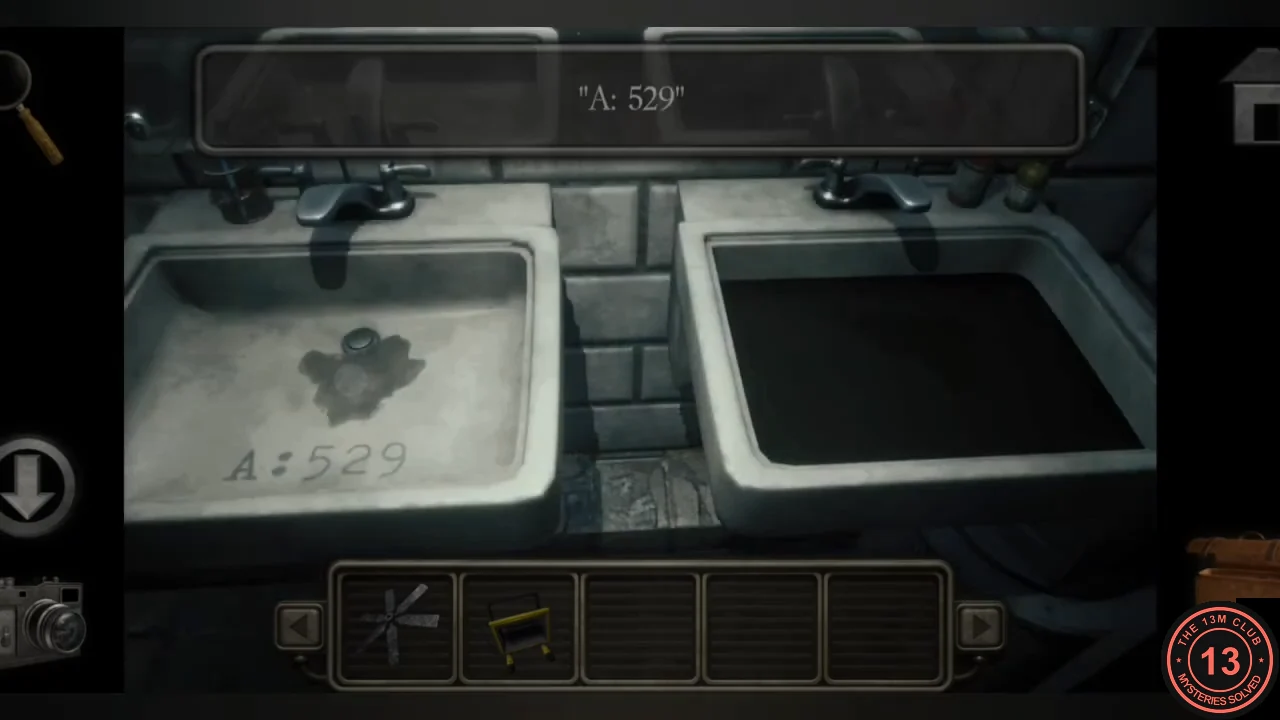
Collect a few tools, then find two dial codes and two mirror patterns hidden in the restroom.
- In the bunk room, take the flashlight from the desk drawer and the metal broom. Sandie's journal on the desk is story only. The bunk bed ladder is fixed in place for now.
- In the room across the corridor, photograph the whiteboard "A+B+C+D=E", where A is red, B blue, C yellow and D green. Note the briefcase on the desk with six sliders, each with three positions.
- Use the metal broom on the jammed restroom door at the end of the corridor to force it open.
- Look into the left sink to read "A: 529", and look at the squares painted on the mirror.
- Each stall door has three paper markers on its top strip: on the left stall they sit at positions 1 to 3, on the right stall at positions 4 to 6, showing which briefcase sliders that stall covers. With a stall door open, the mirror shows its red squares in three columns. Left stall open: bottom, top, middle (sliders 1 to 3). Right stall open: middle, bottom, top (sliders 4 to 6). Take the plunger from beside the toilet in the right stall.
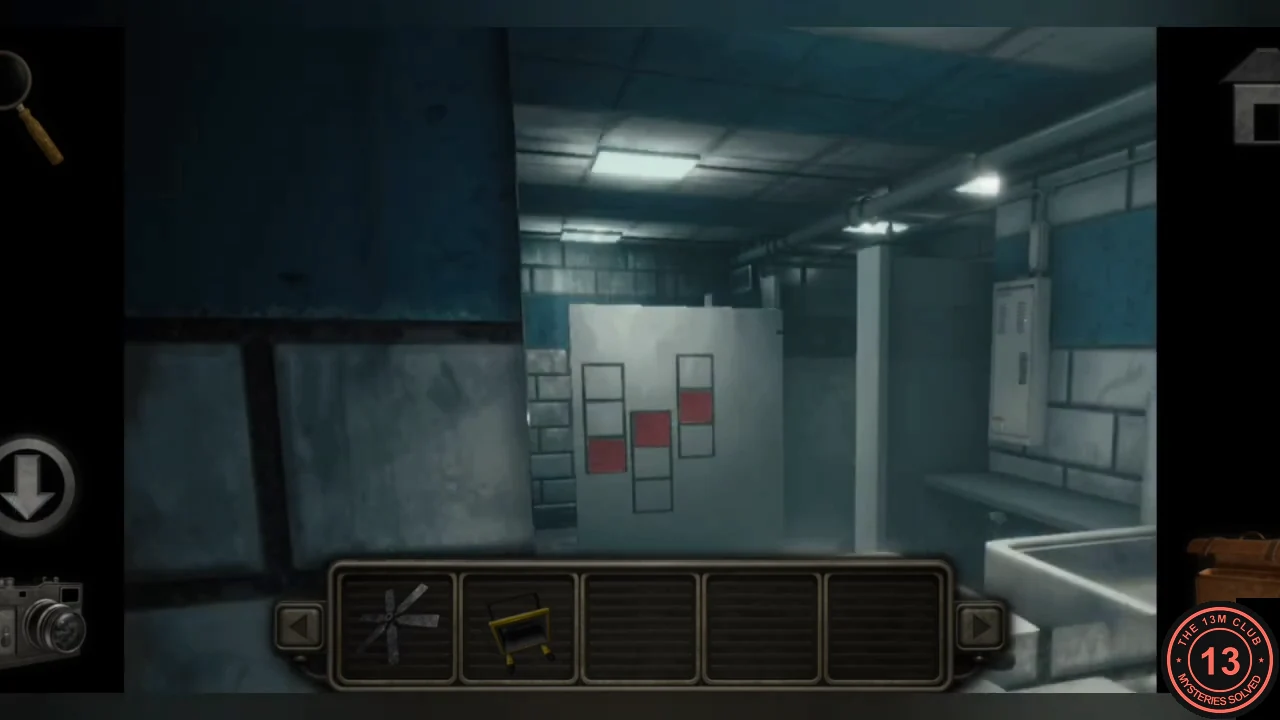
Left stall open: the mirror pattern for sliders 1 to 3. 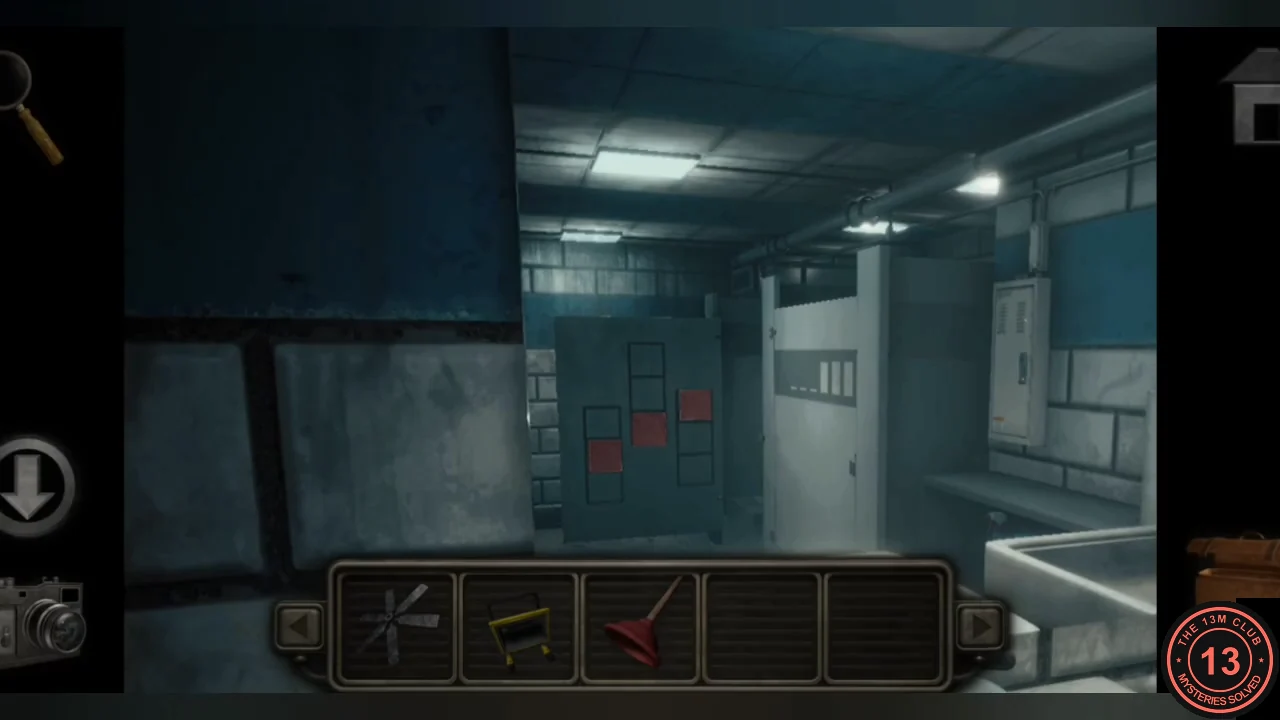
Right stall open: the mirror pattern for sliders 4 to 6. - Use the plunger on the blocked right-hand sink. Once it drains it shows "B: 810".
Living Quarters: Briefcase Sliders
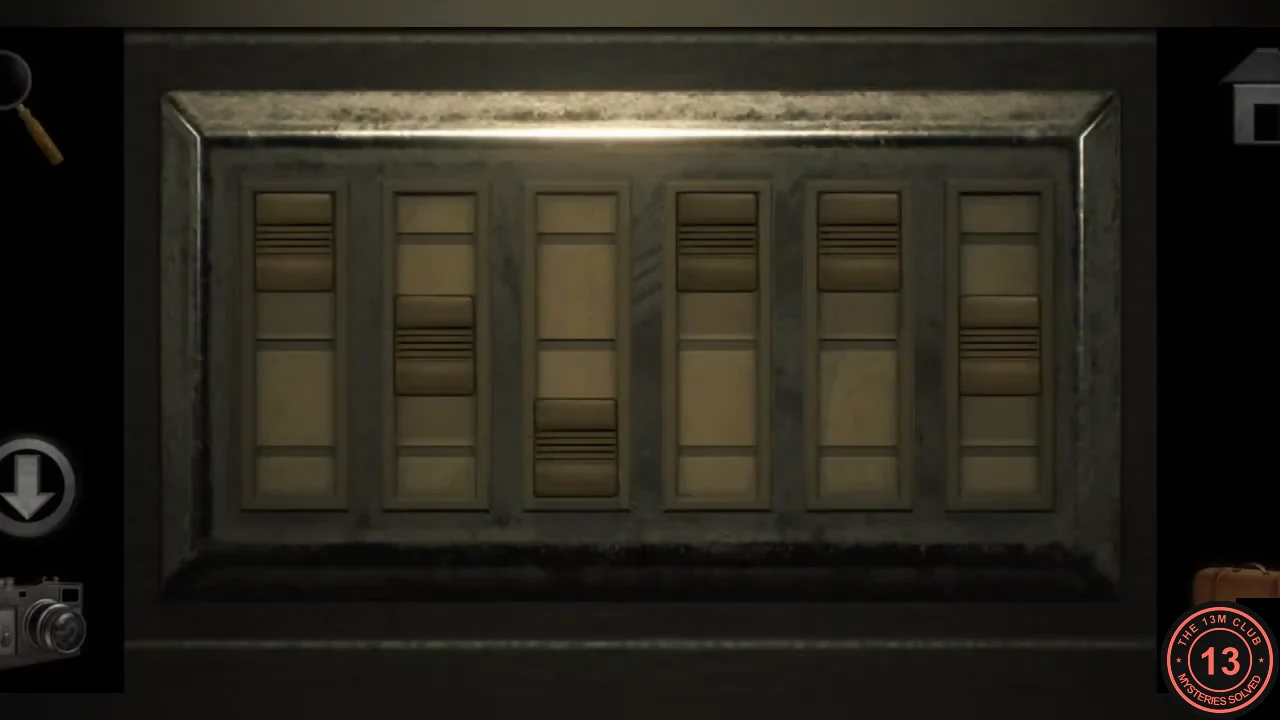
The briefcase has six vertical sliders, each with top, middle and bottom positions. The two mirror patterns give sliders 1 to 3 and 4 to 6.
- Set the sliders, left to right, to bottom, top, middle, middle, bottom, top. The case opens.
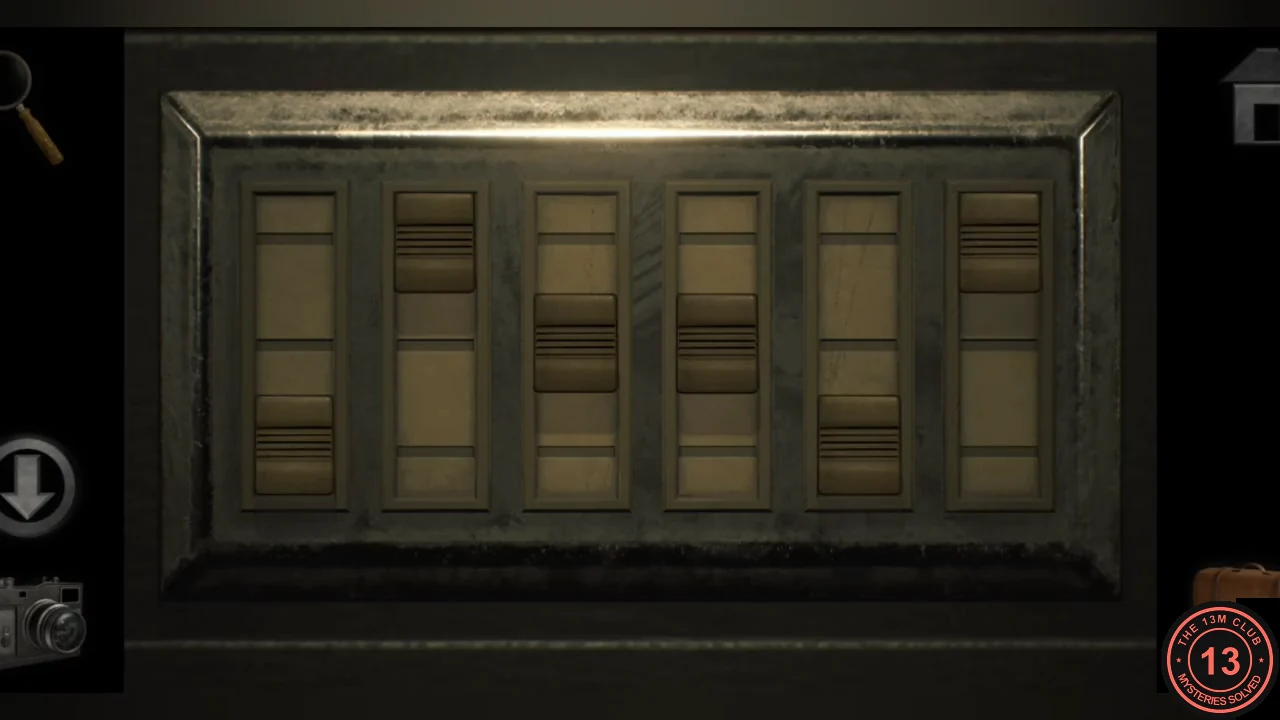
Sliders set to bottom, top, middle, middle, bottom, top. - Photograph the torn sheet of music inside; it is the clue for a panel near the Power Room.
Game Room: Blue Case A and B
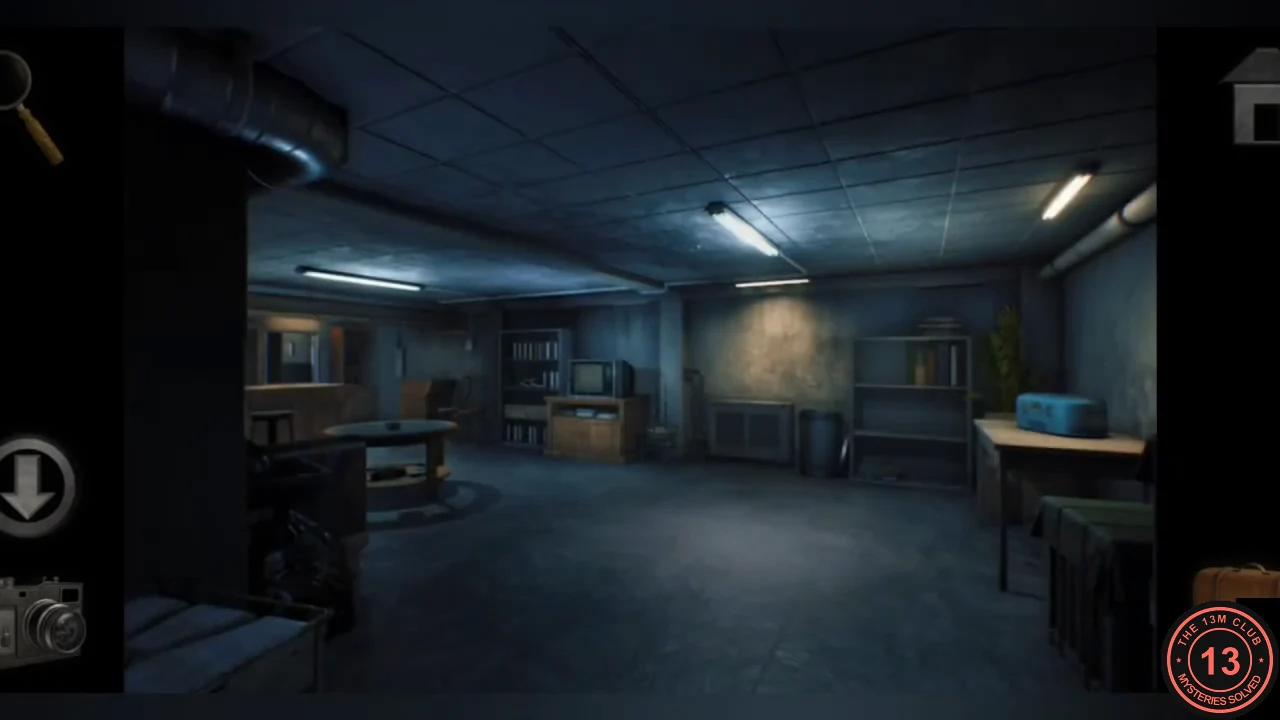
The blue case on the Game Room side table takes two three-digit codes, A and B, which you found in the restroom sinks.
- Set dial lock A to 5 2 9. A second dial lock, B, then appears; set it to 8 1 0. The case opens.CODE529 / 810
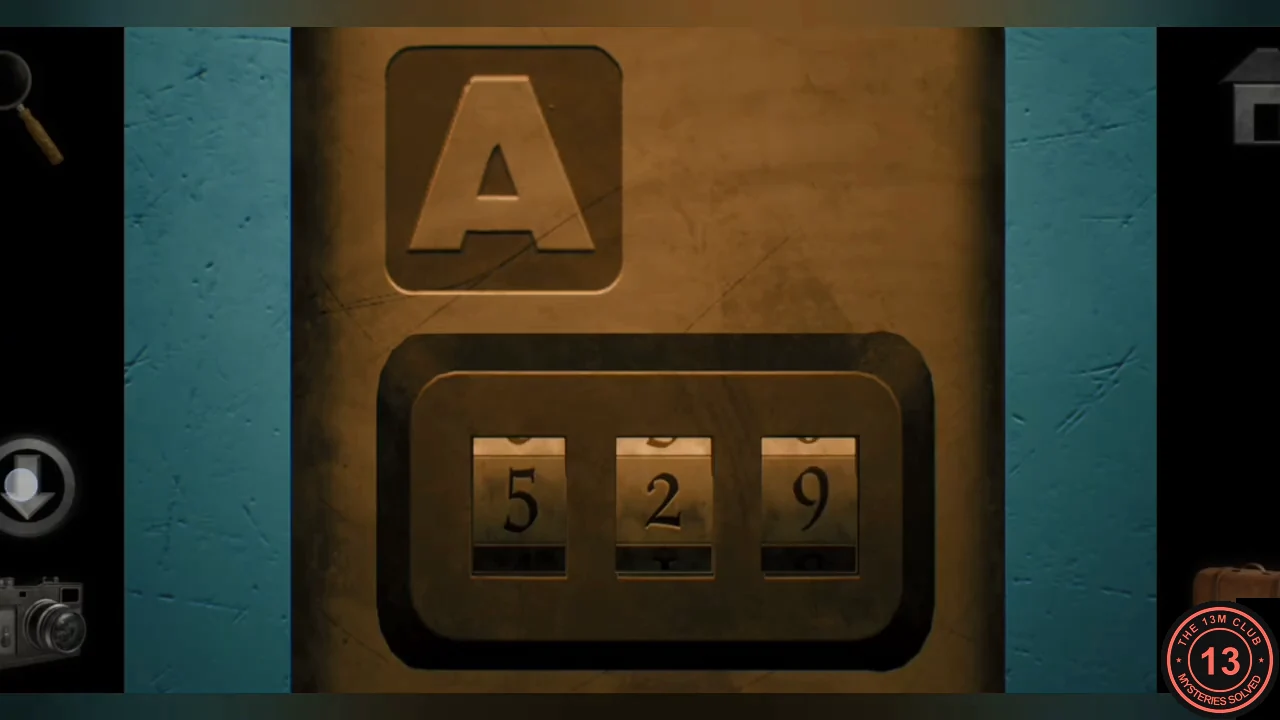
Lock A set to 529. - Take the large magnet from the case.
Magnet, Vice Handle and Bunk Ladder
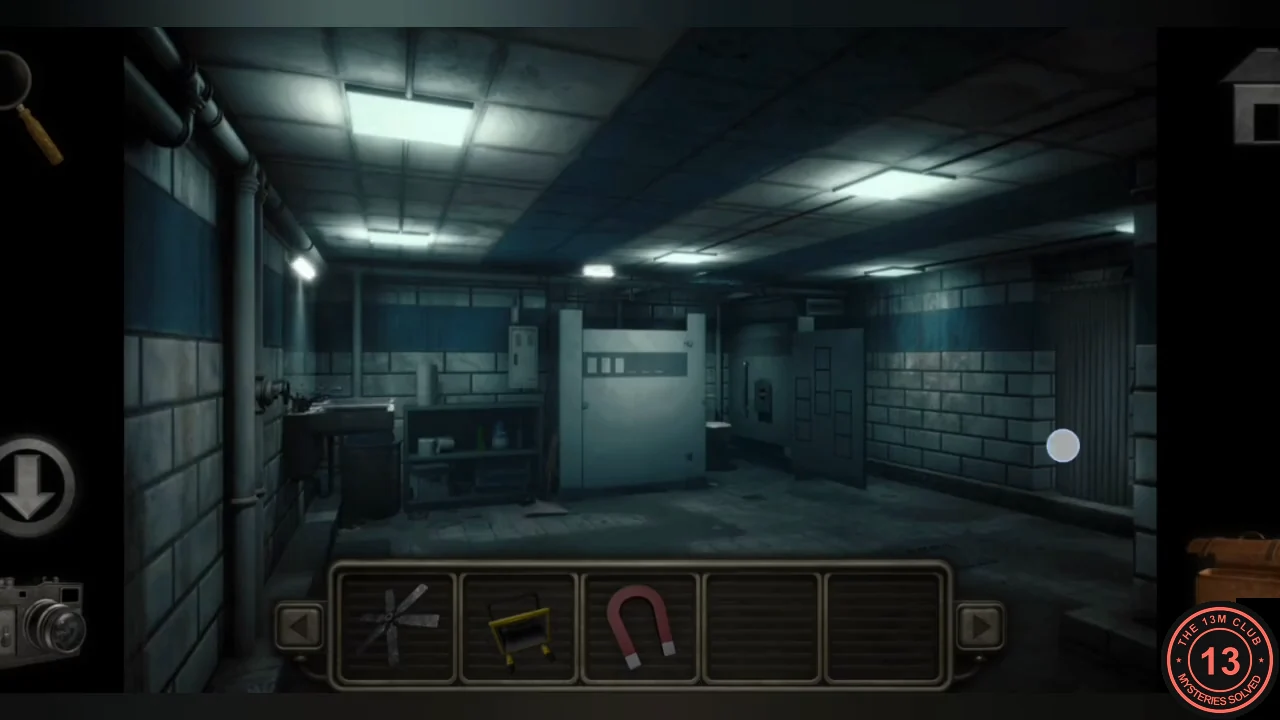
A short chain of item uses produces a ladder for the high vent in the restroom shower.
- Use the large magnet on the restroom shower drain to pull out a metal handle.
- In the basement workshop, use the metal handle on the vice to free the hacksaw.
- In the bunk room, use the hacksaw on the bunk bed ladder.