INK'S STORY
Back at the inn: the Myriapod spy
This prequel stars Dr. Ink. It unlocks after you finish Evangeline's Story; choose Ink's Story on the Play screen.
- On the Play screen select Ink's Story (available once Evangeline's Story is finished).
- After the intro go into the Gearwheel Inn; the barmaid gives you your Room Key.
- Go to the upstairs corridor. Read the book page about catnip on the chest, open the small box on the chest of drawers for the Shears, and straighten the crooked painting on the left wall to get the Manhole Token.
- Unlock door 1 with the Room Key. A Myriapod is ransacking Ink's desk (objective Myriapod spy).
- Use Matthew (the crow at the lower right of the screen) on the Myriapod on the desk. It drops to the floor and hides in the stove.
- Zoom on the stove. Pick up the two note scraps on the floor (1/3 and 2/3), take the lid off the glass jar and open the lower firebox door. (Holding the jar to the stove at this point does not work: "It won't work". The fire has to be lit first.)
- Take the Paper Balls from the bed and the Matches from the desk (lying at the right of the torn-notes board).
- Put the Paper Balls in the firebox and light them with the Matches.
- Now pick up the open jar and hold it against the upper stove door. The heat drives the Myriapod out into the jar and it is sealed in (Myriapod spy completed: "It was getting cold here anyways."). Take the last note scrap from the upper compartment (3/3).
INK'S STORY
The torn notes
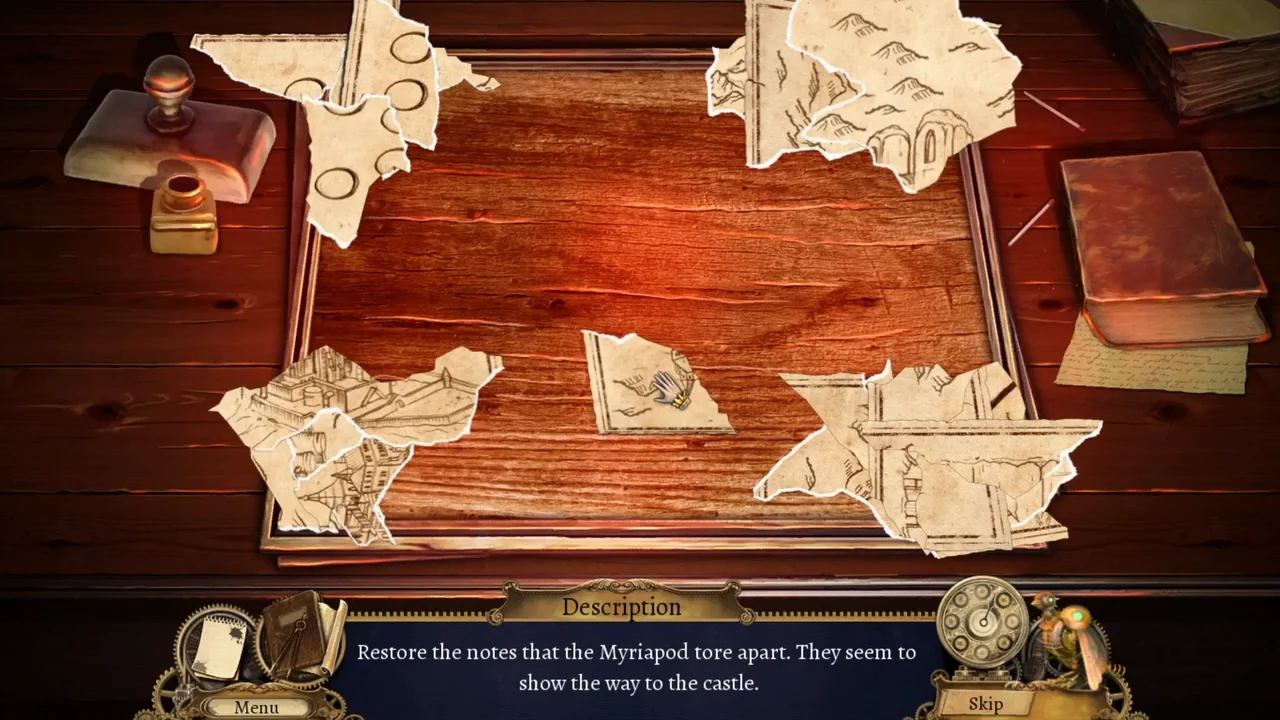
Reassemble Ink's notes on the desk.
- Click the desk. The torn pieces lie in piles around the edge of the frame: drag them into the frame, and click a piece to rotate it until its edges and drawing line up (any order). Useful anchors for the finished map: the six empty circles in the top-left corner, the castle in the top-right, the ruined arched gate at the bottom centre with a big arrow pointing down to it from the circles, a dashed path running from the gate to the right towards the castle, and a small dashed arrow pointing up at the far left.
- The notes show that six tokens open the chapel doors (objective Church Tokens).
INK'S STORY
Manhole: the gem wheels
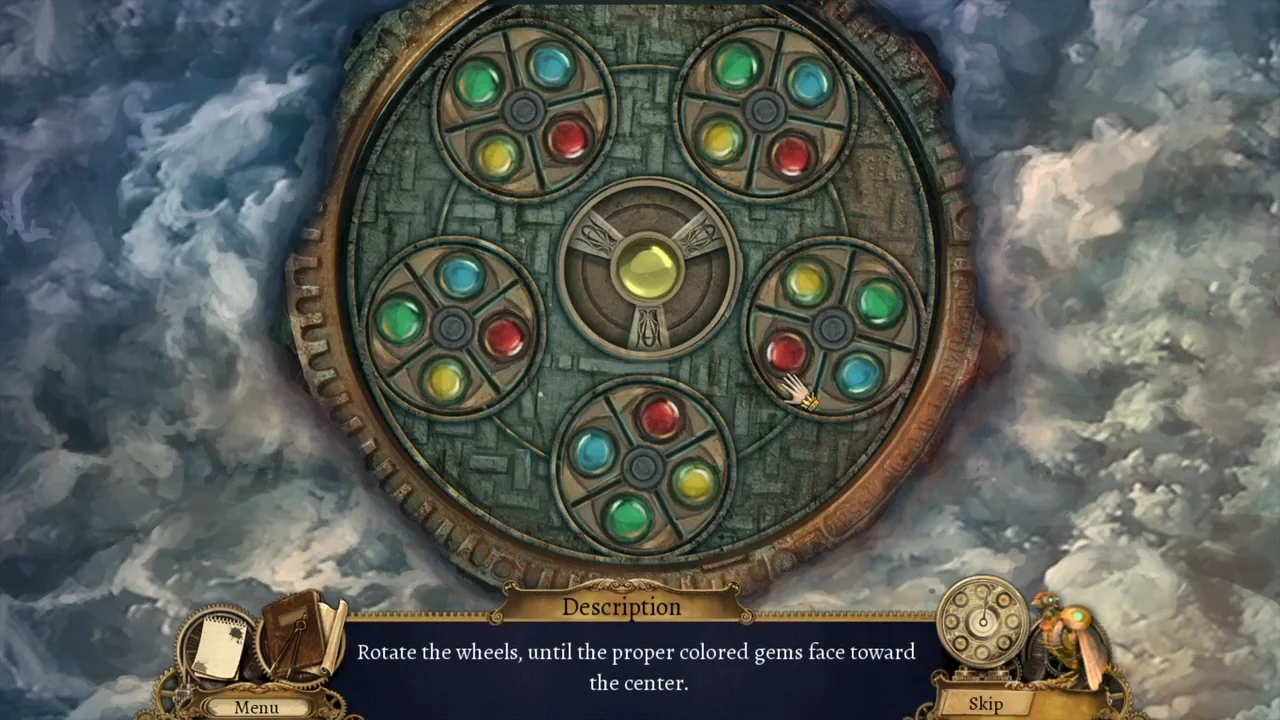
Help Helga and the barmaid; the manhole hides the barmaid's bracelet.
- At the end of the corridor, Helga promises a token if you bring back her doll Claudia (lost when the zeppelin landed).
- On Main Street the barmaid, in a fur coat, says her lucky bracelet fell through a manhole.
- Zoom on the manhole, move the paper and put the Manhole Token into the empty right socket.
- Drag a gem to turn its wheel. Each wheel is coupled to the next wheel clockwise around the cover (top left -> top right -> right, your token -> bottom -> left -> top left): that neighbour turns by the same amount in the same direction. The centre stone shows the colour to point inwards; there are three rounds (yellow, then blue, then red) and the wheels are reshuffled between rounds. A method that always works: 1) drag the top-left wheel until its gem of the centre colour points at the centre stone; 2) do the same with the top-right wheel, 3) the right wheel and 4) the bottom wheel - each move only disturbs the next wheel along. Now only the left wheel can be wrong. 5) Drag the left wheel by half of the turn it still needs (for example an eighth of a turn if it needs a quarter turn), then repeat steps 1-4 once; this brings the left wheel exactly into place. The round ends when all five wheels point the centre colour inwards.
- Take the Bracelet and give it to the barmaid: Church Door Token 1/6.
INK'S STORY
Zeppelin Landing crate: Claudia the doll
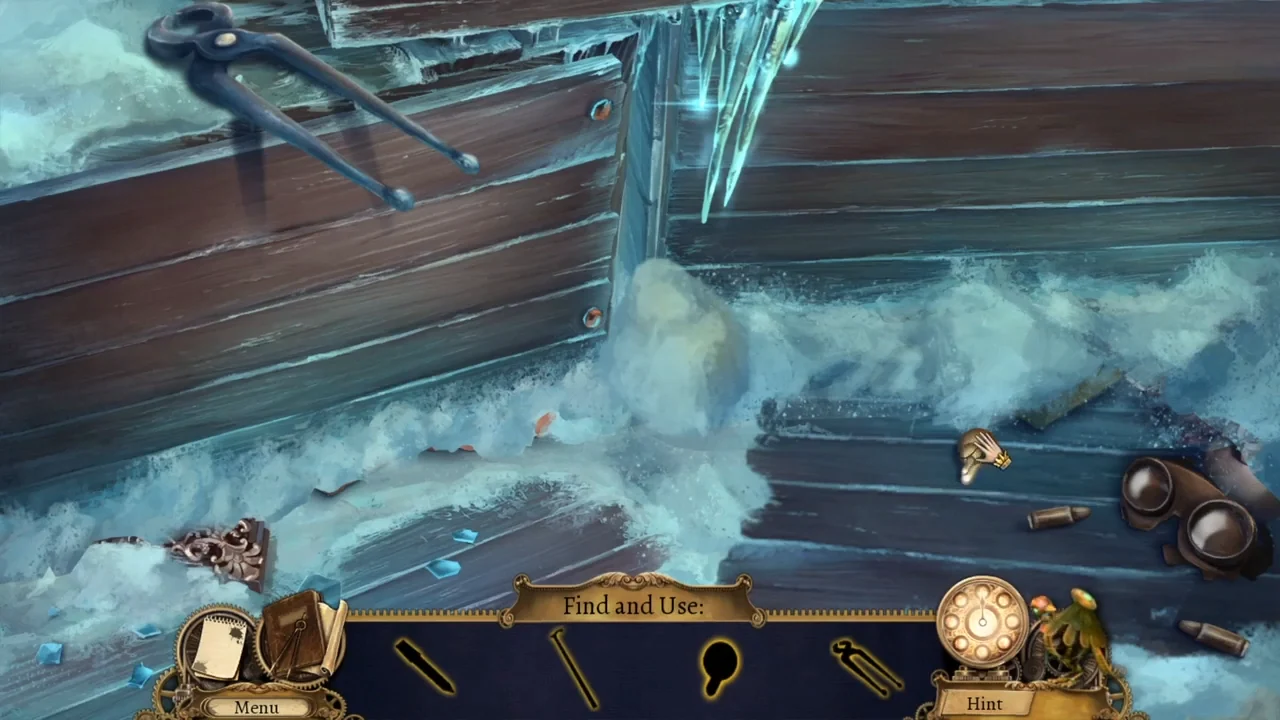
A Find-and-Use scene in the crates at the Zeppelin Landing.
- At the Zeppelin Landing open the crate scene. Take the switch (brass knob on the planks left of the goggles) and the Pliers (top left). Pull both nails of the left crate panel with the Pliers.
- Take the doll's left hand (hand holding a letter, upper left). Open the leather case and take the File. Put the switch into the hawk's back and attach the left hand to the doll.
- Take the Cane and knock off the icicles holding the lid at the top. The rear lid opens, revealing a ferret and a green first-aid box.
- Click the hawk; it chases the ferret away. Pick up the doll's right hand where the ferret sat and attach it to the doll's right side.
- File through the lock of the first-aid box and take the Soap. Clean the ink-covered doll head with the Soap and put it on the doll.
- Sew the doll with the needle and thread from the leather case. Take Claudia the Doll.
INK'S STORY
Post office: the second token
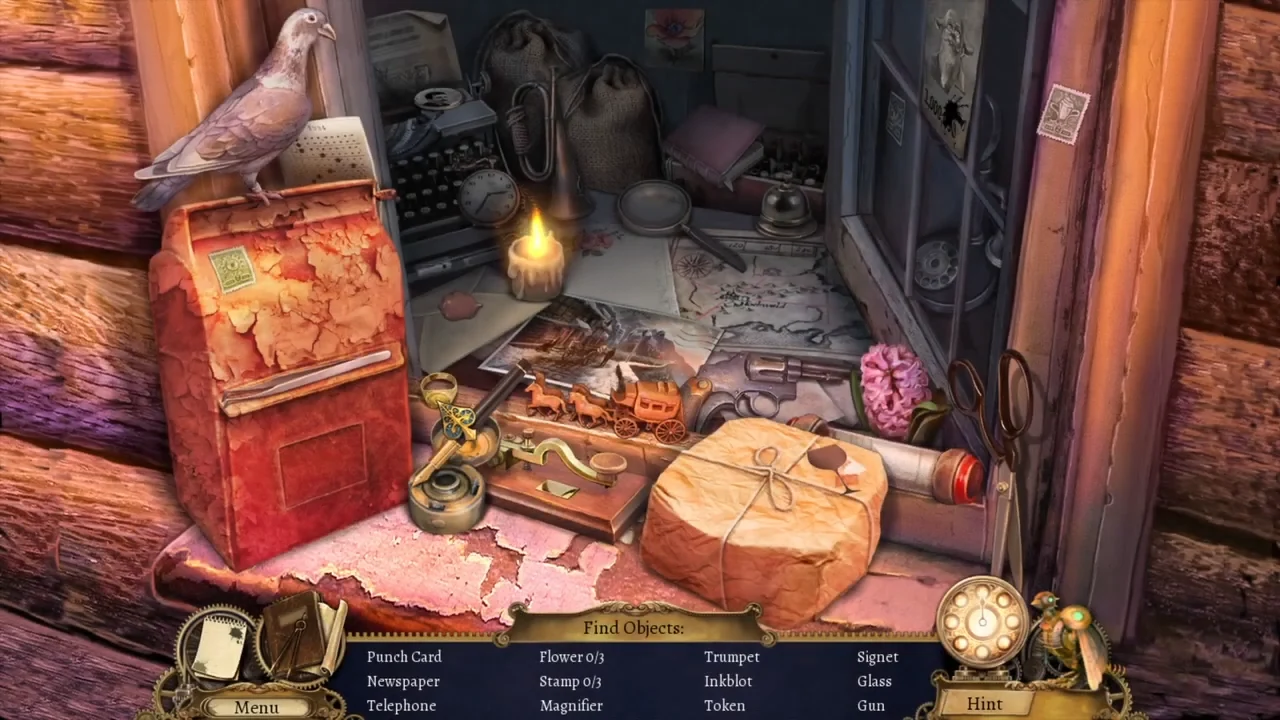
Break into the post office cabin at the Zeppelin Landing and search it.
- At the Zeppelin Landing take the Hammer from the ground crate (read the battery drawing; its padlock needs blasting) and the Chisel from the cliff-edge platform on the right.
- Break the cabin door chain with the Chisel and Hammer and search the post office (Find Objects). Reward: Church Door Token 2/6.
INK'S STORY
Guard booth: the Vinyl Record
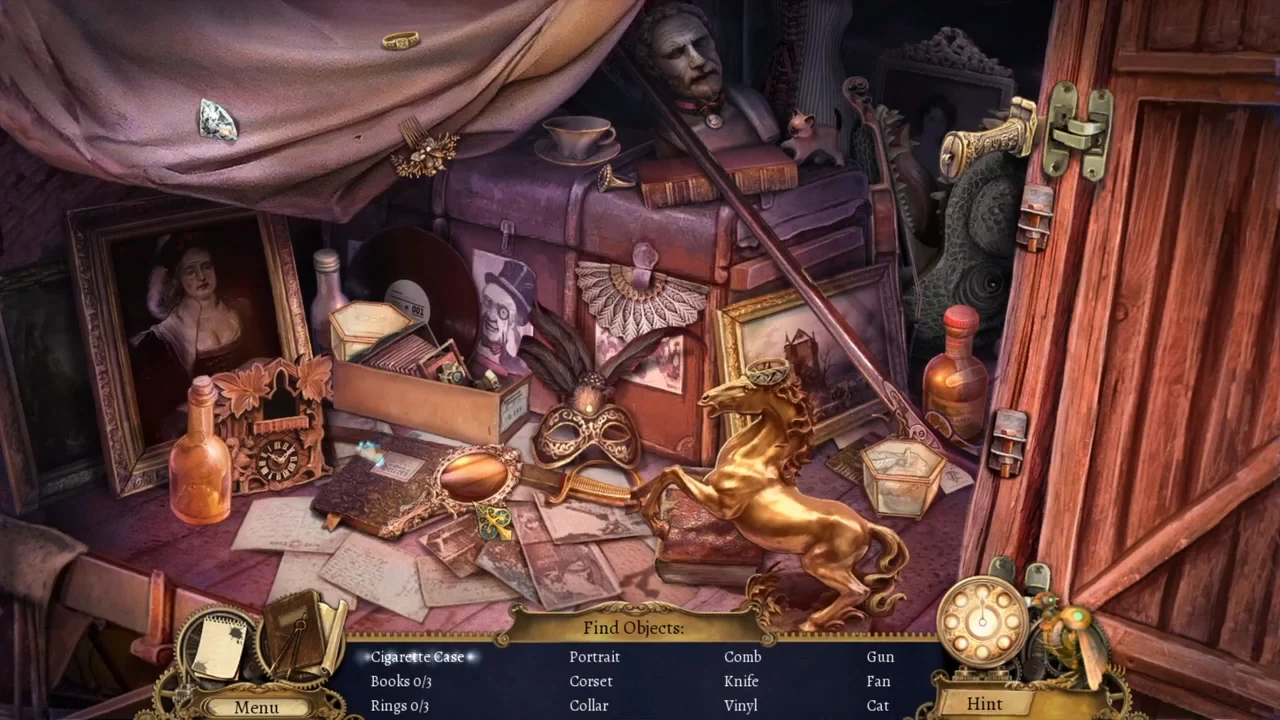
Free a token from the frozen guard booth, search the booth and lure the inn cat away.
- At the castle gate cut the purple plant in the snow (lower left) with the Shears: Catnip.
- Knock the frozen handle of the striped guard booth with the Hammer. A Church Door Token (3/6) comes loose and the booth opens.
- Search the booth (Find Objects). Every item on the list is a plain pickup (three books and three rings are needed; the Portrait is the framed portrait of a lady at the left). Reward: Vinyl Record.
- In the inn give the Catnip to the cat on the stool. It leaves behind Church Door Token 4/6.
INK'S STORY
Gramophone: the record rings
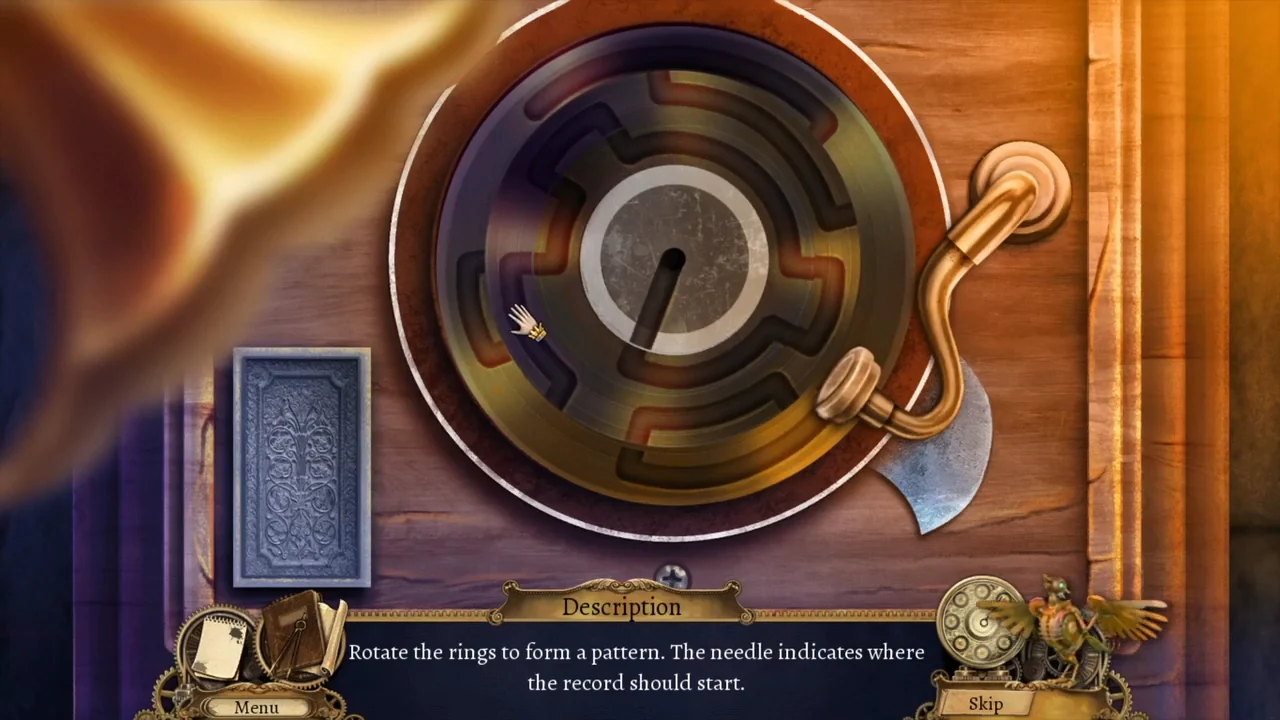
Play the record on the inn's gramophone, then return Claudia.
- Put the Vinyl Record on the gramophone on the bar shelf behind the barmaid.
- Rotate the four rings until the groove forms one continuous track that starts at the needle (centre pointer) and spirals outward; the track glows when it is right. Take Church Door Token 5/6 from the compartment that opens.
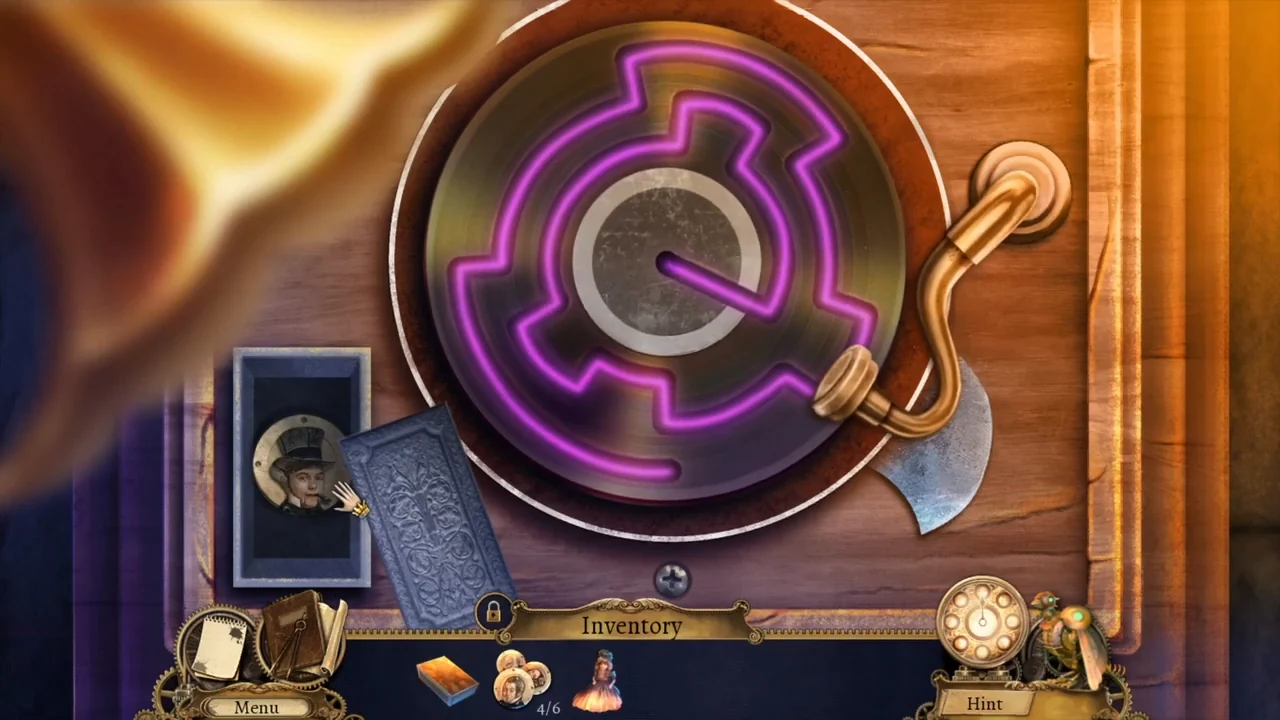
The record track glowing when correct. - Give Claudia the Doll to Helga in the upstairs corridor: Church Door Token 6/6.